
Sunset Overdrive Official Strategy Guide Weapons
Traps
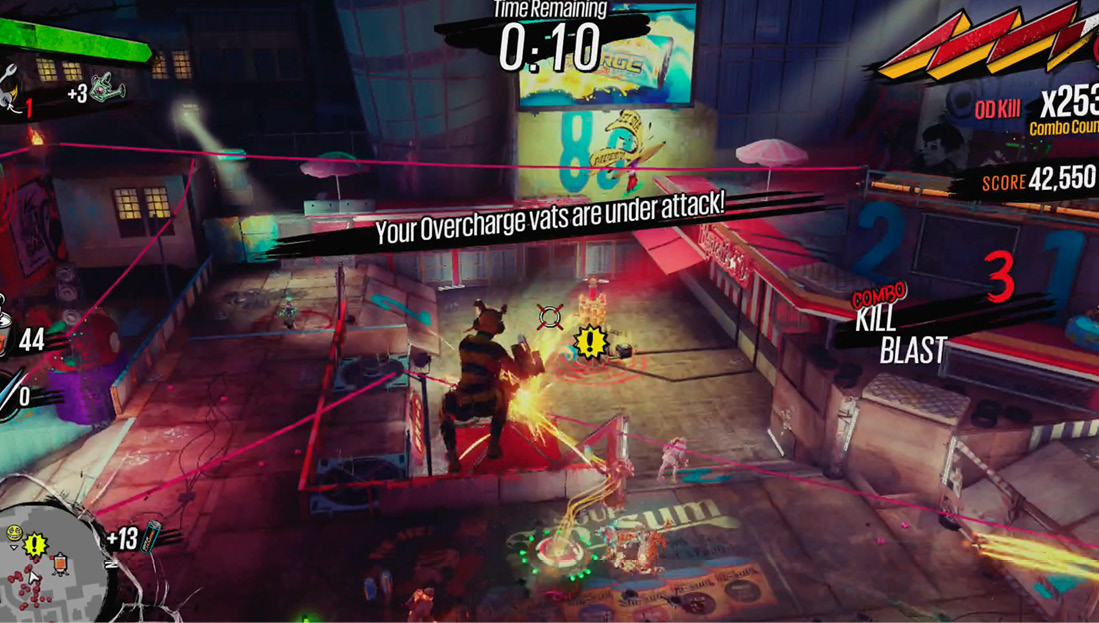
Floyd’s Overcharge vats are like catnip to the OD. At night, when he settles down to cook up a fresh batch of Amps, you must also defend the vats from a nearly endless tide of oncoming mutants.
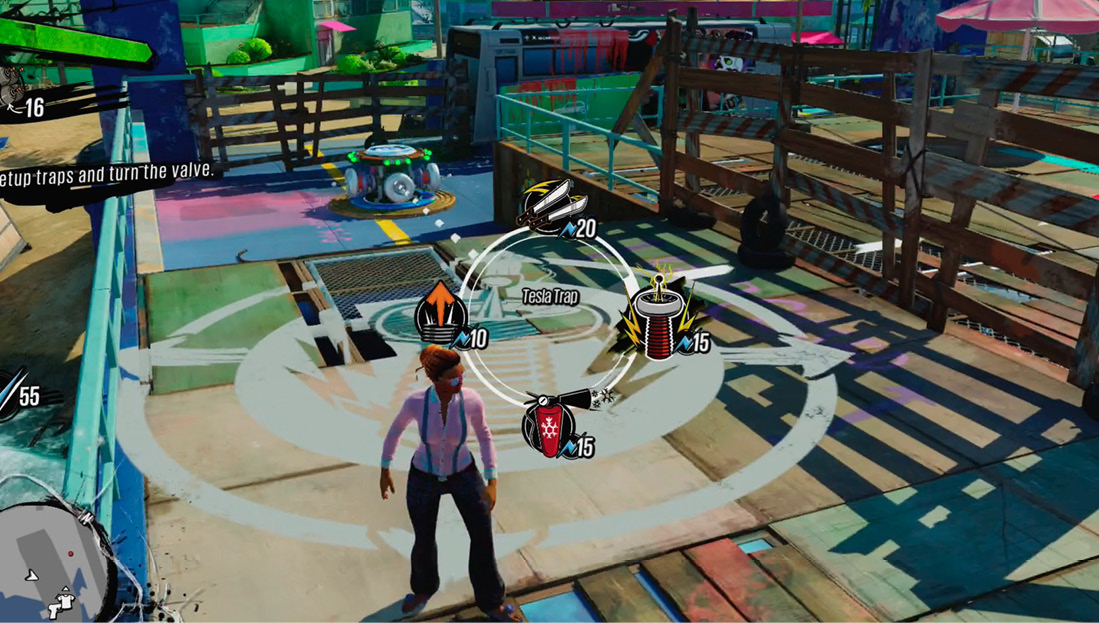
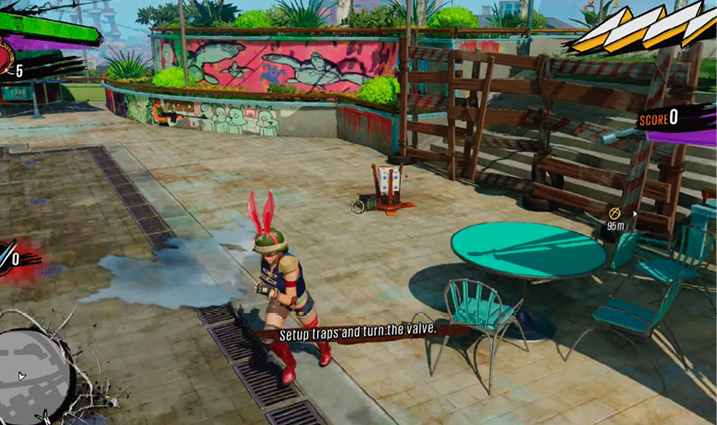
The first line of defense comes from the barricades Floyd set up, but they won’t last long. Your next and best option is to use the local power grid to power up some new defensive measures in the form of Traps.
You begin the game with a few Trap blueprints and can acquire more by completing main Missions and Quests. They can only be deployed during the period leading up to a night defense mission, before you turn the valve, and during night defense missions. You have a set amount of Power to spend on them, which is displayed on the left side of the screen, and you can dismantle a Trap at any time to reclaim the Power it’s using.
Traps can be attacked and destroyed by the OD, but in practice, the only enemies that are likely to pose a threat to them are Herkers or the occasional Mugger. Lesser enemies tend to die in droves if they get anywhere near one of them.
You don’t actually have to use any Traps at all during a night defense mission, particularly once you have some of the more useful deployable weapons on hand. That said, as Floyd sets up new bases throughout Sunset City, Traps become a vital part of your defense. There’s just too much ground to cover and too many vats to defend without having some additional defensive structures in place. Kills with Traps also generate Style, earn Badges, and can provide score bonuses. There’s no reason not to use them.
If a Trap gets destroyed by the OD and you replace it, the new Trap enters play with its cooldown reset, allowing you to set it off immediately. This can be very useful in high-pressure situations.
Hack ‘n’ Slay Trap
|
Power |
20 |
|
Available from the start of the game. |
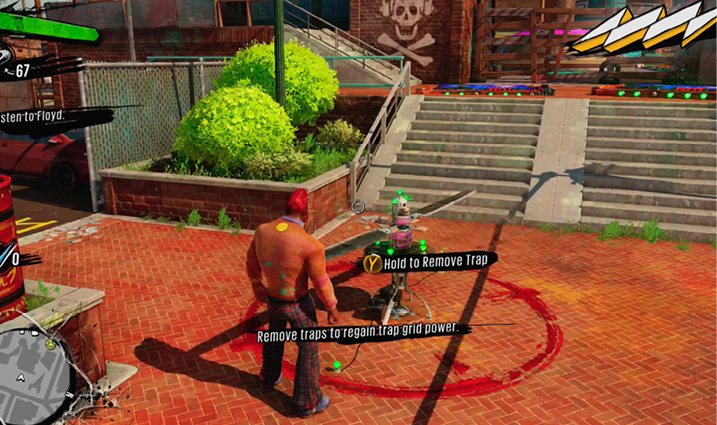
An OD that strays into the Hack ‘n’ Slay’s range will take a hit or two from its spinning machete blades, but this usually isn’t enough to hold them back. It’s possible that it’s just trying to look busy so you won’t unplug it. You really have better things to do with Power than spend it on these.
Pyro Geyser
|
Power |
10 |
|
Complete “Up In The Air.” |
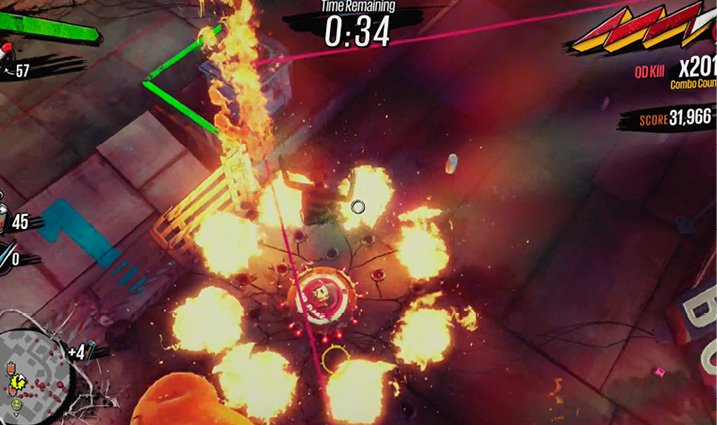
Bounce on a Pyro Geyser Trap and anything near it gets engulfed in flames. It has a relatively small area of effect and has to be right up next to the action to do any good, but it’s available early on and setting a bunch of OD on fire at once is never exactly a bad plan.
Fling Board
|
Power |
10 |
|
Available from the start. |
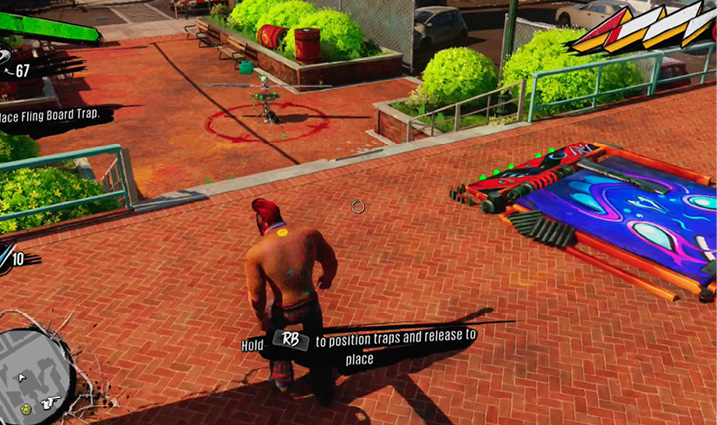
An OD that sets off the Fling Board gets thrown into the air, moving in a shallow arc in a direction determined by the Trap’s placement. You can use the Fling Board to set up OD to activate other Traps, such as by throwing them directly on top of a nearby Tesla or Pyro Geyser, or simply toss them off of ledges or back outside. This Trap inflicts no damage.
In single-player night defense, the Fling Board isn’t particularly worthwhile, as individual OD come in such high numbers and have such low health that tossing one of them around won’t have any real tactical effect. The Fling Board comes into its own in Chaos Squad, however, when even standard OD get enough health and damage resistance that crowd control is more important than raw damage. You can then use Fling Boards to buy time, flinging OD over ledges or behind walls, forcing them to burn valuable seconds to run back to a point of entry.
Señor Freeze
|
Power |
20 |
|
Complete “Find 4Kim.” |
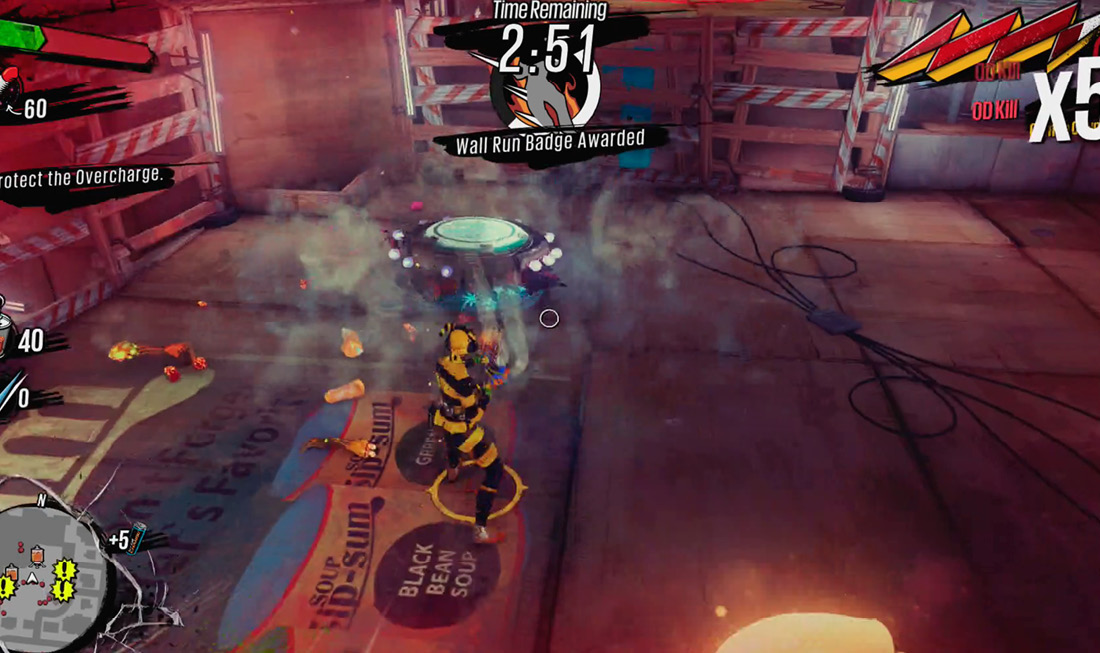
By itself, Señor Freeze radiates a short-range cloud of aerosolized nitrogen, instantly freezing any OD that gets close. If you bounce off of it, the cloud becomes much bigger for a few seconds before reverting to its standard radius.
You can use Señor Freeze right next to a barricade to temporarily paralyze a big crowd of OD, buying yourself a few valuable seconds, but in the single-player game, lethal Traps are more cost-effective. Señor Freeze comes into its (his?) own in Chaos Squad, when you’re dealing with much more powerful enemies and crowd control is more useful than raw damage.
Grind Cooker
|
Power |
5 |
|
Complete “The King’s Feast.” |
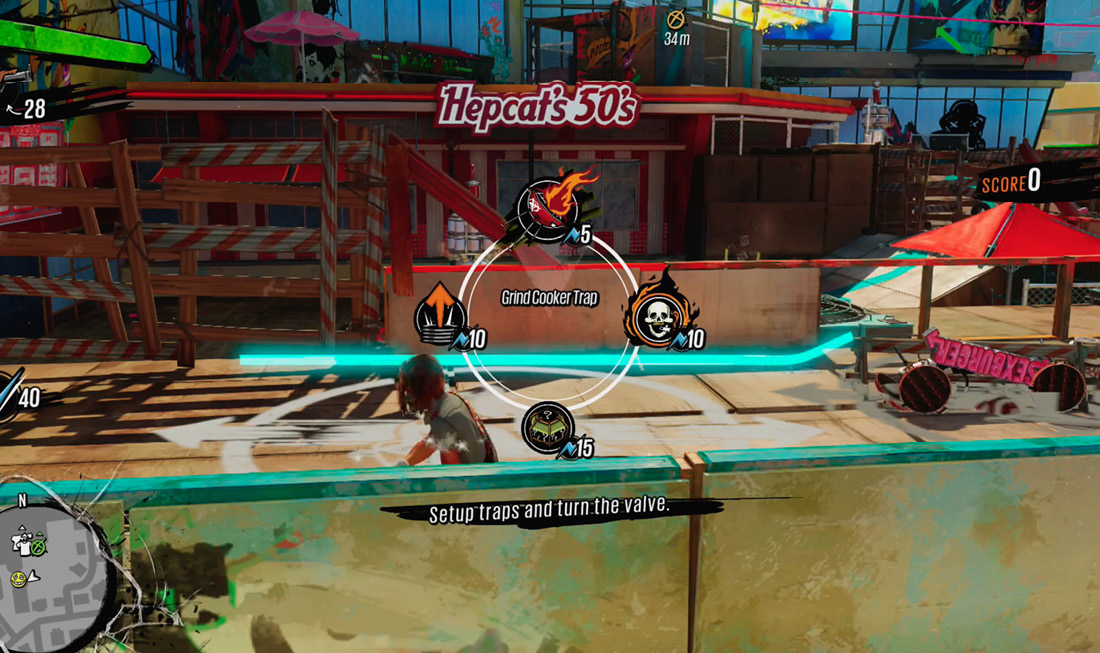
The key to using the Grind Cooker is to use a lot of them. If you place them close enough to each other, Cookers will automatically be linked with a wire, which allows you to build your own custom rail network throughout your base, which emits a series of fiery explosions on either side of it whenever you grind along it. This is the next best thing to being able to simply build walls of fire.
As a trade-off, the Grind Cooker has the least “health” of any Trap and tends to get destroyed if a Herker so much as looks at it funny. The Cooker is an excellent tool for holding back the initial waves of OD, but once the clock starts running down and the big guys begin to appear, it probably won’t last long.
Tesla
|
Power |
15 |
|
Complete “Tastes Like Chicken.” |
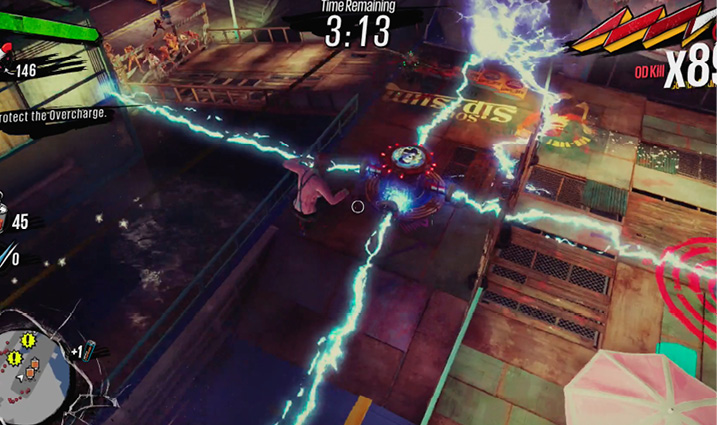
An individual Tesla Trap fires lightning in four directions when activated, damaging and stunning any OD that’s even near the bolts. This is okay by itself, particularly if you fire the bolt through a barricade or down a long corridor, but the real value of a Tesla Trap is when you can set several of them up in a network.
You’ll be able to tell if a Tesla Trap is usefully connected to a second one if they’re joined by a white dotted line while you’re building them. When you place them carefully and make sure they’re all linked, setting one Tesla Trap off sets them all off at once.
On stages like the harbor or Downtown where you can take advantage of a Tesla network, careful Trap placement lets you consume half the map with an arcing bolt of lightning whenever you feel like it. This trivializes the later night defense missions in the story campaign, since you can wipe out or at least stun most standard OD with a single blast.
Pandora’s Box
|
Power |
15 |
|
Complete “The Siege of WonderTown Land.” |
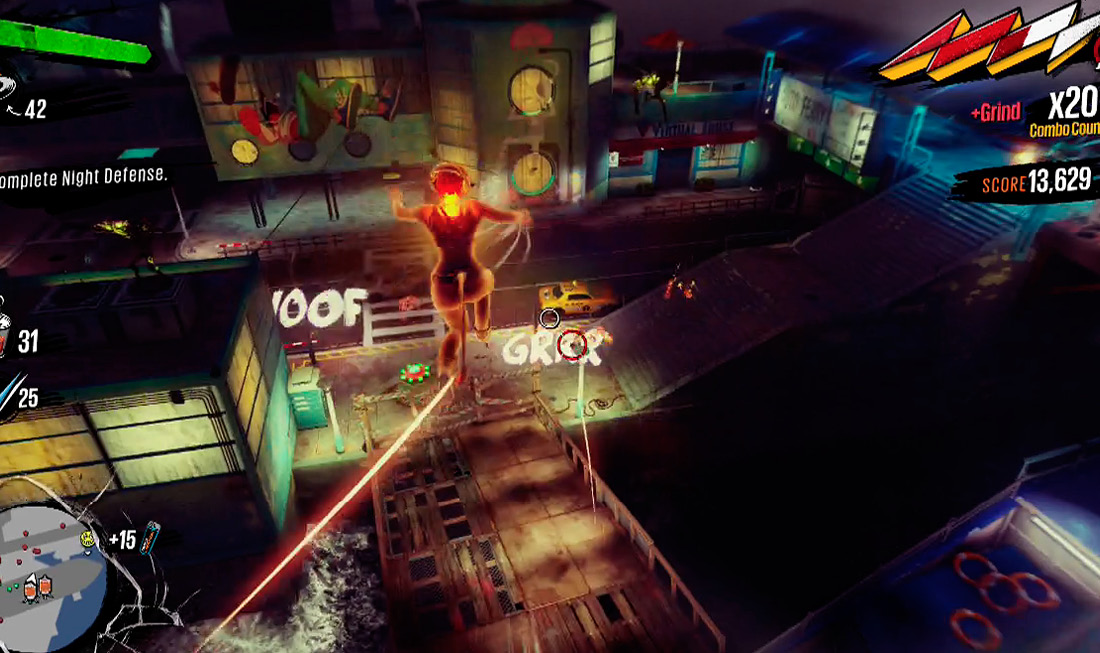
Despite the name, the worst thing that can happen when you set off Pandora’s Box is something that isn’t useful right then. Activating it can spawn Boo-Boo the killer robot dog or a number of pickaxe-waving lawn gnomes that distract and murder any OD they touch. You can also get a bunch of health pickups, a bunch of flaming bowling balls that fire in all directions from the base of the Trap, a ring of flame that radiates out from the Trap’s sides, or a massive cloud of red smoke that enrages any OD it touches.
Since most of these options are immediately lethal, Pandora’s Box is the only offensive Trap worth using in Chaos Squad defense missions, particularly once your Chaos level edges above 1,000%. If you’re lucky, you’ll be able to sic Boo Boo or the gnomes on the OD, both of which will kill anything they can reach; if you’re not, you’ll “just” end up with a bunch of extra health that you will probably need later.
JYA Gun Turret
|
Power |
25 |
|
Complete the Quest “Big Brother Sam.” |
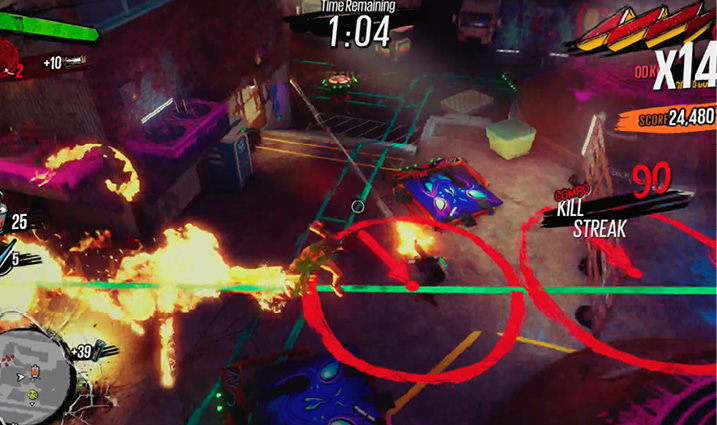
In the same spirit as the AK-FU or Shotty, the Gun Turret is mundane but effective. It has the longest effective range of any Trap you can place, which makes it excellent against Gunkers, Muggers, and Wingers, and will open fire on a single target until either it’s destroyed or the target is. It’s handy on the Harbor map, since Wingers will often hover over the water and rain fire down on you, and a Gun Turret in the right place can knock them right out of the sky.
Pop Rocket
|
Power |
30 |
|
Complete the Quest “The Firework Show.” |
These work a bit like the Roman Candle does, in that each Pop Rocket turret launches fast-moving fireworks that detonate on impact with a target. Its rate of fire is surprisingly high, and each rocket explodes for decent area-of-effect damage. The Rocket is smaller than other Traps, but unfortunately, this doesn’t translate into more flexible placement options.
Siegfried the Great
|
Power |
35 |
|
Complete the Quest “The Most Epic Quest for EXP.” |
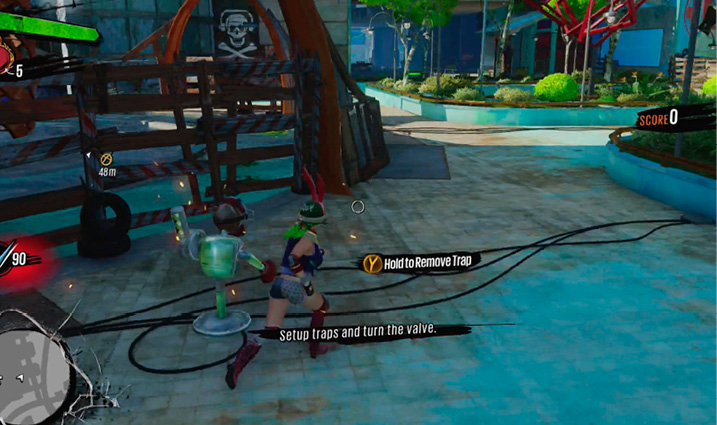
When first placed, Siegfried is a lowly peasant of a Trap, bringing his tennis-ball launcher, foam sword, and low self-esteem to bear on any OD that strays within his field of fire. After you feed him some kills, Siegfried levels up into a heavily-armored tank with a tennis-ball Gatling gun and a much healthier outlook on the world.
The biggest problem with Siegfried is that he’s most effective once he’s leveled, which often takes most of a given defense’s duration. If you expect to get your full value out of Siegfried, the best place for him is actually outside the base, where he can cover one or more of the enemy’s spawn points and thus level up as quickly as possible. Once he’s achieved his final form, there’s not much that can stop him.