
Sunset Overdrive Official Strategy Guide Sunset City Essentials
Killing Things for Fun and Profit
Clubbing Your Way to Victory
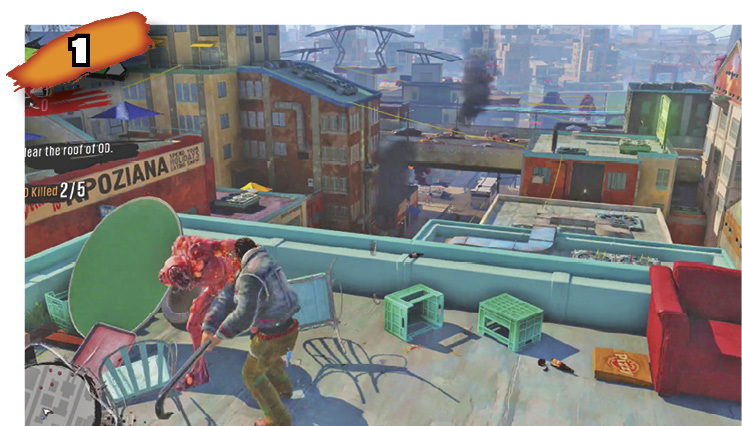
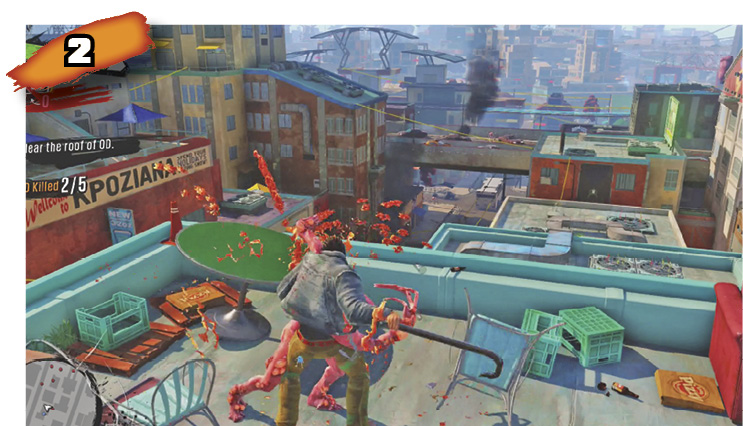
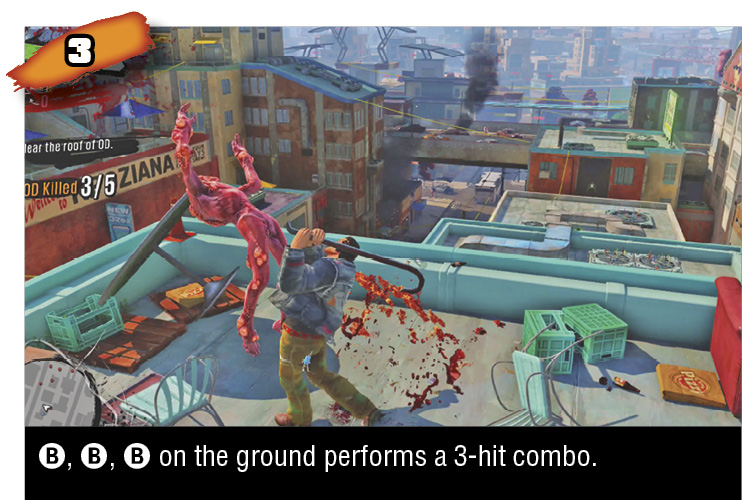
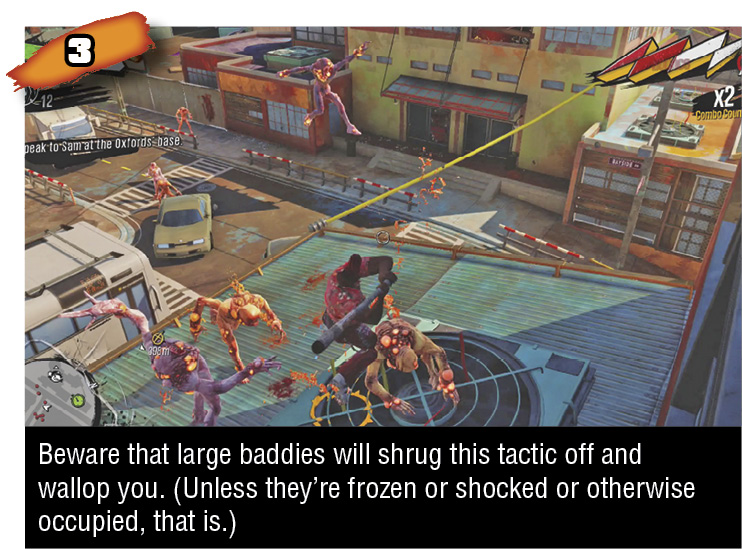
The B button is reserved for melee attacks. On the ground, melee up to three times back-to-back for a brief combo that outright kills common enemies. You can perform a melee spin during grinds and undergrinds, great for knocking OD out of your path and preventing them from knocking your hero off the grind line. This melee spin is also good for destroying camera collectibles, and can also be used to fulfill certain Mission, Quest, and Challenge objectives without breaking an ongoing Combo.
Your melee attack can be enhanced by equipping a Melee Amp, which will activate at Style level 2. You may throw fireballs alongside melee attacks, among other bonuses. Amped melee attacks at Style level 2+ are considerably more lethal than regular melee attacks, so if you’re eager to use melee often, it behooves you to keep Style high. Style degrades over time and the Combo Counter resets to 0 when you’re standing for more than a couple seconds between kills or actions. You may need to ration periods of wailing on foes with periods of grinding/bouncing around building Style back up (and collecting health pick-ups). Without Style powering your melee Amp, you’ll be quickly overwhelmed trying to go toe-to-toe with packs of each faction’s melee-oriented grunts (OD in general, Scab Rushers, and Fizzco Blade Bots).
Dive Bomb
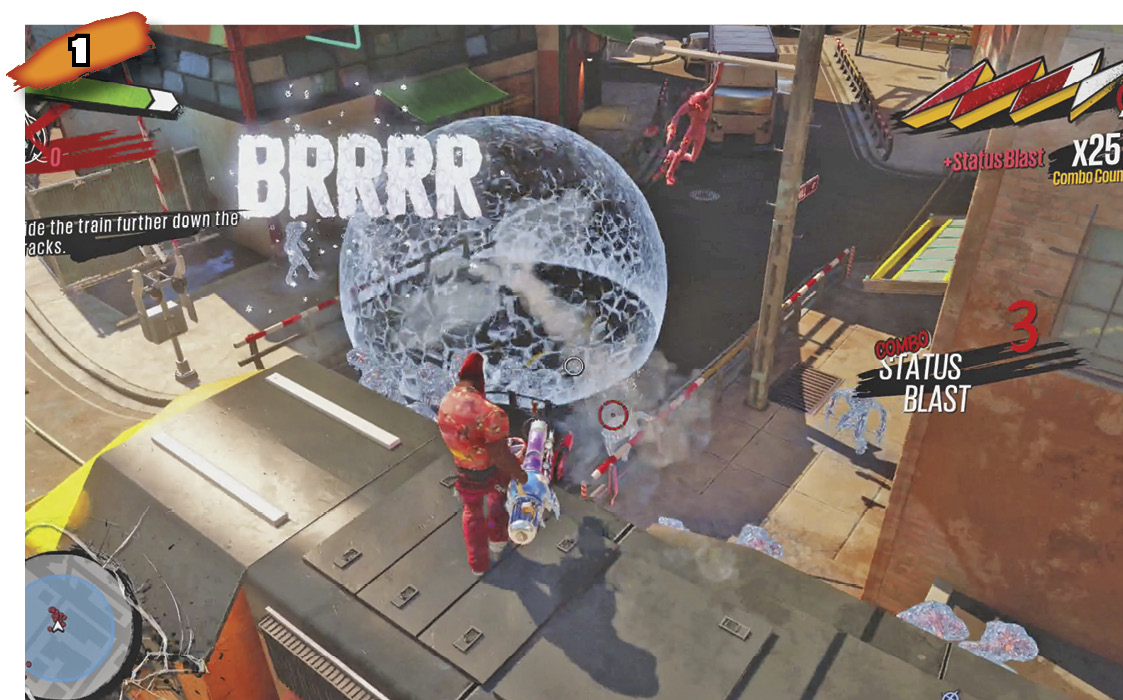
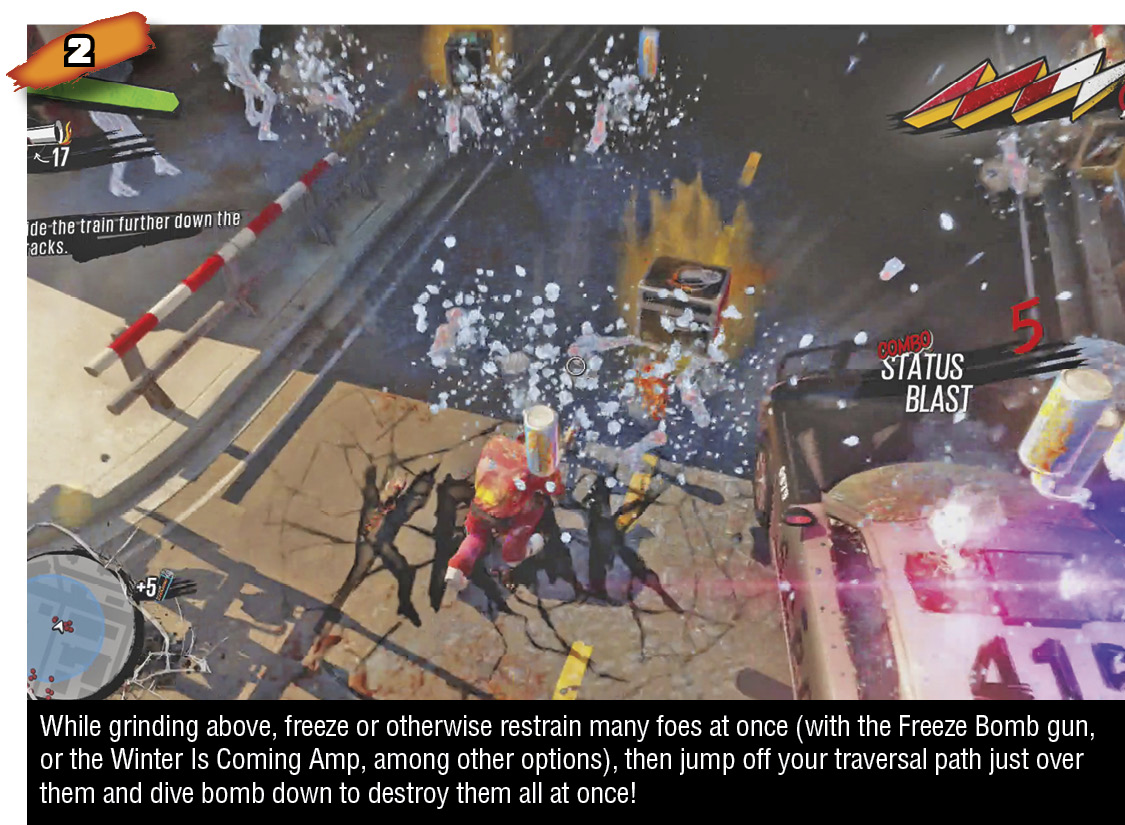
B in midair results in a dive bomb attack, a plunging blow so forceful it cracks the ground. Once you have an Amp equipped to dive bomb and at least Style level 2, this becomes an almost-certain kill against common foes near the ground, even groups of them clustered together, which gives you a new tool to keep Style Combos going. If you dive bomb and kill something, you’ll have a grace period of a couple seconds before your Combo will be broken because of walking. (This also applies if you shoot something to death just before landing, rather than dive bomb into a kill). To keep the Combo going, either keep damaging and killing things very quickly, or immediately take to the air and steer toward a traversal option.
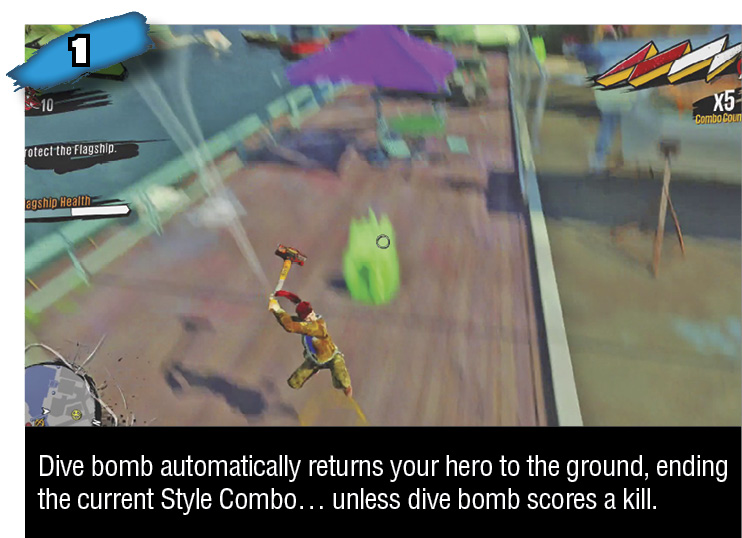
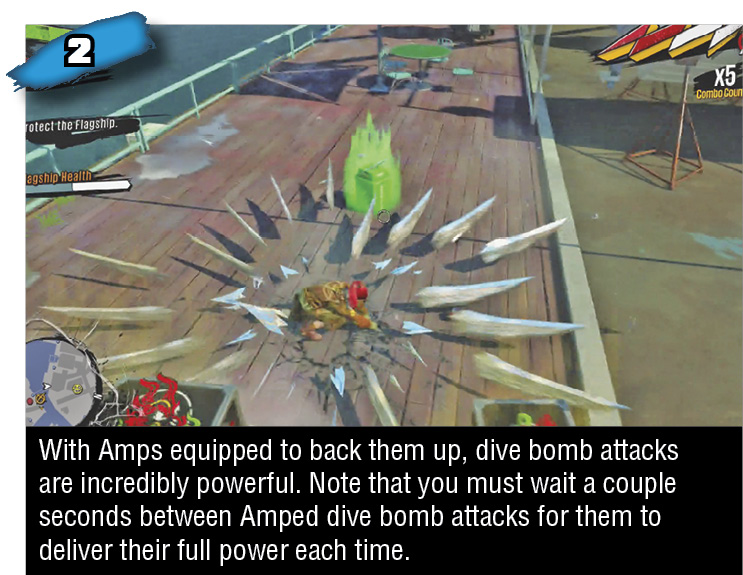
If you dive bomb onto a bounce-ready object, the same rules apply as when simply falling onto it. You’ll bounce automatically after dive bomb’s impact, and you can press A during impact for a super bounce (if you’ve earned that move). Your Combo Counter won’t be broken by the momentary landing.
Slam Bounce
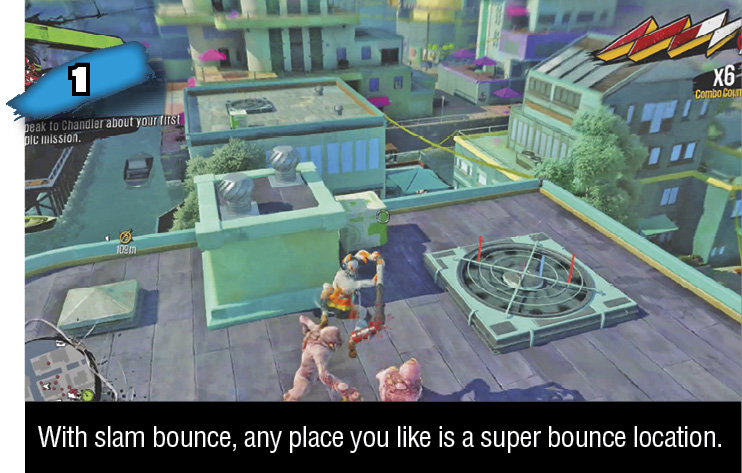
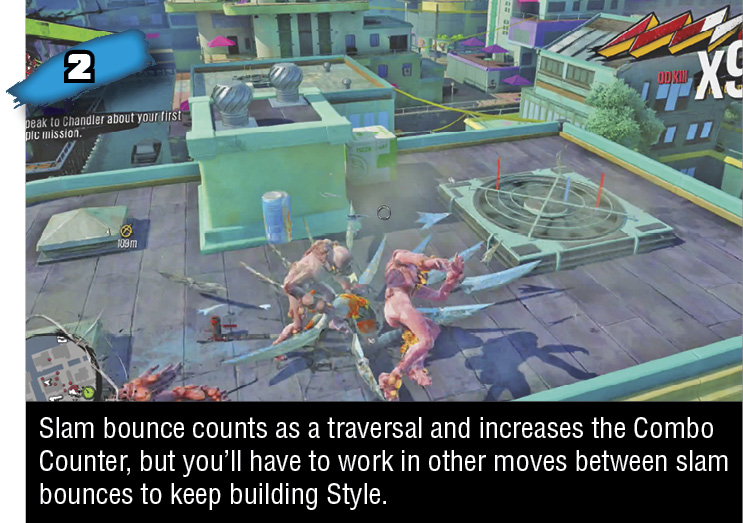
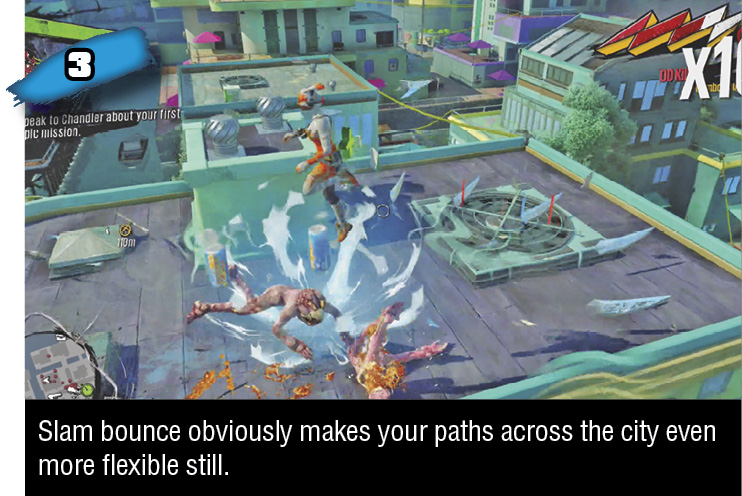
Later on in the adventure, you’ll earn the ability to slam bounce. This is a super bounce that occurs immediately after dive bomb impact. This allows you to install a super bounce anywhere you want, whether a bounce object is available or not! To execute this maneuver, dive bomb into the ground then press A upon impact to launch back up again.
Repeated Dive Bomb Bounces
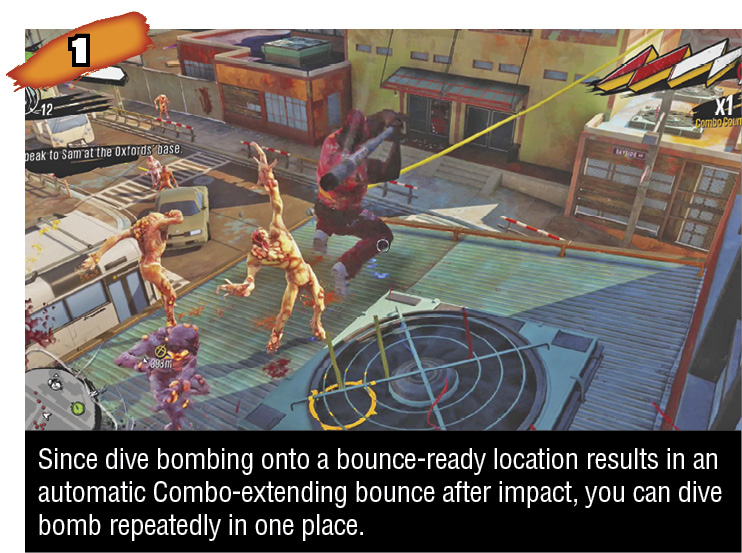
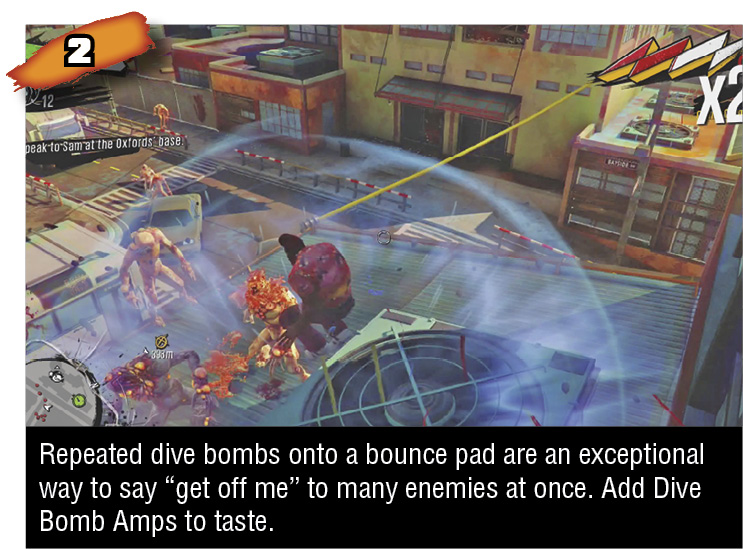
So, this is sort of cheesy, but it’s really good cheese. Normally, dive bombing out of an aerial period with B returns you to the ground, no ifs, ands, or buts. But if you dive bomb directly onto a bounce-ready object, like the roof of a car or a skylight or an upward-facing exhaust fan, you’ll be automatically bounced back into the air just after slamming down. If lots of enemies are clustered around a bounce object, you can exploit this by hovering over that object, dive bombing into it, auto-bouncing back up, then dive bombing right back down, and so on. You won’t increase the Combo Counter by bouncing and dive bombing up and down on the same object, but you will of course rack up lots of kills in a row, keeping the Combo going as long as enemies are eager to come to you. With just a little more work (and the right bounce objects nearby) you can simply drift slightly and dive bomb onto a different bounce pad; this is elementary when there are two or four exhaust fans clustered all together since they’re actually considered individual objects (even though they seem to act as one bounce pad). Drifting slightly to bounce between them after each dive bomb helps contribute to the Combo Counter.
Gun Control Is Hitting Your Target
With all this talk about movement, you might worry that blowing stuff away isn’t important. Don’t worry. You just have to learn to move first before you’ll survive long enough to blow anything away. Once that’s sorted, you’ll find many guns left around Sunset City for the taking. You’ll start out with a flaming shotgun called the Flaming Compensator, and before long you’ll add an automatic vinyl launcher called High Fidelity and a hard-hitting revolver called (what else?) Dirty Harry. Later on, you’ll add over a dozen more guns, ranging from amazing to more amazing.
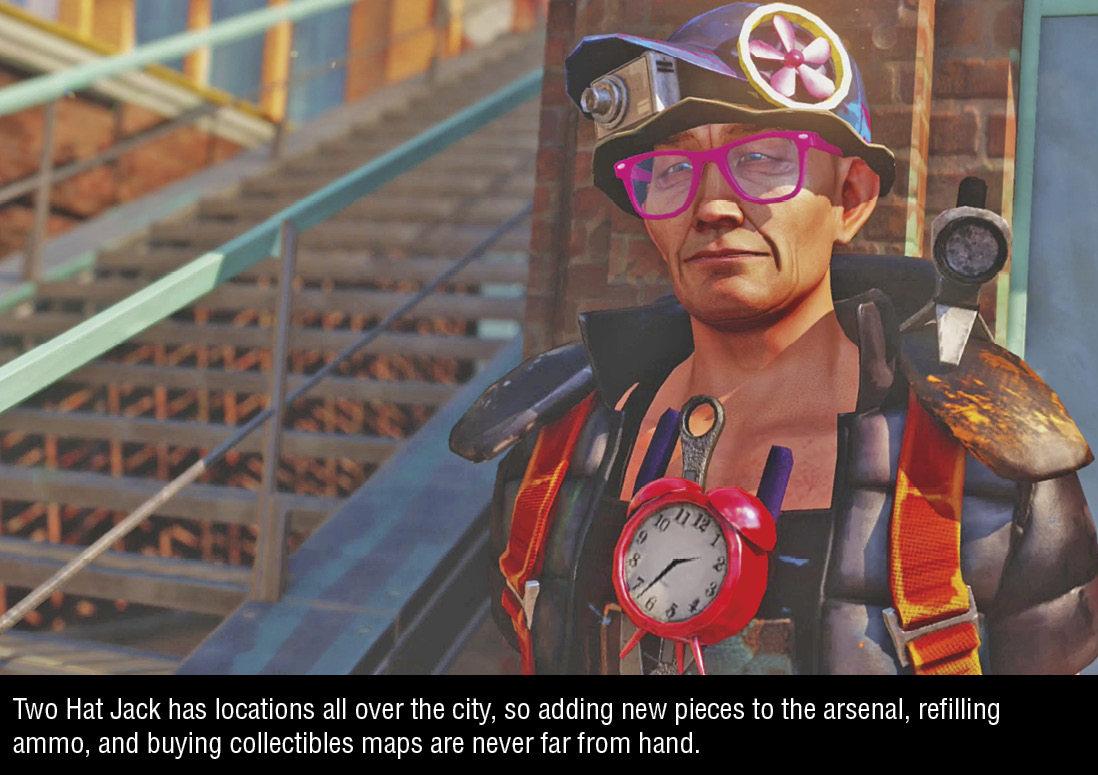
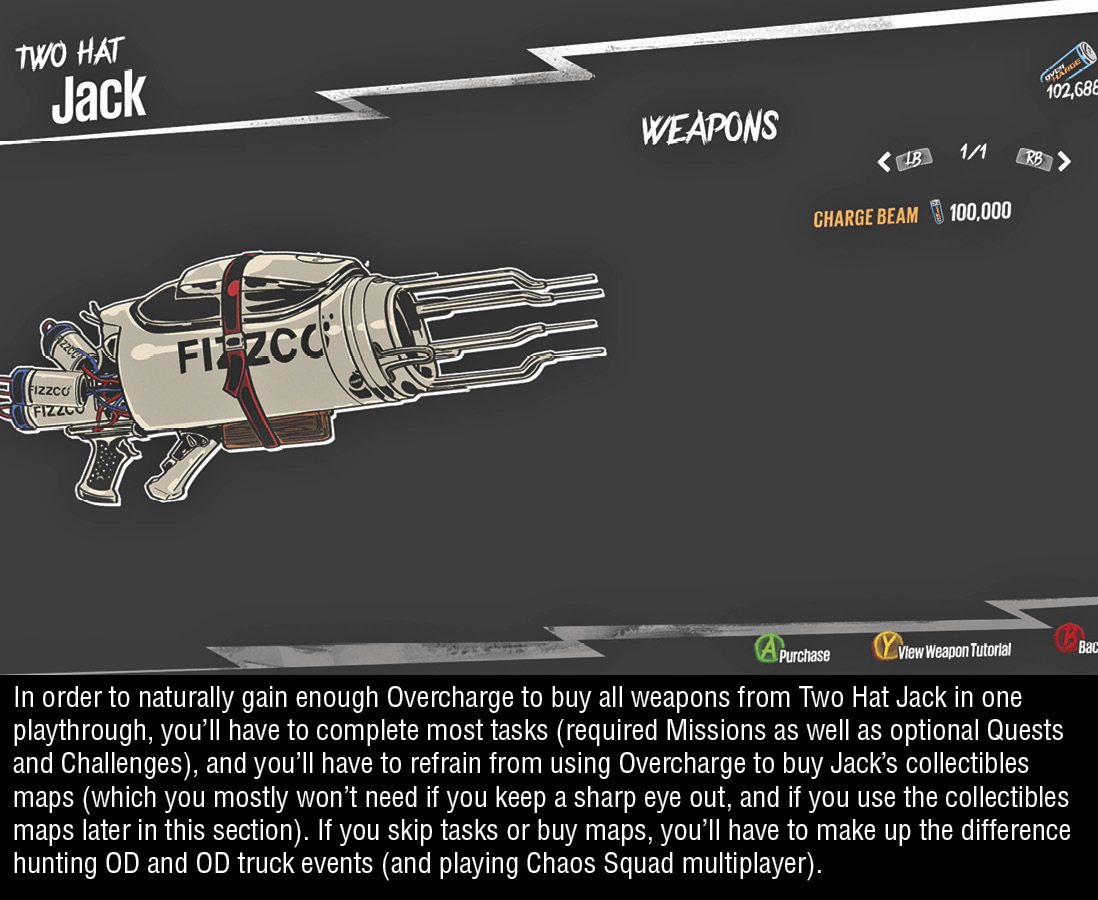
Some weapons are received as rewards for Missions, and the ProPain Launcher can only be found in Chaos Squad, Sunset Overdrive’s online multiplayer mayhem. All other weapons must be purchased from Two Hat Jack, supplier of weapons and maps to intrepid, unmutated survivors of the Awesomepocalypse. Two Hat Jack will be the beneficiary of all your Overcharge collecting, since that’s the only currency he’ll accept for guns and maps.
Left Trigger Aiming
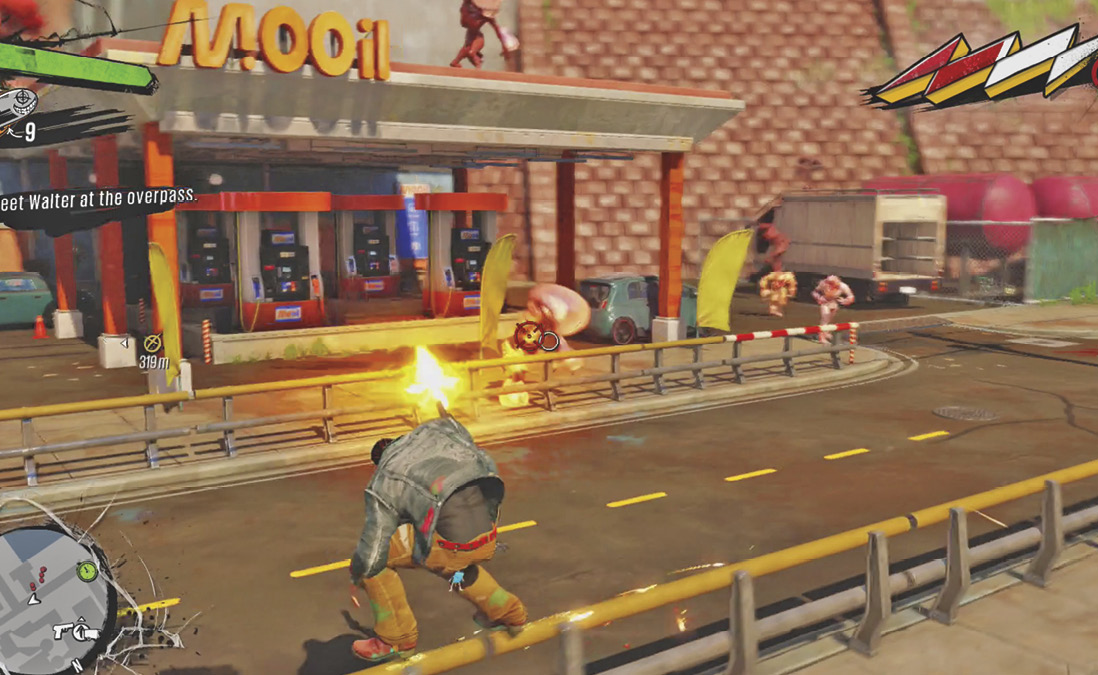
Holding down LT slows the reticle and grants a small degree of zoom (so small it’s more like a slight focus or fish-eye effect), allowing for more precise aim. While you’re in the middle of a grind or undergrind, it also slows down movement speed. This is great for getting your aim under control while grinding around foes. Even with nothing to shoot at, you can use LT while grinding to slow down and catch your breath. LT can’t be used to slow down or aim while wall running, and speed isn’t altered (though reticle speed is slowed) while running or moving through the air.
The Weapon Wheel
The weapon wheel is brought up by holding LB. This lets you swap guns, sure, but it’s also a good planning tool. Time slows to a crawl with LB held down, giving you time to assess the situation even in the middle of a high-speed undergrind flip jump. Your other controls (except for aiming) still function while holding LB and toggling between weapons with the right analog stick! You can start and release traversal moves or jump or roll (or whatever) all while the weapon wheel is displayed. Don’t be shy about exploiting this. It’s great to get a brief breather in the middle of a long fight or Style Combo to think about your next few moves. The slo-mo effect will dissipate after about five seconds of holding LB, so make your weapon selection and get back to blasting by then, or just release and re-press LB for more slo-mo.
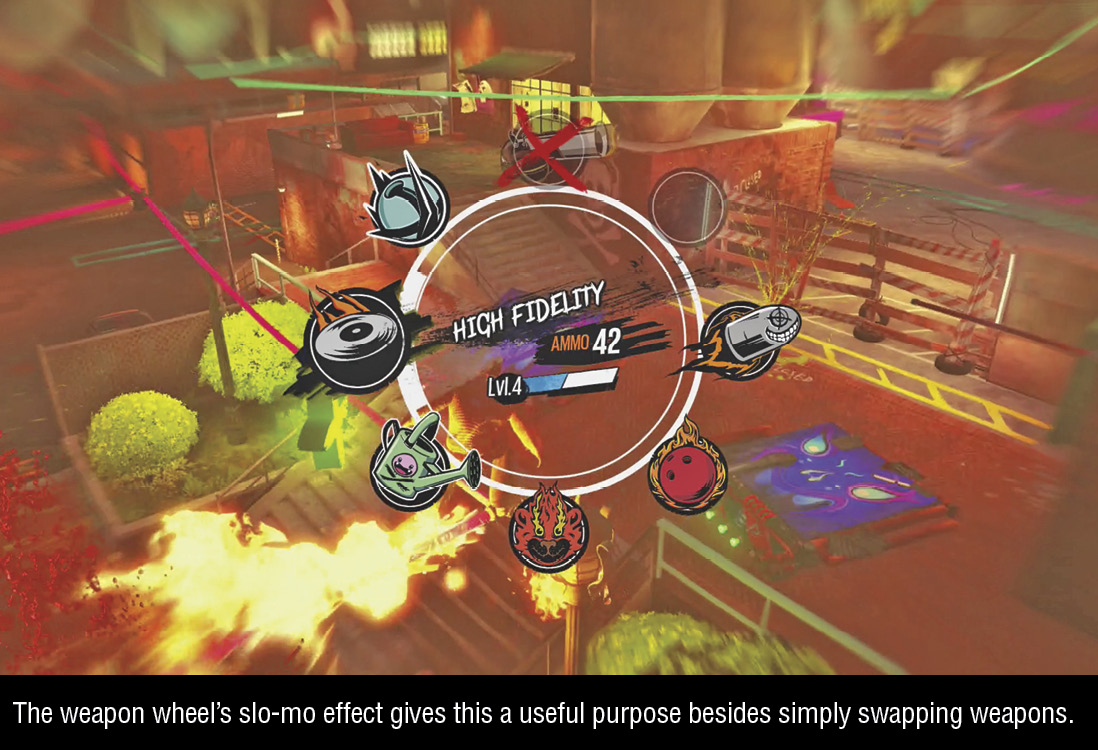
Once you actually swap weapons, you don’t have to wait before you begin firing the new gun. There’s no meaningful lag time while switching weapons. This makes it possible for you to start jumping or bouncing while firing your main full-auto weapon, swapping to pop off a round from another weapon at the apex (probably a single-shot powerhouse like TNTeddy and Freeze Bomb, or a deployable like Acid Sprinkler), then immediately swapping back to fall firing with a full-auto gun again. Your hero is just as flexible and quick with weapon use as with traversal.
Maximizing Ammo
No weapon has a high enough capacity to let you use it exclusively through entire encounters. You’ll also periodically receive ammo pick-ups for random weapons throughout fights, as enemies are dying and crates are being incidentally broken. So you shouldn’t be shy at all about using heavy-hitting weapons with low ammo capacities, like the various explosive-based and deployable arms. It’s a very good approach to open big battles with these weapons before swapping to something with a large magazine like High Fidelity or AK-FU. By the time the magazine on a deep automatic weapon is expended, you’ll almost surely have scored some ammo on another weapon, letting you cycle between them regularly. Don’t feel too married to any one weapon.
Staying Alive
First and foremost, you’ll want to stay in motion. Change traversal methods and speeds often, especially against enemies that can lead your movements and fire ahead along your current trajectory. These predictive attacks are indicated by a red circle along your traversal path, so reverse course to avoid them or be ready to get knocked off your path.
Getting hit out of the air or knocked off a rail will send you into a freefall but your Combo doesn’t have to be finished. After pinwheeling for a moment, your hero will be air-controllable once more, and you can salvage the combo by starting a new traversal move before landing. In pure panic situations, where you’re knocked in a disorienting position or fall from a high place unexpectedly, you can often salvage the situation by holding B while tapping X—holding B leads to potential vaults, and tapping X can trigger many different traversal moves depending on the nearby surface. Even if you plummet to the ground, you can dodge roll on landing (a forced maneuver from a high enough altitude), then handspring jump back into the air.
Guns will be more effective if you equip complementary Amps and Overdrives, use them against susceptible targets, and swap wisely. You can drop Acid Sprinklers or Turret Copters then swap to a mop-up gun, or launch some Freeze Bombs then shatter the results with another weapon. Much more detail about weapons, Amps, and Overdrives can be found in those sections of this guide.
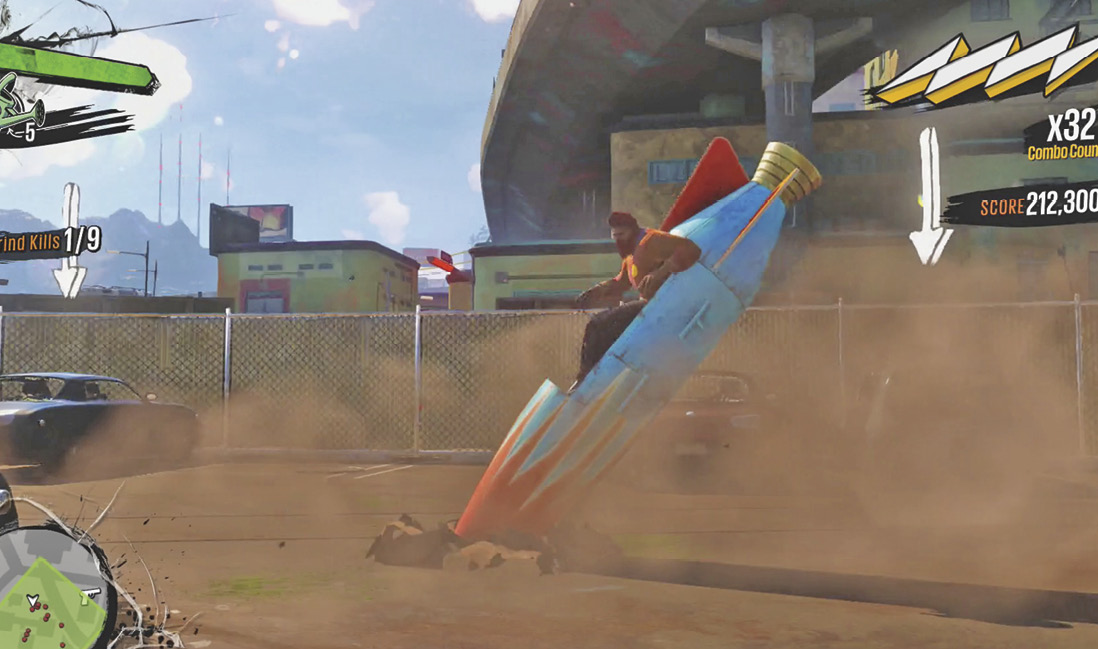
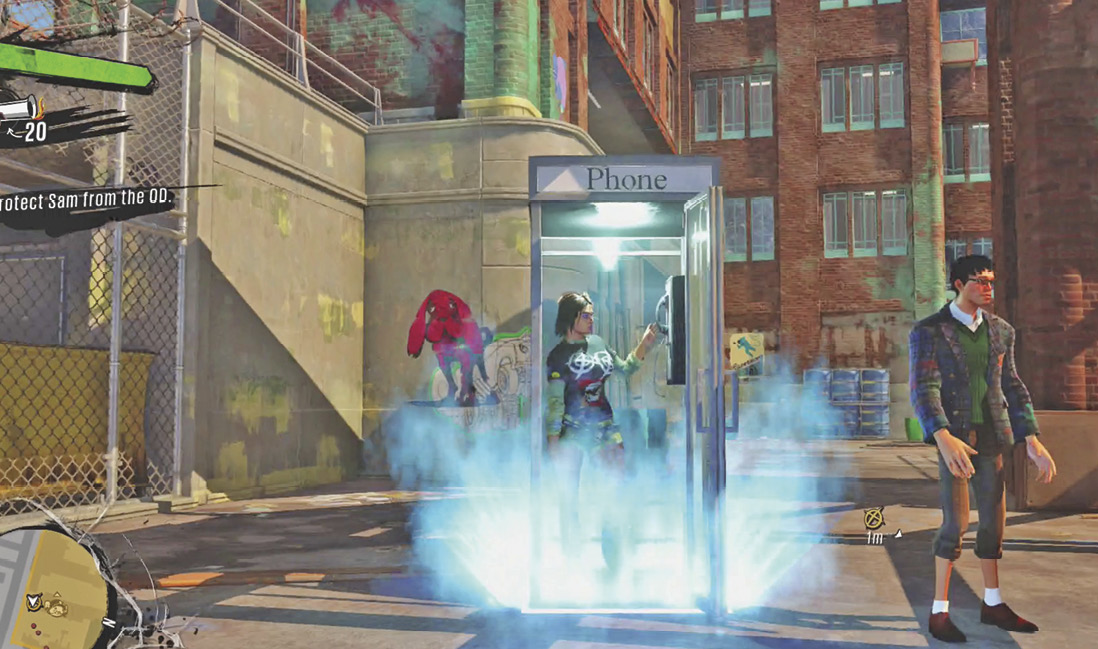
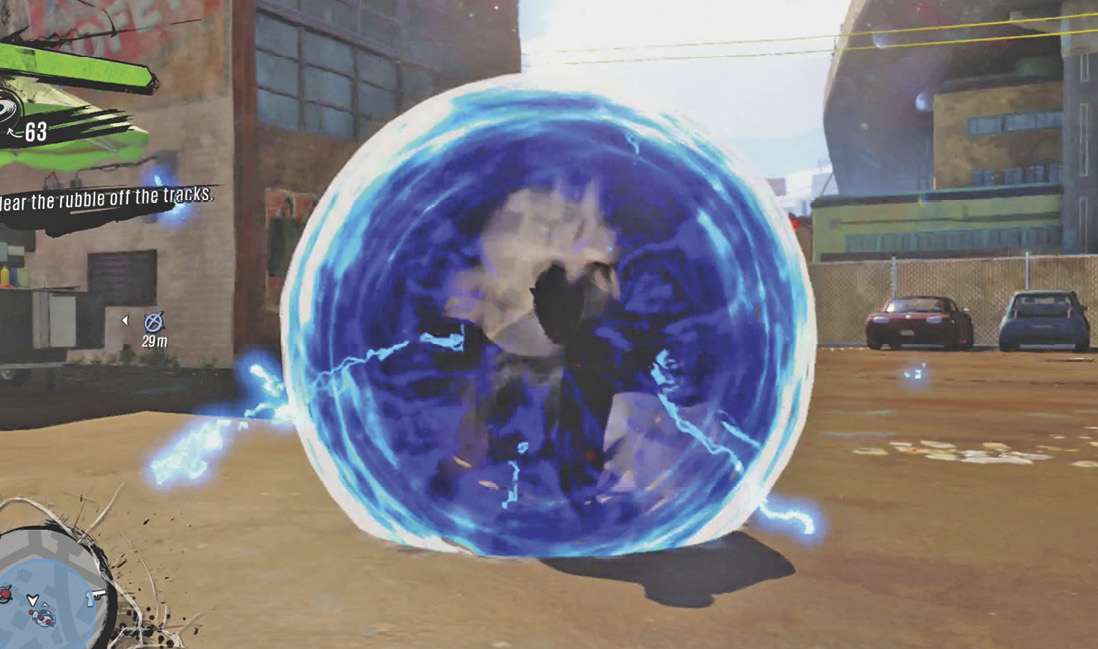
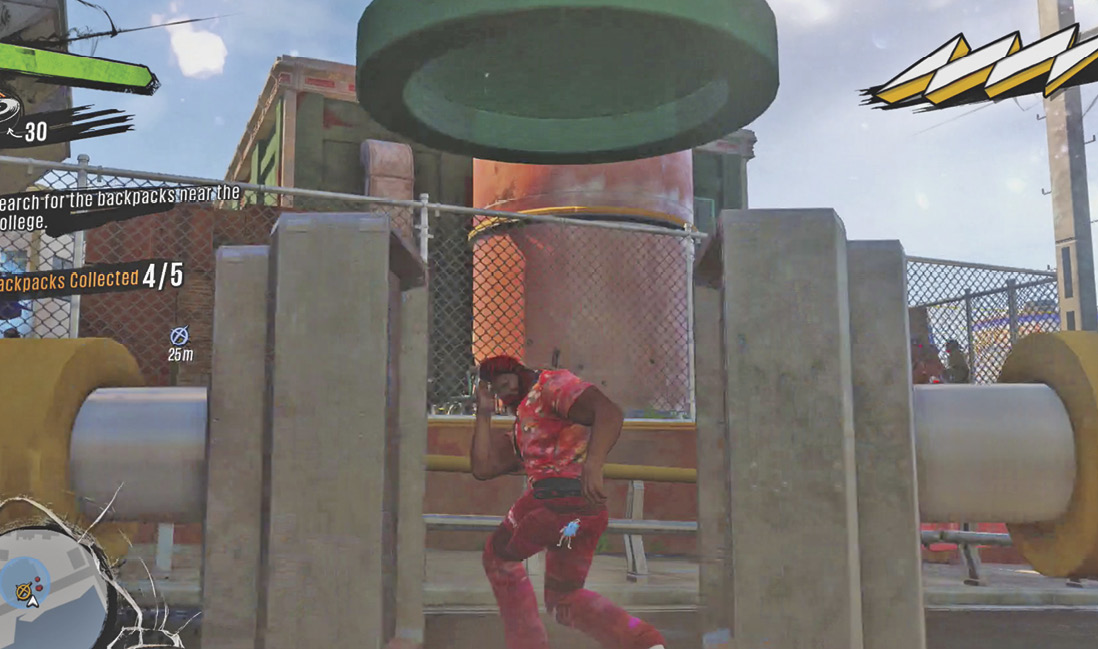
If you do happen to take full damage, your poor hero will be swatted aside, dead, only to respawn nearby in one of many amusing ways. In most situations, there is no real penalty for respawning, except perhaps for a sense of personal shame. But during some tasks with checkpoints or time limits, death will result in either a restarting of the event or a return to the latest checkpoint. And in timed Missions like defending Floyd’s fragile Amp vats through the dark, mutant-overrun night, the time that ticks away while you have to watch the death and respawn animations is actually penalty enough.
Random Enemy Events
As you move throughout Sunset City, you may run into various events involving different enemy factions. You’ll find your normal variations of congregations of enemies in different places (for example, Old Factory District is mostly given over to the OD but Downtown is largely under Fizzco’s automated control). But there are other goings-on outside the normal gamut of enemy patrols. These events will be indicated by distinctive white markers on the minimap, and there are also visual and audio cues when you’re nearby.
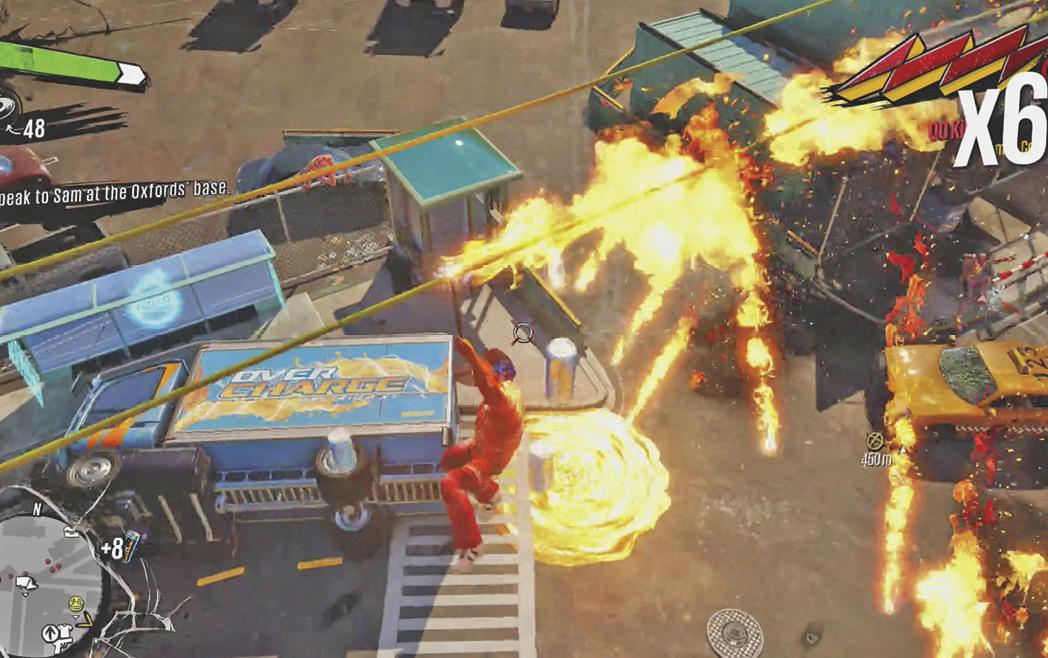
You may run into a swarm of OD overturning an abandoned Overcharge truck looking to get at the noxious drink inside, or Scabs guarding a Virtual Trust bank truck, preparing to loot the cash within. After clearing out the OD or Scabs, you can open the back of the commandeered truck to collect a great quantity of either Overcharge (from the Overcharge trucks) or Cash (from the Virtual Trust trucks).
When a truck event is nearby, an unmistakable truck icon appears on the minimap to let you know.
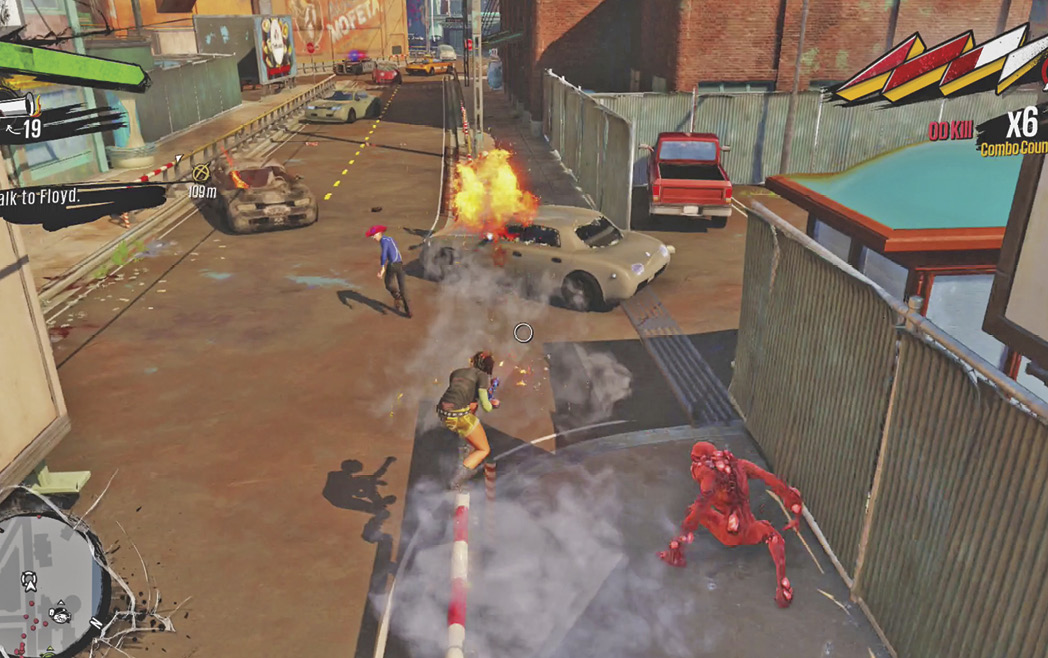
You’ll also sometimes find OD chasing down a panicked, unmutated citizen. Once you attack the OD chasing them, the person will cower in terror, waiting for the end. If you clear out all the OD nearby while protecting the survivor, they’ll give you a Cash reward for saving their life.
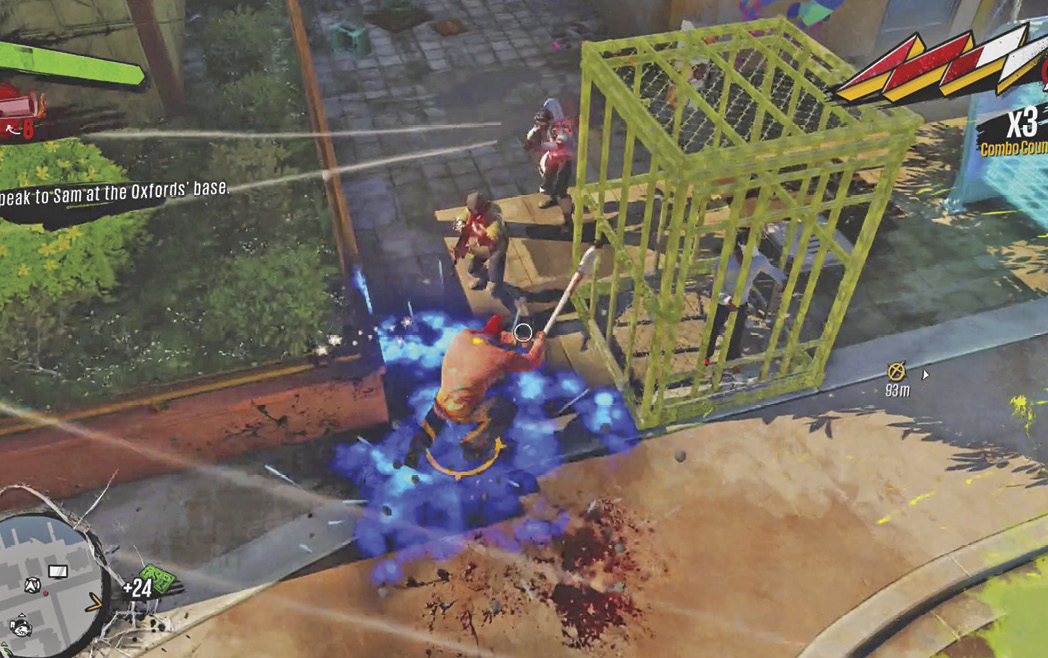
Scabs keep stranded survivors alive and caged. Whether this is just to extort the prisoner or to safeguard potential “long pork” if the Fizzco quarantine lasts too much longer, who knows? If you come upon a survivor penned up, eliminate the Scab guards to free the prisoner.
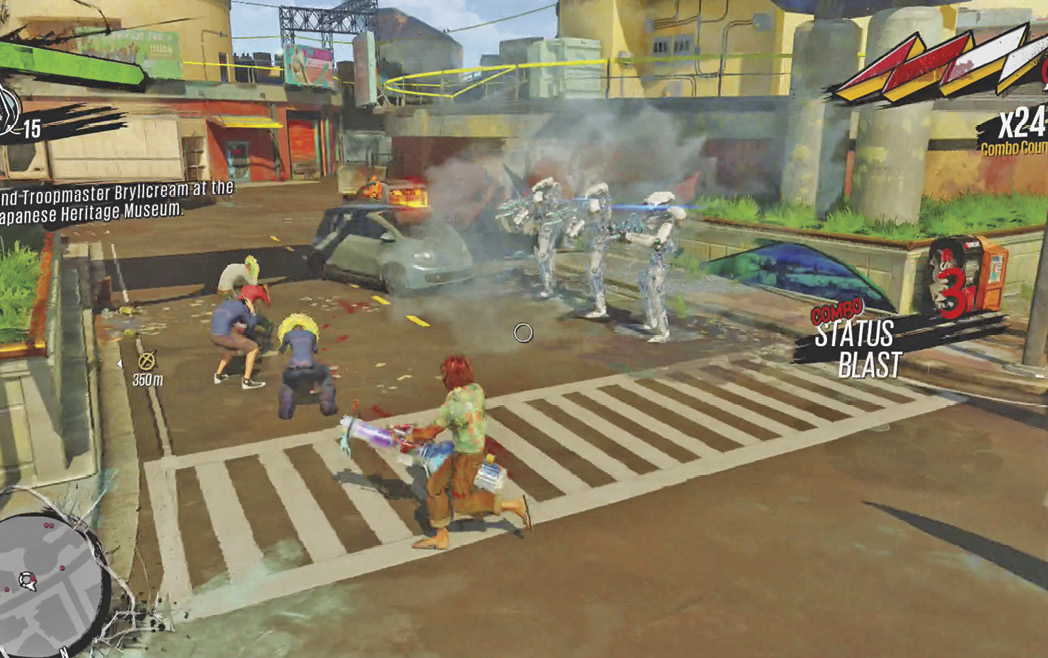
Fizzco Bots are even more ruthless than mindless, ravenous OD and outlaw Scabs. They’re willing to kill survivors to keep the truth about Fizzco from spreading beyond the city. If you happen upon a Fizzco firing squad, intervene and terminate the robots before the execution to save several citizens at once.