
Sunset Overdrive Official Strategy Guide Chaos Squad
Preparation & Customization
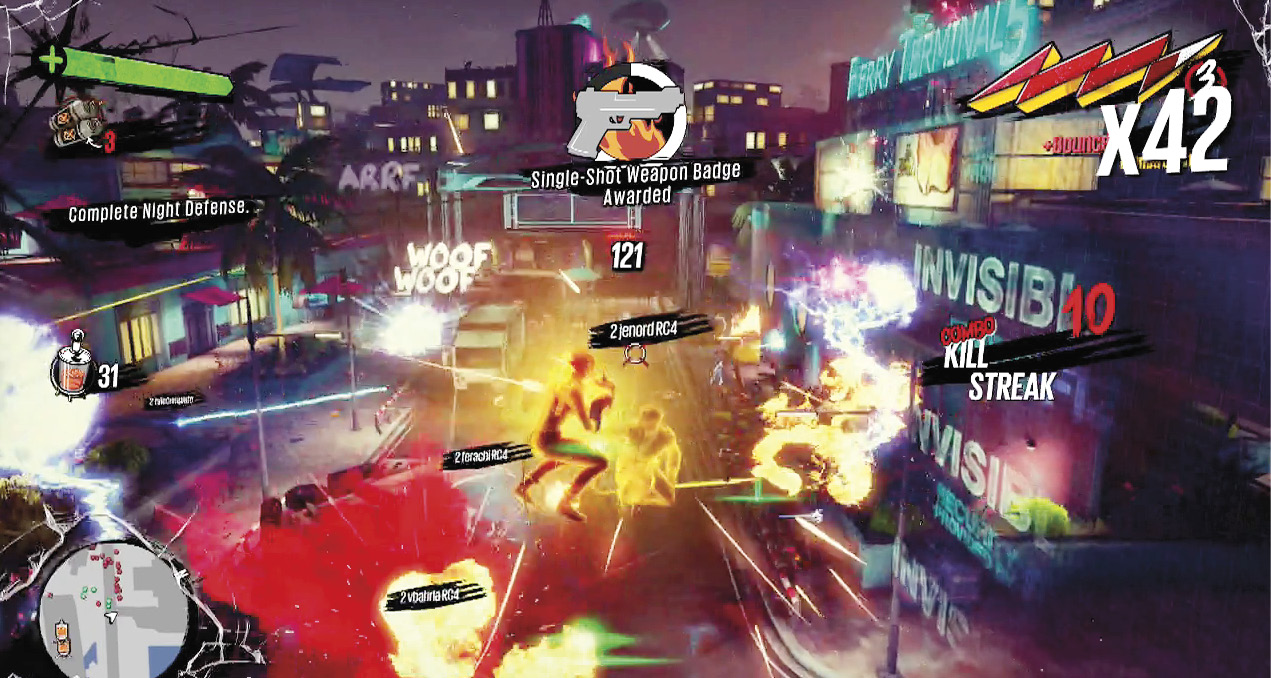
The first missions in Chaos Squad are much the same as challenges from the main game. You can be sent against Scabs, OD, or Fizzco robots; you may end up on defense, collecting points, or on a campaign of all-out destruction.
You can succeed here with virtually any character build you’re comfortable with, although it will never hurt to tweak your performance. For example, if you’re going to the Fizzco HQ, you probably want to assign anti-robot guns to your Weapon Wheel and swap over to Overdrives that target Fizzco.
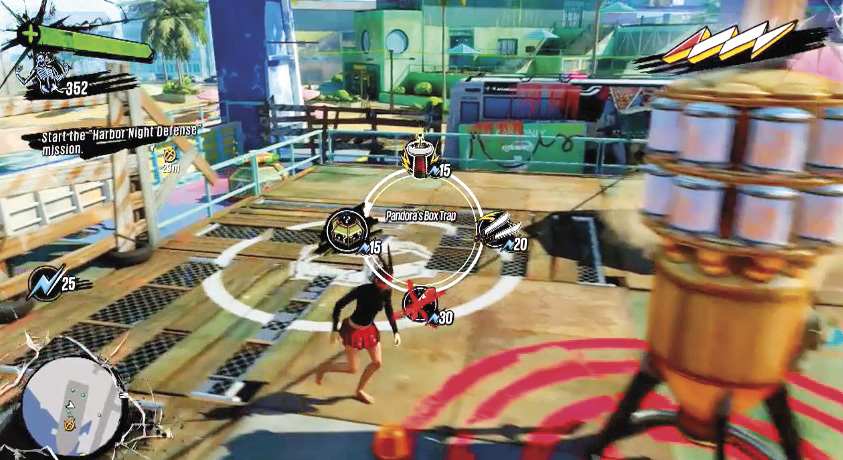
The final stage in Chaos Squad is a night defense mission, based in Floyd’s hideout in the district. Each player receives their own Trap Grid Power to spend on placing Traps, and you can adjust your Amps, Overdrives, and Weapon Wheel at any point during the Night Defense. A Fizzco-brand Invisible Wall(tm) prevents you from going more than a block or so away from the base.
Since night defense missions are all OD, all the time, focus on weapons, Amps, and Overdrives that work well against them. Incendiaries are always a good pick, as are area-denial deployables like Pulse Mines and Acid Sprinklers.
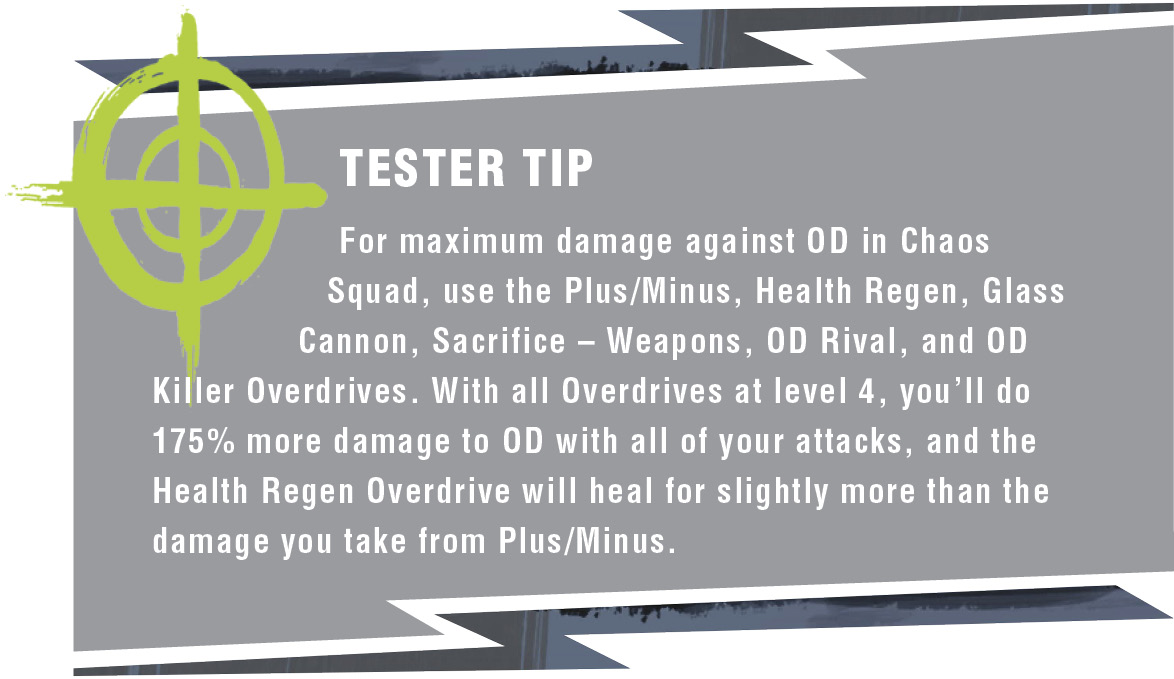
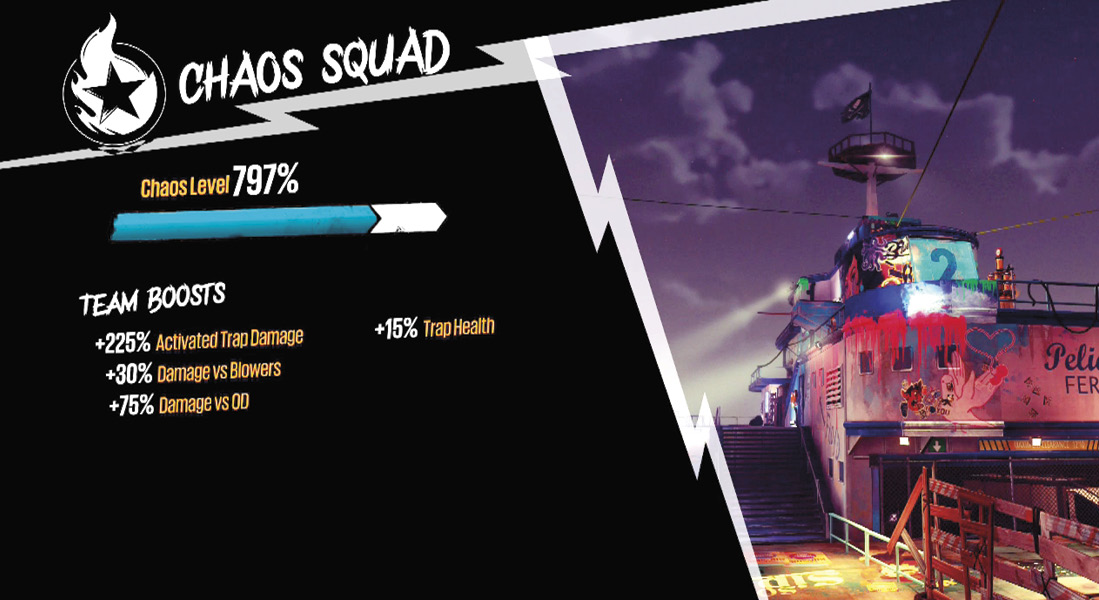
The difference comes in when you take your Chaos level into account. The Chaos you’ve earned over the course of previous missions is applied directly to the OD’s health as a multiplier. The amount of Chaos per mission varies by the area of the city you’re playing in, with the Old Factory District offering the least and Downtown offering the most. In Downtown, if you succeed at all five missions, it’s not hard to have 1,000% Chaos or higher.
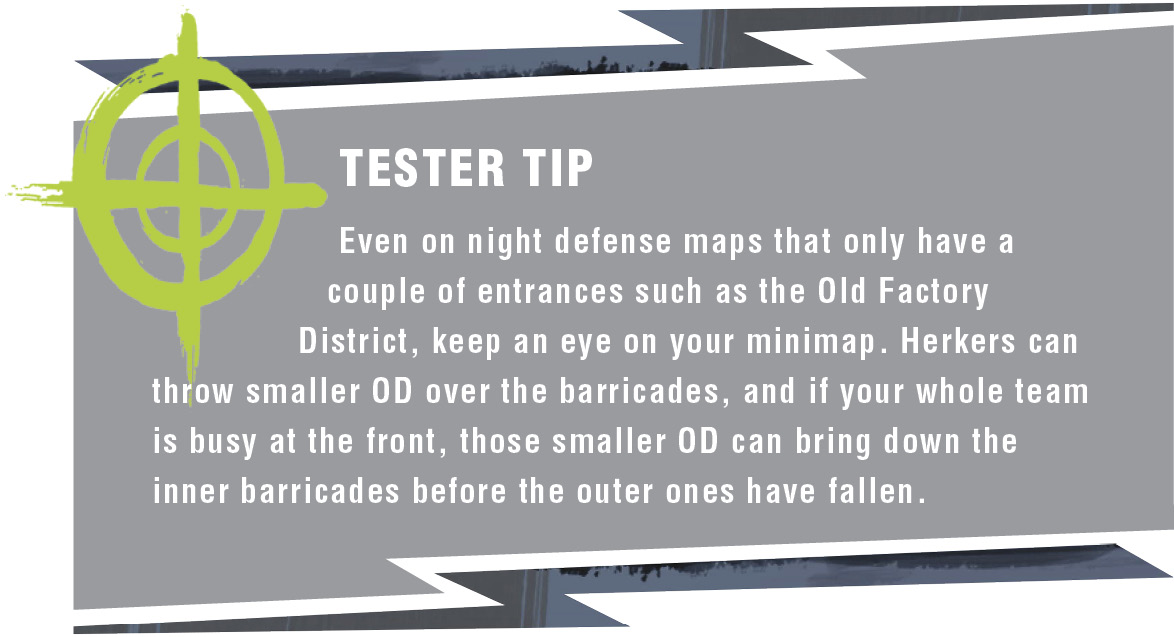
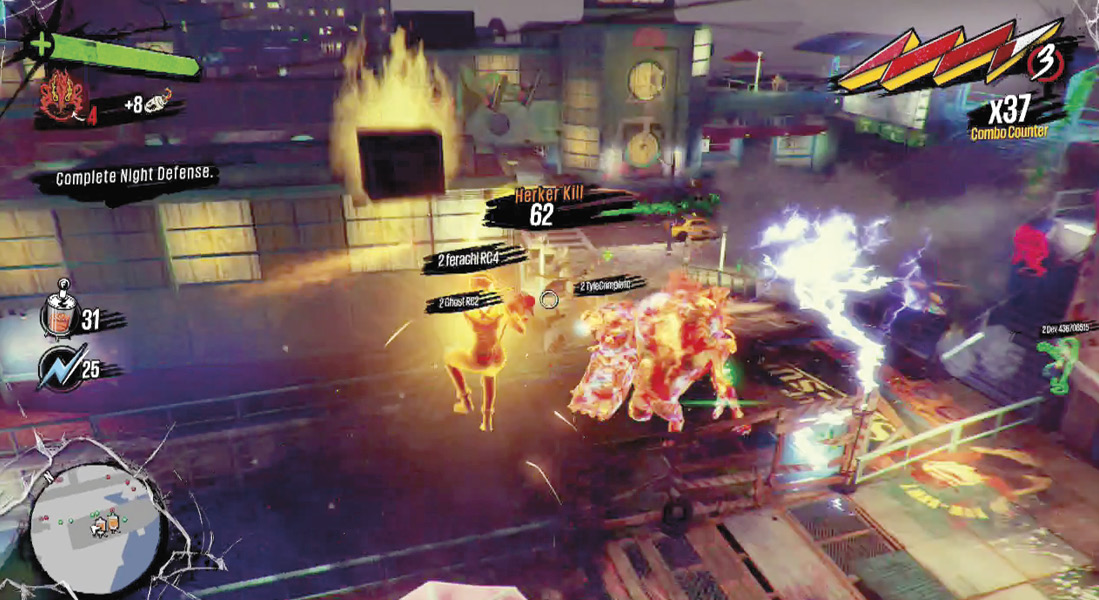
In Chaos Squad night defense, crowd control becomes just as important as raw damage. Herkers are nearly unstoppable, Wingers can set your whole base on fire, and trap/weapon combinations that racked up an immense kill count in single-player will now only slow the horde down.
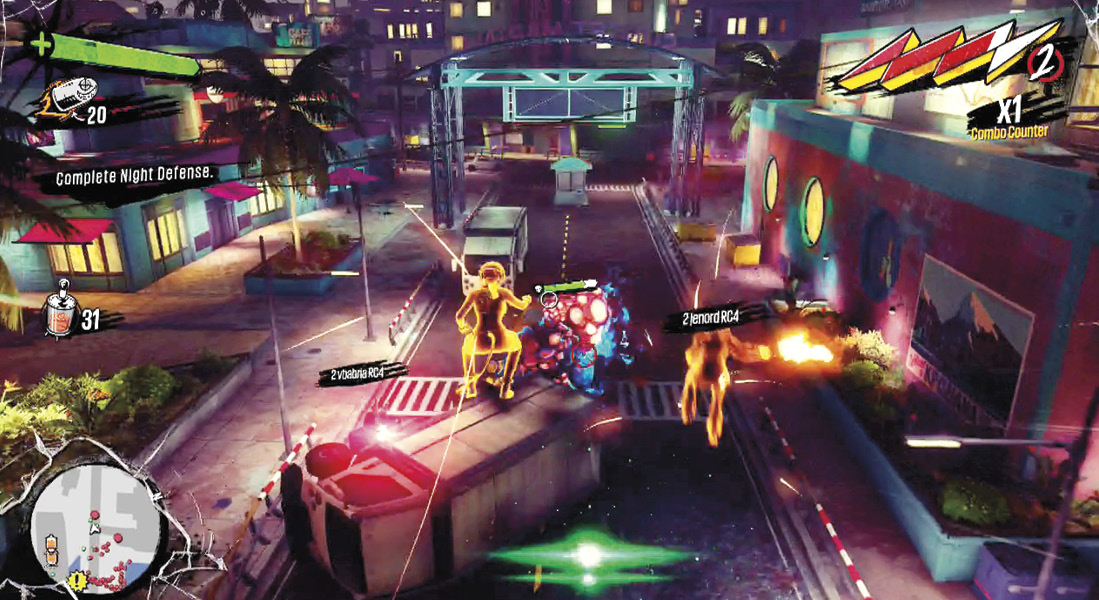
A group of eight players focusing fire, using deployables (especially Turret Copters), and using the right Traps will still devastate an army of OD, no matter their Chaos level. Teamwork, communication, and smart tactics will get you far, but running off on your own will often get you killed.
At the same time, it’s important to adjust your priorities. Since enemies are so comparatively fragile in the single-player campaign, you may have found yourself moving away from weapons, Traps, and Amps that do anything other than raw damage.
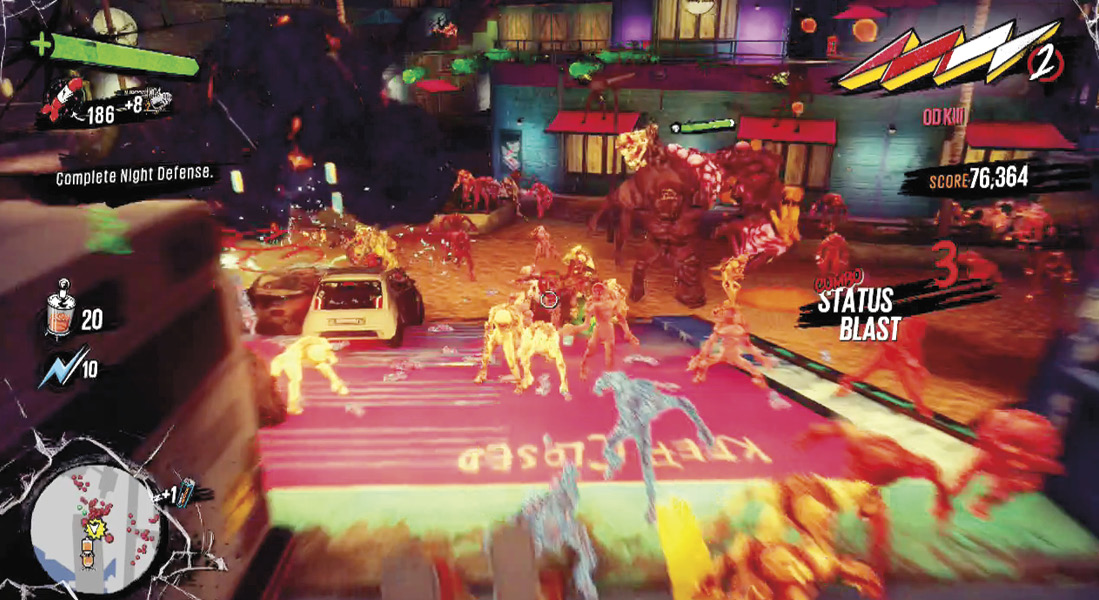
In Chaos Squad, where everything’s much harder to kill, crowd-control abilities like freezes and area-of-effect stuns come back into their own. You can’t simply throw explosives into a crowd and hope for the best, or at least can’t do so as efficiently as you could in the single-player game.
For example, the Hair Spray Bomb makes the TNTeddy virtually obsolete in single-player, since it delivers more damage with a wider area of effect. In Chaos Squad, the TNTeddy is just as good if not better, since it front-loads more of its damage and stuns anything that survives the blast. The High Fidelity, Amped with Stun Rounds, or a high-level Shocker can be used to hold back dozens of OD at once.
For Traps, Señor Freeze is amazing, since it can lock down and stun entire crowds of OD that would otherwise be difficult to kill, and Pandora’s Box is potentially the highest-DPS trap. At higher Chaos levels, the gnome lynch mob or Boo-Boo may not instantly kill everything they touch the way they do in the main game, but they’ll take a good chunk off of whatever they run into.
One fun trick on certain stages, particularly Downtown, is to use Fling Boards in strategic locations to punt OD off the map. This won’t kill them, but it forces them to waste time moving back into position and takes them out of the fight for a few crucial seconds.
Damage-over-time effects are also valuable, as their DPS is often higher than direct-damage weapons. Upgraded Acid Sprinklers in particular are devastating if placed near spawn points or barricades.
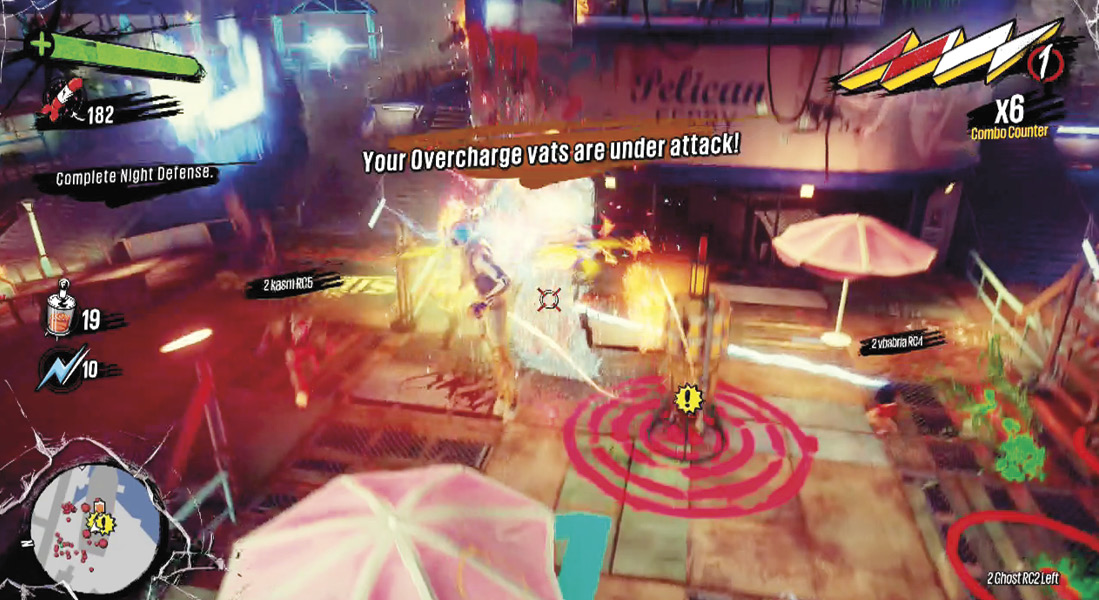
While it’s tempting to target and destroy larger enemies as quickly as possible, it’s important to remember that only baseline, run-of-the-mill OD can steal Overcharge from your vats. Herkers and other big OD can get into the same area as the vats but won’t do anything else once they’re there. As such, in Chaos Squad, Herkers and Muggers are just a dangerous distraction.
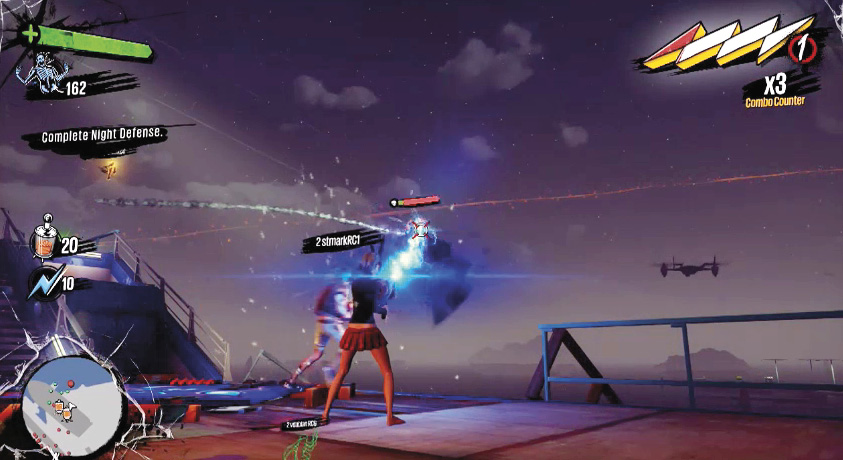
Wingers, on the other hand, should be focused down if possible, before they use their fire beams to ignite every grind spot in the base. A couple of JYA Turrets near the back of the base can work wonders against them, but the best way to handle a Winger is to have several players group up and blow it out of the sky.