
Darksiders II Guide Walkthrough To Move a Mountain
The Nook
With their legendary Forge burning anew, the Makers have managed to fashion Death a special key—one that will be instrumental in combating Corruption in the Forge Lands. Now the Reaper must ride to a long-forgotten temple, where a mighty construct known as the Warden slumbers. Only this ancient being has the power to mend the ruined bridge to the Foundry, where an even greater construct is housed...
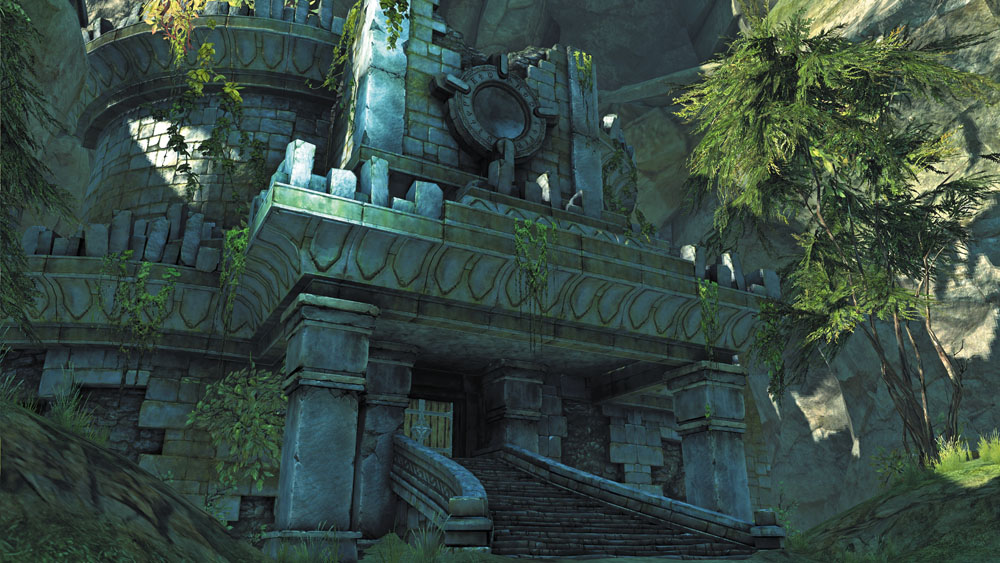
Use the fast travel option to quickly return to the Nook—Baneswood’s northeast ruin, which you previously visited while exploring Baneswood on your trek to the Cauldron.
The Nook
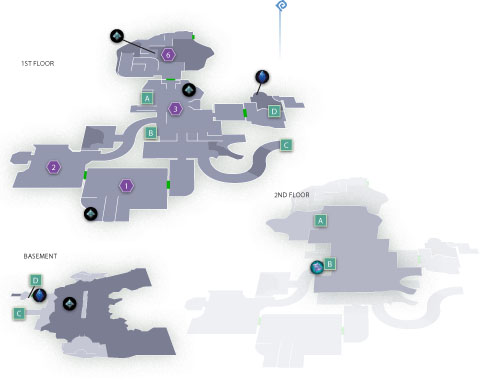
Area 1: Ruin Entry
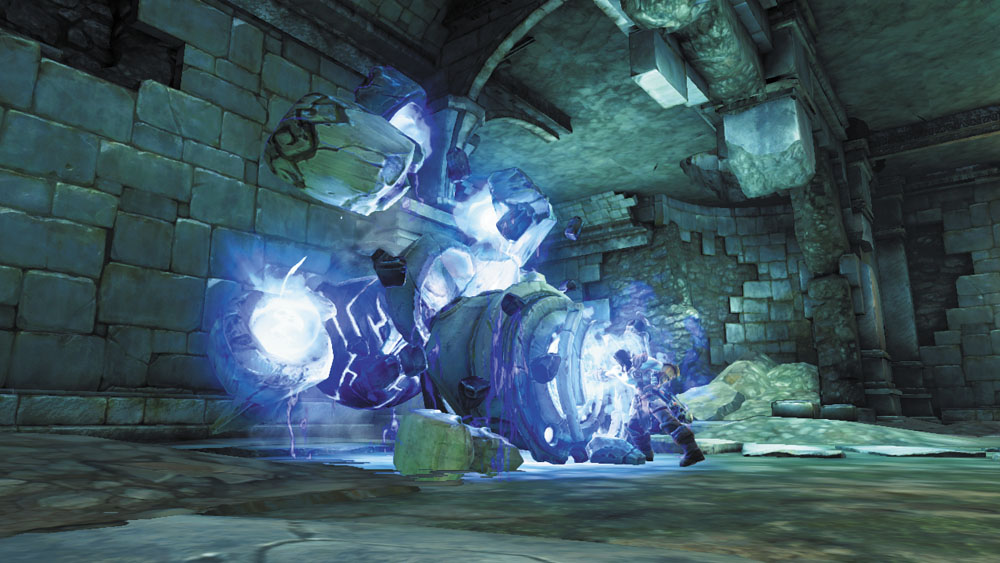
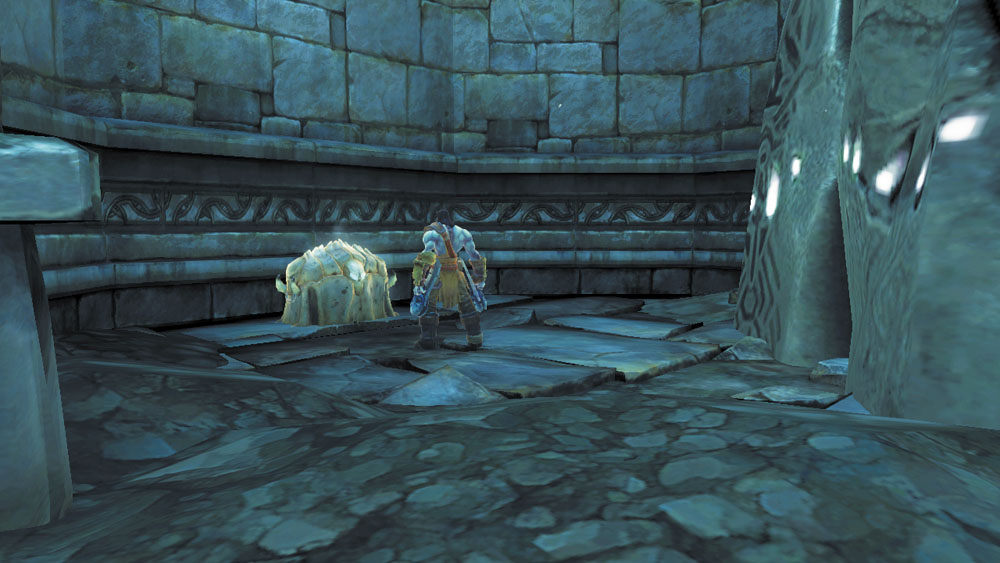
Approach the pile of glowing blue rubble in the ruin’s first room. Now that you possess the Makers’ Key, you can bring this curious heap to life by standing before it and pressing the Action button. The rubble begins to shudder and takes the form of a mighty stone construct known as a Maker Custodian.
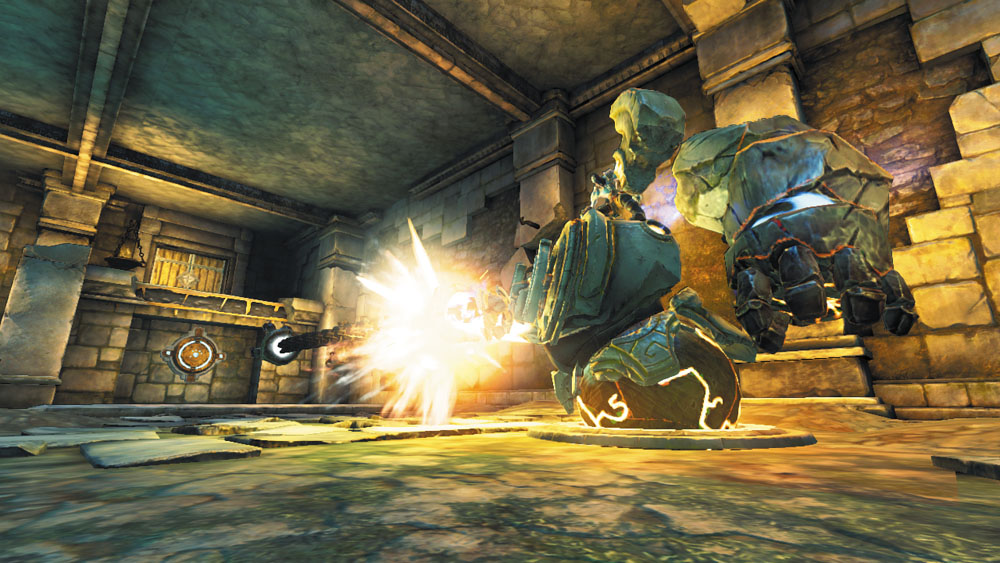
Death automatically mounts the Custodian, assuming control. Roll over the nearby indentation to fit the Custodian’s locomotive orb into it. The Custodian glows orange, and you automatically enter aiming mode. Press the Special Item trigger to launch a chain from the Custodian, latching onto the glowing target on the west wall.
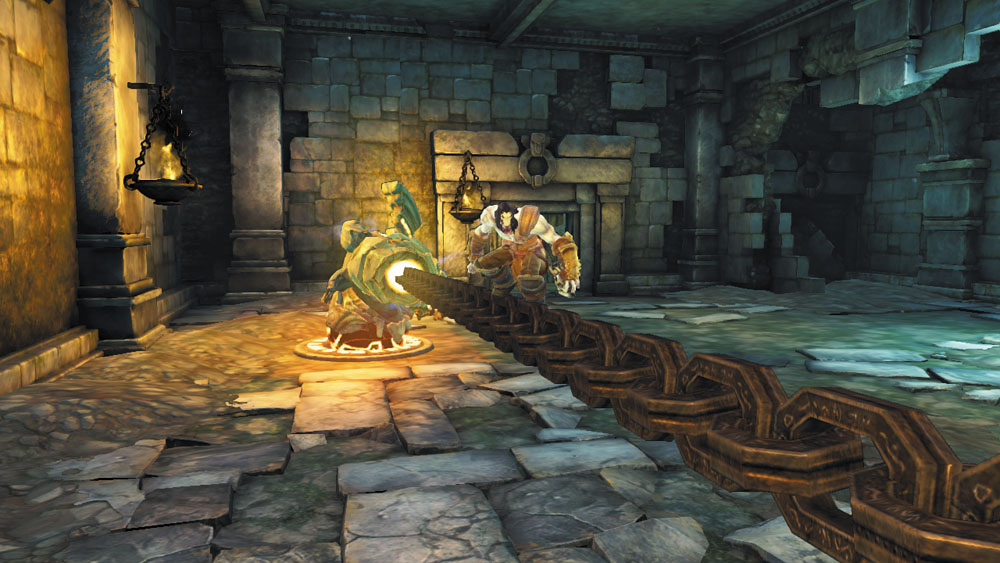
With the Custodian’s chain extended, press the Action button to dismount from the construct and step onto the chain. Cross the chain and climb the far ledge to reach the high west door, which you couldn’t have entered without the Custodian’s help.
Area 2: Upper Courtyard
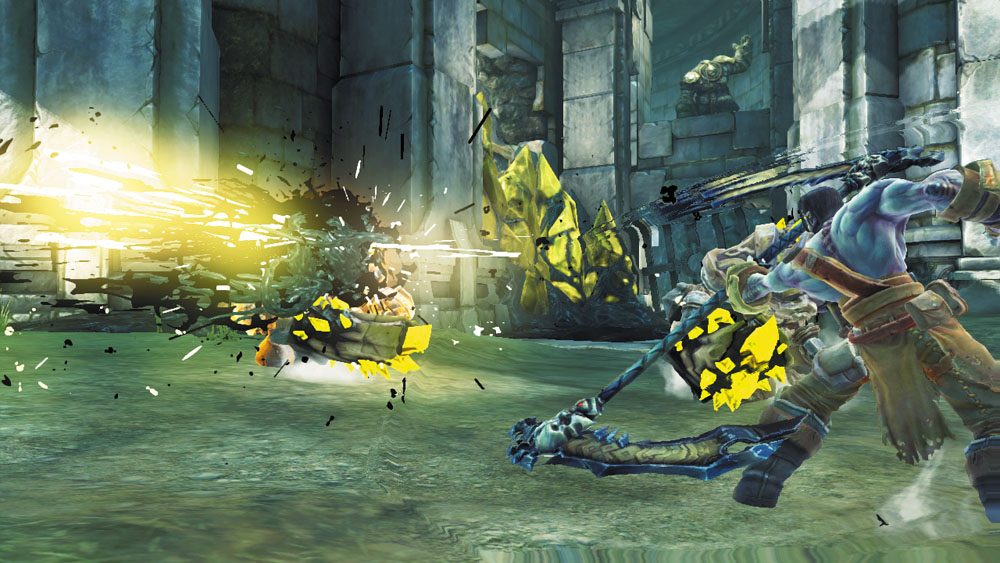
The door leads to an open area with a locked door and some yellow Corruption crystals. Lay waste to the Tainted Construct Warriors that ambush you here.
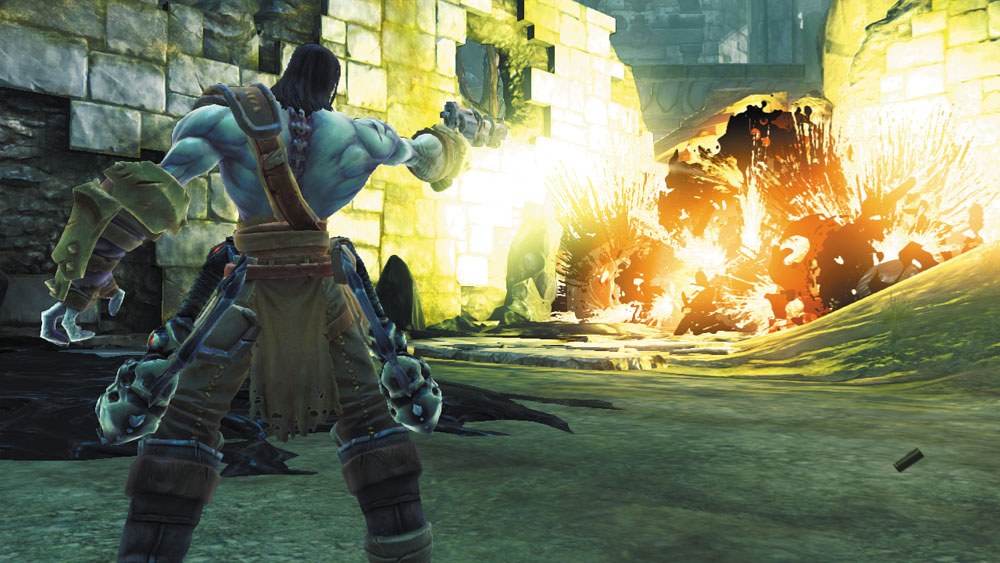
When the Warriors are no more, claim a Shadowbomb from the west alcove and use it to obliterate the Corruption crystals. Loot the chest that one patch of crystals was covering, and then scale the northeast wall to enter a room with no floor.
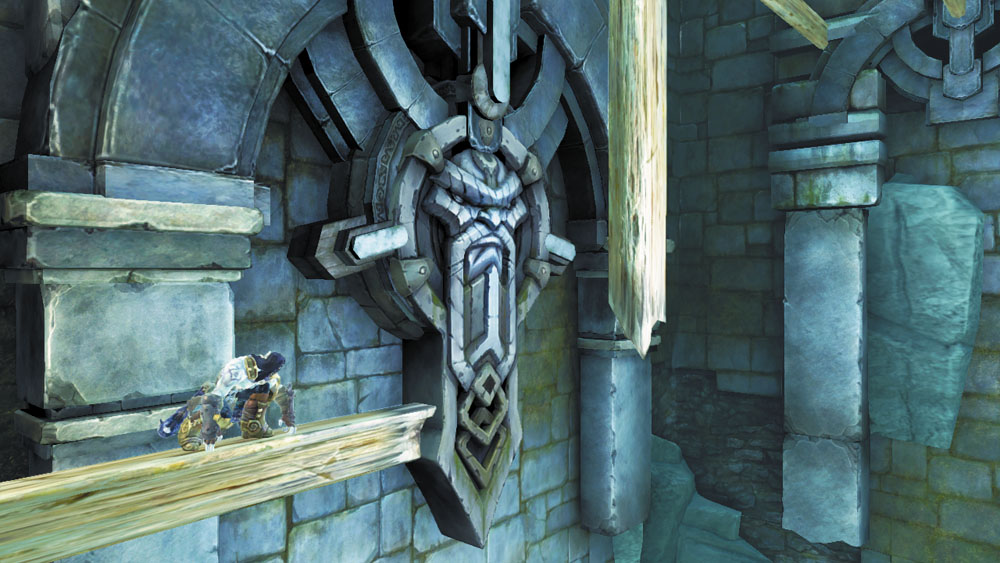
Cross a wooden beam, then leap out and grab the wooden post that hangs from the ceiling.
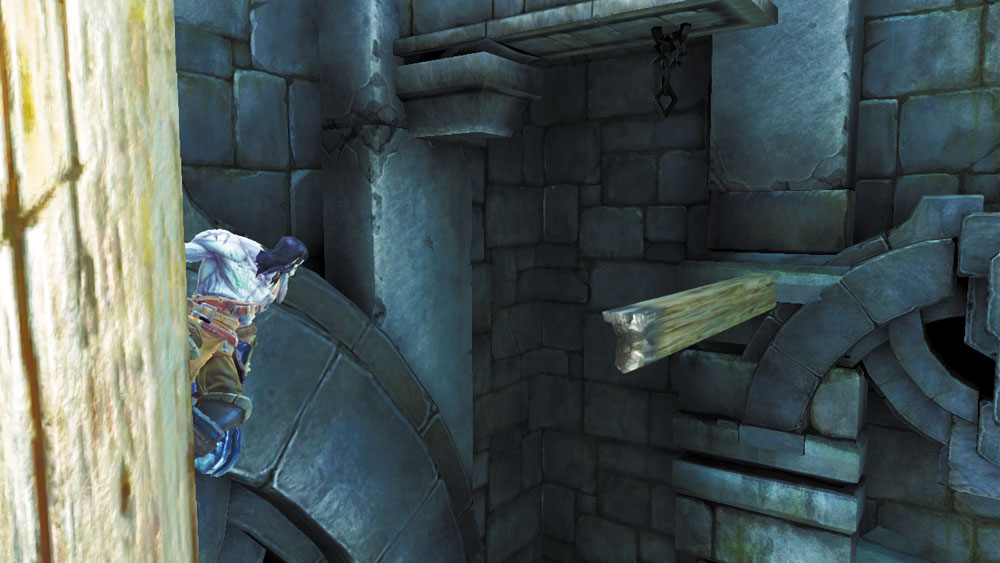
Circle around the post and perform a 180 leap to reach the row of beams to the north.
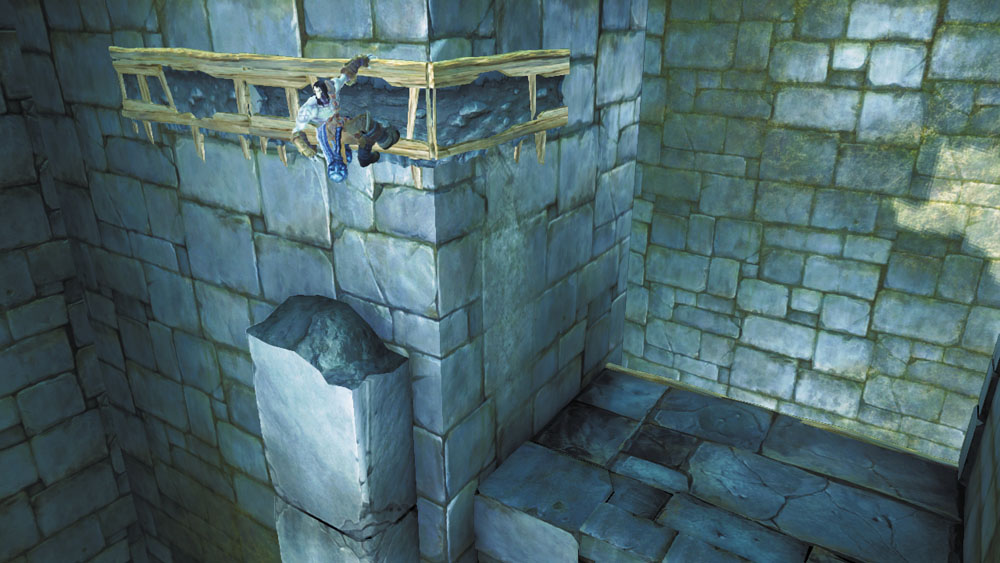
Cross the beams and leap from the final one to grab the east wall's hand holds. Shimmy round the corner and then drop down to solid ground.
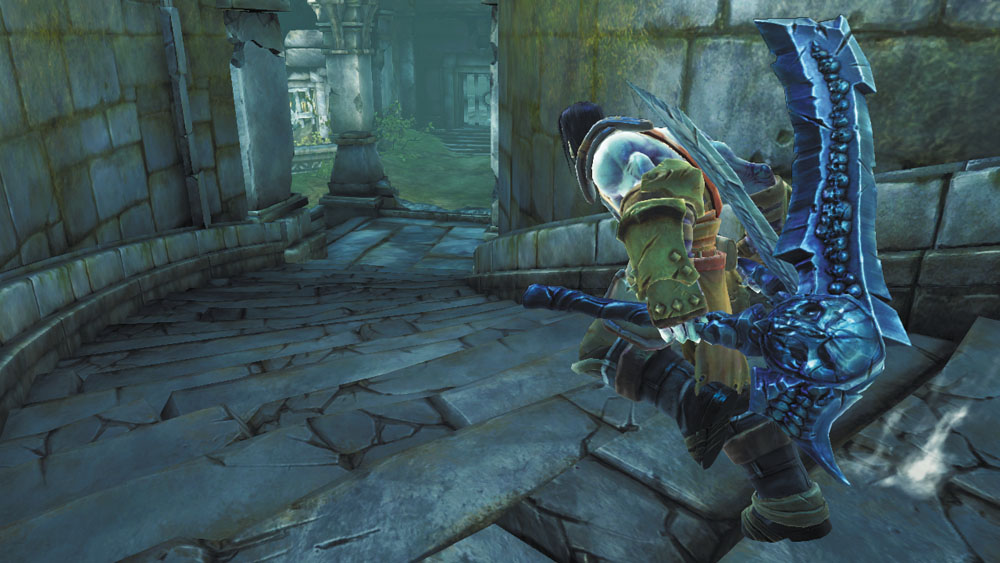
Descend the stairs that follow to reach the next area.
Area 3: Lower Courtyard
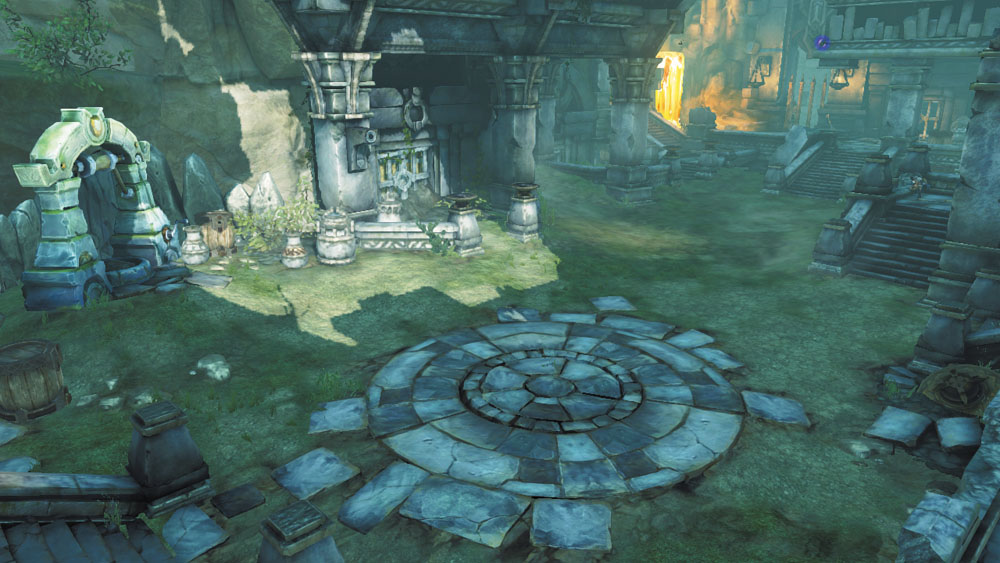
The stairs lead down to another courtyard and serve as just one of many access points to this tranquil site.
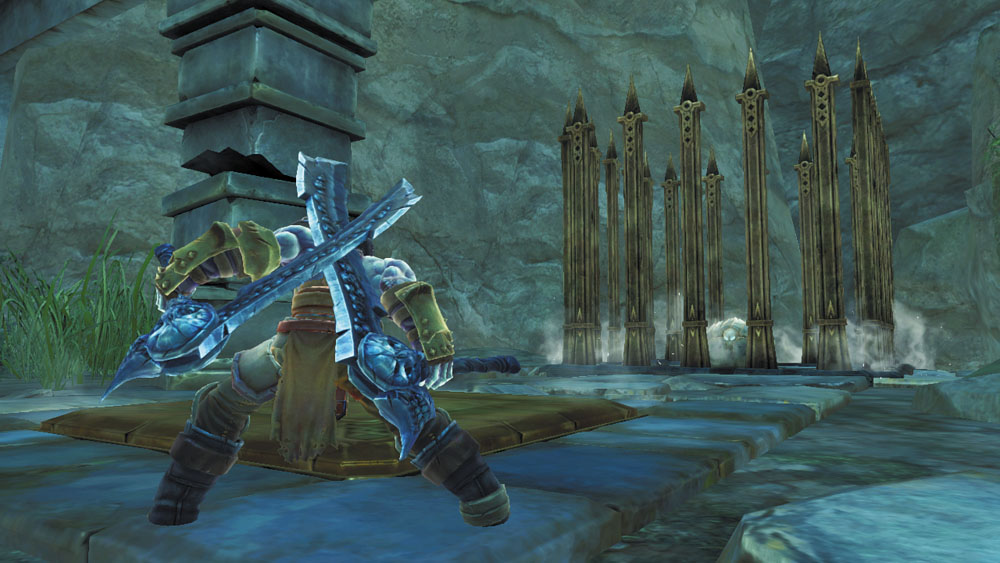
Make a thorough sweep for smashable debris. Collect the Boatman Coin that is hidden amongst the northeast clutter. Then, scale the west wall to reach a ledge with two chests, one of which requires a special ability to open that you do not yet possess.

|
Boatman Coin 26 |
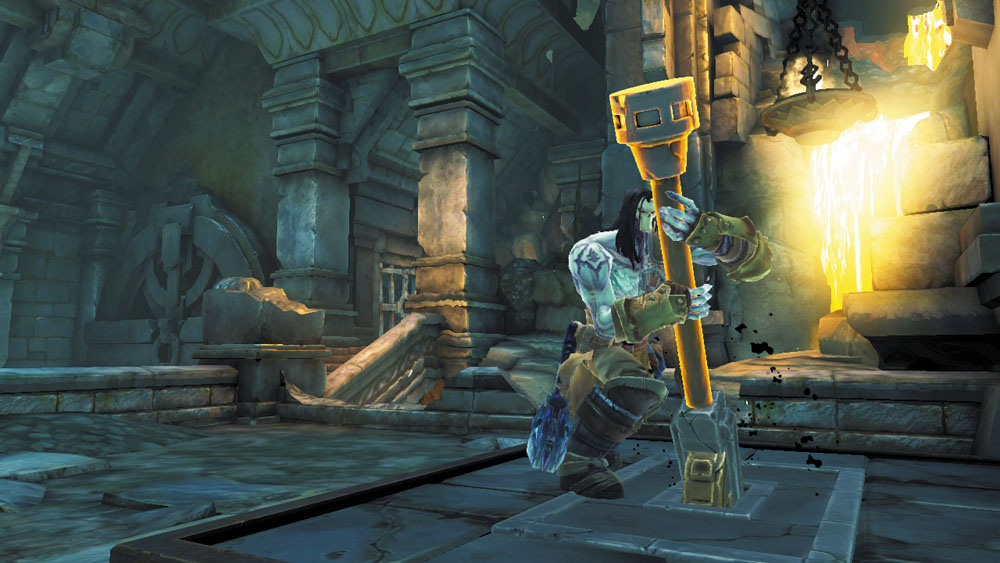
Drop down from the ledge and pull the south lever to lower the nearby gate and unbar the neighboring door. The stairs beyond the door lead up to the ruin’s entrance, while the broken stairwell beyond the gate leads down to an optional area where treasure can be found. It doesn’t take long to navigate the ruin’s basement, so take a moment to explore it. Wall-run along the broken stairwell’s right wall to bypass the lava pit.
Area 4: Lava Cavern
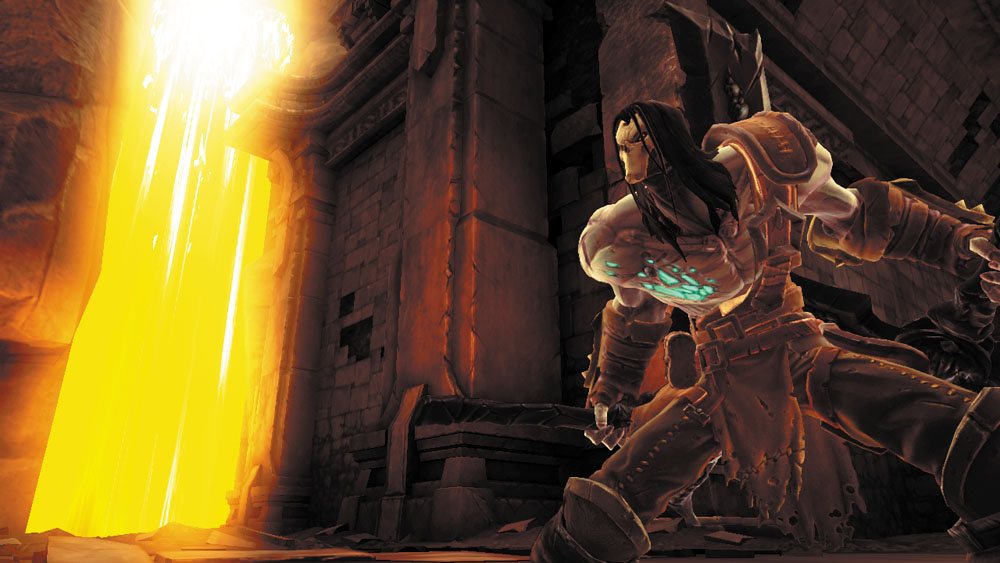
The heat is oppressive in this massive underground cavern. You can’t fully explore this broiling area without a special item you’ve yet to acquire, so simply run north and then west to locate the door to the next room.
Area 5: Elevator Chamber
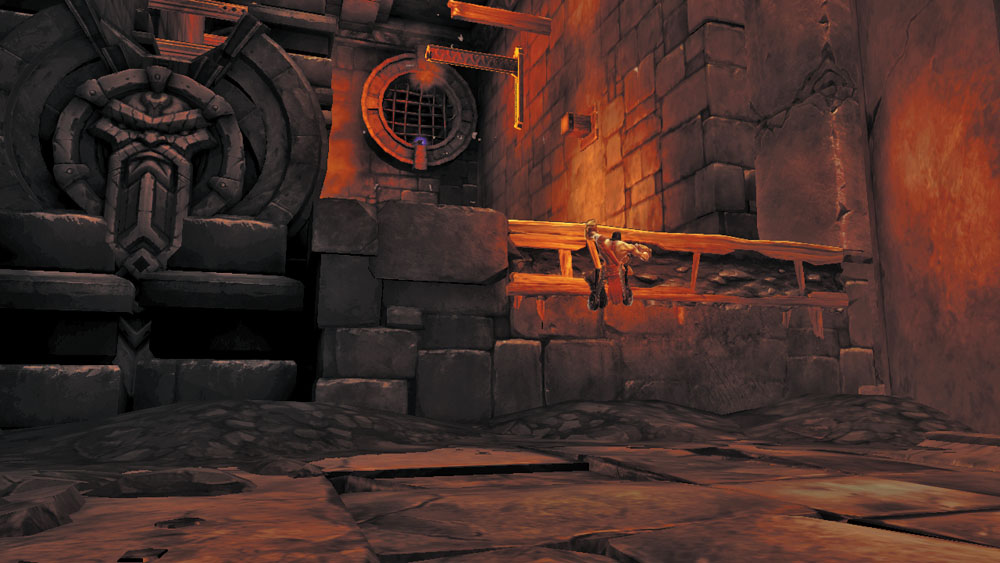
Cut straight across the tall room and climb the short east wall to approach a lava pit. Jump onto the nearby wooden beam.
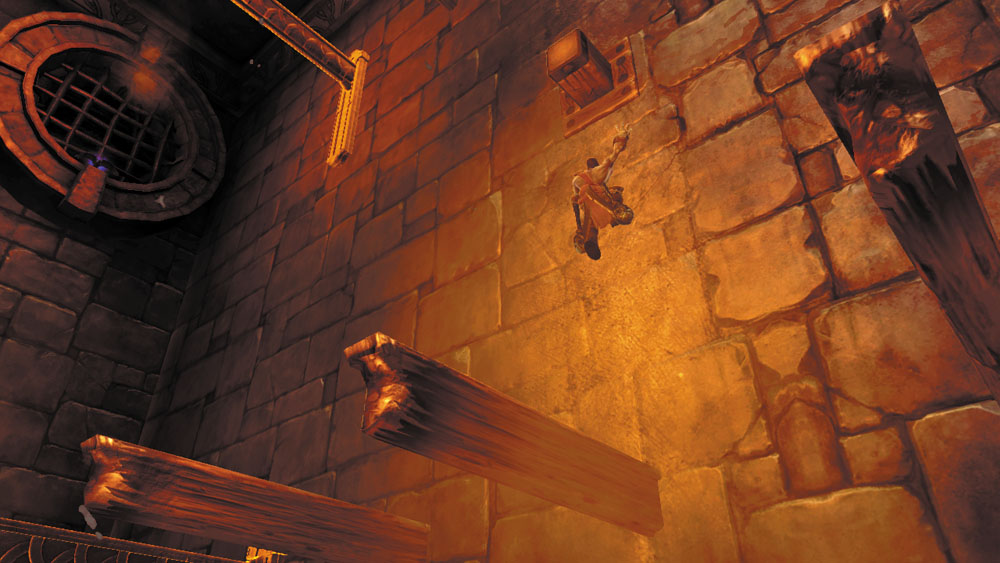
Leap to the second beam, then run up the north wall to reach a higher row of beams above.
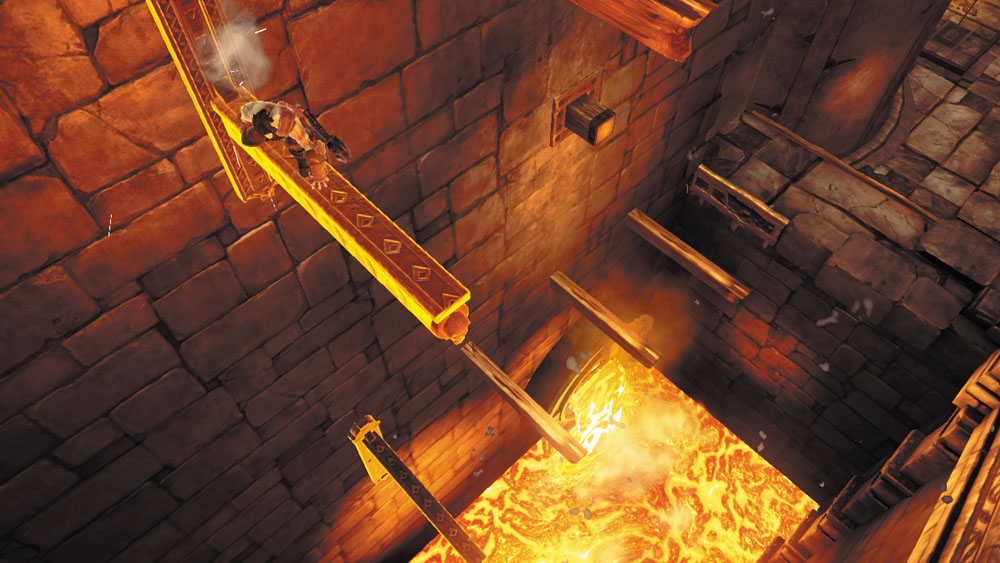
Skip across the high beams and wait on the final one. It turns out to be a lever that lowers under Death's weight. This lowers a gate to the south, causing an orb to roll partway down the ramp.
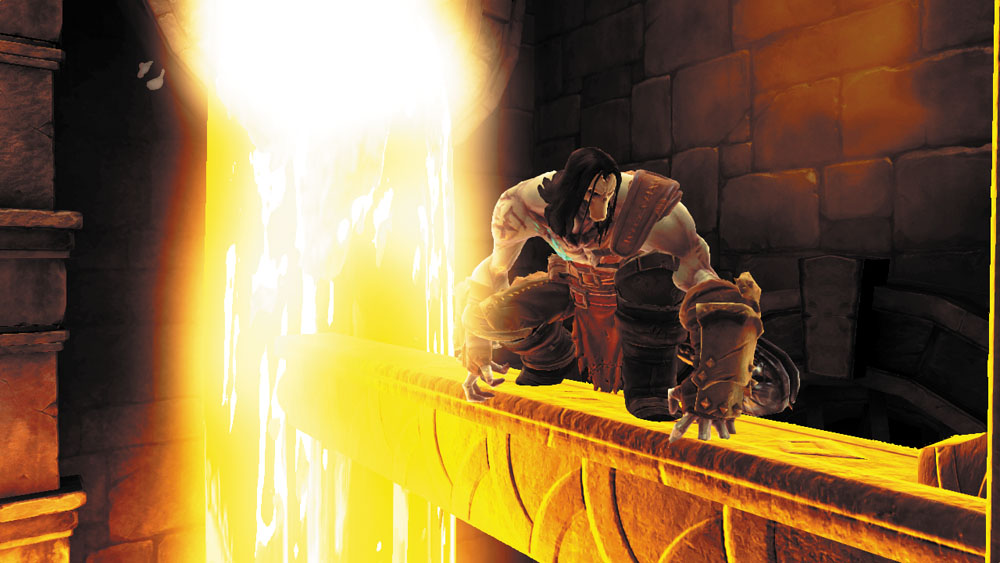
Drop down and cross the lower beams. Again, wait on the final beam until it lowers. This removes another obstacle, allowing the orb to roll all the way down the ramp.
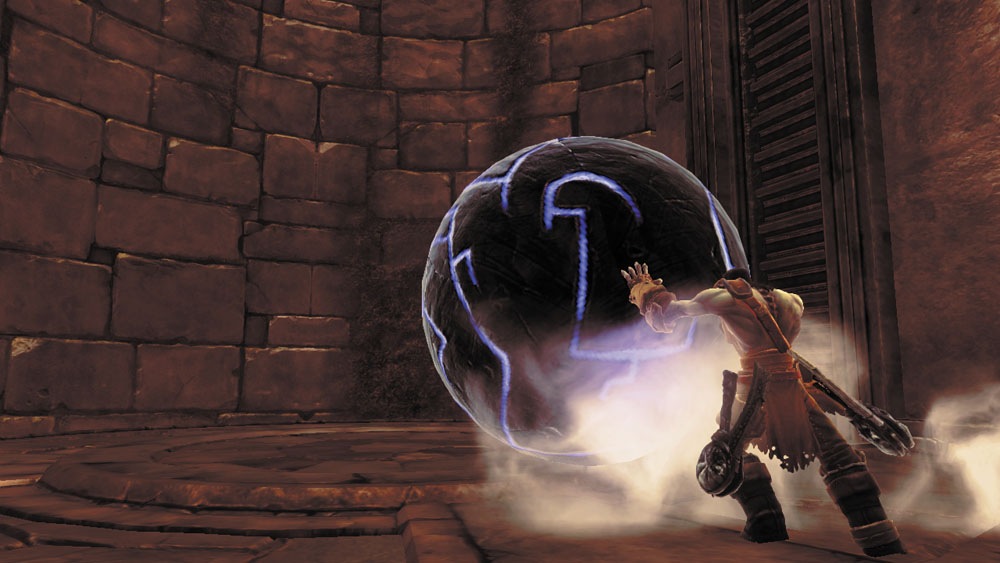
Leave the lava pit and pull a nearby lever to lower a tall stone elevator. With the elevator lowered, roll the orb onto it.
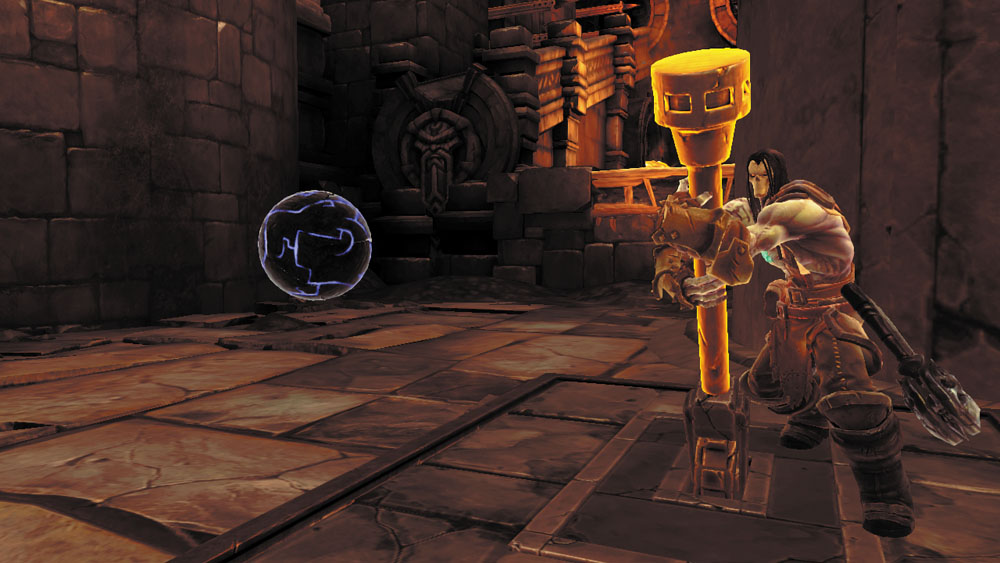
Now with the orb on the elevator, pull the lever once again. Quickly jump aboard as the elevator begins to rise.
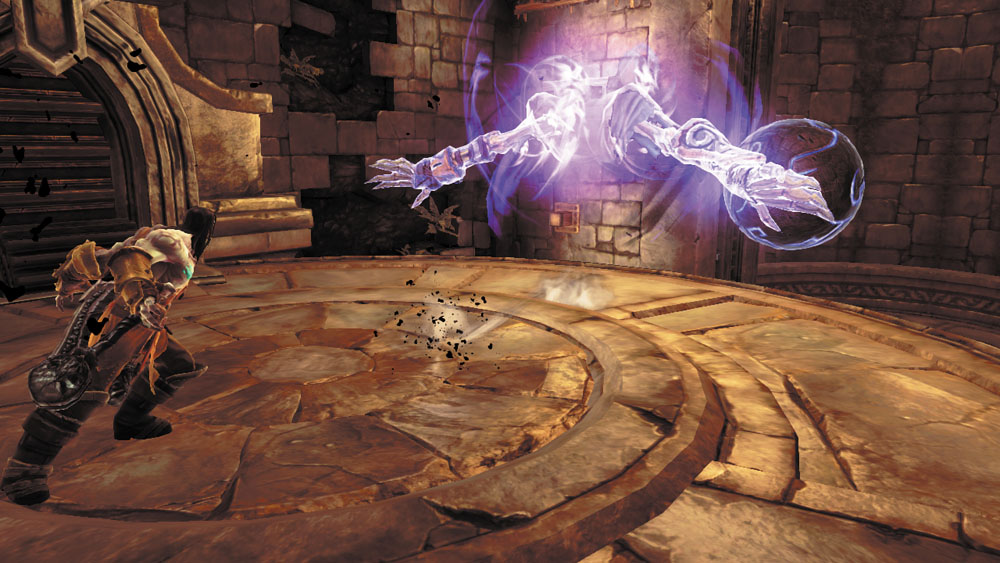
After the elevator reaches its full height, grab the orb and shove it to the south, onto the opposite elevator. Shoot the nearby Stonebite afterward.
|
Stone of Mystics 13 |
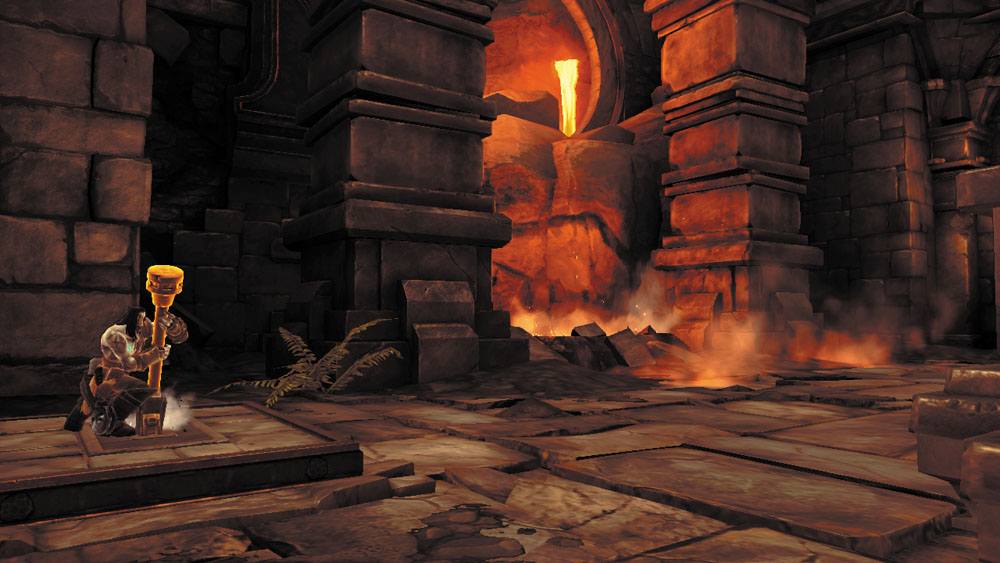
Drop and scale the south wall. Pull the lever above to raise the second elevator and deliver the orb to your level.
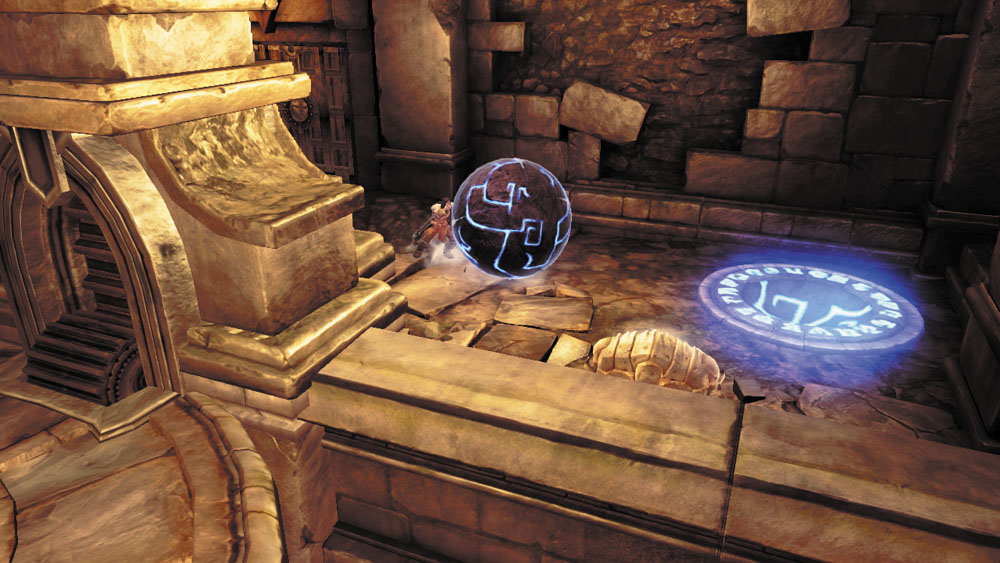
Roll the orb over to the nearby slot that opens the west door. Raid the chamber's chest and then continue through the open door.
Area 3, Revisited
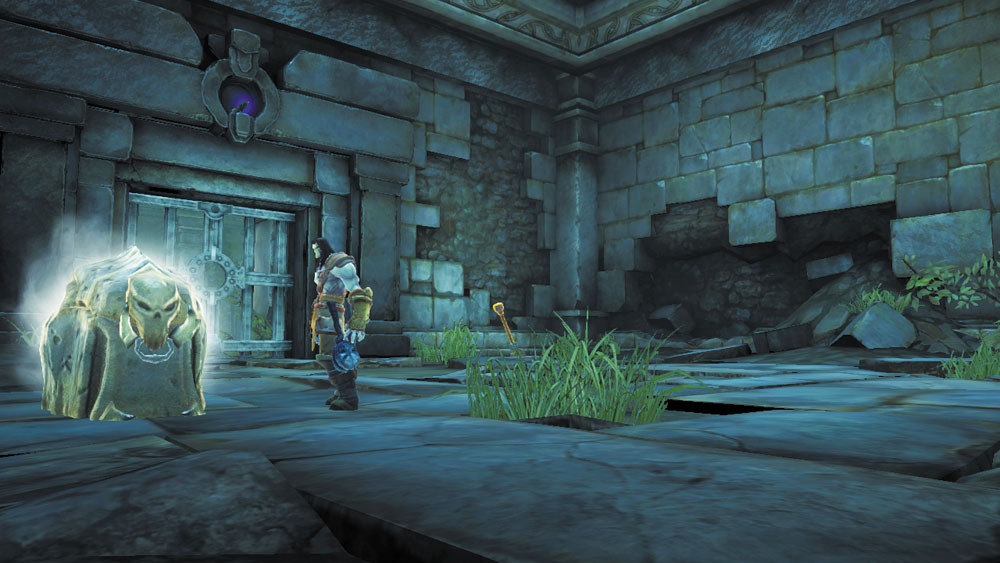
You emerge in a small chamber with a lever and chest. Loot the chest, and then pull the lever to open the nearby gate. Go through to find yourself back in the lower courtyard. Proceed through the north door to continue your journey toward your primary objective.
Area 6: Waterworks
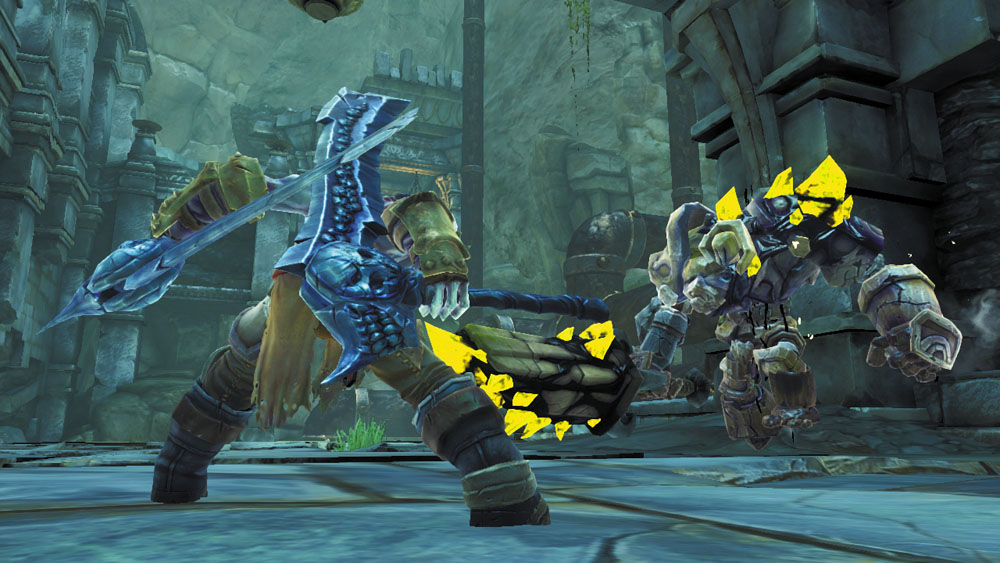
One might suspect that many secrets lie within the Nook’s last cavernous area, but there’s only one item of interest to be discovered here: an underwater Boatman Coin. Find this prize by following the submerged walkway to a small, flooded room, where the coin is found.
|
|
Boatman Coin 27 |
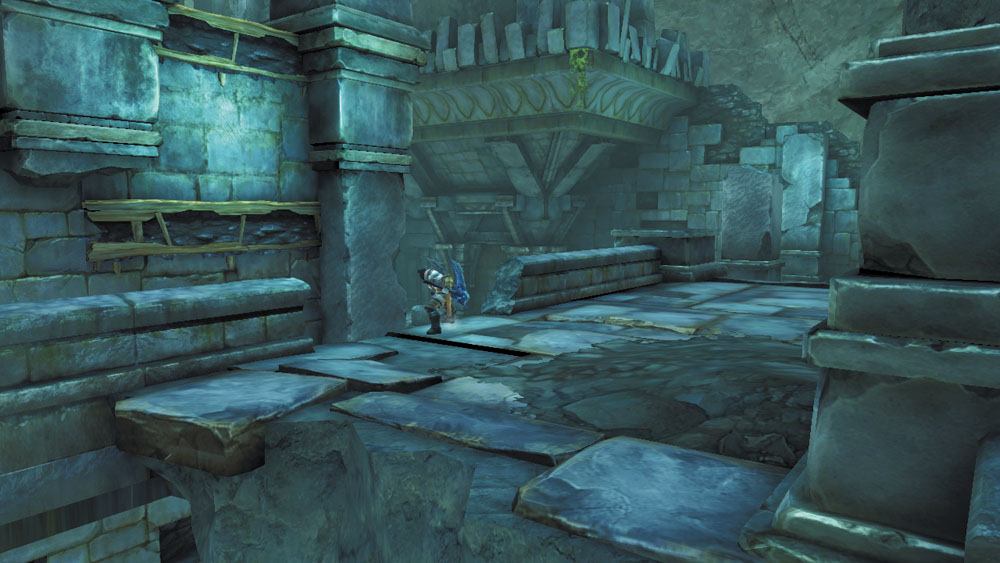
Ascend the west stairs and locate a wall with some hand holds. Jump over and climb up to a ledge.
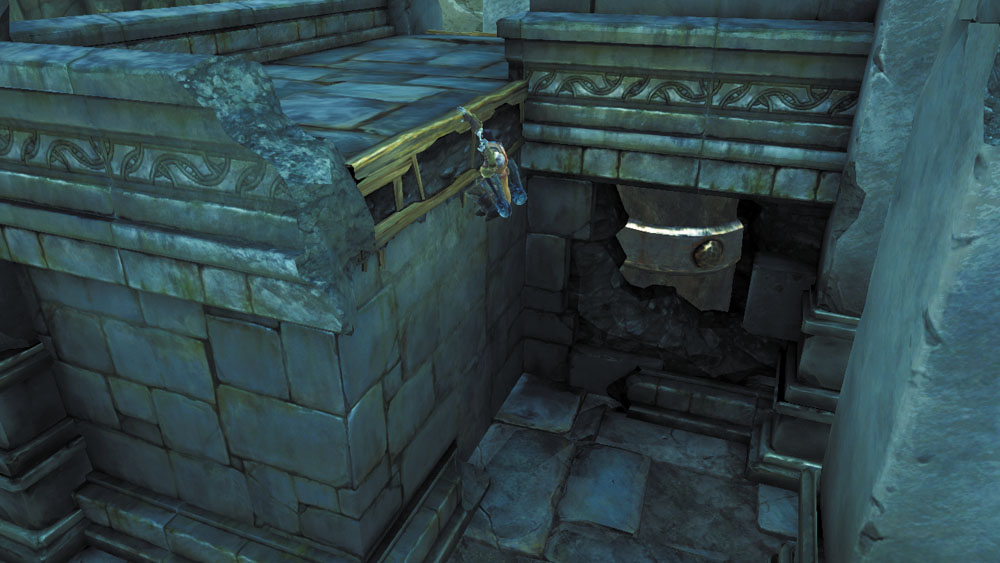
Turn left to spy another hand hold on the wall above. Use it to climb even higher.
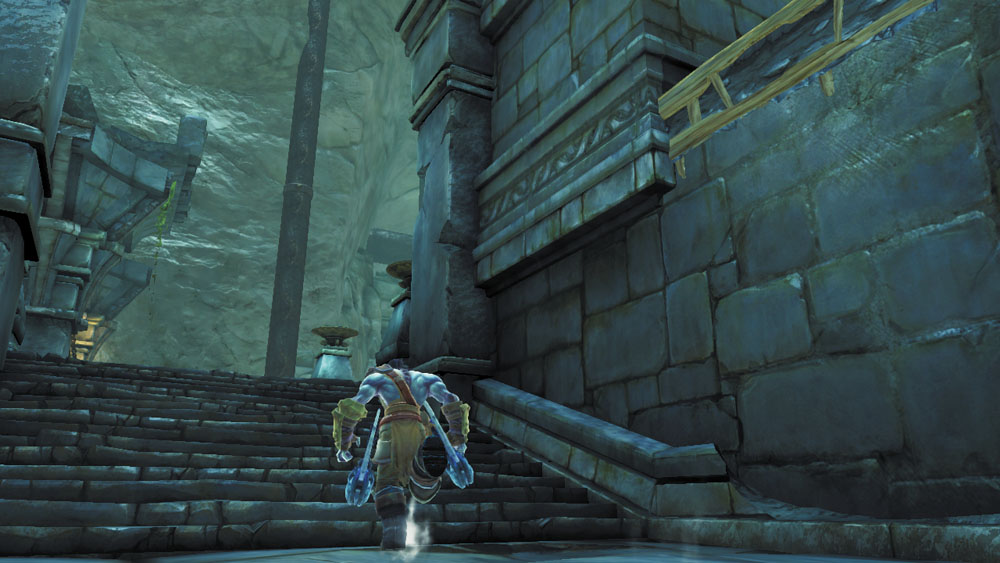
Drop down onto some stairs, and then follow the short path to a door leading out to fresh air.
Temple Path
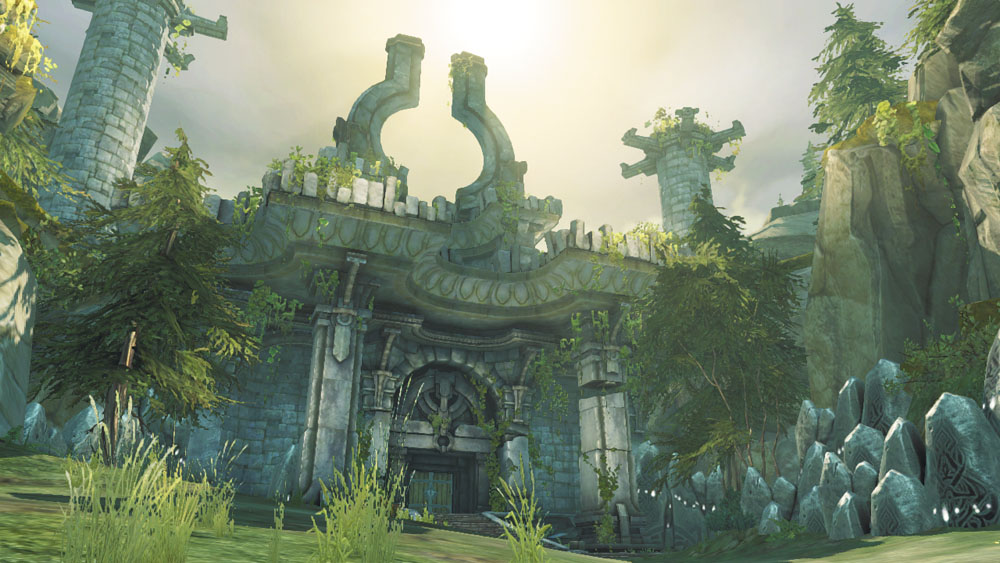
Beyond the ruin, a short trail leads to the door of a massive temple.
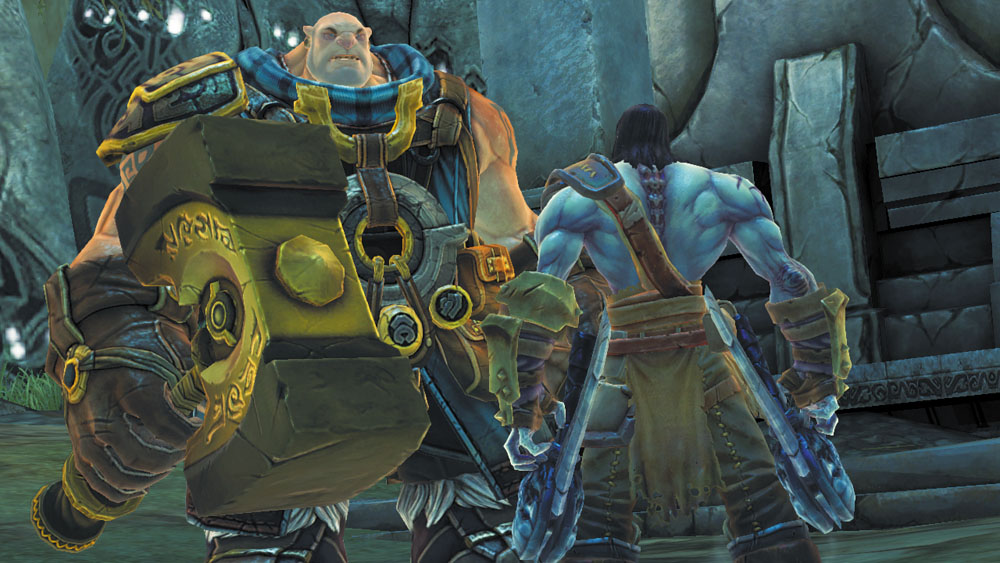
Karn awaits the Reaper outside the temple's door. Speak with the young Maker to advance Muria's side quest if you haven't already. Raid the chest that's tucked away to the left of the temple's stairs before heading inside.