
Darksiders II Guide Walkthrough Side Areas
The Shattered Forge
The Shattered Forge
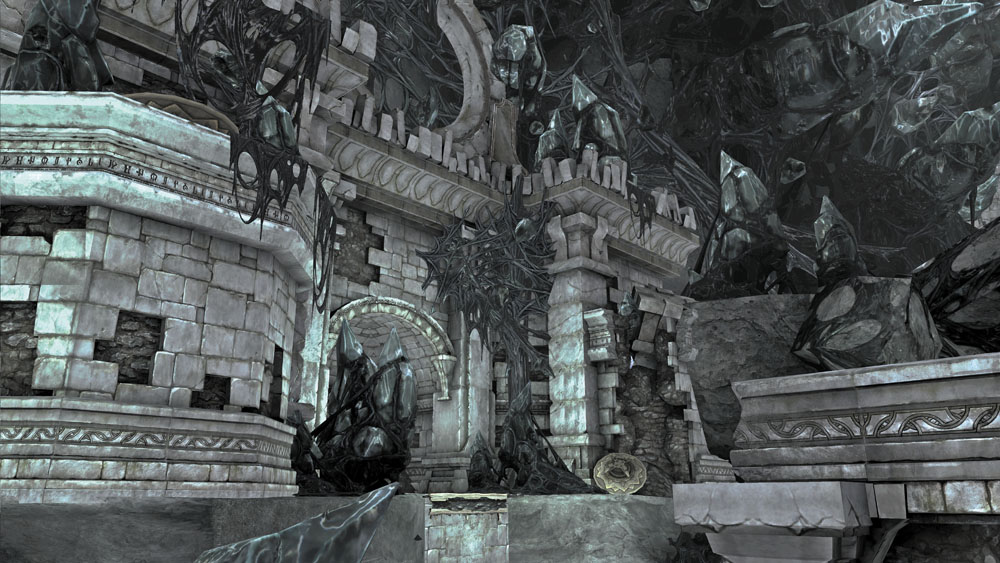
This crumbling worksite has been overrun by Corruption. Valus has lost a precious item here, and would be grateful to have it returned to him.
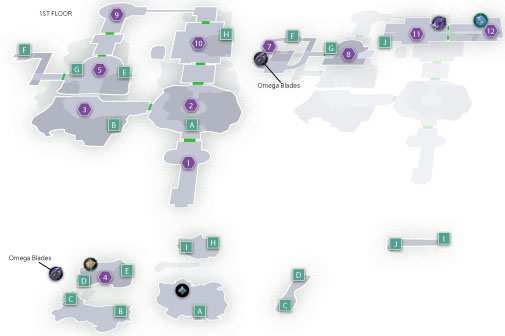
Area 1: Entry Stairs
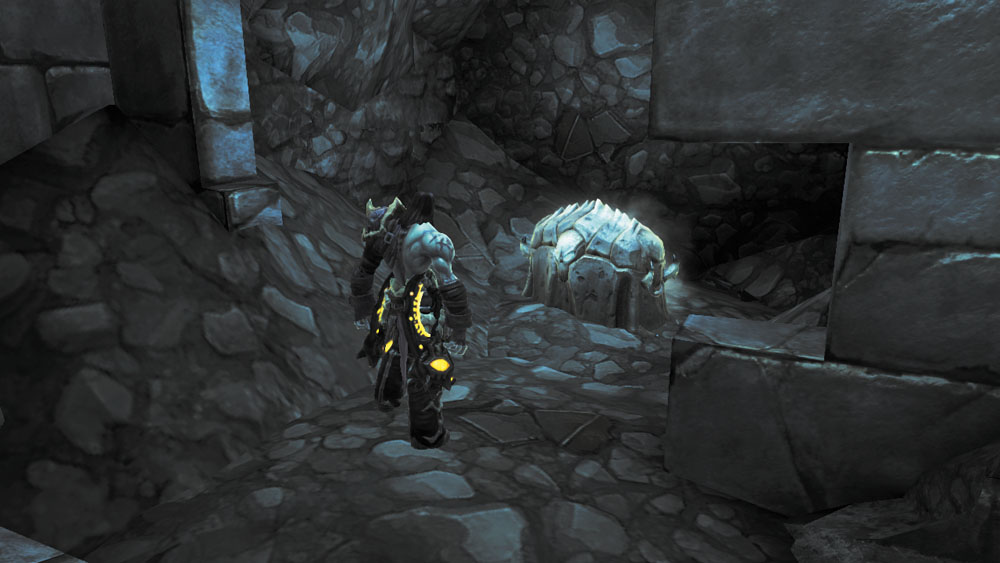
Turn around when you reach the bottom of the Forge’s entry stairs and search behind them to discover a hidden chest. Proceed through the north door after pocketing your plunder.
Area 2: Water Cavern I
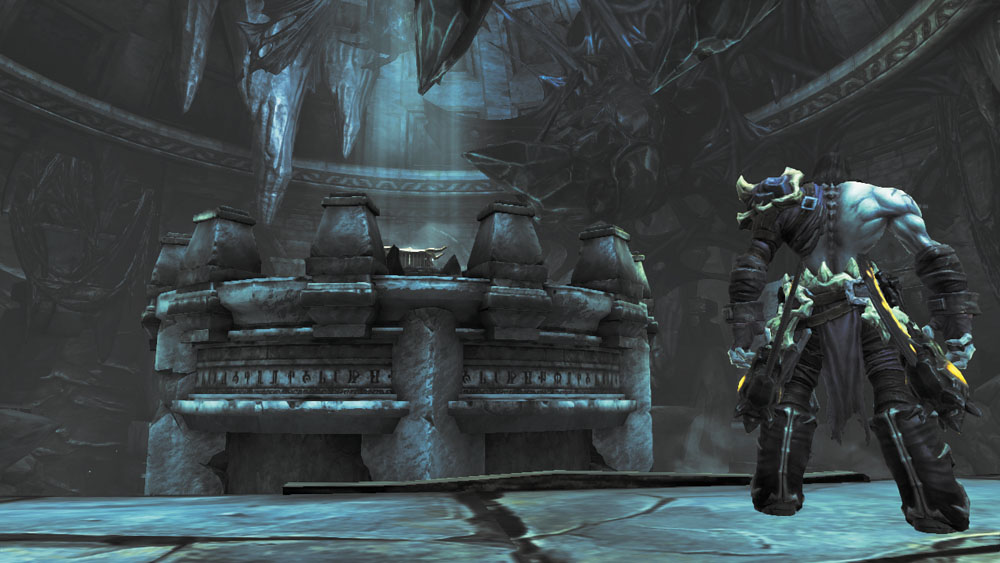
A central chest tantalizes Death when he enters this spacious cave, but there’s no obvious way to reach it. Plunge into the water, claim an underwater Boatman Coin, and then climb out and head through the west door.

|
Boatman Coin 25 |
Area 3: Water Cavern II
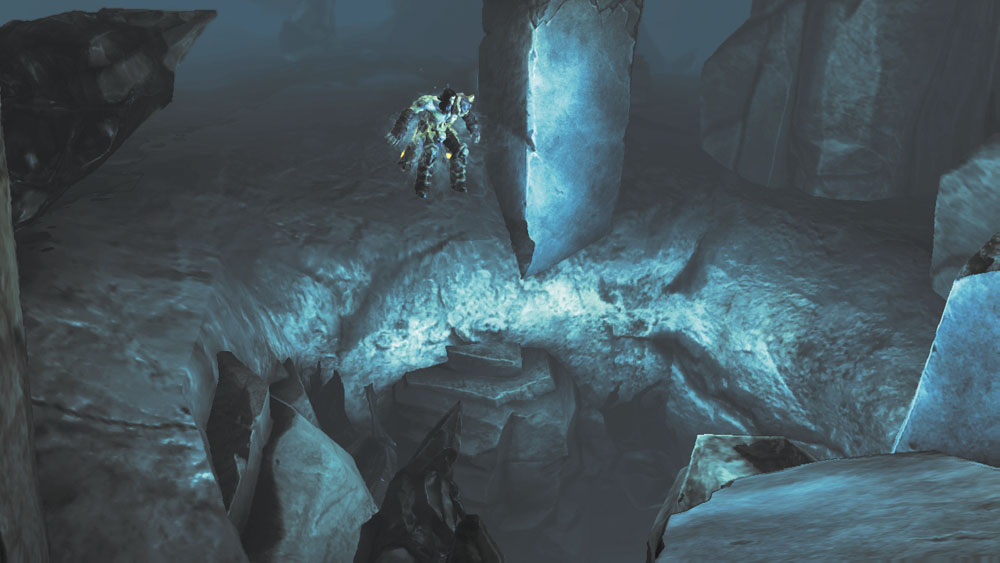
Drop down into the deep water in this cave, and then swim north and dive into an underwater hole. Continue swimming through the watery passage to reach the next area.
Area 4: Map Cavern
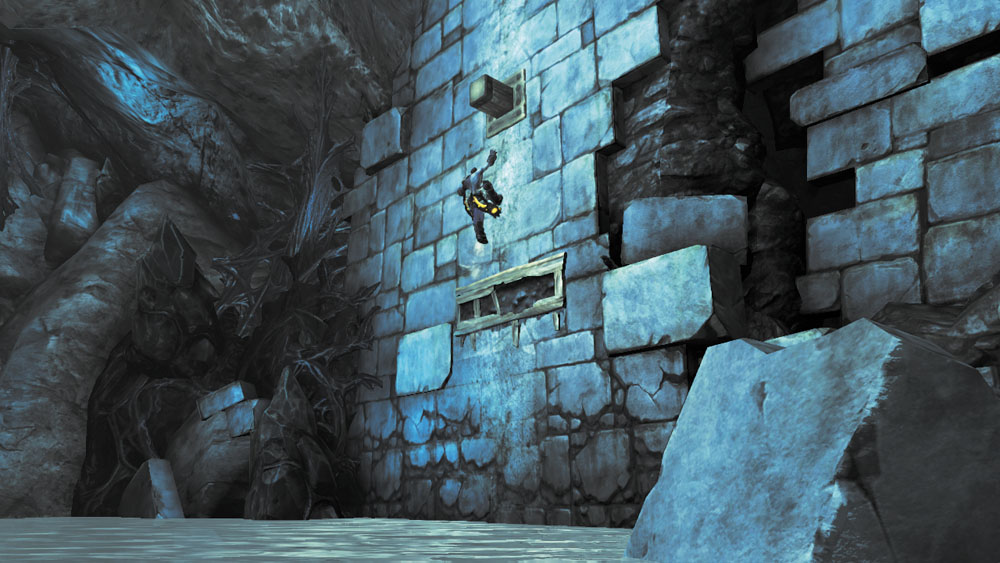
Surface in this cavern and crack open the ornate chest on the low ground to claim the Dungeon Map. Scale the east wall afterward to reach the area above.
|
Dungeon Map |
Area 5: Corruption Junction
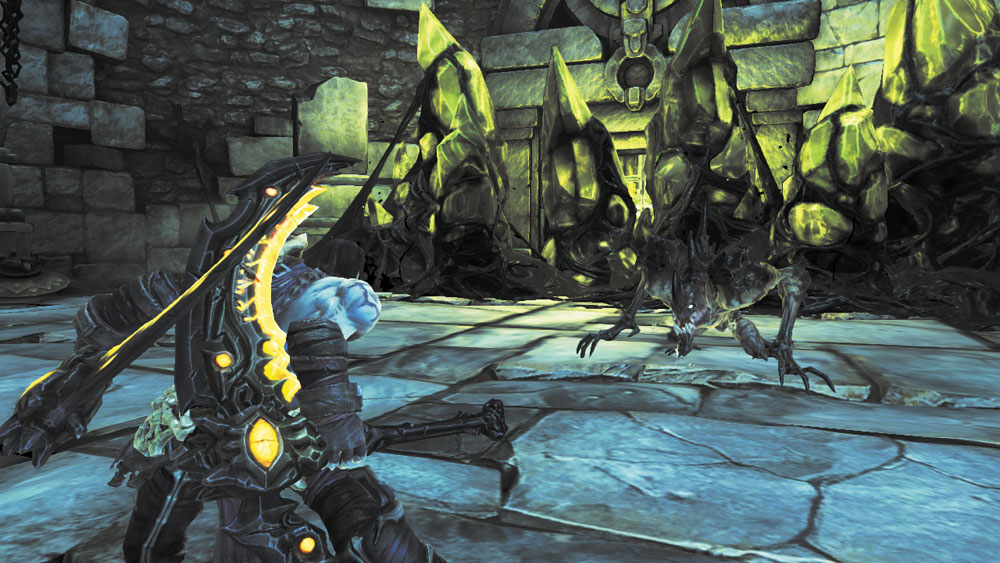
Eliminate the Savage Prowlers that ambush you in this room. Corruption crystals block the north door, so proceed through the west door instead.
Area 6: Lower Shattered Passage
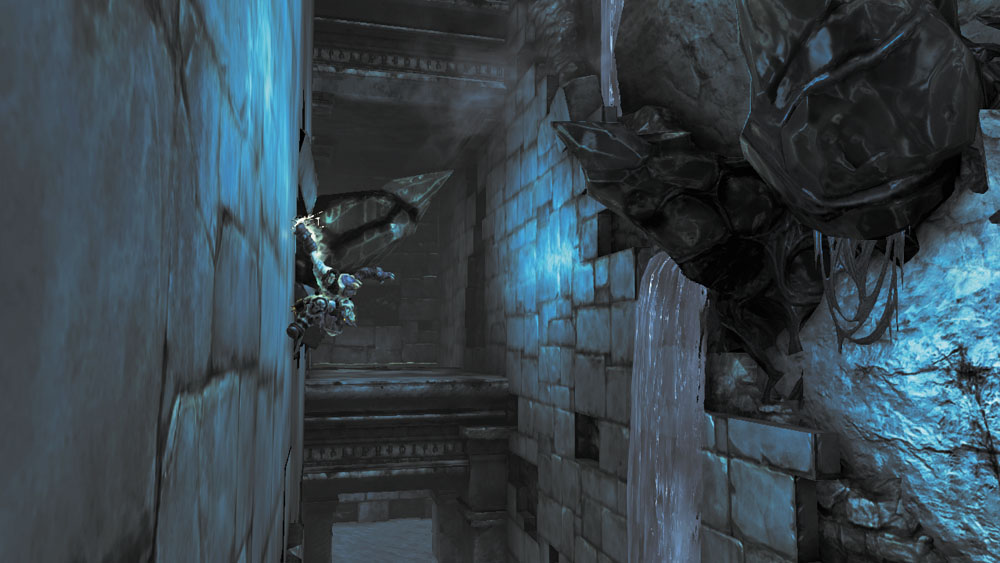
This watery passage has fallen to ruin. Wall-run to the north ledge, leaping between the walls and jumping the corner to extend your run. If you fall, swim south and scale the hand holds to return to the passage entrance.
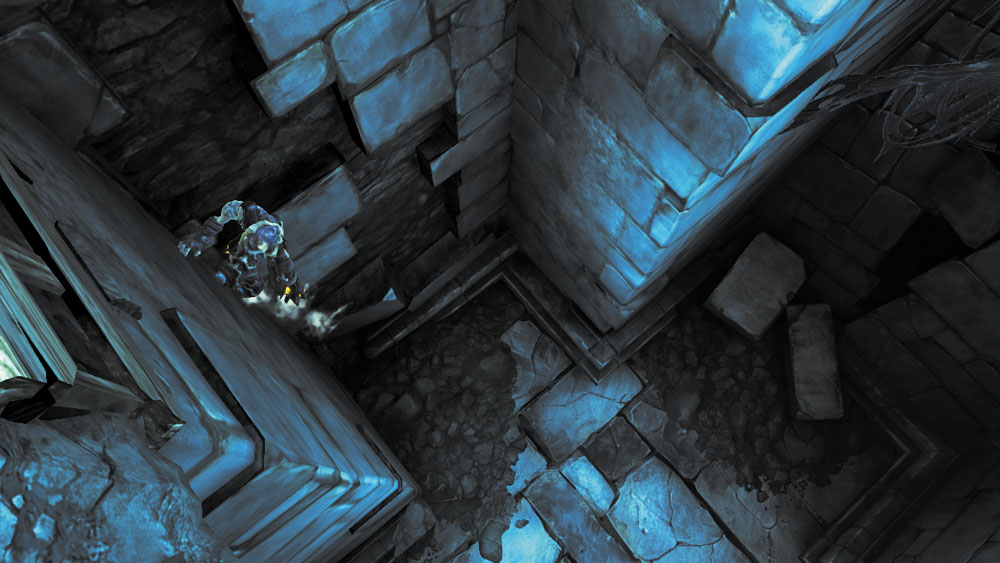
When you reach the north ledge, stand in the north alcove and leap between the parallel walls to climb up to a higher passage.
Area 7: Upper Shattered Passage
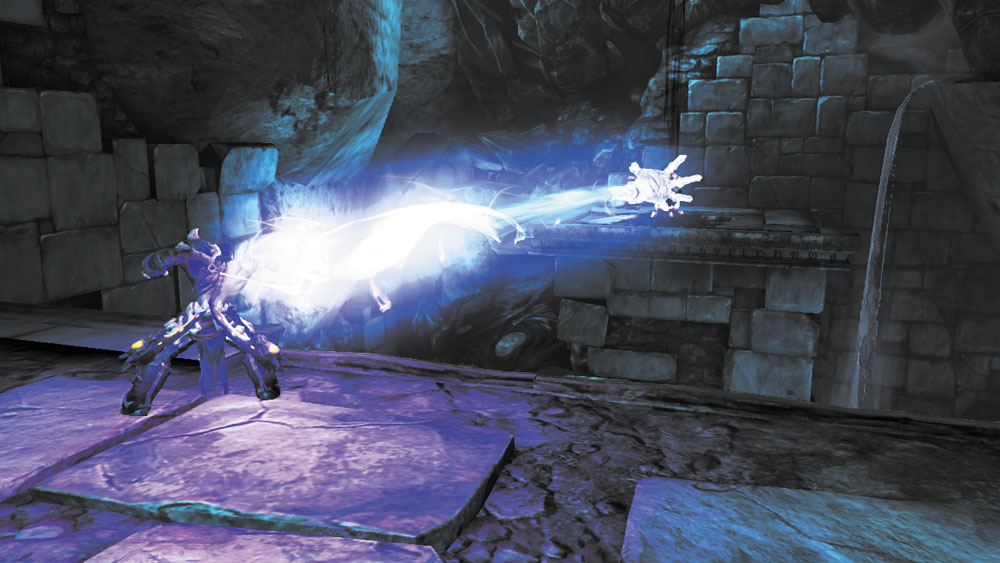
Wall-run across two pegs in this upper passage, heading south. You soon reach a small room where Corruption crystals block your progress. Deathgrip the distant Shadowbomb pod to the south, and then use the bomb to obliterate the crystals.
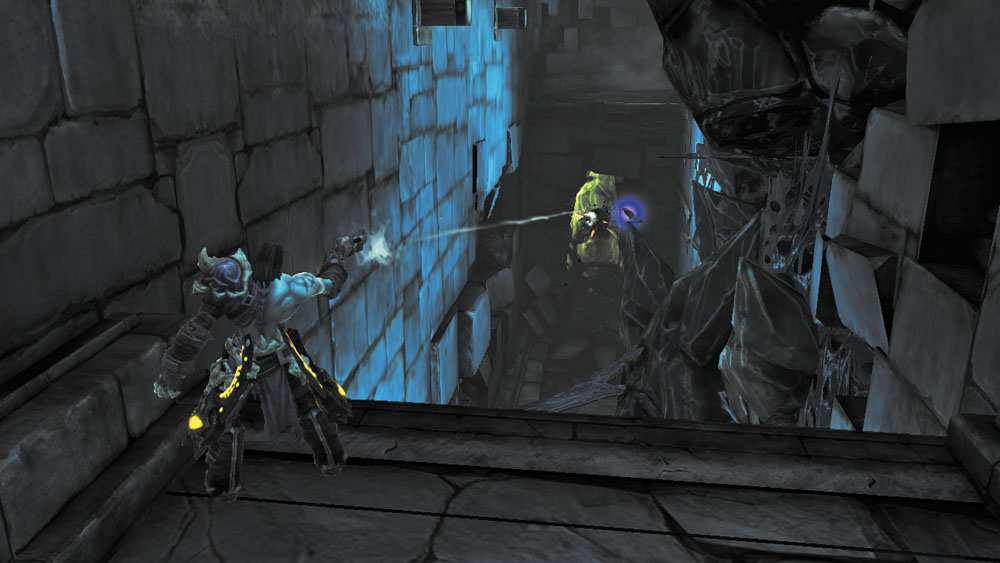
Before advancing, collect another Shadowbomb and backtrack to the previous passage. Look for a Corruption crystal down below, and toss the bomb to destroy it. Drop down and investigate the nook you’ve uncovered to discover a unique weapon. Climb out of the passage and proceed east, past the first nest of Crystals you destroyed.
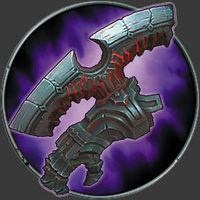
|
Omega Blades |
Area 8: Corruption Junction—Upper Ledges
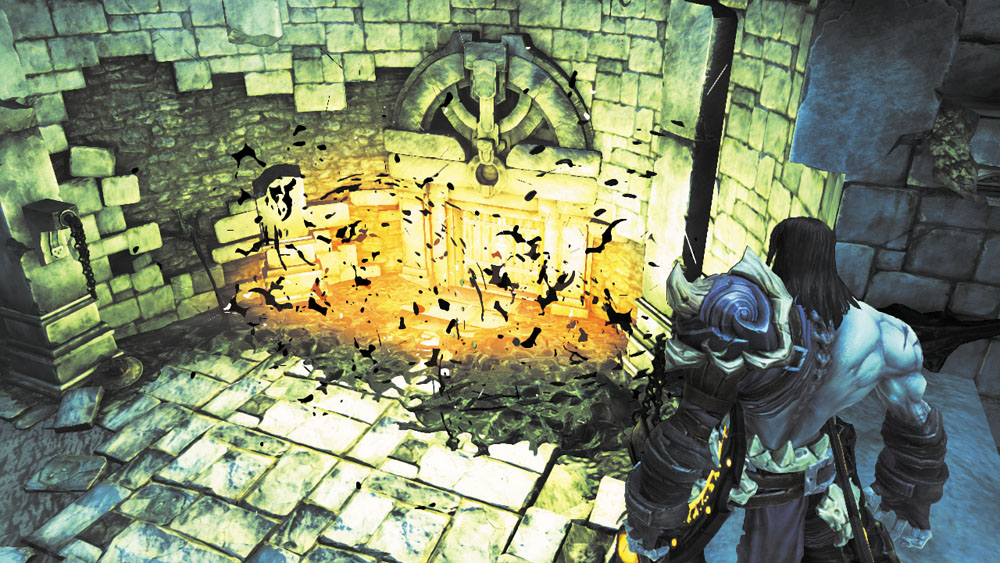
Pass through a door to find yourself back at the Corruption Junction area, up on a high ledge, Pull the nearby lever to cause pegs and hand holds to appear around the room. Wall-run across the pegs to reach the east ledge and a Shadowbomb pod. Use a bomb to destroy the Corruption crystals below, and then drop down and slay the Savage Stalker that ambushes you. Proceed through the north door afterward.
Area 9: Construct Ambush
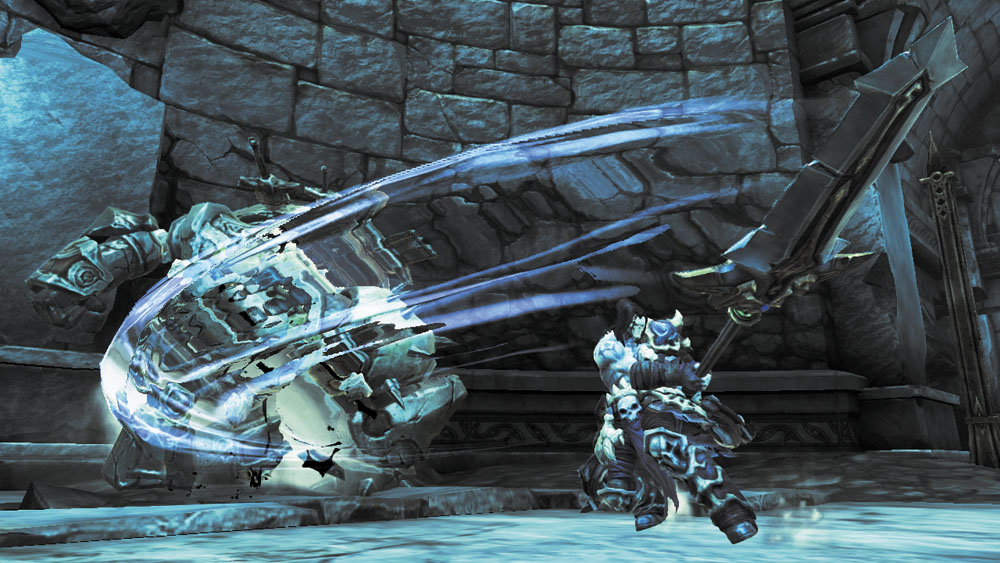
Raid a pair of chests on your way into this small chamber, where Death becomes trapped and is forced to battle several waves of Construct Warriors and Champions. Fight hard to slay them all and earn your freedom. Wall-run through the narrow east passage that follows to reach the next area.
Area 10: Locked Door Chamber
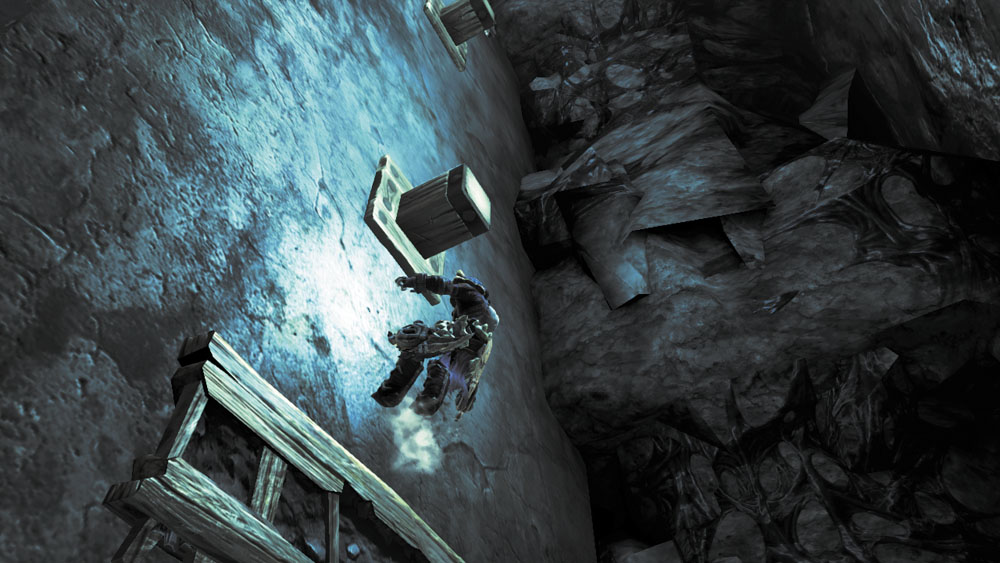
Ignore this spacious room’s hand holds and plunge into its central pool. Dive and swim into the southwest hole, and keep swimming into the underwater passage. Surface at the passage’s far end and scale the wall to work your way up to the room’s second floor.
Area 11: Locked Door Chamber—Upper Ledges
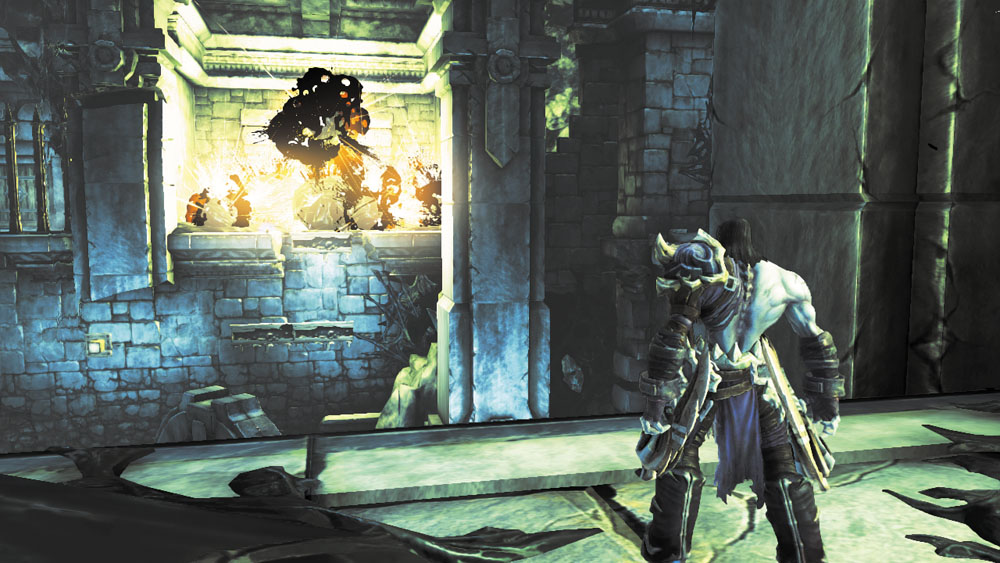
You emerge near a Shadowbomb pod. Toss a bomb at the east ledge’s Corruption crystals to destroy them, and then grab another bomb and drop to the chamber’s main floor. Hurl the bomb at the crystals on the northwest ledge to clear it off as well.
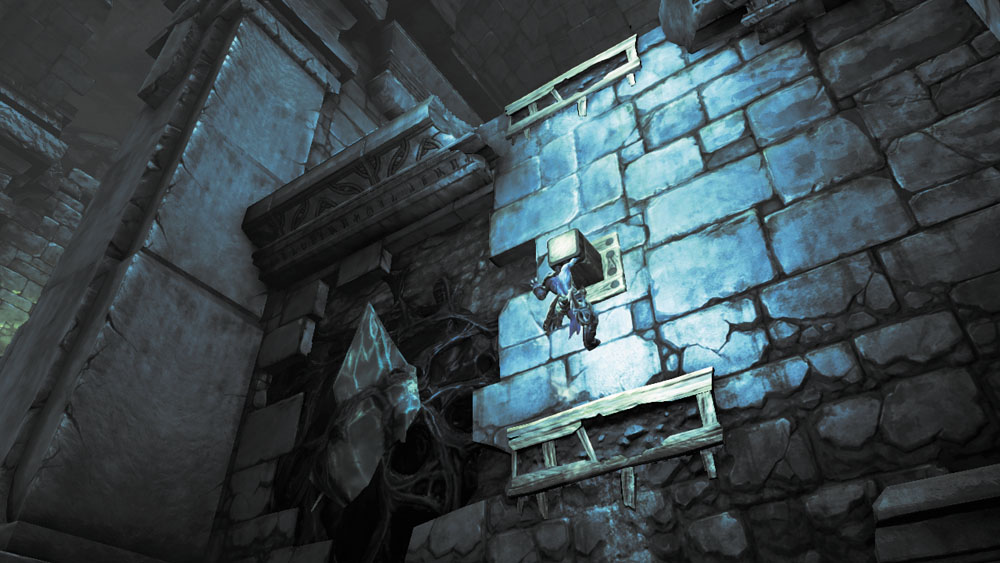
Use the room’s hand holds to climb up to the northwest ledge. Raid its chest and wall-run around the room, going north and then looping around to the south to reach the east ledge. Proceed through the east door.
Area 12: Sentinel Ambush
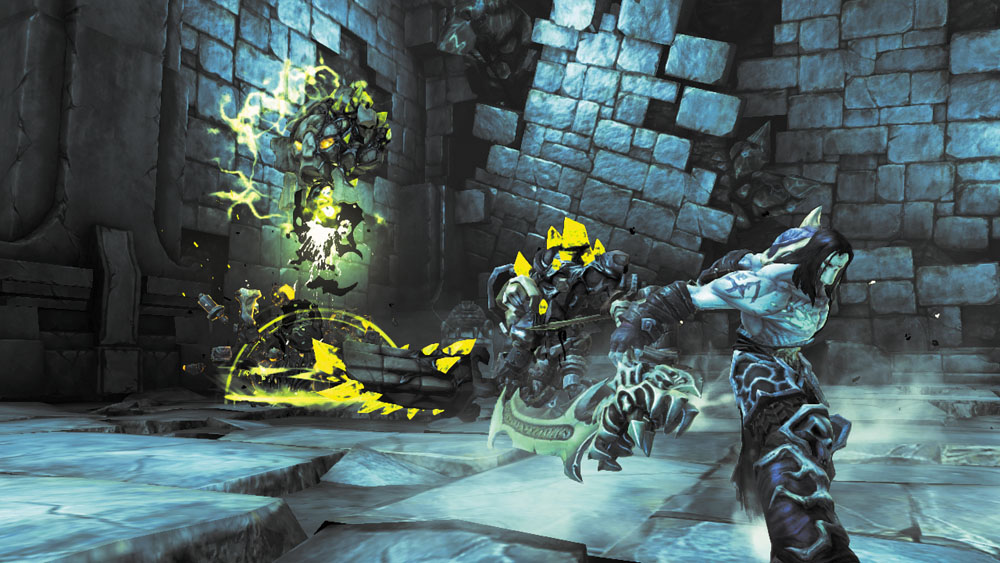
Wall-run along this room’s outer wall and raid a chest on your way to its northeast corner. There, Death becomes trapped and is forced to battle several Tainted Construct Warriors, a Construct Champion, and a Construct Sentinel. Slay one or more of the Warriors to make the Sentinel drop its shield and revive them. Quickly focus on the Sentinel while its shield is down and blast it with Redemption to destroy it.
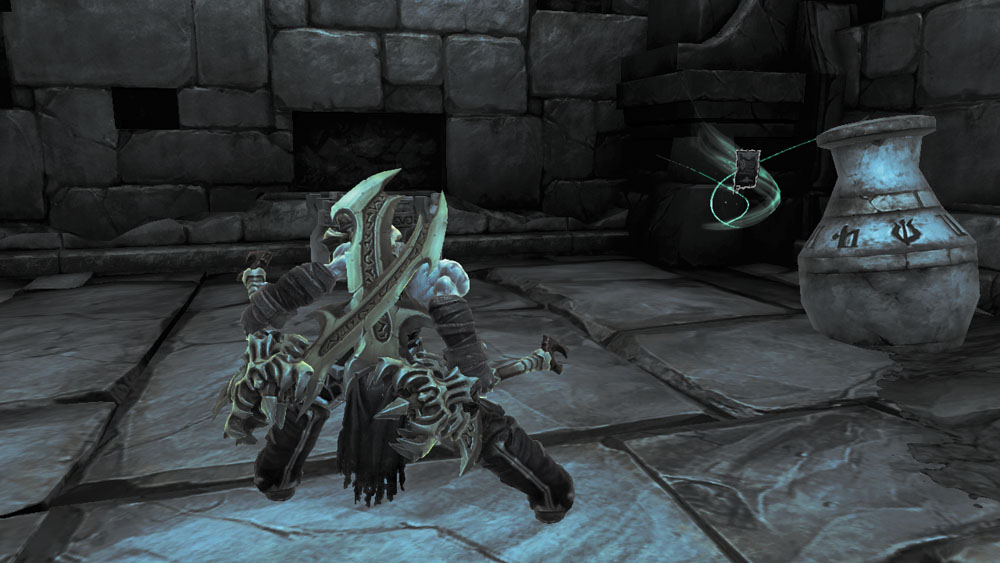
After smashing all of the constructs, break the vases in the room’s northwest corner to obtain a hidden Book of the Dead page. Proceed through the west door afterward to return to the previous area.
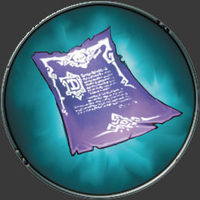
|
Book of the Dead 7 |
Area 11, Revisited
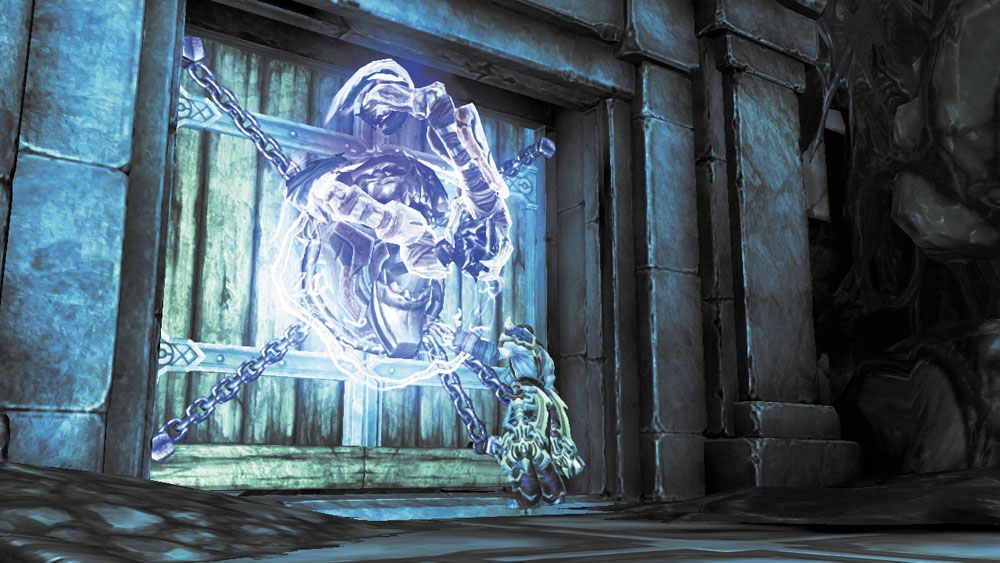
You emerge on a ledge with an ornate chest that contains a Skeleton Key. Push the nearby switch to drop the ledge’s gate, and then drop to the chamber’s main floor. Open the locked south door and go through.
|
Skeleton Key |
Area 2, Revisited
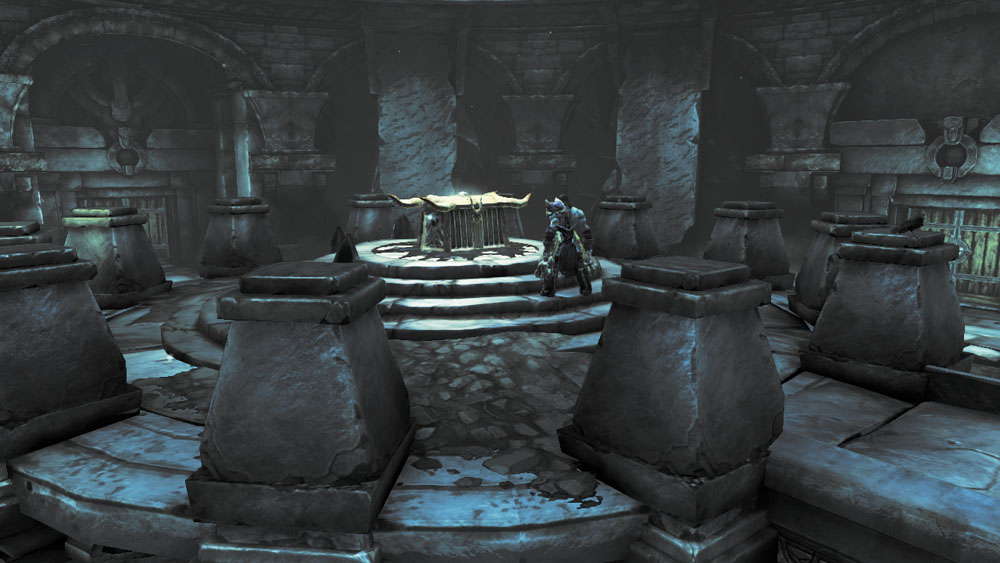
You’ve come full circle, finding yourself back in the chamber with the tantalizing chest. Simply cross the walkway and open the chest to obtain Splinter-Bone—the prized hammer that Valus lost long ago. You’ve nothing more to accomplish here at the Shattered Forge, so find your way back to Tri-Stone. Return Valus’s precious hammer and claim your reward.