Prima Games eGuides
primagames.com Browse Redeem a code Help
Darksiders II eGuide
Sign in My Guides

Sign in or create an account

We'll email you a link. No password needed, and if you don't have an account yet, the link makes one.

By creating an account or signing in, you agree to our Terms of Service and Privacy Policy.

Have a password?

Had an account on the old eGuides site, or a code from a printed guide? Help and troubleshooting

Sign in with a password

By signing in, you agree to our Terms of Service and Privacy Policy.

Check your email

A sign-in link is on its way. It works once and expires in 15 minutes. Open it and you're in, with an account if you didn't already have one.

Contents

  • Maps
    • Maps
      • Map Listing
  • Essentials
    • Exploration and Combat
      • Controls
      • Exploring
      • Combat
      • Leveling Up
      • Equipping Gear
      • Death’s Attributes
    • Skills and Combos
      • Skills
      • Moves and Combos
    • Appendix
      • Legendary Items
      • Secret Chests
      • Boatman Coins
      • Book of the Dead Pages
      • Stonebites
      • Relics
      • Soul Arbiter's Scrolls
      • GnoMAD Gnomes
      • Achievements
  • Walkthrough
    • The Keeper of Secrets
      • The Veil
      • Boss Battle: War’s Shade
    • The Fire of the Mountain
      • Forge Lands
      • Tri-Stone
      • Stonefather’s Vale
      • The Weeping Crag
      • Baneswood
      • East Trail
      • The Charred Pass
      • Passing Through
      • The Cauldron
      • Boss Battle: Gharn
    • Tears of the Mountain
      • Stonefather’s Vale
      • Shadow Gorge
      • The Fjord
      • The Drenchfort
      • Boss Battle: Karkinos
    • To Move a Mountain
      • The Nook
      • The Lost Temple
      • Boss Battle: Construct Hulk
    • Heart of the Mountain
      • The Foundry
      • The First Heart Stone
      • The Second Heart Stone
      • The Third Heart Stone
      • Boss Battle: Corrupted Custodian
    • The Tree of Life
      • Boss Battle: The Guardian
      • The Verdant Hollow
    • The Kingdom of the Dead
      • The Tree of Death
      • Leviathan’s Gorge
      • Breach
      • Breach Exterior
      • The Maw: West Valley
      • Serpent’s Peak
      • Eternal Throne
    • The Toll of Kings
      • Gilded Arena
      • The First Animus Stone
      • The Second Animus Stone
      • The Third Animus Stone
      • Boss Battle: Gnashor
    • Court of Bones I: Phariseer
      • Gilded Arena (Exterior)
      • The Maw
      • Phariseer’s Tomb
      • Boss Battle: Phariseer
    • Court of Bones II: Judicator
      • The Spine
      • Judicator’s Tomb
      • The First Soul
      • The Second Soul
      • Boss Battle: Tormentor
      • The Third Soul
      • Boss Battle: Bone Giant
    • Court of Bones III: Basileus
      • Gilded Arena
      • Psychameron
      • Boss Battle: Basileus and Achidna
    • The City of the Dead
      • The City of the Dead
      • Boss Battle: The Wailing Host
    • The Key to Redemption
      • Lostlight
      • The Crystal Spire
    • The Rod of Arafel
      • Earth
      • Boss Battle: The Noss
    • Stains of Heresy
      • The Ivory Citadel
      • Boss Battle: Jamaerah the Scribe
      • Boss Battle: Archon
    • The Lord of the Black Stone
      • Shadow’s Edge
      • The Black Stone
      • Boss Battle: Samael
    • The Well of Souls
      • Final Boss: Avatar of Chaos
    • Side Quests
      • The Crucible
      • Thane’s Side Quests
      • Muria’s Side Quests
      • Alya’s Side Quest
      • Vulgrim’s Side Quest
      • Blackroot’s Side Quest
      • Oran’s Side Quest
      • Ostegoth’s Side Quest
      • The Chancellor’s Side Quest
      • Nathaniel’s Side Quest
      • Uriel’s Side Quest
    • Side Areas
      • The Weeping Crag
      • Boss Battle: Gorewood
      • The Shattered Forge
      • The Scar
      • Boss Battle: Ghorn
    • Side Quests and Areas
      • Lair of the Deposed King
      • Boss Battle: Argul
      • Sentinel’s Gaze
      • Boneriven
      • Soul Arbiter’s Maze
      • Boss Battle: The Soul Arbiter
  • Extras
    • Behind the Scenes
      • Darksiders II Behind the Scenes
      • Creating Death
    • Behind the Scenes Videos
      • Video Interviews

Darksiders II Guide › Walkthrough › The Fire of the Mountain

Boss Battle: Gharn

boss battle: Gharn
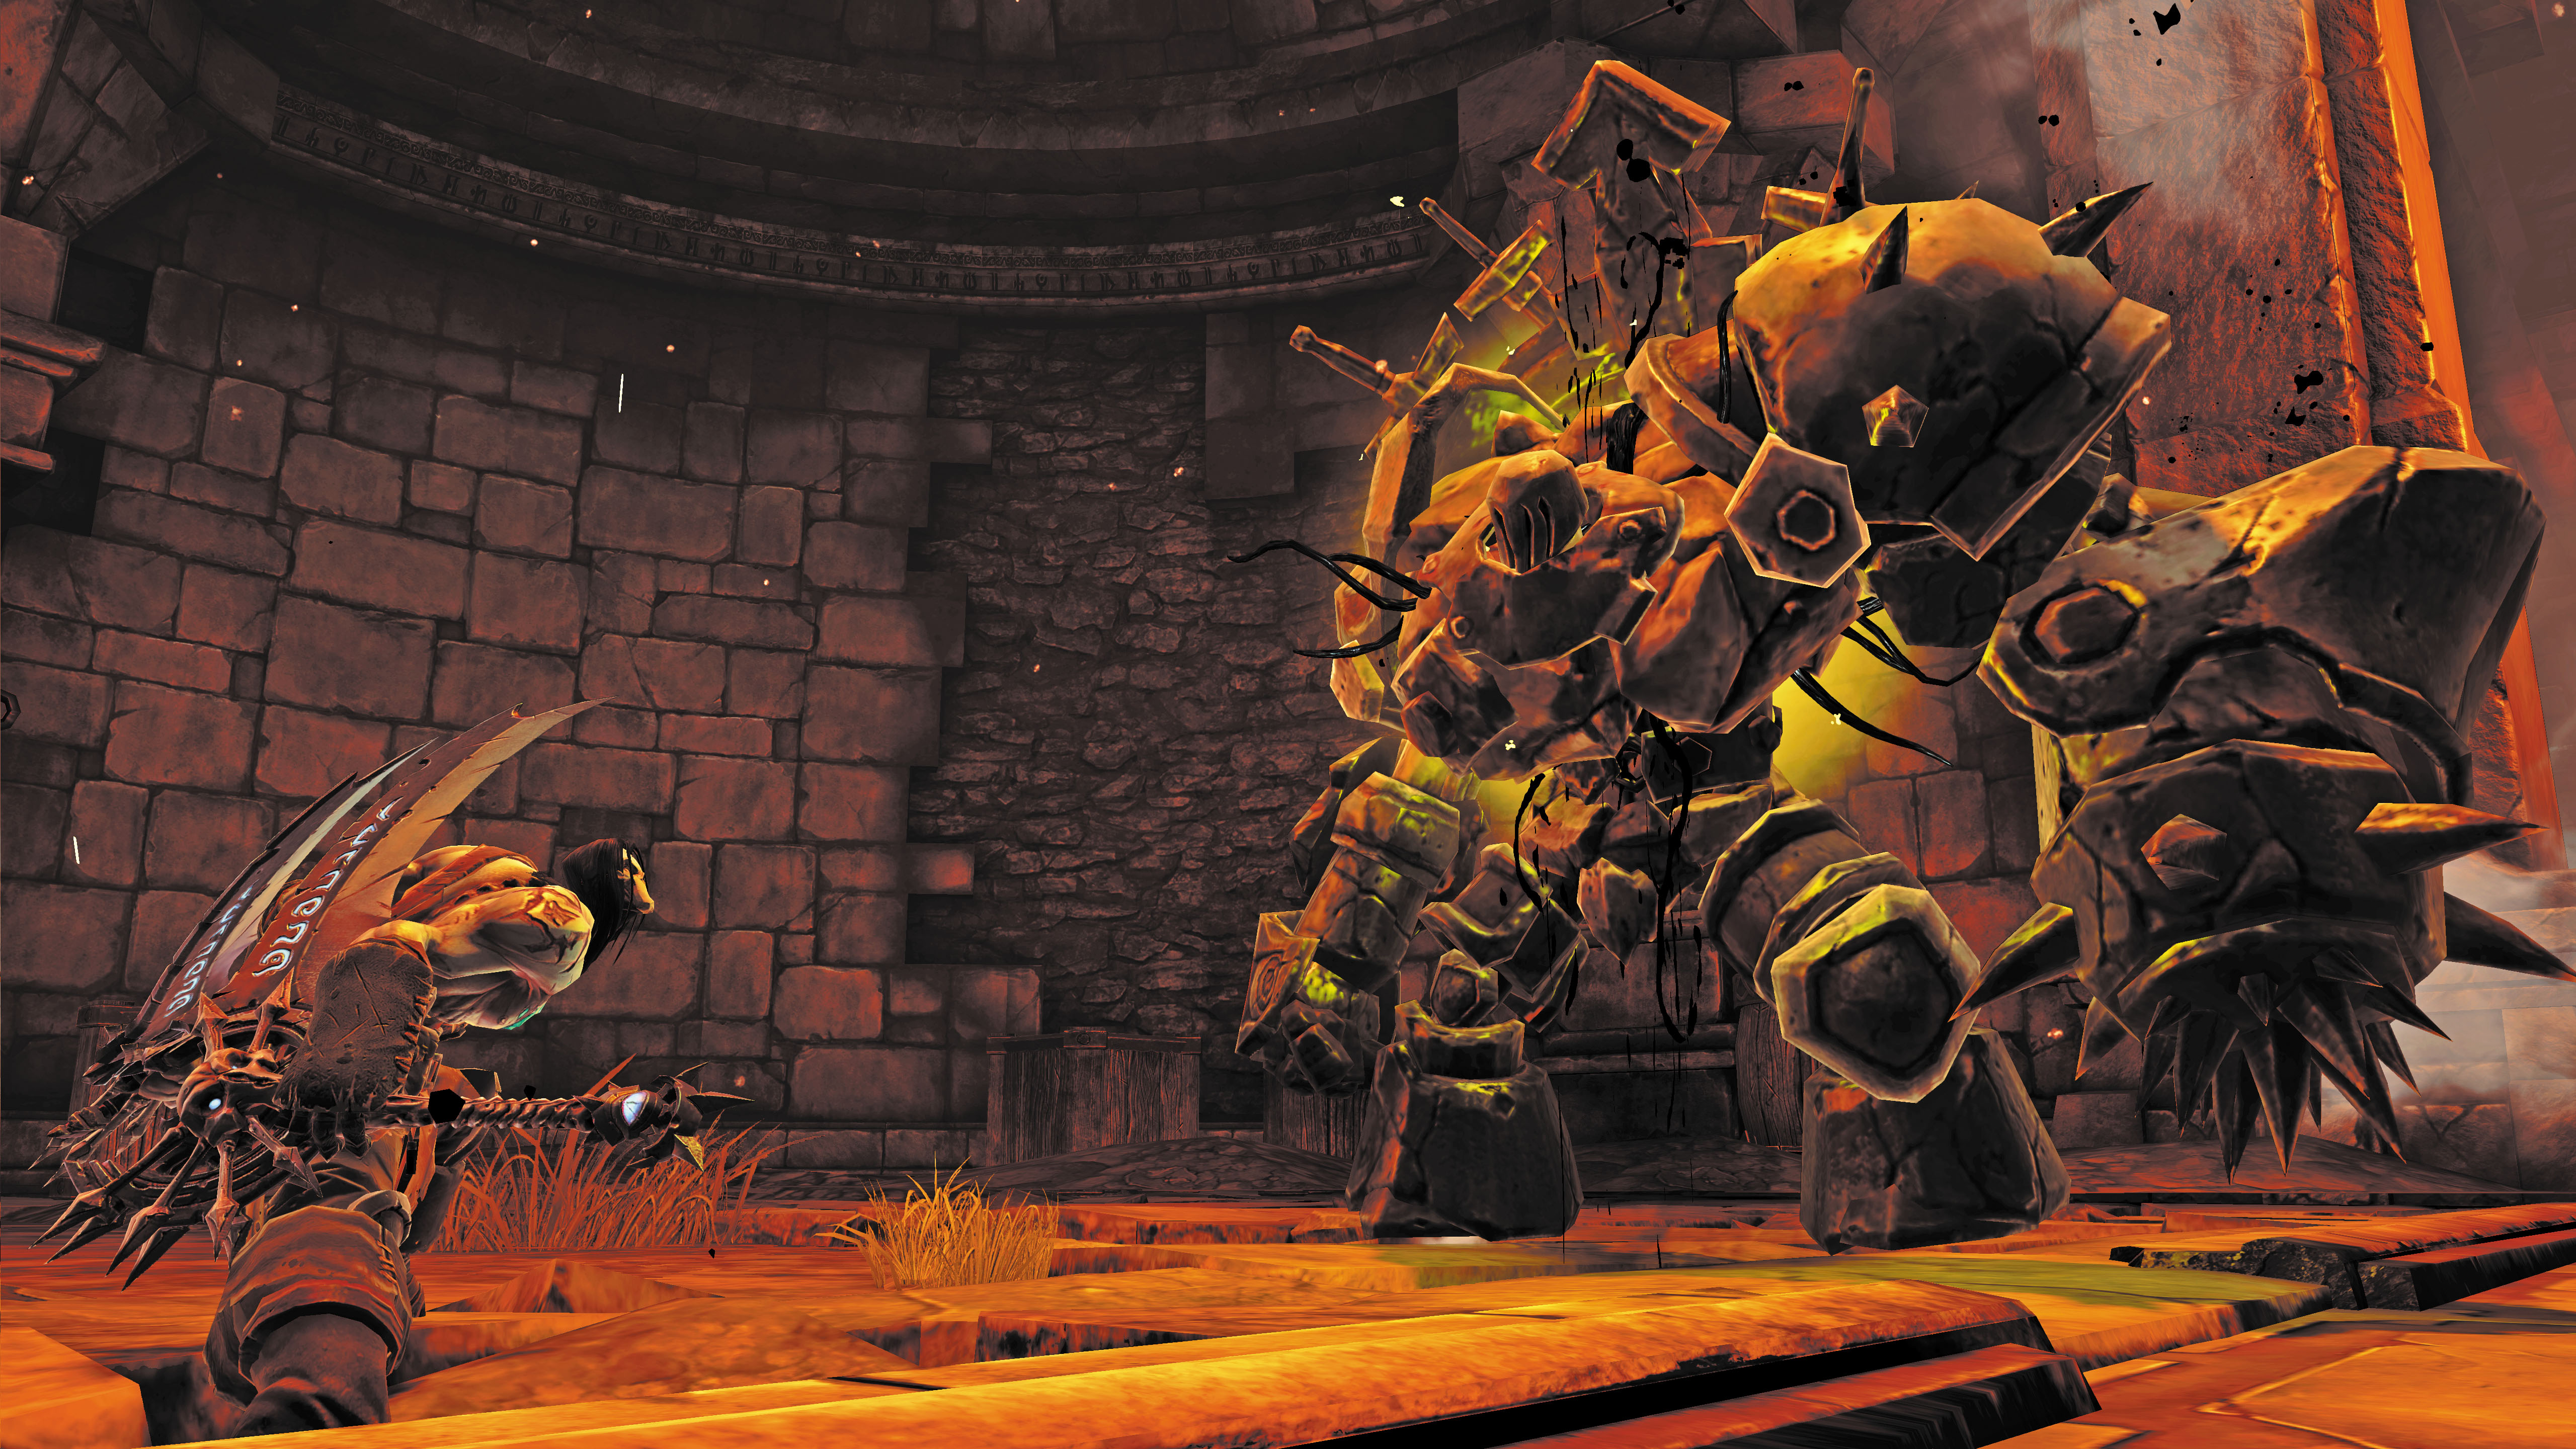
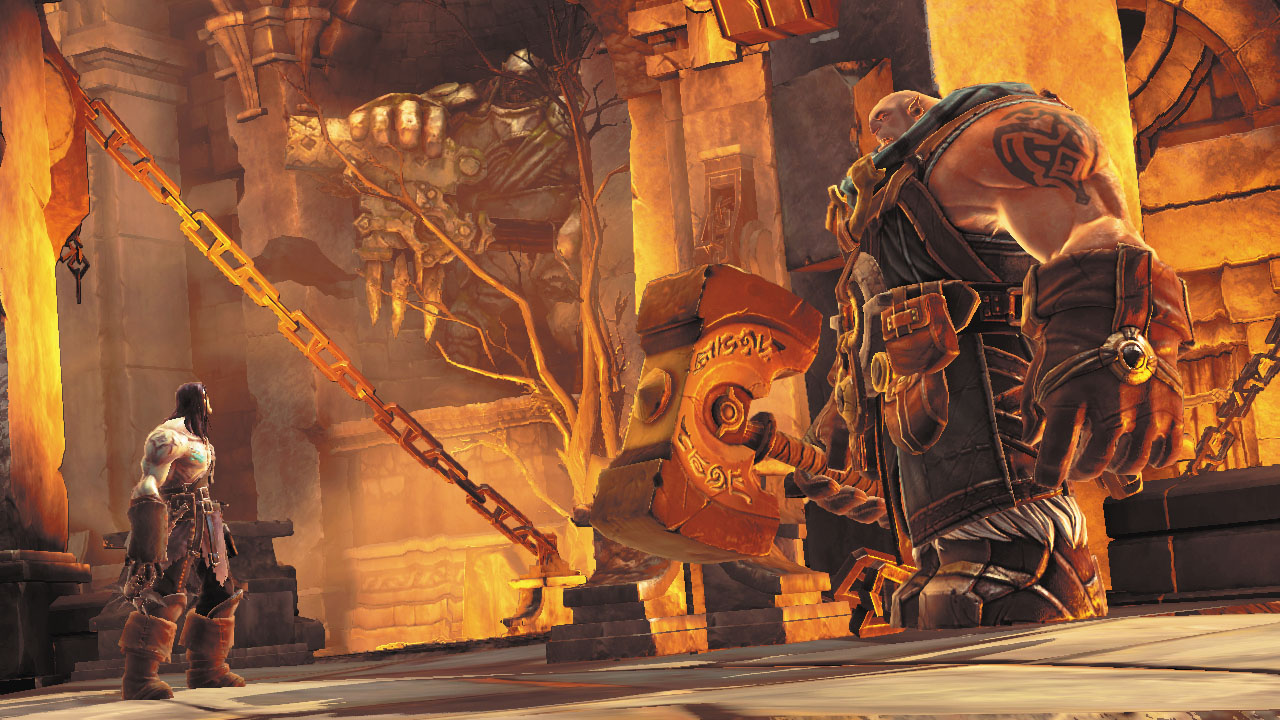
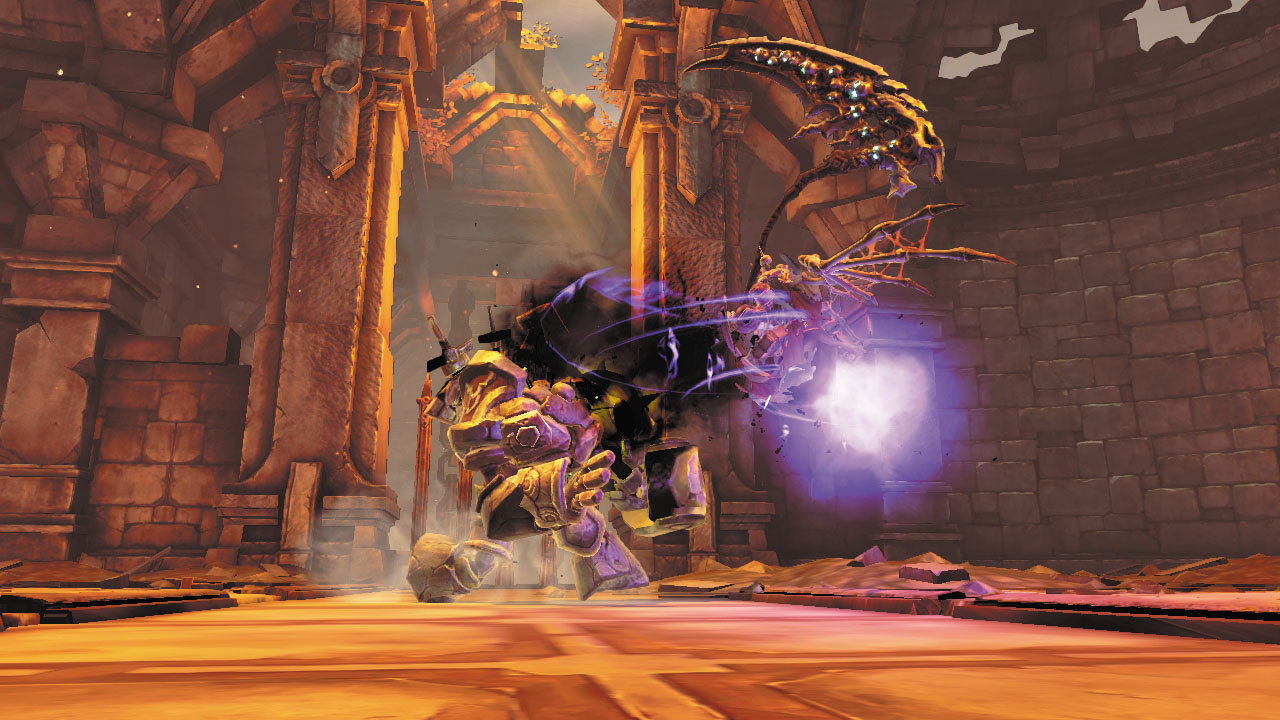
Gharn is surprisingly quick for his size, and can cover a lot of ground with his furious charge attack. Whenever you see the brute raise an arm, be ready to Evade to the side and avoid the forthcoming blow. Quickly close in and utilize combos each time you successfully dodge.
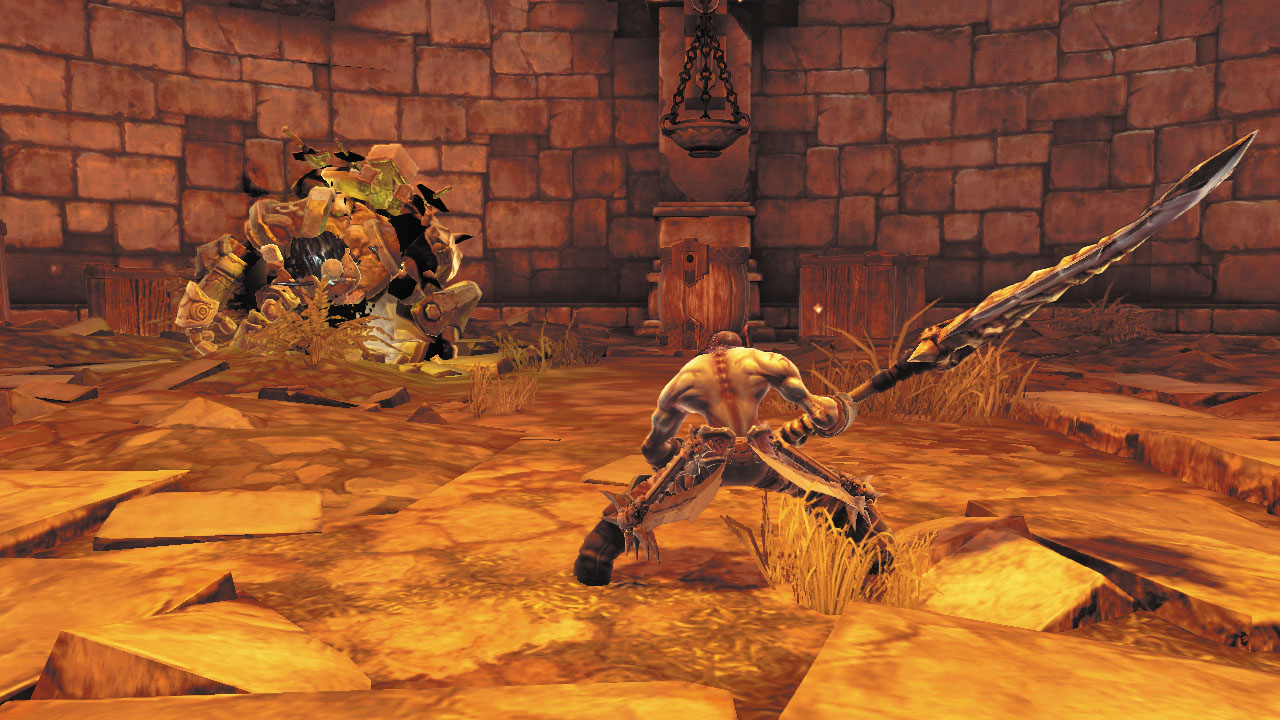
Gharn will periodically fall to one knee during the battle, giving you a chance to pile on the damage. Be ready to flee when the brute begins to recover, though, for Gharn will soon rise and unleash an explosive attack that inflicts tremendous damage if you’re caught in the blast.
Tip

Tap the Evade trigger a few times to backflip away from Gharn before he erupts.

Defeating Gharn unbars the north door, allowing you to advance. In addition, you receive a unique secondary weapon called the Dark Avenger for defeating this worthy foe.
Dark Avenger

Area 14: Cauldron Chamber—East Balcony
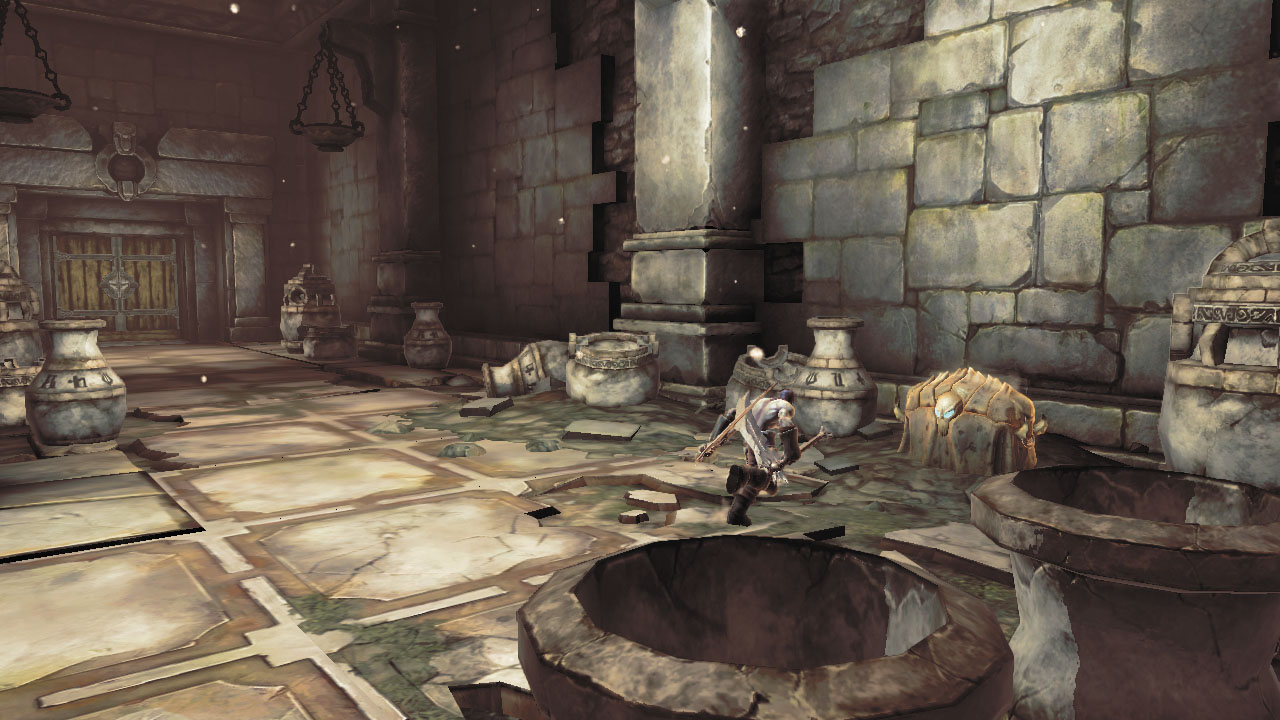
Destroy any clutter in the hallway that leads to this balcony, and loot the chest along the way. Investigate the balcony’s east alcove to discover another chest, and then clear out more debris on the balcony’s northwest corner to expose another missing page from the Book of the Dead.
Book of the Dead 4

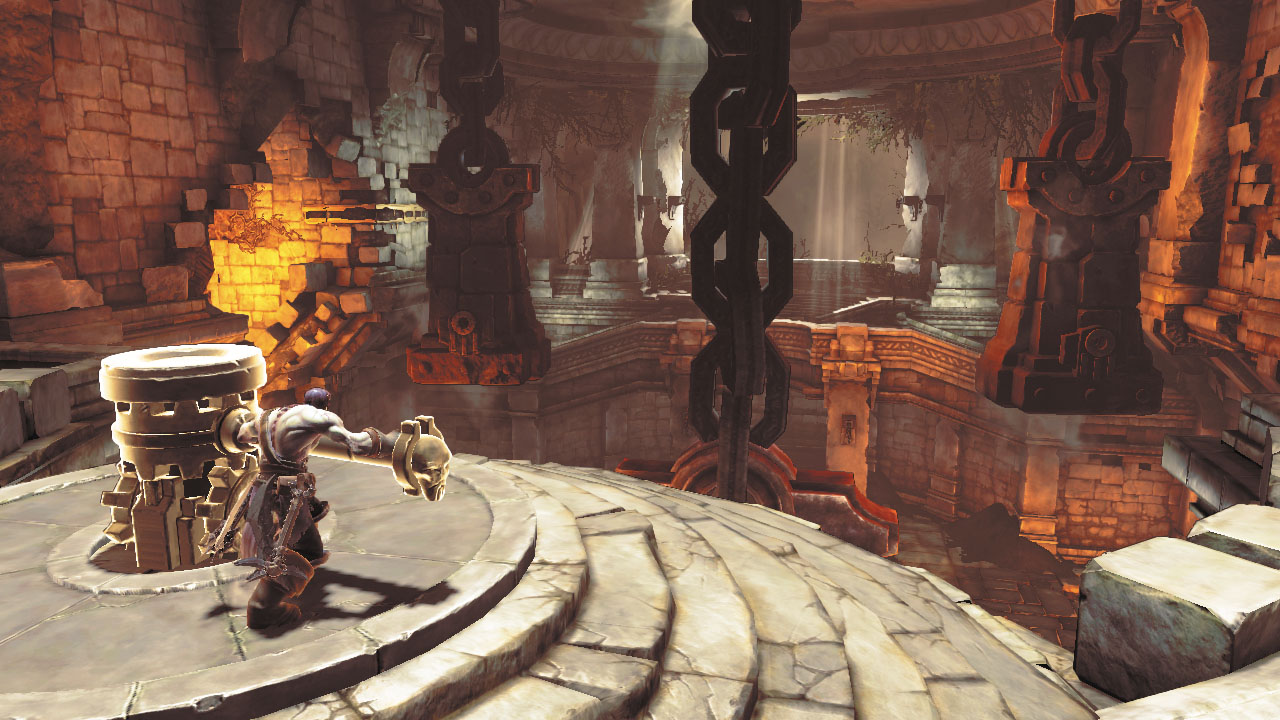
After pocketing your plunder, grab the central lever and rotate it counterclockwise to lower the giant counterweights in the chamber below. This lifts the lid off of the massive Cauldron, restoring the flow of the Fire of the Mountain to Tri-Stone at last.
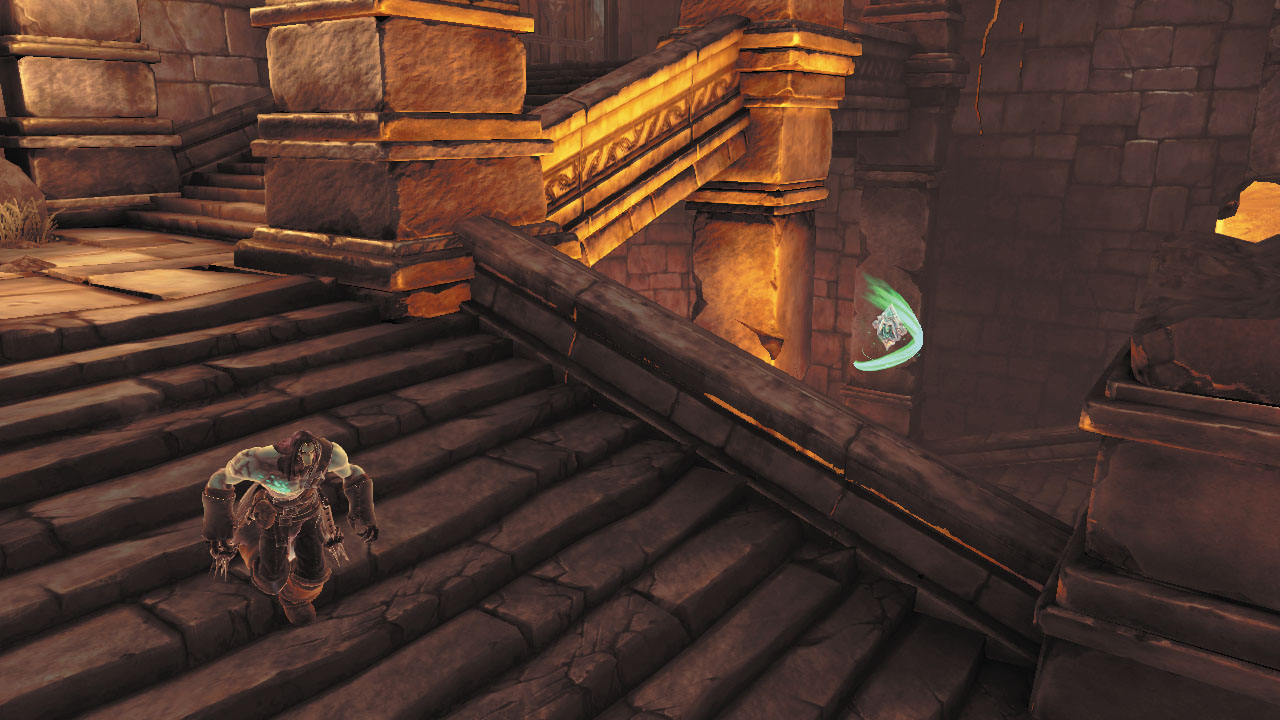
Excellent work, Rider! The time has now come to leave this place. Proceed through the north door and descend the winding stairs to return to the ground floor. Jump down the center of the stairwell to claim a Boatman Coin. Crack open the chest that's tucked beneath the stairs as well before you leave.
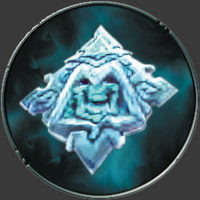
Boatman Coin 12

Converse with Karn

Exit the temple and speak with Karn outside. The young Maker is happy that you’ve accomplished your goal. Speaking with Karn also advances Muria’s side quest.

SIDE QUEST ADVANCED: "Shaman's Craft"

Return to Tri-Stone
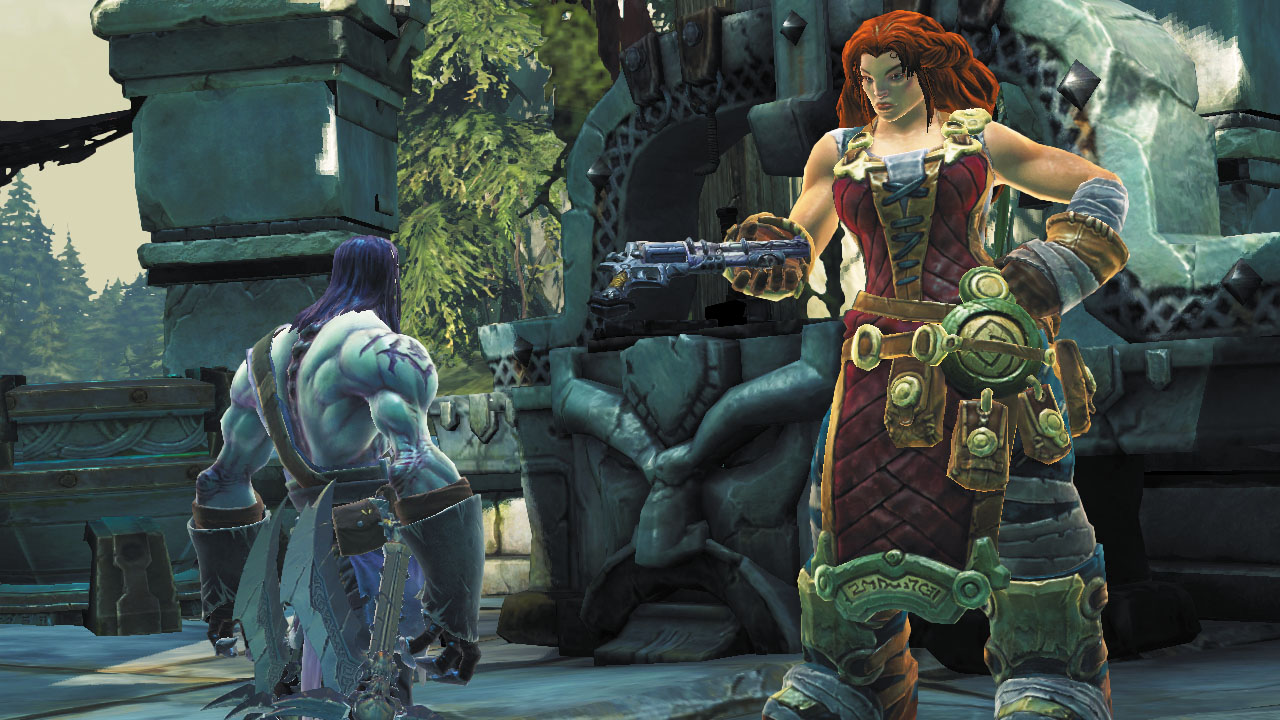
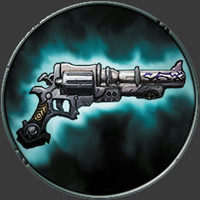
It’s a long way back to Tri-Stone, so take advantage of the map’s fast travel function if you’re in a hurry. Speak with Alya once you arrive to complete the Fire of the Mountain quest and receive an excellent new item—a powerful pistol called Redemption. This is sure to come in handy during the Horseman’s travels!
Tip

Alya will now sell you wares crafted at the forge by her brother, Valus. Barter with Alya and sell your unwanted gear to gain coin for more valuable equipment. Armor with high defense is particularly valuable in the early stages of Death’s quest.

Redemption

Tip

Shoot five out-of-reach vases around Tri-Stone to make a secret chest appear! Two vases are found alongside the main thoroughfare, another two are found around Muria's platform, and the final vase is found atop a column at Alya's platform.

Keep reading with a free account

The first 3 sections of Darksiders II are open to everyone. An account opens the rest of it, and every other guide in the archive. It's free, and there's nothing to buy.

Bought guides on the old Prima Games site? Your account and every guide you own moved here, so there's nothing to buy again. Sign in.

Create a free account Or browse our free guides

PreviousThe Cauldron NextStonefather’s Vale