
Darksiders II Guide Walkthrough Side Areas
The Scar
The Scar
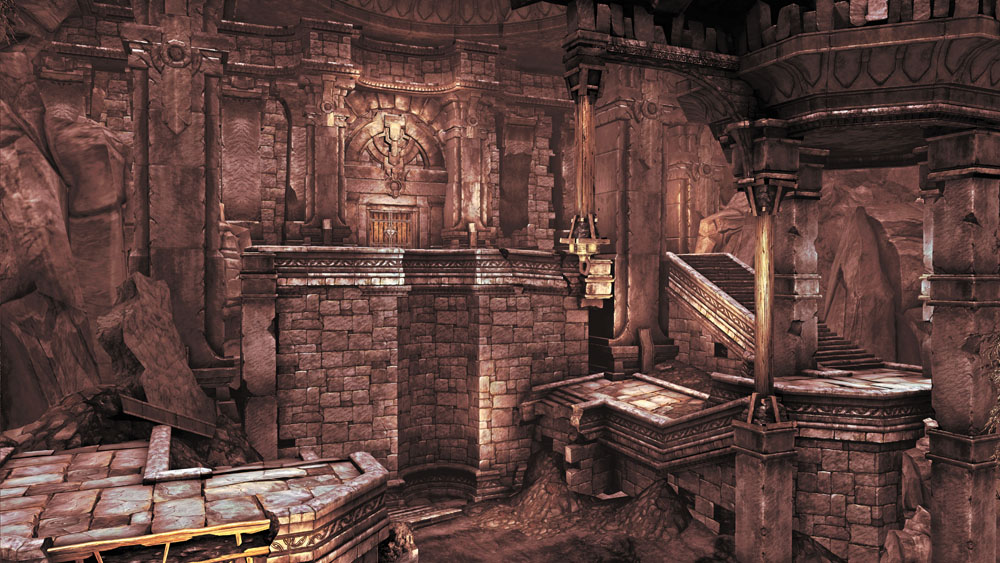
This fiery side dungeon can’t be entered until the Horseman acquires the Deathgrip. Even then, it’s best to wait until you receive the “Spark of Life” side quest from Muria before you probe its searing depths. You receive this side quest after bringing Nathaniel’s scroll to Muria as part of his “The Lost Soul” side quest.
Scar Exterior
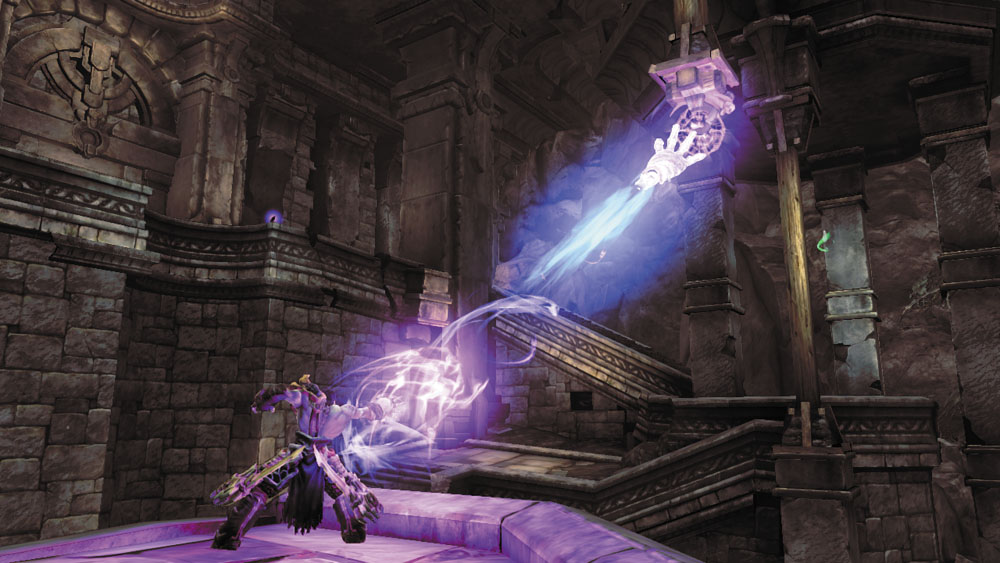
To enter the Scar, climb up to its lower balcony and use the Deathgrip to swing across an overhead hoop and grasp a wooden post. 180 leap from the post to claim a floating Boatman Coin, and then go upstairs to reach the Scar’s upper balcony. Before heading inside, look up and shoot the Stonebite hidden inside the broken overhead pipe.

|
Boatman Coin 75 |
|
Stone of Power 15 |
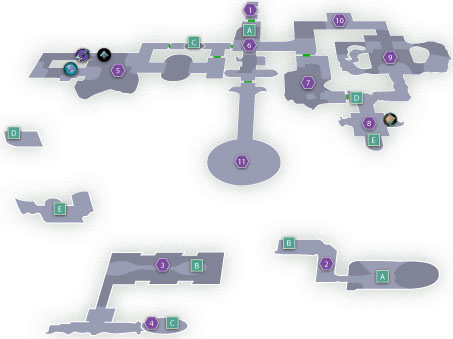
Area 1: Entry Stairs
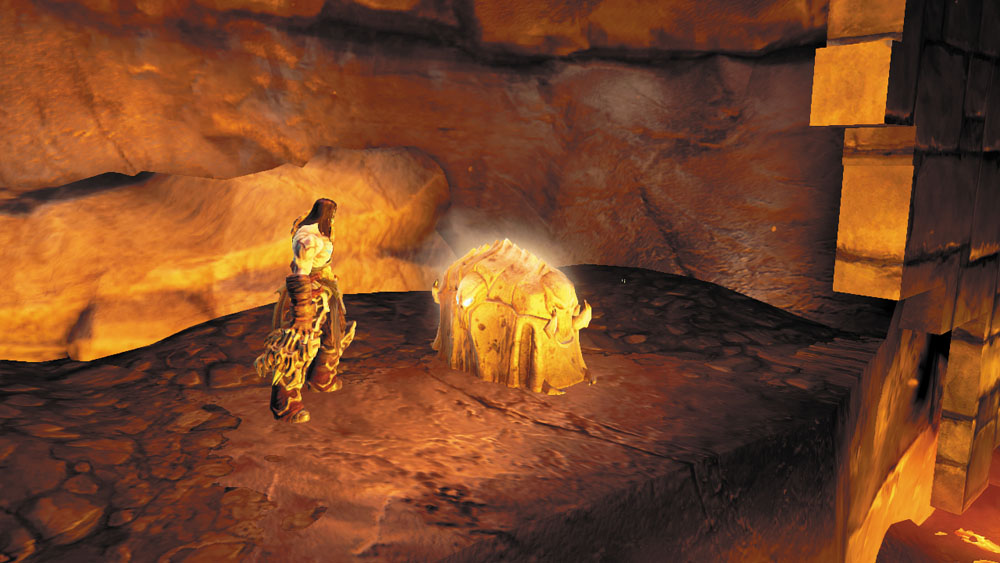
Descend the Scar’s entry stairs, and then turn around and wall-run across a pair of pegs to reach a secret ledge behind the stairs where a chest is found. Claim your loot, wall-run back out, and proceed through the south door.
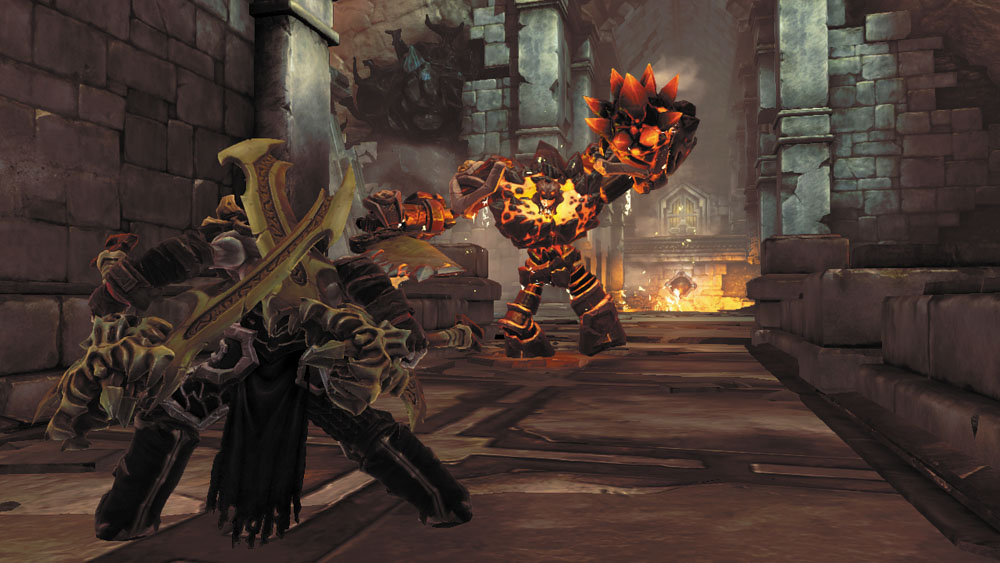
A monstrous construct named Ghorn roars at Death in the next room and smashes the walkway, dropping the Rider in a lower area. Not exactly a pleasant welcome!
Area 2: Basement
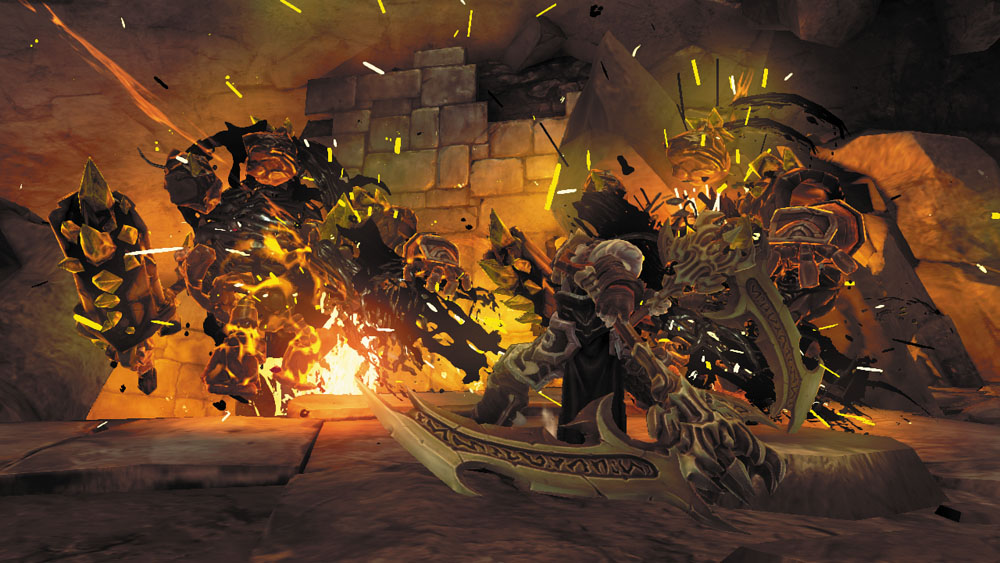
Slay the Corrupted Construct Warriors that materialize after you land, and then proceed down the west stairs. Drop down into the hole at the end of the passage to reach the next area.
Area 3: Noxious Nest
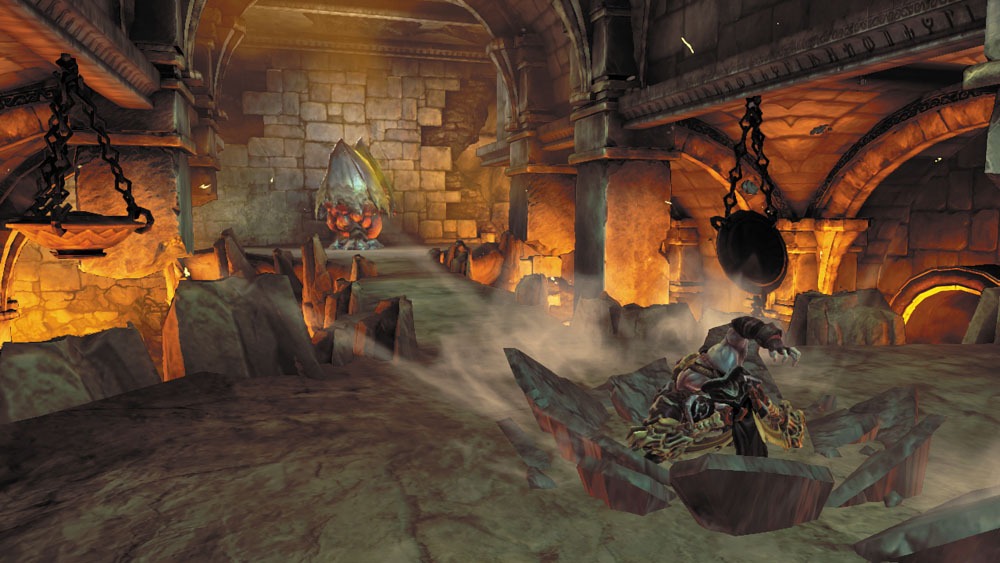
A Stinger Hive stands in this lower area. Wipe out the Noxious Stingers it spawns and destroy the hive to prevent more of the pests from emerging. Wall-run through the narrow south passage afterward, jumping between the walls to extend your run.
Area 4: Lava Pit
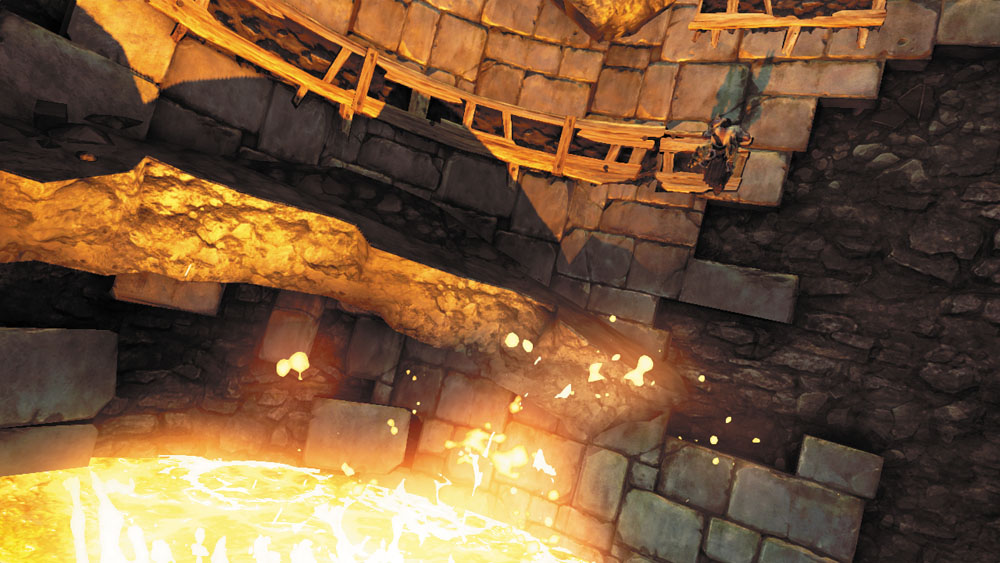
As Death nears this searing pit, Ghorn begins to pound the ground above. This causes the lava at the bottom of the pit to rise, forcing the Rider to quickly scale the pit before he’s burned to a crisp.
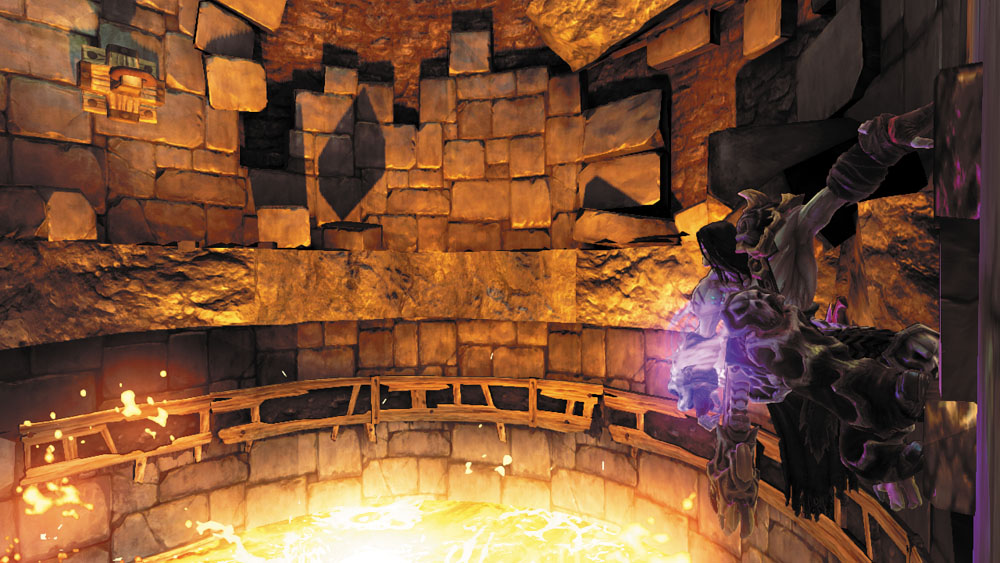
Wall-run up to the lowest hand hold, and then circle around the pit and climb up to the hand hold above. 180 leap from this hand hold and quickly Deathgrip the hoop on the opposite wall to bound up higher.
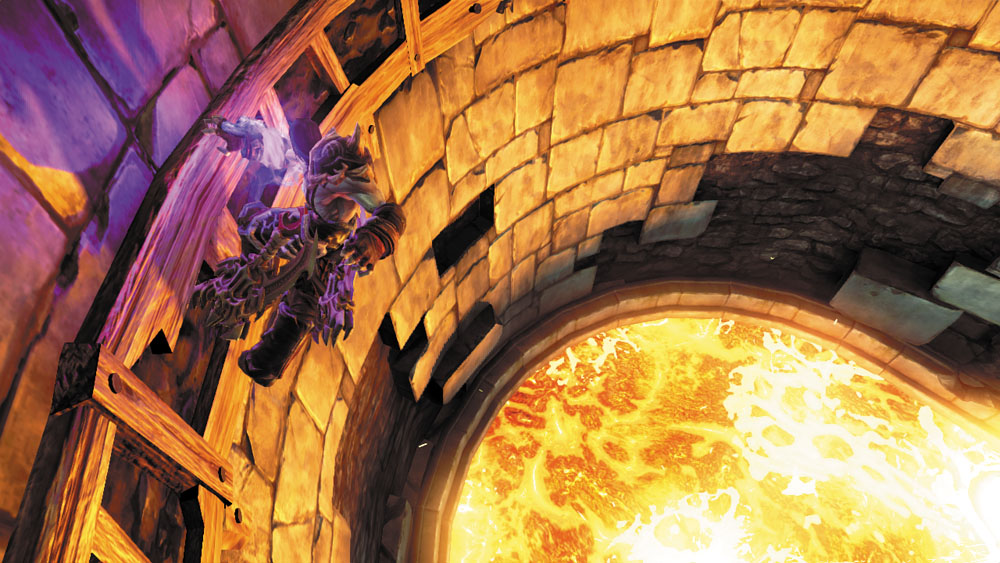
Progress until you vault off of a peg, and then 180 leap again and Deathgrip another hoop to bound upward a second time.
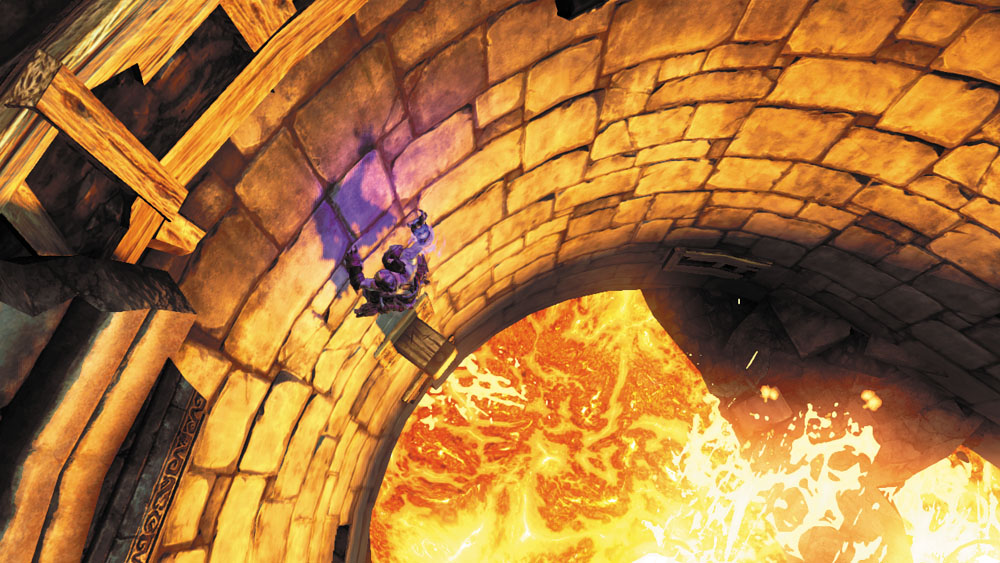
Wall-run to the right to reach the final hand hold, and then vault from the peg above it to climb out of the pit. Proceed through the south door afterward.
Area 5: West Custodian Cavern
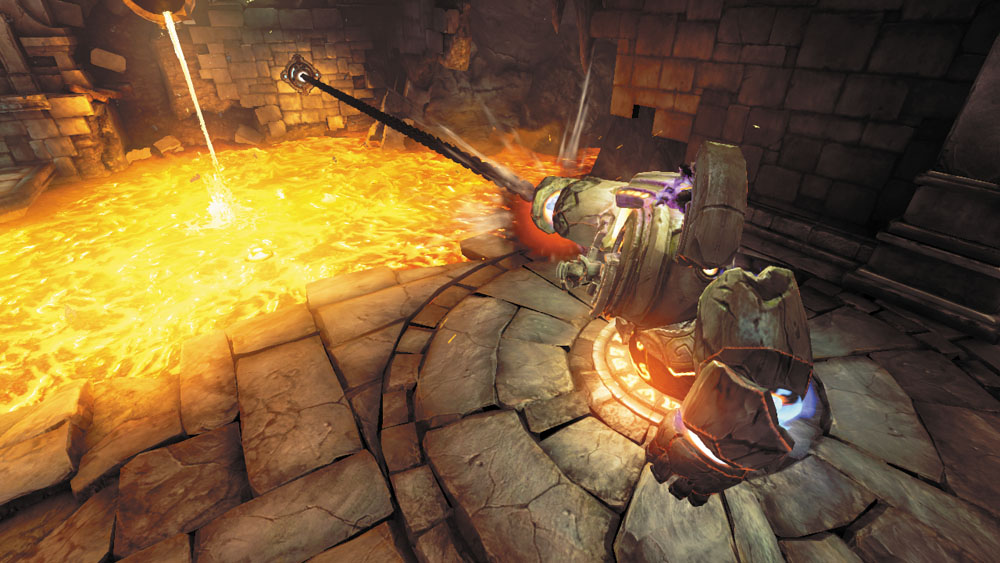
Sprint across this room and activate the Maker Custodian, and then unleash its heavy blows against the Corrupted Construct Warriors and Adjuncts that materialize. Roll across the west lava afterward, park the Custodian on an orb slot, fire its chain at the distant target, and tiptoe across.
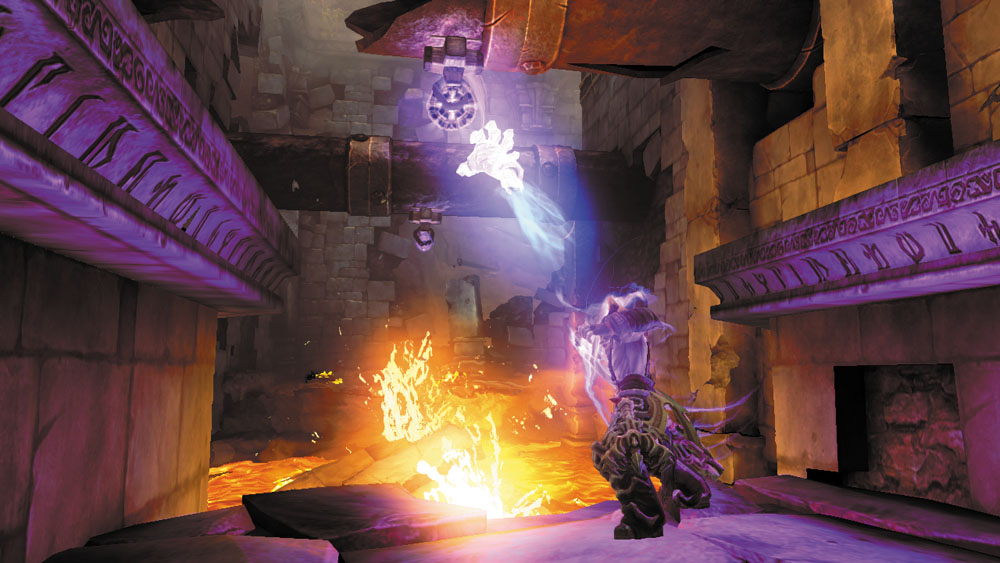
When you reach the end of the chain, Deathgrip the hoop on the nearby broken pipe and swing to solid ground. Go west, swing across two more hoops, and cut down the Corrupted Construct Warriors that attack you when you land.
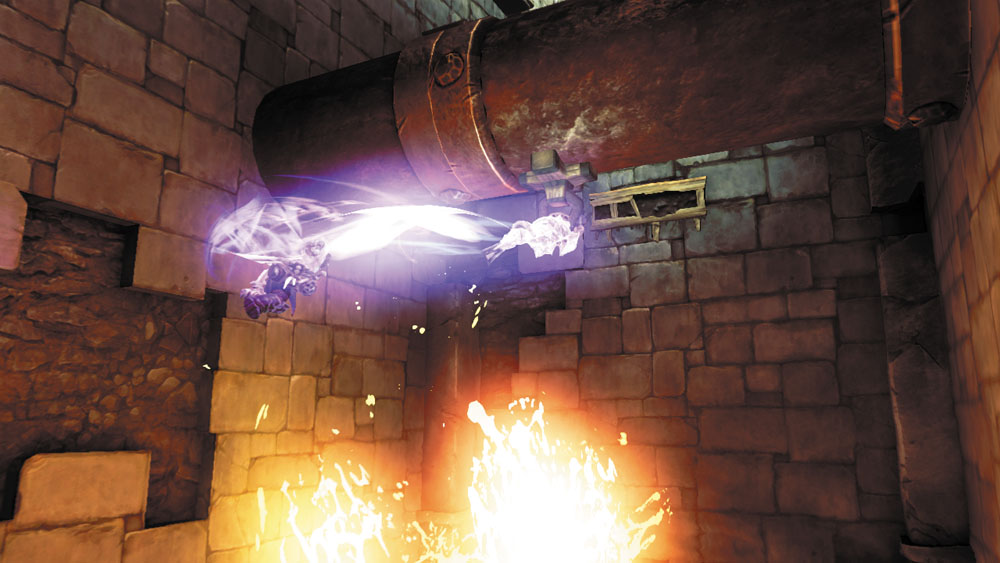
Wall-run to the north after slaying the Constructs. Jump the corner and, when your wall-run begins to loose steam, jump off the wall and Deathgrip the hoop ahead to swing over to a hand hold. Climb up to reach a ledge with an ornate chest that contains a Skeleton Key.
|
Skeleton Key |
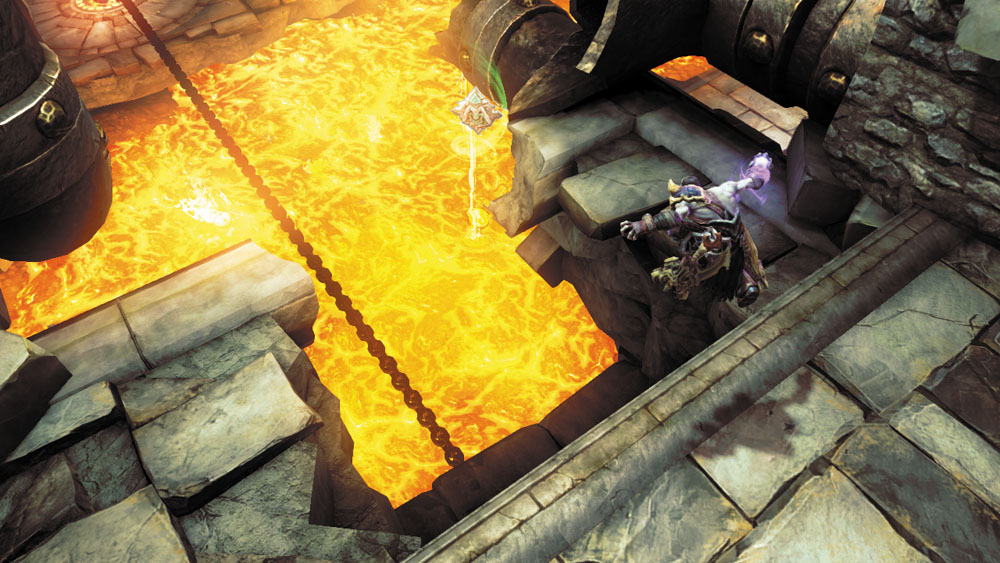
After pocketing the key, turn around and wall-run back along the west passage. Navigate a few hand holds to reach a high ledge, where a Book of the Dead page is found. Collect the page, and then shimmy back across the hand holds to return to the Skeleton Key ledge. Carefully jump down from the ledge to land on the Custodian’s chain below, grabbing a floating Boatman Coin in the process.
|
Book of the Dead 27 |
|
|
Boatman Coin 76 |
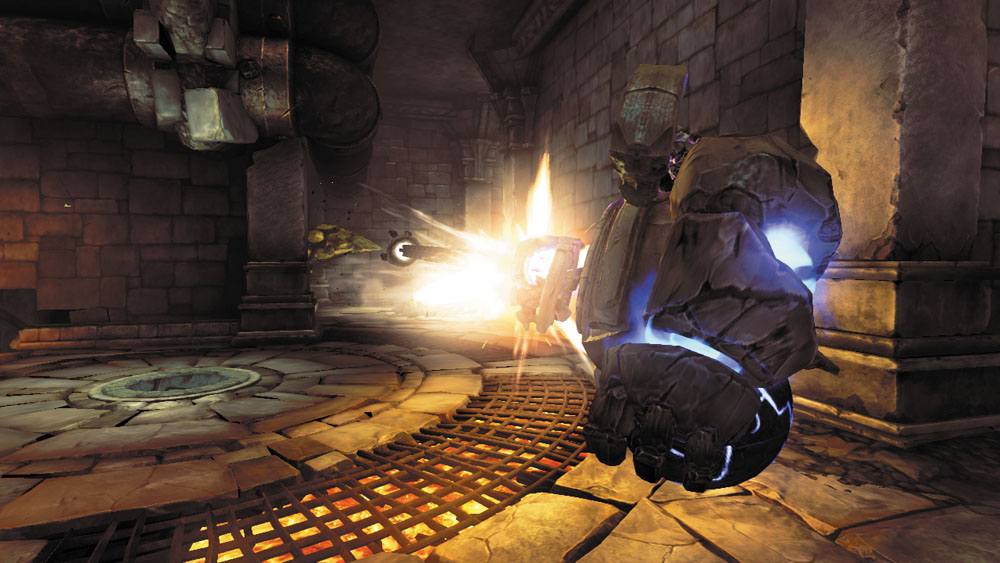
Cross the chain and drop down to solid ground. Use the Custodian to wipe out the Corrupted Construct Warriors that appear, and then smash the Corruption crystals in the nearby passage. Leave the Custodian behind and pass through the east door. Deathgrip the hoop above the lava pit you scaled before, and proceed through the east door to reach the next area.
Area 6: Lava Junction
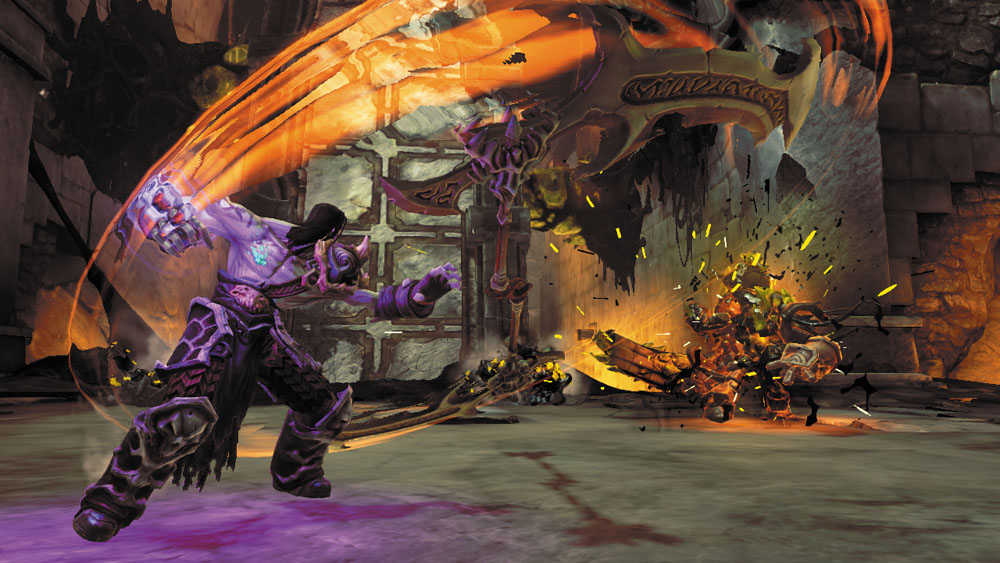
Cut down the Corrupted Construct Warriors and Adjuncts that ambush you in this area, and then wall-run along the east wall, vaulting off of a peg on your way to a locked door. Use your Skeleton Key to unlock the door and advance.
Area 7: Precarious Pillars
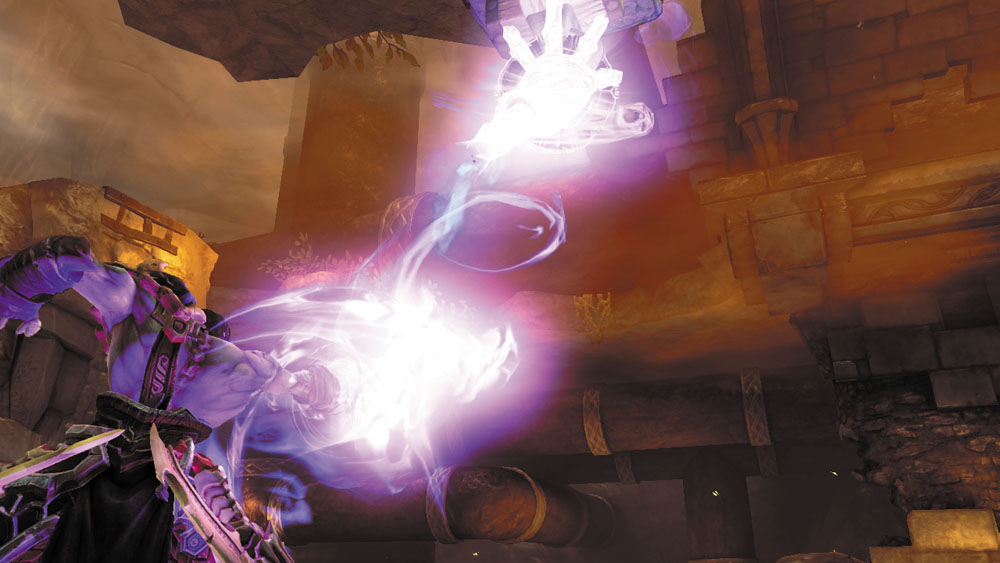
Deathgrip an overhead hoop to swing onto this fiery cavern’s northern pillar. The pillar begins to sink under the Horseman’s weight; quickly jump toward the pillar to the south and Deathgrip its hoop to ensure you reach it. This pillar also begins to sink; navigate its hand holds with all speed to reach the top, and then leap and Deathgrip over to the next pillar. Repeat this process until you at last reach solid ground, and then advance through the east door.
Area 8: East Custodian Chamber
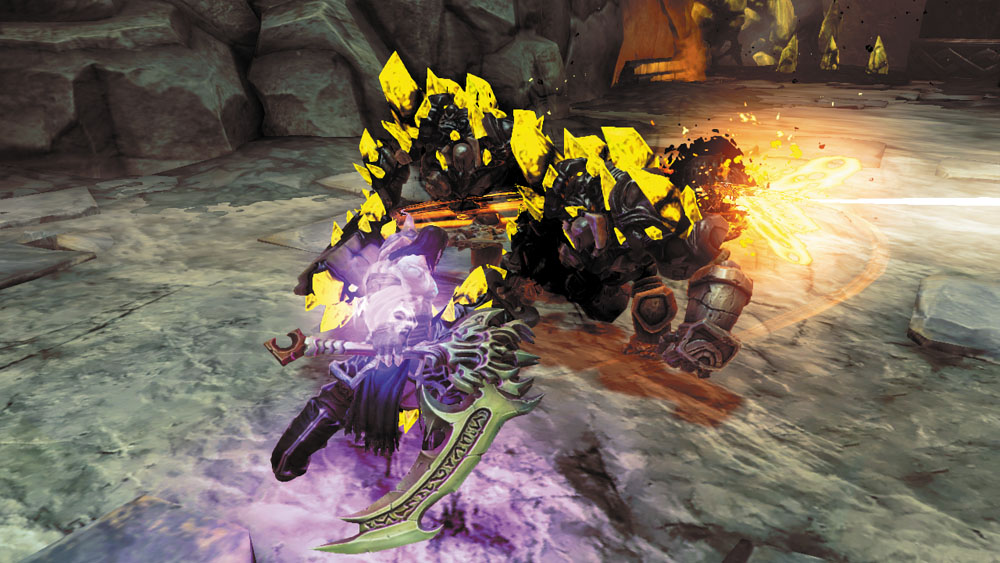
Slaughter a number of Corrupted Construct Warriors and Adjuncts as you enter this area, and then look for a peg on the wall near the entry door. Vault up off of it to reach a small nook with a chest, and then drop down from the nook and proceed south toward another Maker Custodian.
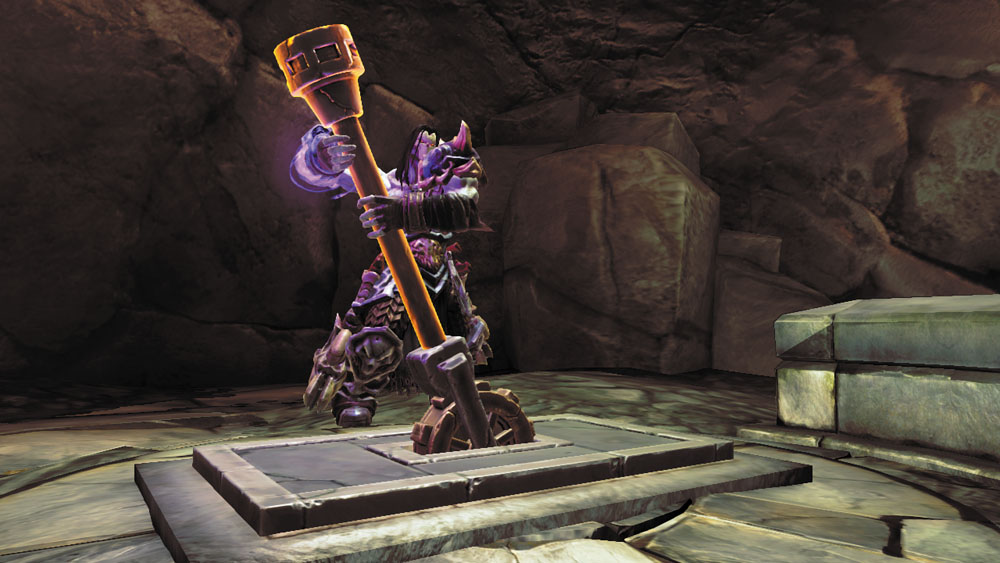
Death becomes trapped in the room as he nears the Maker Custodian, forced to combat a Corrupted Construct Champion and two Corrupted Construct Adjuncts. Fight hard to destroy these worthy foes, and then scale the north wall and work your way around the room to reach the south balcony. Pull the lever you find there to lower the gate near the Maker Custodian.
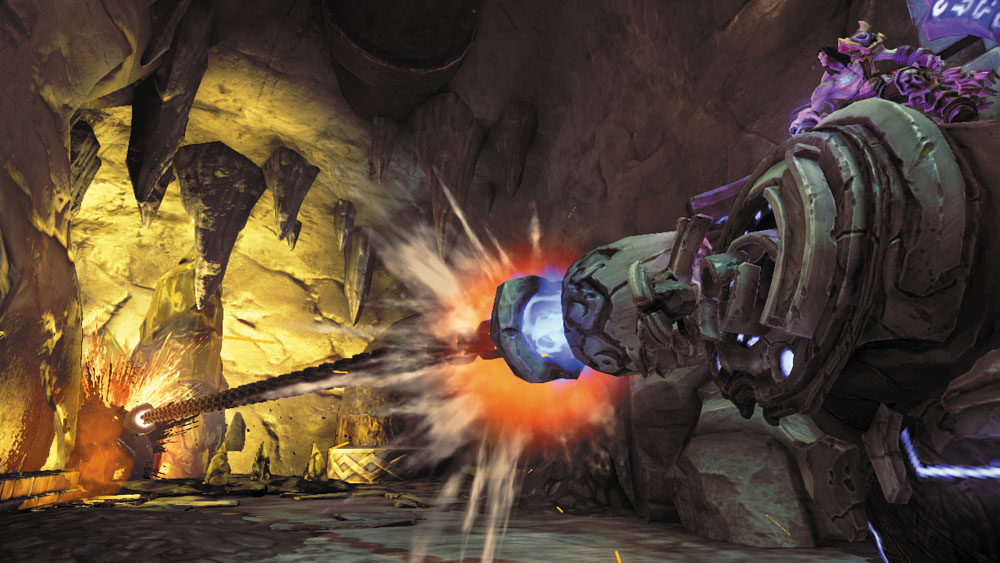
Drop down from the ledge, quickly activate the Custodian, and then use it to smash the additional constructs that storm the room. Search the nook from which these final enemies emerged to discover a chest that contains the Dungeon Map. Roll north, and then east afterward, smashing through some Corruption crystals to access a fiery chamber.
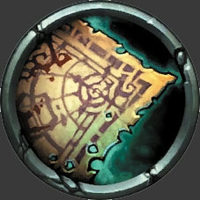
|
Dungeon Map |
Area 9: East Lava Cavern
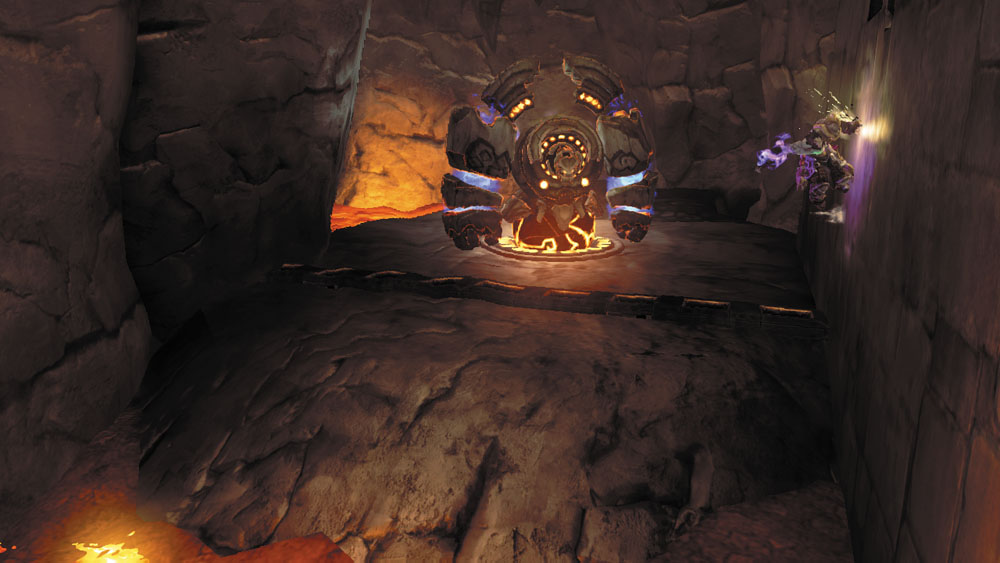
Two cranks must be turned within this chamber to raise the north gates. Roll west from the entry to reach a side passage and park the Custodian on the orb slot there to lower the nearby gate. Dismount and wall-run to a hand hold, and then wait for the overhead pipes to stop pouring lava before quickly wall-running past them.
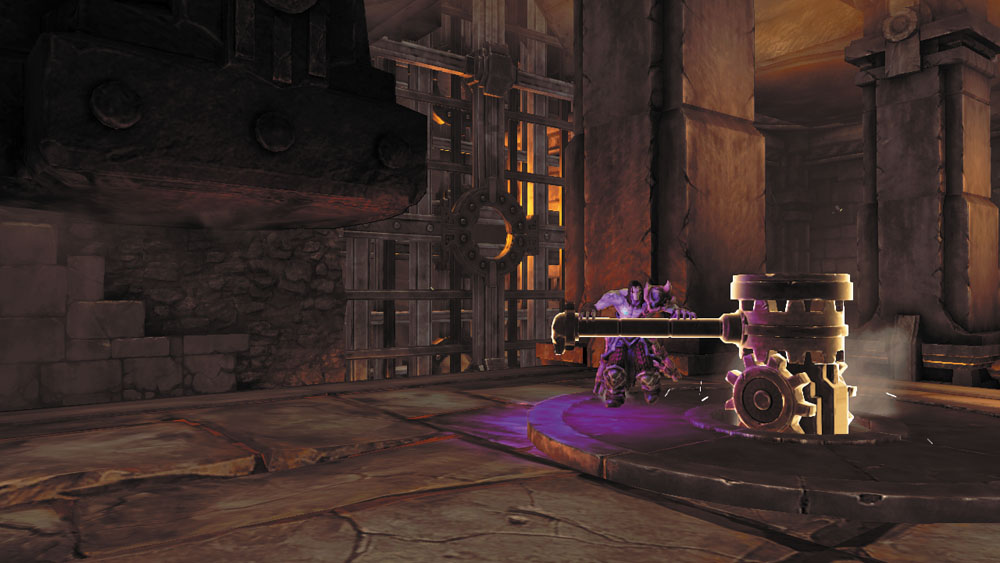
When you reach the final hand hold, climb up to the first crank and turn it to remove one of the two north gates. Enter the nearby passage afterward to discover a chest, and then drop down from the passage’s end to return to the Custodian.
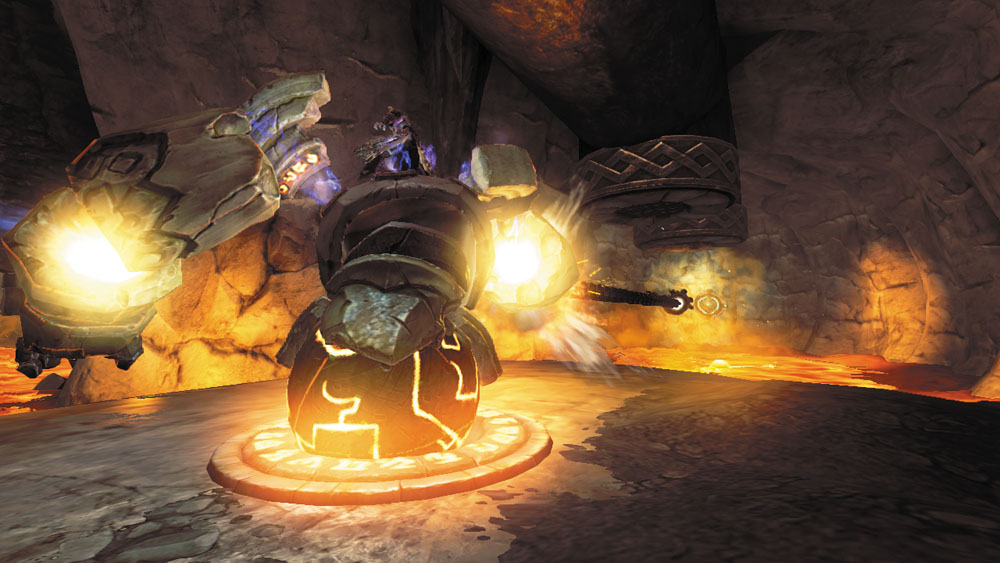
Now, roll the Custodian into the chamber’s east passage. Park it on another orb slot there, and this time, fire its chain at a target to the north. Mount the chain afterward and tiptoe across, again waiting for overhead pipes to stop pouring lava.
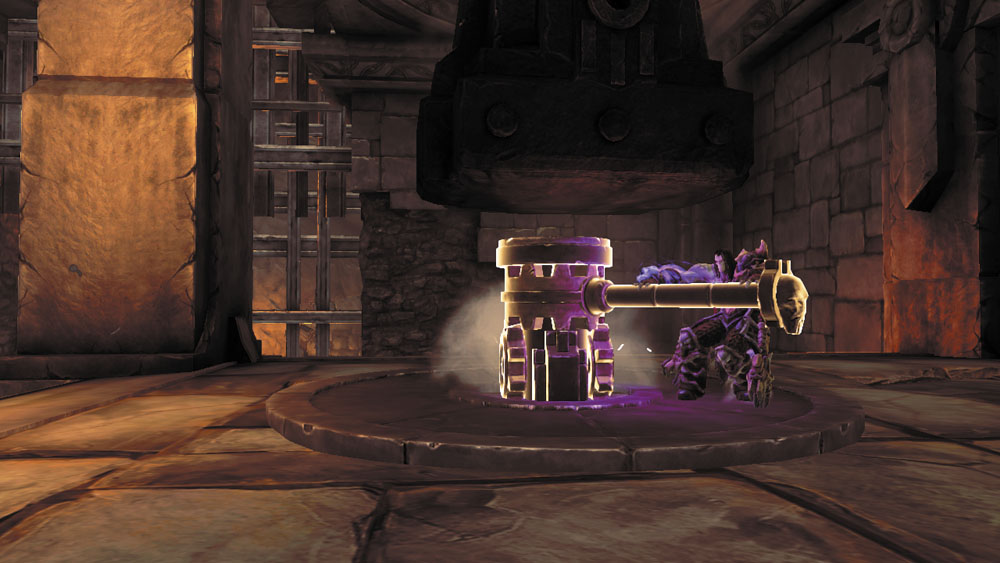
When you reach the end of the chain, turn left and Deathgrip a hoop to swing over to the second crank. Turn this to remove the final gate. Swing back to the chain afterward and avoid the pouring lava as you return to the Custodian. Roll into the north passage.
Area 10: North Passage
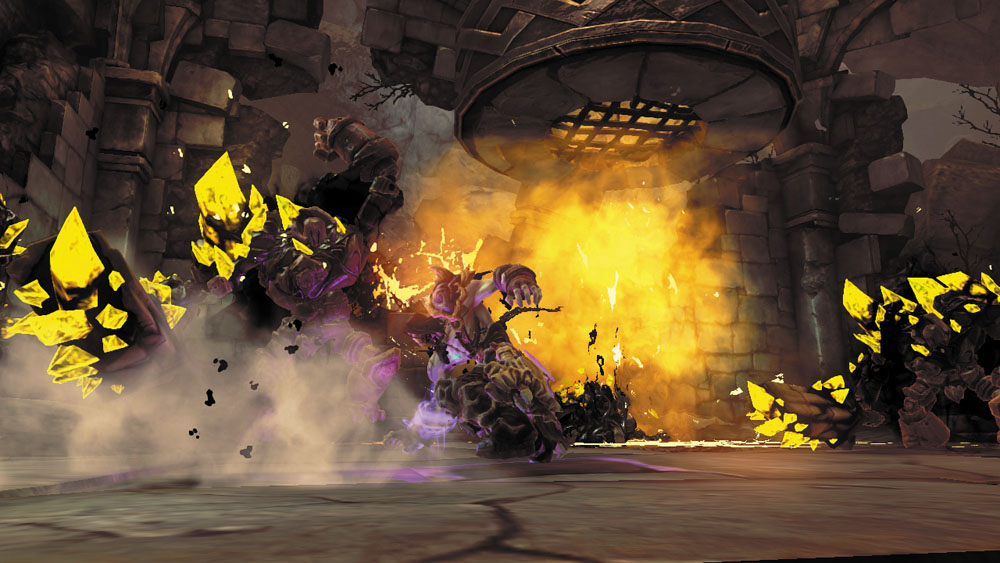
Dismount from the Custodian when you reach a tall gate that blocks your progress. Scale the nearby wall to bypass the obstacle. A host of Corrupted Construct Warriors, Adjuncts, and Champions ambush you on the gate’s other side. This is a perilous battle because ceiling pipes regularly pour lava into holes in the floor. Evade around these lethal obstacles as you cut down the constructs.
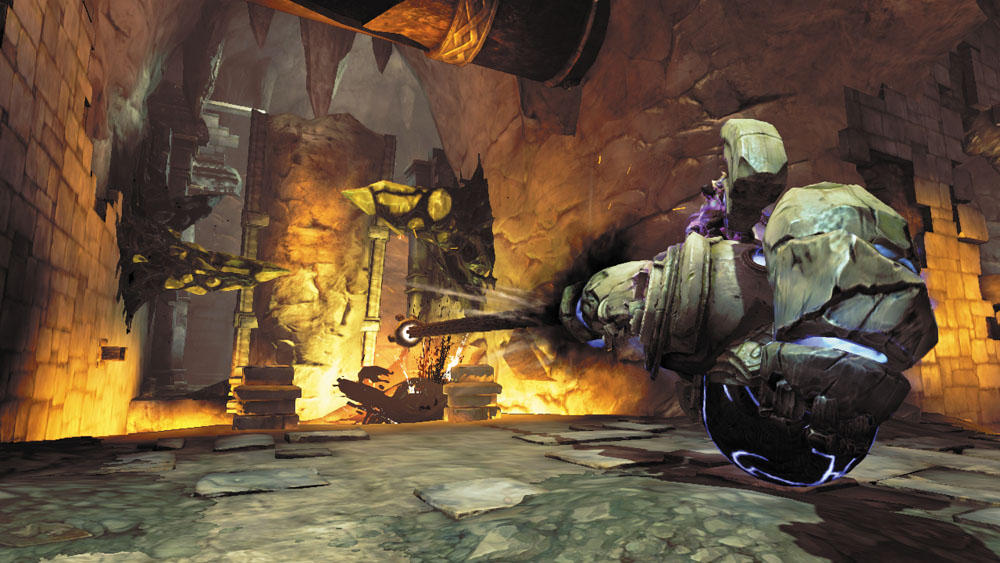
Slaying all of the enemies lowers the surrounding gates, allowing you to return for your Maker Custodian. Do so and roll past the west lava, arriving at a door. Fire the Custodian’s chain to destroy the Corruption crystals in the nearby passage, causing a bridge to fall into place. Roll across the bridge to return to the Lava Junction area.
Area 6, Revisited
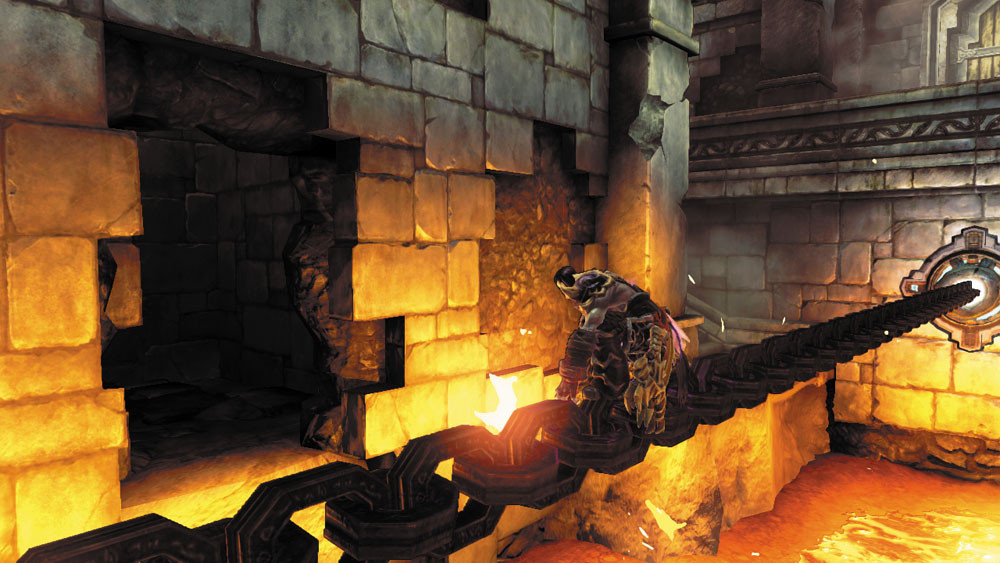
Park the Custodian on this area’s south orb slot, and then fire its chain at the south target. When you’re halfway across the chain, turn left and leap into the dark hole in the east wall. Deathgrip the hoop within the hole to ensure you enter it, and then scale the east wall to reach a higher ledge.
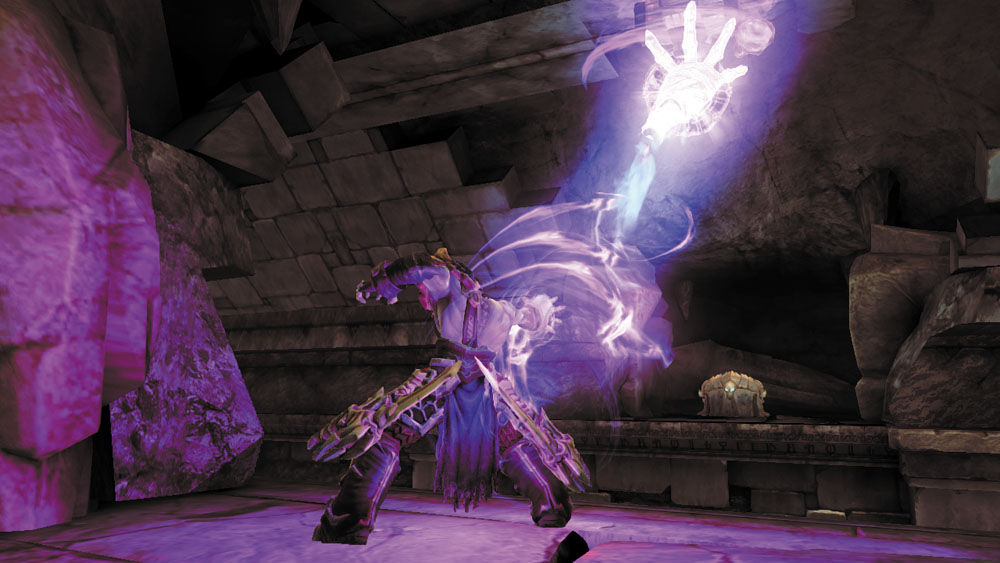
Swing from another hoop to reach the opposite ledge and plunder the chest you discover there, and then carefully drop back down to the chain. Cross it, scale the south wall, and proceed through the south door to reach the final area.
Area 11: Ghorn Showdown
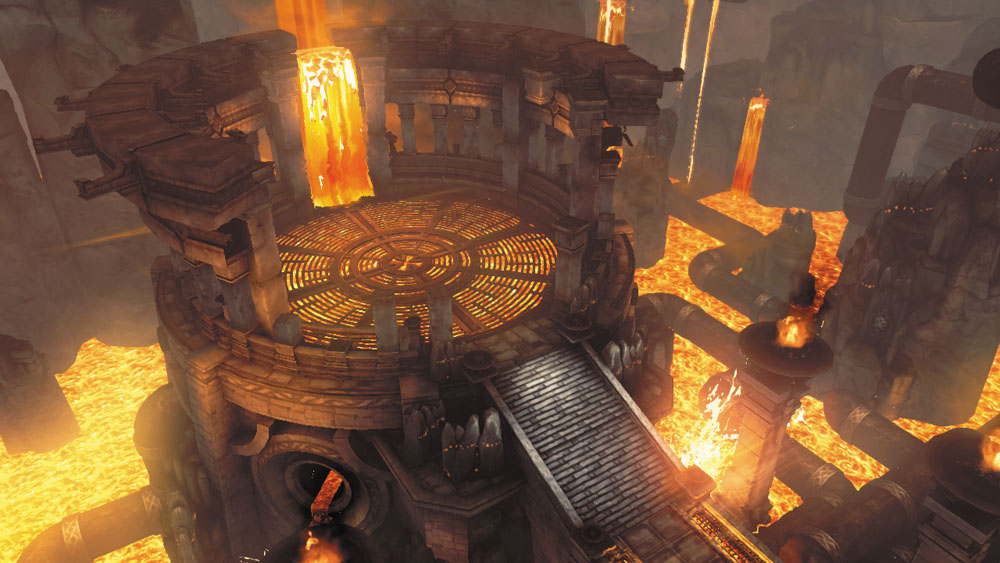
Crack open a pair of chests as you enter this final room. Sprint south afterward to at last face off against Ghorn.