
Darksiders II Guide Walkthrough Stains of Heresy
The Ivory Citadel
The Rod of Arafel has been restored. True to his word, the Archon uses the mighty artifact to clear a path through the dense web of Corruption that blankets the Ivory Citadel. Eager to obtain the angel’s key to the Well of Souls, the Horseman wastes no time in venturing to their fallen city...
The Ivory Citadel
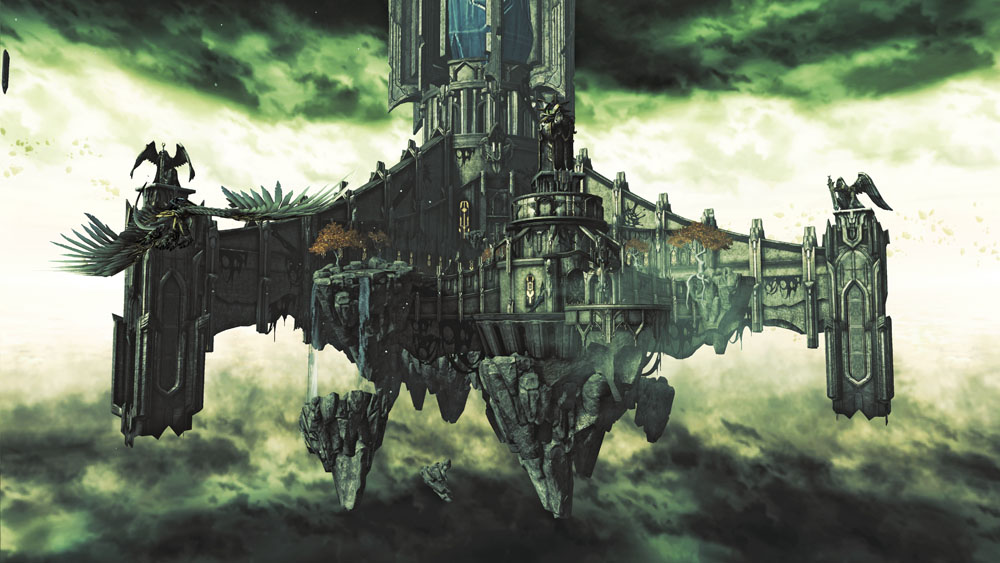
This labyrinthian stronghold contains a library that’s vast beyond imagining, but Corruption now owns this once holy place.
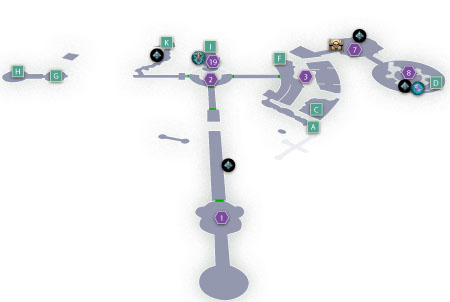
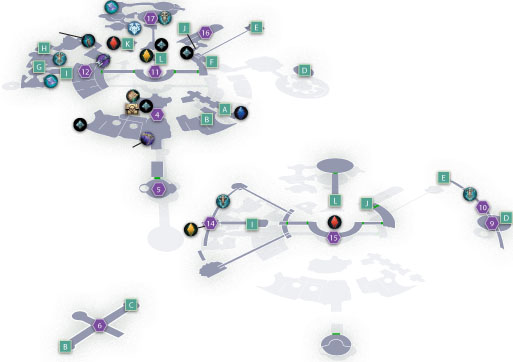
Area 1: Entry Hall
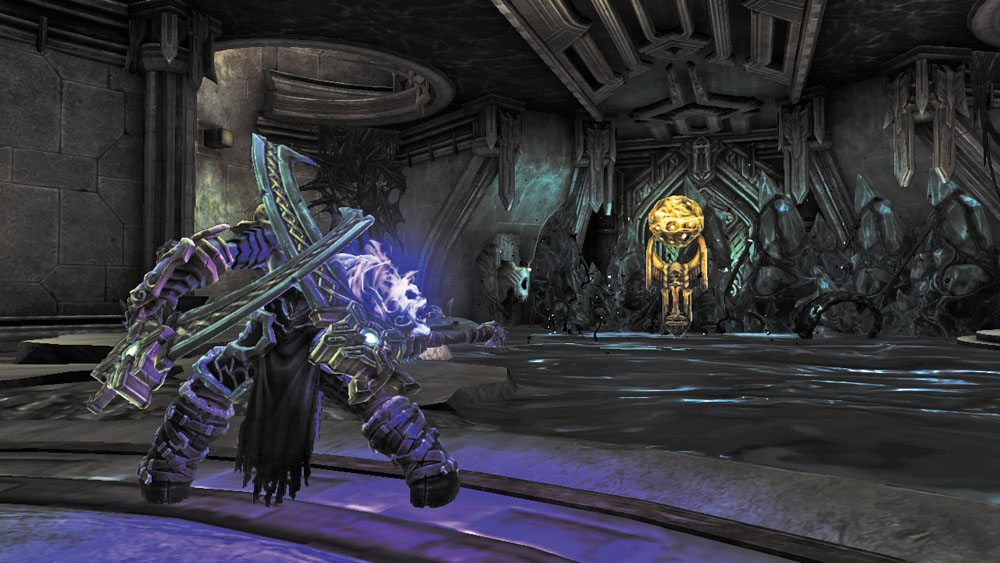
Death begins on an exterior landing. Advance through the north door to reach a small room with an unusual golden orb—a Holy Fire Node. Carefully avoid the inky Corruption ooze on the floor and scale the northeast wall to reach the room’s second floor.
Death Tomb III
If you’ve been following this walkthrough carefully, then you obtained your thirtieth Book of the Dead page on Earth. Consider fast-traveling to the Tree of Life at this point and riding north to trade your pages to Vulgrim in exchange for another special key. Ride north and use the key to unlock Lostlight’s Death Tomb. You’ll find a hoard of loot inside, including two Boatman Coins and a unique talisman.

|
Boatman Coin 84-85 |
|
Hoardseeker Talisman |
Cleansing Fire
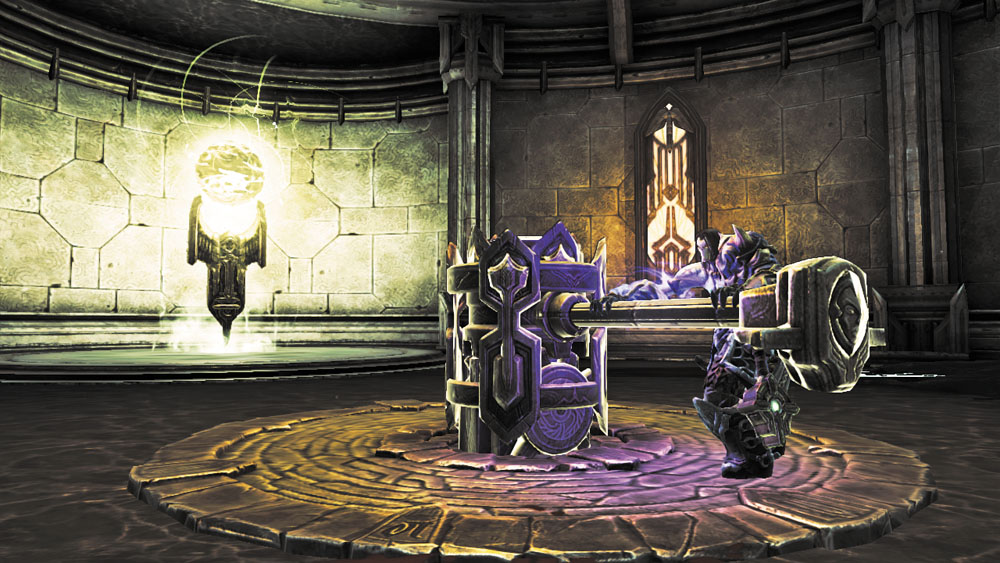
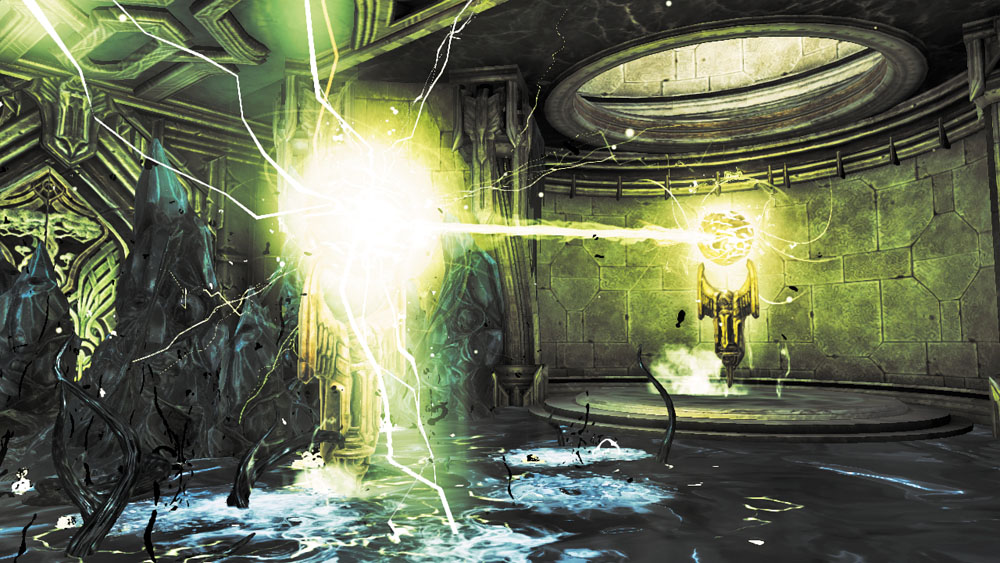
Spin the crank you discover on the entry hall’s second floor to lower another Holy Fire Node down to the first floor. When both Nodes draw close to one another, they emit a powerful blast of cleansing fire that eradicates the Corruption ooze. Drop down to the first floor and proceed through the north door.
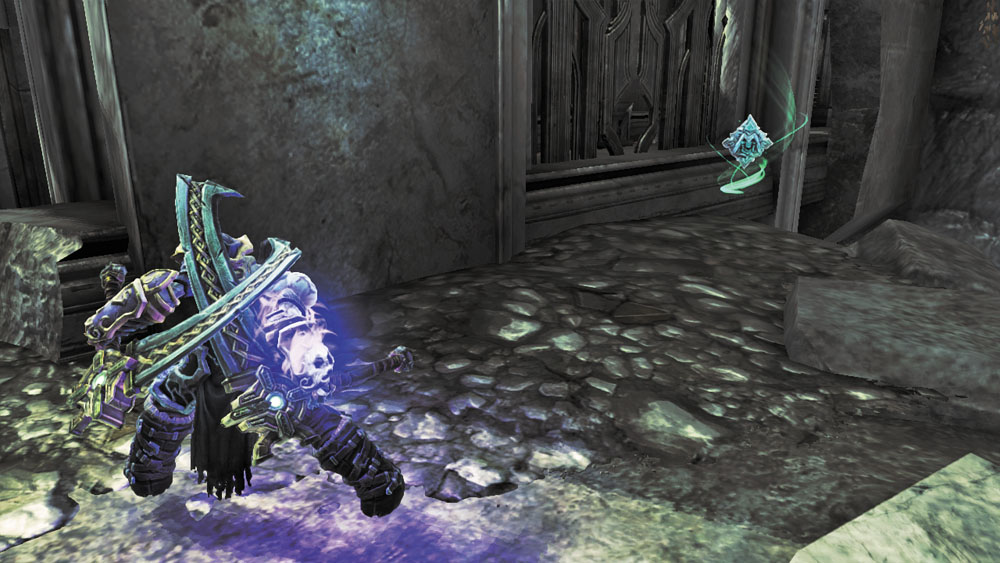
You can’t obliterate the high Corruption crystals in the Entry Hall’s north stretch, but you can slip around the wall to the right and claim a hidden Boatman Coin from a small ledge. Proceed north afterward and Deathgrip an overhead hoop to swing over to a door that leads to the next area.
|
|
Boatman Coin 86 |
Area 2: Corruption Pool
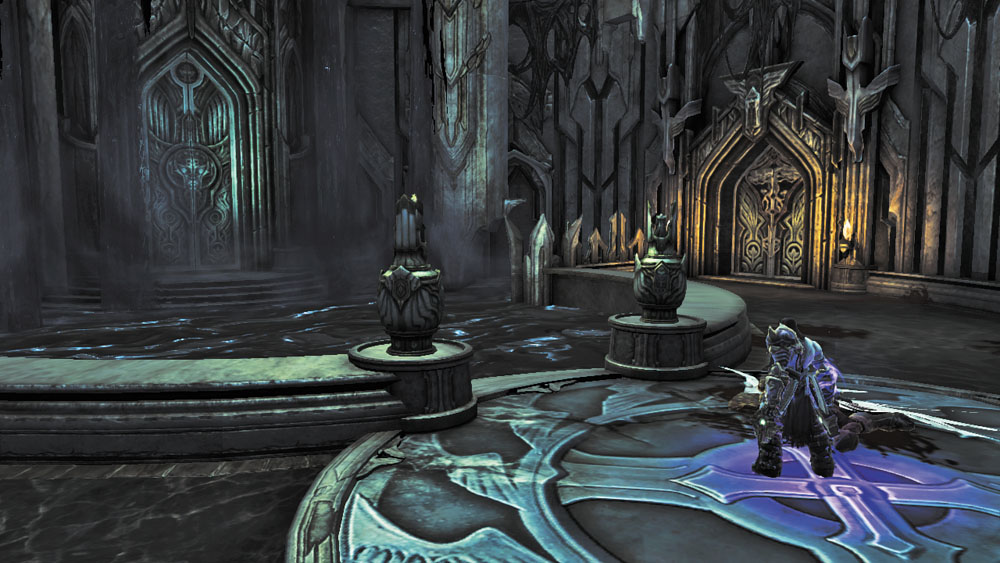
A large pool of Corruption ooze has filled this chamber and blocks access to the north door. The west door is sealed, so head through the east door instead.
Area 3: East Courtyard
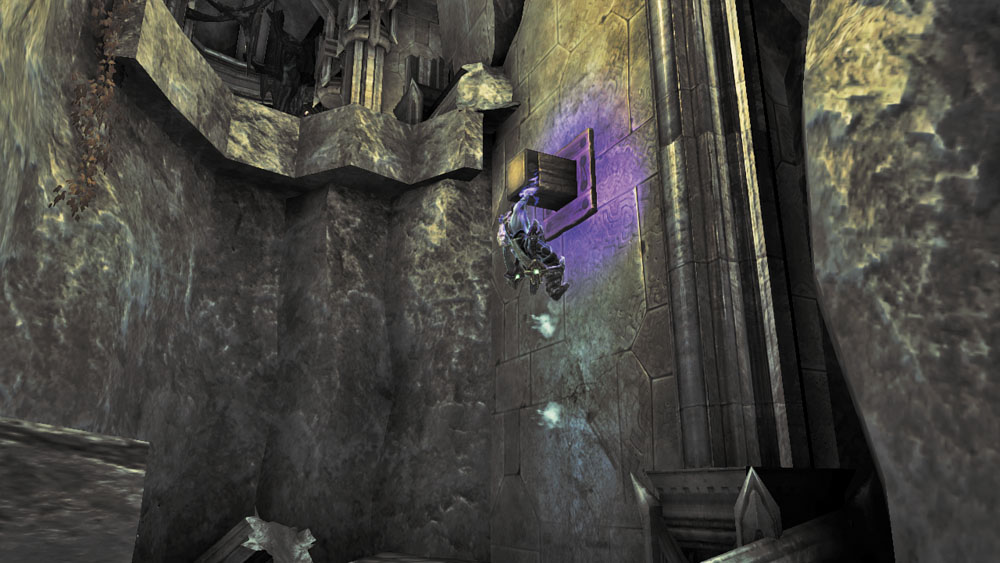
Travel south, loot a chest that sits behind a tree, and then scale the nearby stairs to reach an earthen passage. Run to the end and climb the far wall to reach the passage’s second floor.
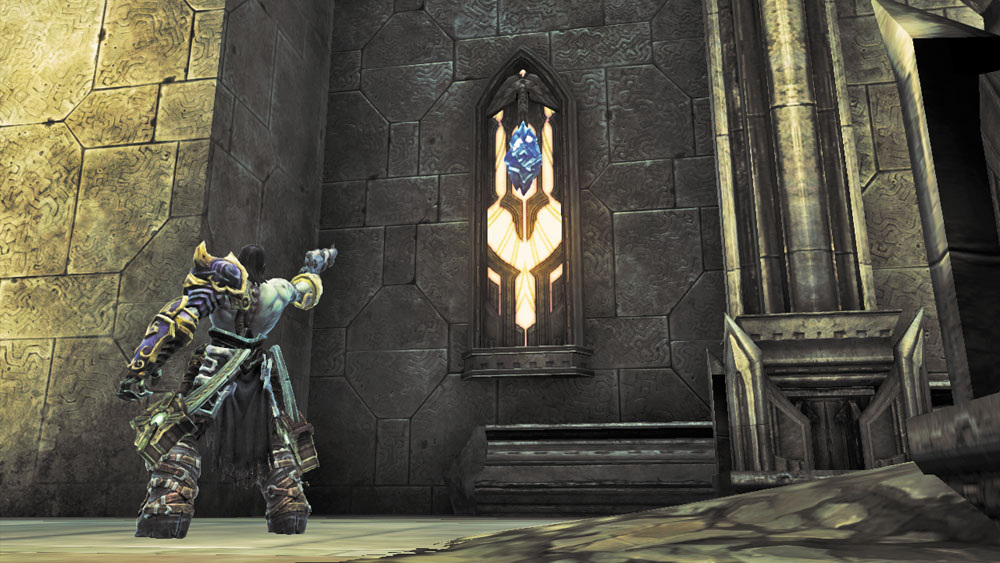
After climbing up to the second floor, turn around and wall-run over to a chest. Shoot the nearby Stonebite as well, and then wall-run back to the main passage and follow it to the next area.
|
Stone of Mystics 32 |
Area 4: South Courtyard
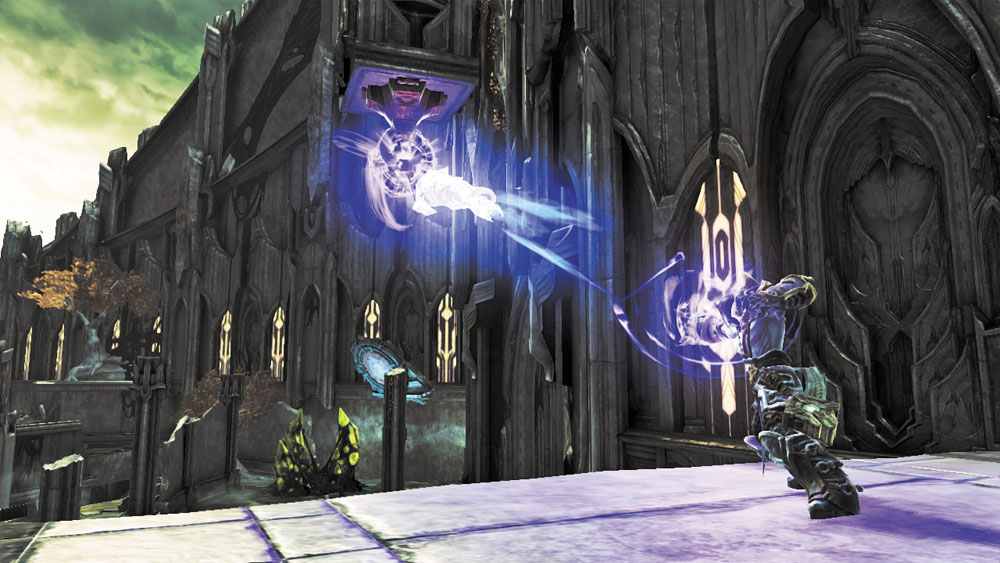
Swing across an overhead hoop to reach this area’s northern island. Cut down a few Corrupted Angels after you land, and then collect the Boatman Coin that sits between a fallen column and a broken wall.
|
|
Boatman Coin 87 |
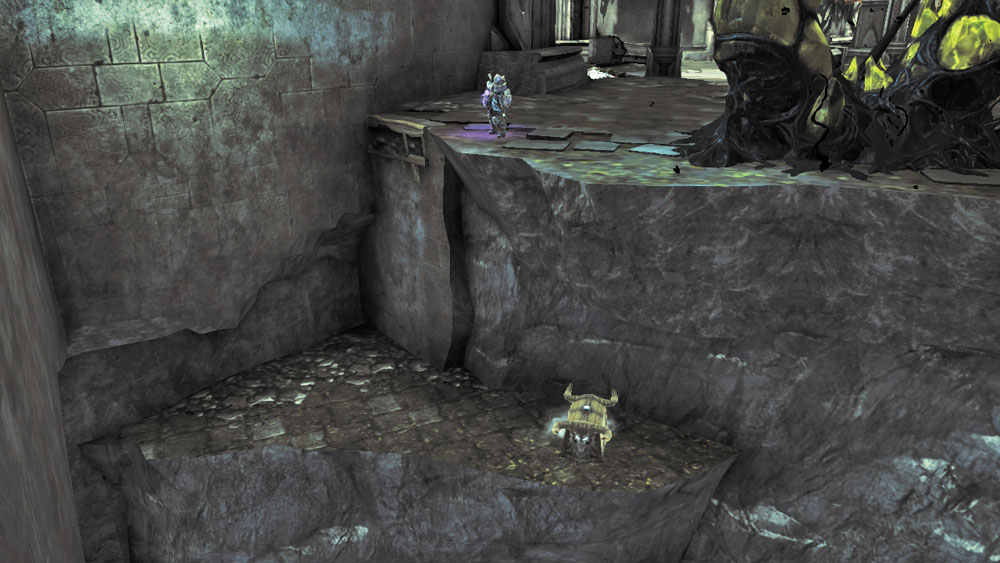
Inspect the northeast wall and notice a peg which hints that you need to wall-run across. Before doing so, spy a hand hold on the edge of the island and carefully drop down to a lower ledge where an ornate chest is found. Crack it open to claim the Dungeon Map.
|
Dungeon Map |
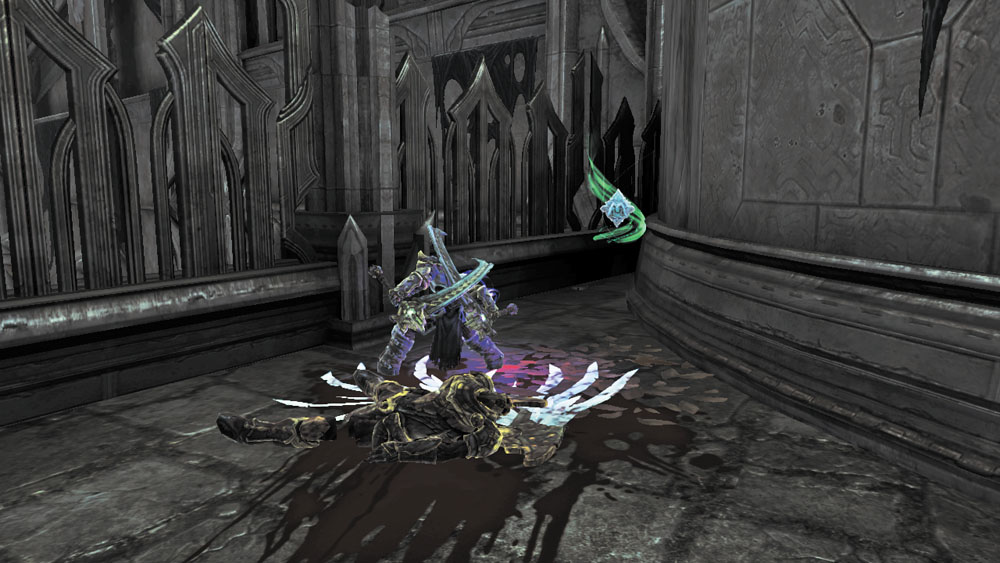
Climb back up from the low ledge after looting the chest and make a long wall-run to reach the South Courtyard’s south island. Find a Boatman Coin tucked into the west corner.
|
|
Boatman Coin 88 |
Under Pressure
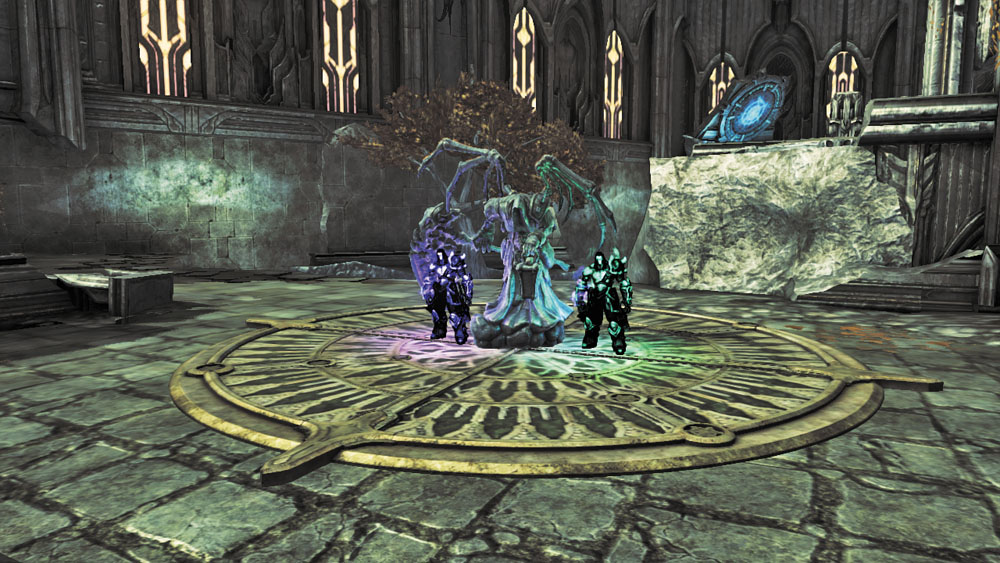
Notice the south island's circular pressure plate, which opens the nearby aqueduct gate. Stand on the larger circular pattern to the north and split Death's soul there.
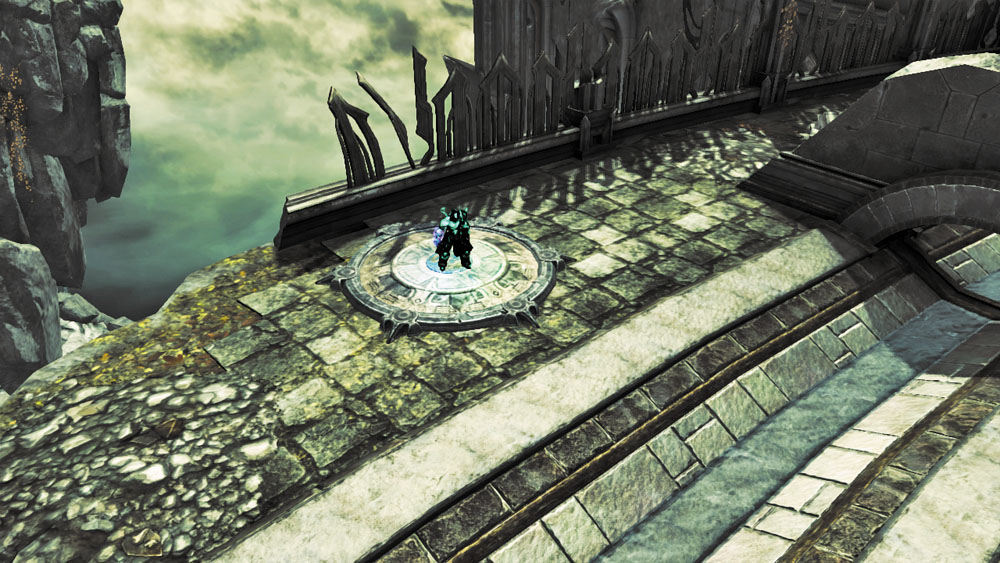
Move one soul onto the circular pressure plate, and then switch to the other soul and proceed east through the aqueduct gate.
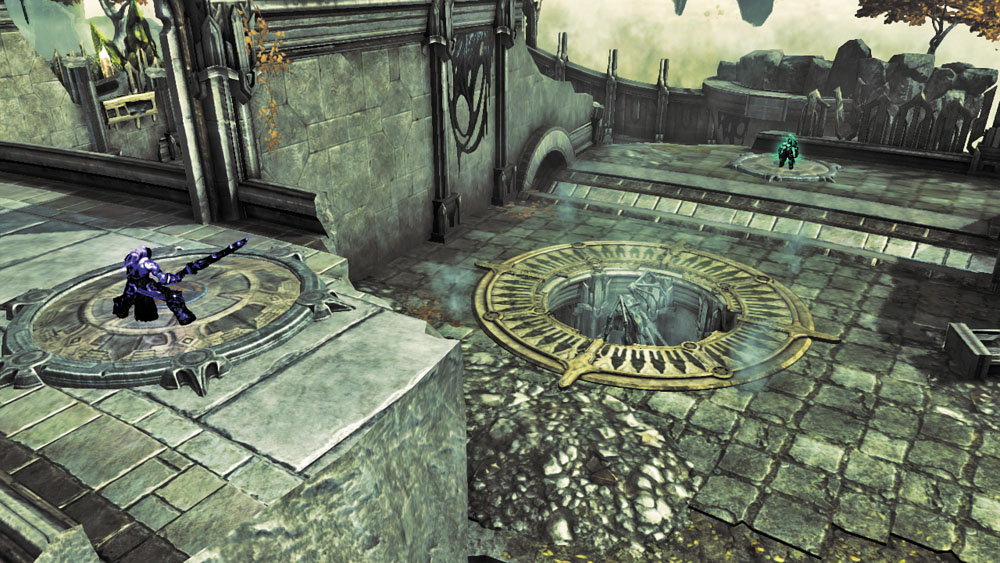
Turn left (north) after passing through the aqueduct gate and scale the low wall to reach a ledge. Stand on the circular pressure plate up here to open the floor where Death's physical form is standing.
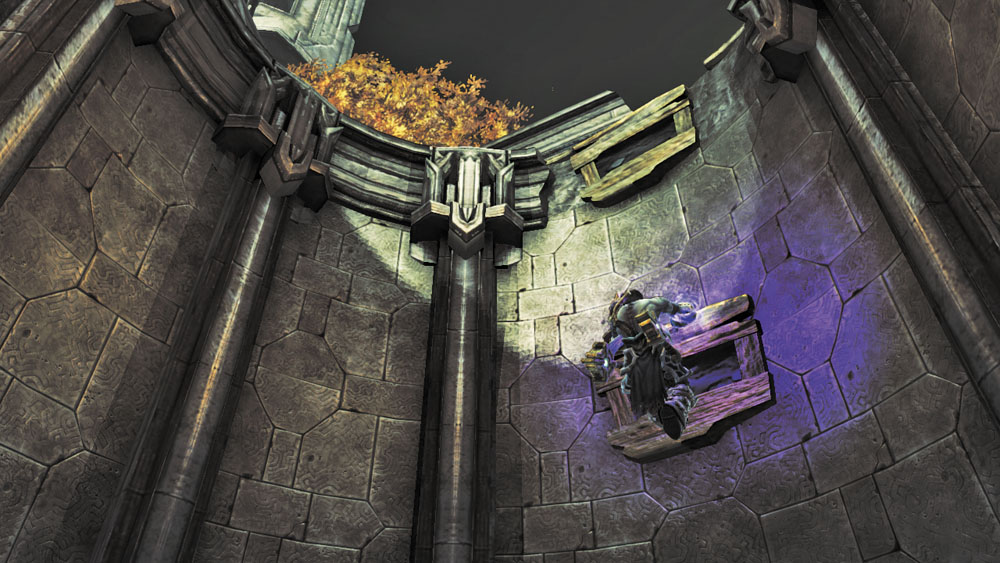
Death's body lands in a lower passage. Return to physical form and scale the passage's far wall to reach the south island's east side.
Crystal Cracker
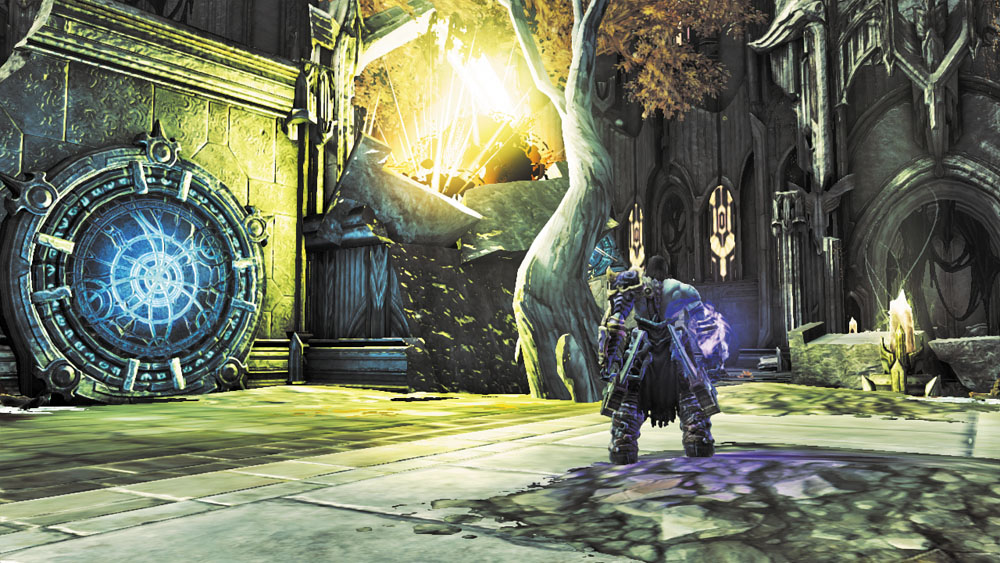
Beat down more Corrupted Angels on the south island’s east side, and then Deathgrip a Shadowbomb from the nearby pod and use it to obliterate the southern Corruption crystals. Toss another bomb at the crystals to the northwest to destroy those, as well.
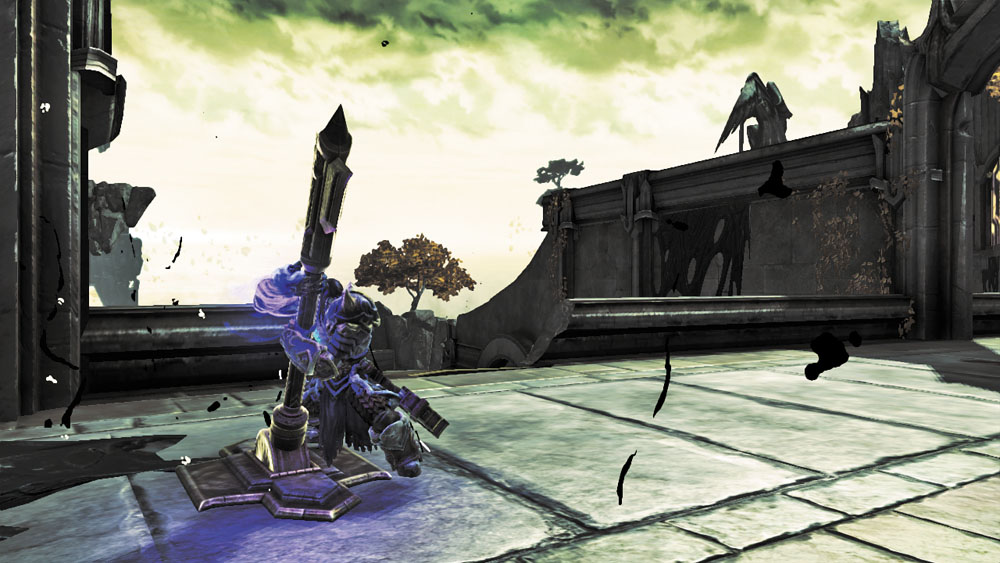
Before swinging from the south hoop, backtrack to the west and climb the low wall that leads to the second pressure plate. Now that the corruption crystals are gone, you can pull a lever up here. This opens another aqueduct gate to the east.
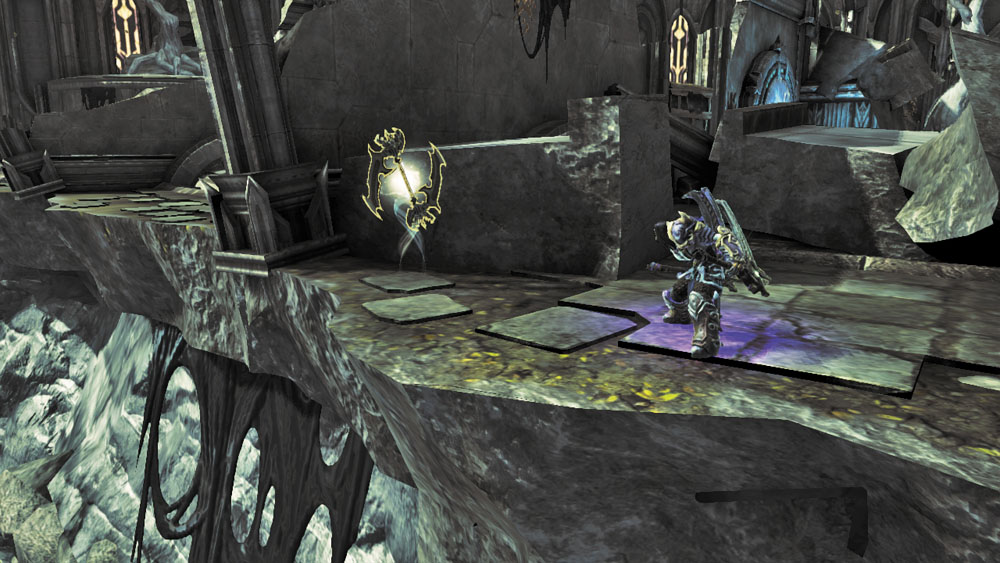
Drop down from the lever ledge and follow the aqueduct to its end. Loop around the debris to your right to discover a unique weapon.
|
Goldbringer |
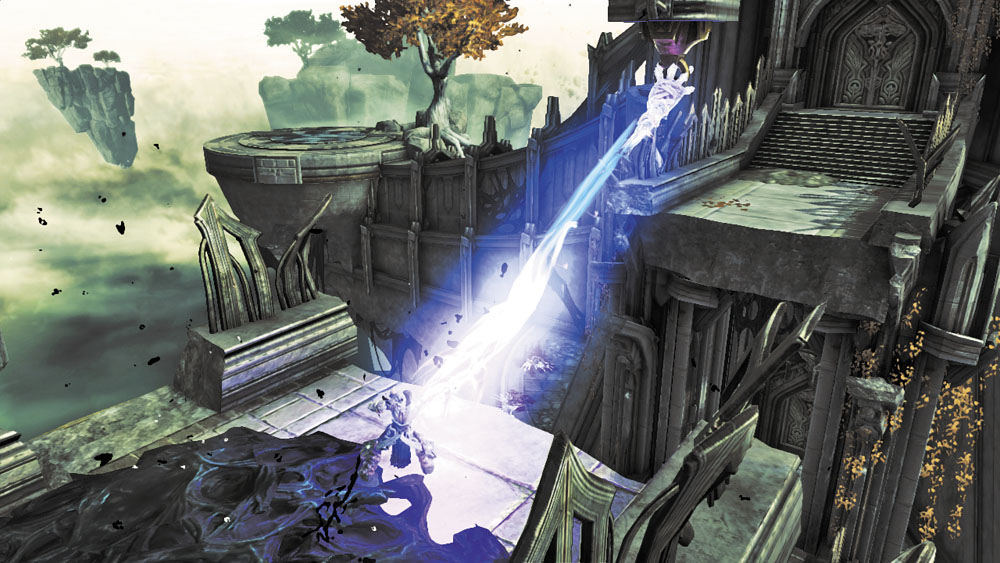
Make your way back to the south walkway and swing from the hanging hoop to clear the gap. Proceed through the south door.
Area 5: Voidwalker Chamber
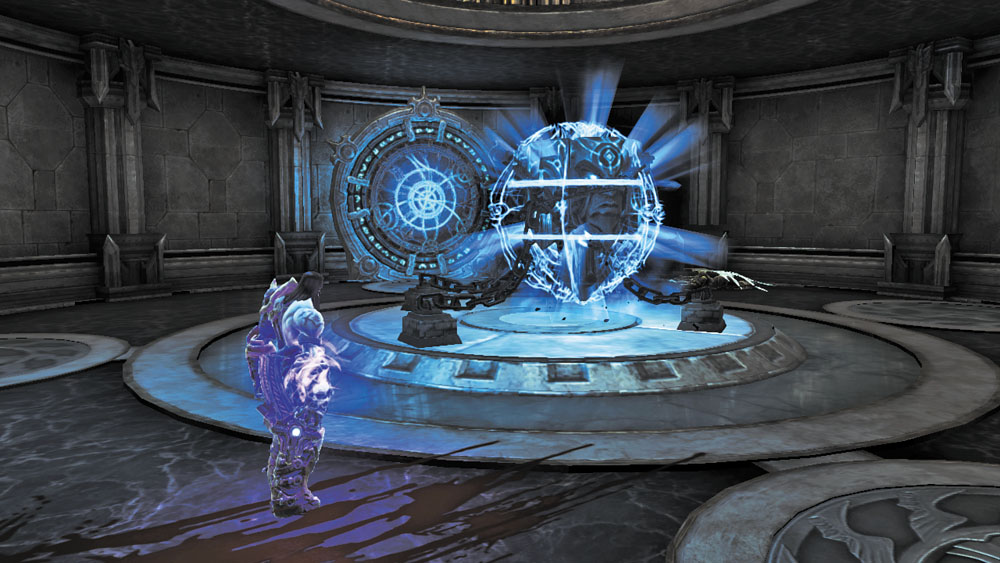
Drop into this chamber and smash the chained object to obtain the Voidwalker—a gun-like tool used to activate warp portals. Test out this new item by firing it at the two portals in the room. Pass through the lower portal to pop out of the upper one, and then make your way back out to the South Courtyard.
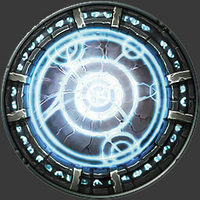
|
Voidwalker |
Area 4, Revisited
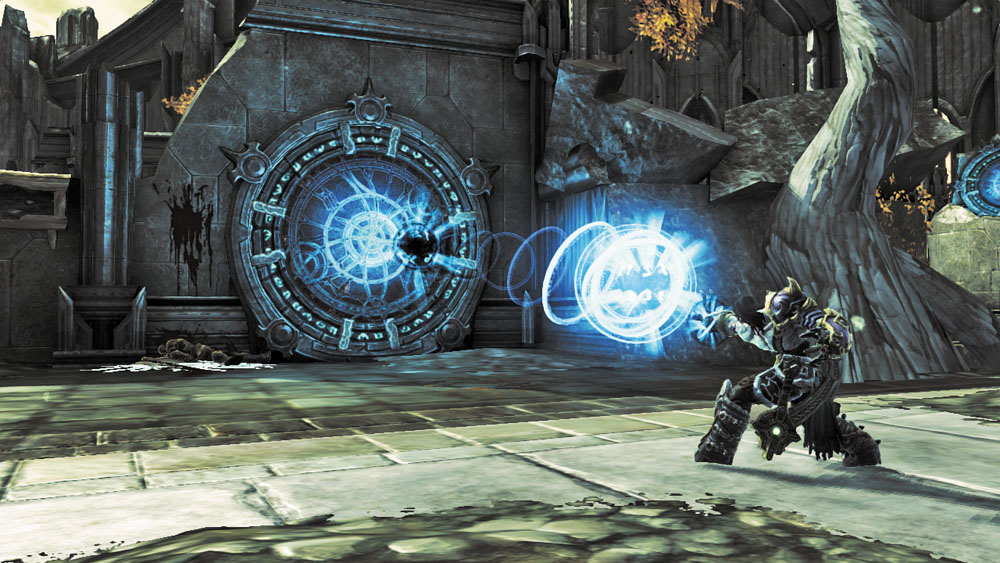
Slay a few more Corrupted Angels back at the South Courtyard before using the Voidwalker to activate the nearby portal. Aim and fire another blast at the distant portal to the north, but don’t travel through just yet. Instead, Deathgrip another Shadowbomb and toss it through the nearby portal to obliterate the north island’s corruption crystals, exposing a hidden chest. Now, pass through to warp over to the north island and claim your loot.
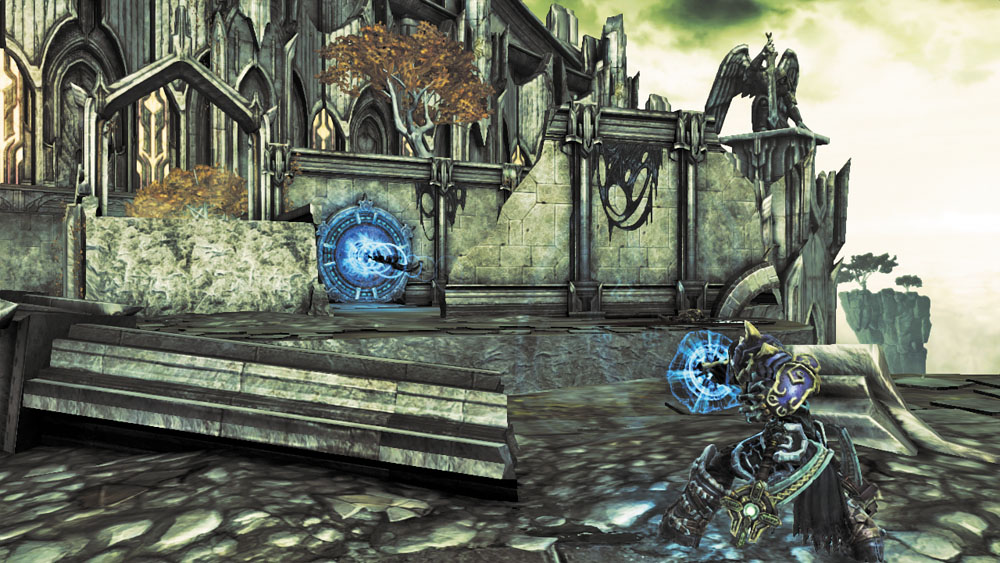
Wall-run back to the south island and solve the Soul Splitter puzzle again to return to its east side. This time, use the Voidwalker to activate the distant portal to the east. Only two portals can be open at once, so fire another blast at the south island’s portal if need be, and then step through to reach the east island.
Area 6: Basement
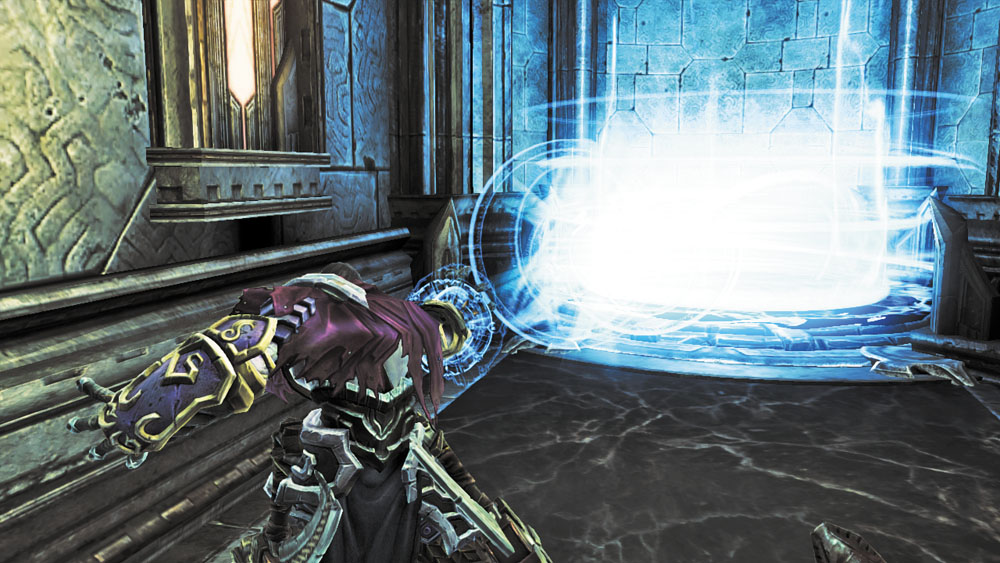
Pull a nearby lever to open a trap door. Drop through the hole to reach a small basement passage. Activate the west portal down here and raid a chest, and then hold the Special Item trigger to charge up the Voidwalker before releasing it and activating the portal on the floor to the north. Death rockets out from charged portals at high velocity; step through the west portal and see for yourself!
Area 3, Revisited
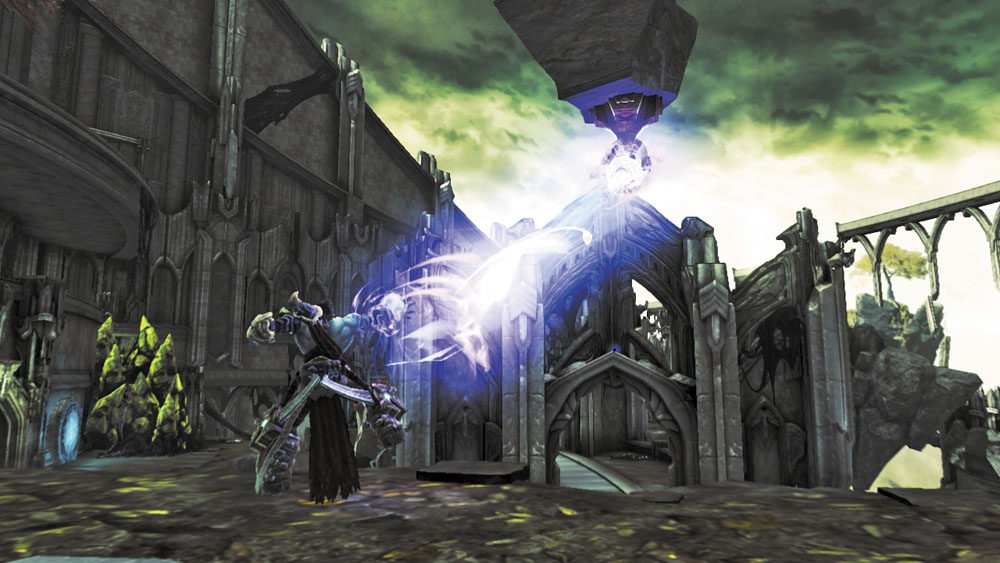
Death bursts up from the Basement area’s portal and lands in a new section of the East Courtyard area. Deathgrip the nearby hoop to swing across a gap and land on the area’s eastern walkway.
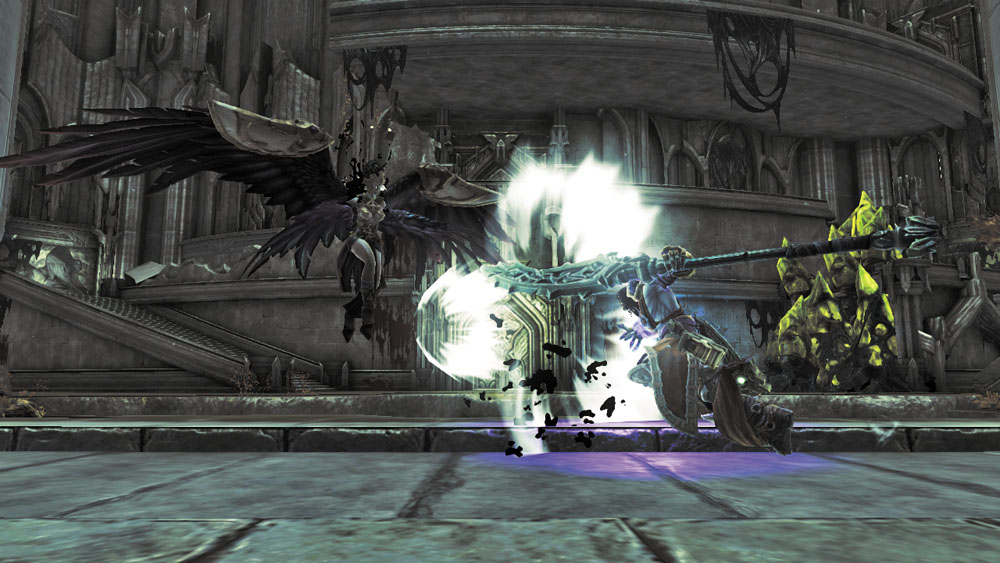
Advance until you’re trapped in an area with a dangerous new enemy called an Ayfid. Avoid this winged warrior’s swift attacks and counter until it can withstand no more. Slay the pair of Ayfids that appear after the first Ayfid falls.
Area 7: East Tower Access
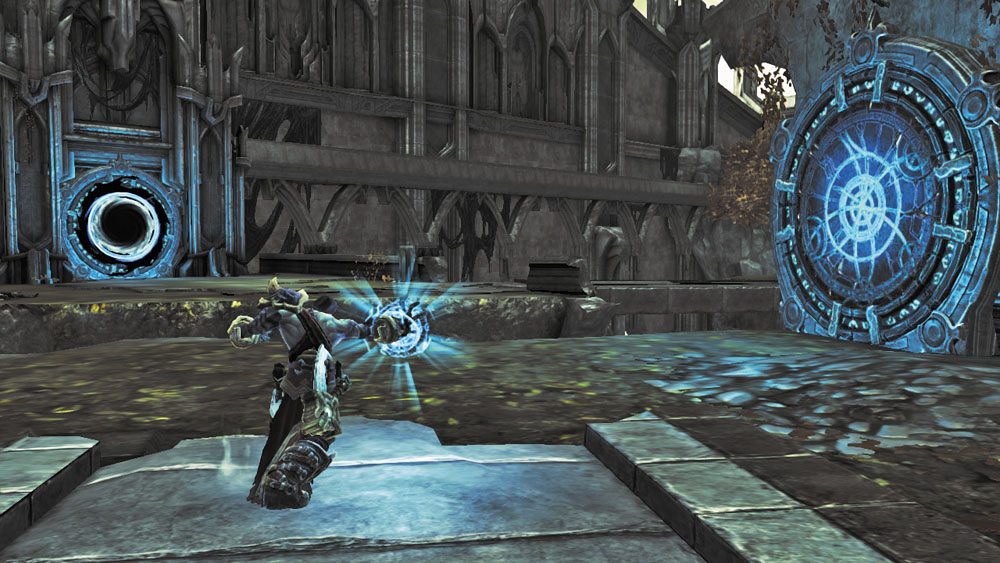
Proceed north after slaying the Ayfids and use the Voidwalker to travel through the north portal. After you emerge, cut down the Corrupted Angel and cross the east bridge to reach an island with a Holy Fire Node.
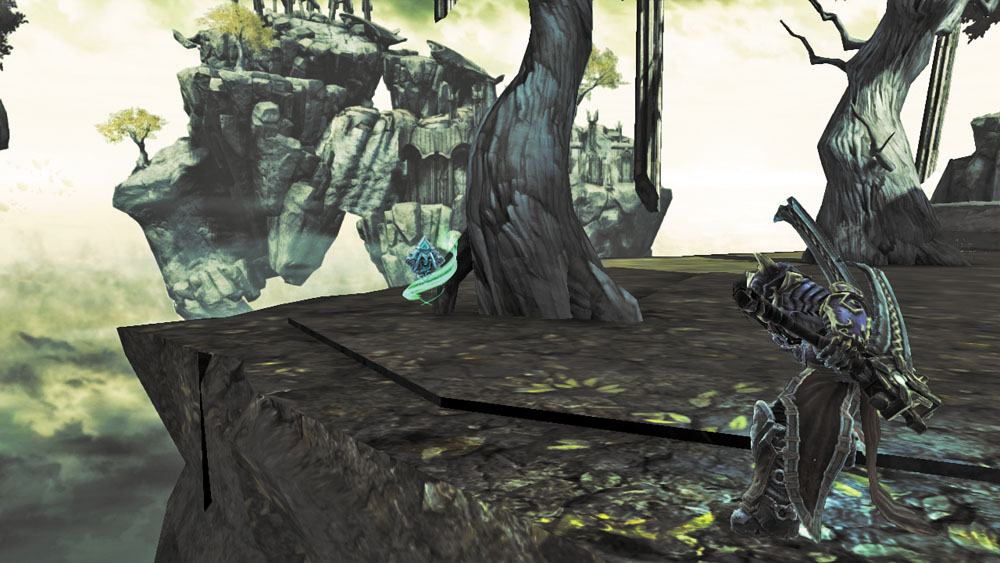
Dispatch more Corrupted Angels near the Node, and then circle around behind the nearby standing wall and smash the four vases behind it to cause a secret chest to appear. Search behind the north tree as well to discover a hidden Boatman Coin.
|
|
Boatman Coin 89 |
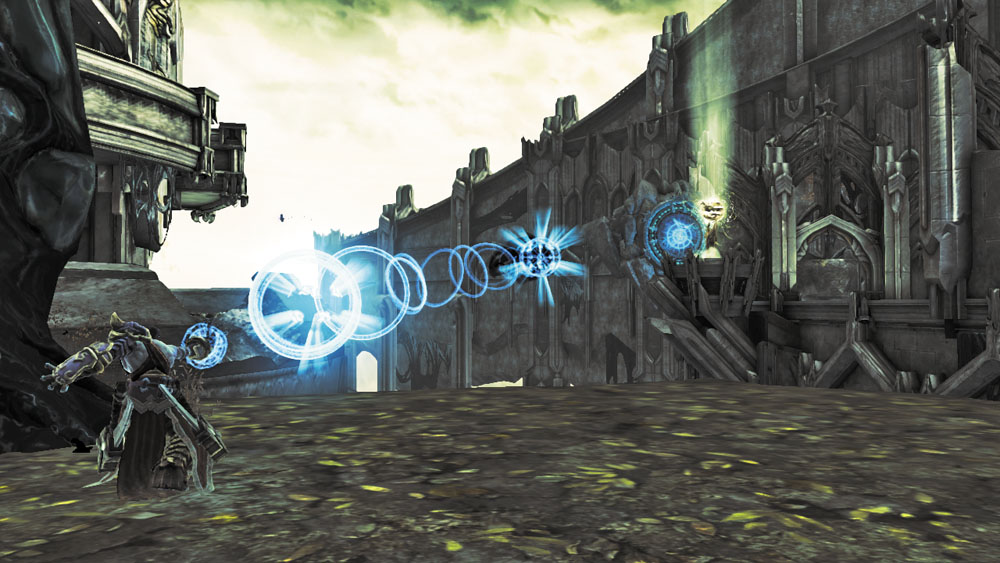
Activate the standing wall’s portal, and then look south to notice another Fire Node. Open the portal near this distant node, and the two Fire Nodes will ignite and wipe out the black Corruption that blocks the southern bridge.
Area 8: East Tower
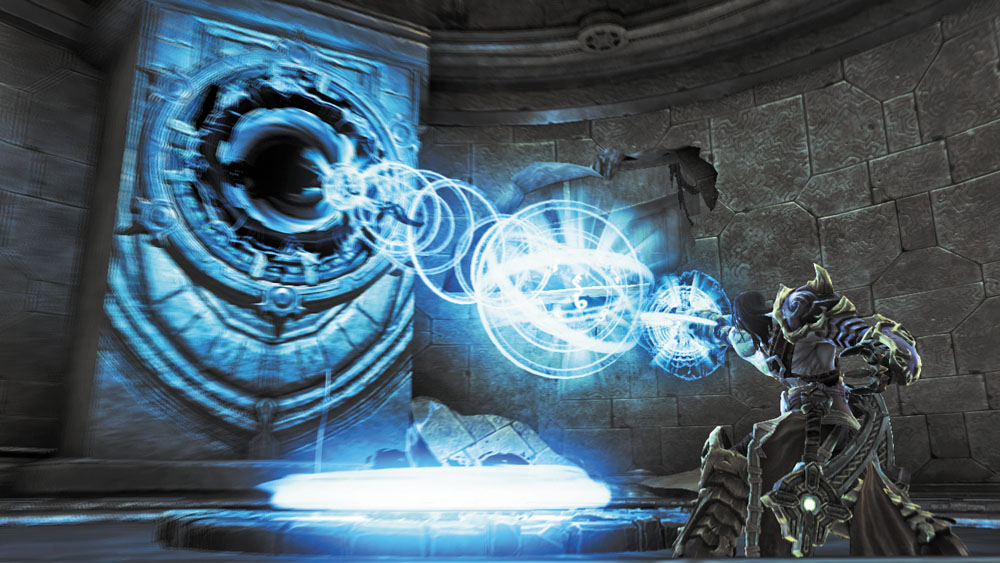
Cross the bridge and circle around the tower, heading for its southern staircase. Drop down into the hole on the side of the tower before you reach the stairs and activate the two portals there, using a charged Voidwalker blast to open the portal on the wall.
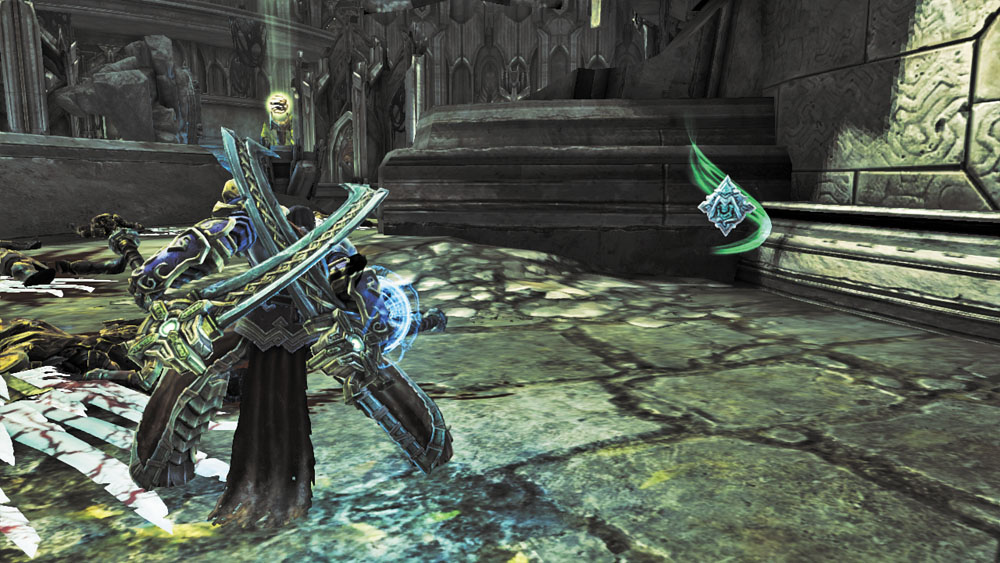
Climb out of the tower and advance toward its exterior stairs. Claim a Boatman Coin along the way, and shoot the Stonebite on the stairs’ archway before heading up.
|
|
Boatman Coin 90 |
|
|
Stone of Mystics 33 |
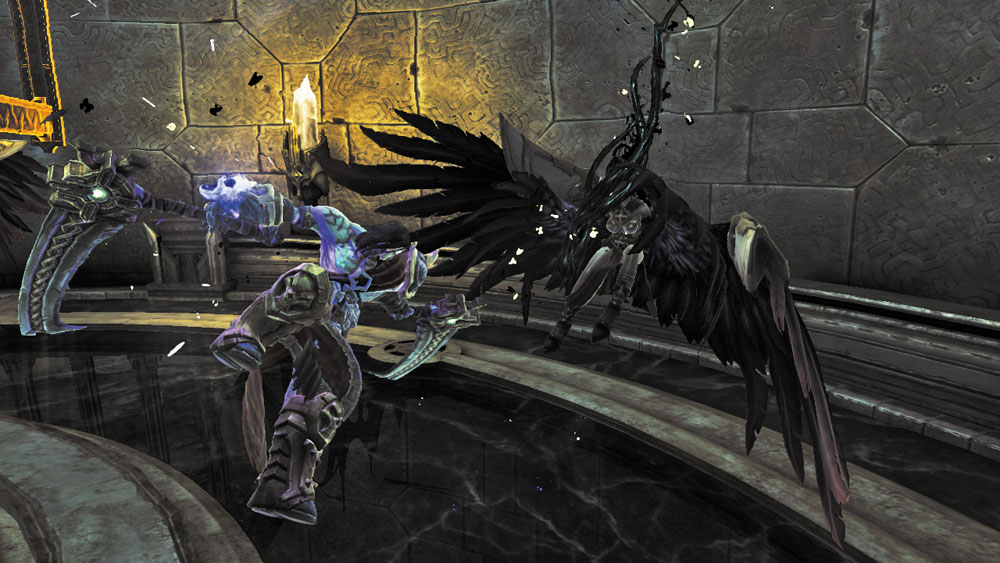
Cut down an Ayfid and several Corrupted Angels within the tower, making good use of the Deathgrip to draw in enemies and simplify the challenging fight. Split Death’s soul in the center of the room afterward, and then have each soul trigger the pair of pressure levers that stick out from the walls. With both levers lowered, the floor opens, causing Death’s physical form to plummet through the portals you opened below and soar out to the tower’s north side.
Area 9: East Tower Apex
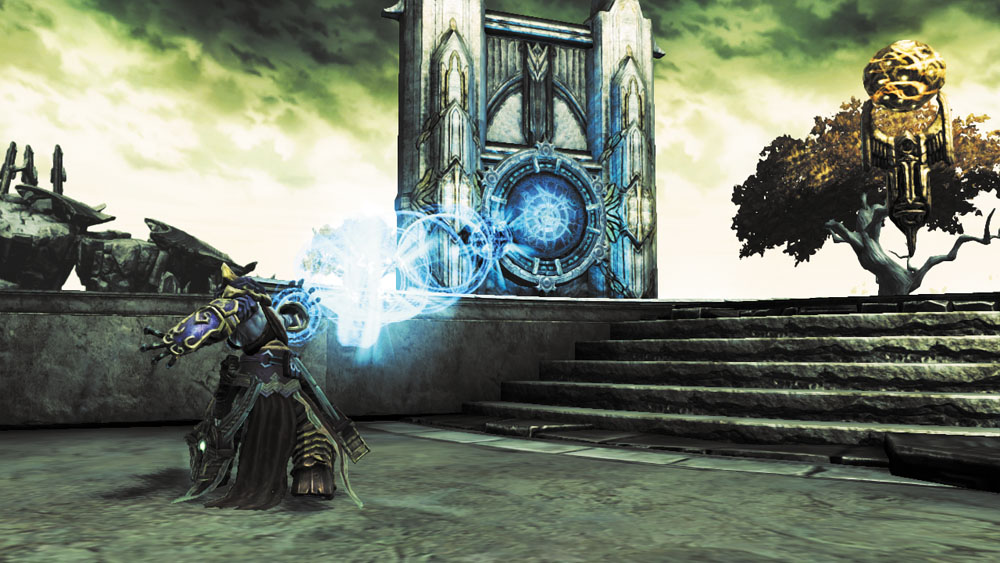
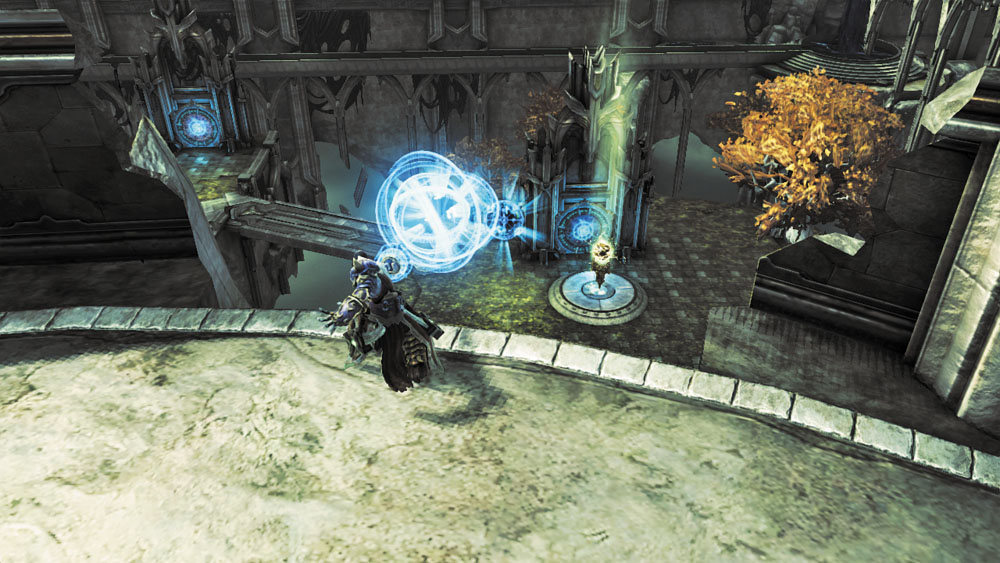
Scale the tower’s outer wall to reach its top, where a Holy Fire Node hovers over a pool of deadly Corruption ooze. Activate the portal up here, and then peer over the tower’s north edge and open the portal near the previous Fire Node. With both portals opened, the Nodes resonate and purify the pool, sending clean water flowing through the nearby aqueduct.
Area 10: East Aqueduct
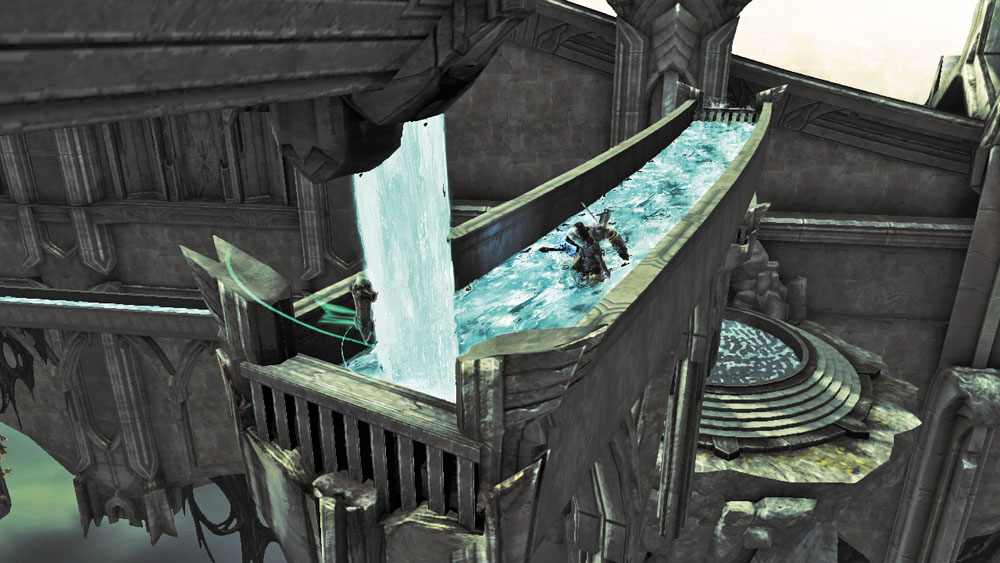
Jump into the aqueduct and follow the water’s flow. Drop down to the lower channels. After making your second drop, turn around and claim a Relic hidden behind the waterfall.
|
Relic of Renagoth 9 |
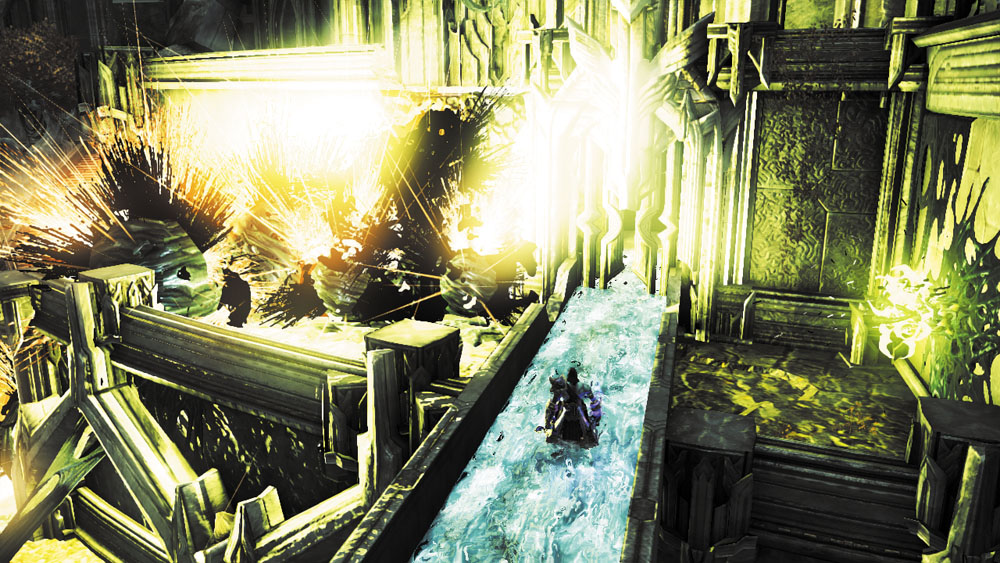
Keep going until you reach the aqueduct’s end. Deathgrip a Shadowbomb from the nearby pod and hurl it at the Corruption crystals. Now you can easily return to the East Courtyard’s entry, but don’t do so at present. Instead, scale the wall growth that the crystals were blocking to reach a narrow balcony.
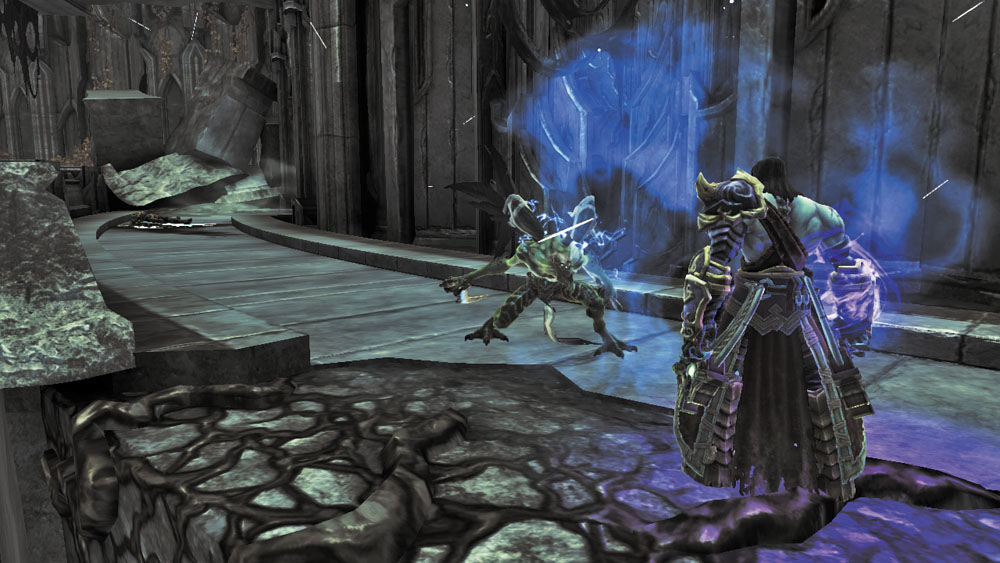
A curious creature called a Sycophant appears when you reach the balcony, but quickly vanishes. You’ll catch up to this little devil soon enough. For now, proceed through the south door to reach the next area.
Area 11: Corruption Pool—Second Floor
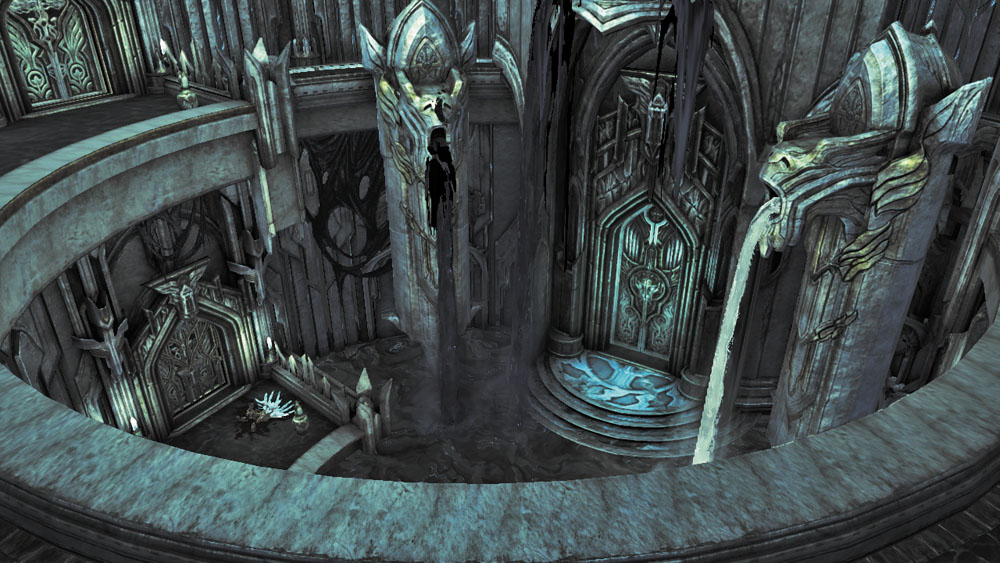
As Death enters the Corruption Pool’s second floor balcony, he notices that pure water is now flowing into the lower pool. It’s not enough to purify the pool, but it’s a start. Smash vases for minor items on your way to the west door, which leads back outside.
Area 12: West Courtyard
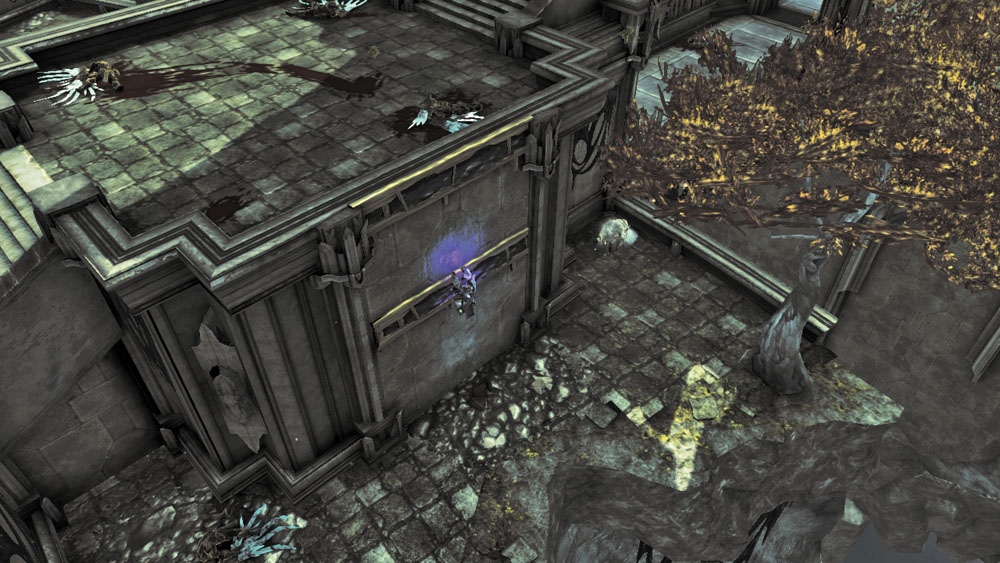
Corruption crystals block this area’s north balcony, and the door above the west stairs is locked. Go west anyway and drop down from the north edge of the walkway just before the stairs to reach a small ledge with a chest. Climb back up afterward, and run south along the balcony.
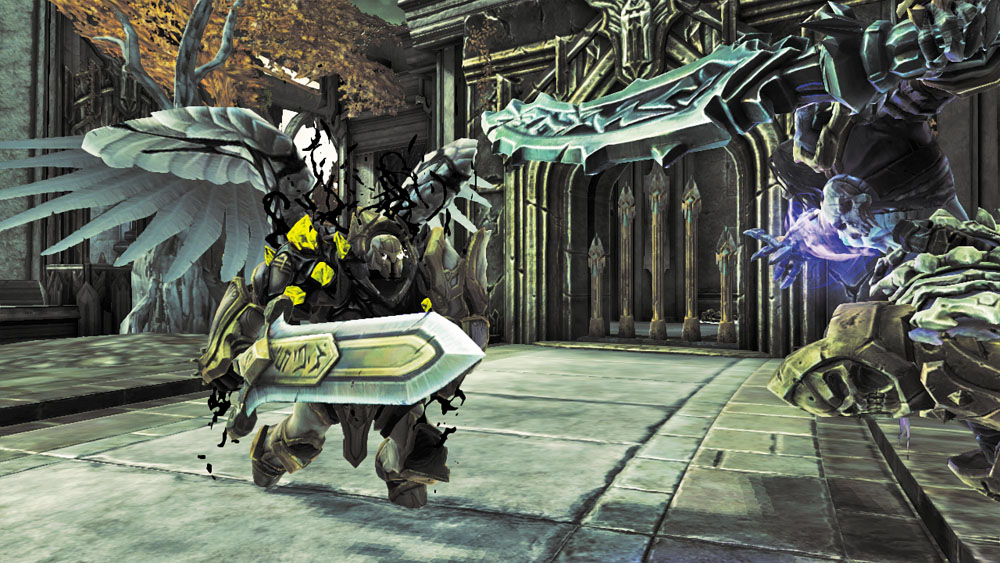
Drop down from the balcony’s south end to reach a lower walkway. Head north until you’re trapped and forced to battle a mighty Corrupted Champion. Another Champion and two Corrupted Angels appear after the first foe falls.
Area 13: West Tower
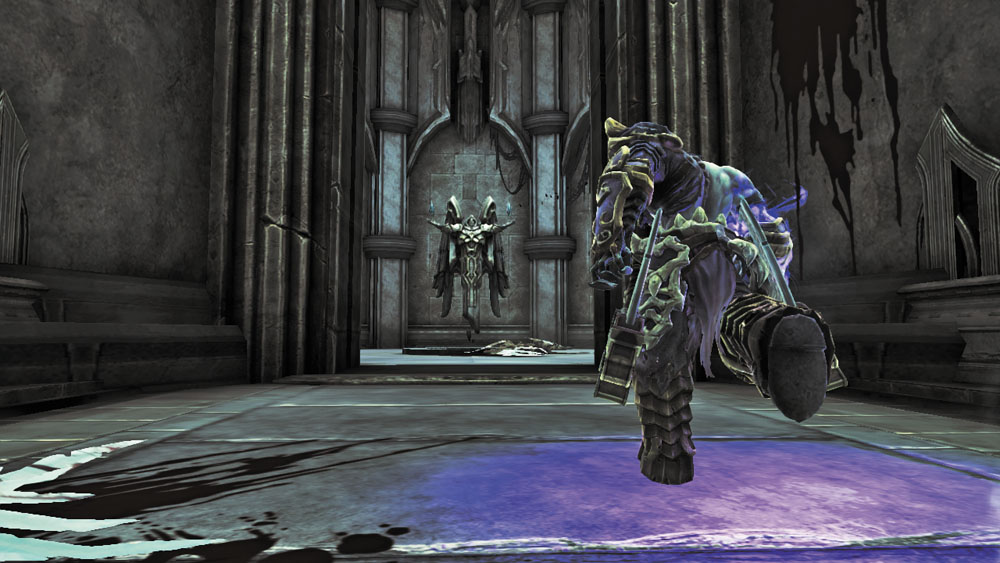
After defeating the Corrupted Champions, venture north, and then west to enter the West Tower. Before dropping through the cracked floor, head south and claim a Book of the Dead page that’s tucked away near some black Corruption just outside the tower.
|
Book of the Dead 33 |
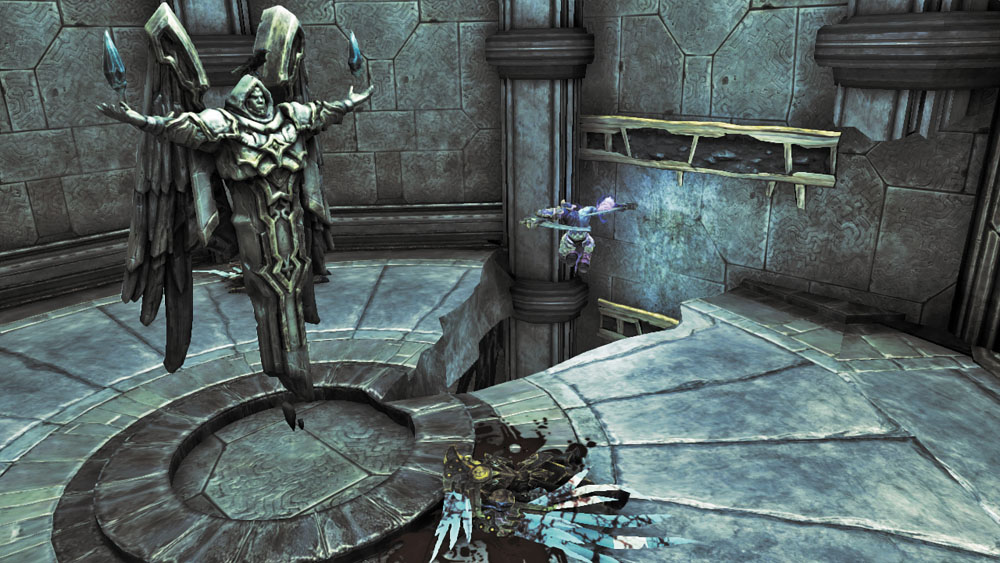
Return to the tower’s interior and drop down through the cracked floor to reach a lower chamber. Ignore the portal and Holy Fire Node down here. Instead, step outside to combat a trio of Corrupted Angels.
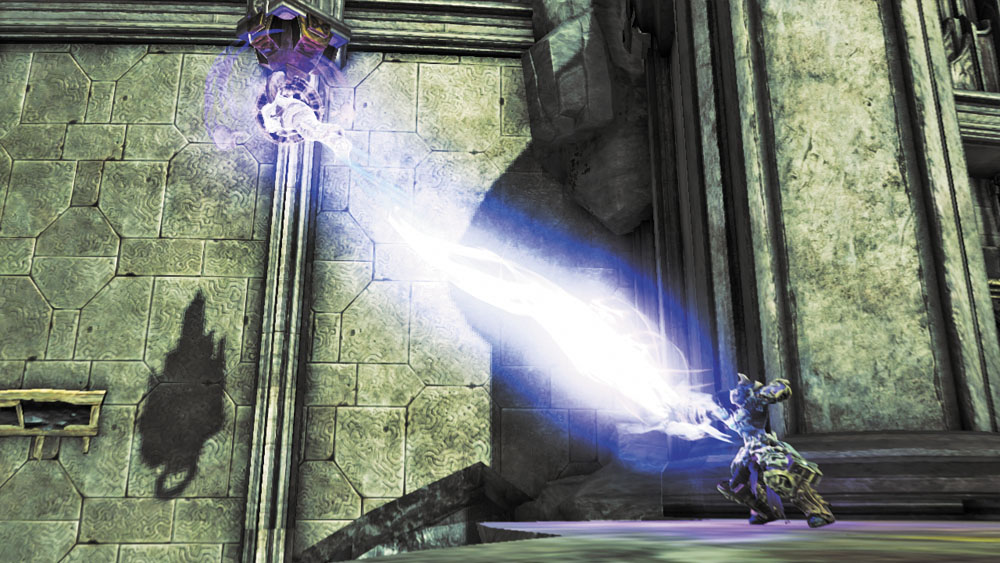
A hoop lowers after the Angels have fallen. Deathgrip it to swing over to a hand hold, and then make a long wall-run to reach another hand hold. Vault off of the peg above to return to solid ground.
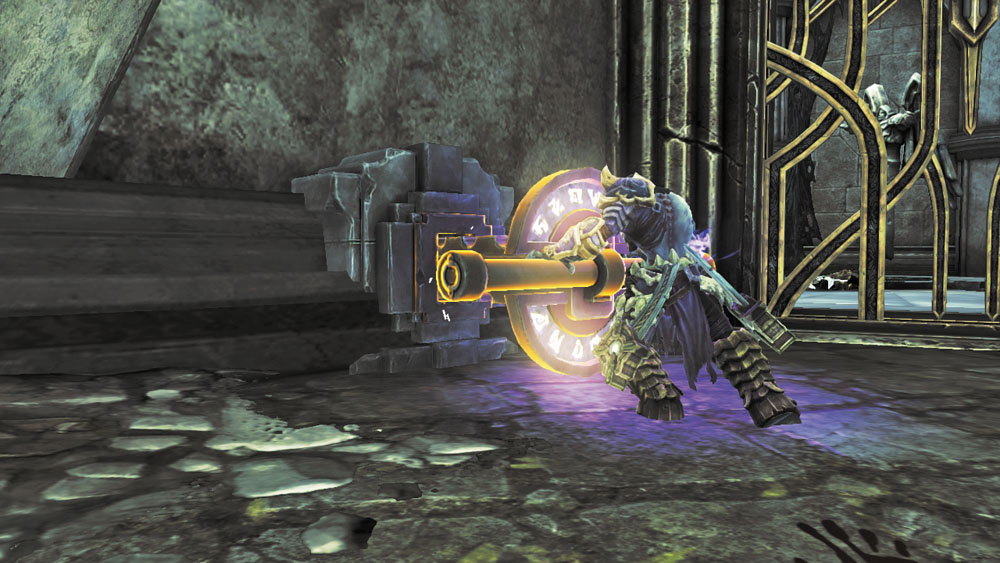
You’re now exploring the West Tower’s north grounds. Two cranks can lower a pair of portals here, but leave them be for now and run east to locate a switch. Press this to lower the nearby gate; now you can easily travel into and out of the tower. Turn around and claim the Relic that sits just north of the switch, and then backtrack to solve the portal puzzle you passed earlier.
|
|
Relic of Renagoth 10 |
Portal Puzzle
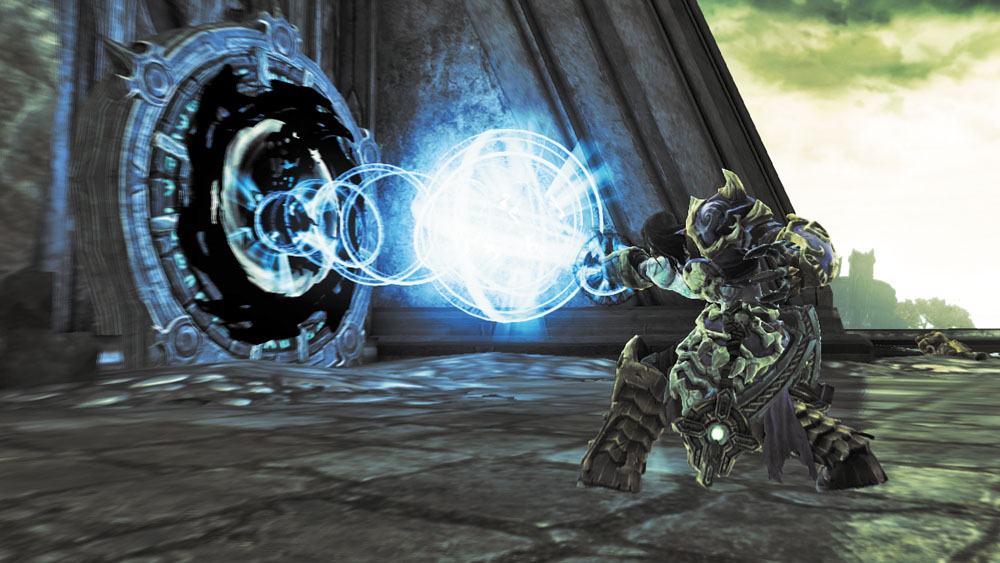
Open the portal near the switch first.
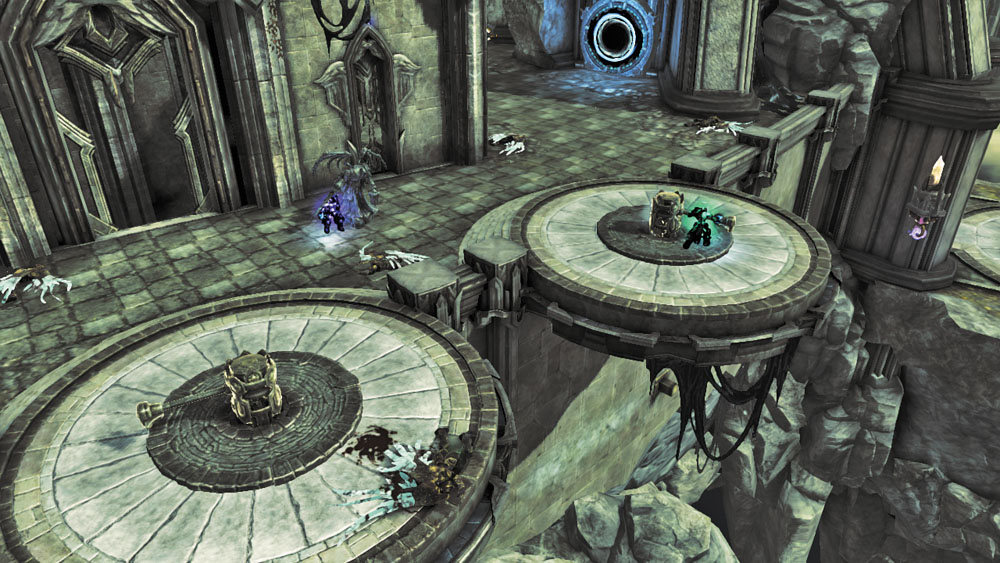
Approach the cranks and split Death's soul. Have one soul turn the south crank to lower the south portal.
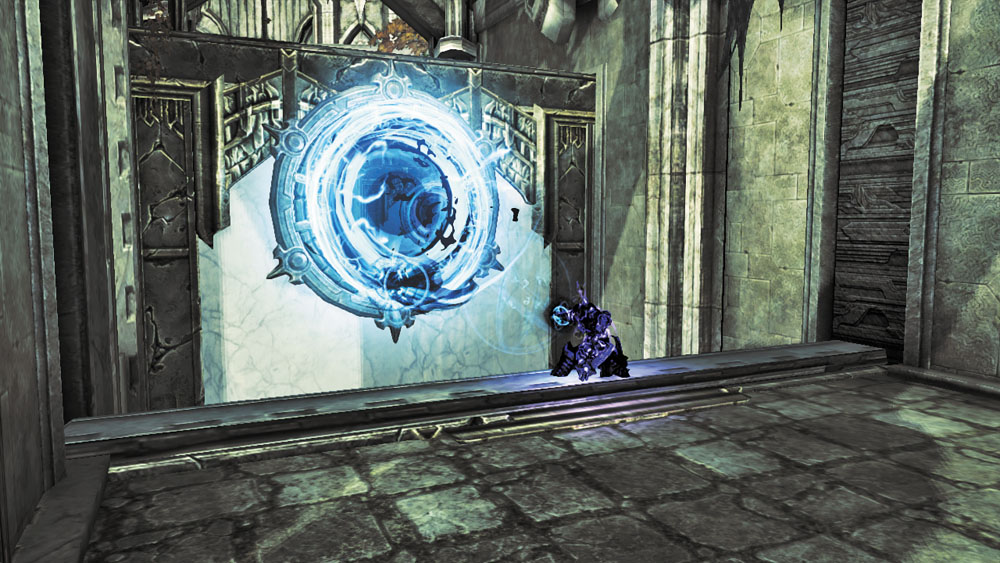
Switch to the other soul and stand atop the lowered south portal. Fire the Voidwalker to open the raised north portal.
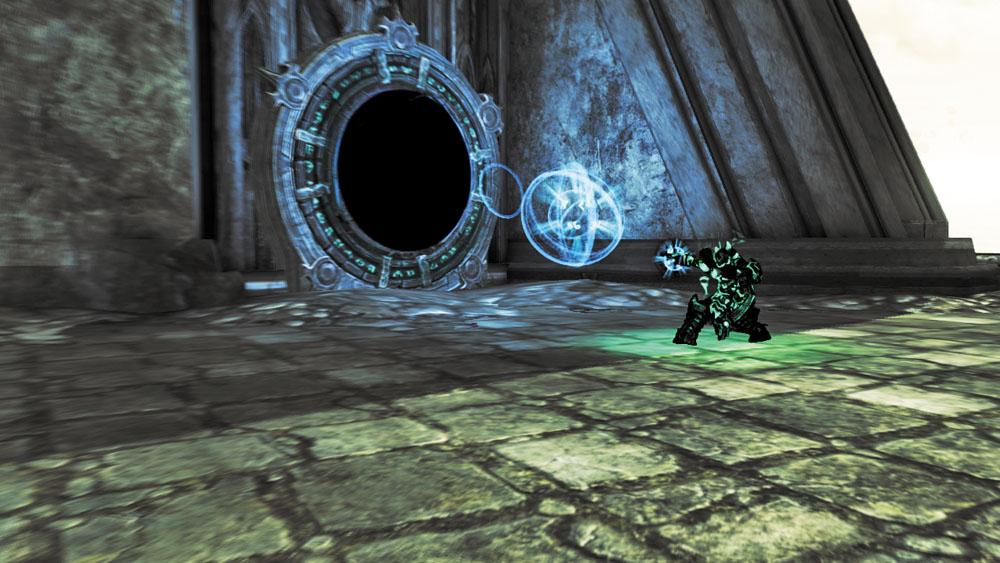
Switch back to the other soul and release the south crank to raise the south portal again. Next, fire a charged Voidwalker blast through the portal near the switch, and it will pass through the north portal and open the south one.
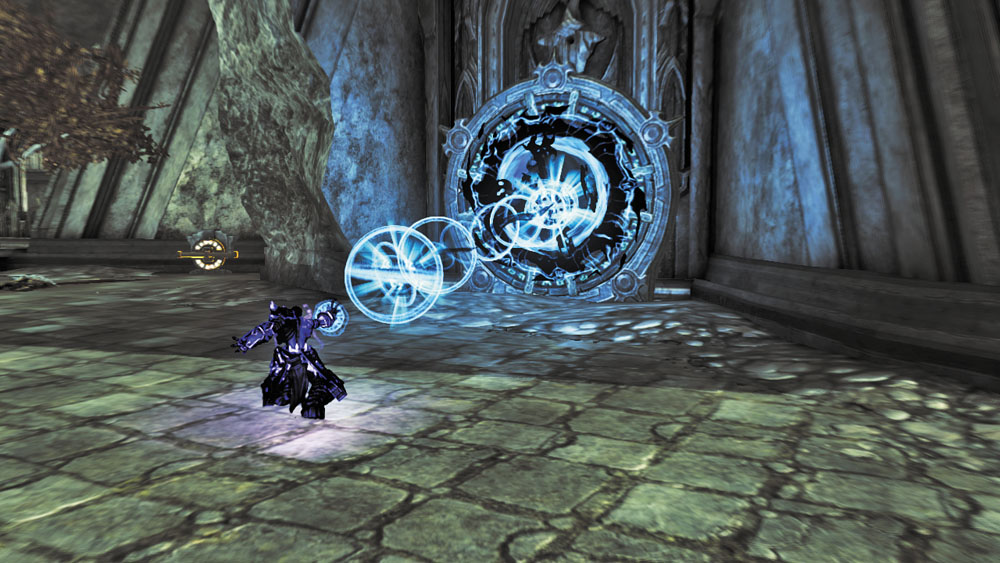
Now, spin the north crank to lower the north portal. Switch souls again and reopen the portal near the switch, and then step through.
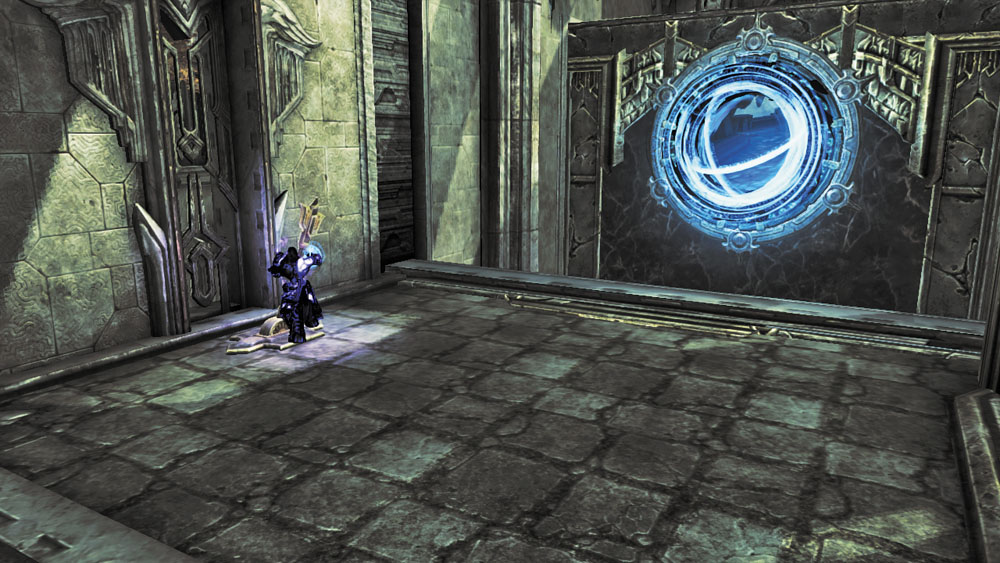
Death rockets through the south portal and lands near a lever. Pull this to raise the gate behind you, and then return to physical form and pass through.
Key Seeker
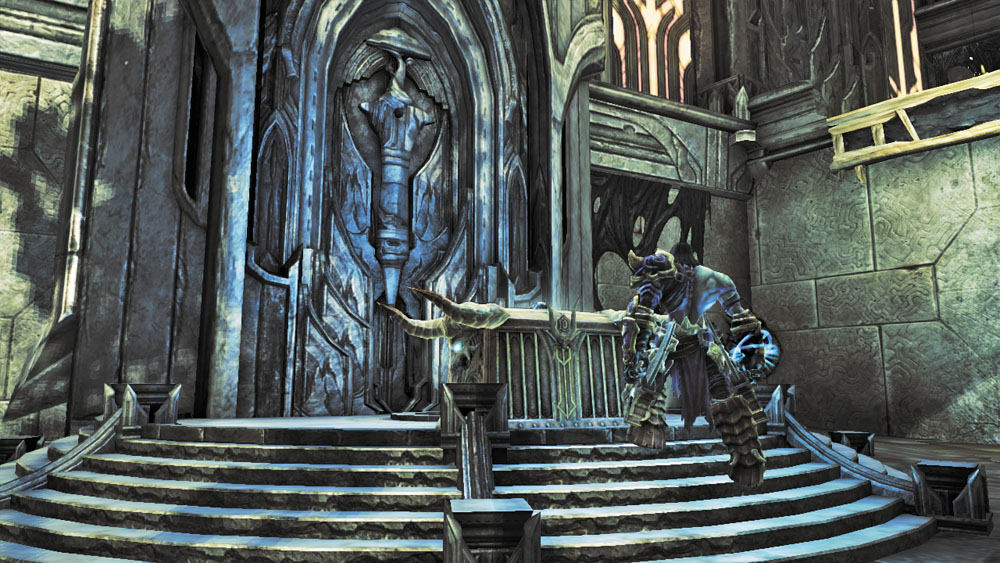
Beware the river of Corruption ooze that flows into the north passage beyond the portals. Ignore the passage and wall-run along the north wall to reach the West Courtyard’s north end, where a few Corrupted Angels guard an ornate chest. Crack open the chest after securing the area to obtain a Skeleton Key.
|
Skeleton Key |
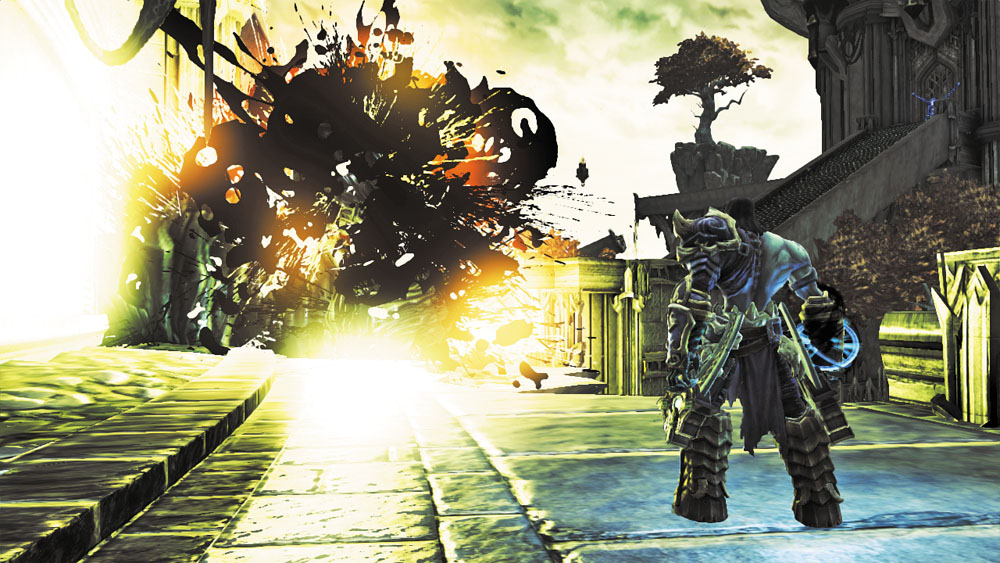
Scale the east wall and grab a Shadowbomb from the pod on the balcony. Use this to destroy the Corruption crystals that previously blocked your path. Go south, and then west afterward, scaling the long stairs and unlocking the door to the West Tower’s upper floor.
Area 14: West Tower Apex
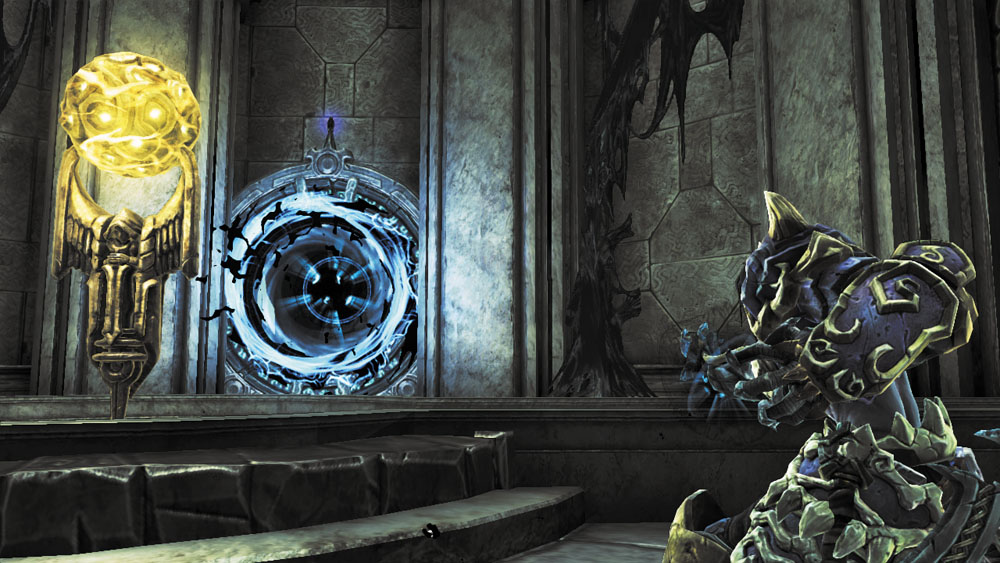
The tower’s top floor houses a Holy Fire Node and a warp portal. Open the portal and then backtrack downstairs. Drop from the south end of the balcony to return to the lower walkway, and then enter the West Tower again and drop down through the cracked floor to reach the lower Node and portal you noticed before. Open this portal to ignite the Nodes and cleanse the tower’s flow of water.
|
Stone of Resistance 7 |
Aqueduct Run
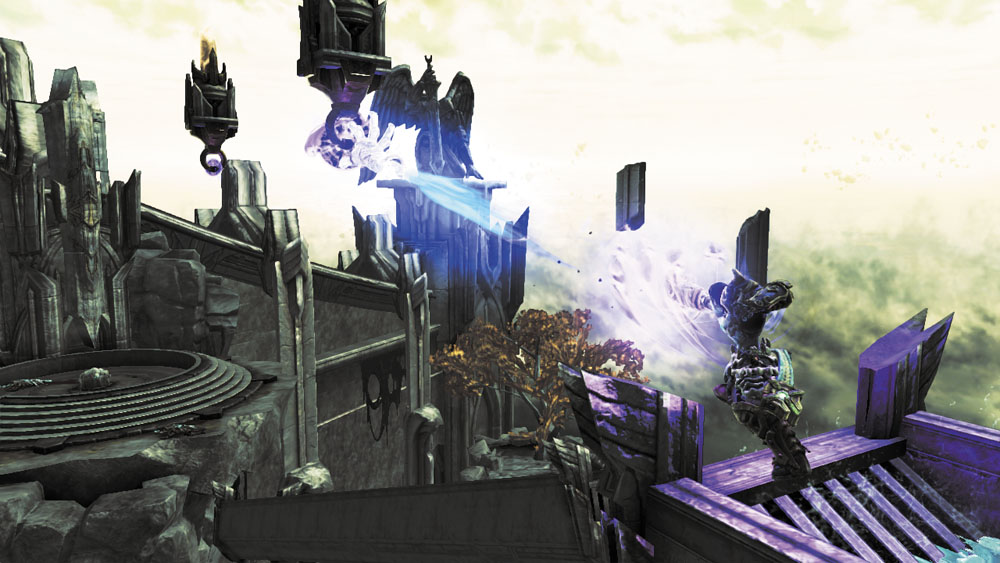
Step through the tower’s lower portal to return to its top floor, and then jump into the water channel. Go south and Deathgrip across a pair of hoops to reach a platform with a chest.
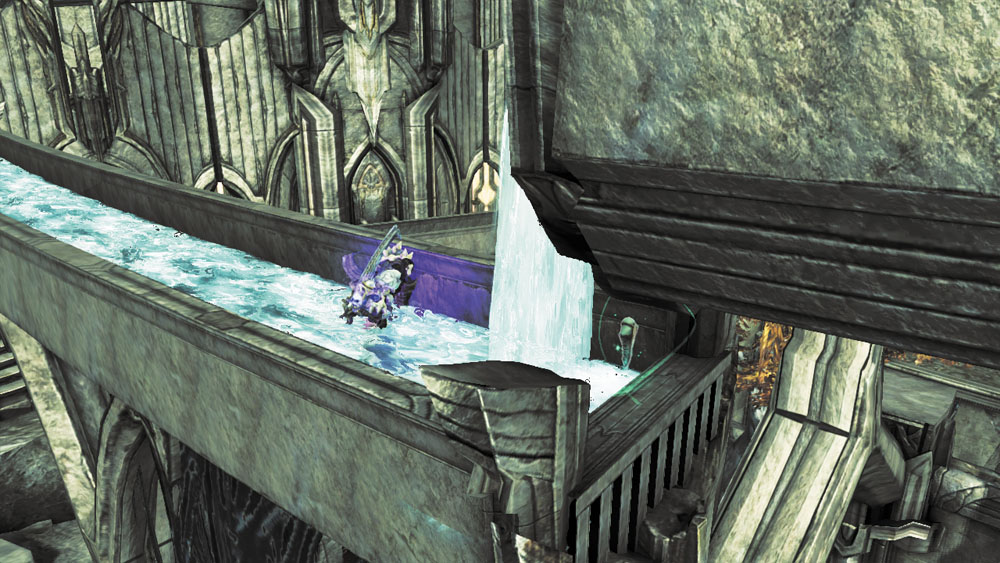
Follow the south aqueduct to its end and scale the wall, but don’t enter the east door just yet. Instead, drop down to the lower balcony and return to the tower’s top floor. Go north this time, following the north aqueduct. After you drop down to a lower channel, turn around and collect a Relic that’s hidden behind the waterfall.
|
Relic of Etu-Goth 13 |
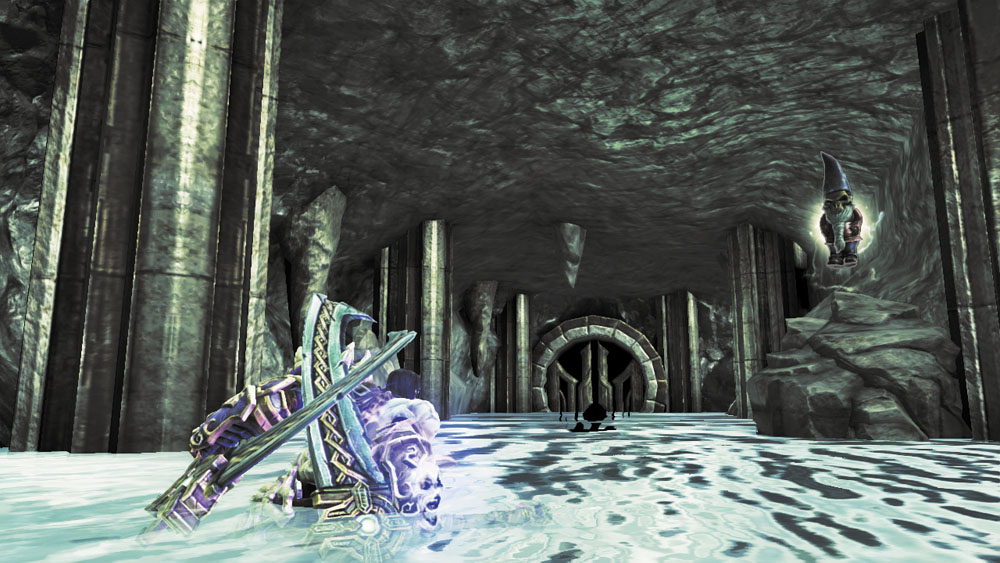
Follow the north aqueduct to its end, and then jump out and drop to the lower area where you discovered the Skeleton Key. With the West Tower’s water cleansed, the Corruption ooze is no longer present in the north passage. Step through and claim the Gnomad Gnome hidden within.

|
Gnomad Gnome 2 |
Area 15: Corruption Pool—Third Floor
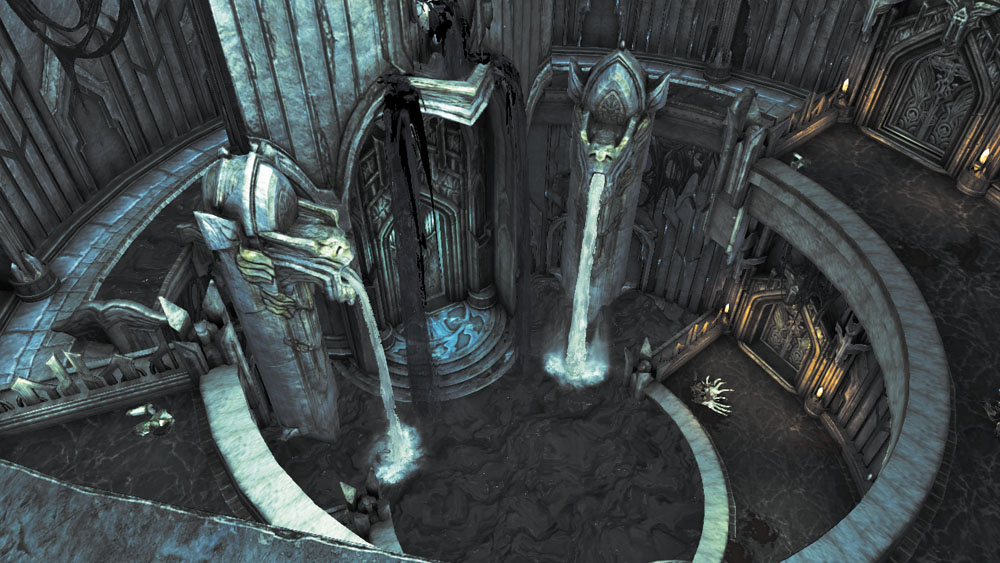
Return to the tower’s apex one last time and follow either aqueduct to its end. Scale the wall and enter the high east door to reach the Corruption Pool area’s third floor balcony. Again, Death notices that pure water is flowing into the lower pool, but it’s still not enough to cleanse the dense Corruption ooze.
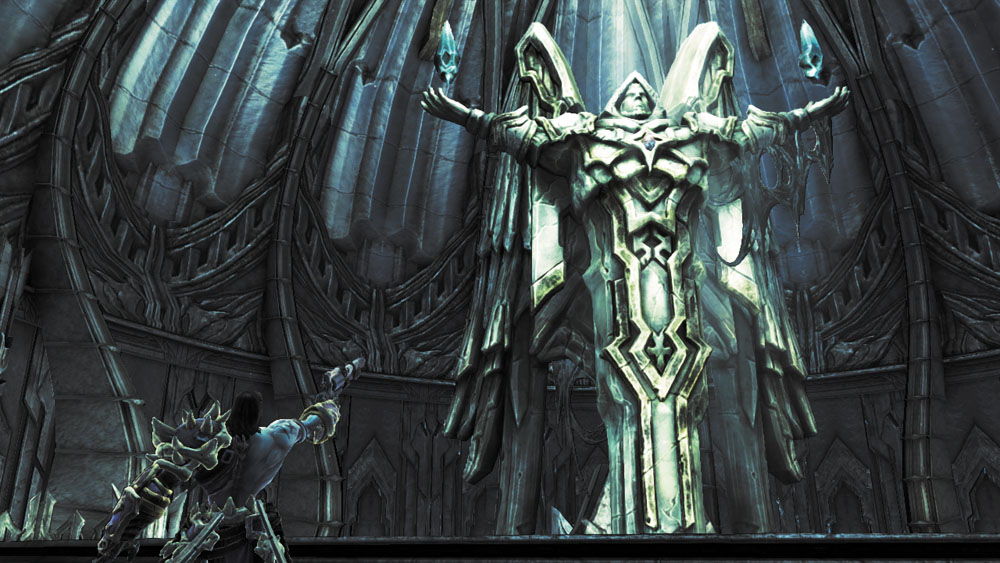
Cut down the handful of Corrupted Angels that attack as you cross the balcony, and then blast the Stonebite on the north statue’s chest before advancing through the east door. Cross the outdoor balcony and descend a wall to reach a small, watery passage that leads out to the next area.
|
Stone of Power 18 |
Area 16: Exterior Stairs
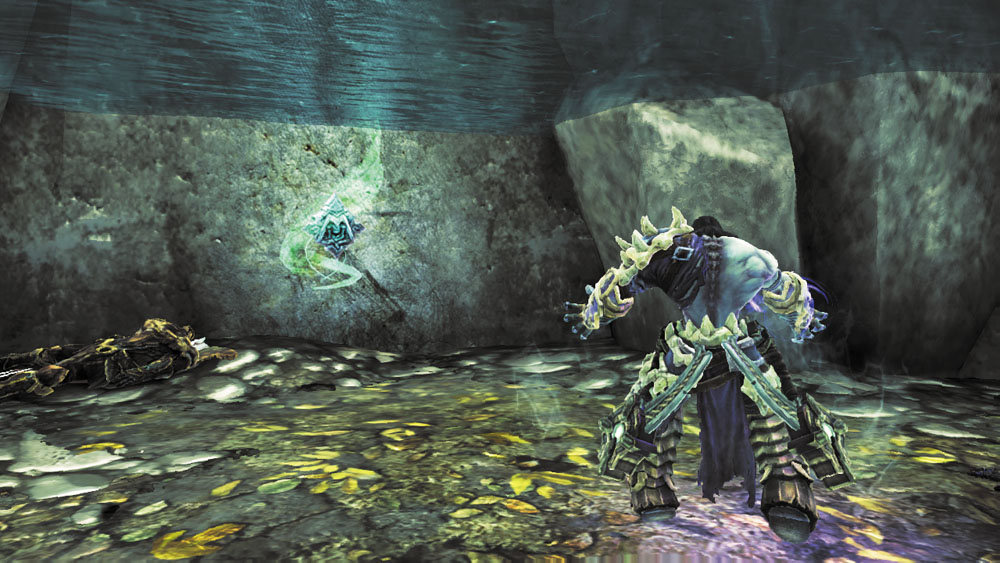
Grab the Boatman Coin from the bottom of the watery passage’s shallow pool, and then step outside. Descend the wide staircase and crack open a chest on the way down. The Sycophant appears and taunts you again, but flees before battle can be joined.
|
|
Boatman Coin 91 |
Portal Hopping
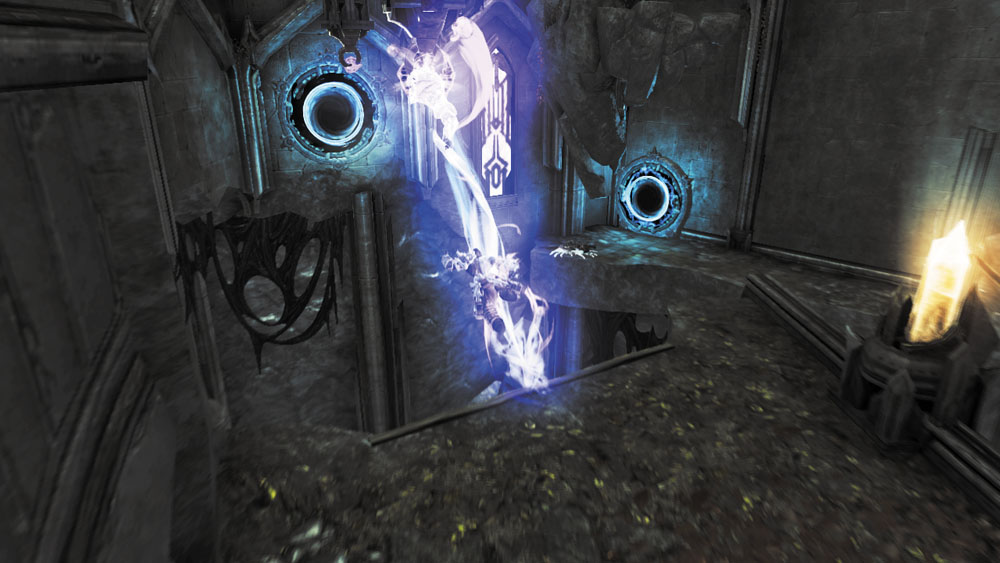
Open the two south portals when you reach the end of the stairs, and then Deathgrip a pair of overhead hoops to swing into one portal and emerge from the other.
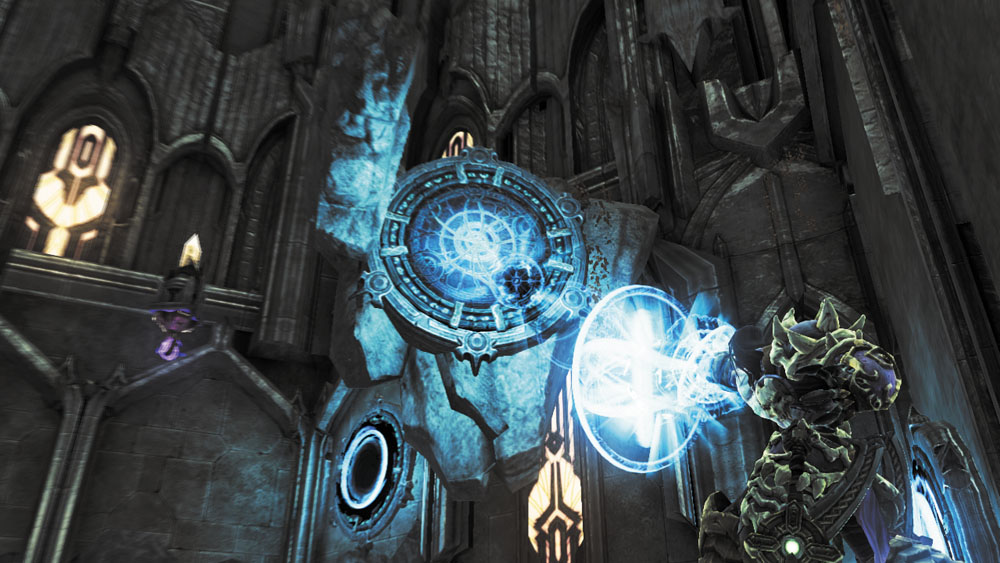
Turn around and look up to spy another portal above you. Open this one with a charged Voidwalker blast, and then step through the nearby portal to rocket out of the one above.
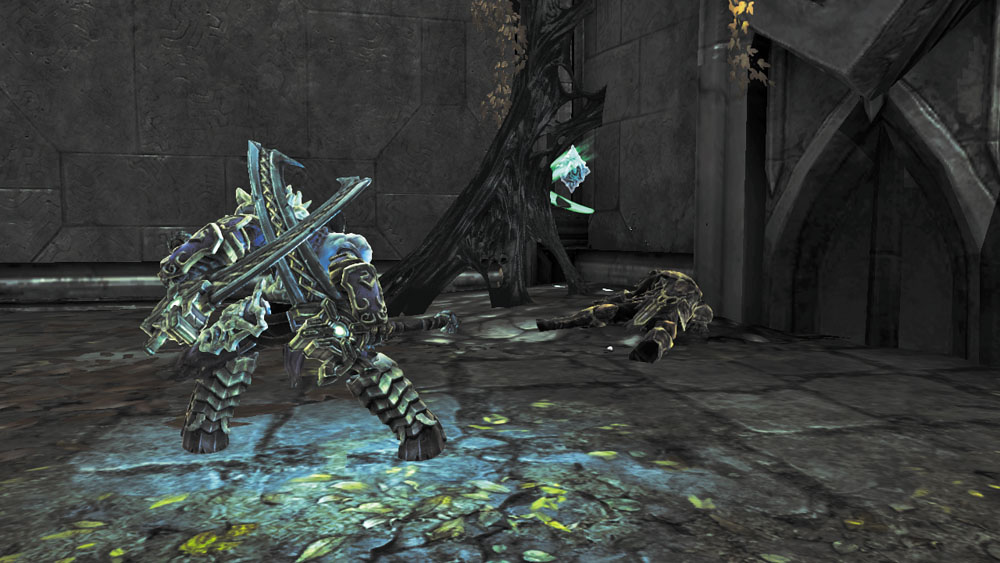
Death automatically wall-runs to a distant ledge. Collect the Boatman Coin in the corner before activating the portal on the curved wall ahead. Open the distant portal below with a charged shot.
|
|
Boatman Coin 92 |
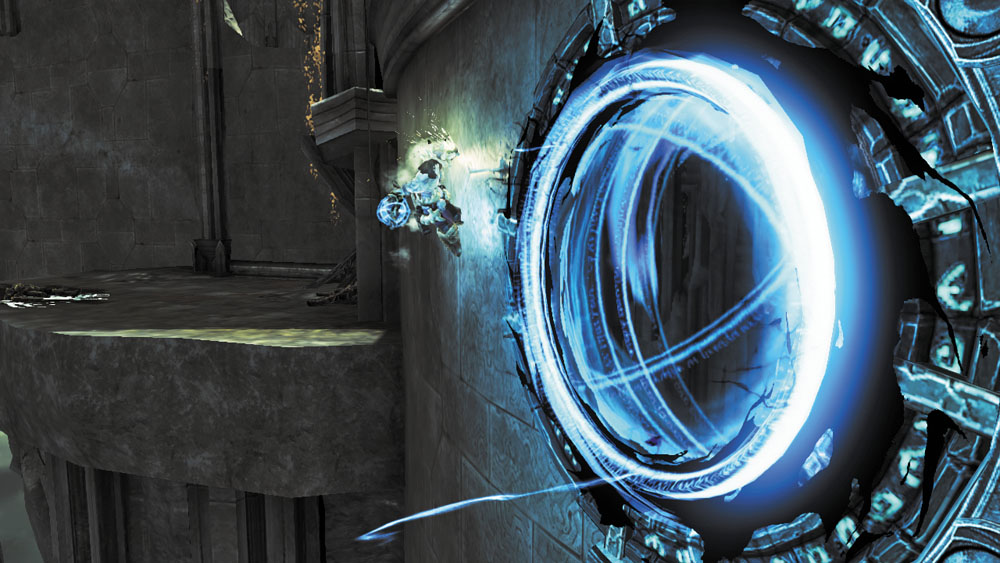
Wall-run along the curved wall, and Death will enter its portal and rocket out from the lower one. Climb onto the ledge that Death grabs and begin exploring the new area.
Area 17: North Courtyard
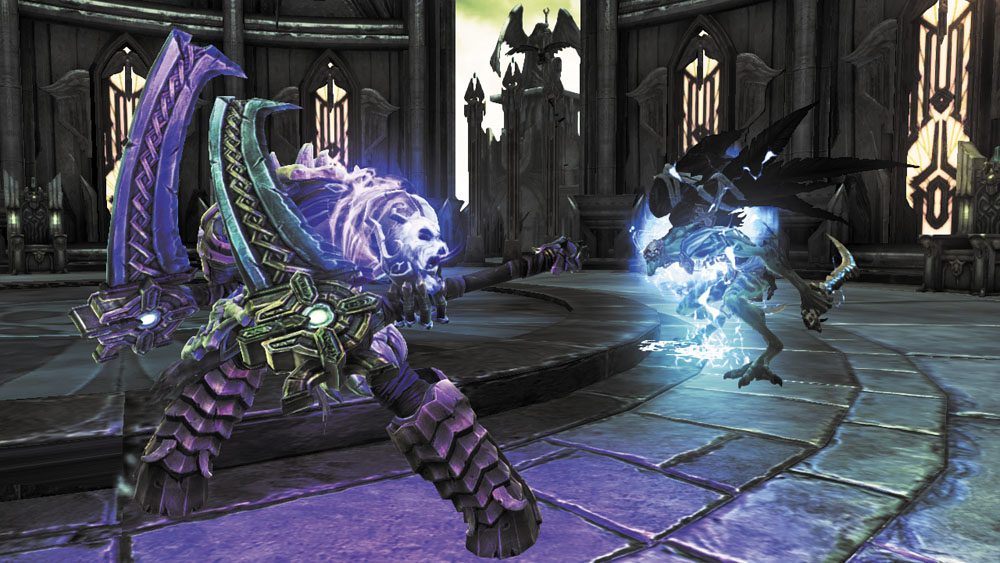
At last, the Rider catches up with the Sycophant in this final courtyard. The agile demon is tough to approach, so use the Deathgrip to halt his dodging and bring it near. More Sycophants appear after the first one falls—show them no mercy.
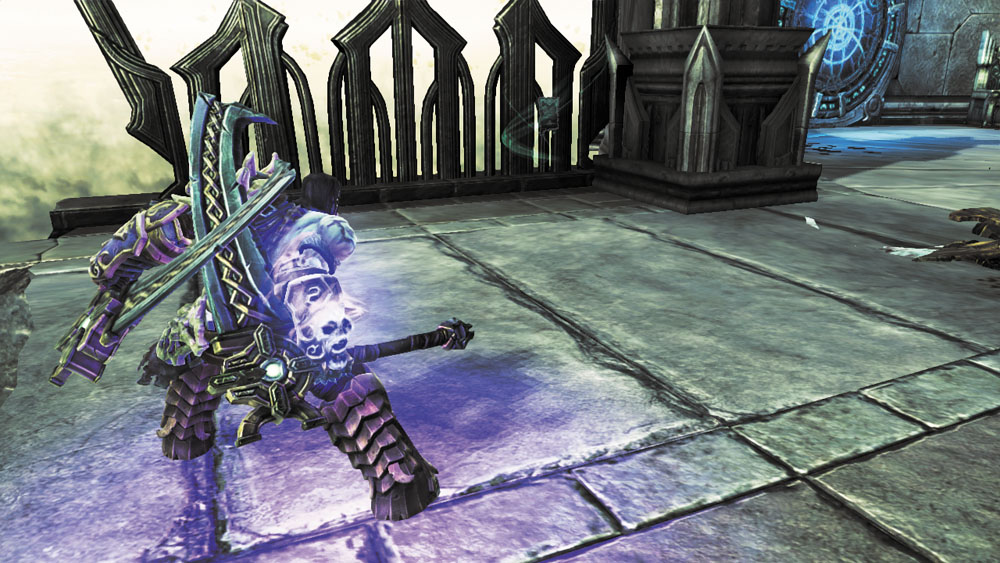
Progress past the Sycophant ambush to discover a Holy Fire Node and a warp portal. Ignore them both for the moment and step out onto the west landing to claim a Book of the Dead page.
|
|
Book of the Dead 34 |
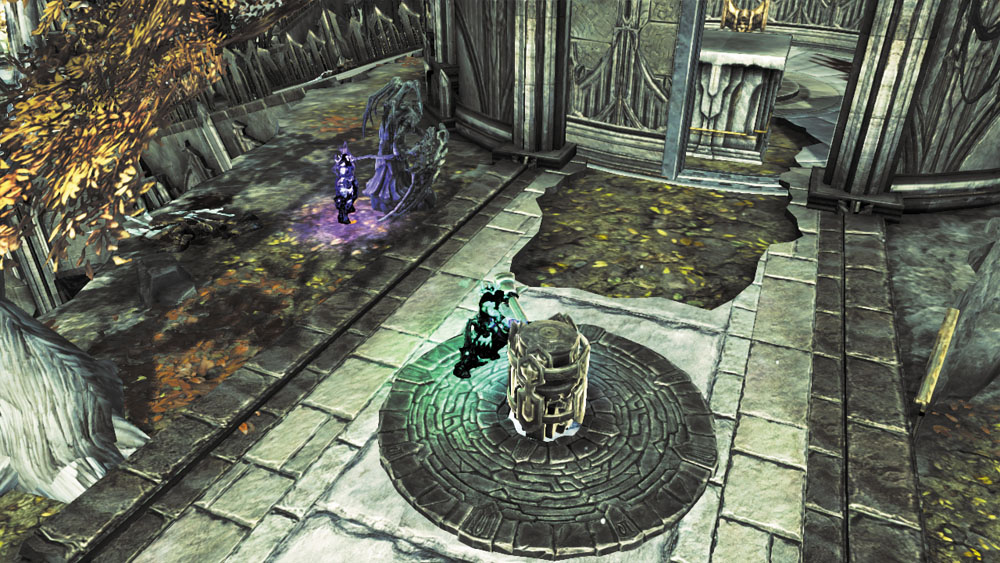
Go south to locate a crank. Split Death’s soul and turn the crank to rotate the nearby circular wall so that an opening appears. Put on your thinking cap, because some serious puzzle solving skills are required here.
Cranky Portals
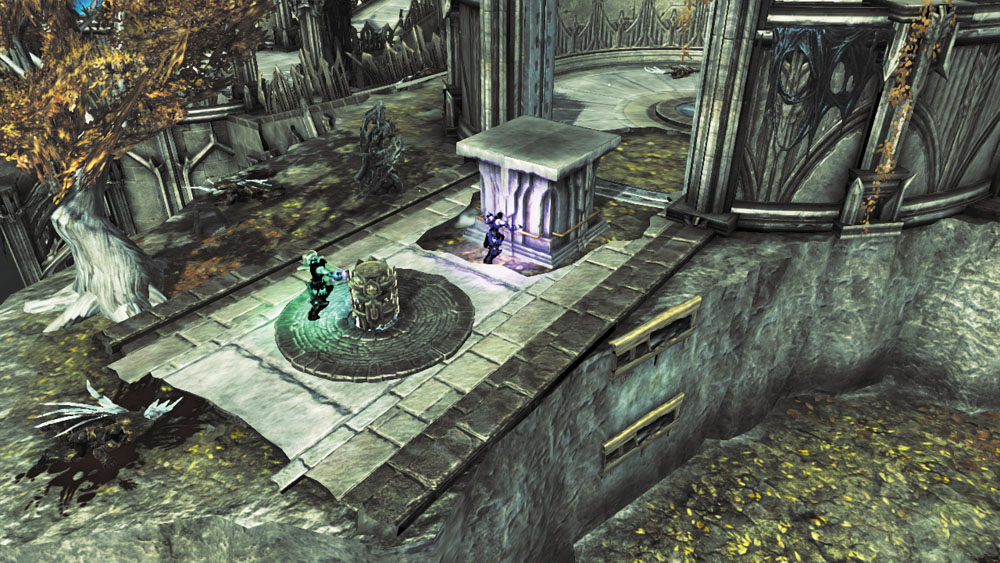
Leave one soul holding the crank while the other pulls a moveable platform out from beyond the circular wall.
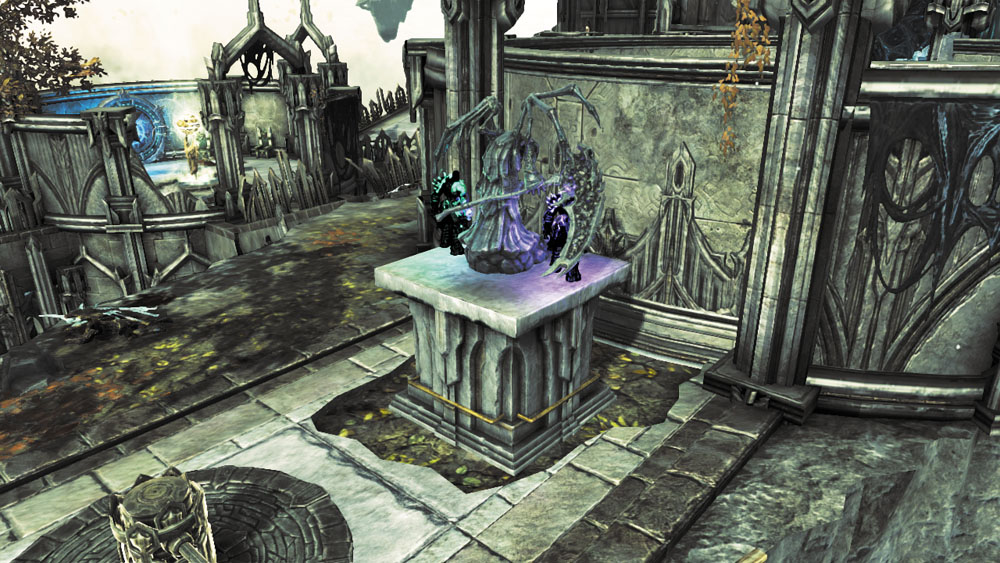
Return to physical form and the wall will reset. Stand atop the moveable platform and split Death's soul again.
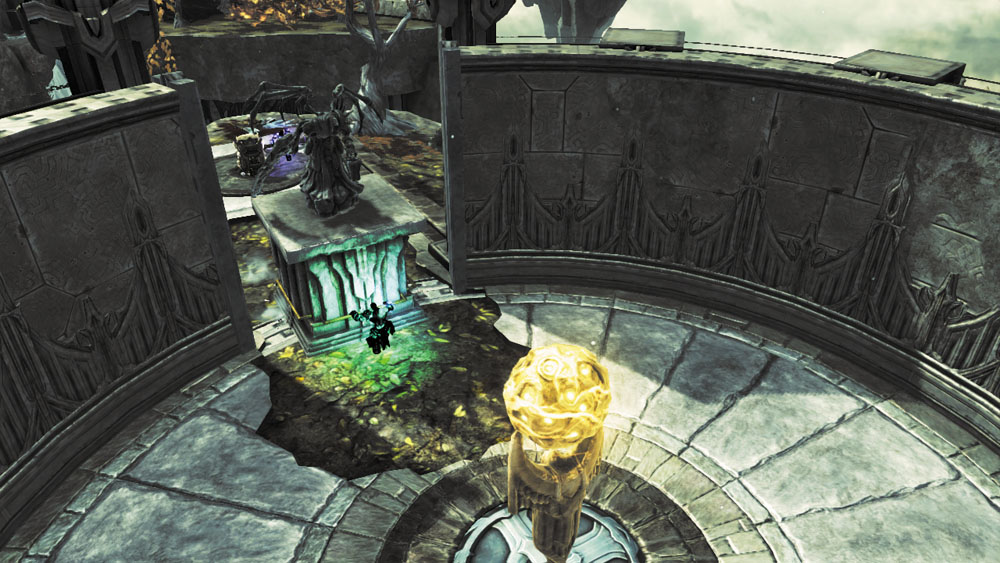
Turn the crank to rotate the wall once more, and then switch souls and pull the moveable platform back through the circular wall. Return to physical form once you're inside the wall, and take note of a Fire Node and a portal to the east that's covered by black Corruption.
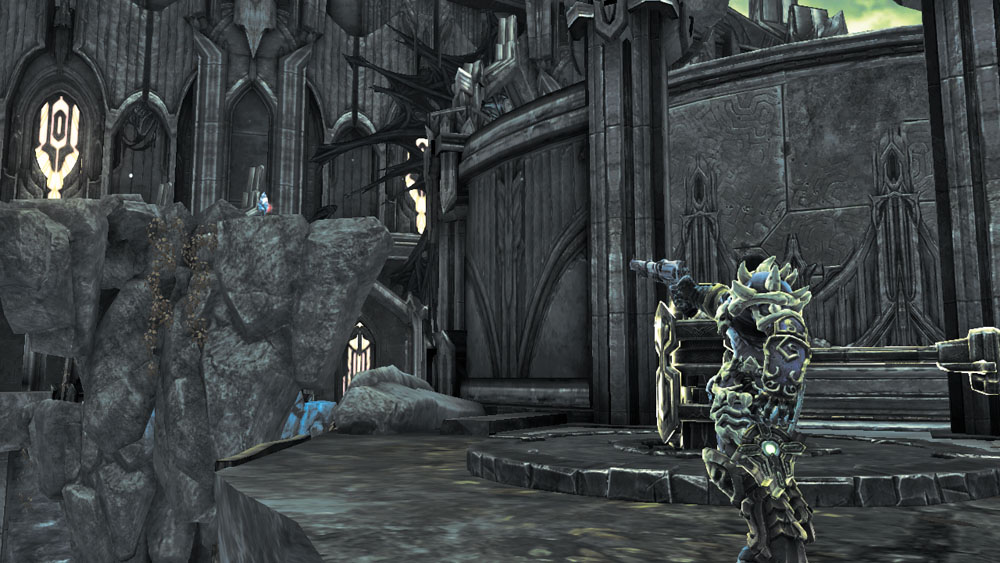
Go south to locate another crank. Before turning it, blast the distant Stonebite to the south, and then drop down onto the nearby ledge and claim a Soul Arbiter's Sacred Scroll. Open the nearby portal as well down here.
|
|
Stone of Power 19 |
|
Soul Arbiter's Sacred Scroll 10 |
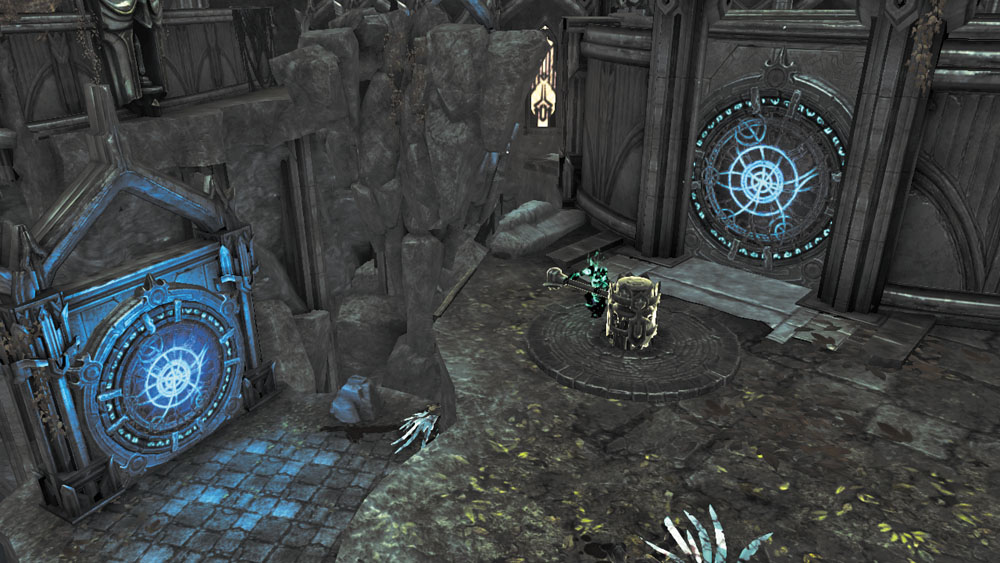
Climb back up to the crank and split Death's soul. Turn the crank to rotate the nearby circular wall and expose a portal. Switch souls and open the circular wall's portal.
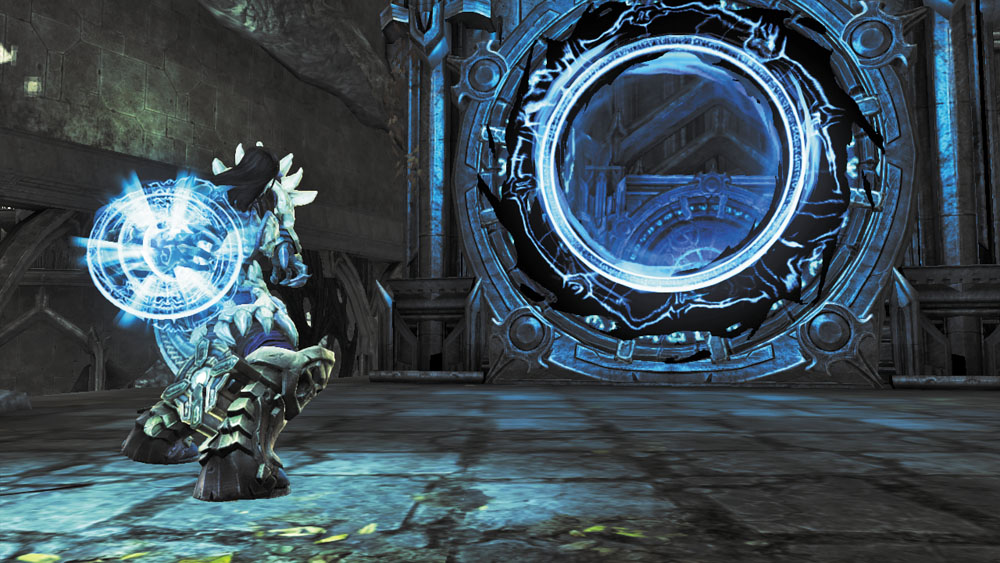
Return to physical form and allow the wall to reset back to its original position. Drop to the lower ledge again and fire a charged Voidwalker blast through the lower portal. The blast exits through the circular wall's portal and activates another portal to the south.
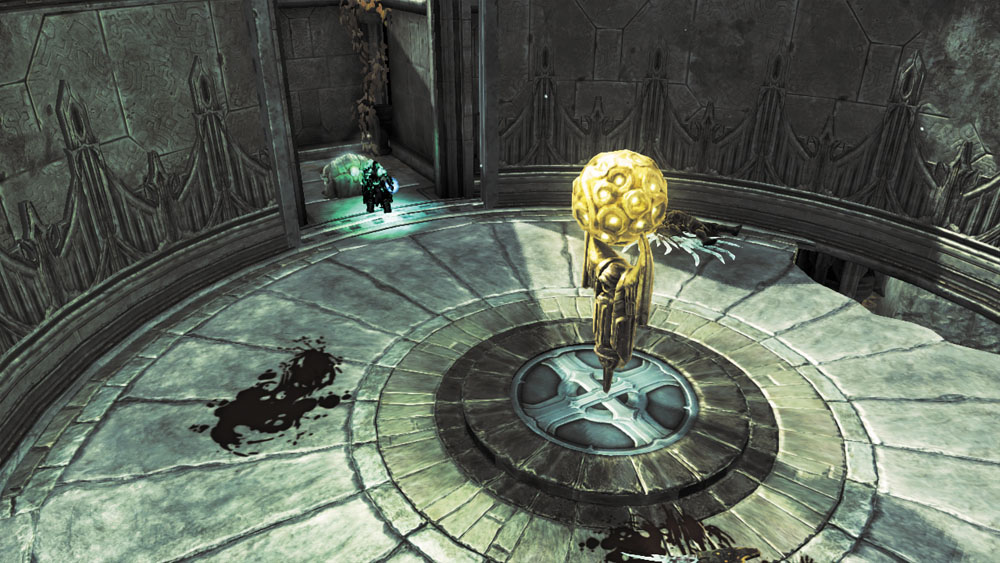
Split Death's soul and turn the crank again. Switch souls and step through the lower portal, and Death will fly out from the charged portal, landing inside the circular wall. Notice the Fire Node here and raid the west chest before returning to physical form.
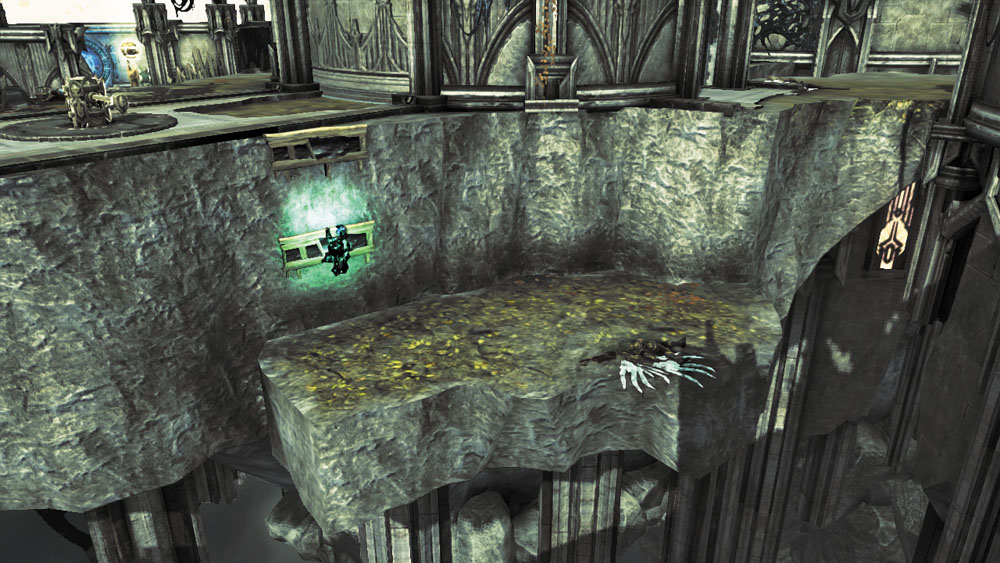
You're nearly finished! Backtrack to the north and split Death's soul while standing inside the first rotating wall. Drop to a lower ledge and scale the north cliff to return to the first crank.
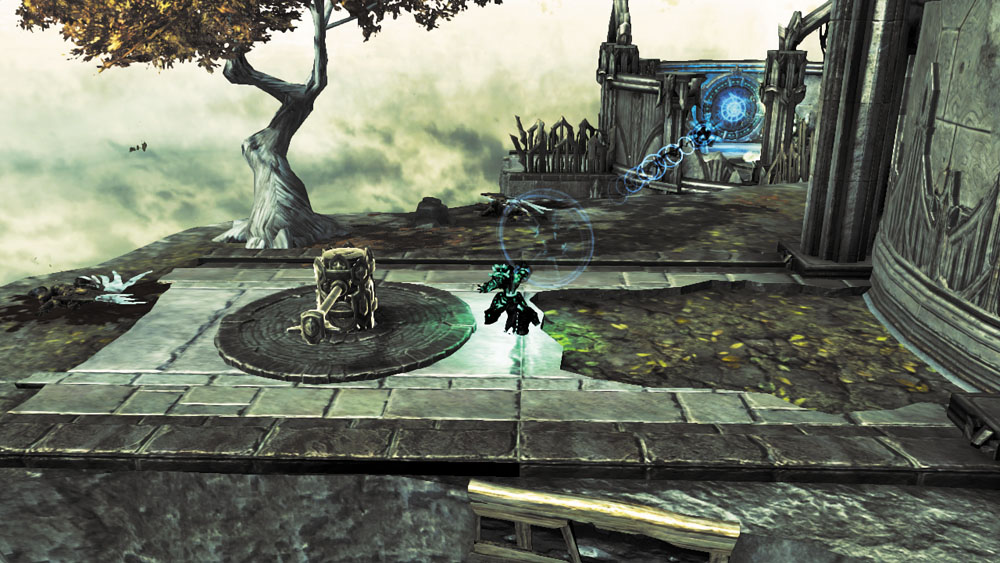
While standing near the first crank, look north and fire a Voidwalker blast through the hole in the north wall to open the portal near the northern Fire Node.
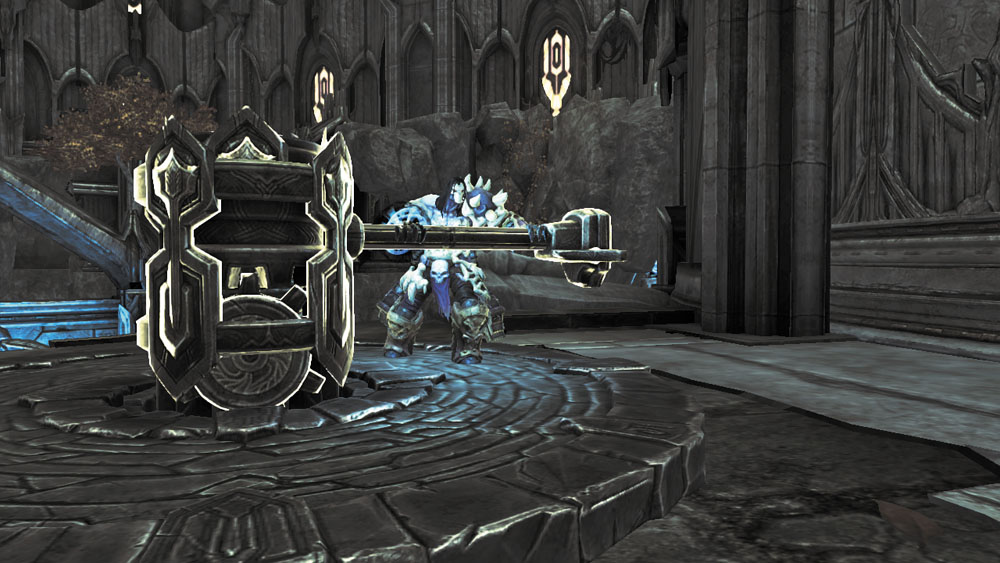
Head back to the southern crank and turn it to rotate the wall again. Once fully rotated, the northern and southern Fire Nodes will resonate, and the southern Fire Node will become charged with energy.
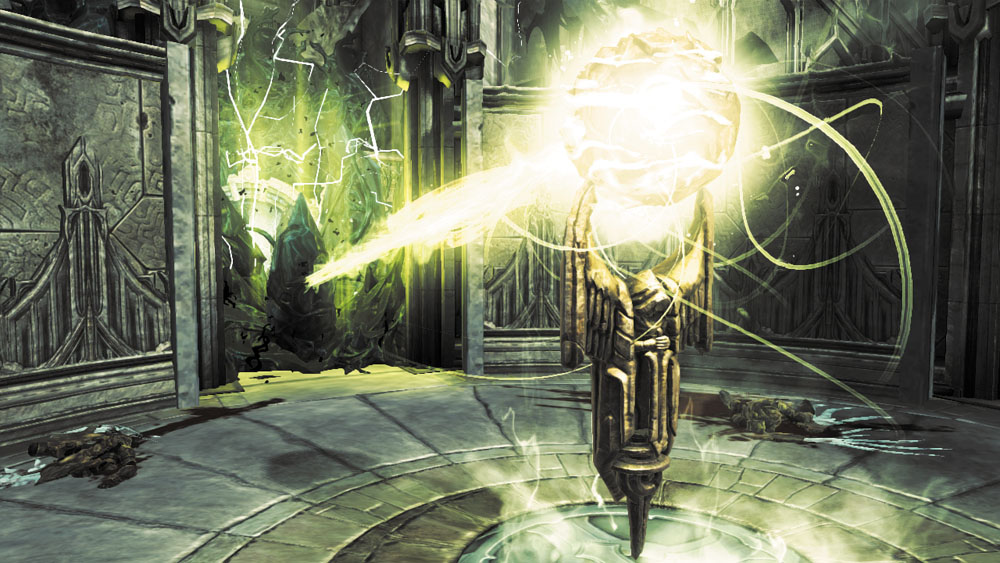
Now simply return to physical form to release the crank. When the circular wall returns to its original position, the southern and central Fire Nodes will resonate, obliterating the Corruption near the central Node.
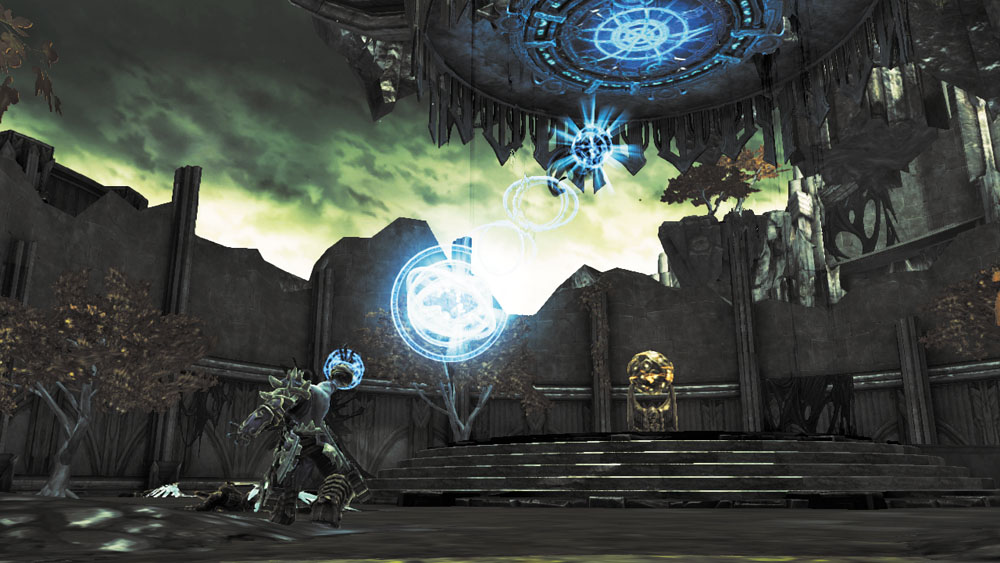
Go east and find a fourth Fire Node, and then look up and open the portal above it. The central and western Nodes will then resonate, purifying the pool of Corruption ooze near the central Node.
Moving On
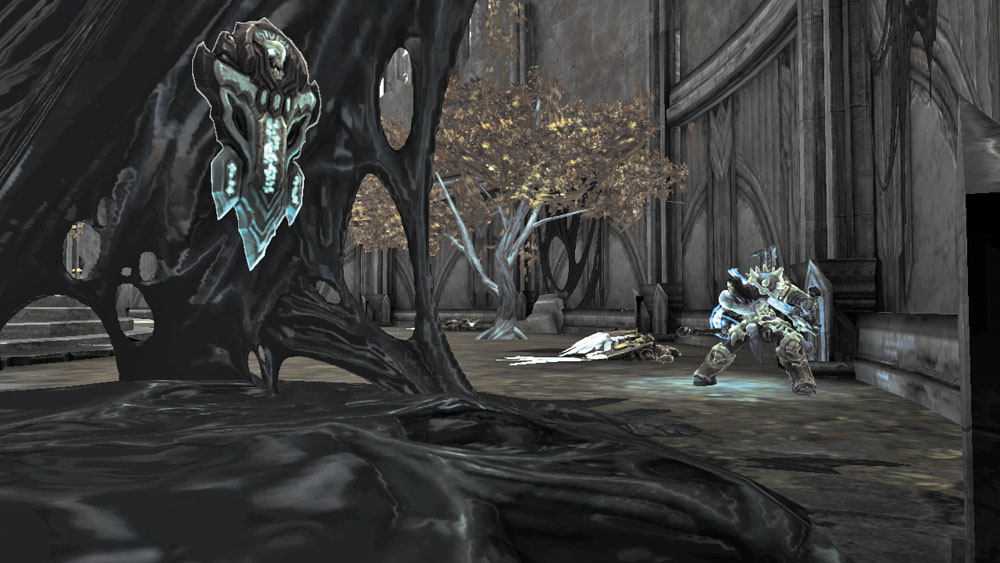
Excellent work! Before sprinting along the water channel, search behind a nearby web of Corruption to discover a Relic.
|
Relic of Khagoth 3 |
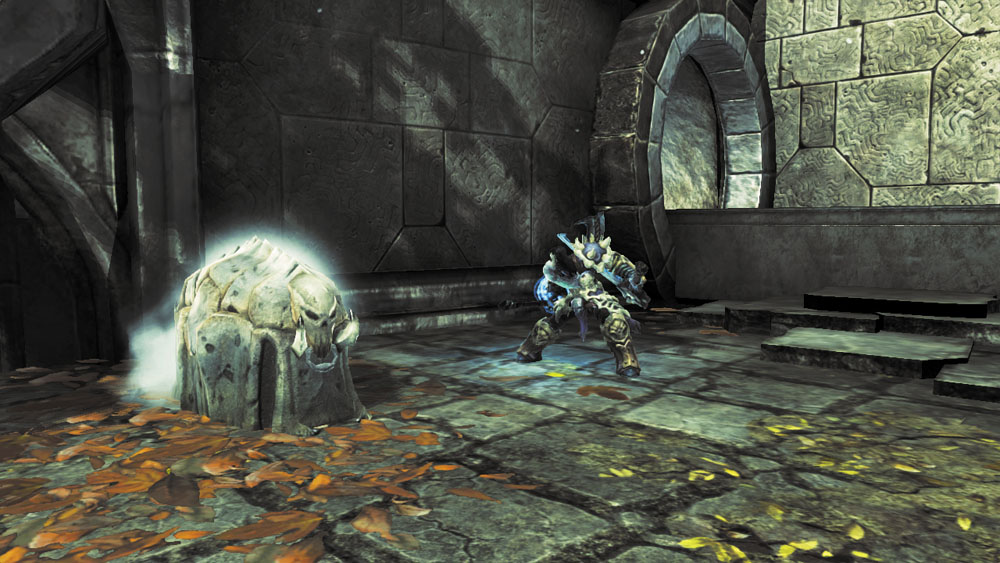
Now, simply run along the water channel, hopping over the side to raid a chest on your right as you go. Return to the channel, follow the water to its end, and wall-run over to a ledge with a portal.
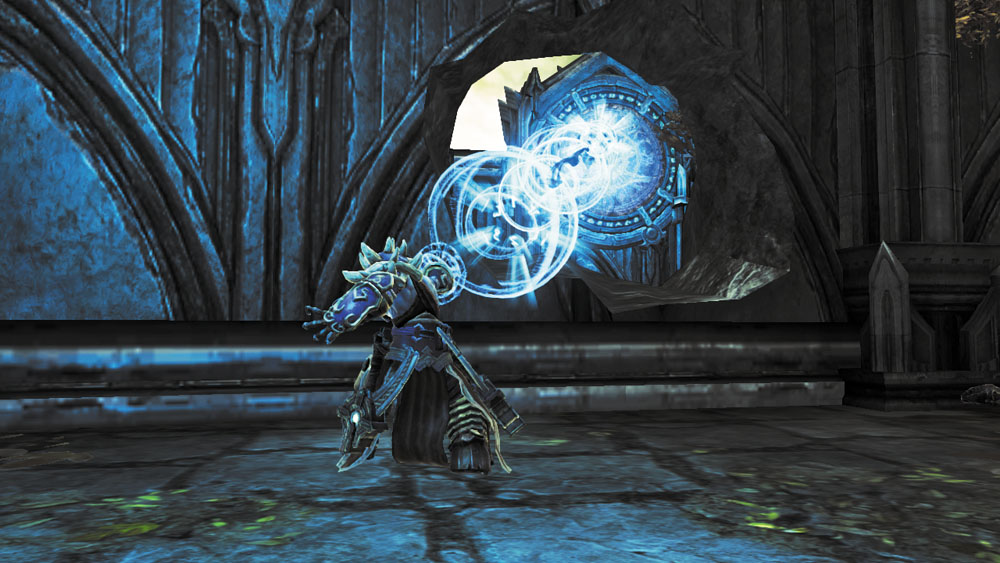
Open the ledge’s portal, and then peer through the hole in the nearby wall to spy another portal. Open this one by shooting through the wall’s hole. Travel through and drop down into the hole in the ground to reach the next area.
Area 18: Waterway
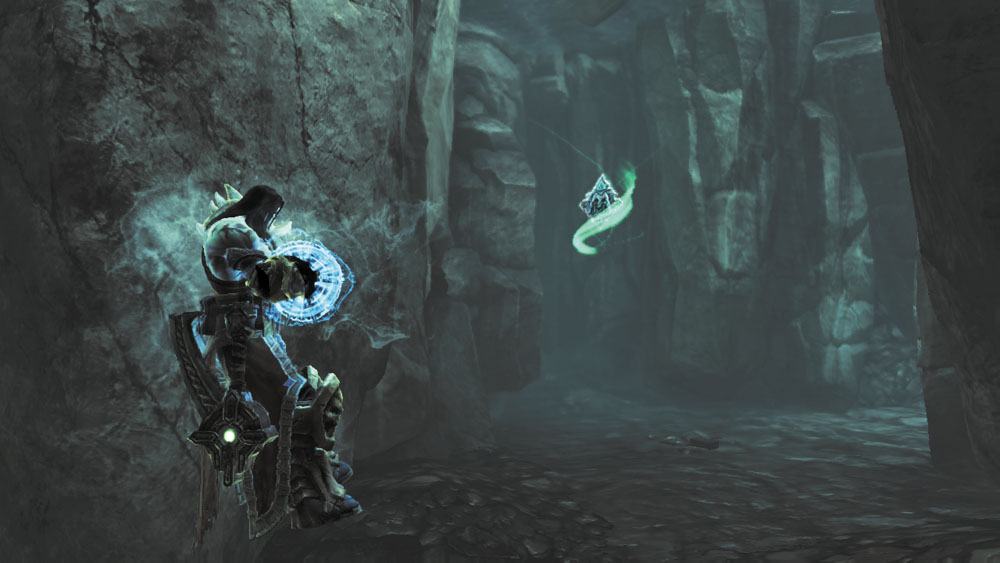
Death lands in a narrow watery passage. Dive into the blue and claim an underwater Boatman Coin, and then return to the passage and head south. Keep going until you reach a barred door. Pull the nearby lever to unbar the door so that you may advance.
|
|
Boatman Coin 93 |
Area 2, Revisited
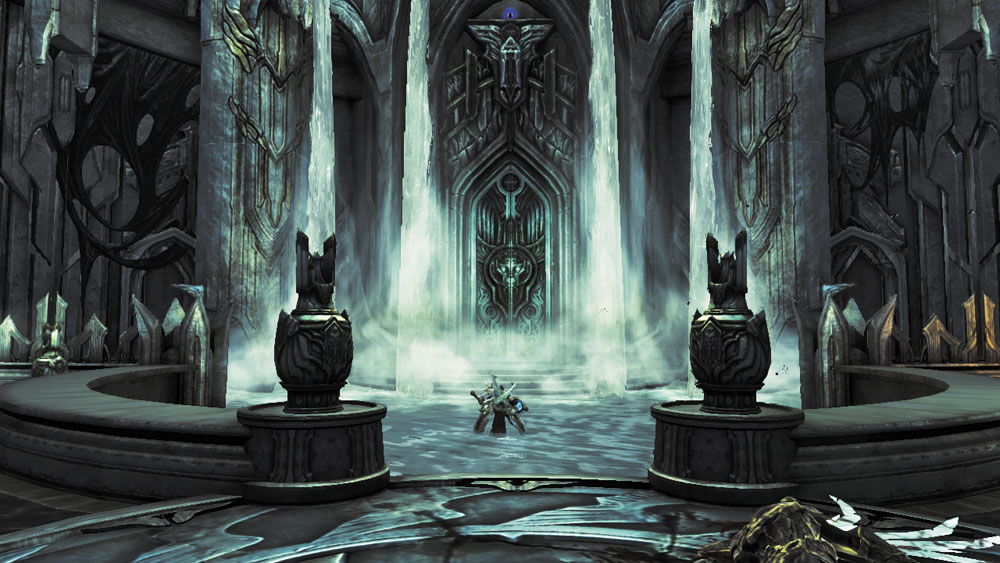
The Horseman has found his way back to the Corruption Pool room. With all three aqueducts purified, the Corruption ooze here is finally cleansed. Proceed through the north door.
Area 19: Portal Platforms
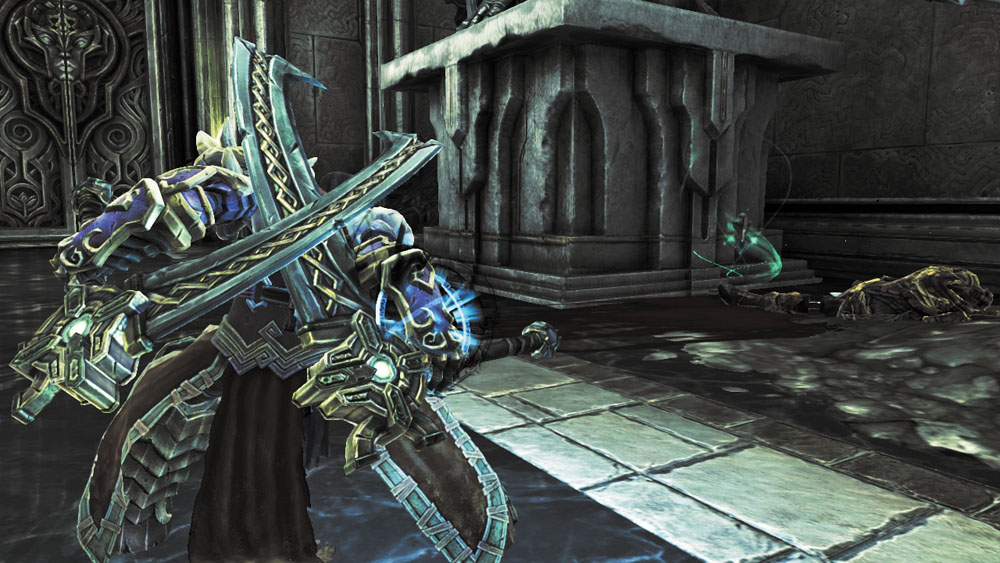
Claim a Relic from behind a statue as you enter this small chamber. Open the north portal, and then look up and activate the portal directly above with a charged blast.
|
|
Relic of Etu-Goth 14 |
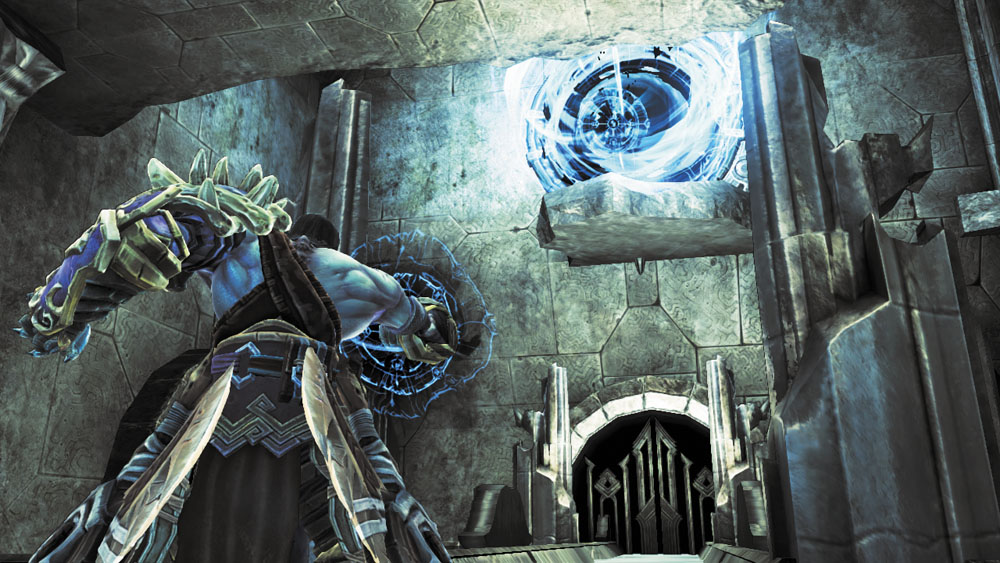
Step through the lower portal to rocket out of the higher one. Look up again and fire a charged blast at the high portal on the south wall. Drop down to the lower portal and reopen it, and step through to rocket out of the high south portal.
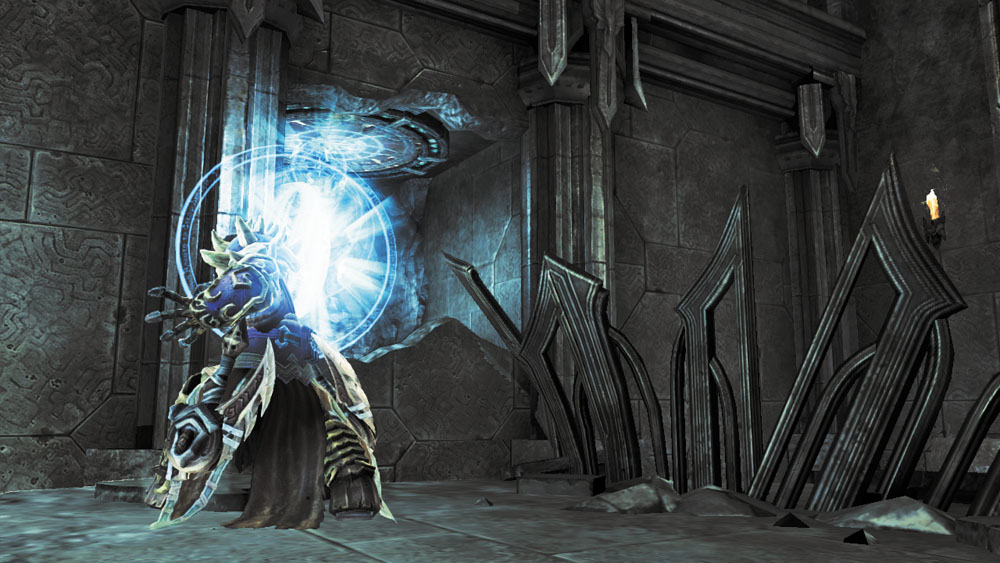
Look west after you land to find a chest in a nearby nook. Open the portal above the chest, and then reactivate the south portal with another charged blast and wall-run into it.
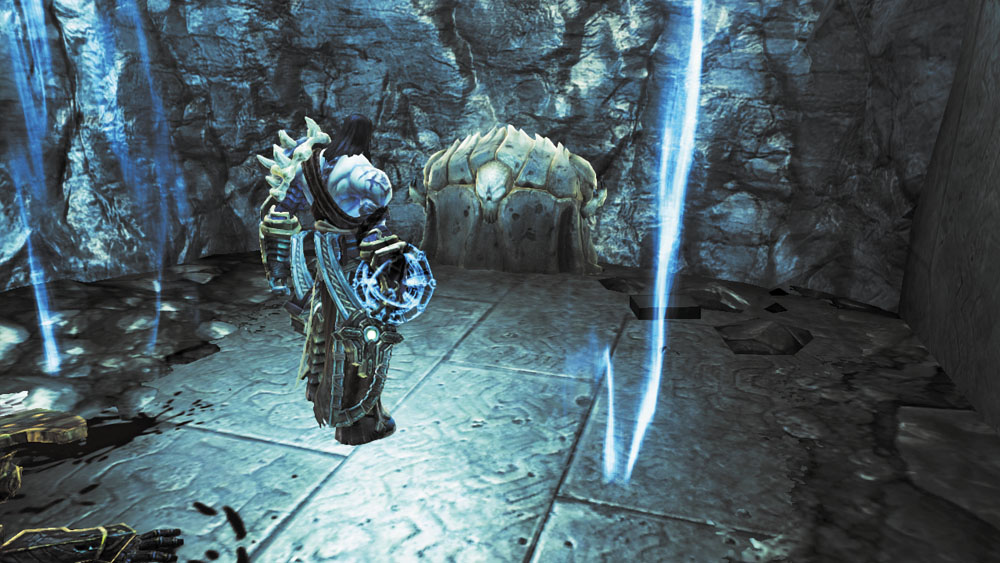
Death pops out near the chest. Claim your plunder. Then, look up at the portal above and blast the Stonebite that’s cleverly hidden on the broken wall near the portal.
|
|
Stone of Resistance 8 |
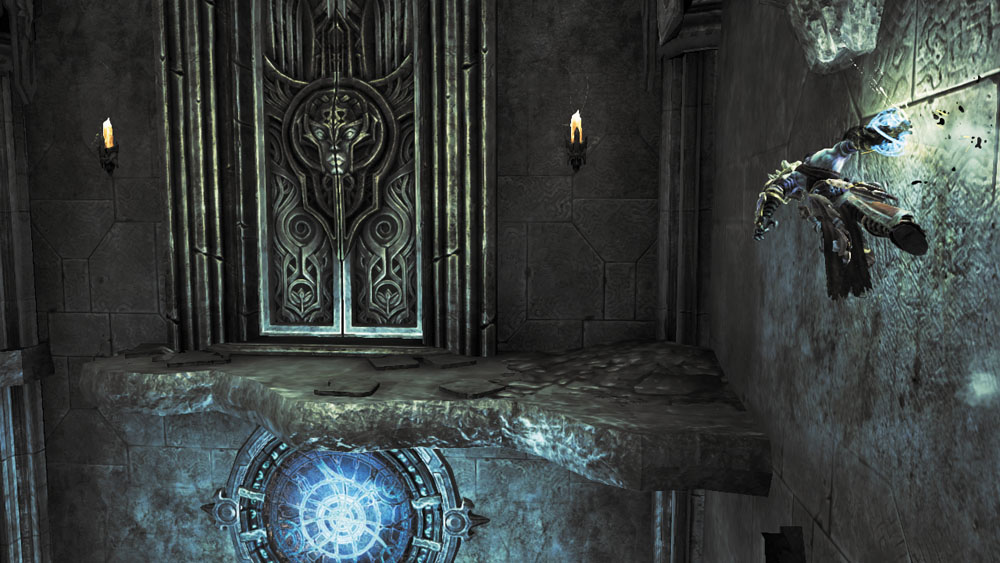
Drop from the chest ledge and open the bottom portal once more. Step through to rocket out of the high south portal again. This time, simply wall-run over to the north door and proceed through to reach the final battle.