
Prima Games eGuides
primagames.com Browse Redeem a code Help
Darksiders II eGuide
Sign in My Guides

Sign in or create an account

We'll email you a link. No password needed, and if you don't have an account yet, the link makes one.

By creating an account or signing in, you agree to our Terms of Service and Privacy Policy.

Have a password?

Had an account on the old eGuides site, or a code from a printed guide? Help and troubleshooting

Sign in with a password

By signing in, you agree to our Terms of Service and Privacy Policy.

Check your email

A sign-in link is on its way. It works once and expires in 15 minutes. Open it and you're in, with an account if you didn't already have one.

Contents

  • Maps
    • Maps
      • Map Listing
  • Essentials
    • Exploration and Combat
      • Controls
      • Exploring
      • Combat
      • Leveling Up
      • Equipping Gear
      • Death’s Attributes
    • Skills and Combos
      • Skills
      • Moves and Combos
    • Appendix
      • Legendary Items
      • Secret Chests
      • Boatman Coins
      • Book of the Dead Pages
      • Stonebites
      • Relics
      • Soul Arbiter's Scrolls
      • GnoMAD Gnomes
      • Achievements
  • Walkthrough
    • The Keeper of Secrets
      • The Veil
      • Boss Battle: War’s Shade
    • The Fire of the Mountain
      • Forge Lands
      • Tri-Stone
      • Stonefather’s Vale
      • The Weeping Crag
      • Baneswood
      • East Trail
      • The Charred Pass
      • Passing Through
      • The Cauldron
      • Boss Battle: Gharn
    • Tears of the Mountain
      • Stonefather’s Vale
      • Shadow Gorge
      • The Fjord
      • The Drenchfort
      • Boss Battle: Karkinos
    • To Move a Mountain
      • The Nook
      • The Lost Temple
      • Boss Battle: Construct Hulk
    • Heart of the Mountain
      • The Foundry
      • The First Heart Stone
      • The Second Heart Stone
      • The Third Heart Stone
      • Boss Battle: Corrupted Custodian
    • The Tree of Life
      • Boss Battle: The Guardian
      • The Verdant Hollow
    • The Kingdom of the Dead
      • The Tree of Death
      • Leviathan’s Gorge
      • Breach
      • Breach Exterior
      • The Maw: West Valley
      • Serpent’s Peak
      • Eternal Throne
    • The Toll of Kings
      • Gilded Arena
      • The First Animus Stone
      • The Second Animus Stone
      • The Third Animus Stone
      • Boss Battle: Gnashor
    • Court of Bones I: Phariseer
      • Gilded Arena (Exterior)
      • The Maw
      • Phariseer’s Tomb
      • Boss Battle: Phariseer
    • Court of Bones II: Judicator
      • The Spine
      • Judicator’s Tomb
      • The First Soul
      • The Second Soul
      • Boss Battle: Tormentor
      • The Third Soul
      • Boss Battle: Bone Giant
    • Court of Bones III: Basileus
      • Gilded Arena
      • Psychameron
      • Boss Battle: Basileus and Achidna
    • The City of the Dead
      • The City of the Dead
      • Boss Battle: The Wailing Host
    • The Key to Redemption
      • Lostlight
      • The Crystal Spire
    • The Rod of Arafel
      • Earth
      • Boss Battle: The Noss
    • Stains of Heresy
      • The Ivory Citadel
      • Boss Battle: Jamaerah the Scribe
      • Boss Battle: Archon
    • The Lord of the Black Stone
      • Shadow’s Edge
      • The Black Stone
      • Boss Battle: Samael
    • The Well of Souls
      • Final Boss: Avatar of Chaos
    • Side Quests
      • The Crucible
      • Thane’s Side Quests
      • Muria’s Side Quests
      • Alya’s Side Quest
      • Vulgrim’s Side Quest
      • Blackroot’s Side Quest
      • Oran’s Side Quest
      • Ostegoth’s Side Quest
      • The Chancellor’s Side Quest
      • Nathaniel’s Side Quest
      • Uriel’s Side Quest
    • Side Areas
      • The Weeping Crag
      • Boss Battle: Gorewood
      • The Shattered Forge
      • The Scar
      • Boss Battle: Ghorn
    • Side Quests and Areas
      • Lair of the Deposed King
      • Boss Battle: Argul
      • Sentinel’s Gaze
      • Boneriven
      • Soul Arbiter’s Maze
      • Boss Battle: The Soul Arbiter
  • Extras
    • Behind the Scenes
      • Darksiders II Behind the Scenes
      • Creating Death
    • Behind the Scenes Videos
      • Video Interviews

Darksiders II Guide › Walkthrough › Side Areas

Boss Battle: Gorewood

Boss Battle: Gorewood
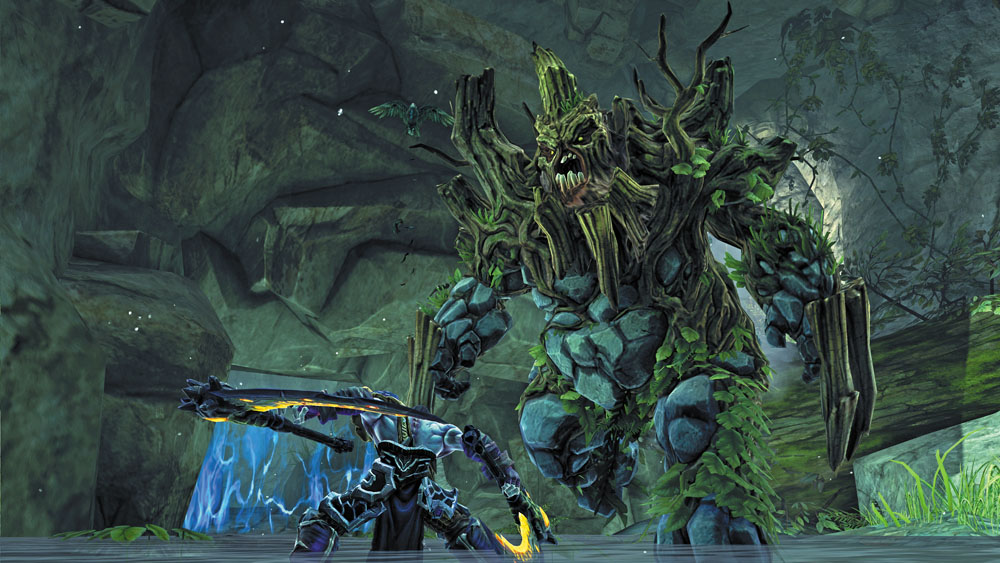
Gorewood is a monstrous earth golem that values solitude. The creature has little tolerance for trespassers, and attacks Death on sight.
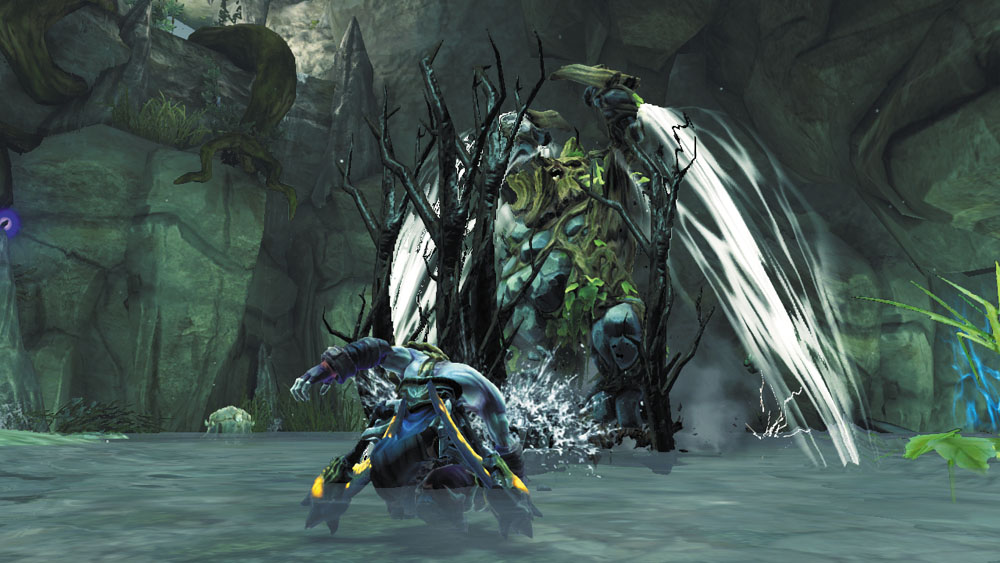
Beware the tangled roots that Gorewood regularly casts out—if you’re caught by one, you’ll be temporarily immobilized, becoming an easy target for Gorewood’s slow but devastating blows. Strive to evade the monster’s roaming snares.
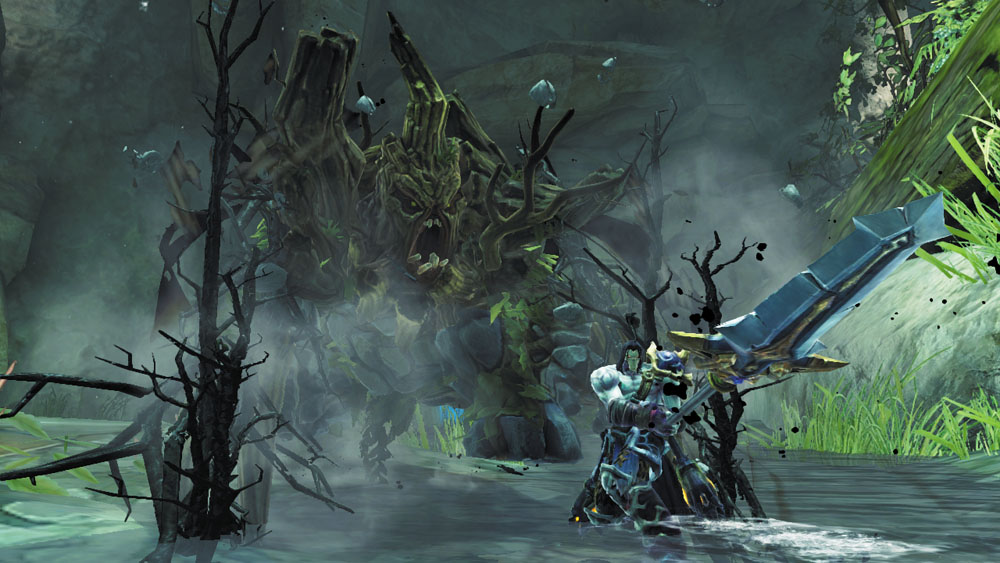
Once you learn to avoid his snares, Gorewood becomes fairly easy prey. Circle around his predictable blows and counter with vicious combos—but always be ready to dodge those immobilizing roots. Slay Gorewood to complete a side quest for Thane and receive a unique weapon, the Gorewood Maul.
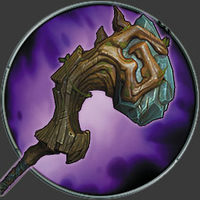
Gorewood Maul

Side Quest Complete: “Find and Kill Gorewood”

Keep reading with a free account

The first 3 sections of Darksiders II are open to everyone. An account opens the rest of it, and every other guide in the archive. It's free, and there's nothing to buy.

Bought guides on the old Prima Games site? Your account and every guide you own moved here, so there's nothing to buy again. Sign in.

Create a free account Or browse our free guides

PreviousThe Weeping Crag NextThe Shattered Forge