
Darksiders II Guide Walkthrough The Tree of Life
Boss Battle: The Guardian
Death has succeeded in rousing the Guardian from the Foundry, but the Rider now finds himself in a desperate situation. The Maker’s great titan has fallen under Corruption’s sway, and now the total destruction of the Forge Lands is at hand. Even Eideard’s ancient magic proves no match against the Guardian’s unbridled ire. The task of defeating Corruption’s newfound colossus falls to the Reaper.
Boss Battle: The Guardian
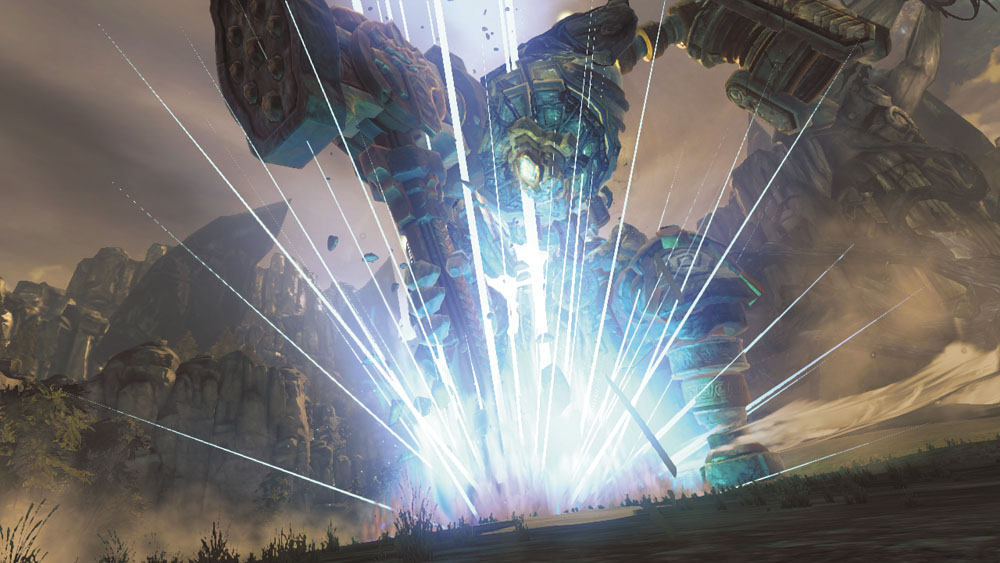
No amount of Eideard’s wizardry can tame this monstrous construct. The Pale Rider is forced to confront the Guardian in the vastness of the Stonefather’s Vale.
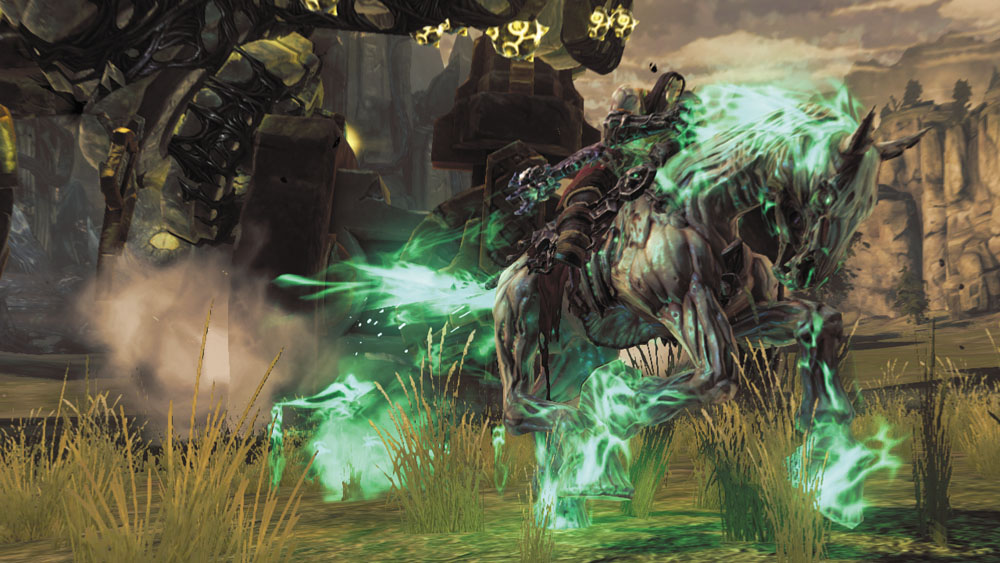
Focus on the Guardian as you ride toward it on Despair. Circle to the left around the colossus, and the great monster will soon attack with its massive hammer. Press the Evade trigger to charge to the left when you see the Guardian raise its hammer, riding hard to avoid the devastating blow.
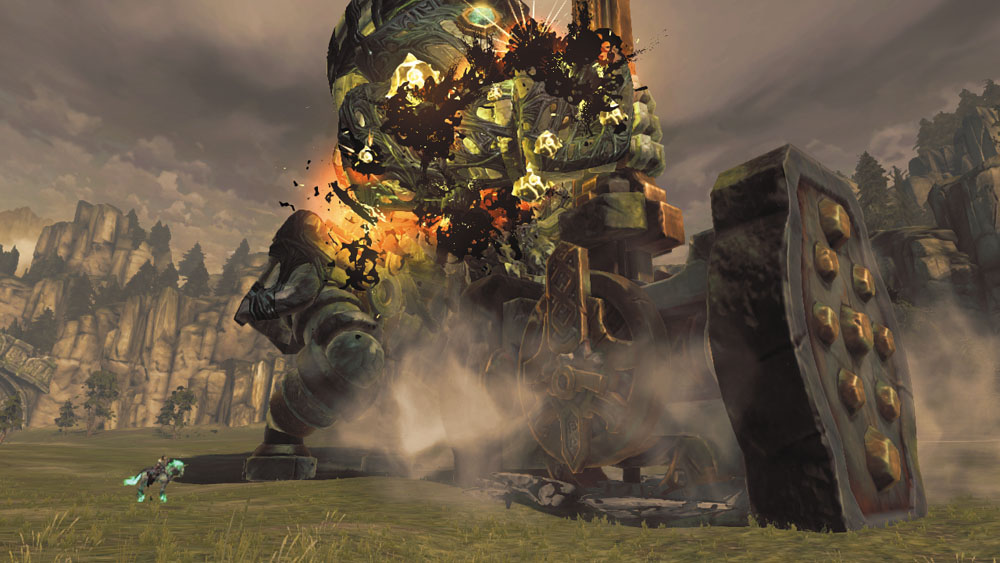
Whether or not you managed to slip past the Guardian’s attack, immediately enter aiming mode and blast the yellow Shadowbombs lining the outside of the titan’s right arm. Shoot these with Redemption to cause a massive explosion that temporarily severs the arm.
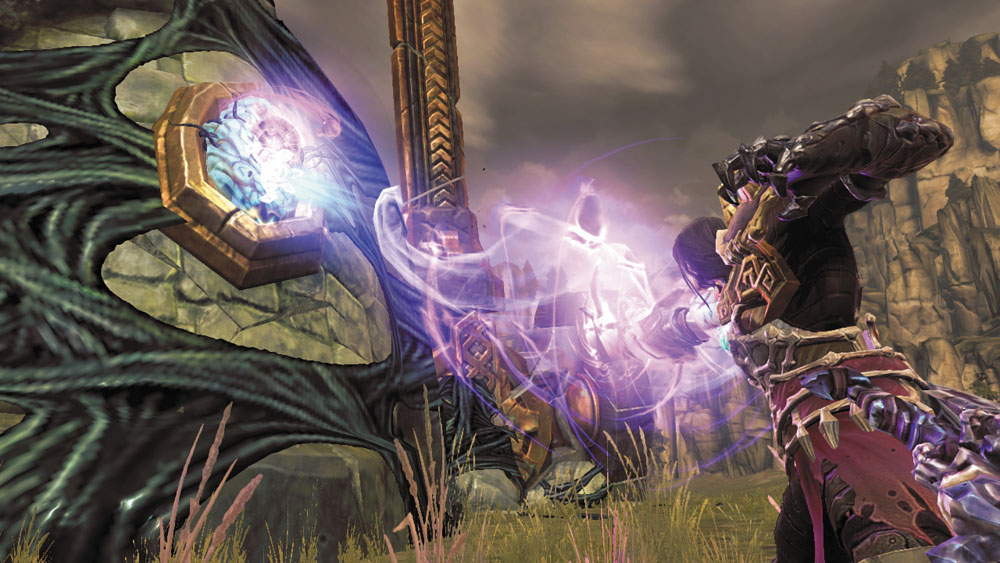
Now’s your chance! Ride close to the Guardian’s lowered shoulder before banishing Despair. Switch to the Deathgrip and grasp the Heart Stone affixed to the Guardian’s shoulder. Attack the Heart Stone with Death’s scythes once you’ve zipped into range. Repeat this sequence until you manage to destroy the Heart Stone and permanently disable the Guardian’s right arm.
Phase II
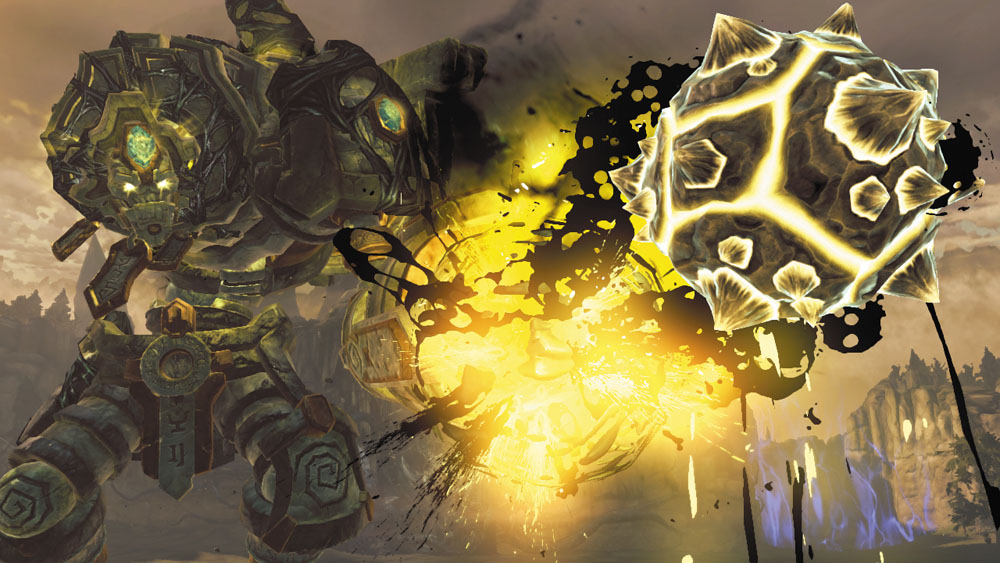
Having lost the use of its enormous hammer, the Guardian changes tactics and begins to fire massive, spike-covered orbs at Death from its remaining arm. Summon Despair once more, and then focus on one of the orbs and blast it with Redemption. Ride in circles to avoid the orb as you pepper it with shots.
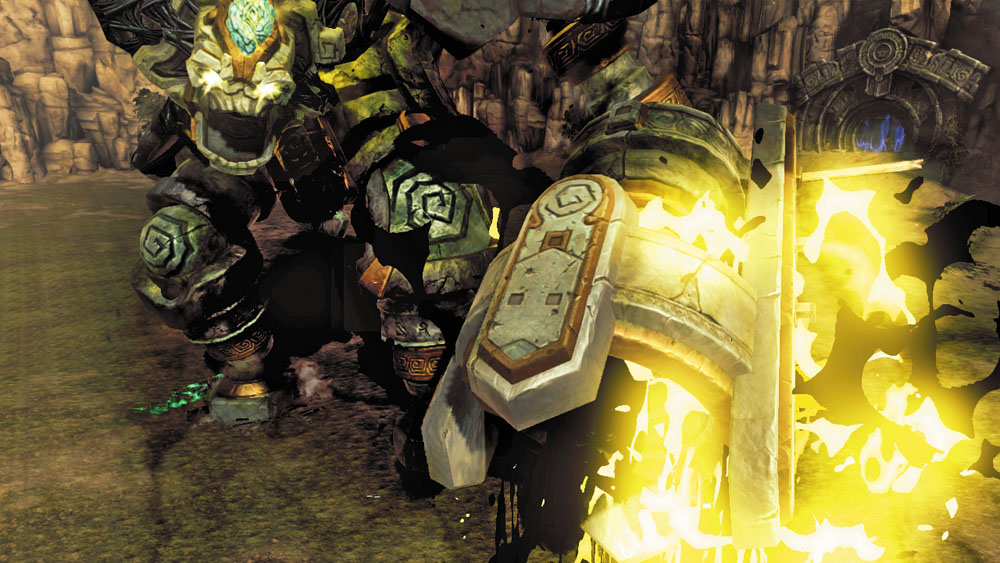
Once the orb is nearly destroyed, it begins to glow and rise. Immediately ride toward the Guardian and slip between its massive feet. The damaged orb will race after you, but ultimately smash into the Guardian’s feet instead! The impact knocks the titan to its knees, leaving it vulnerable.
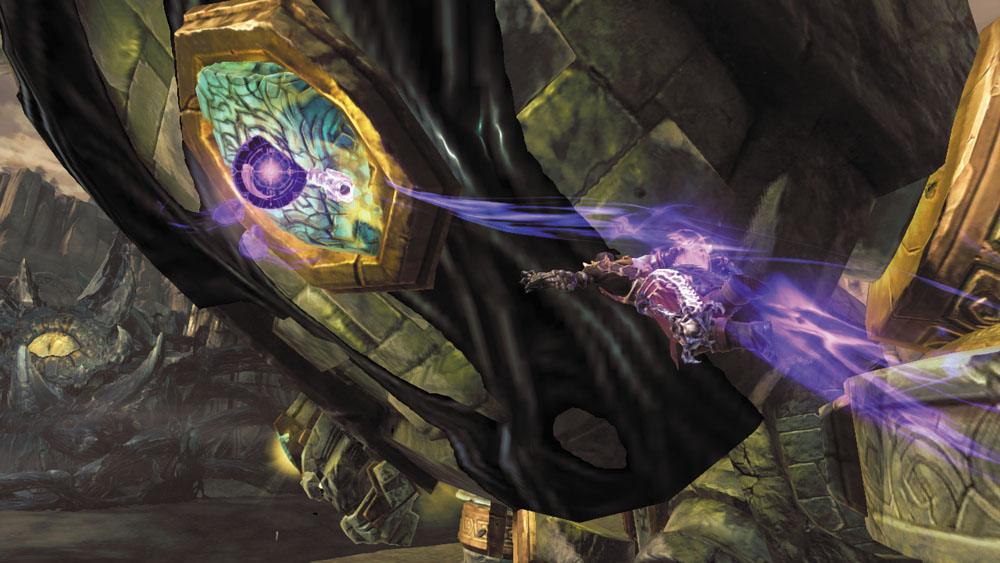
There isn’t much time! Ride to the Guardian’s lowered arm, banish Despair, and wall-run up the arm. Vault off of two pegs to reach a wooden beam, and then move to the beam’s end and look for the nearby Heart Stone. Jump toward the Heart Stone, Deathgrip it, and attack without mercy. Repeat this sequence until the second Heart Stone is destroyed.
Corruption Cleared
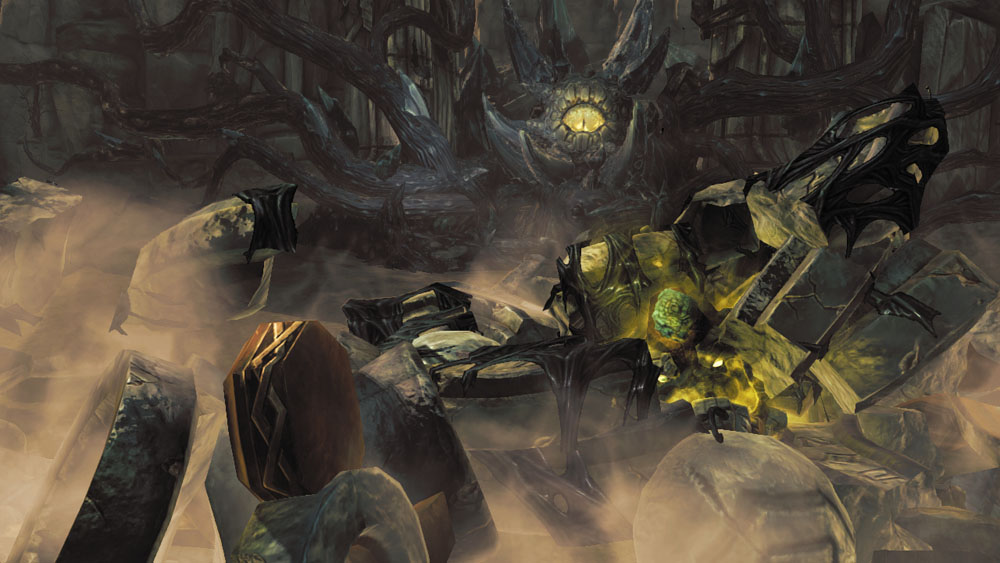
The Guardian can suffer no more. With a tremendous shudder, the monstrous Construct collapses into a vast pile of rubble. The Forge Lands have been spared!
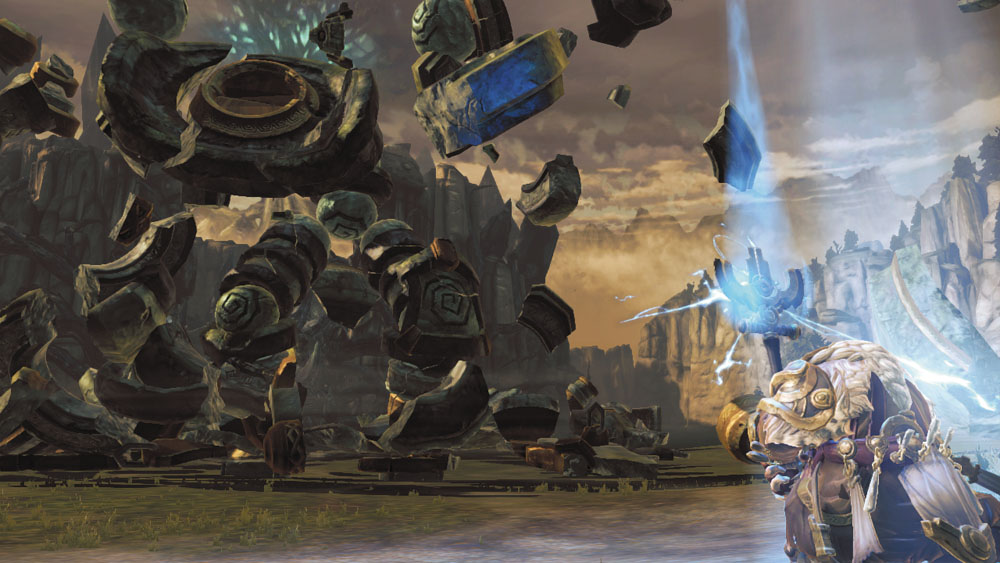
Death has stopped the Guardian's rampage, but Corruption still surrounds the Tree of Life. Eideard uses the last of his life force to raise the Guardian once more, restoring the great construct to its natural purity.
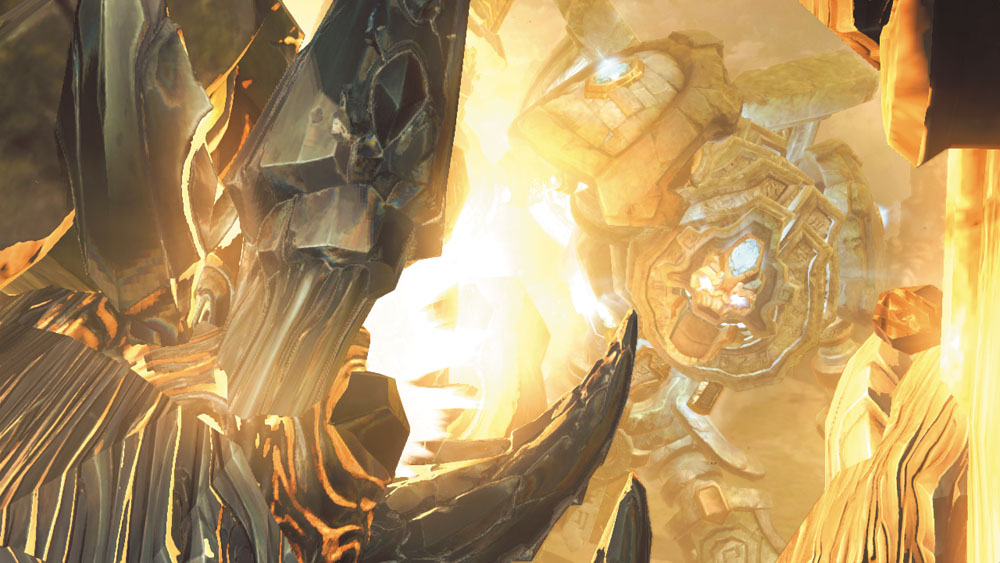
The Guardian wastes little time in eradicating the nearby nest of Corruption, but the epic clash destroys the Guardian mere moments after it had been reformed.
Congratulations, you’ve banished Corruption from the Forge Lands! Many side ventures are still available in this realm, however, and completing these now will give you an advantage in the lands ahead. Here’s a quick list of everything you can now accomplish in the Forge Lands—refer to the “Side Quests and Areas” chapter for further details.
- The Crucible: Return to Tri-Stone and check the Tome—you’ve been sent a special item that lets you visit a special side area called the Crucible! This area now appears on the in-game map; simply fast-travel there and see what awaits you.
- Death Tomb 1: If you’ve been following this walkthrough carefully, then you’ll claim your 10th page of the Book of the Dead while exploring the Shattered Forge as part of Valus’s side quest. This completes the Book’s first chapter; trade the chapter for a special key from vulgrim, then fast-travel to the Lost Temple’s entrance and use the key to open the colorful door you noticed before. This leads to a treasure-filled Death Tomb!
- Baneswood Loot: Use the Deathgrip to perform a long wall-run at the east ruin and reach a chest on the ruin’s south ledge. Drop from the south end of the chest ledge afterward to snag a Boatman Coin.
- Fjord Loot: Now that you have the Deathgrip, you can reach a chest around the Fjord’s harbor. It’s found atop the mooring station (Deathgrip the hoop on station’s exterior wall). Leap from the top of the mooring station to claim the high-hovering Boatman Coin.
- The Weeping Crag: Now is a good time to revisit the Weeping Crag and defeat its resident boss enemy, Gorewood. See the “Side Quests and Areas” chapter for a complete walkthrough.
- The Nook: Return to the Nook and use the Deathgrip to claim a Book of the Dead Page, a Boatman Coin. Slay Bheithir in the basement to complete a side quest for Thane as well.
A few tasks in the Forge Lands remain inaccessible. Here’s a quick rundown of those to prevent you from wasting time:
- The Scar can be attempted at this point, but its many challenges are likely beyond Death’s current skills. A future side quest will direct you to the Scar, so forgo visiting this side dungeon for now.
- All puzzles involving warp portals and multiple pressure plates cannot currently be solved. These include the puzzles in the Weeping Crag, the Nook (basement of the interior ruin), and the Fjord (east ruin, and also the harbor enclosure where Vulgrim is found).
Don’t worry; we’ll let you know when these lingering side adventures become available!
|
Stone of Mystics 15 |
|
Stone of Power 4 |
|
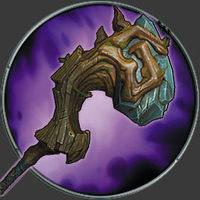
Gorewood Maul |
|
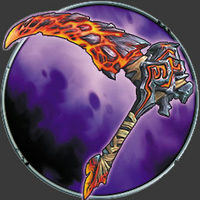
Bheithir's Talons |
|
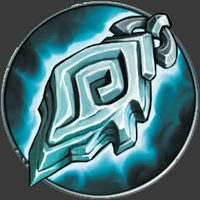
Heartstone Talisman |
|
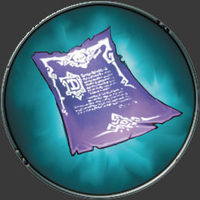
Book of the Dead 11-12 |

|
Boatman Coin 39-42 |