
Darksiders II Guide Walkthrough Court of Bones I: Phariseer
Phariseer’s Tomb
Phariseer’s Tomb
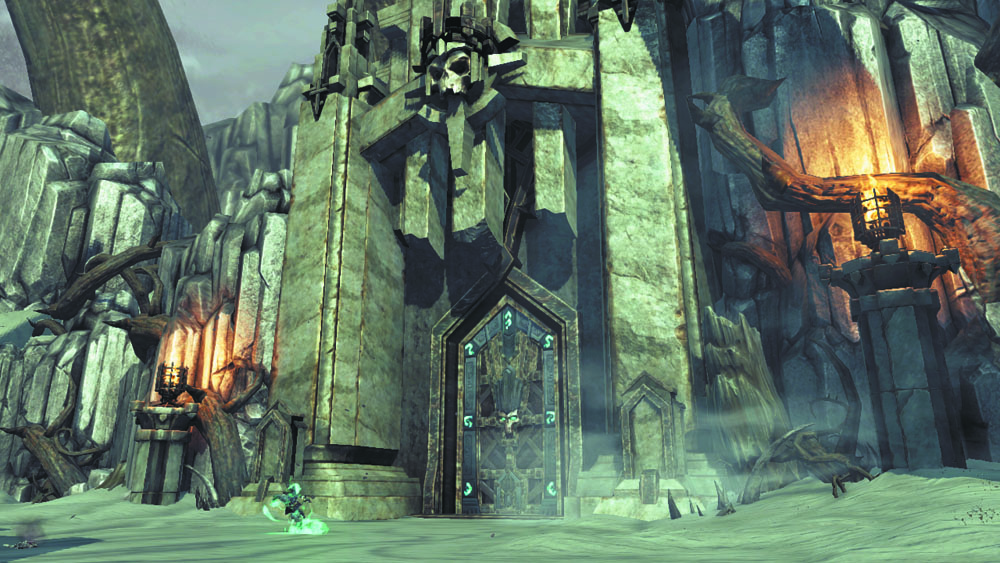
The first Dead Lord that Death must summon resides within this frightful tomb. The Rider’s skills will be put to the test in this unholy place.
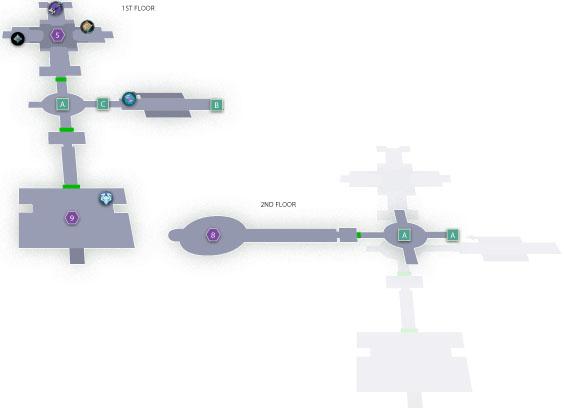
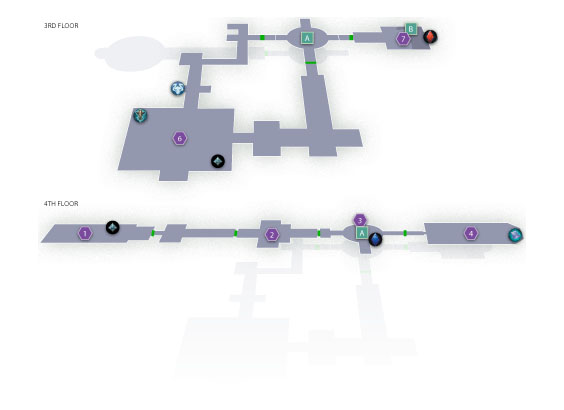
Area 1: Entry Elevator
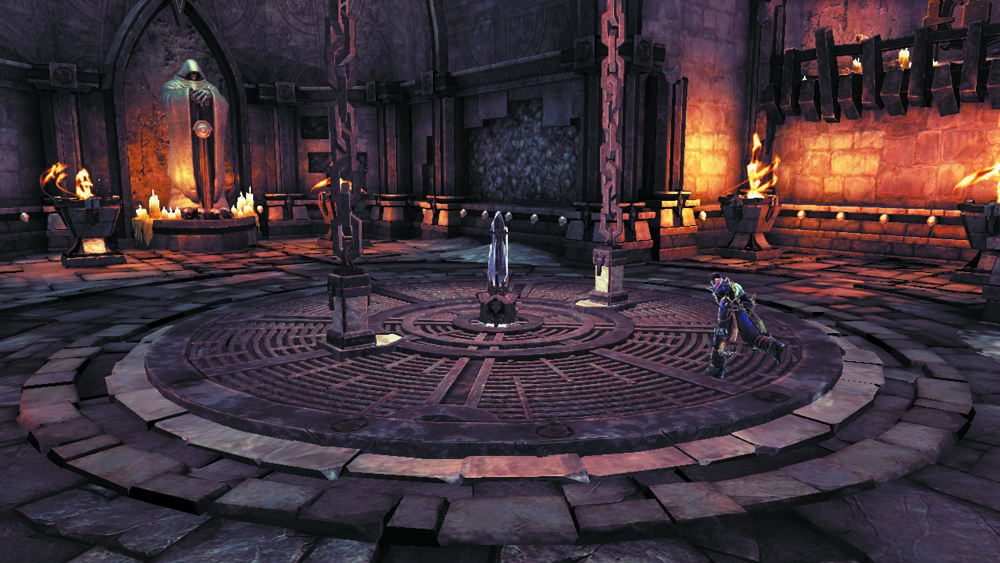
Approach the dark crystal in the center of the tomb’s quiet entry chamber. Strike the crystal to activate a lift that lowers you into the crypt’s unknown depths.
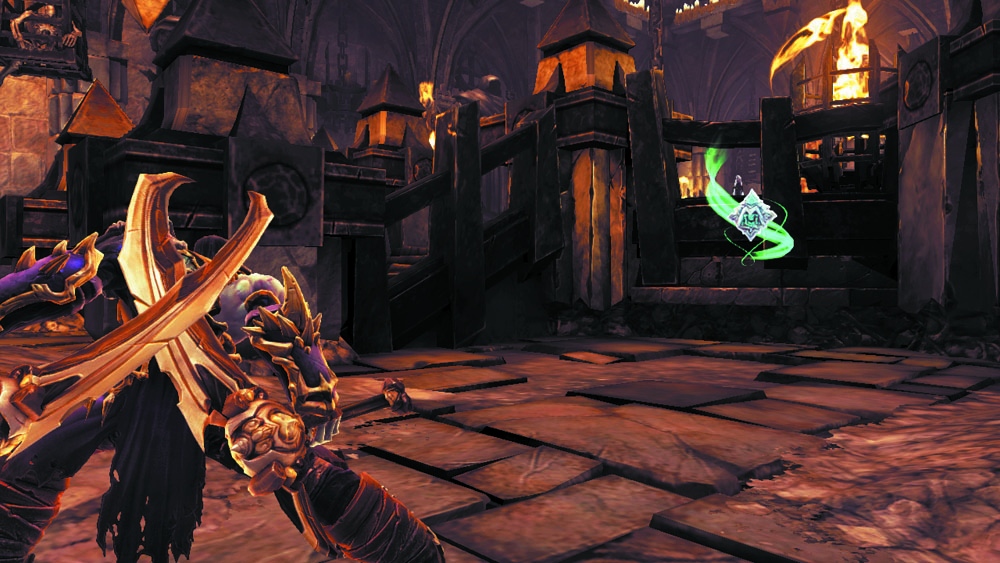
When at last you come to a stop, advance and slay the roaming Mummies in the passage that follows. These shambling fiends pose little threat to Death. Swipe a nearby Boatman Coin before proceeding through the east door, where more dead minions must be battled in a spacious hall.

|
Boatman Coin 57 |
Area 2: Great Gate
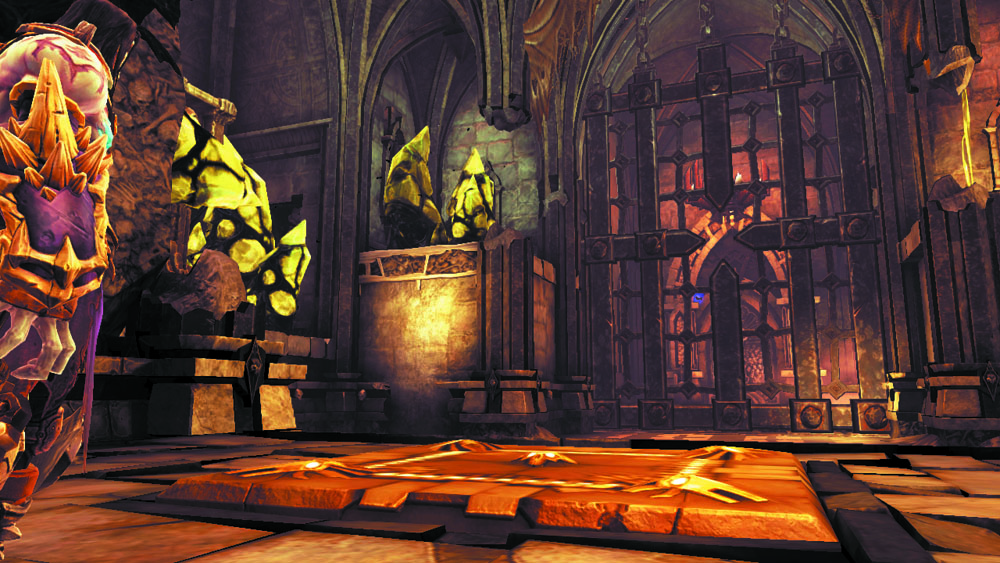
A massive gate bars your progress in this chamber. Standing atop the central pressure plate raises the gate, but it quickly collapses again when you step off the plate. A bit of ingenuity is needed to gain entry to the tomb’s deeper reaches.
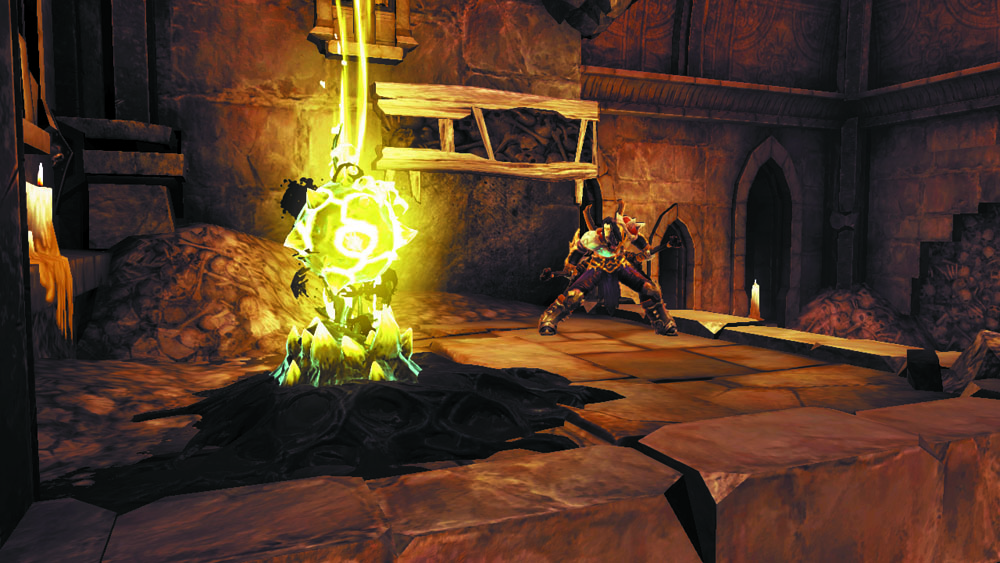
Scale the south wall to reach a ledge with a Shadowbomb pod.
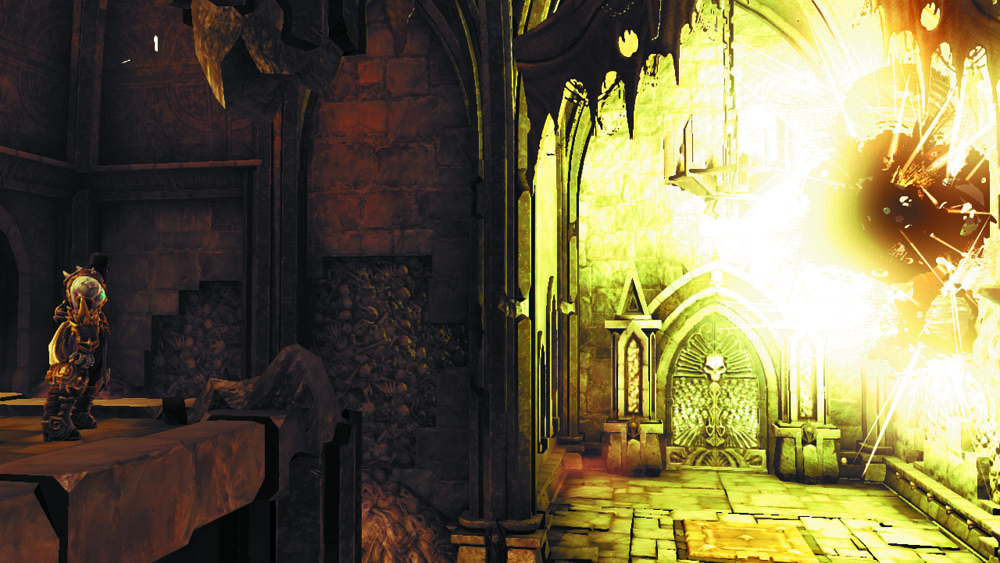
Hurl Shadowbombs at the Corruption crystals on the north ledges to blast them away, exposing a chest, a tall pillar, and a second Shadowbomb pod.
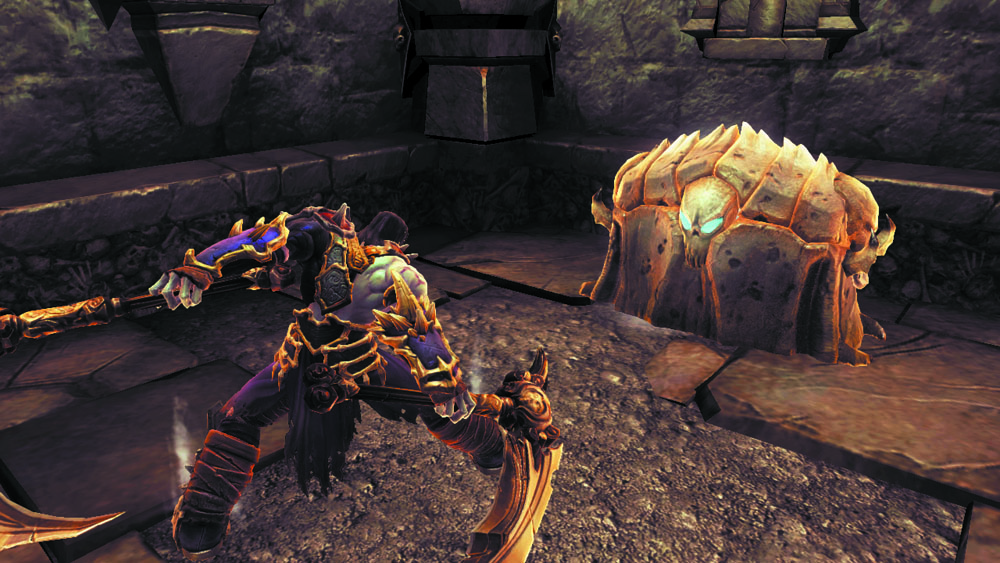
Drop down to the ground, and then wall-run up to the chest ledge. Claim your plunder from the chest.
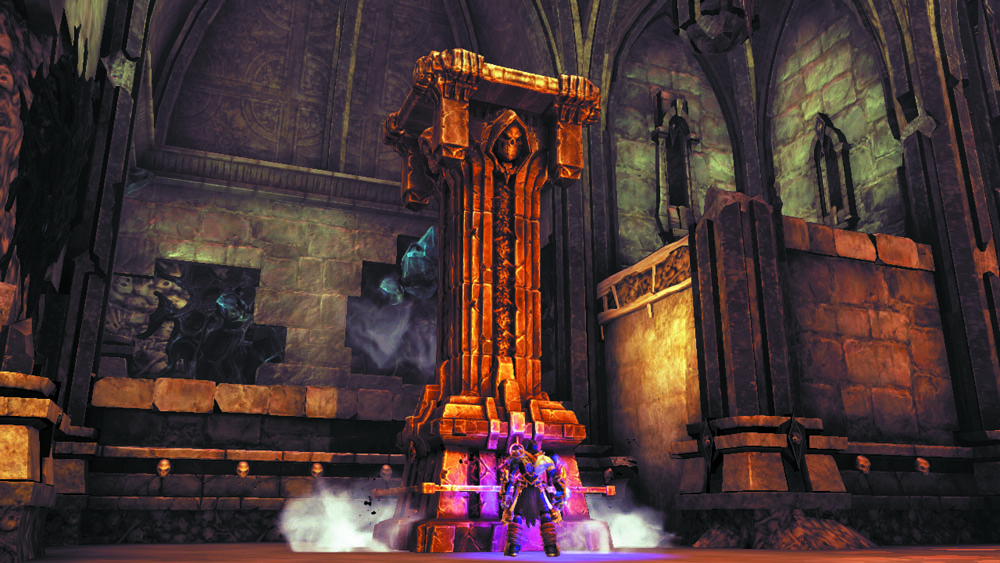
Return to the ground again and Deathgrip the tall pillar that the crystals had been covering to pull it down into the center of the room.
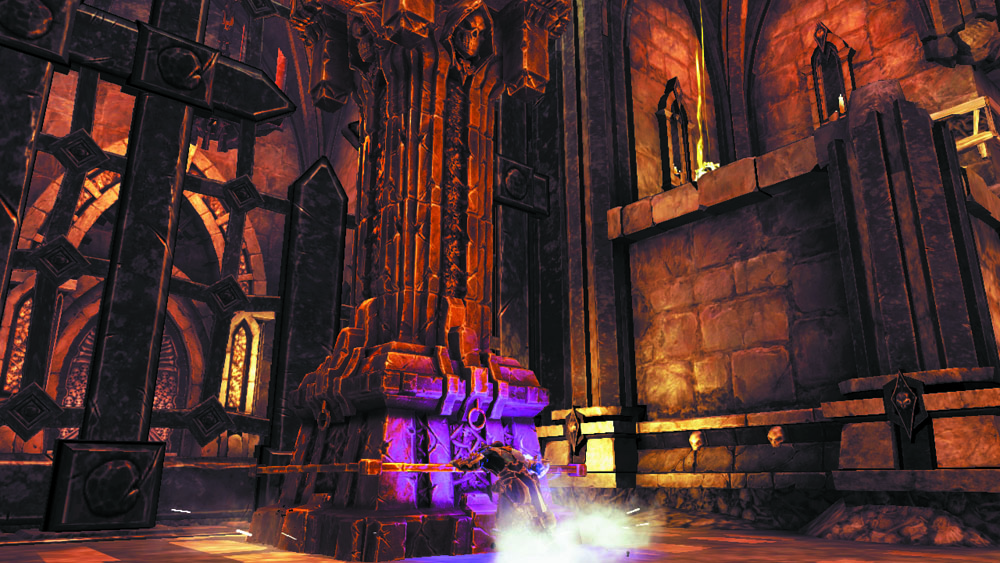
Grab and shove the pillar right up next to the large gate. Return to the pressure plate and Deathgrip a Shadowbomb from the nearby wall pod.
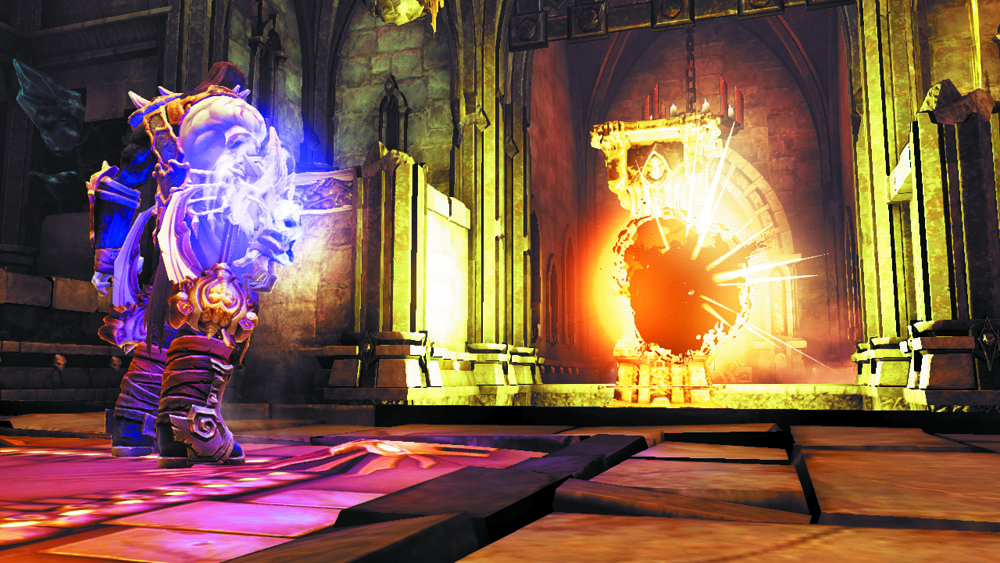
While standing on the pressure plate, toss a Shadowbomb onto the pillar. The ensuing blast knocks the pillar directly beneath the gate. The pillar will now catch the gate when you step off the plate, supporting it.
Area 3: Elevator Chamber
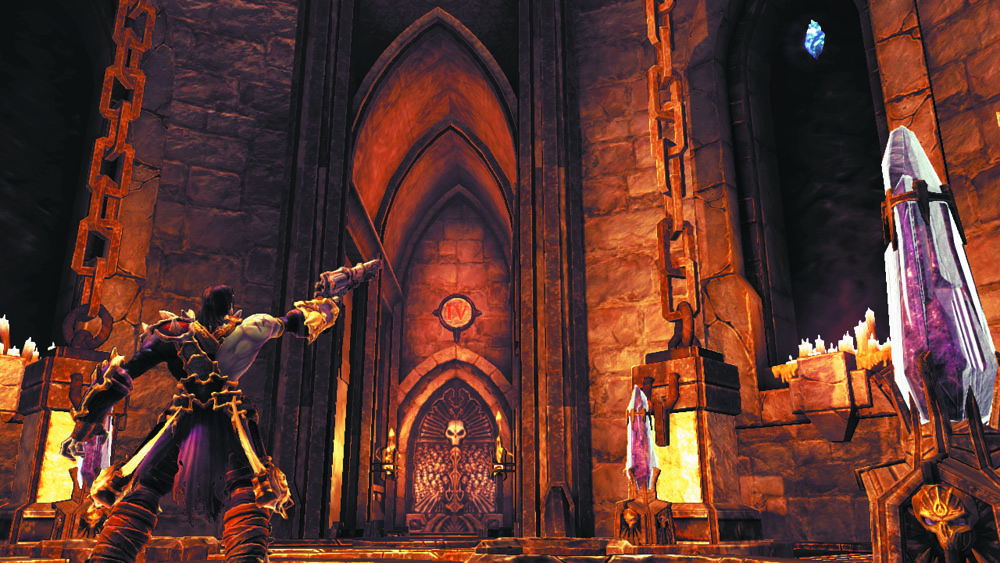
Another elevator lies beyond the gate. This one serves as your main means of transportation between the tomb’s four primary floors. Notice that the surrounding walls are marked with the number IV—this denotes your current floor. Shoot the Stonebite on the southeast wall before proceeding through the east door.
|
Stone of Mystics 21 |
Area 4: Hall of Worship
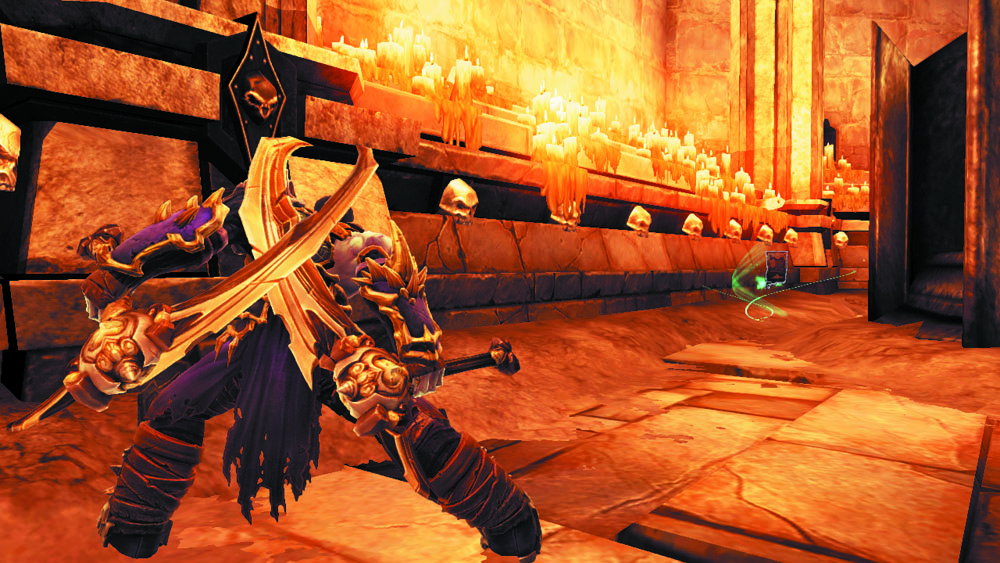
A wide hall filled with bones and coffins lies beyond the east door. Slaughter the Mummies that roam this place, and then crack open the chest that sits before the east statue. Search behind the statue to discover a lost page of the Book of the Dead.
|
Book of the Dead 15 |
Going Down
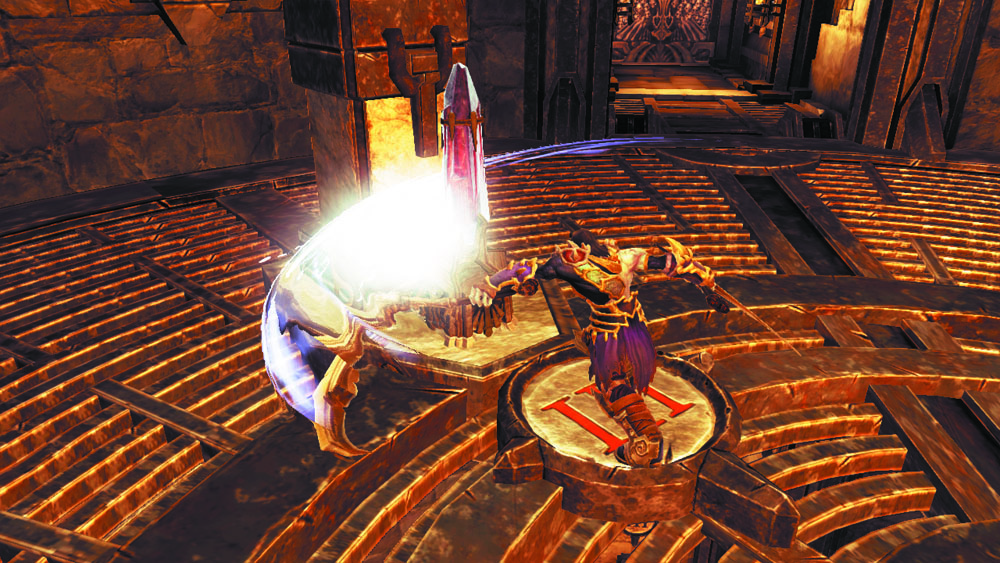
Backtrack out to the elevator and strike the crystal with the number “III” etched into the floor before it. The elevator then descends to the third floor, where a locked door blocks your progress.
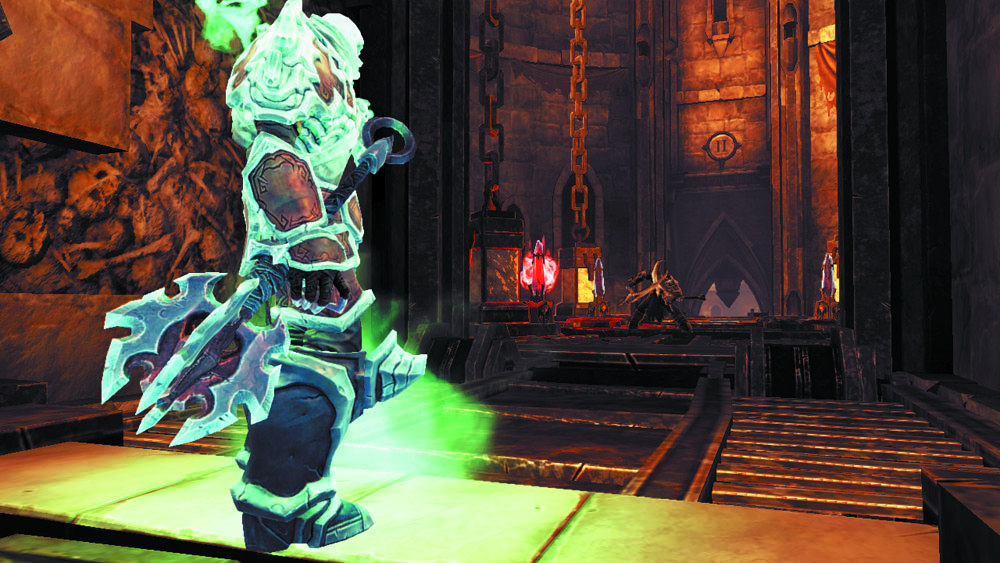
Next, strike the crystal with the number “II” etched before it. Instead of stopping on the second floor, the elevator is sabotaged by the Phariseer, who appears with a warning before sending you crashing down to the first floor. The elevator won’t stop at the second floor, so your only option is to explore the first floor. Proceed through the north door.
Area 5: Pit of Bone
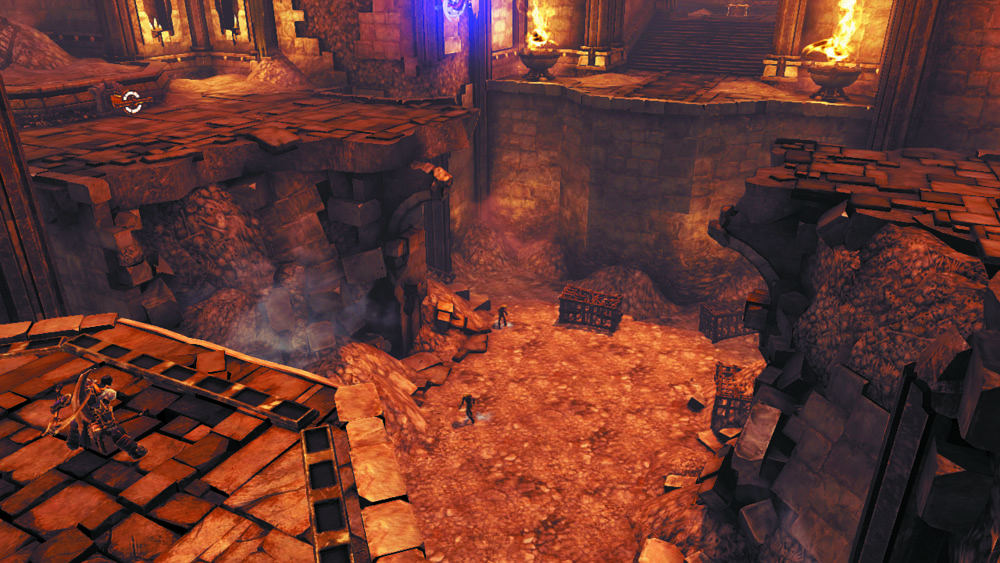
Countless bones fill a giant pit in this spacious chamber. A puzzle that demands precise timing must be solved in order to progress.
The East Chest
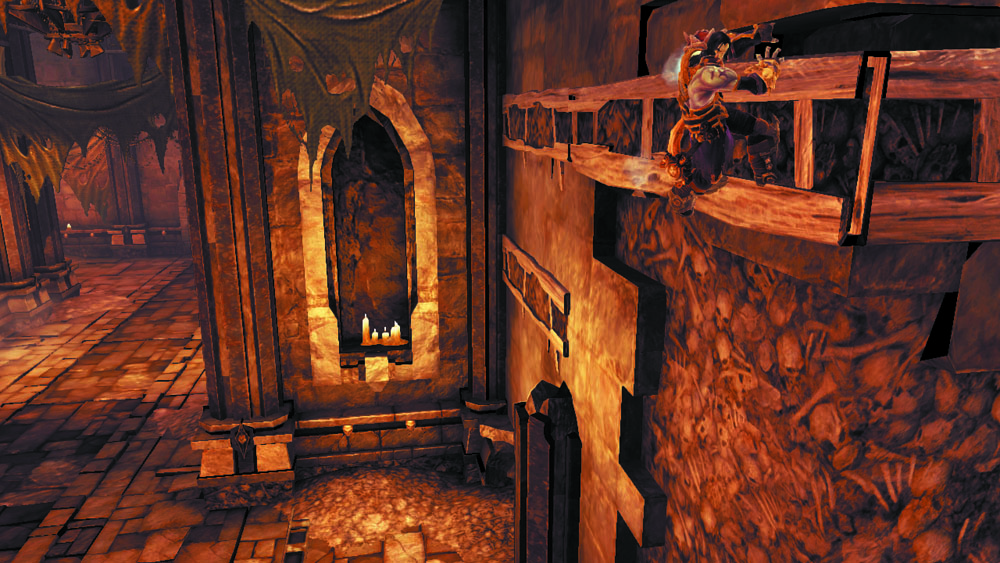
Ignore the hoop that hangs from the cage near the ceiling and turn left. Run up the west wall to reach a hand hold, and then shimmy around the corner.
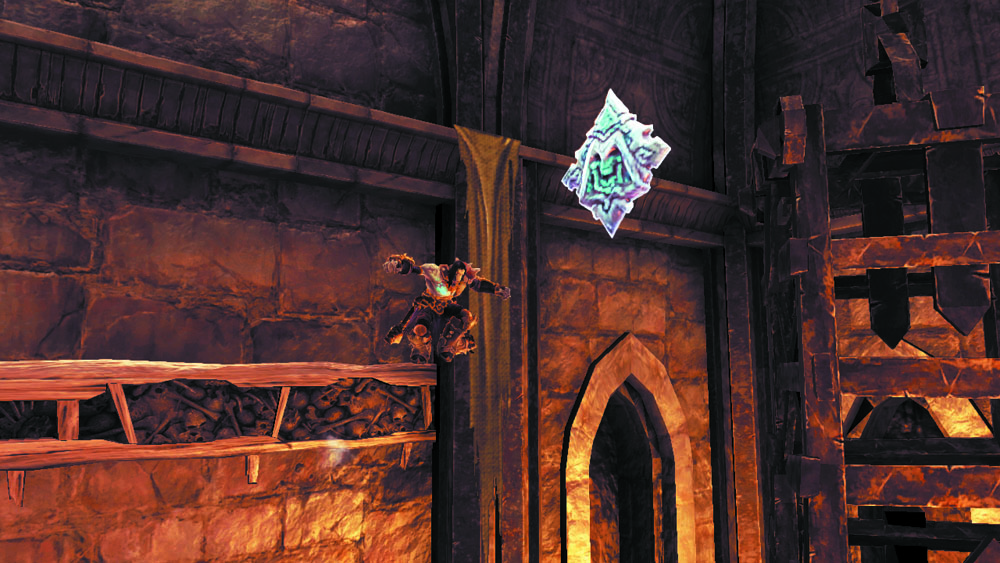
When you near the end of the hand hold, perform a 180 leap to grab a high-hovering Boatman Coin.
|
|
Boatman Coin 58 |
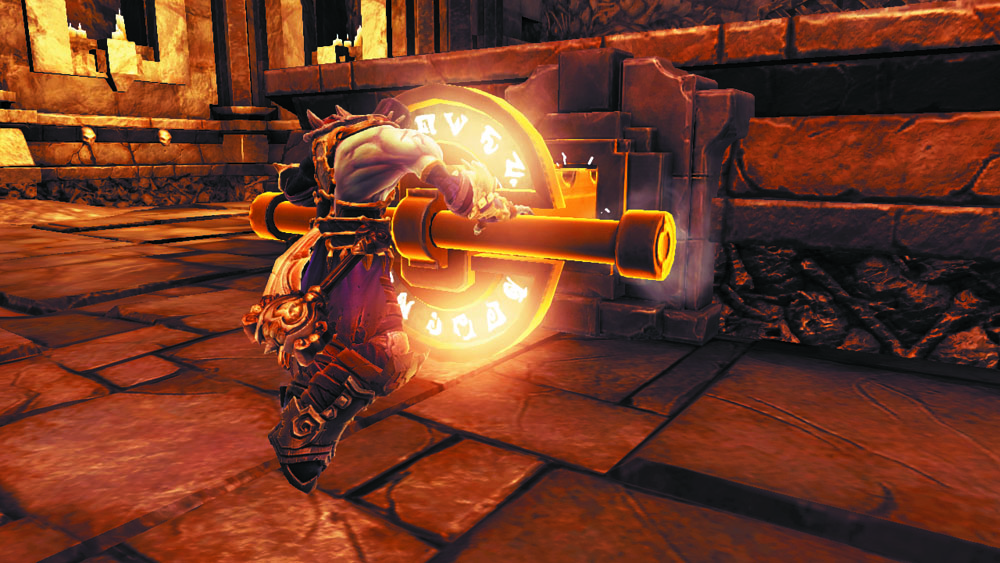
You land near a switch. Push it to lower a second hoop from the ceiling. The initial hoop then retracts after a brief time.
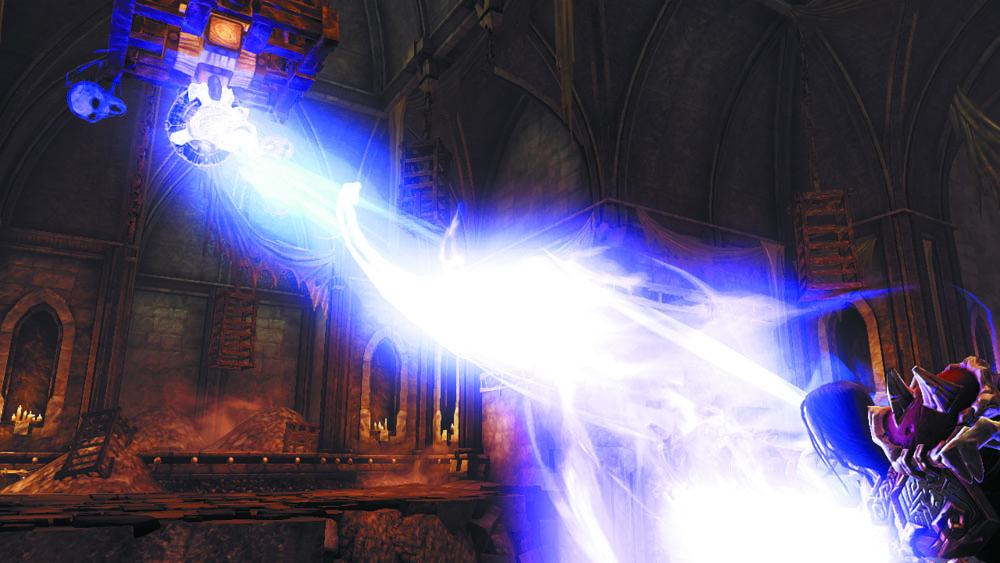
Jump and Deathgrip the new hoop to swing over to the east ledge. Open an ornate chest here to claim the Dungeon Map.
|
Dungeon Map |
The North Chest
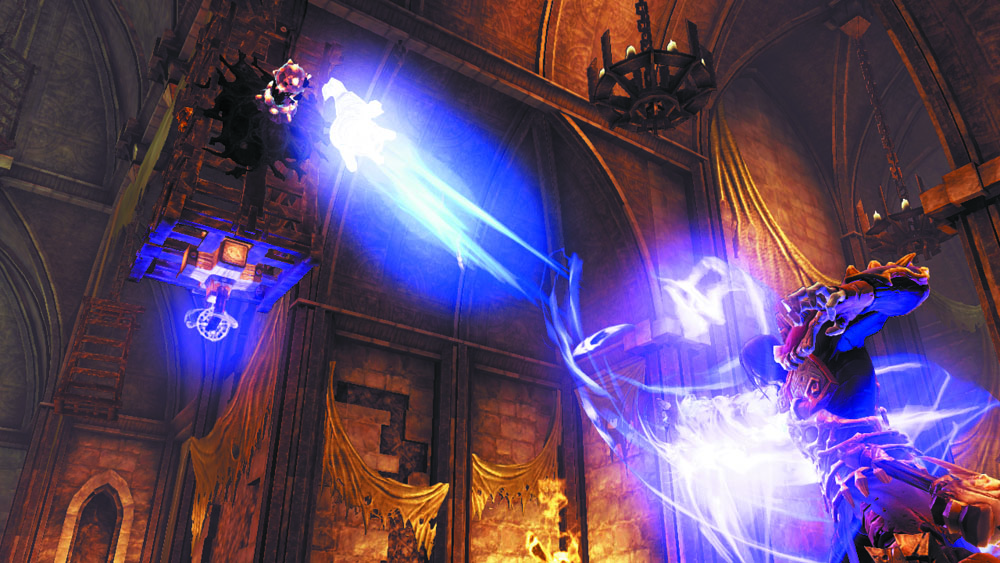
Next, Deathgrip a Shadowbomb from the pod above the hoop you’ve just used.
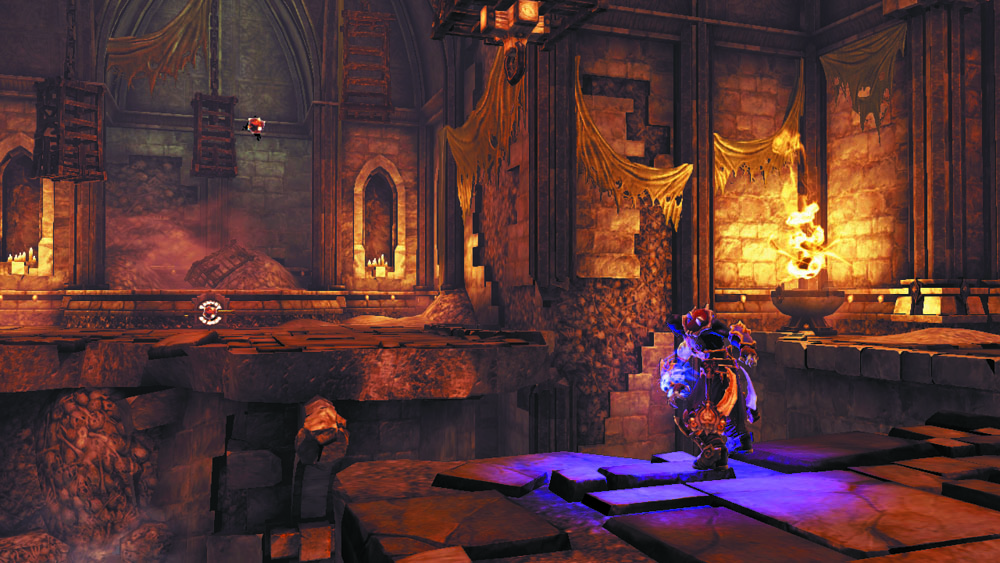
Throw the bomb at the west ledge's switch. The bomb remains inert until you shoot it, but don't do so just yet.
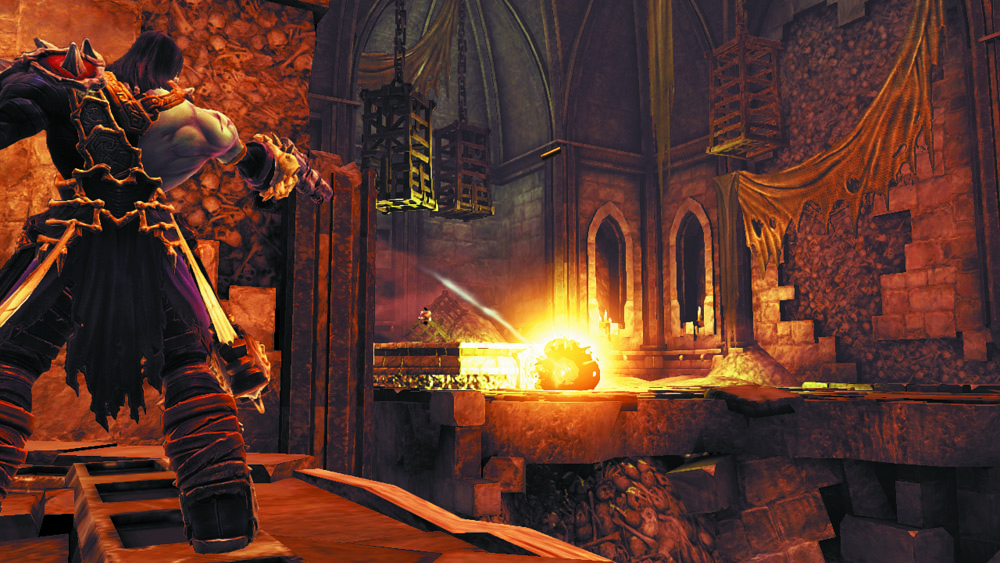
Traverse the south wall's hand holds to round the corner and return to the entry ledge. Now, aim and blast the Shadowbomb to trigger the west switch.
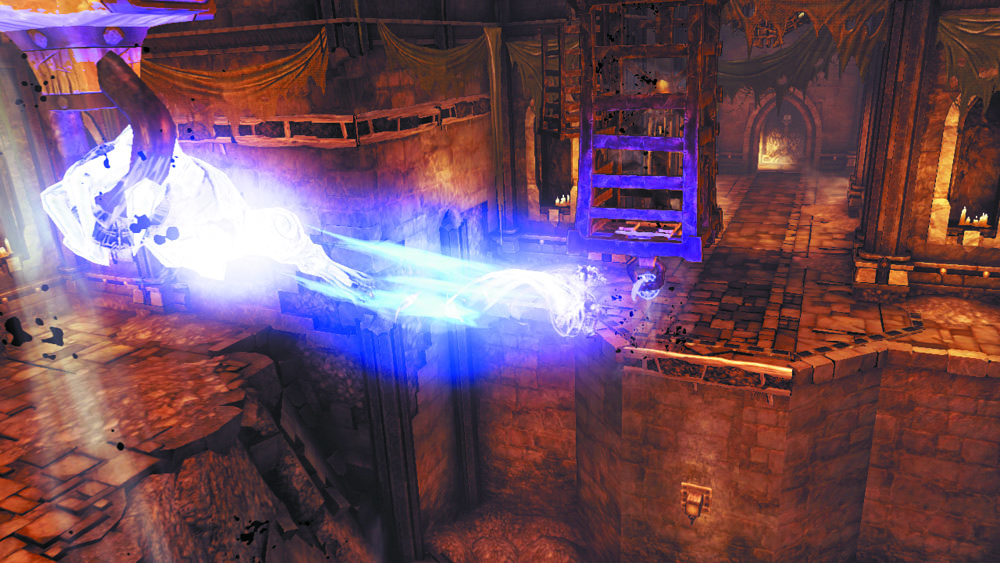
Wait for the original hoop to lower from the ceiling. Then, hurry and Deathgrip across the two hoops before the second one retracts. If you time it right, you'll land near the north chest.
Key Acquired
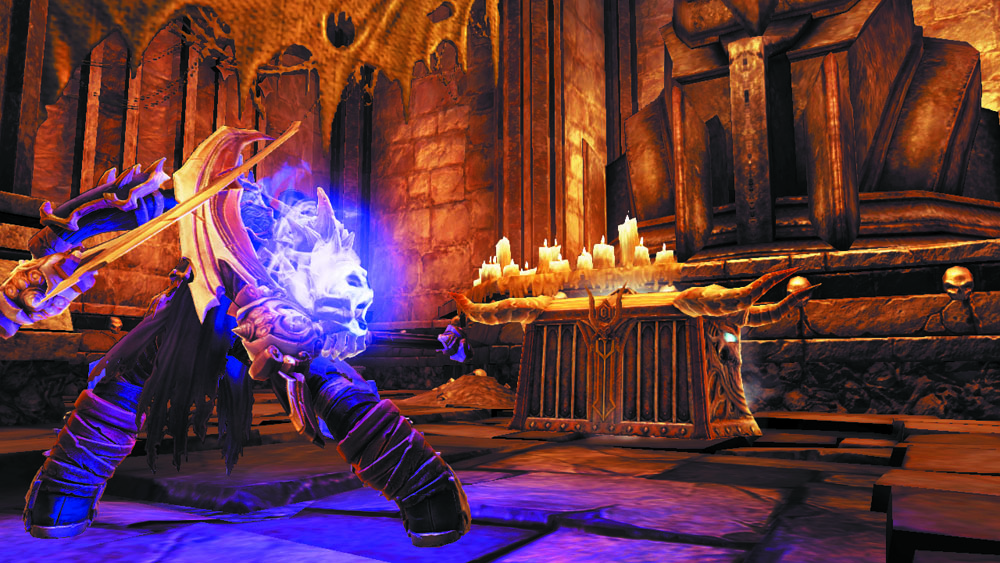
Swinging across the hoops lands you near the ornate north chest. Crack into it to acquire a Skeleton Key.
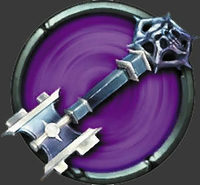
|
Skeleton Key |
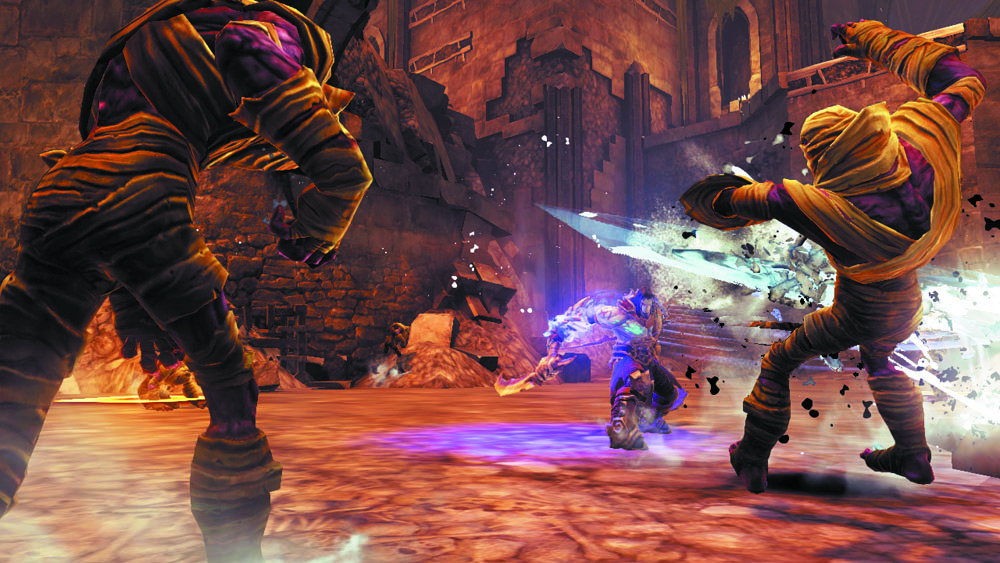
With the Skeleton Key in your possession, drop into the bone-filled pit and cut down the lowly dead that lurk down here. Vault off of the south wall’s peg afterward to climb out of the pit.
Wraith Ambush
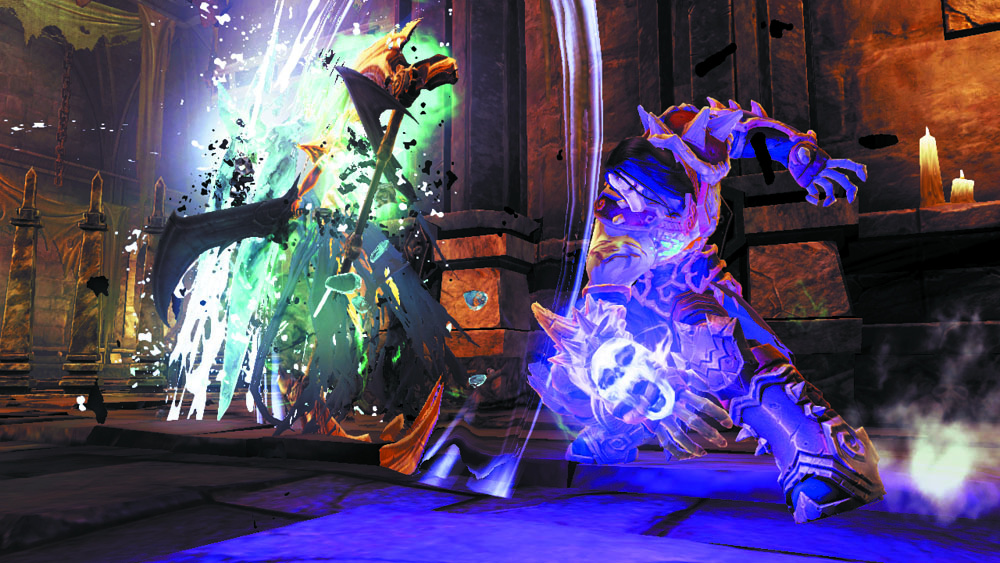
A gate rises behind Death as he exits the pit, and a new enemy known as a Wraith appears to challenge him. Keep your distance at first and gauge the Wraith’s attack patterns, timing your dodges and counters well. Take your time in slaying the first Wraith since two more appear afterward, presenting a far greater challenge. Dodge often as you work at cutting down these agile foes.
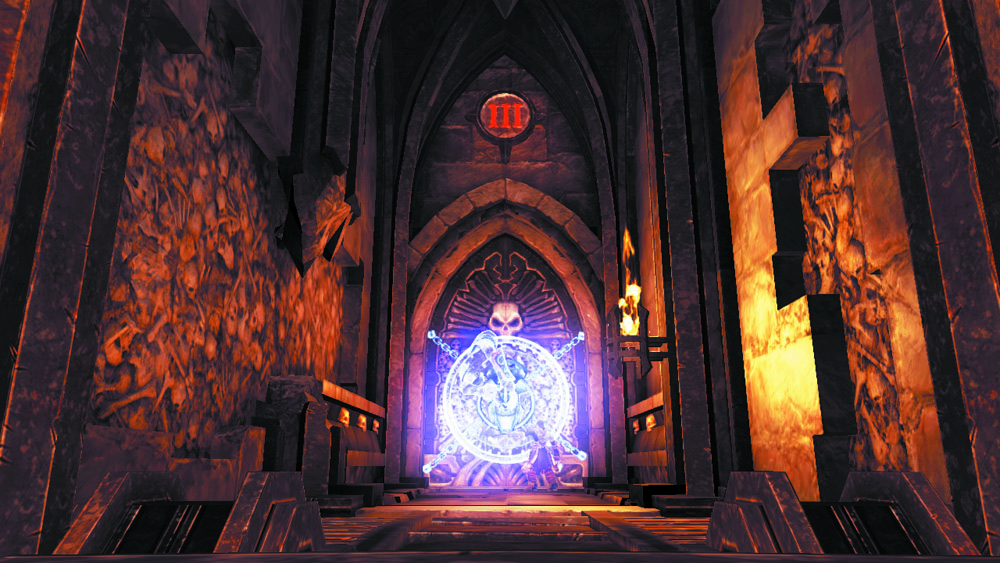
With the Wraiths slain, your path to the elevator is clear. Attack the crystal with the number “III” etched before it to ride up to the third floor. Then, use your newfound key to open the locked south door and advance.
Area 6: Room of Pillars
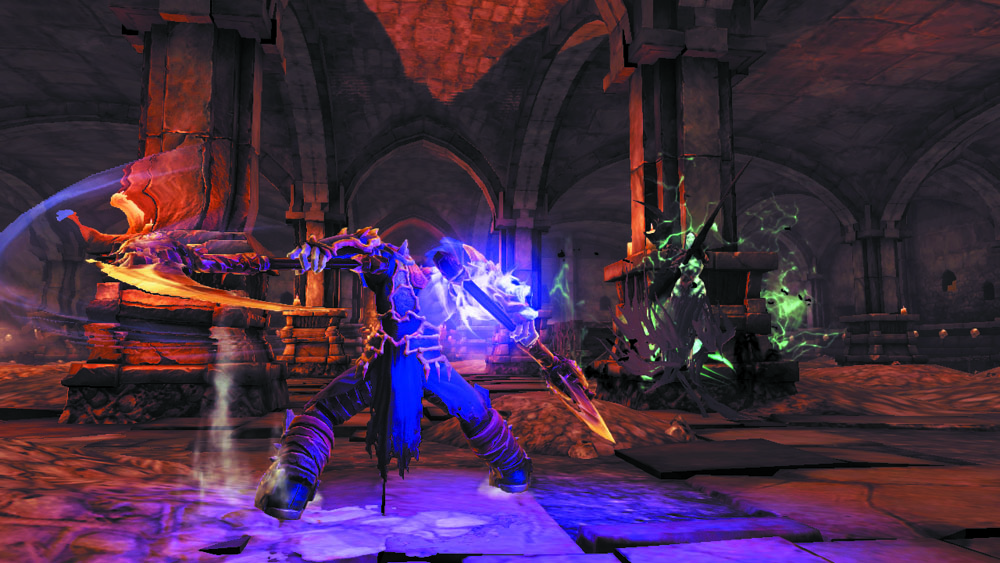
Cut down the odd Mummy as you navigate the wide corridor that leads to this square chamber, where many more Wraiths await. Stay mobile and evade around the room’s many pillars to present a challenging target for these vicious fiends to focus on.
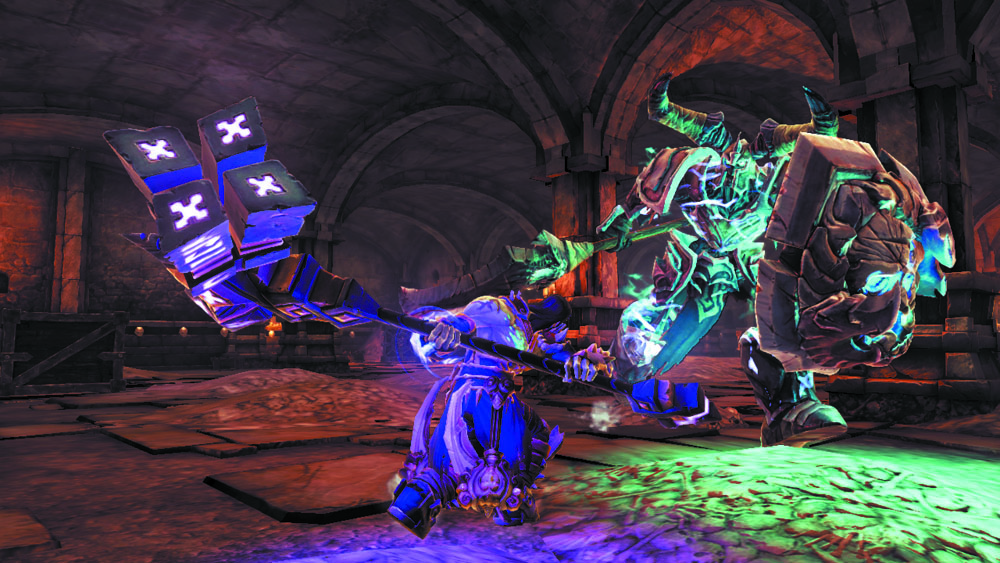
After all of the Wraiths have fallen, a massive brute in heavy armor storms into the fray. This Undead General is one of the most dangerous Brute-class enemies you’ve faced thus far, so steel yourself for a difficult battle. The General will block most of your attacks with his massive shield, but heavy secondary weapons, such as axes, hammers, and maces, will reach around and strike the General. Try to land a few hits with one of those weapons, and then quickly evade to one side to dodge the General’s charge.
North Corridor Loot
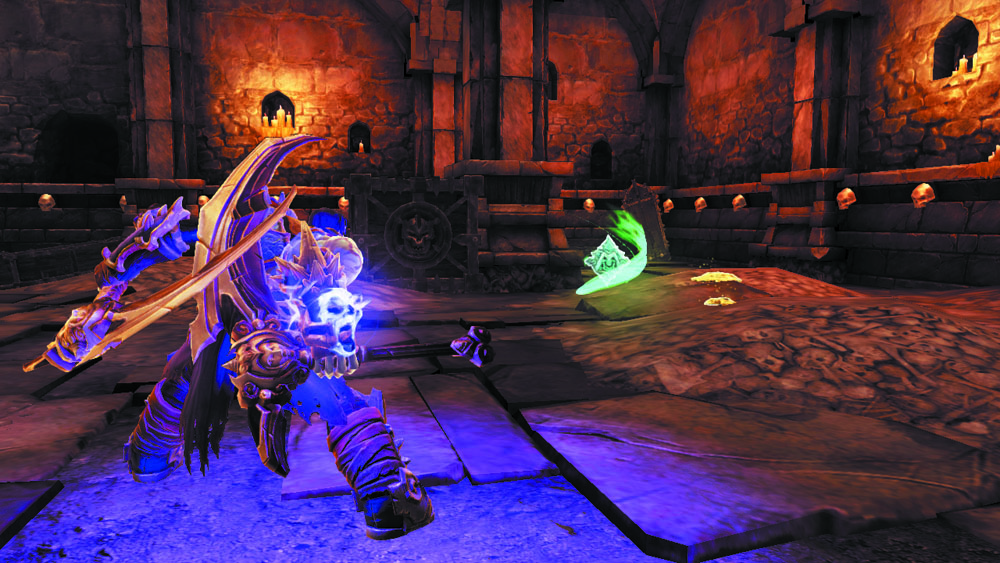
After the General at last collapses, destroy the crate near the room's northwest pillar to discover a lost Relic. Smash another crate in the southeast corner to score a Boatman Coin. Proceed north afterward, slaying the odd minion as you navigate a long hall. Claim a Soul Arbiter's Sacred Scroll from the west nook as you go.
|
Relic of Etu-Goth 6 |
|
|
Boatman Coin 59 |
|
Soul Arbiter's Sacred Scrolls 4 |
Elevator Action
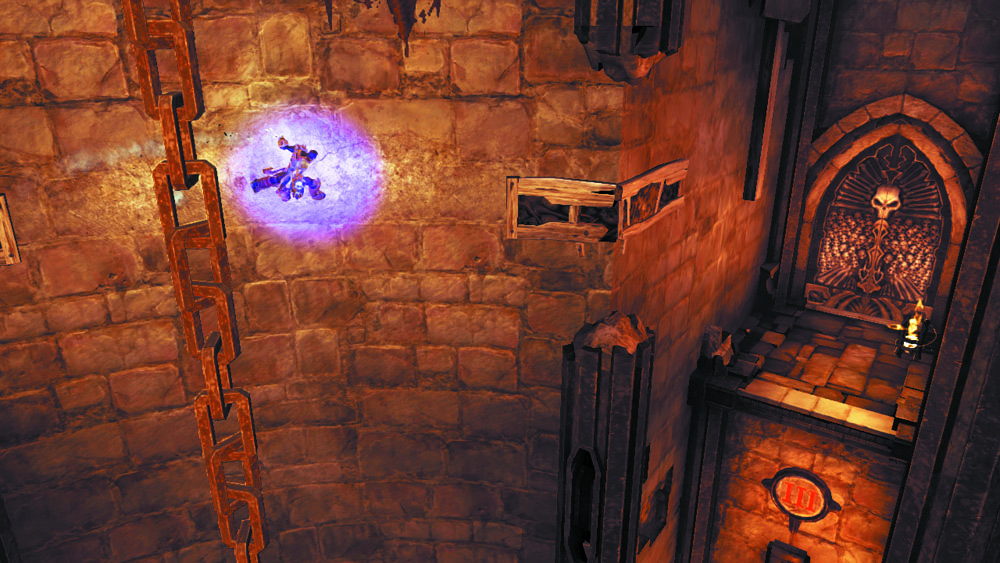
You emerge in the Elevator Chamber, but the elevator platform is far below. Don’t drop from the entry ledge; instead, turn left and grab the hand hold on the wall, and then work your way around to the east door by wall-running and 180 leaping between the hand holds that follow. Find your way to a wall post, then slide down and drop to reach the east ledge. Enter the door here to advance to the next area.
Area 7: Pillar Pit
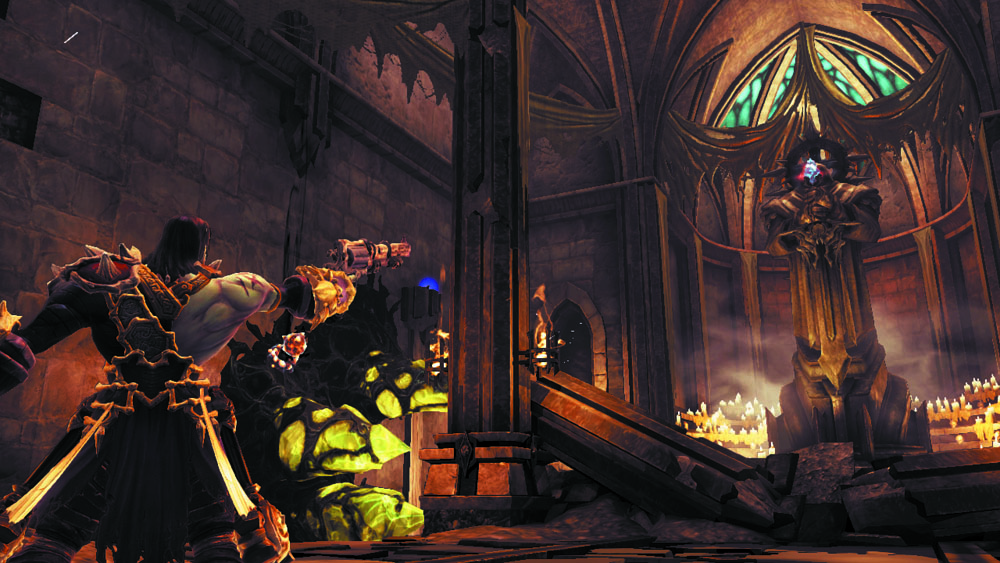
Shoot the Stonebite atop the tall statue on the opposite side of this room, and then shoot the Shadowbomb on the nearby wall to obliterate a crop of Corruption crystals. This exposes a wall post; wall-run and grab the post, and then slide down to begin your exploration of this dizzying chamber.
|
Stone of Power 8 |
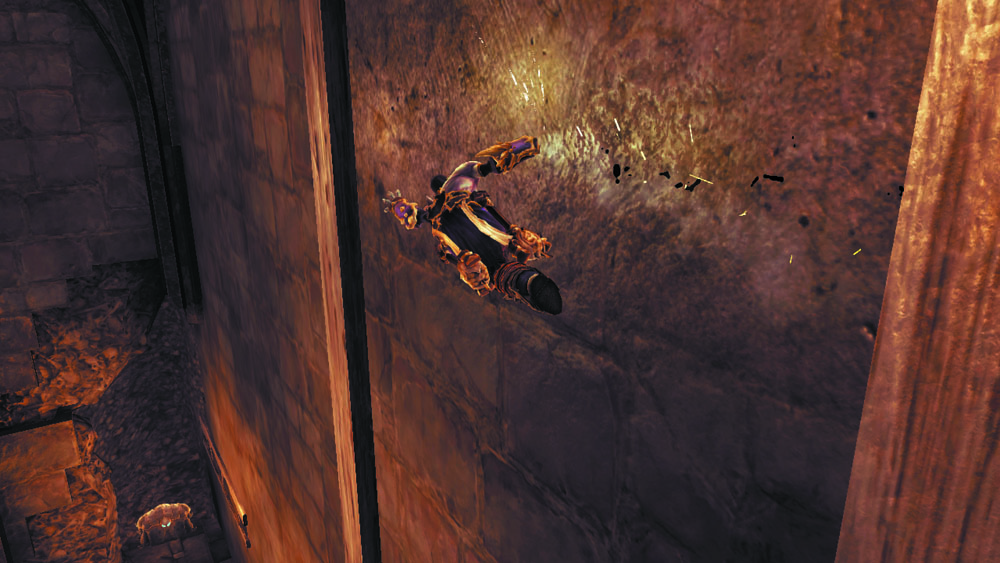
When you reach the bottom of the post, wall-run to the left to grab a second wall post.
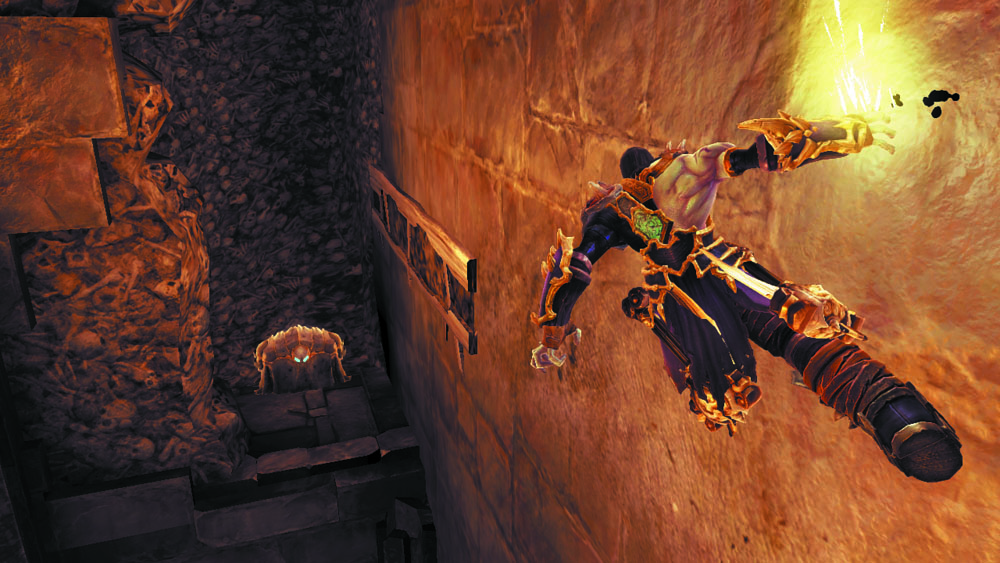
Slide down a bit and wall-run to the left again to reach a hand hold that leads to a tiny ledge with a chest.
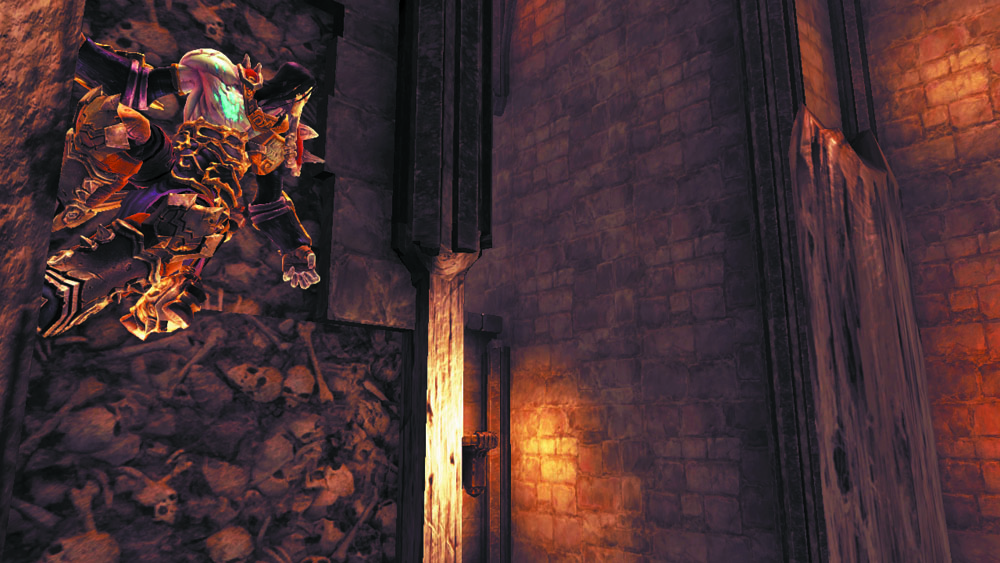
Wall-run back to the previous wall post, and then wall-run to a third post on the right. Perform a 180 leap from this post to reach the broken post behind you.
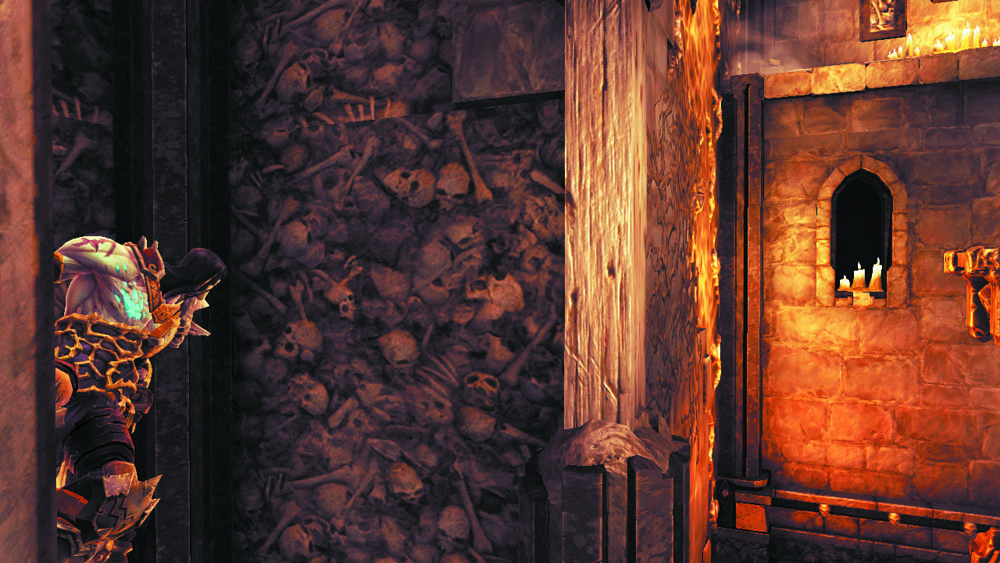
Circle around the broken post and perform another 180 leap to reach the corner post to the right. Wall-run to the right to reach some growth that leads up to a ledge with a lever.
Pillar Shifter
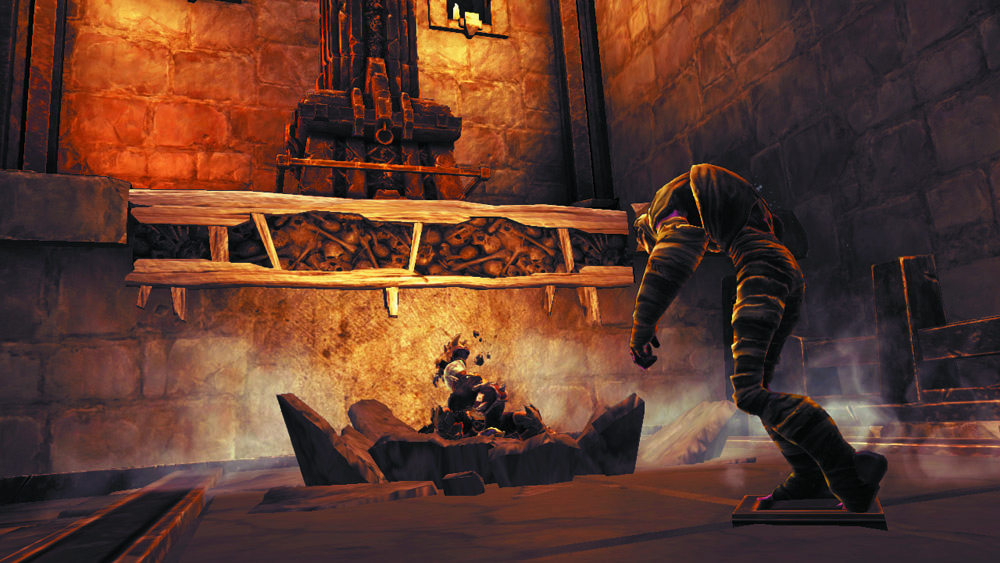
When at last you reach the room’s east ledge, pull the lever to raise a bridge below you. Drop down and slay the Mummies that roam the bridge, and then Deathgrip the tall east pillar to pull it down onto the bridge.
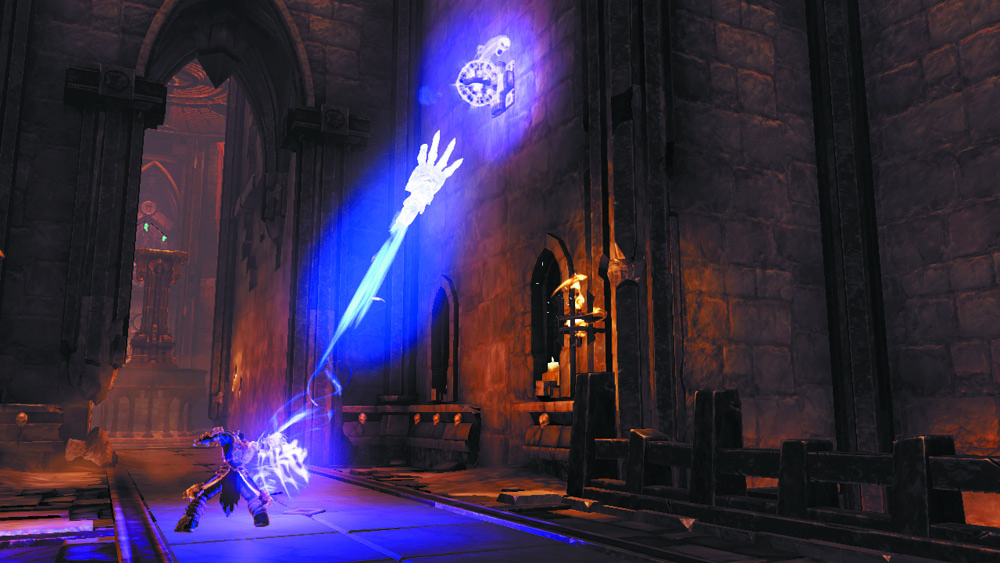
Push the pillar to the west until you reach a step. Leave the pillar be, and then locate a hoop on the nearby wall. Deathgrip up to a small ledge, where a missing page of the Book of the Dead is found.
|
|
Book of the Dead 16 |
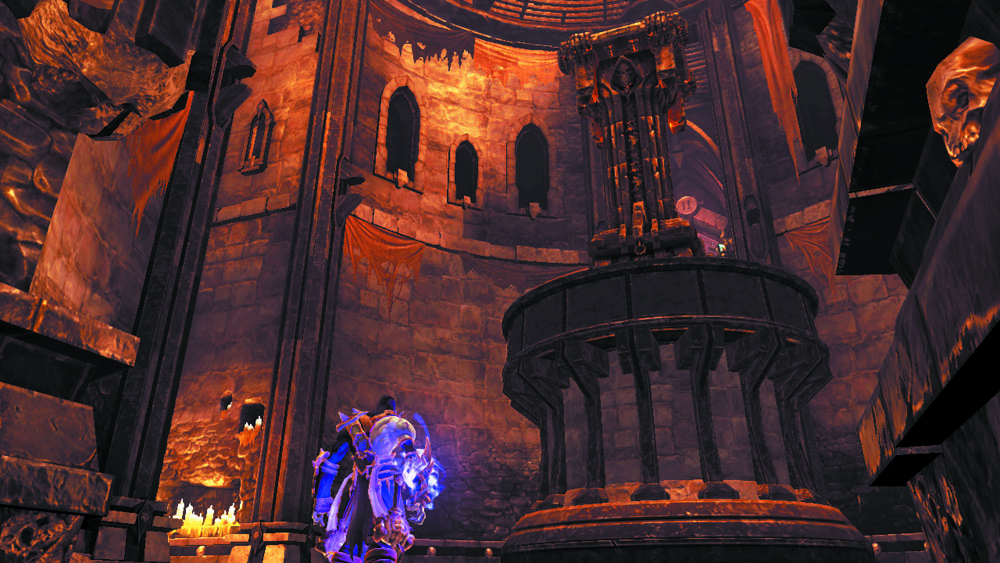
Now push the pillar off the step and into the west room, which turns out to be the Elevator Chamber. (The elevator platform is resting on the third floor.) Move the pillar onto the Elevator Chamber's central pressure plate. This places the pillar in position to catch the elevator platform the next time you try to visit the tomb's second floor.
Back to the Elevator
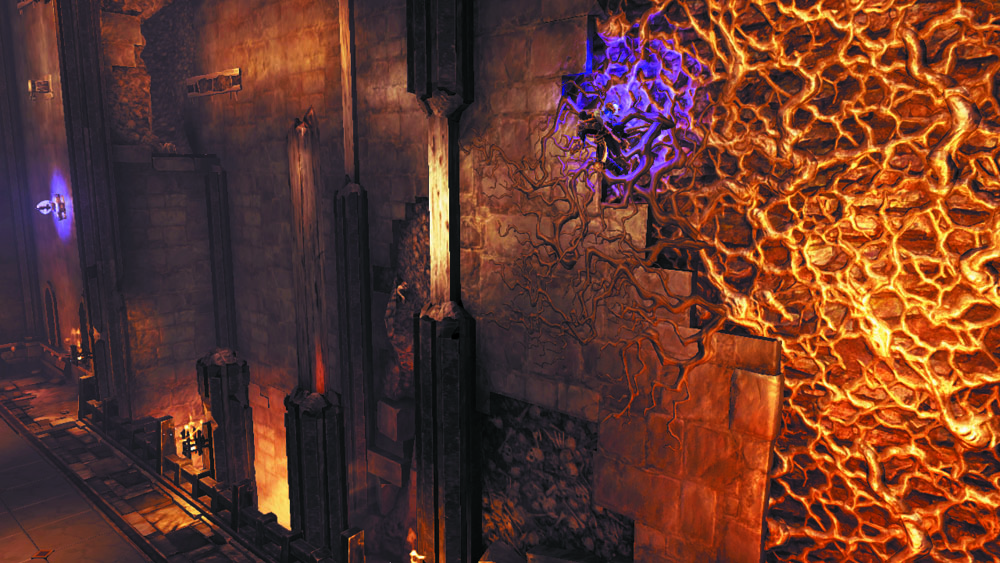
With the pillar in position, backtrack out of the Elevator Chamber. Smash through the hoard of Skeletons that ambush you on the bridge, and then scale the east wall growth. Wall-run back to the corner post and work your way back up to the top of the room.
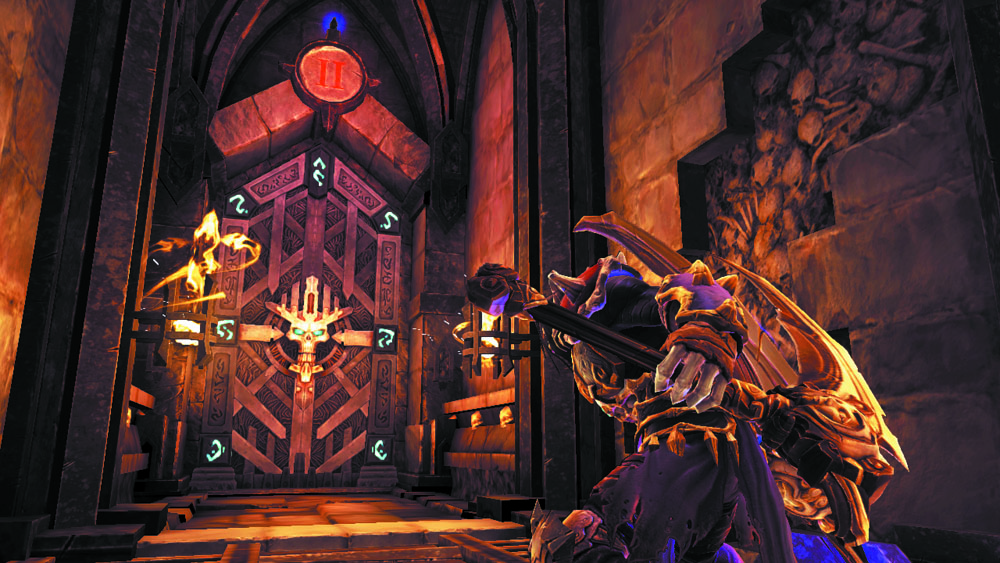
You’ve done well thus far, Horseman. Return to the Elevator Chamber and drop down to the elevator platform. Strike the crystal with the number “II” etched before it to descend to the second floor. This time, the pillar you recently shifted catches the elevator platform, allowing you to at last explore this floor of the tomb. Proceed through the west door to at last face off against your quarry: the first Dead Lord, Phariseer.
Area 8: Phariseer’s Lair
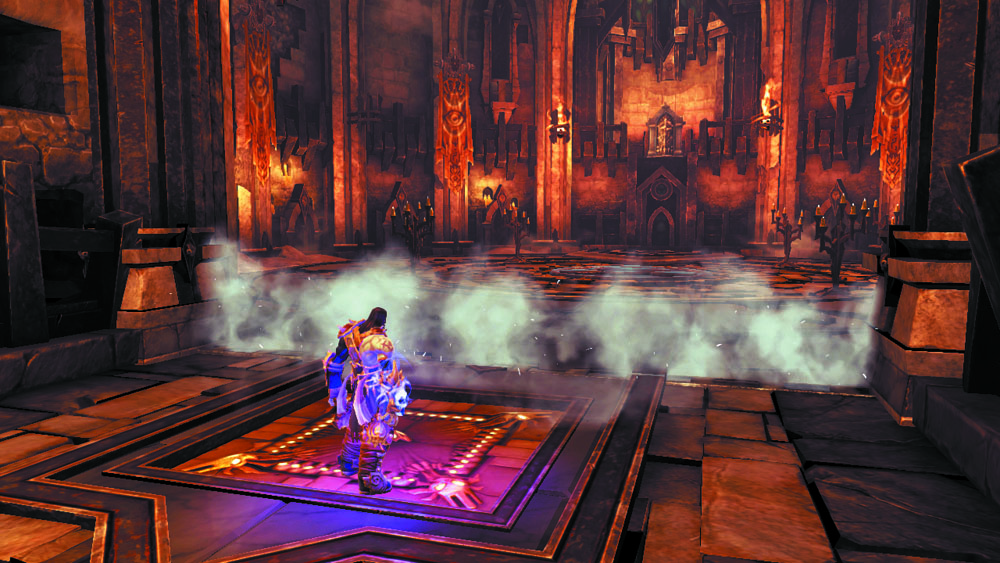
Descend the stairs that lead down into this large, circular chamber to awaken and face the Phariseer.