
Darksiders II Guide Walkthrough Side Areas
The Weeping Crag
Now that we’ve touched upon all of Darksiders II’s many side quests, let’s take an in-depth look at its most prominent side areas. Here you’ll find complete step-by-step walkthroughs for every major side dungeon found in the realms.
The Weeping Crag
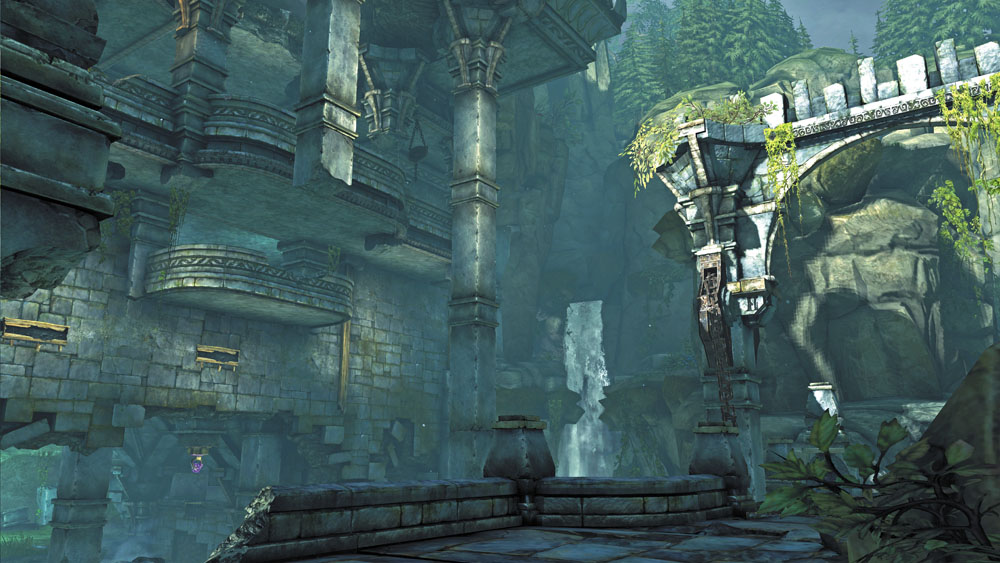
The Pale Rider’s journey to the Cauldron leads him through this ominous cave. Death can simply pass through this area, or he can elect to explore the Weeping Crag more thoroughly. The Deathgrip and Voidwalker (or Phasewalker) are required to fully explore the Weeping Crag.
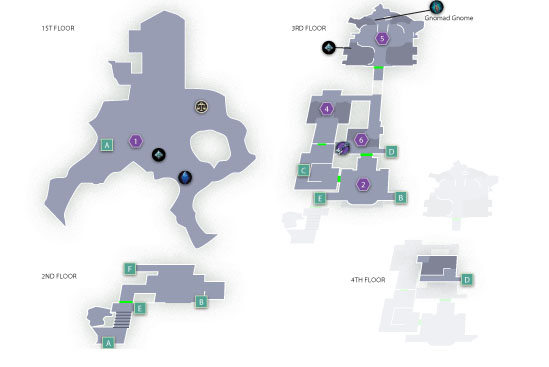
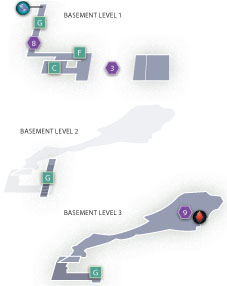
Area 1: Entry and Drawbridge
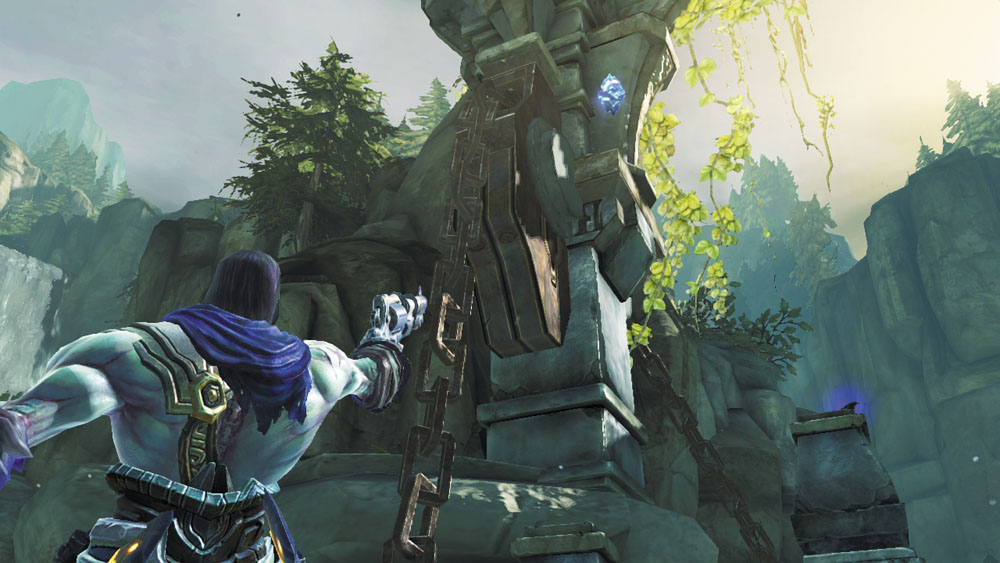
First, shoot the Stonebite on the stone pillar on the east side of the Weeping Crag’s drawbridge. Then, cross the bridge and run up the low wall on the bridge’s west side to reach the Crag’s second floor.

|
Stone of Mystics 15 |
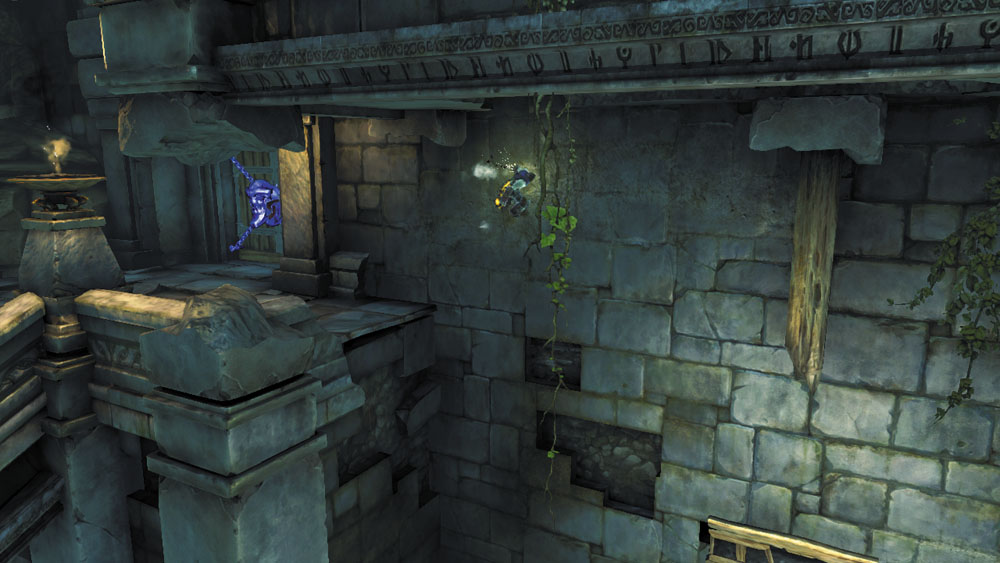
When you encounter a locked door, wall-run to a wooden post to the right. Drop down to the hand hold below, and then continue wall-running to the right to reach another post, and then another. Work your way up to the balcony above.
Area 2: Balcony and Stairwell
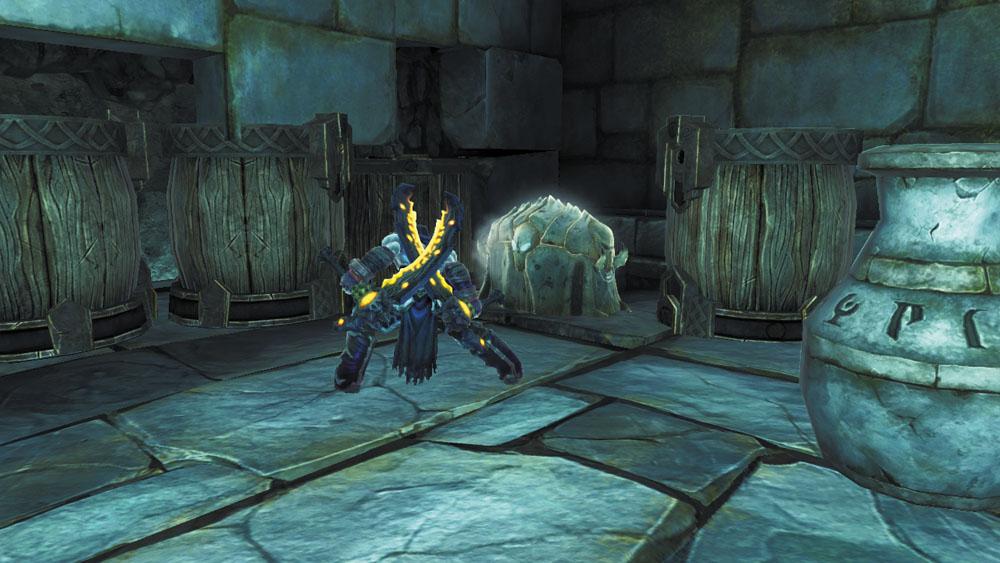
Cut down the Construct Warriors that ambush you on the balcony. The north door is barred, so enter the west door instead to reach a stairwell. Slay another Construct Warrior, open a chest here, smash the west debris, and explore the nook in the west wall to drop down into a hole and land on a lower level.
Area 3: Lower Ledges
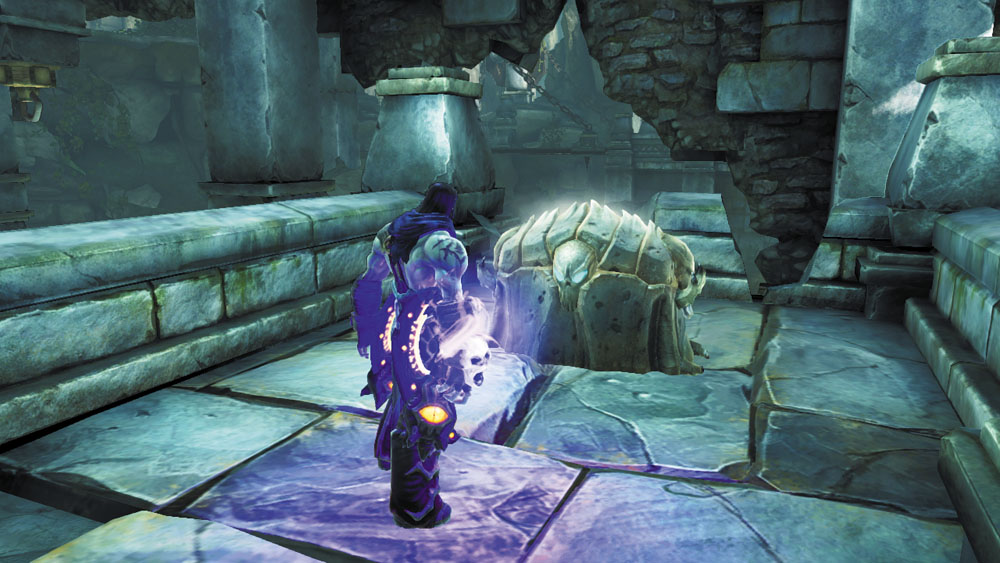
Loot the chest down here, and then Deathgrip the overhead hoop to swing to the east ledge where another chest is found. Drop down into the water afterward and swim south to locate the underwater Boatman Coin that lies beneath the Weeping Crag’s drawbridge.

|
Boatman Coin 41 |
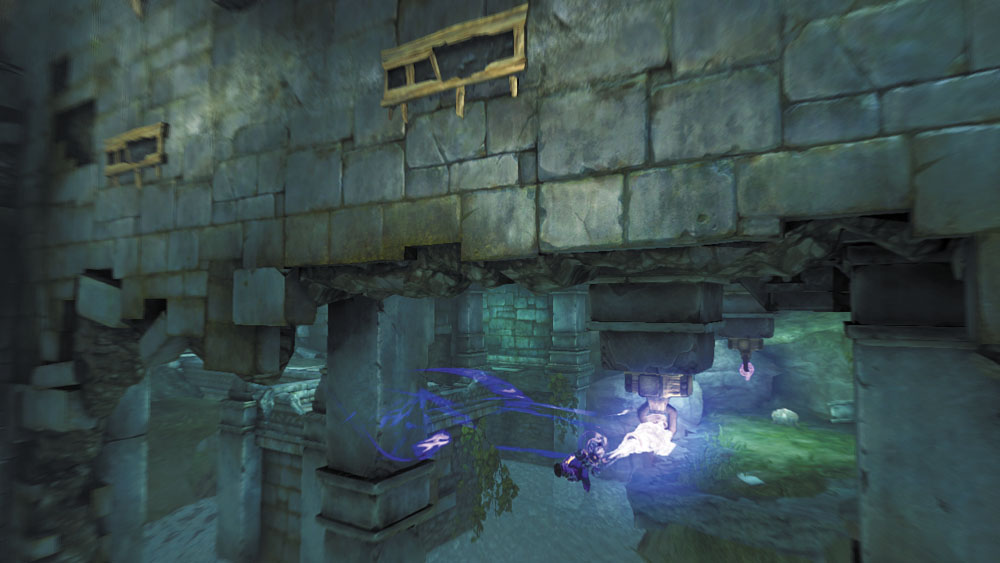
Climb out of the water and return to the Crag’s second floor. Again, wall-run across the posts and hand holds to the right of the locked door. This time, however, drop down from the second hand hold and quickly Deathgrip the north hoop as you fall.
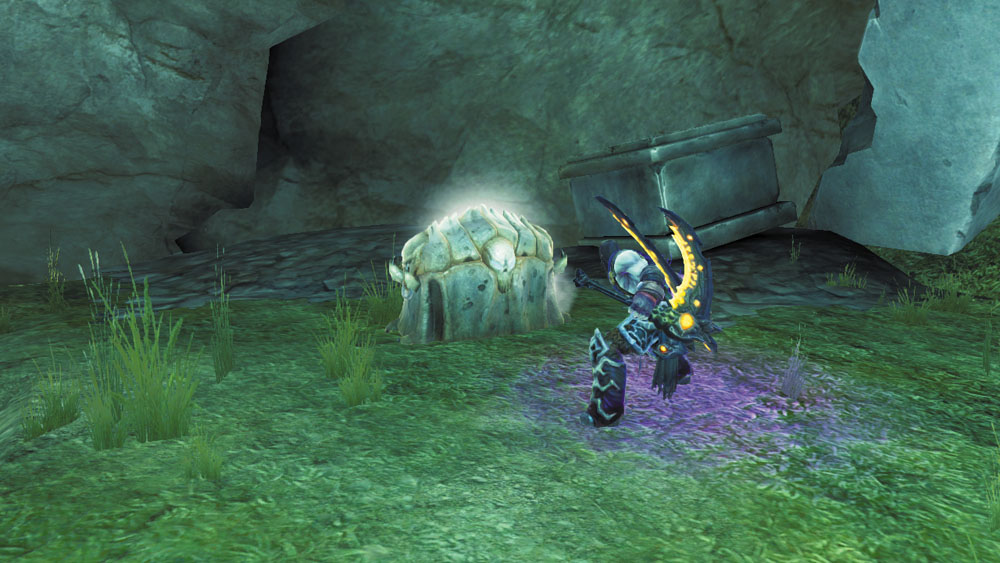
Swing across, using a second hoop to reach the grassy ledge with a chest. Drop back down into the water afterward and climb back up to the locked door. Traverse the wall posts and hand holds once again to return to the balcony. Go through the west door, and this time, climb the stairs and proceed through the north door.
Area 4: Pressure Platform
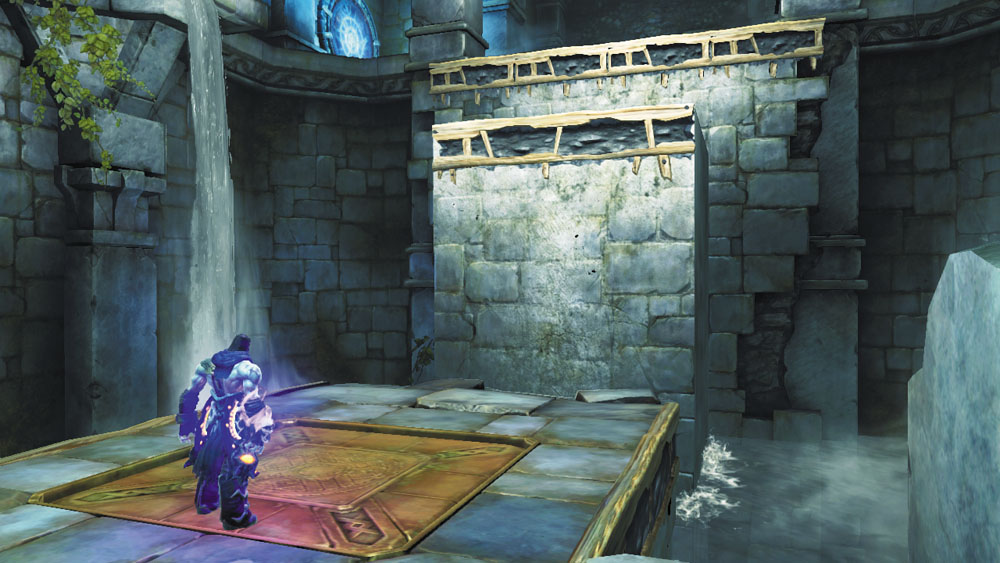
Step on a pressure plate in this room to raise a platform up from the water. Wait for the platform to fully rise, and then step off of the pressure plate. Pause for a brief second before running, jumping, and grabbing onto the platform’s hand hold. Quickly climb up and scale the north wall before the platform lowers too far.
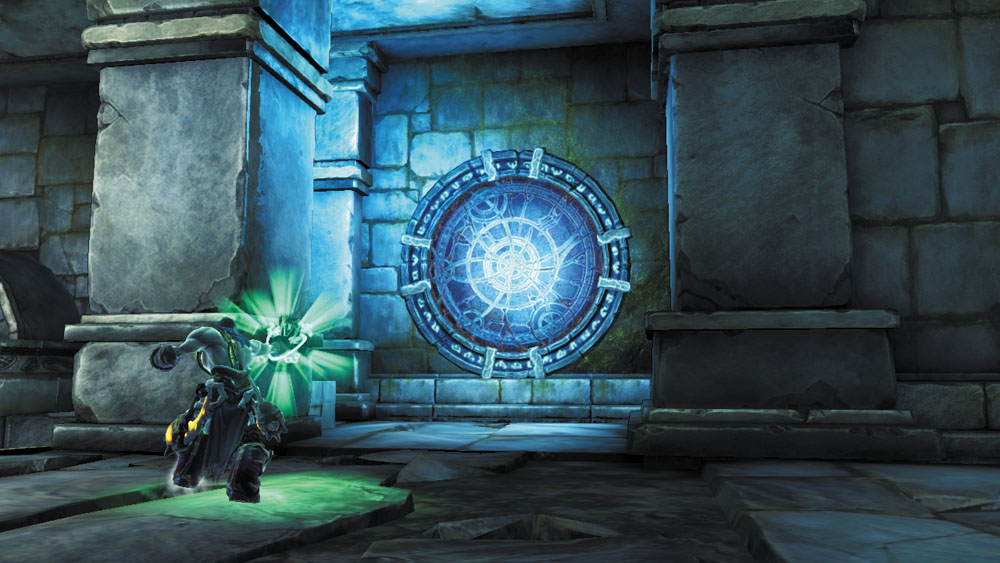
Use the Voidwalker (or Phasewalker) to open the warp portal you notice beyond the rising platform. Sprint down the east stairs afterward, and then turn north and open another warp portal on the ceiling. Return to the previous portal and pass through to pop out of the ceiling portal. Proceed through the north door to visit a secret area.
Area 5: Forgotten Treasury
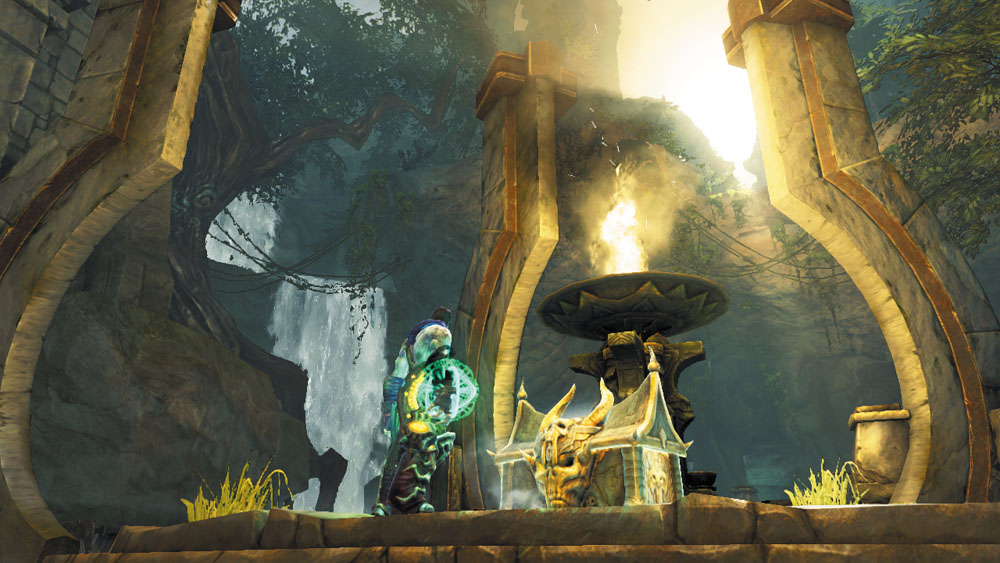
Raid this serene chamber’s trio of chests to score loads of loot. Drop down into the southern waters afterward, and swim to the west to discover an underwater Boatman Coin.
|
|
Boatman Coin 94 |
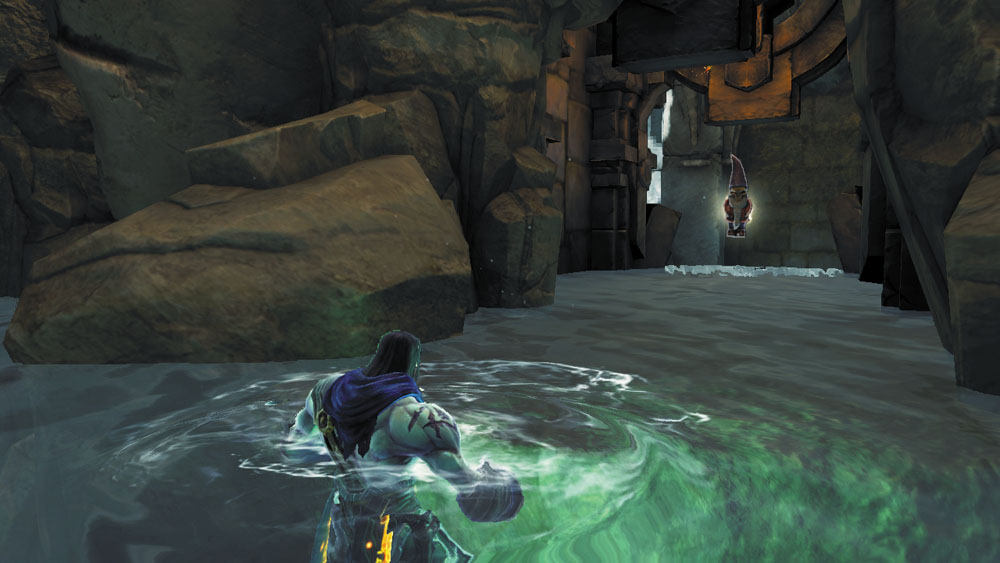
Climb back up to the surface and plunge into the room’s northern waters. Swim to an underwater alcove, and then surface to discover a hidden Gnomad Gnome. Make your way back out of this room and descend the south stairs to reach the next area.

|
Gnomad Gnome 3 |
Area 6: Skeleton Key Chamber
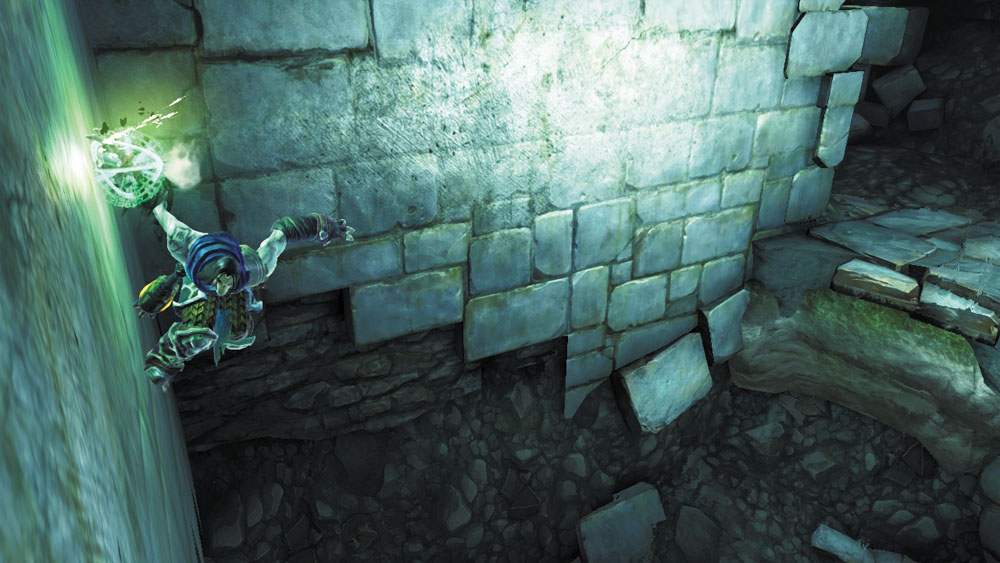
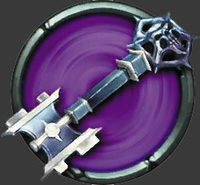
Wall-run along the north wall and jump the corner to reach an ornate chest which contains a Skeleton Key.
|
Skeleton Key |
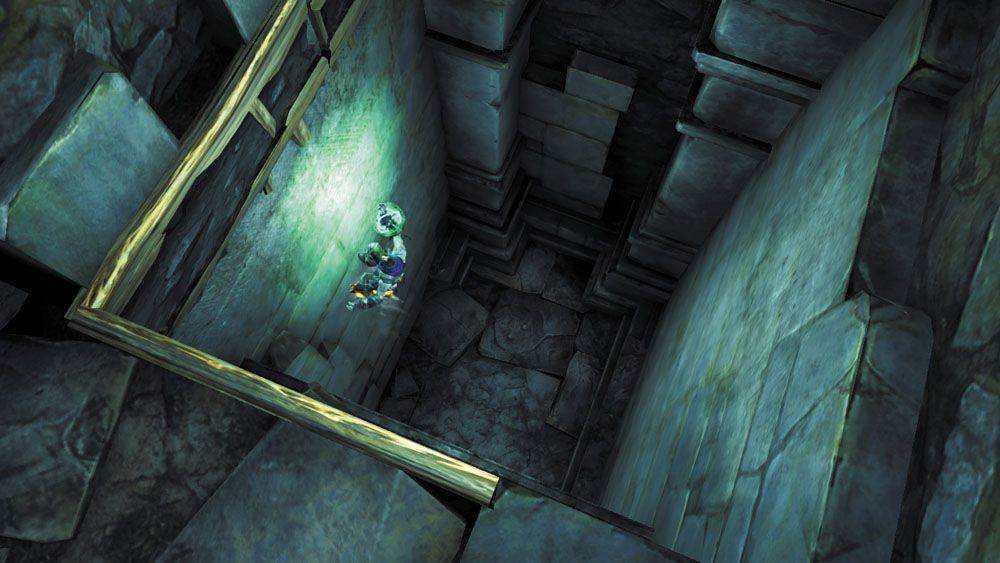
Obtaining the Skeleton key unbars the south door, but don’t leave just yet. Instead, enter the southeast nook and jump between the narrow walls to climb up to a balcony.
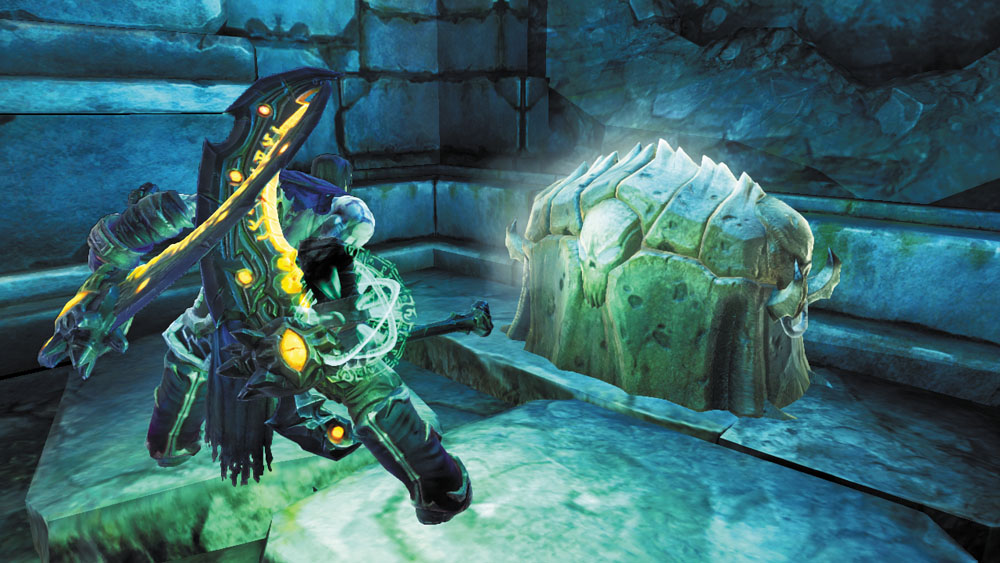
Wall-run around the room and jump the corner to reach the northwest ledge where a chest is found. Claim your plunder, and then drop back down and proceed through the south door.
Area 3, Revisited
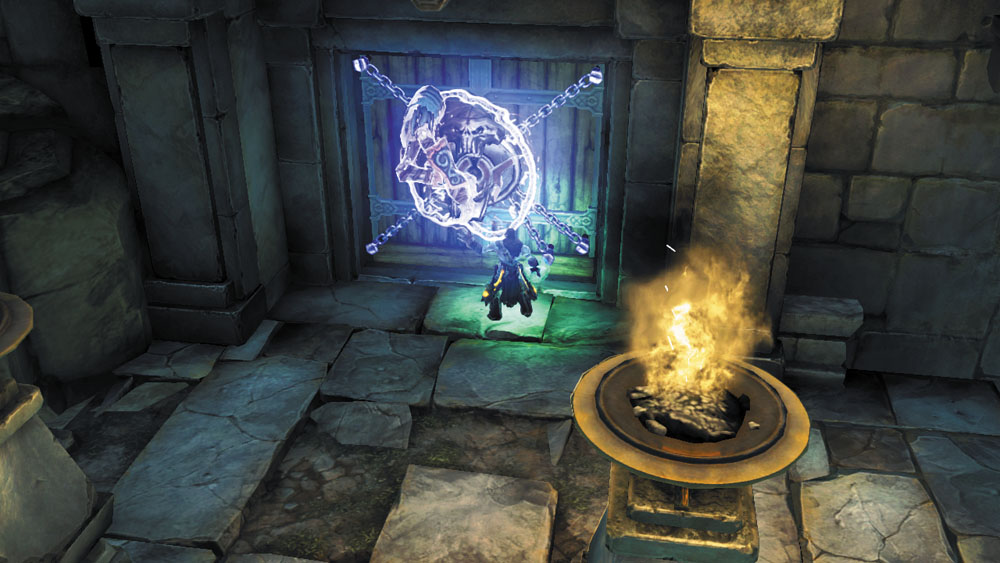
You’re back in familiar territory. Drop down from the balcony’s southwest edge to land near the locked door you noticed previously. Use your newfound Skeleton Key to open the door and head through.
Area 7: Stalker Den
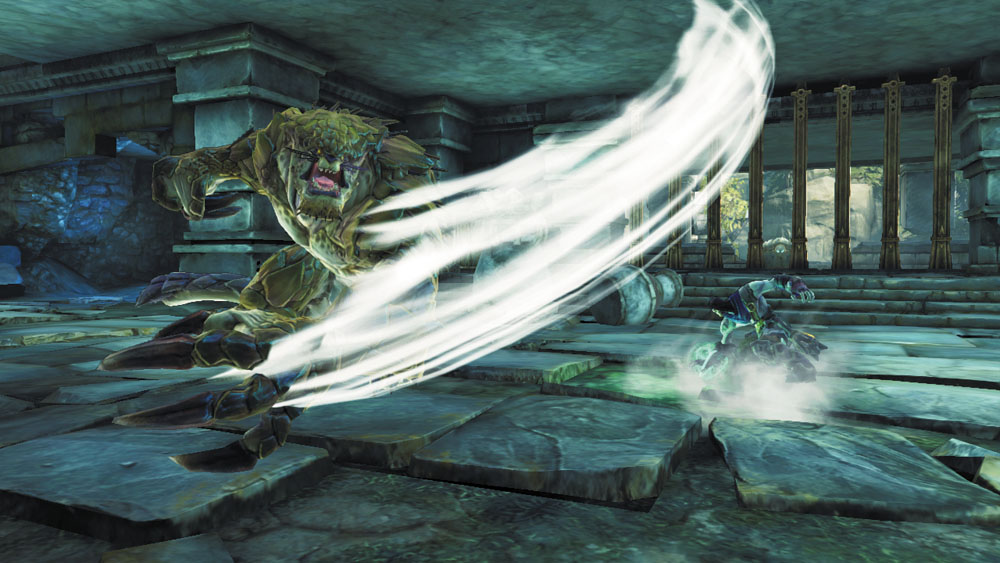
A menacing Stalker lurks in the small chamber beyond the locked door. Strive to evade its ferocious attacks and strike from advantageous angles. Scour the room for valuables after slaying the Stalker, and crack open the two chests here before dropping down through the northwest hole.
Area 8: Submerged Staircase
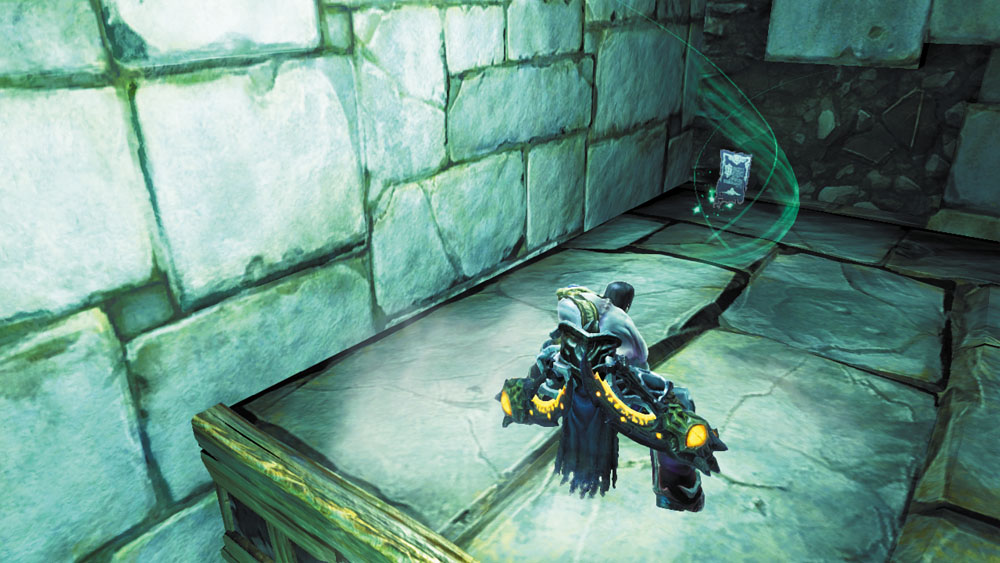
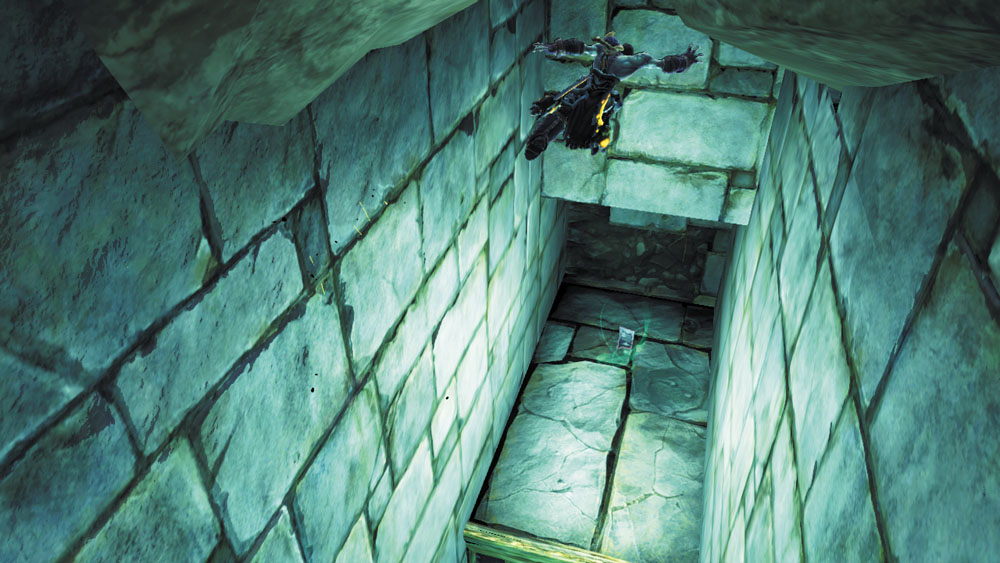
You land at the top of a long, narrow staircase. Rather than descending the submerged stairs, make a long wall-run between the staircase’s narrow walls, jumping between them as you race toward a high ledge containing a Book of the Dead page. Claim the page, and then plunge into the water below and swim down through a low underwater passage to reach a small, watery cave.
|
Book of the Dead 11 |
Area 9: Gorewood’s Lair
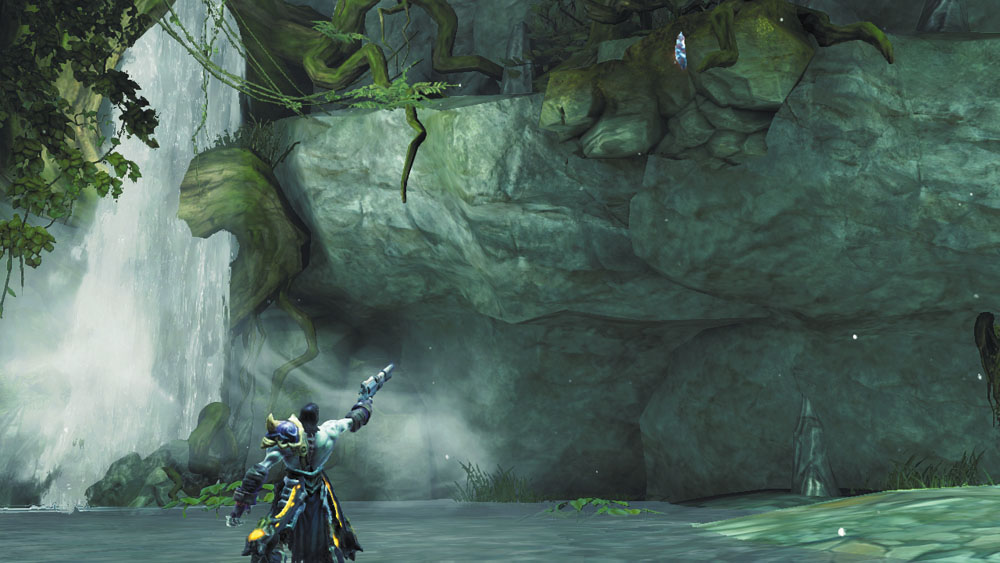
Beware: a vicious monster named Gorewood lurks in this final area. You’ll also find a Stonebite on the east wall.

|
Stone of Power 4 |