
Darksiders II Guide Walkthrough The City of the Dead
The City of the Dead
Thanks to the Horseman’s efforts, the Dead King’s yearning for vengeance against his Dead Lords has been sated. In reward, the Lord of Bones has awakened a new power within Death—one that will allow the Reaper to explore the City of the Dead. The answers Death seeks are rumored to be found within this ancient citadel... but so are countless horrors.
The City of the Dead
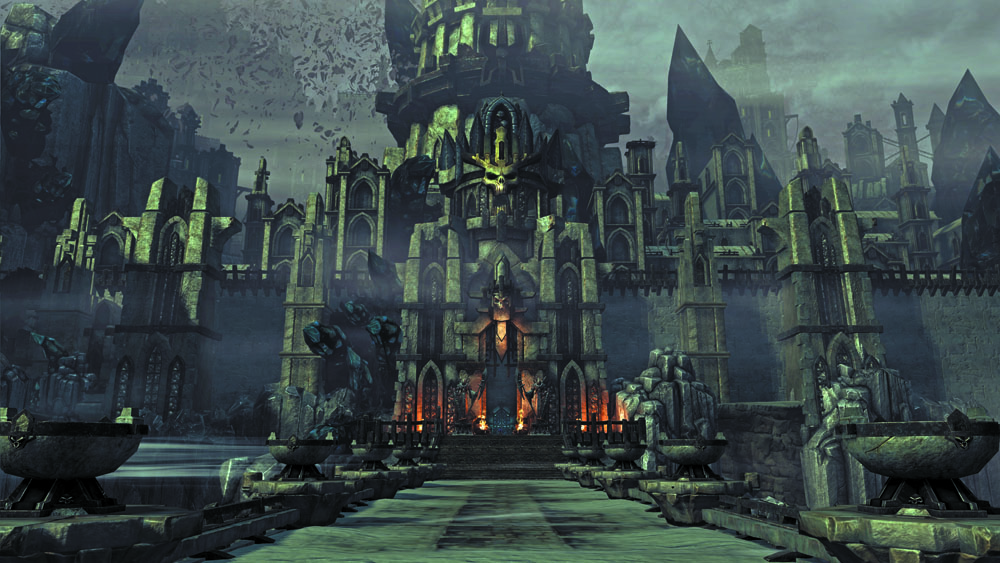
This sprawling underworld city must be explored, for the secrets of accessing the Well of Souls lie somewhere within.
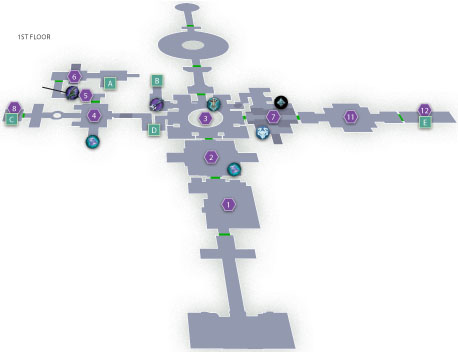
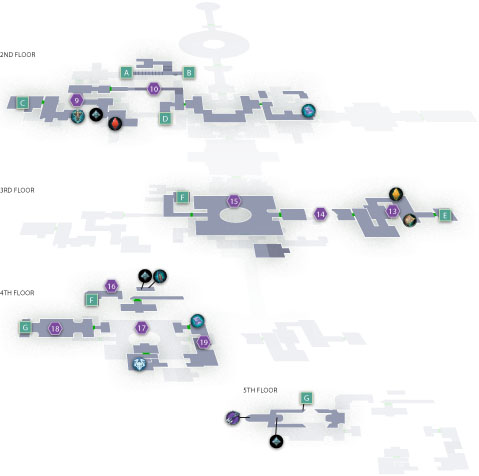
Entering the City
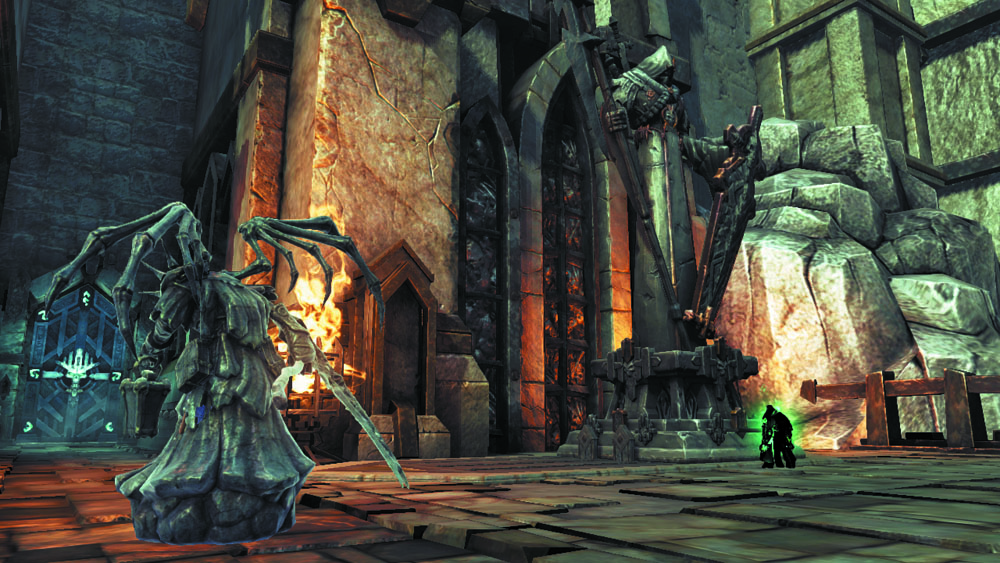
Approach the city’s front gate, and use your newfound Soul Splitter ability to split Death into two ghostly spirits, with his physical form remaining in place as a stone statue. Grab one of the nearby statues with one soul and slide it away from the gate, and then hold the Action button to assume control of the second soul. Slide the remaining statue away from the gate as well to open the way forward.
Area 1: Entry Plaza
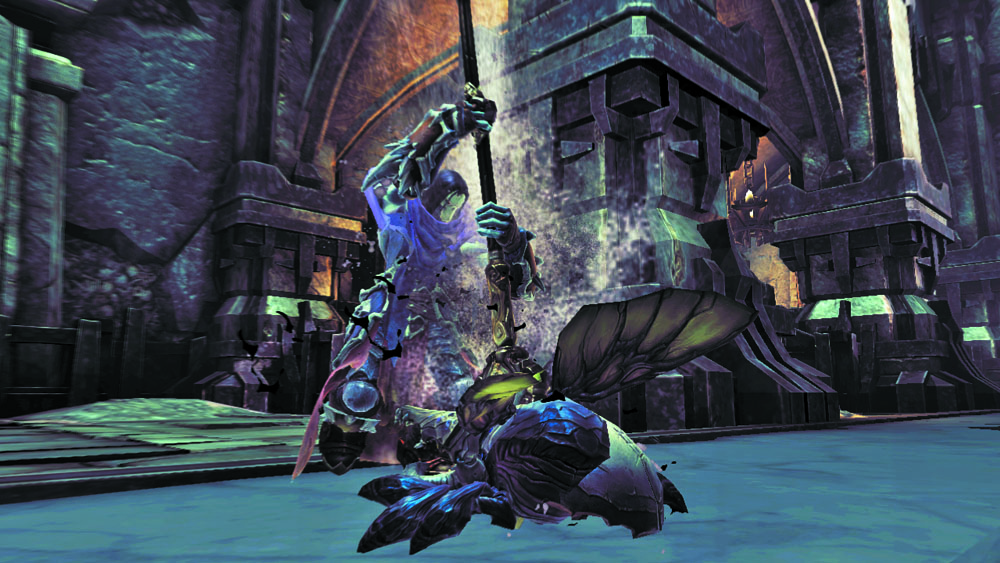
Squash Scarabs in the area beyond the main gate, and then raid the northeast chest before proceeding through the north door.
Area 2: Champion Square
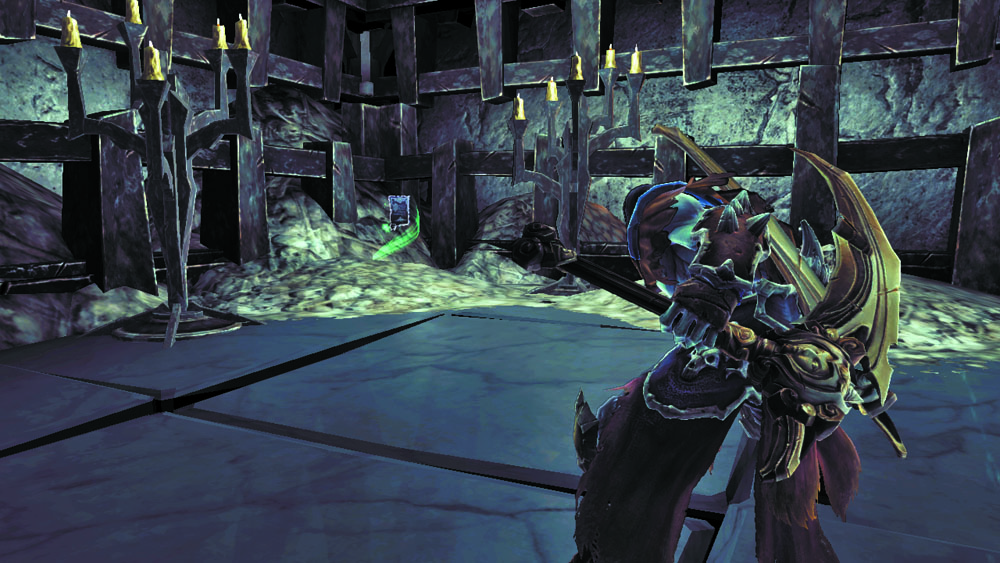
Slay a pair of Skeletal Champions in this square, and then face off against the Undead General that appears after the first Champion falls. Claim a Book of the Dead page from the area’s southeast corner. Then, split Death’s soul and have one spirit stand on the northeast pressure plate to lower an overhead gate. Switch to the other soul and scale the west wall to reach the switch that opens the north door.
|
Book of the Dead 22 |
Area 3: Central Plaza
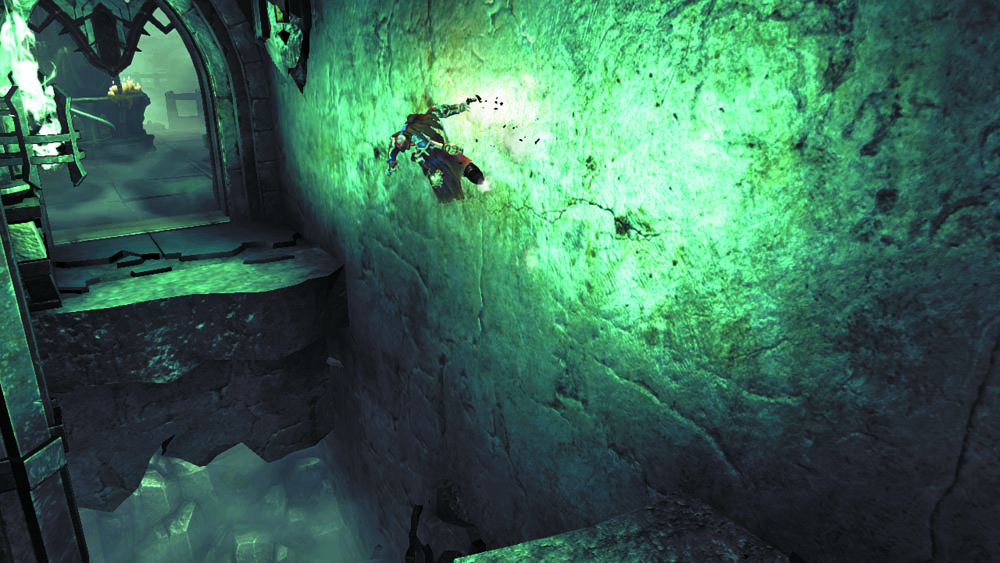
Cut down a few ghostly Skeletons in this spacious plaza, which features a large central pit. Search near the sealed north door to discover a lost Relic. The east door is locked, so proceed into the west passage, smashing a few more Skeletons and wall-running past a pit on your way to the next area.
|
Relic of Renagoth 5 |
Area 4: Statue Room
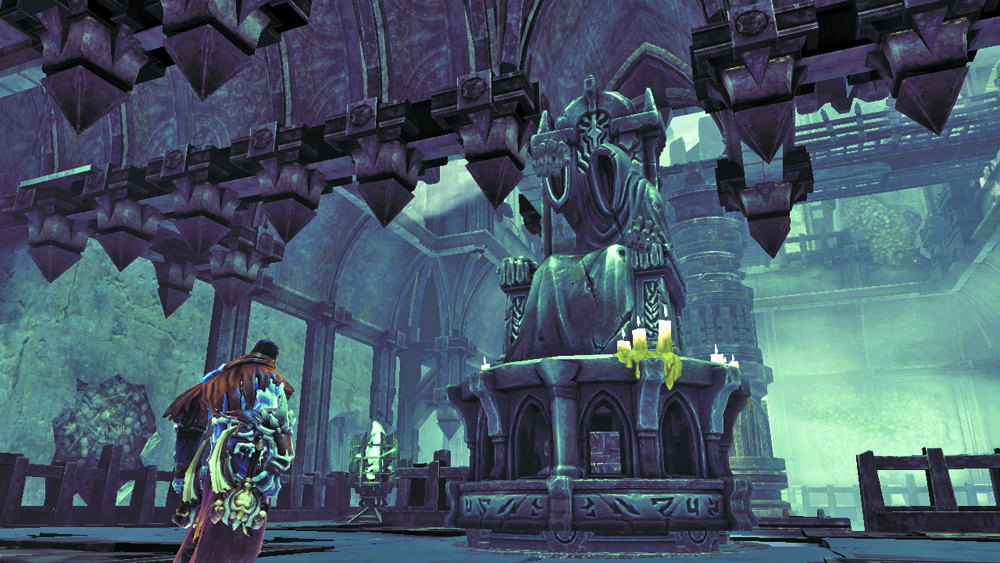
A lantern-less statue greets you in this area, but there’s little to accomplish here at present. Venture on through the north door.
Area 5: Crumbling Corridor
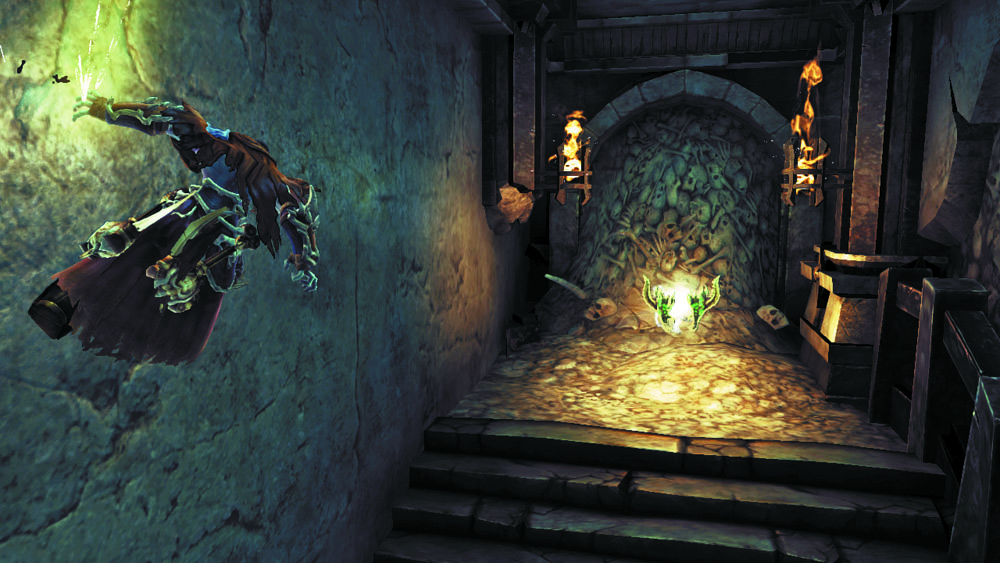
Scale this hall’s hand holds and wall-run to reach a post. 180 leap to another post, and then circle around and wall-run over to a tantalizing prize. This unique pair of weapons are known as the Lich Spines. Advance through the door at the passage’s end after claiming your new gear.
|
Lich Spines |
Area 6: Lever Puzzle
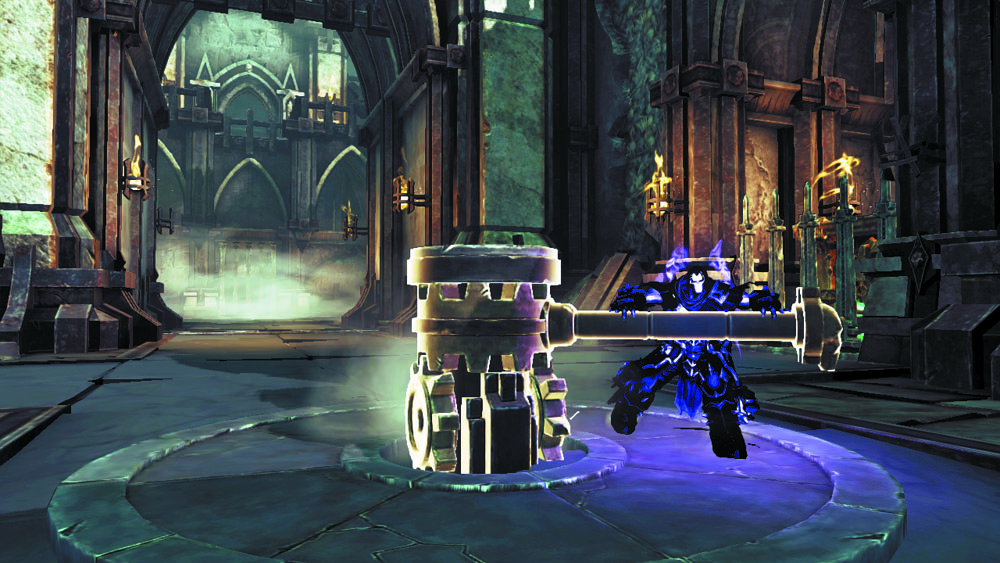
Split Death’s soul in this room, and then use one spirit to spin the central lever and lower the east gate.
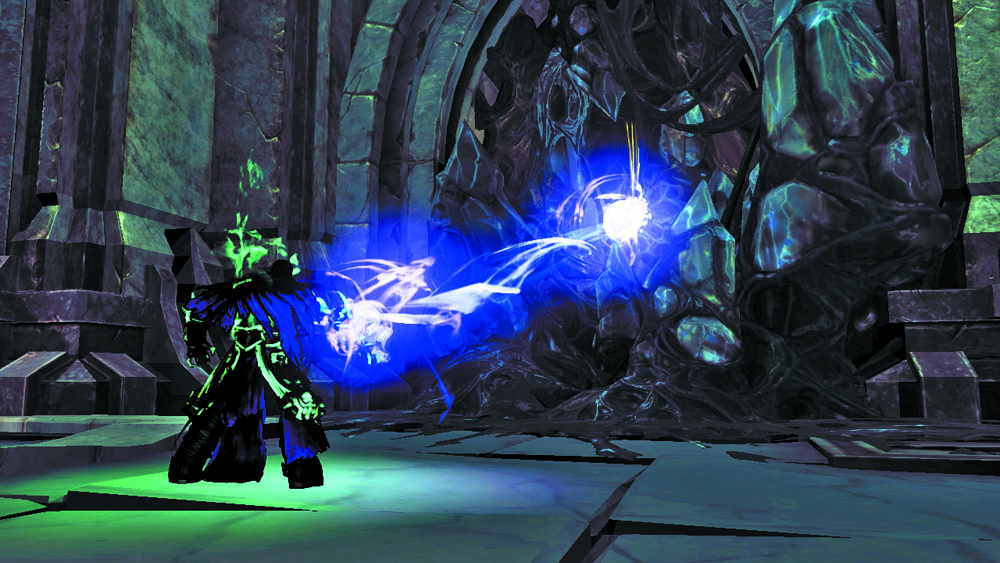
Switch to the other soul and run past the gate, collecting a Shadowbomb from the room’s east side.
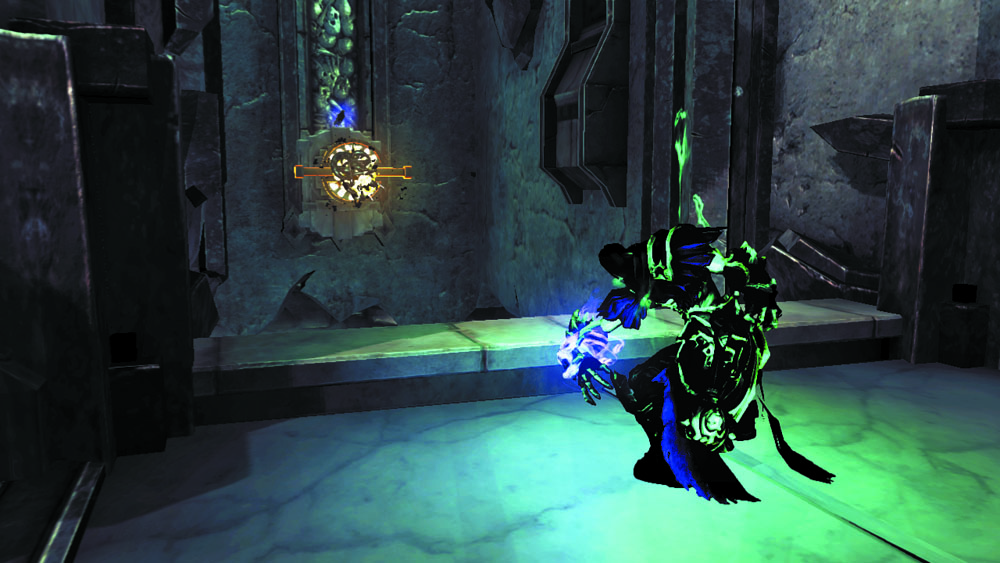
Backtrack through the gate and toss the bomb at the north switch to trigger it. This exposes a nearby moveable platform.
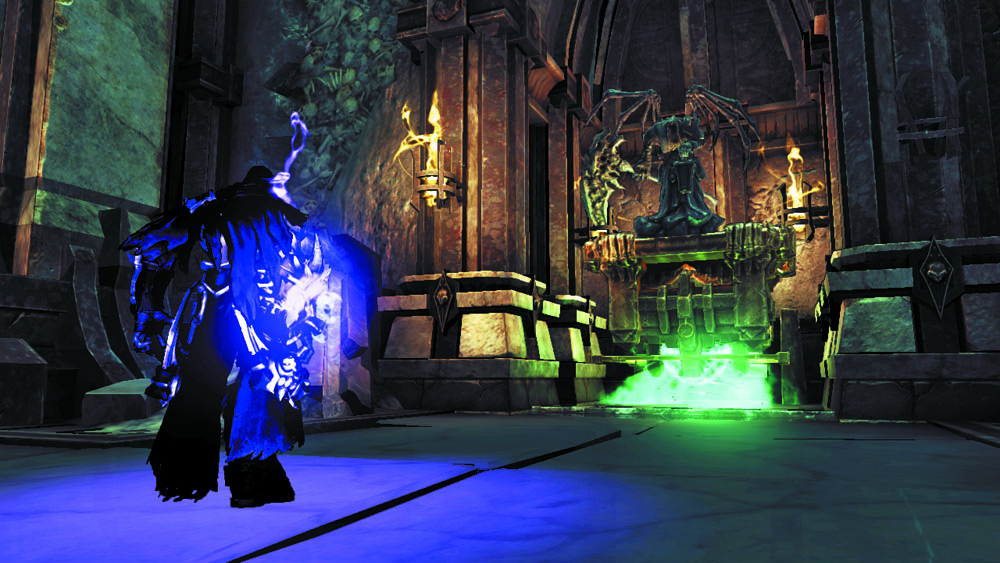
Return to Death's physical form and jump onto the platform. Split his soul once more, so that his statue form stands atop the platform.
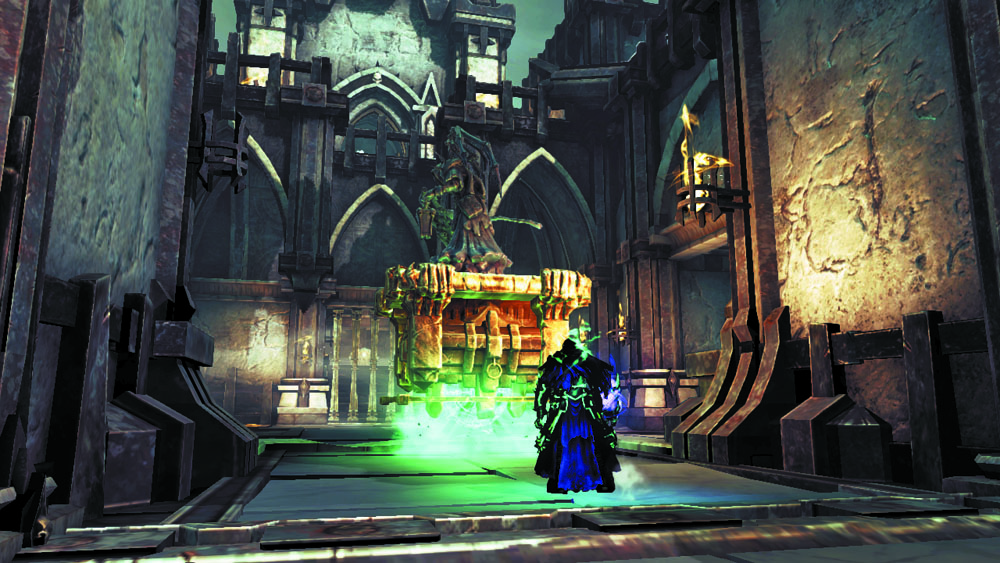
Turn the lever again, and then switch to the other soul and pull the platform past the east gate to bypass this obstacle.
Chest Quest
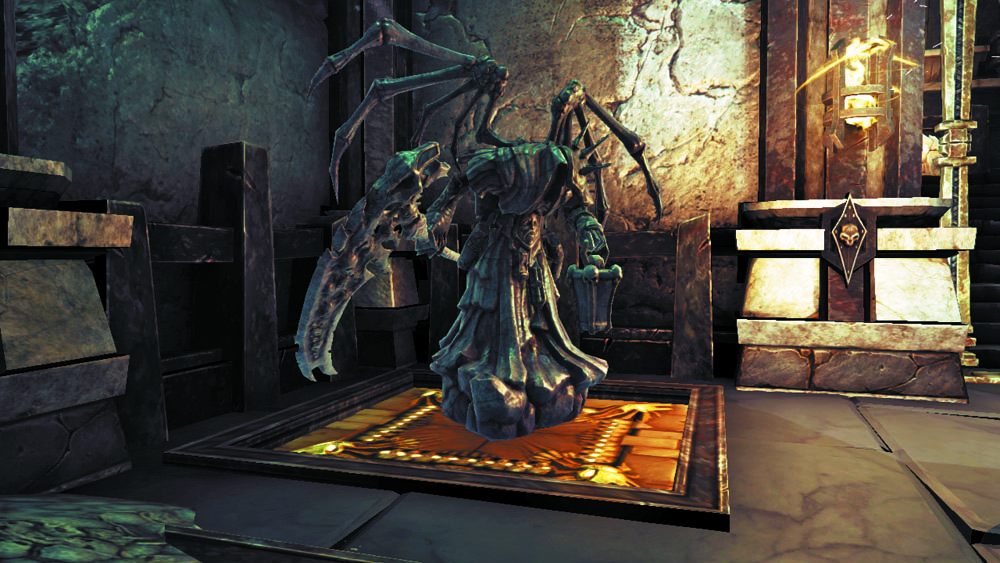
Return to Death’s physical form and stand on one of the two pressure plates beyond the gate before splitting Death’s soul again. Move one spirit onto the neighboring plate to lower the east gate, and then use the other spirit to raid the chest beyond.
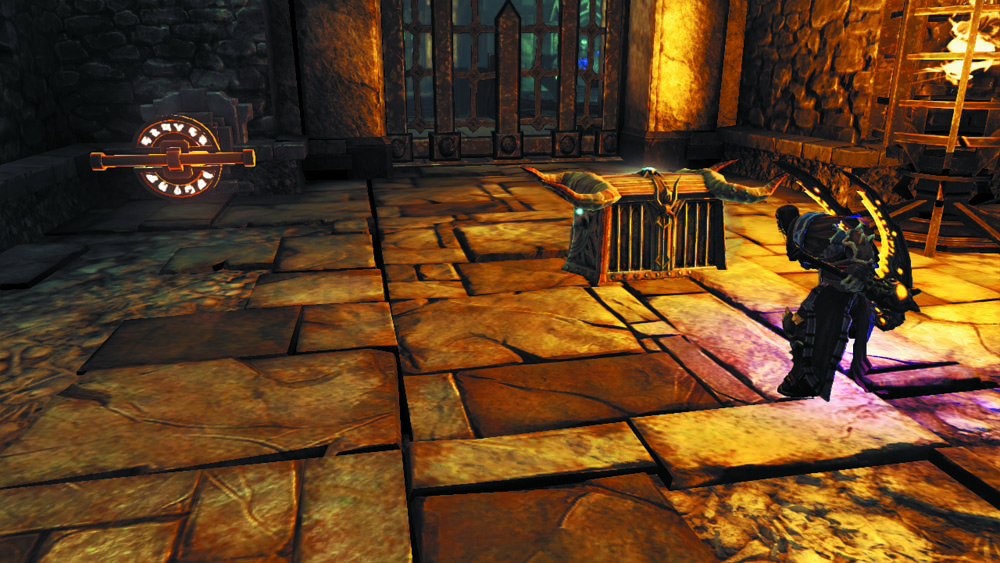
Proceed up the nearby stairs and raid another chest, and then drop down through a hole in the stairwell to reach a lower passage, where two more chests are located. One of these contains a Skeleton Key.
|
Skeleton Key |
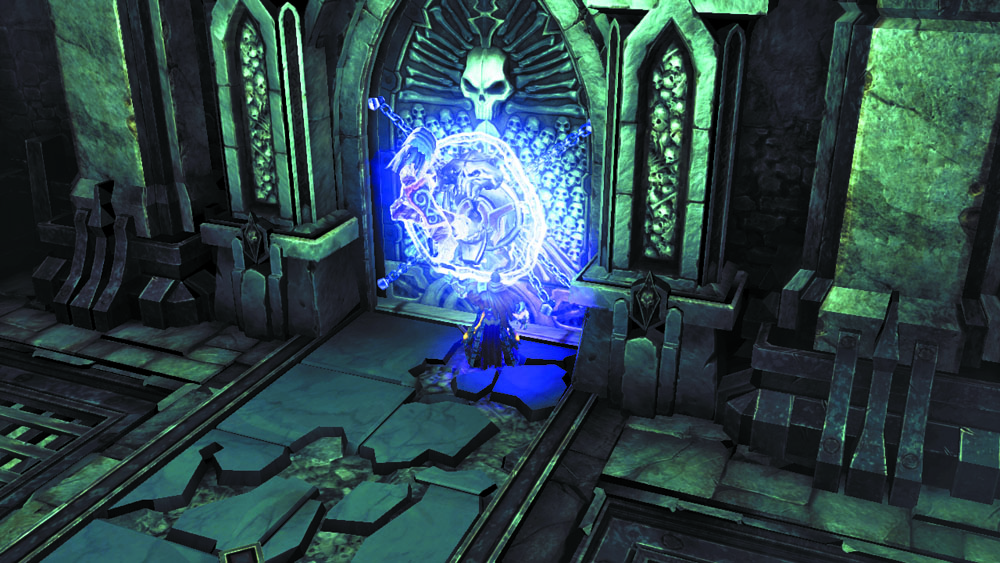
Press the switch near the key chest to open the nearby gate, and then pass through to return to the Central Plaza. Use your newfound key to open the east door.
Area 7: Rotating Bridge
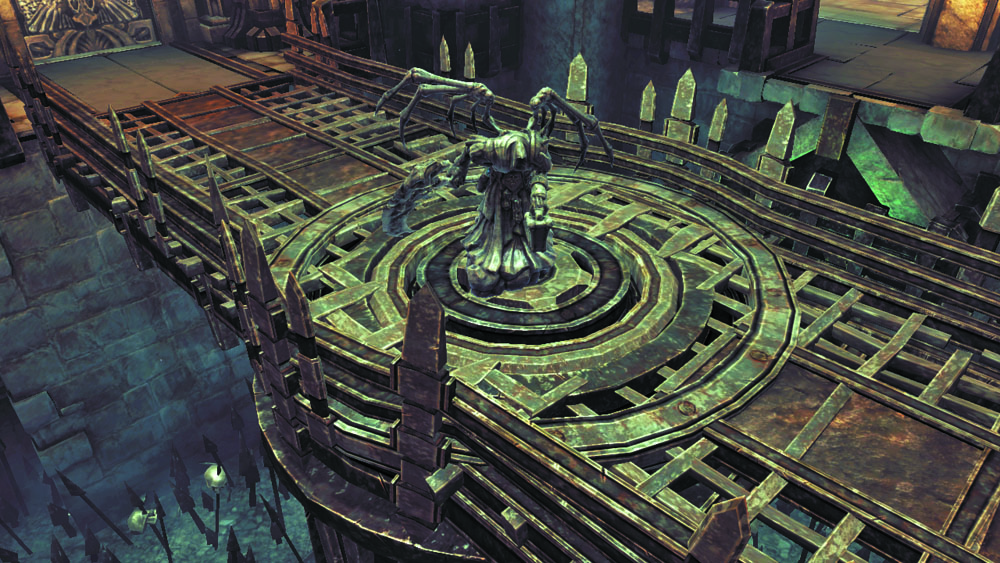
Move to the middle of this room's central bridge and split Death's soul there. Deathgrip the nearby wall hoop afterward to spring up to a hand hold and shimmy around the corner.
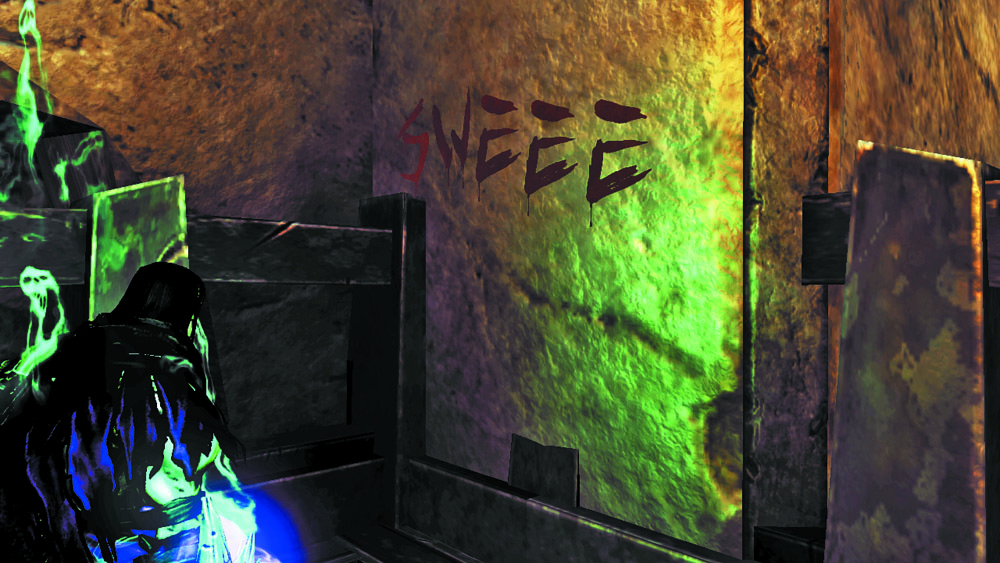
Drop down to solid ground and examine the writing on the nearby wall to gain a Soul Arbiter’s Scroll.
|
Soul Arbiter's Scroll 6 |
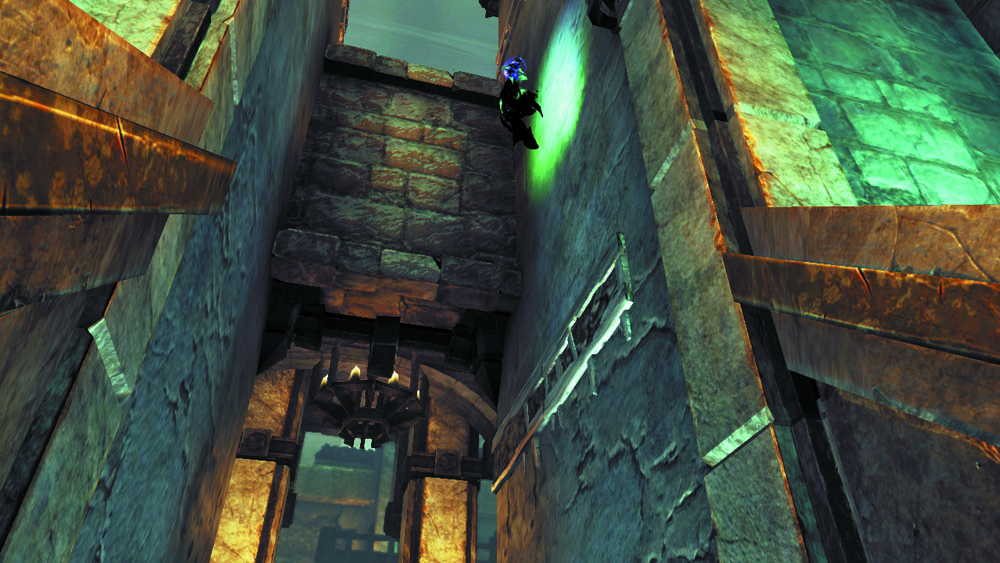
Next, use another hand hold to enter the south passage, which has no floor. Leap between the passage's narrow walls to reach the balcony above.
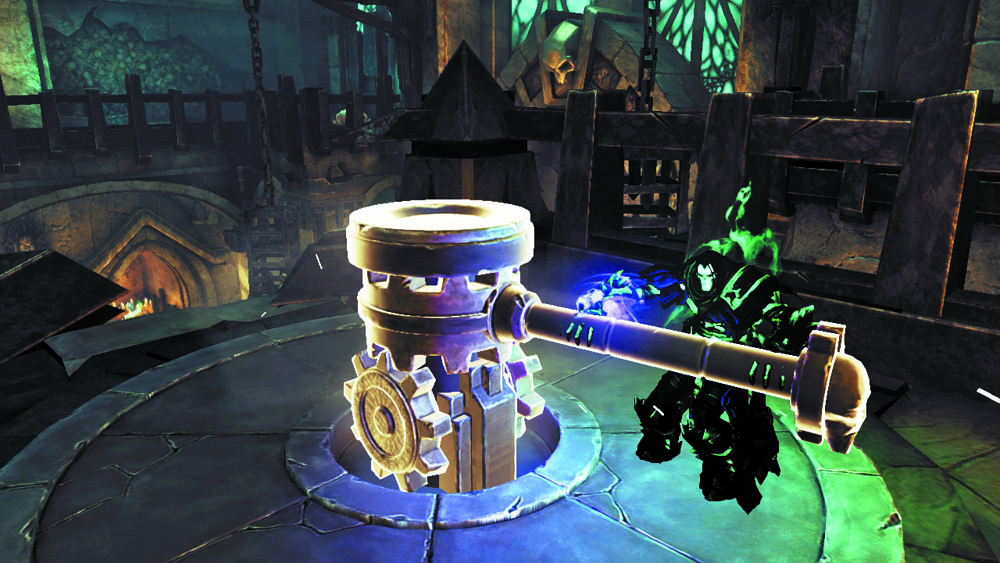
Collect a Book of the Dead page from the balcony’s east end, and then spin the central lever to rotate the bridge below.
|
|
Book of the Dead 23 |
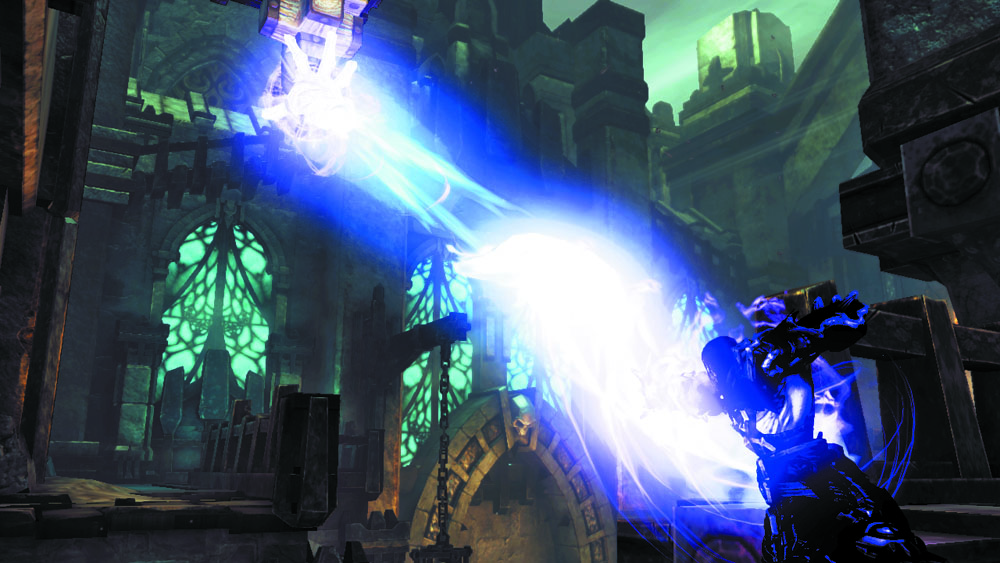
Switch to Death's other soul and sprint north across the bridge. Claim a Boatman Coin from an alcove, and then climb the nearby wall growth and swing from a ceiling hoop to reach a chest.

|
Boatman Coin 68 |
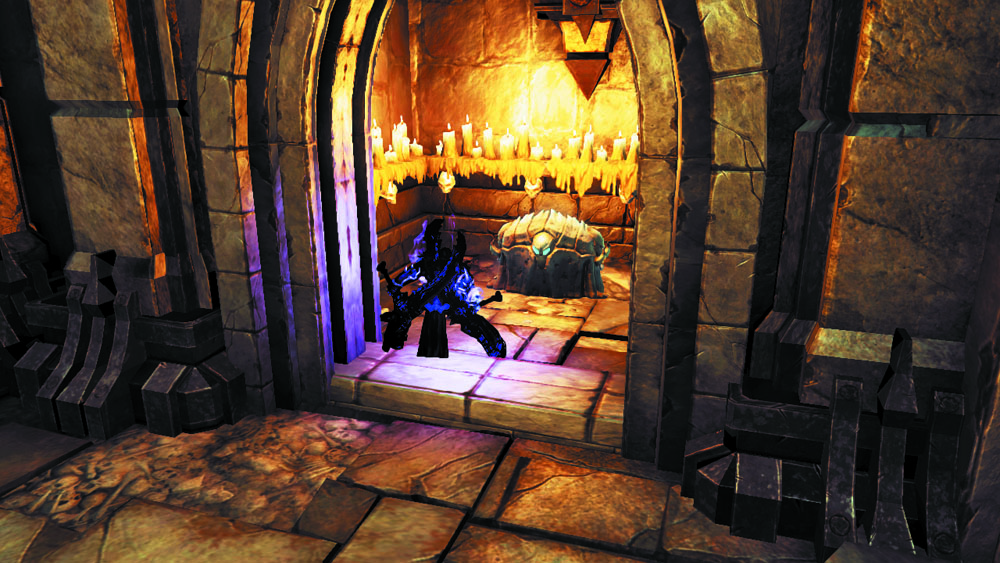
Drop down to the ground and smash the Scarabs in the north passage. Raid a chest in an alcove before continuing on your way to a switch. Push it to remove a gate in the Central Plaza, exposing a lantern.
Lantern Run
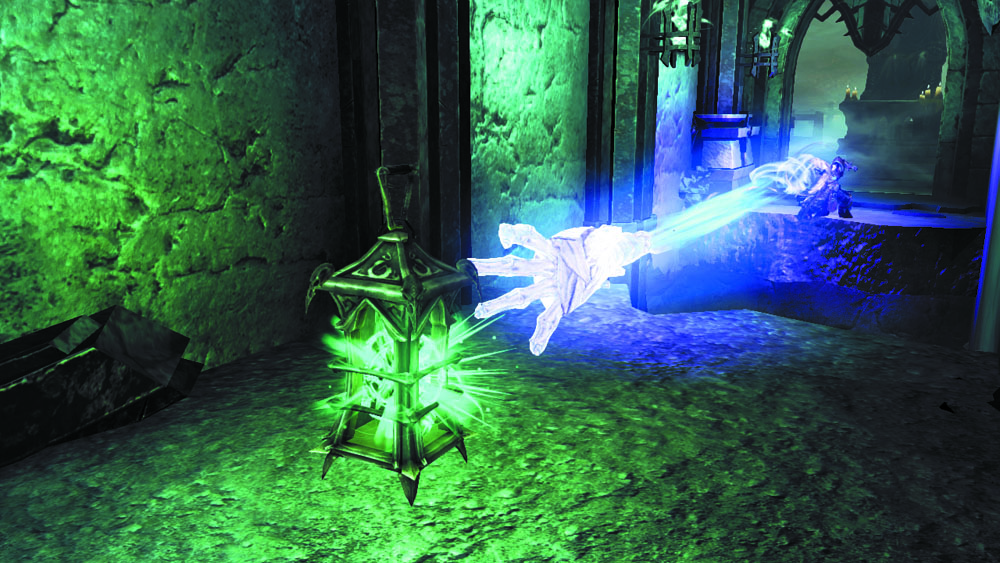
Return to your physical form and backtrack to the Central Plaza. Deathgrip the lantern in the northeast alcove, and then carry it through the west passage, heading back to the Statue Room. Set the lantern down when you reach the passage’s pit, wall-run across, and Deathgrip the lantern from the other side.
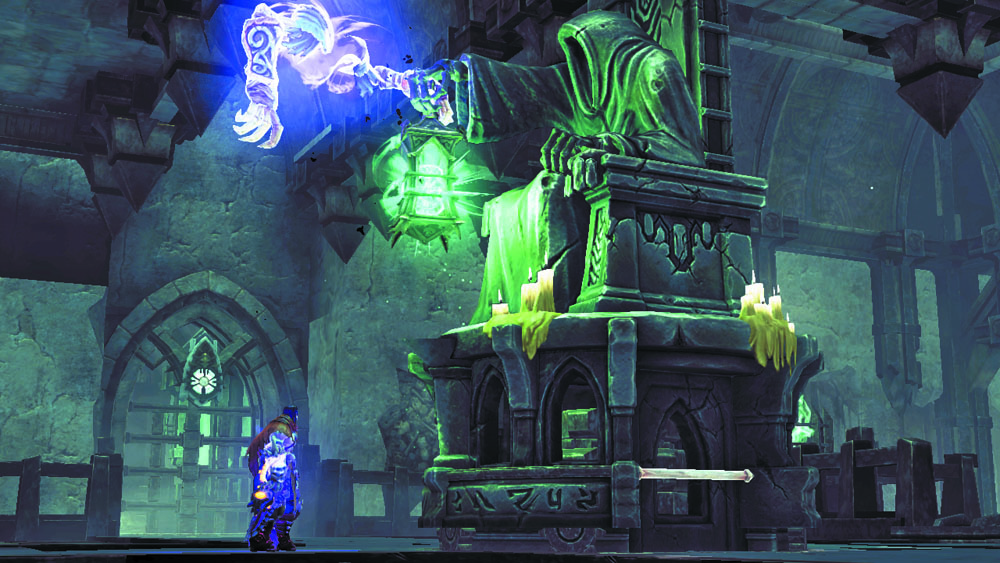
Place the lantern in the statue’s hand, spin the statue, and use its beam of light to open the south passage. Claim a Book of the Dead page from within, and then spin the statue to the west to extend a bridge. Cross over and proceed through the west door.
|
|
Book of the Dead 24 |
Area 8: Exterior Rampart
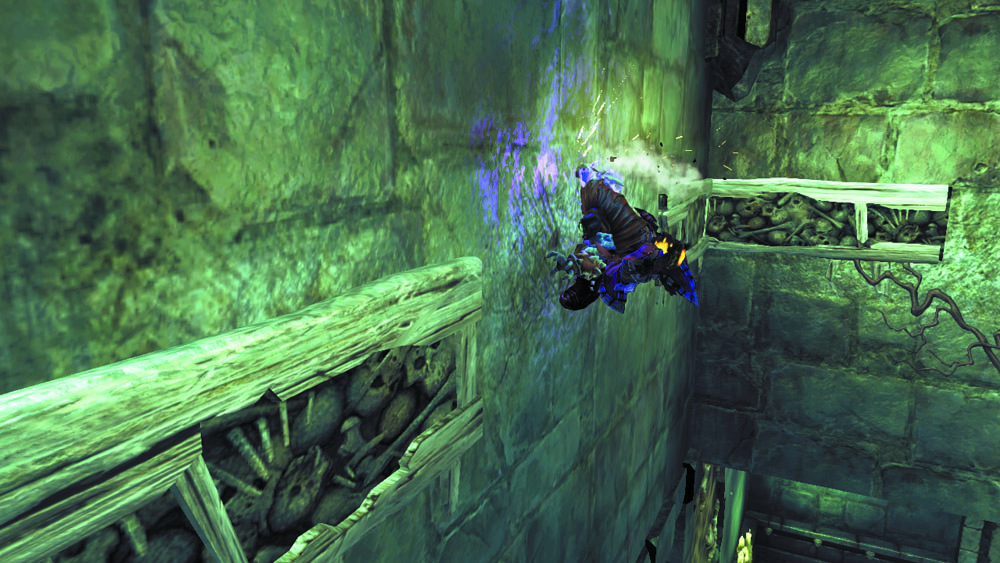
Climb the wall growth, and then wall-run between the nearby hand holds.
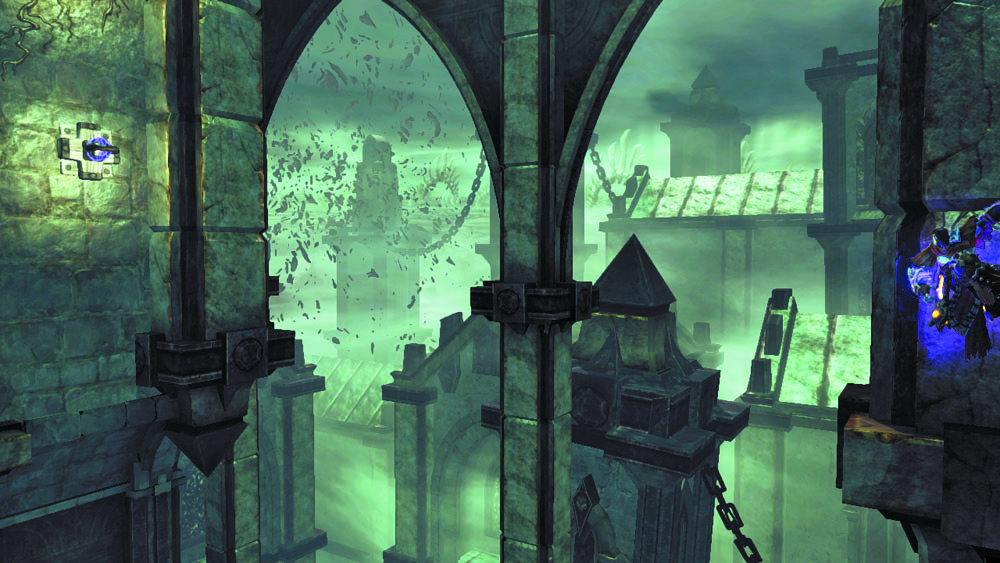
Perform a 180 leap from the final hand hold, and then Deathgrip the distant hoop to reach more growth.
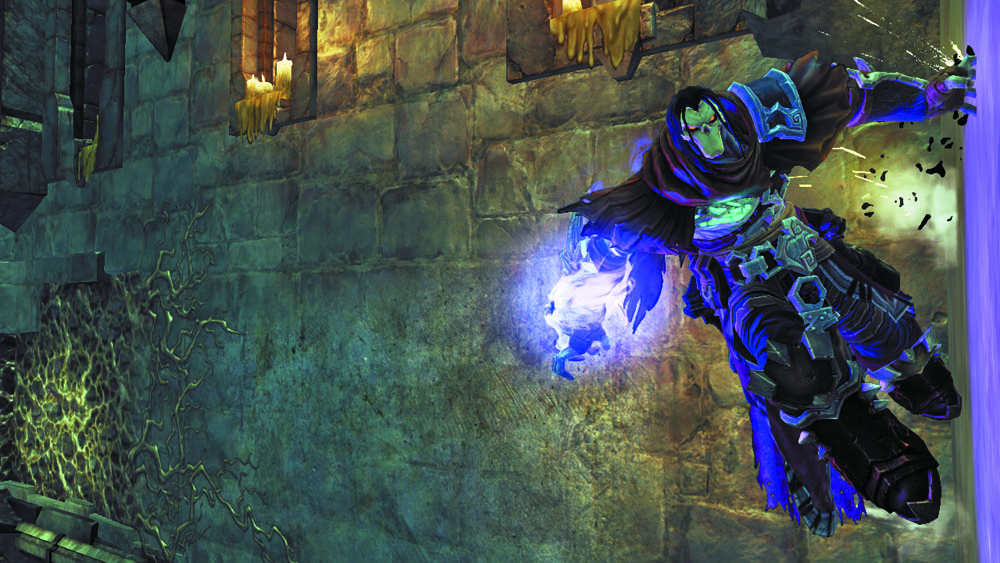
Climb around the corner and wall-run to a post, jumping the corner along the way.
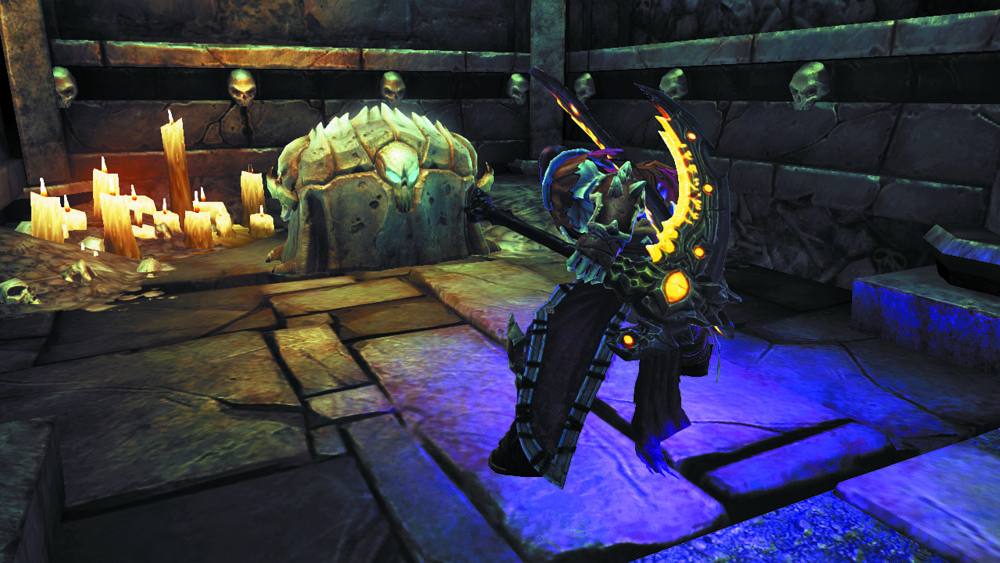
Drop down from the post to reach solid ground, and then crack open the nearby chest before advancing through the east door.
Area 9: Wraith Gates
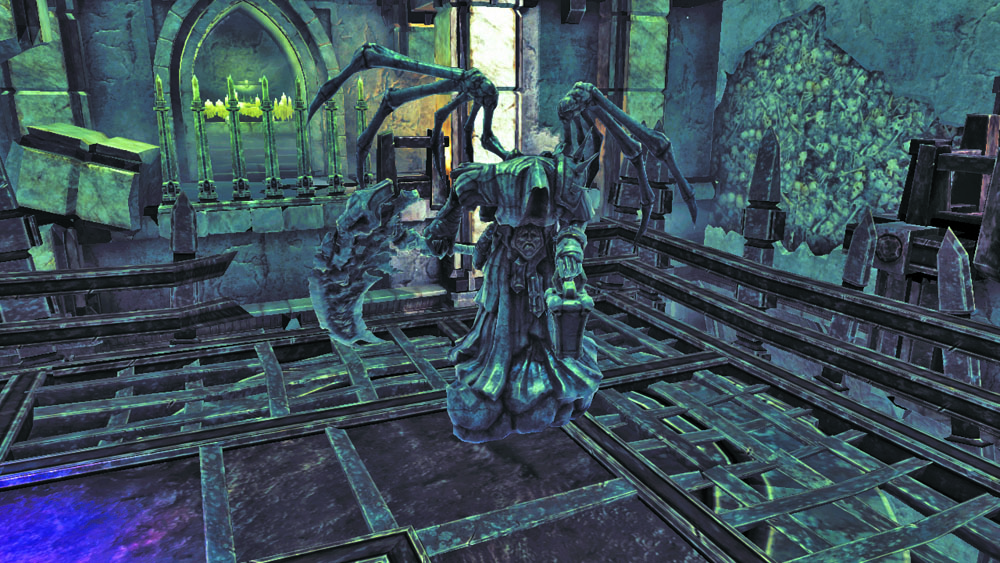
A pair of deadly Wraiths guard this gate-filled area. Slay them both, split Death’s soul at the corner of the L-shaped bridge, and then work at solving this area’s puzzle.
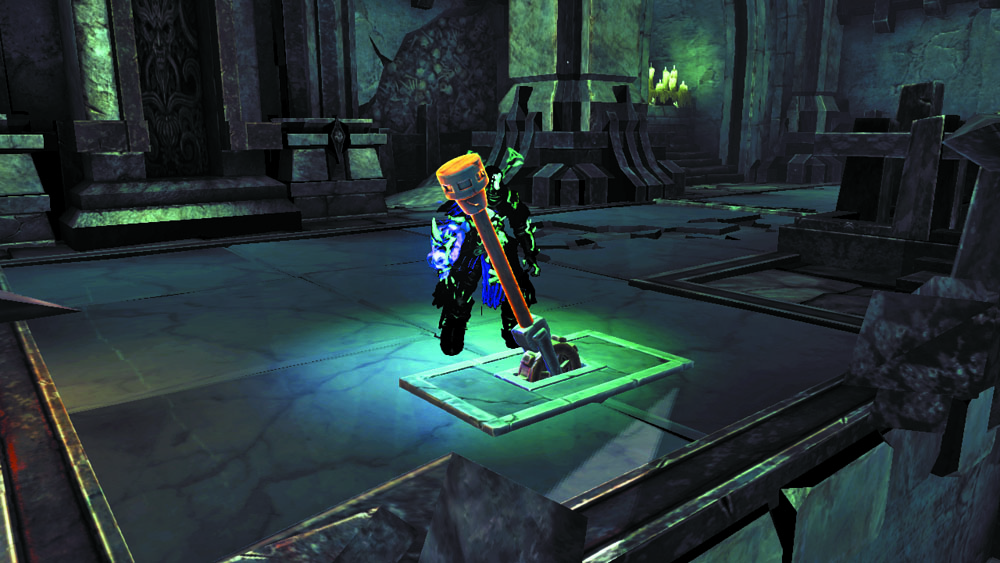
Have one soul pull the south lever to rotate the L-shaped bridge. Be sure to collect the Relic that's tucked away near the south wall, opposite from the lever.
|
Relic of Etu-Goth 10 |
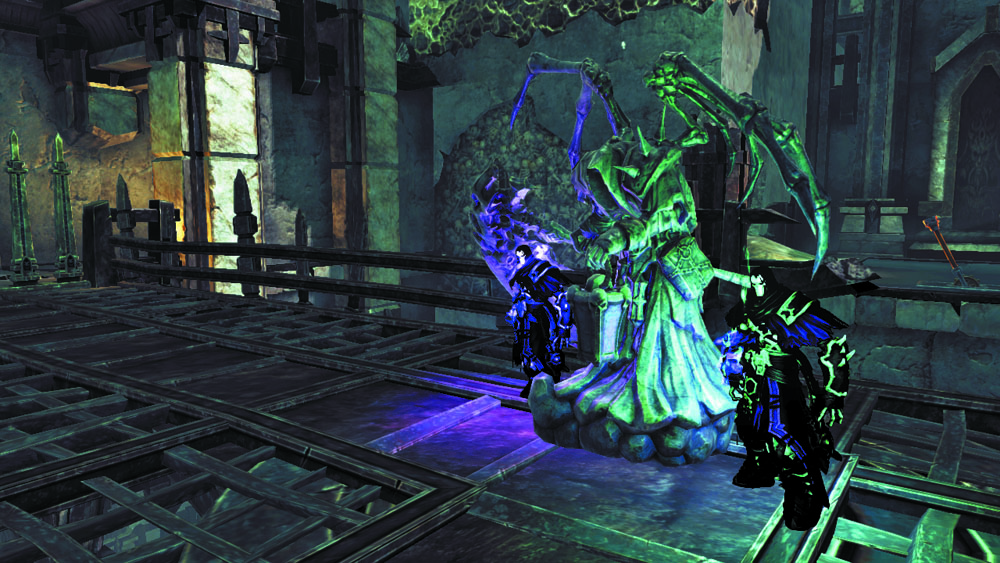
Return to the Reaper’s physical form, and then immediately split Death’s soul again to regroup his two spirits.
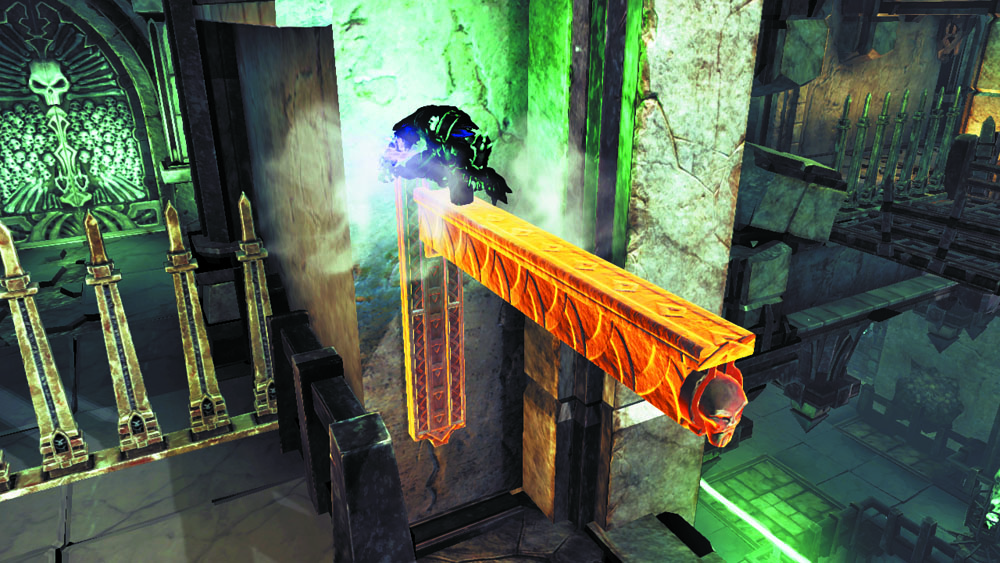
Have one spirit scale the nearby wall and land on a pressure lever. The lever lowers, banishing the east gate.
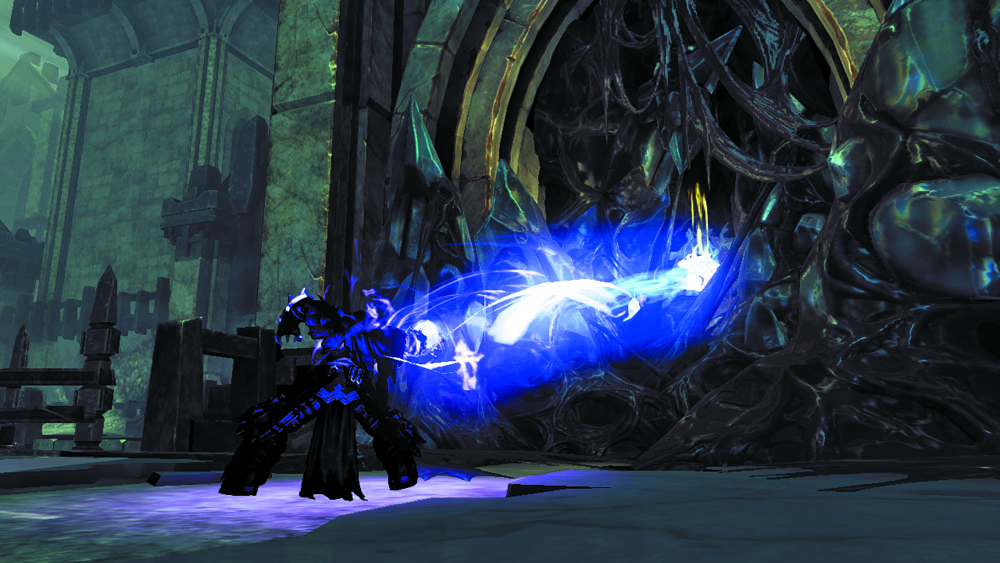
Switch to the other soul and collect a Shadowbomb from the west pod.
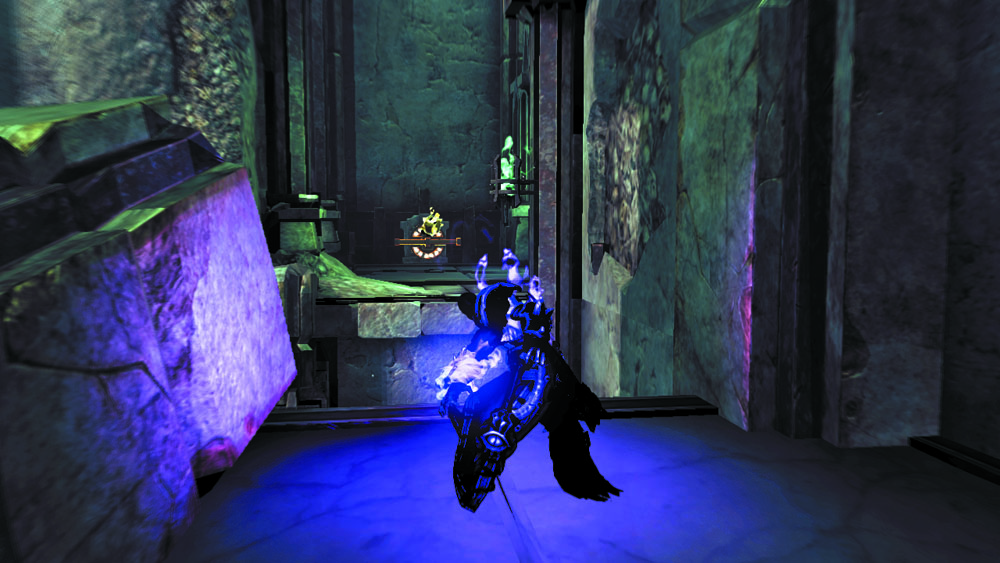
Head east and toss the bomb at the northeast switch to lower the gate near the pressure lever.
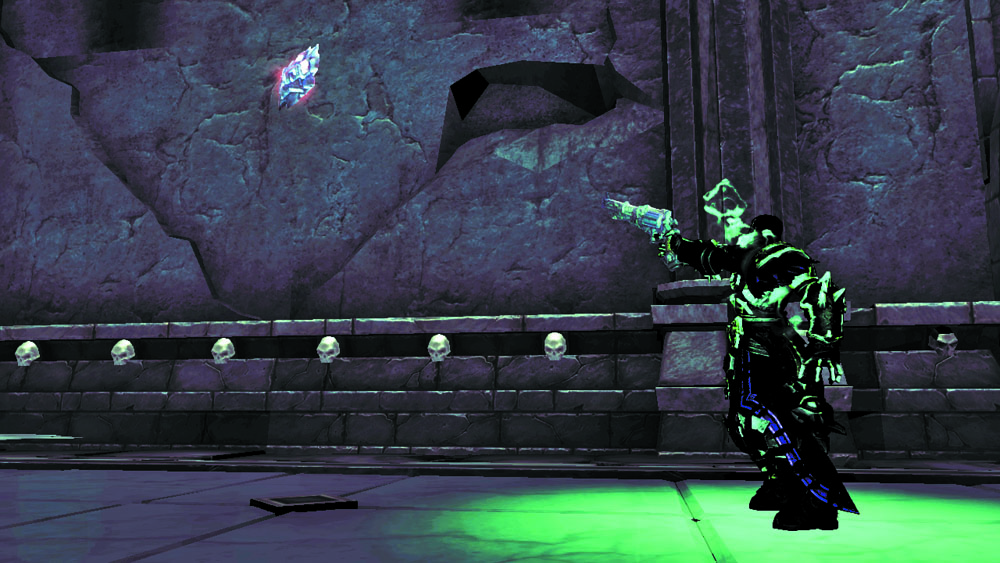
Run south until you reach a small balcony where two Wraiths guard a chest and Stonebite. Secure the area, and then claim your valuables.
|
Stone of Power 13 |
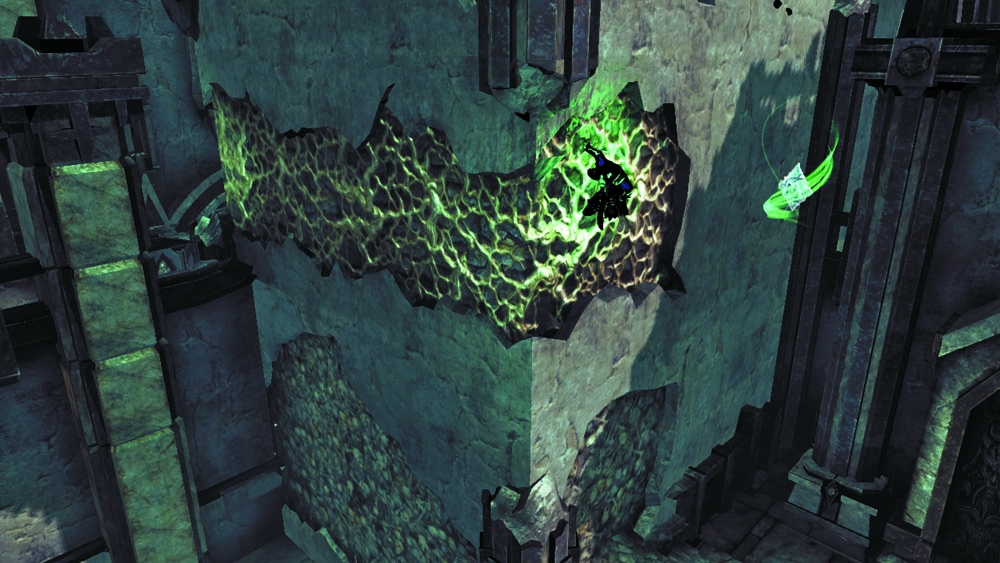
Backtrack a bit and scale the south passage's growth. Perform a 180 leap from the end of the growth to snatch a hovering Boatman Coin. Return to physical form and proceed through the northeast door.
|
|
Boatman Coin 69 |
Area 10: Pitfall Passage
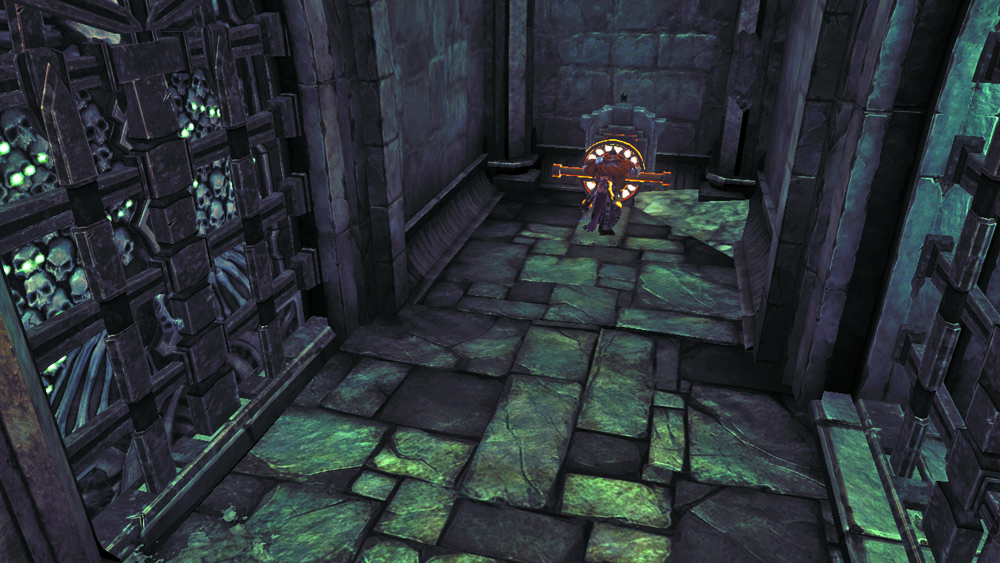
Make a daring wall-run to navigate this bottomless passage, leaping between its narrow walls to extend your run around the corner. Push the switch at the passage’s end to open the nearby door, and then head through.
Balcony Antics
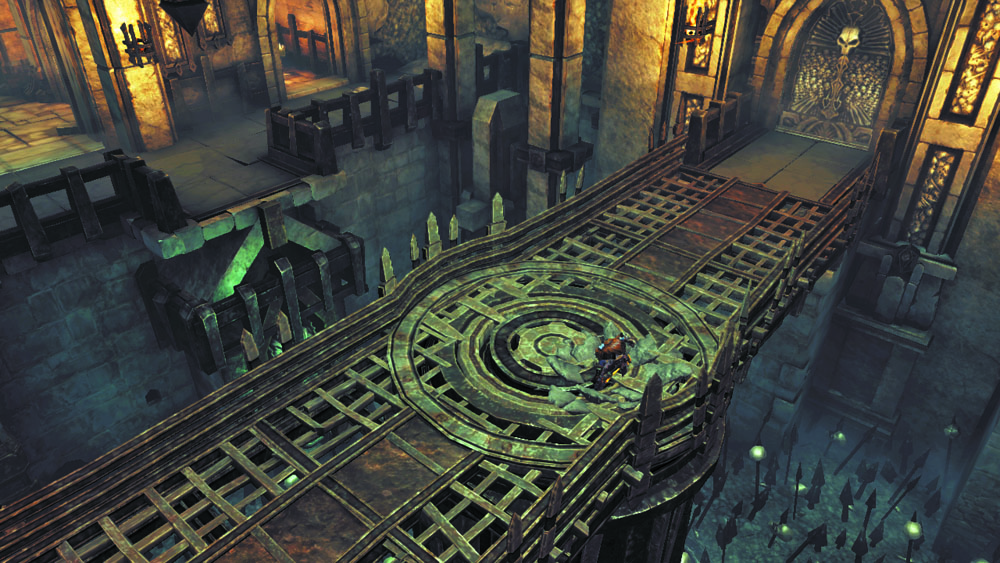
Cross the Central Plaza’s upper balcony, and smash the clutter you pass on your way to the east door. Go through to find yourself back at the Rotating Bridge’s upper level. Press the switch here to lower the nearby gate and unbar the lower east door. Descend the nearby stairs and jump the broken railing near the lever to quickly drop down to the bridge. Then, proceed east.
Area 11: Square of Torment
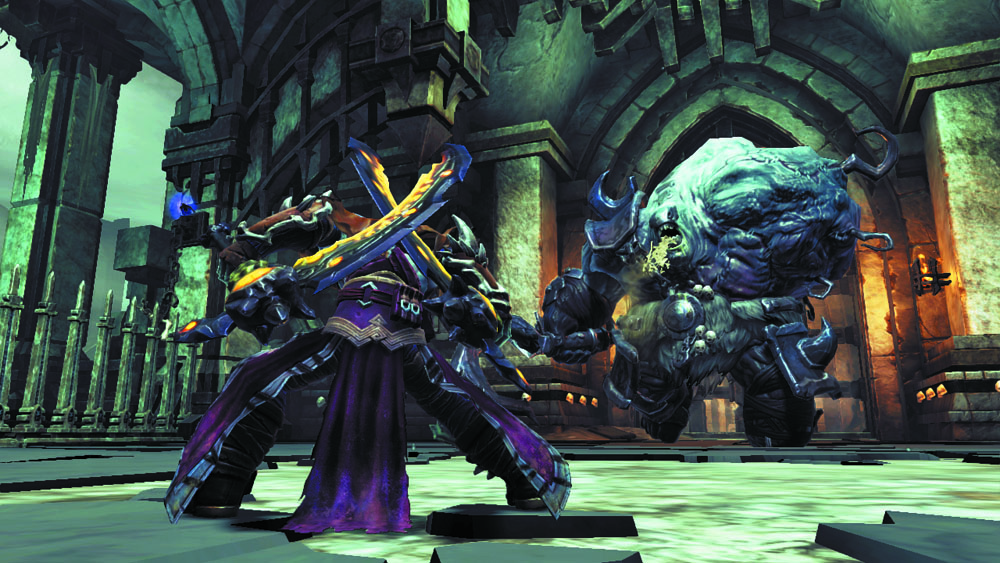
Death must survive a trying battle in this square. First, a trio of Wraiths ambush the Rider—slay two of these to summon an Undead General. Bring down the brute and a monstrous Tormentor will challenge you next. This hulking horror is similar to the Jailor you battled back at the Judicator’s Tomb. Cut him down, and another Tormentor will enter the fray, followed by a third after the second Tormentor falls. Open the two east chests after you emerge victorious, and then proceed through the east door.
Area 12: Furnace
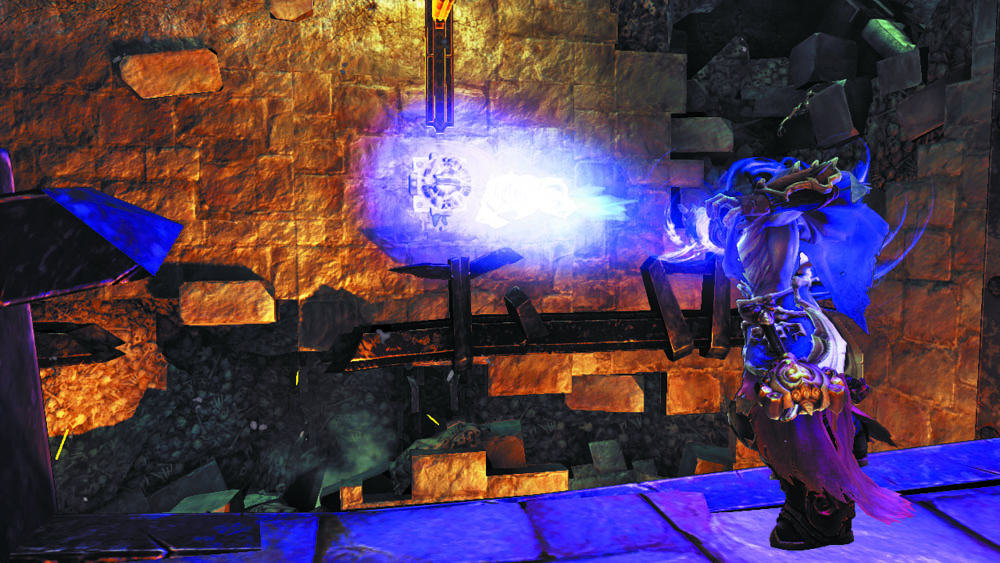
Scale this chamber’s north wall and wall-run to the right until you reach a pressure lever. Landing on this lever causes a fiery floor to rise from the depths below, giving Death only a brief window to scale the room and reach the ledge above.
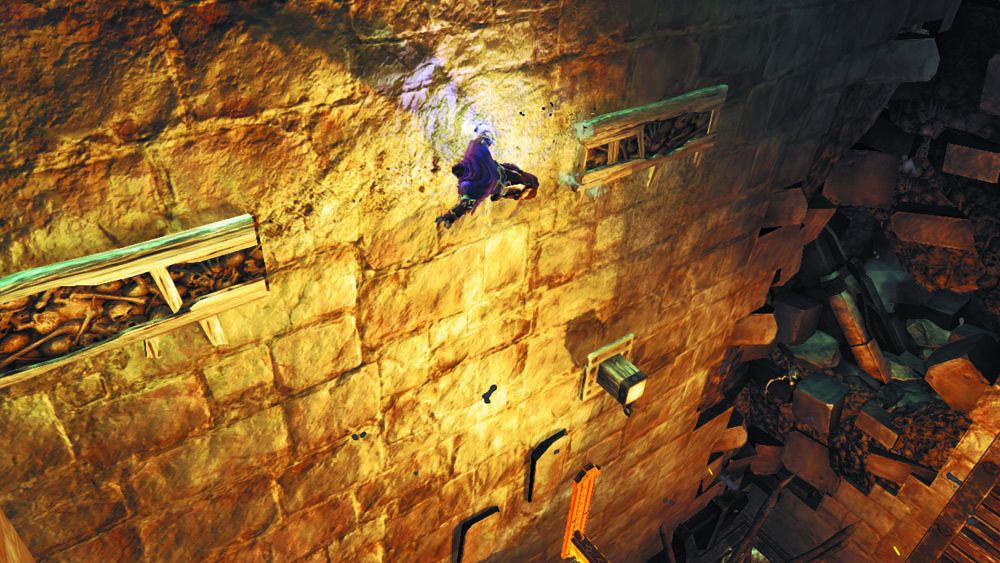
Immediately wall-run up to a hand hold, and then wall-run again to the left and shimmy around the corner.
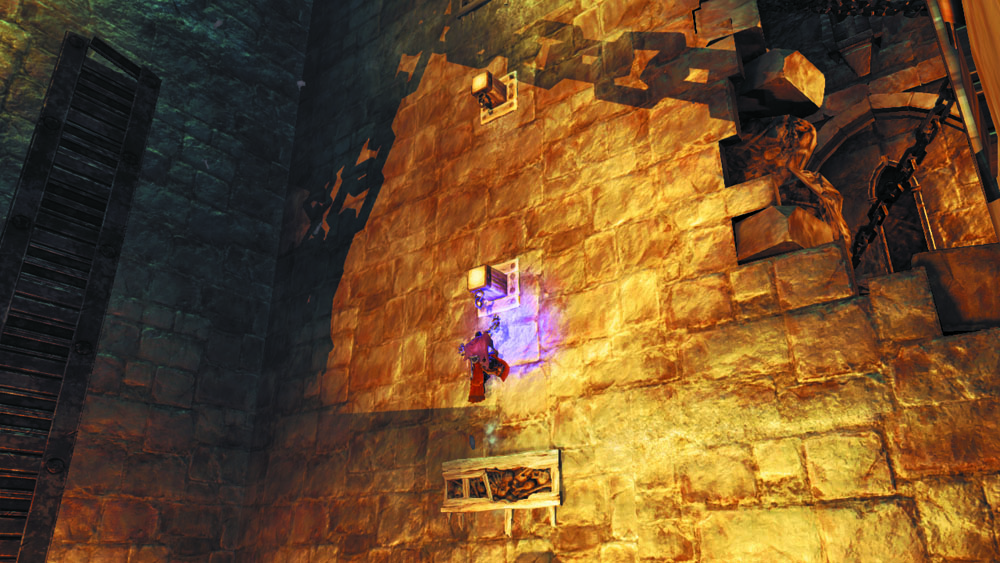
Wall-run to the left again and jump the corner to reach another hand hold. Vault off of the two pegs above to gain some height.
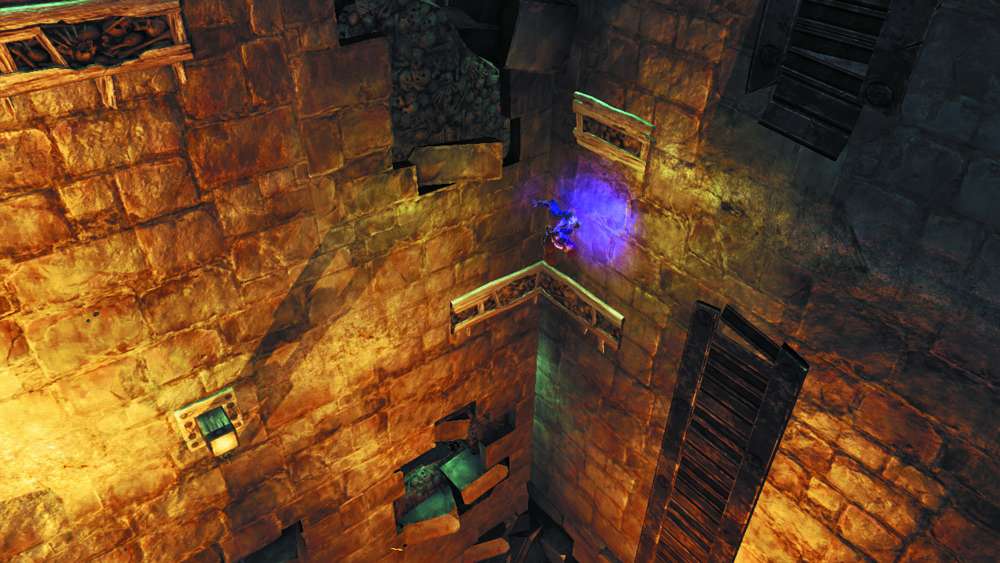
Again, wall-run to the left and jump the corner to reach a hand hold. Drop down from this one to reach the hand hold below it, and then shimmy around the corver and wall-run to the left peg.
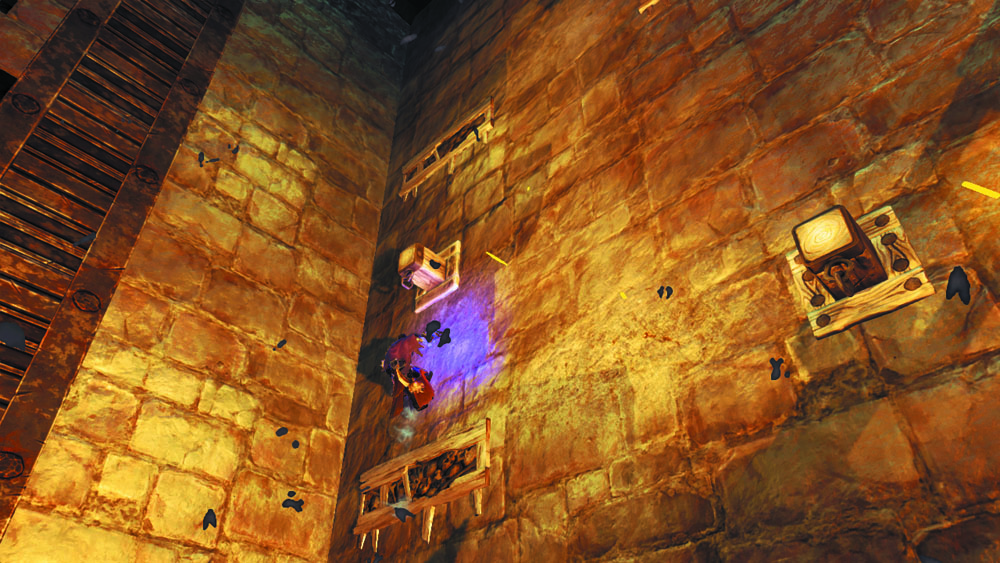
Vault from the peg to reach another hand hold, and then quickly vault off of the peg above it to reach a higher hand hold.
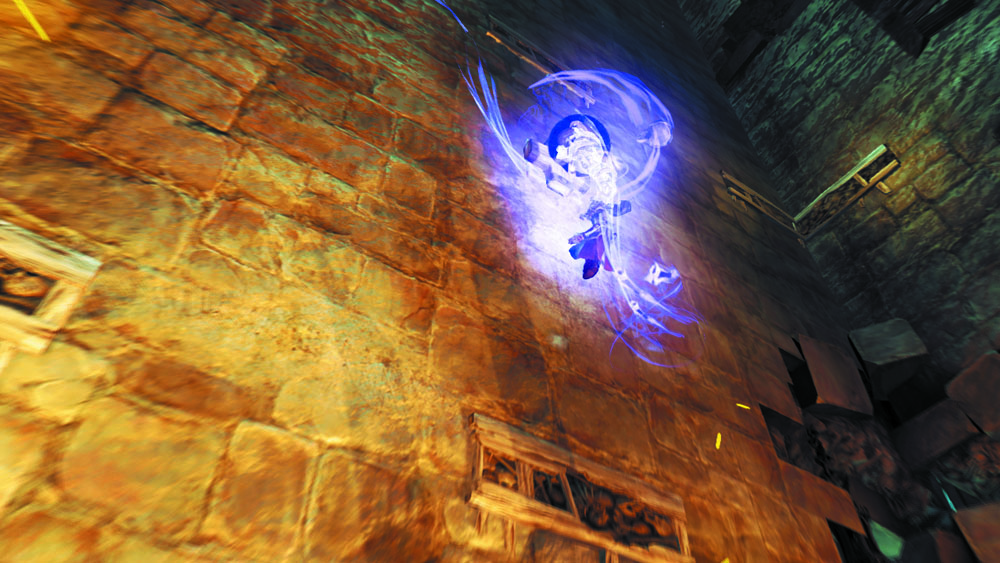
Wall-run to the neighboring hand hold on the right, and then Deathgrip the hoop above to bound up to a higher hand hold.
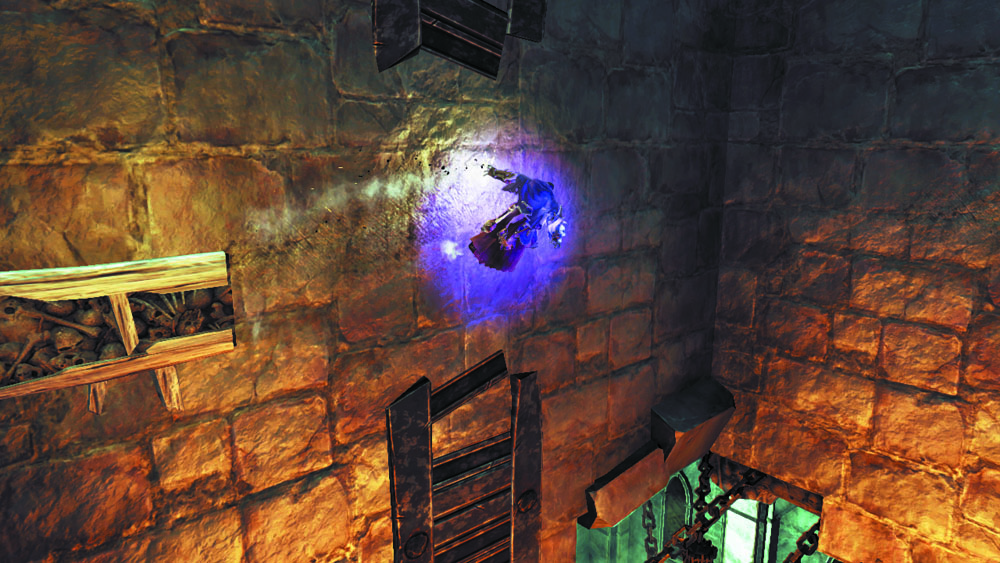
Make a long wall-run to the right, shimmy around the first corner, jump the second corner, and shimmy around the third corner.
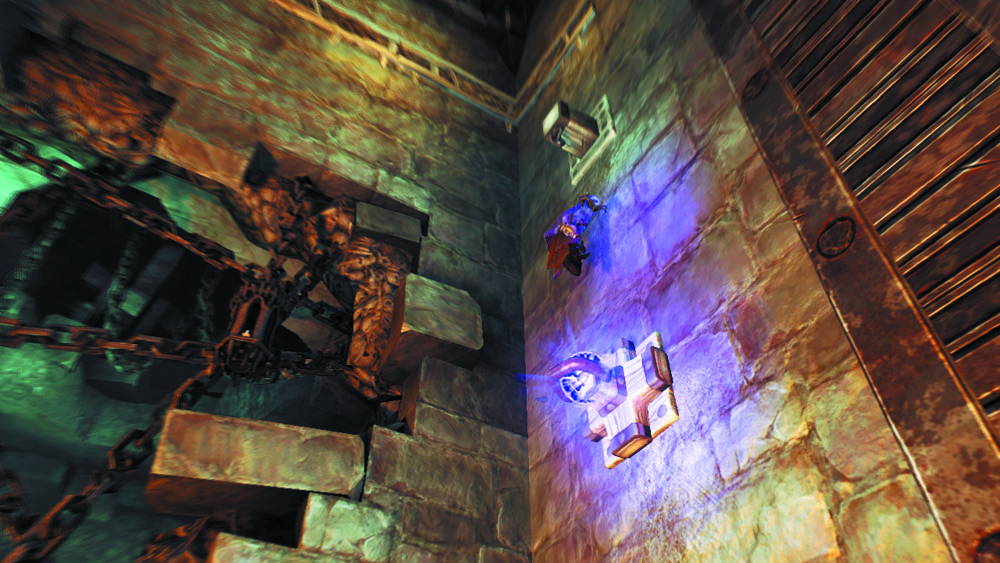
Deathgrip another overhead hoop to soar up to a high hand hold before shimmying to the left and climbing out of the pit. Catch your breath and pull the nearby lever to unlock the west door and proceed through it.
Area 13: Exterior Walkways
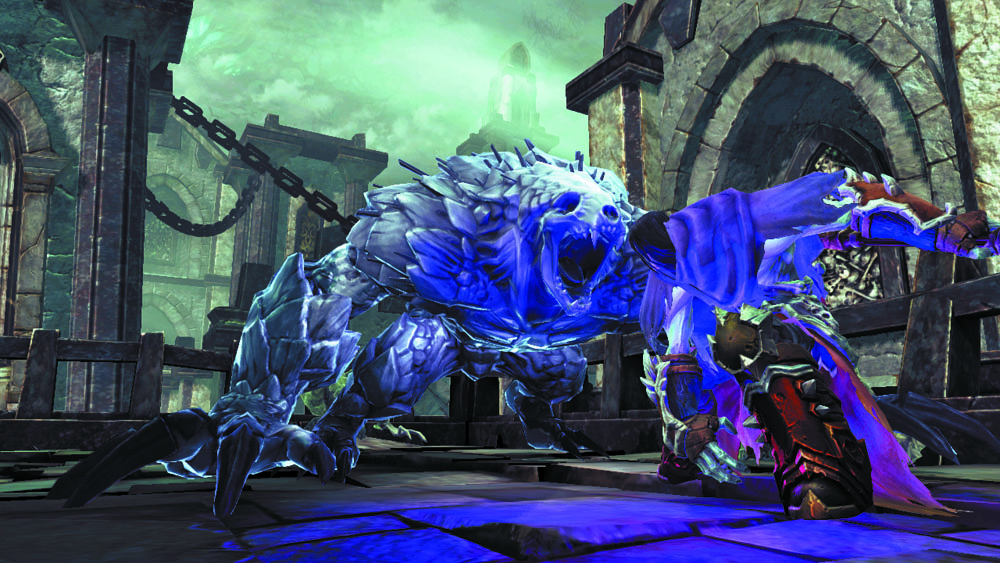
Death’s respite doesn’t last long, for an Undead Stalker and several Undead Prowlers ambush the Rider in this area. Slay the Prowlers first, and be very careful not to become cornered during this battle—especially once the Stalker goes berserk as its health nears depletion.
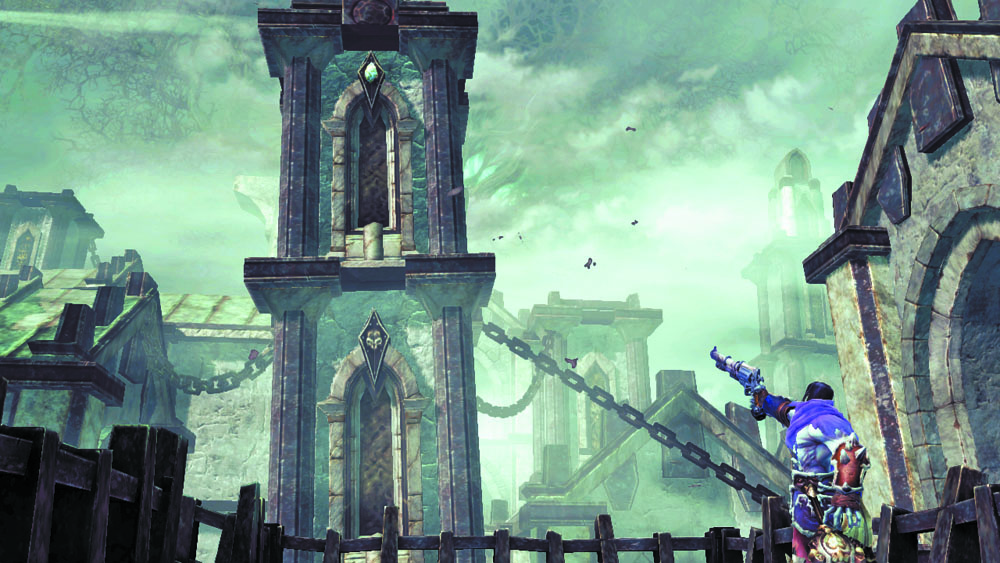
Shoot the Stonebite on the tall north tower after the battle, and then wall-run to the tiny south ledge. Open the ornate chest to at last obtain the Dungeon Map.
|
Stone of Resistance 5 |
|
Dungeon Map |
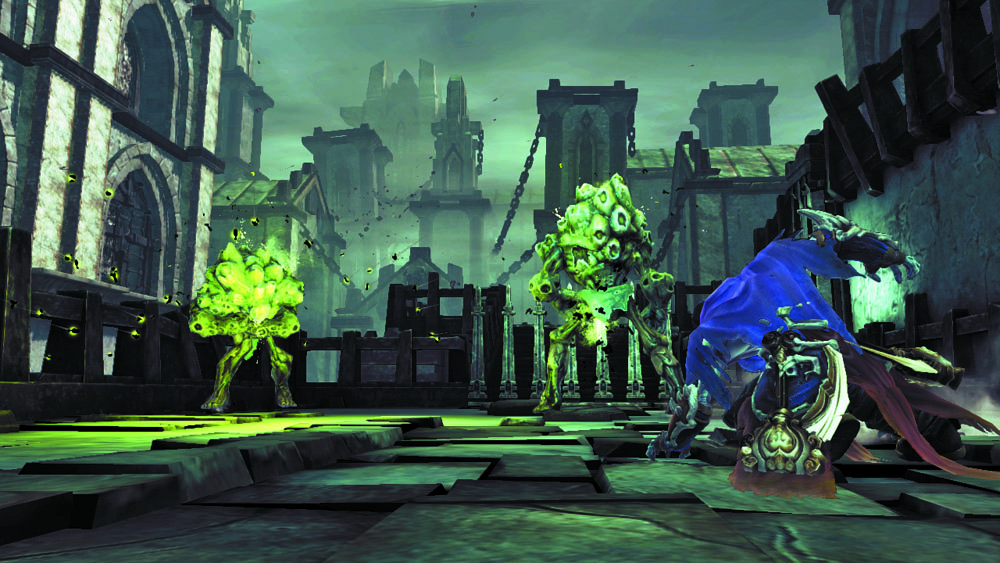
Wall-run back to the walkways and scale the stairs. Two hulking Abominations assault you on your way to the west door. Unleash Death’s skills to speedily cut down these dangerous adversaries, as their attacks are quite powerful.
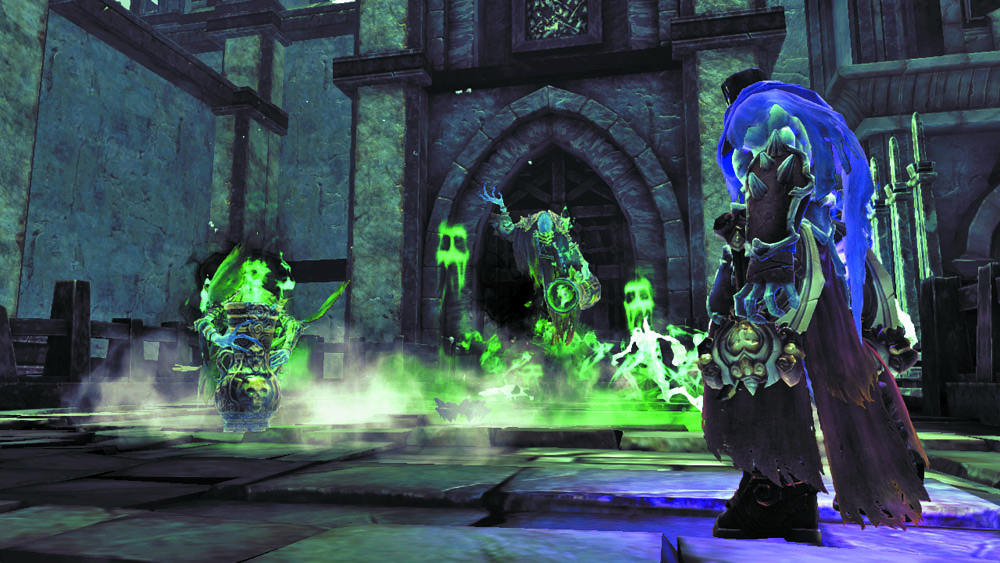
Just beyond the Abominations, a trio of Liches materialize and strike. Make liberal use of the Deathgrip to stun these summoners, and focus on cutting down each one in turn. Proceed through the west door after surviving this third and final encounter.
Area 14: Pit of Bone
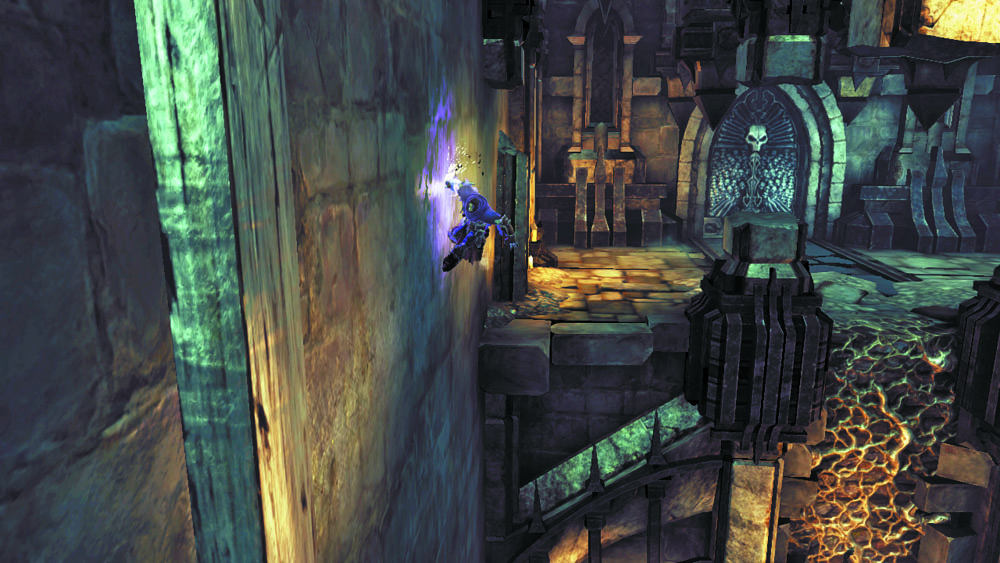
Drop into this chamber’s central pit and raid the far chest before using the east wall growth to climb back out. Wall-run to a corner post, and then perform a number of 180 leaps to cross the pit via the posts. Proceed through the west door.
Area 15: Upper Plaza
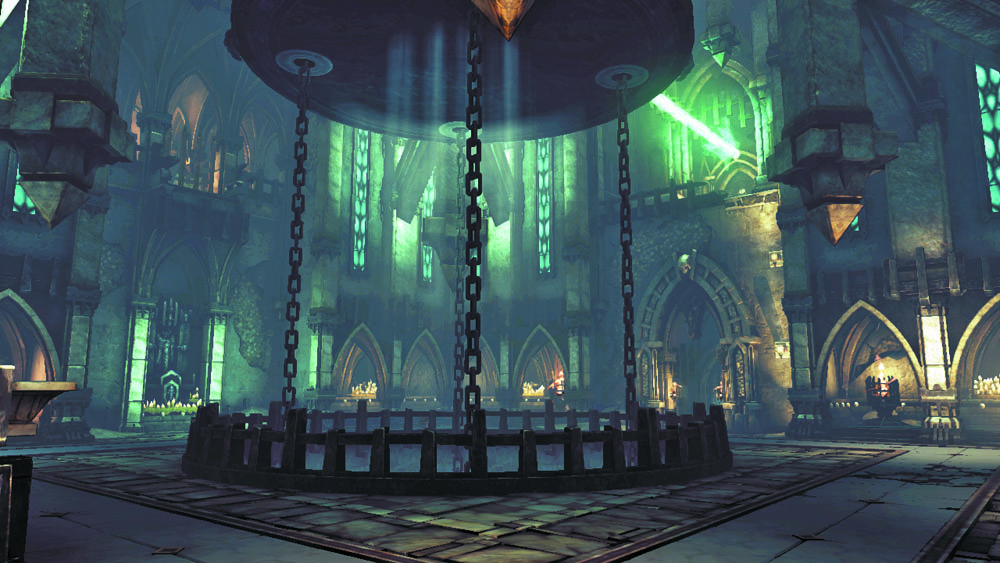
A light-emitting statue catches Death’s eye as he enters this wide area, but the statue’s hanging platform is too high to reach. There’s nothing else of interest here, so simply advance through the west door.
Area 16: Northwest Balcony
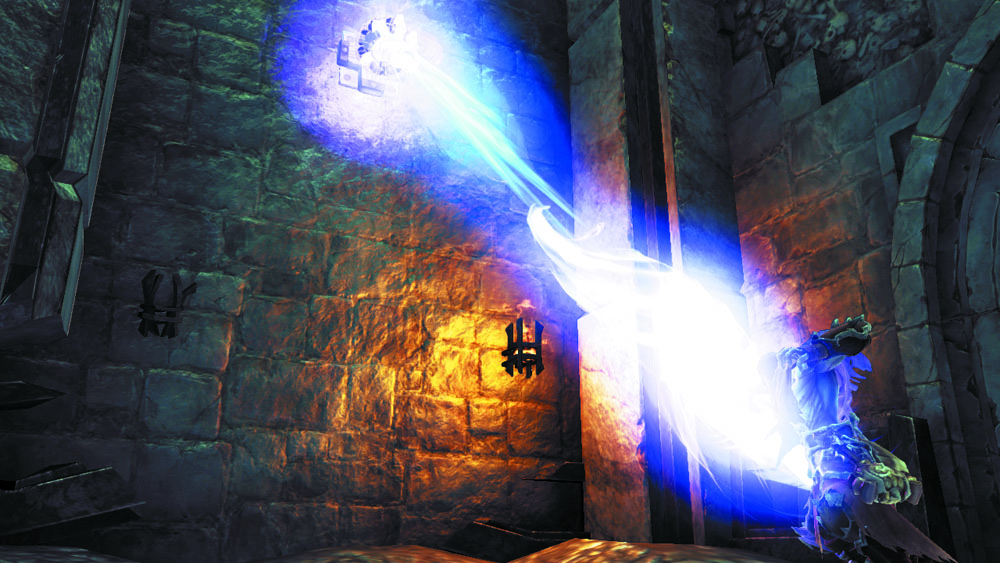
Deathgrip this small room’s south hoop to soar up the wall and jump at the height of your climb to reach a hanging post.
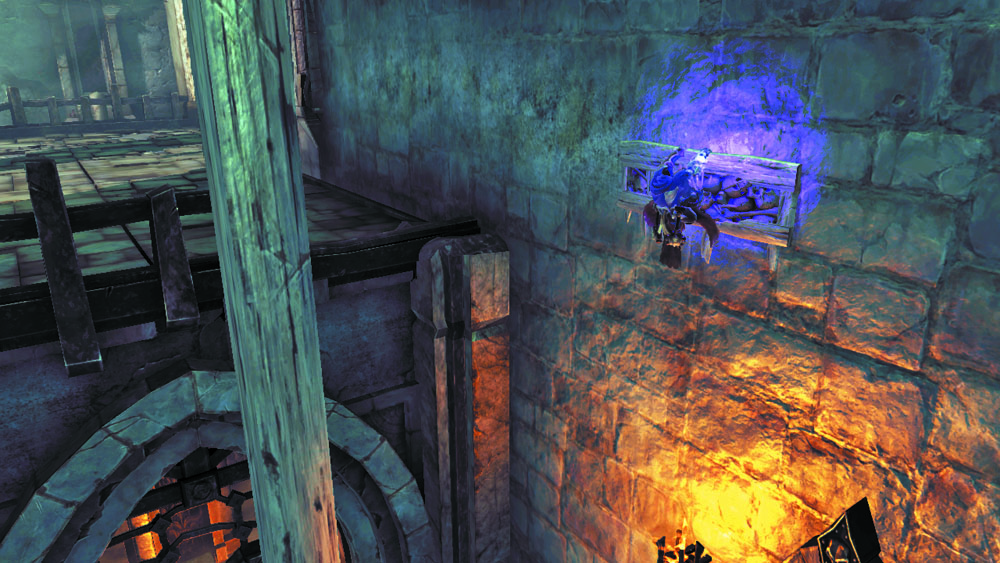
180 leap to the next post, jump over to the hand hold on the east wall, and run to the left to reach a high balcony.
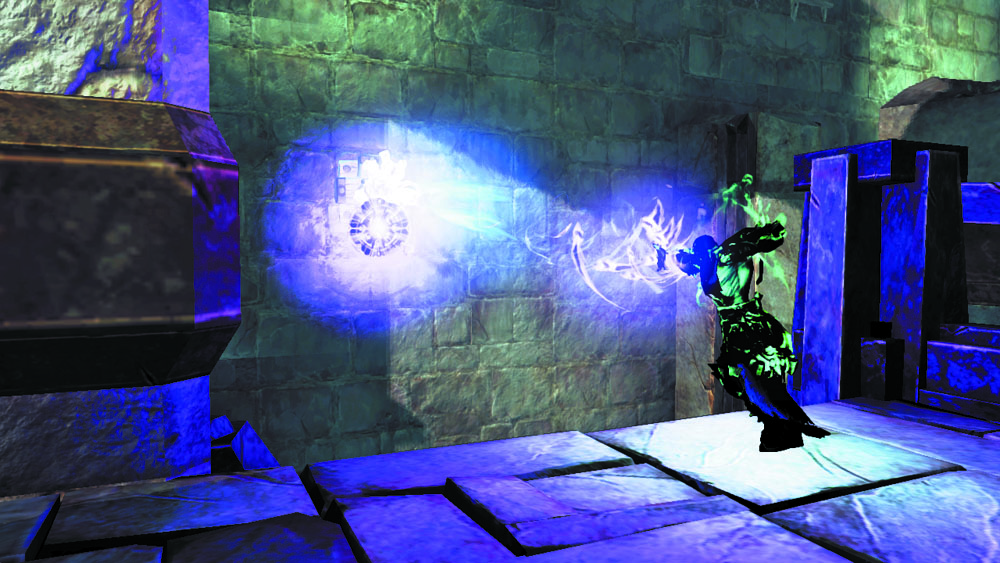
Split Death's soul, leaving one of them on the balcony's pressure plate. Have the other soul Deathgrip the north hoop to soar up to a hand hold.
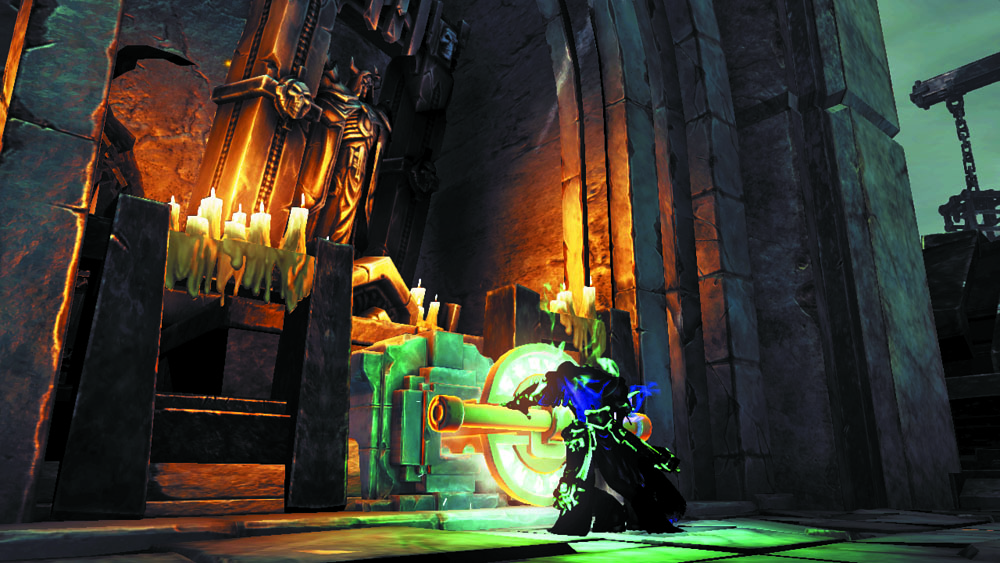
Wall-run to the right twice, crossing another hand hold and landing near a switch. Push it to unbar the south door.
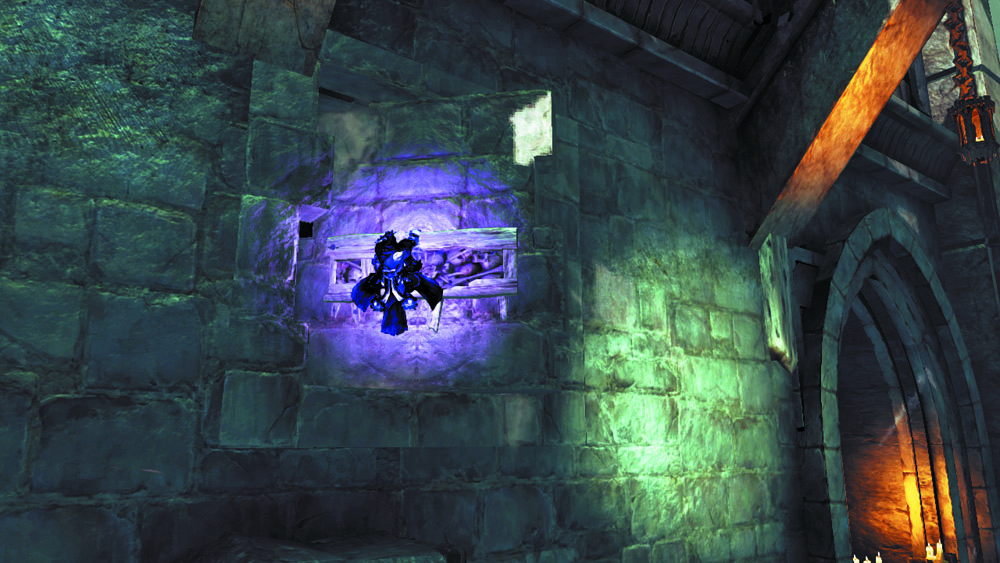
Wall-run back across the hand holds. Stop on the first one, and the switch to the other soul and step off of the pressure plate. This causes the hand hold to flip around, delivering the hanging soul to a secret area.
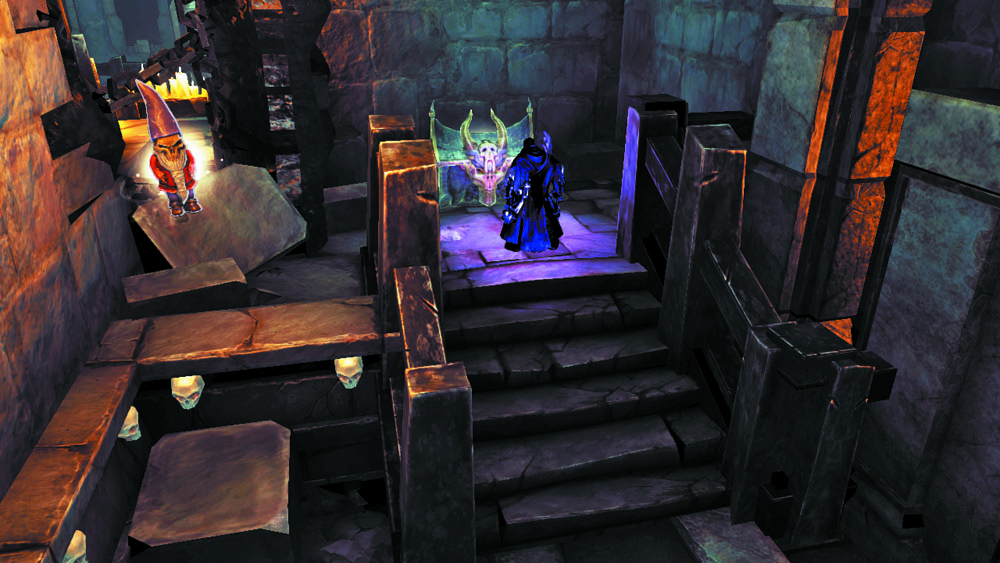
When entering this passage, smash the crates in the alcove near the stairwell to expose a hidden Boatman Coin. Navigate the passage on your way to a large chest. Collect the Gnome figurine as well, which pertains to a side quest.
|
|
Boatman Coin 70 |

|
Gnomad Gnome 1 |
Side Quest Advanced: “Gnomad’s Gnomes”
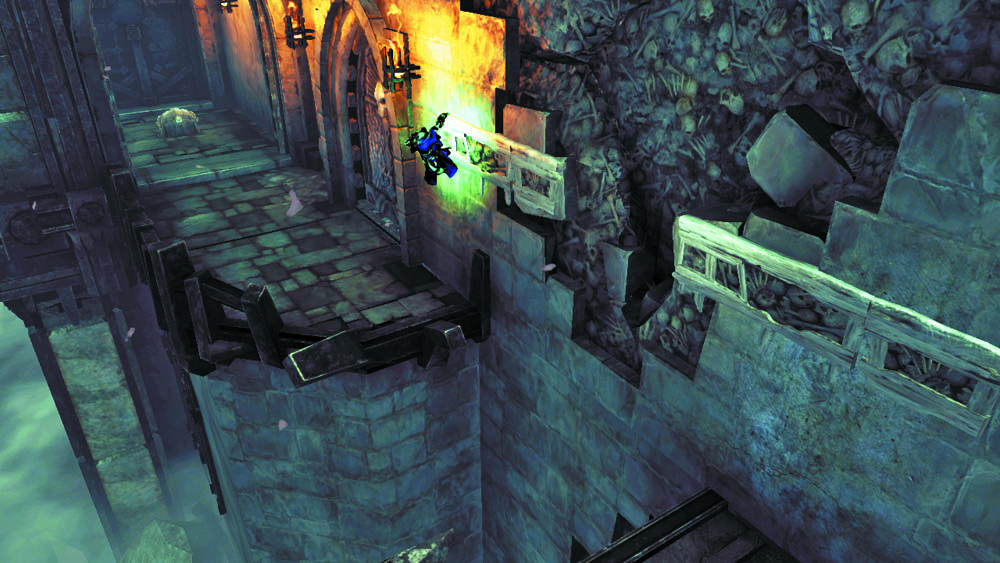
Revert to physical form after looting the secret passage, split Death's soul again, and then leave one spirit on the pressure plate. Have the other soul cross the south wall's hand holds to reach a chest. Return to physical form afterward and proceed through the south door.
Area 17: Upper Plaza Ledges
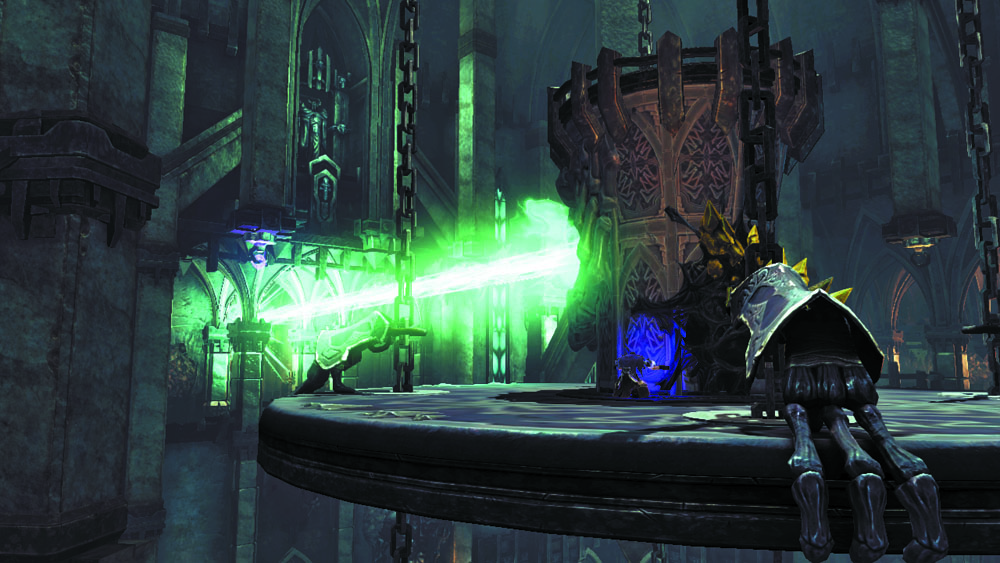
Push a switch to lower the nearby gate, and then Deathgrip the overhead hoop to swing to the central hanging platform. You’ve reached the light-emitting statue, but Corruption crystals are preventing you from activating its switch. Grab and spin the statue, angling its light westward to unbar the west door. Deathgrip another overhead hoop to swing over and head through.
Area 18: Scarab Den
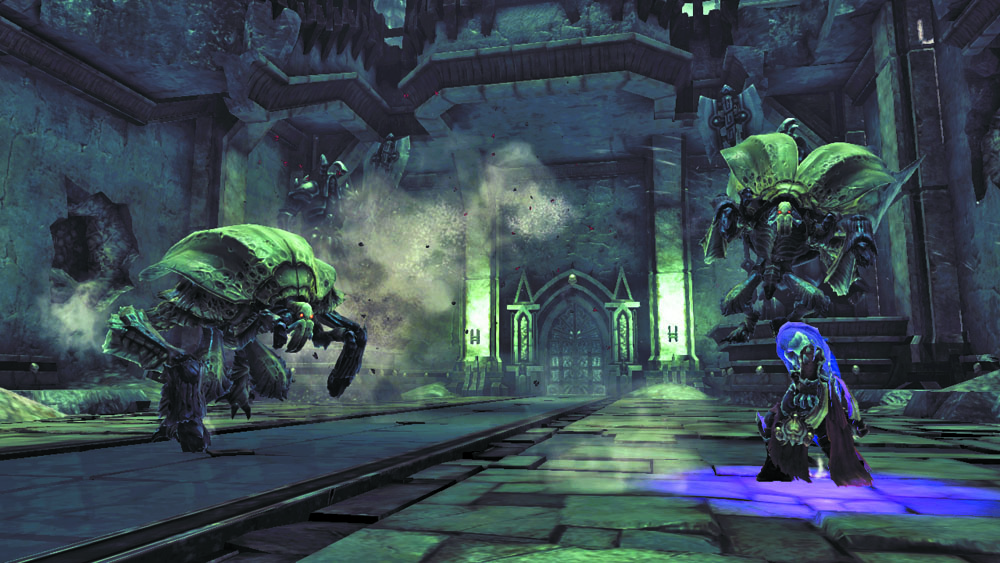
This spacious chamber is home to a host of Scarabs, including a fearsome Undead Scarab Hulk. Evade and use anti-group attacks and skills to slay the swarming Scarabs, but focus mainly on cutting down the larger Undead Scarab Hulk. Two more Undead Scarab Hulks materialize after the first one falls; use evasive maneuvers to avoid damage as you tackle this deadly duo.
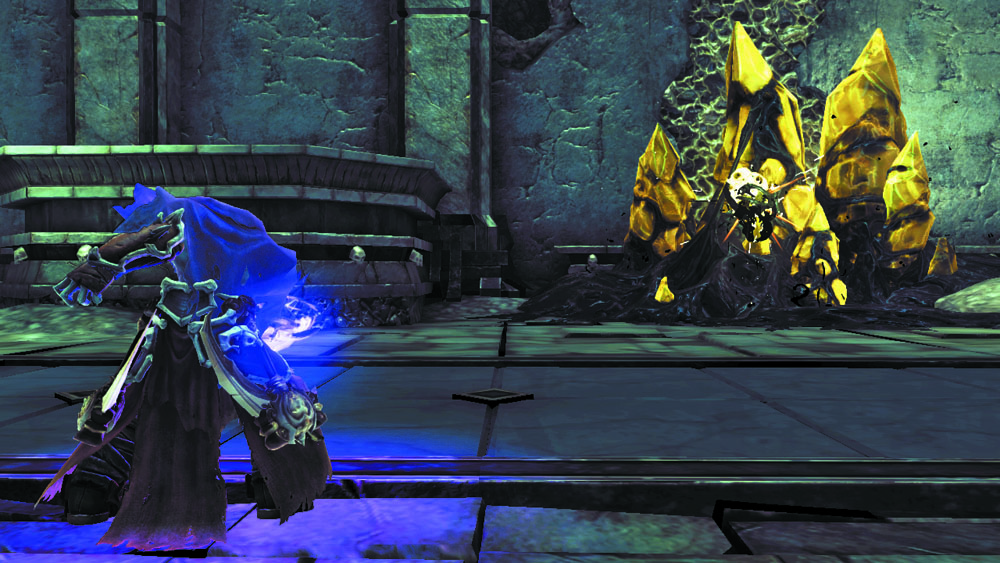
Grab a Shadowbomb from the south pod after the battle and use it to obliterate the north Corruption crystals. Scale the exposed wall growth to reach a higher balcony, and raid the west chest to obtain a Skeleton Key.
|
|
Skeleton Key |
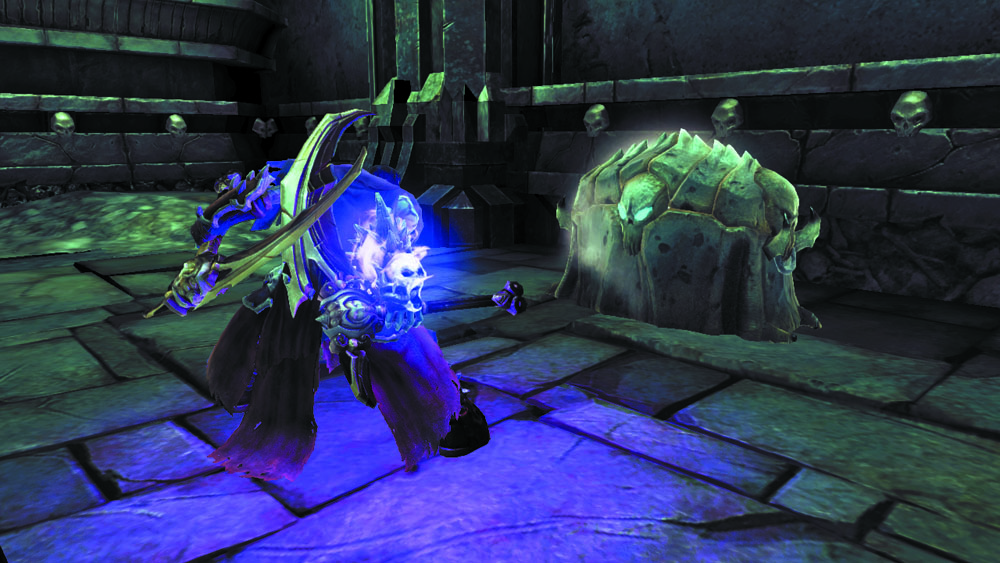
Deathgrip across the overhead hoops afterward to reach the east chest, and then swing back across the hoops to claim a floating Boatman Coin. Backtrack to the Upper Plaza Ledges afterward, and drop down to the Upper Plaza area below. Scale the east wall’s pegs to return to the Upper Plaza Ledges, and use your newfound key to open the locked east door.
|
|
Boatman Coin 71 |
Area 19: Burial Passages
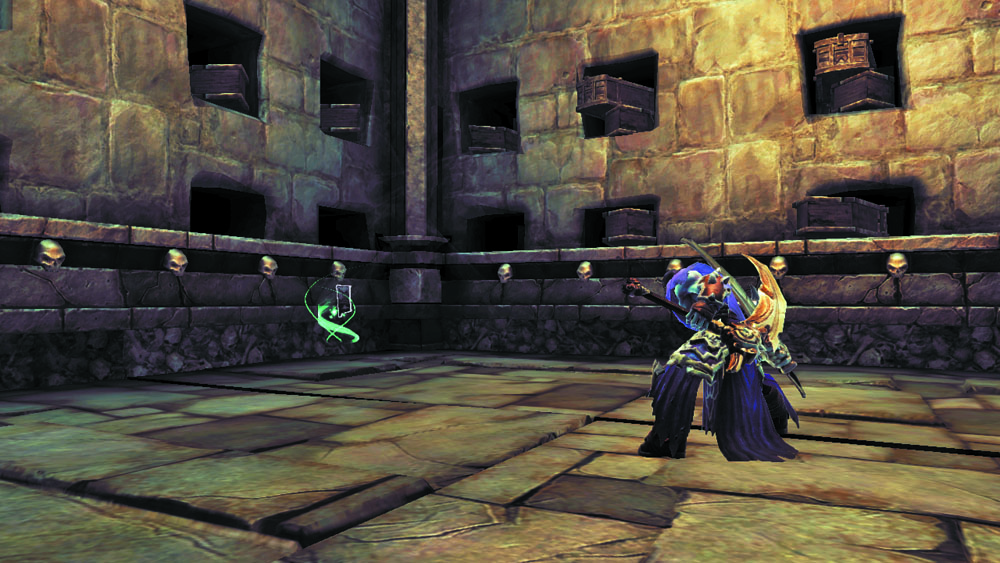
Smash the crates as you enter this winding passage to discover a lost page of the Book of the Dead.
|
|
Book of the Dead 25 |
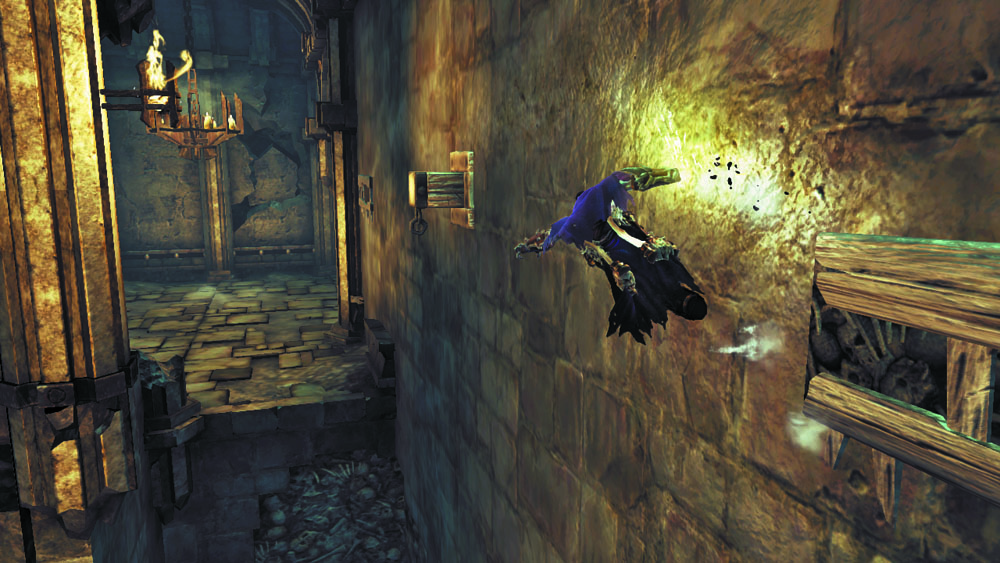
Shimmy around a corner and wall-run across the pit that follows.
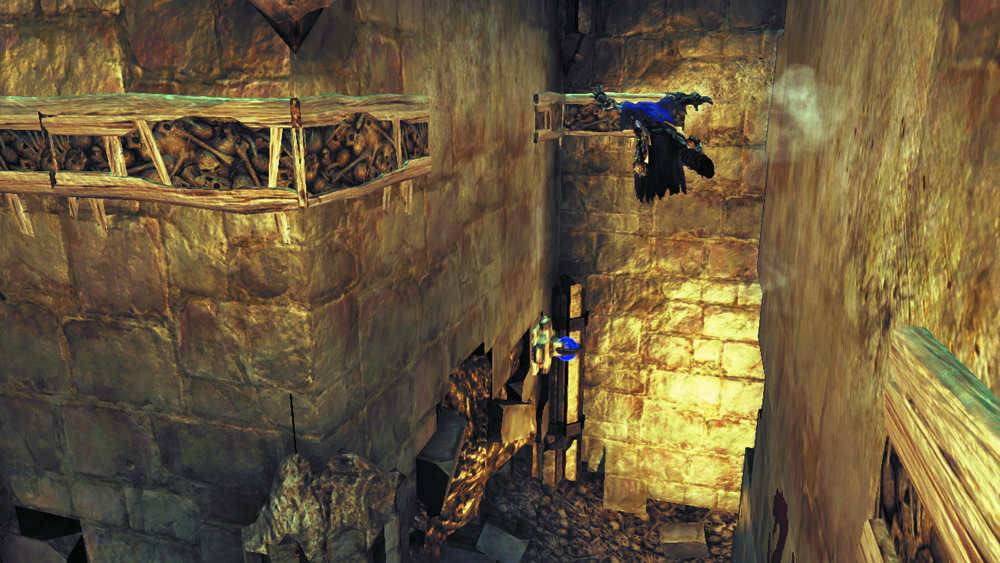
Scale the north wall when you reach the next pit and wall-run to the left. Round a corner, and then wall-run and jump to the hand hold on the opposite wall.
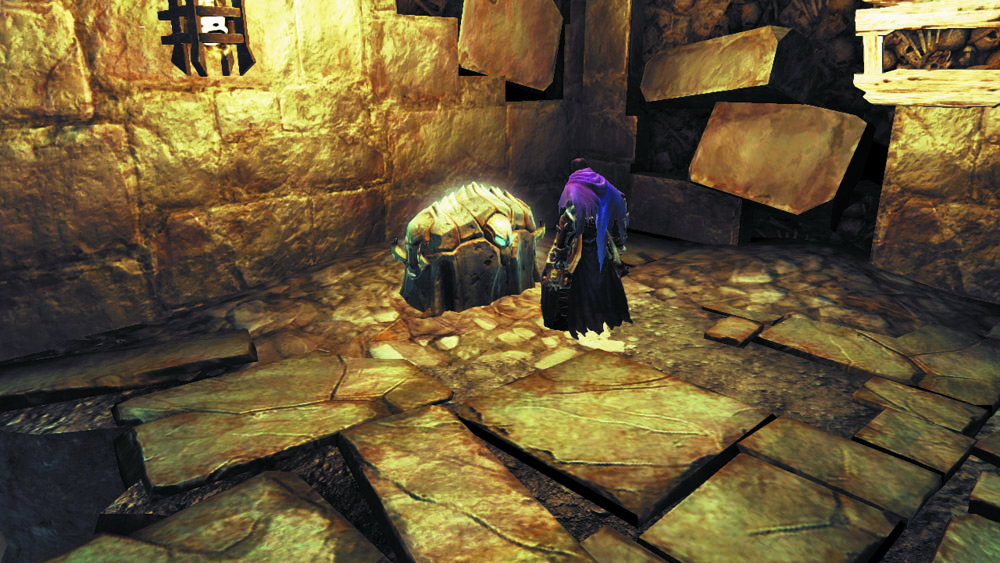
Before rounding the next corner, turn and wall-run back the way you came. Shimmy around a corner to reach a small ledge with a chest.
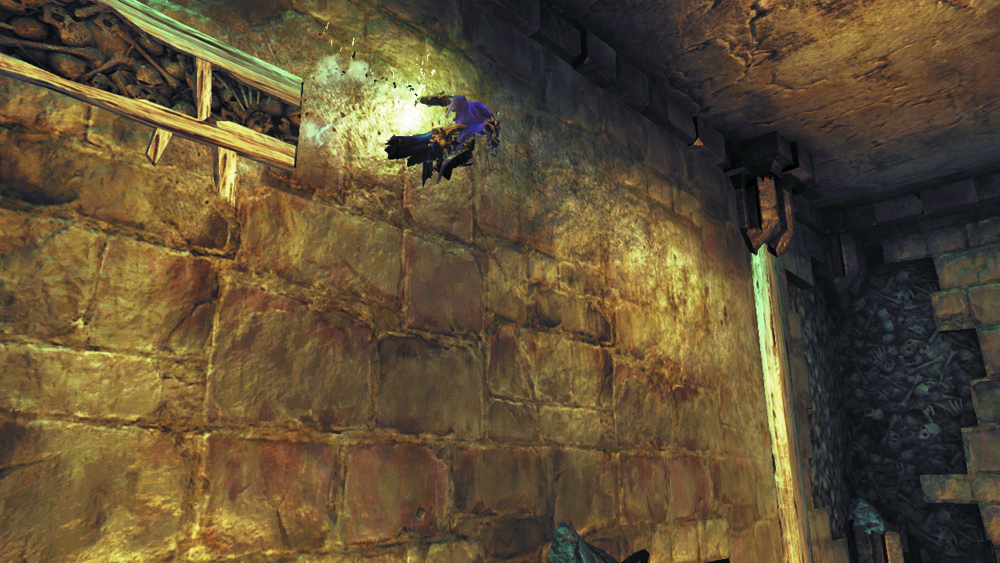
Wall-run back through the passage until you reach a post, and then slide down to solid ground. Notice the moveable platform just beyond a gate, and then drop to a lower area containing two pressure plates.
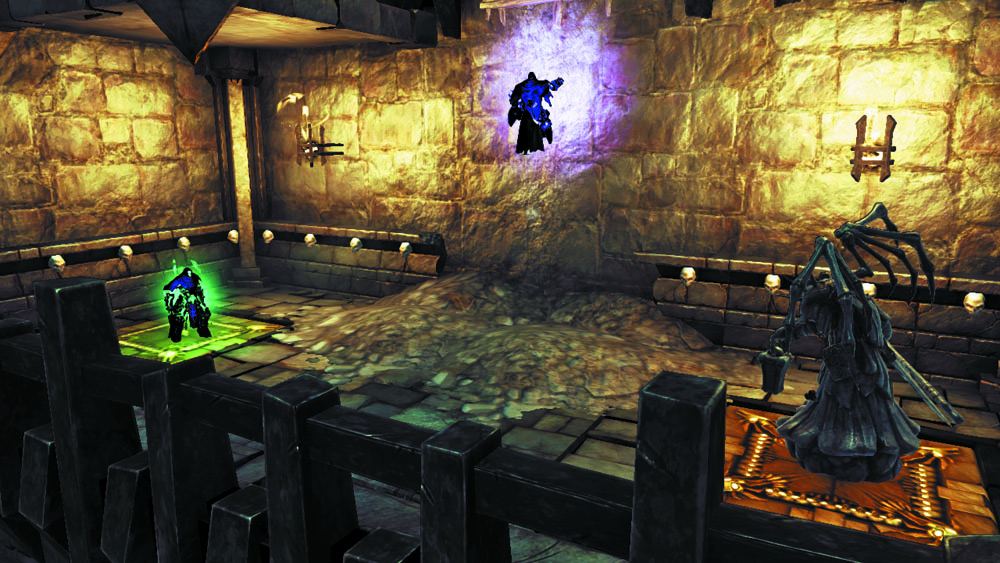
Stand on one of the plates and split Death's soul. Move one soul onto the other plate and scale the wall with the remaining soul.
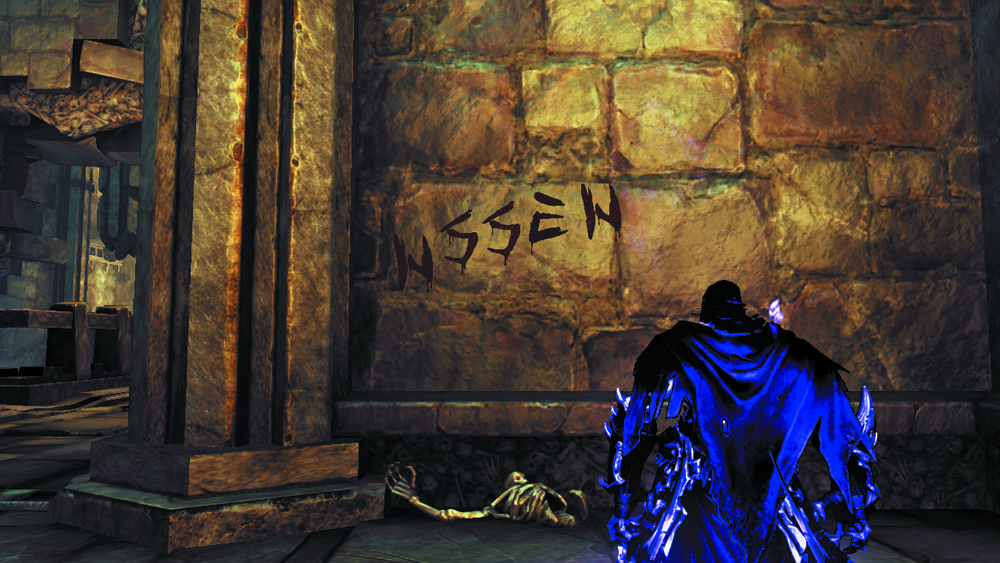
You can now reach the moveable platform. Inspect the nearby wall to obtain a Soul Arbiter's Sacred Scroll, and then slide the platform as far east as possible.
|
|
Soul Arbiter's Sacred Scroll 8 |
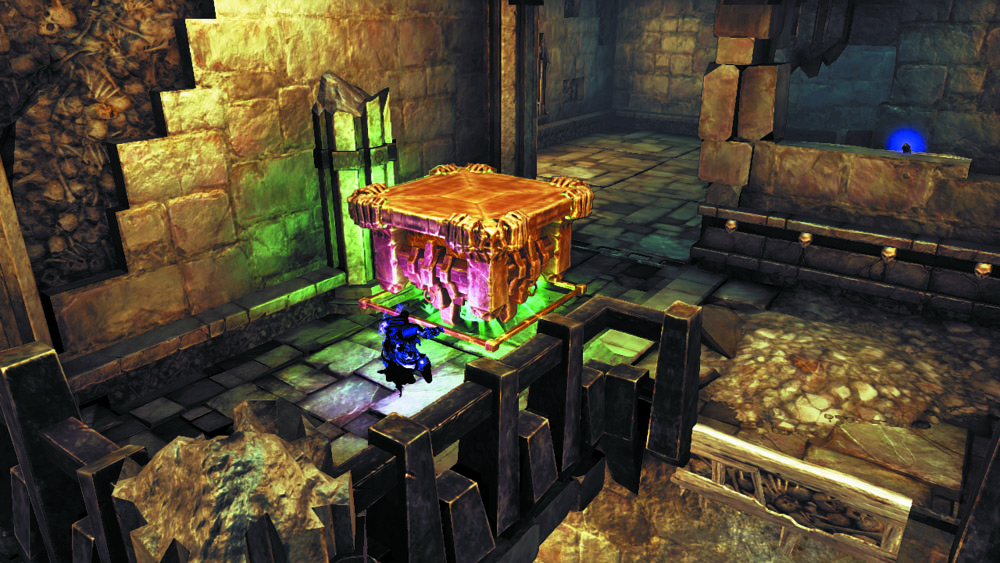
Return to physical form and climb onto the moveable platform. Split Death's soul again and send one soul back down to trigger the left pressure plate.
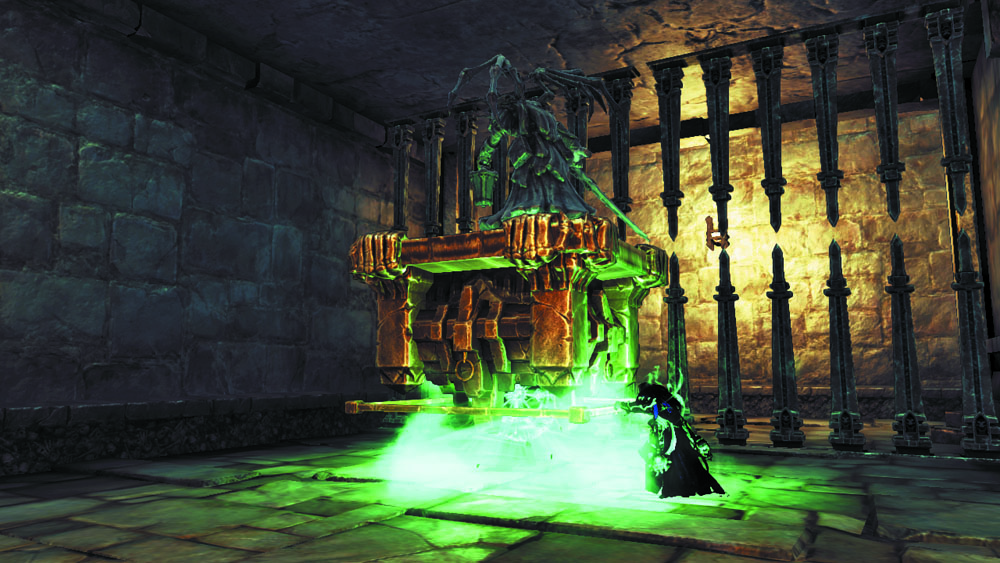
Use the remaining soul to slide the platform to the west until another gate blocks your progress. Toggle back to the lower soul and move him onto the right plate to lower this final obstacle.
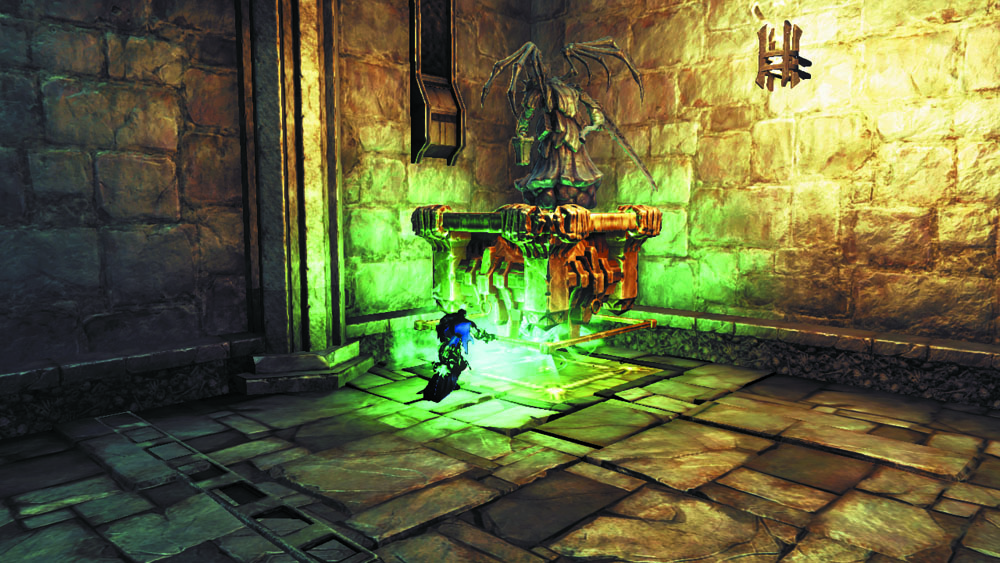
Shove the moveable platform onto the pressure plate beyond the second gate to unbar the nearby door. Revert to physical form and go through.
Upper Plaza Ledges, Revisited
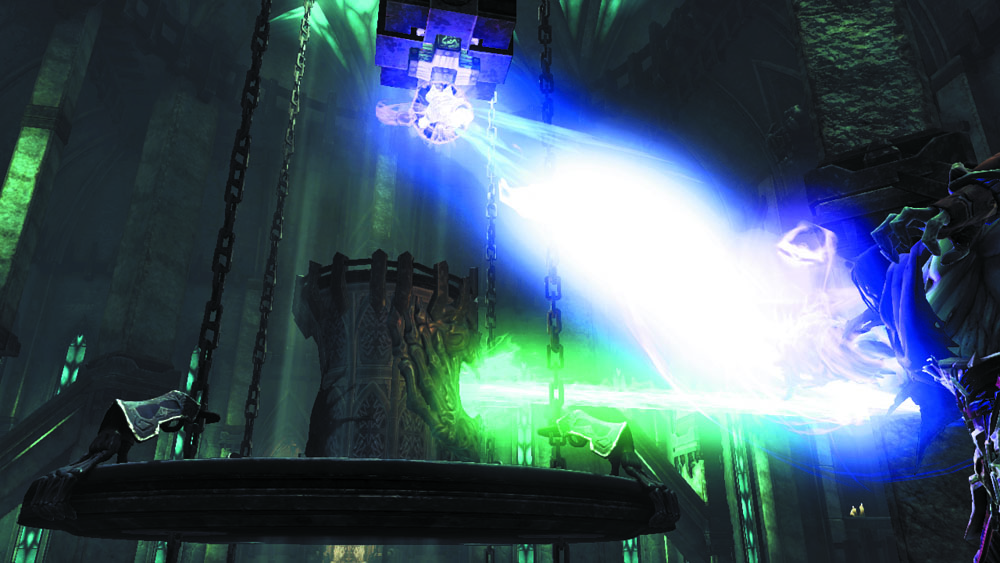
Push the south ledge’s switch to lower its gate, and then grab a Shadowbomb from the nearby pod. Hurl the bomb at the light-emitting statue’s Corruption crystals to at last destroy them. Then, swing from the overhead hoop to reach the central platform.
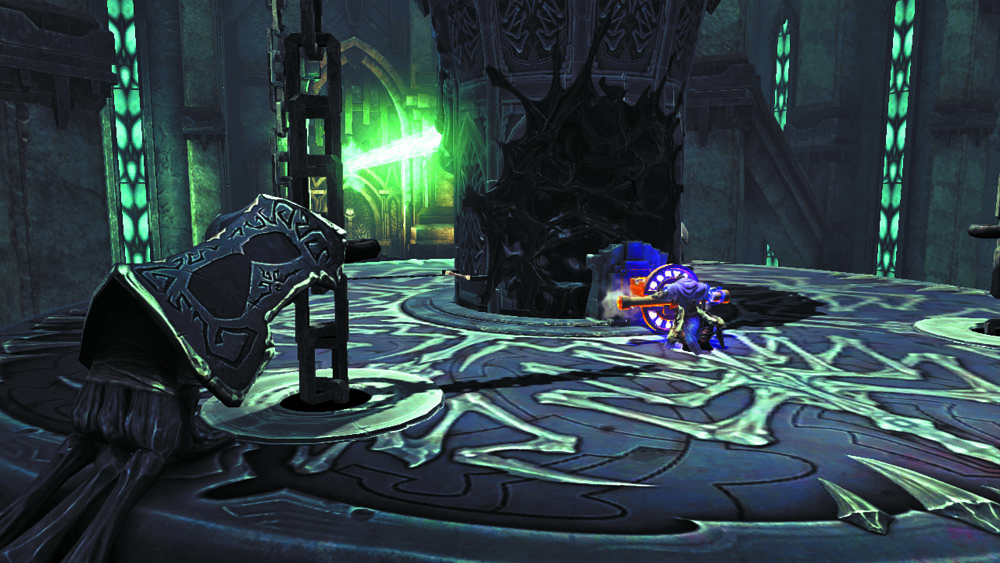
Press the statue’s switch to cause the hanging platform to lower like an elevator. The platform comes to a rest back in the Central Plaza; angle its beam to the north to unbar the north door, and then go through to advance to the final battle.