
Darksiders II Guide Walkthrough Side Quests and Areas
Boneriven
Boneriven
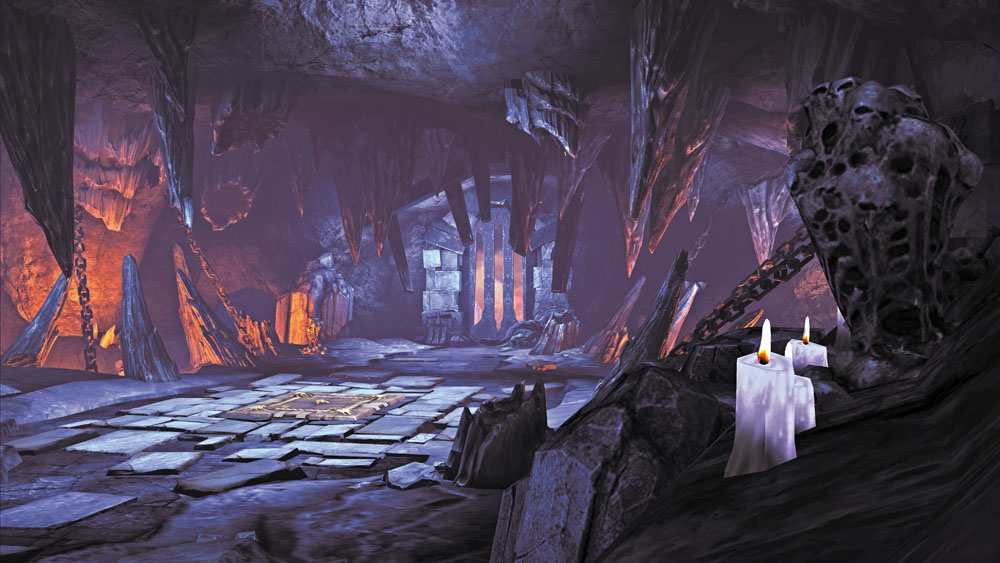
This shadowy side dungeon is filled with vicious fiends. Plenty of treasure awaits those daring enough to brave Boneriven’s forgotten halls. You can’t enter this dark place without the aid of the Soul Splitter. Its entrance lies at the top of Sentinel’s Gaze.
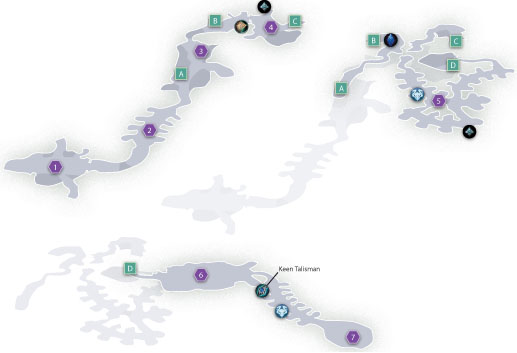
Area 1: Stalker Lair I
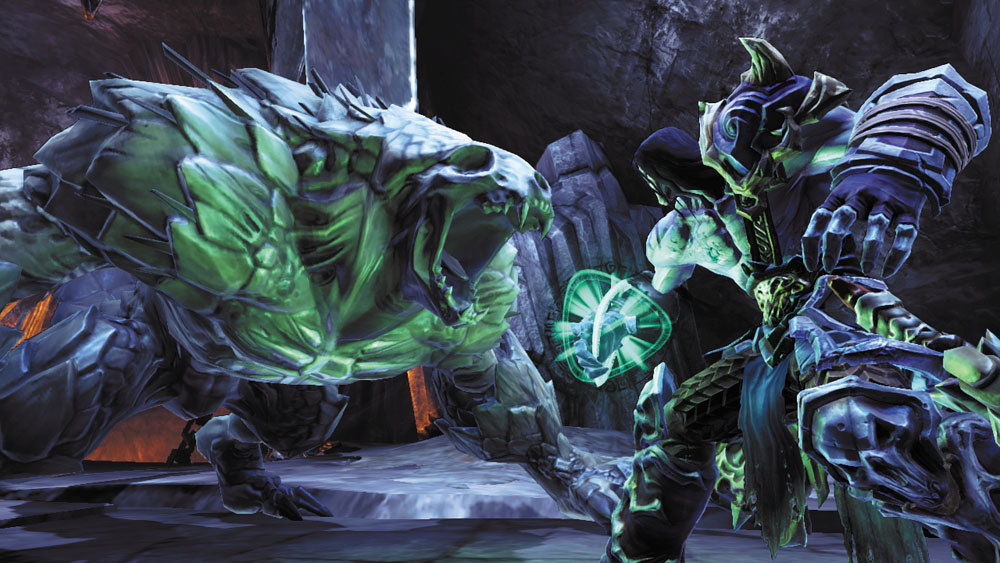
Death’s foray into Boneriven starts off with a bang: a menacing Undead Stalker and several Undead Prowlers must be dealt with in the very first room. Stay mobile and unleash Death’s best skills as you combat these dangerous foes. Beware the Stalker’s ability to unleash long, vicious attack combos when it nears death.
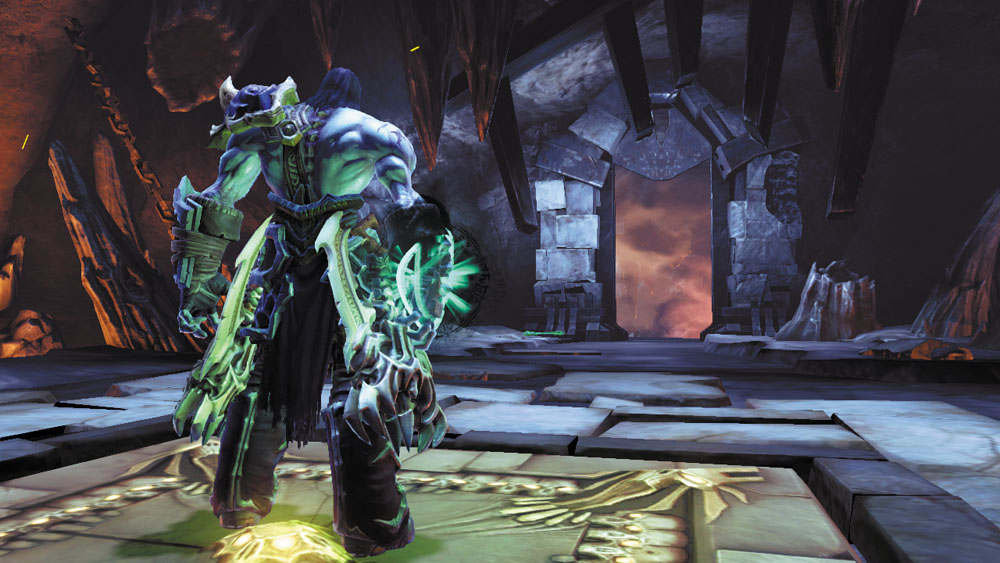
Stand on the central pressure plate after the battle and wait for the east gate to slowly rise. Sprint toward the gate after it locks into place, evading as you run to roll forward and pick up speed. Make haste, for you have only seconds to pass through the gate before it slams shut again.
Area 2: Coffin Corridor
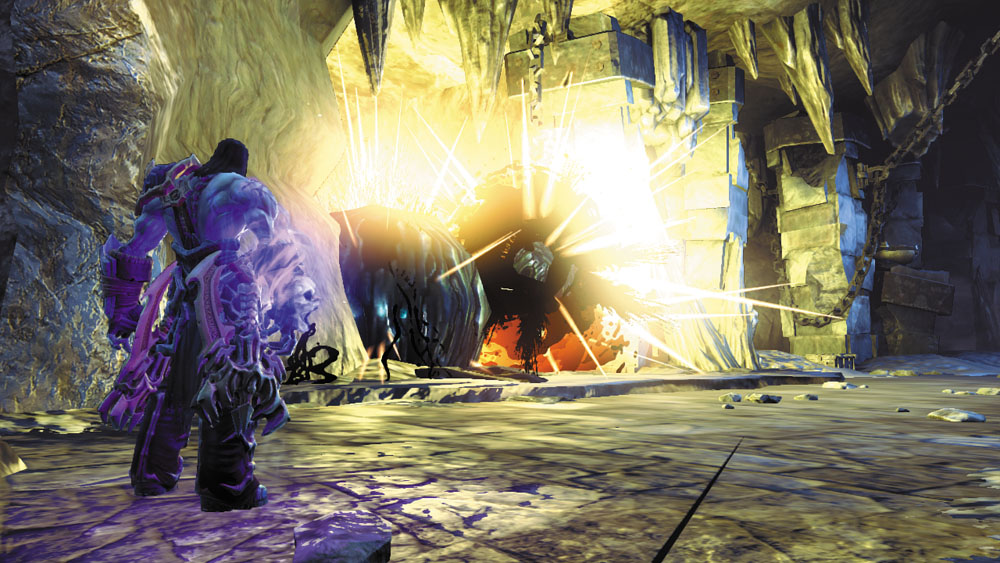
This passage is filled with Corruption crystals, Shadowbomb pods, and coffins. Slay the Skeletons and Skeletal Warriors, and then use a bomb to destroy the crystals in two places, exposing a chest and a pressure plate. Stand before the north gate and split Death’s soul. Then, have one soul stand atop each of the two nearby pressure plates. Wait for the gate to fully rise, and then revert to physical form and dart through before it slams shut again.
Area 3: Two Routes
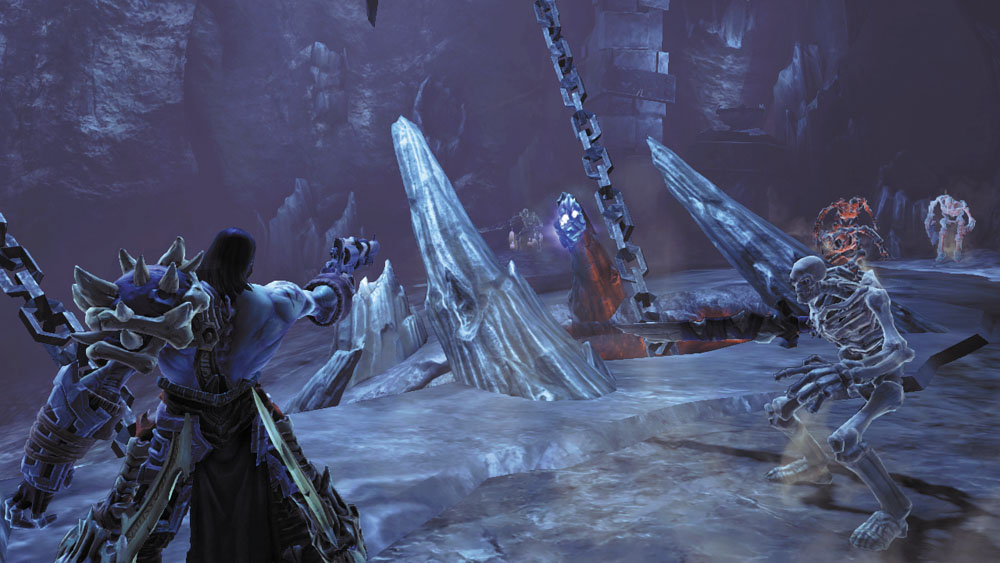
The path forks beyond the second gate, offering a choice of routes. Slay a few Skeletons and raid the chest in the east nook, and then backtrack and take the high trail. Cut down more Skeletons as you follow the curve of the trail, and blast the Stonebite atop one of the stone pillars on the inside of the curve.

|
Stone of Mystics 24 |
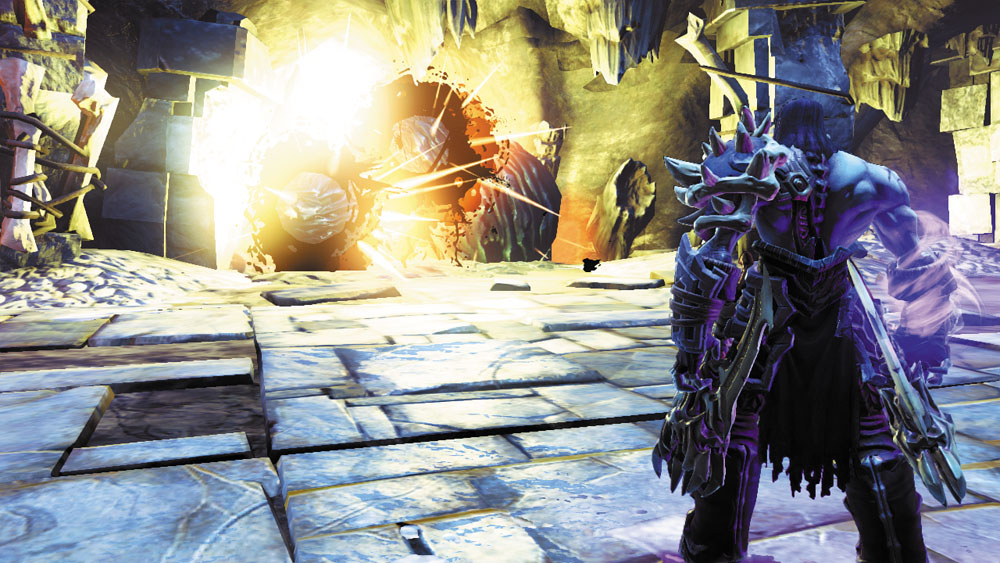
Secure the area by defeating the Skeletal Warriors and Undead Prowlers that storm up to attack. Collect a Shadowbomb from the pod in the east nook afterward, and then follow the trail around the curve, carrying the bomb down to the first floor. Destroy the east Corruption crystals to open a nook that houses an ornate chest and a pressure plate. Open the chest to acquire the Dungeon Map.
|
Dungeon Map |
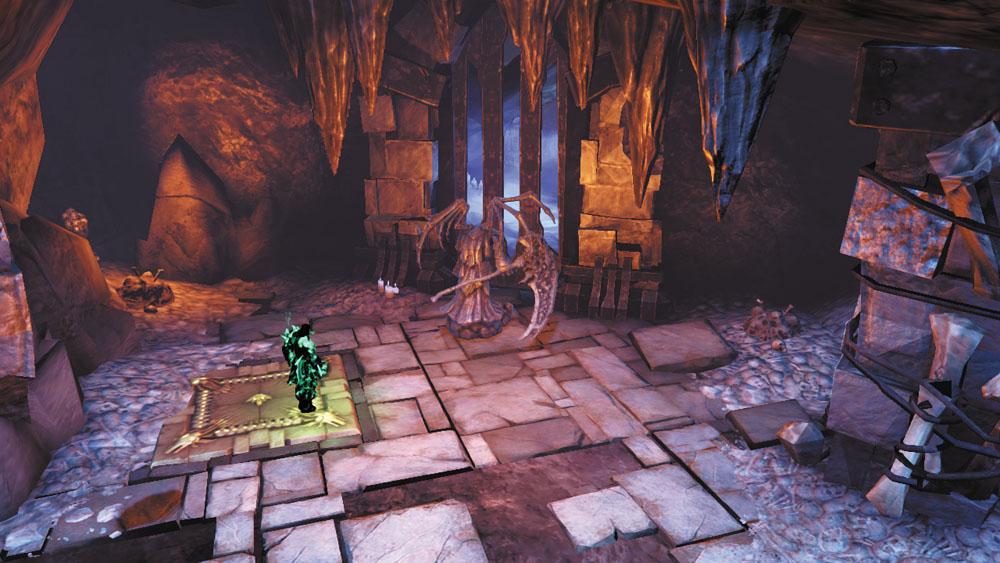
Split Death’s soul before the east gate and use the souls to trigger the two nearby pressure plates. Return to physical form and dart past the gate after it’s fully raised.
Area 4: Stalker Lair II
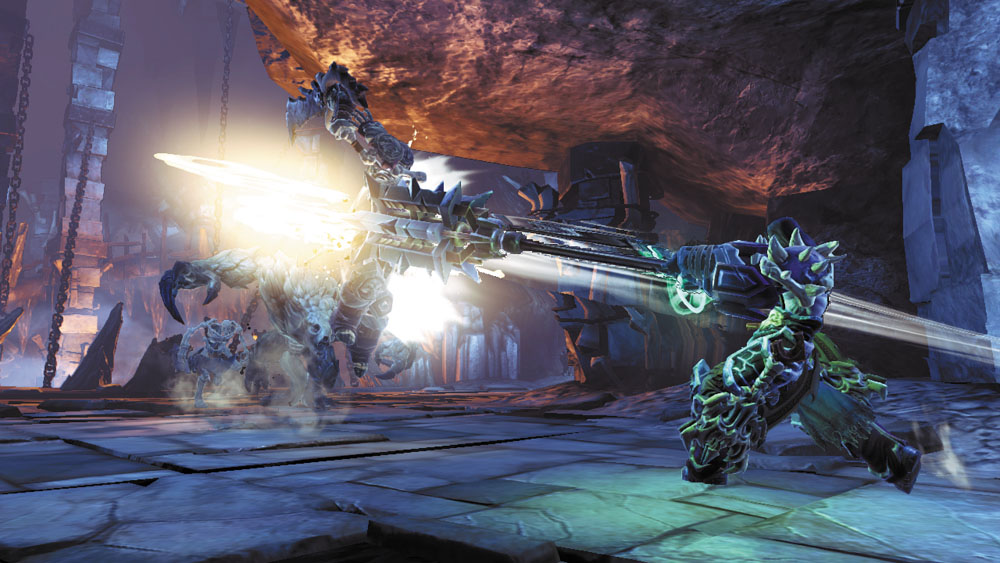
Claim the Boatman Coin in the north nook that lies just beyond the third gate. Backtrack out, and then battle another Undead Stalker, using evasive maneuvers and powerful skills to bring down the beast. Follow the path as it winds up to the second floor, plundering a chest along the way.

|
Boatman Coin 66 |
Area 5: Burial Passages I
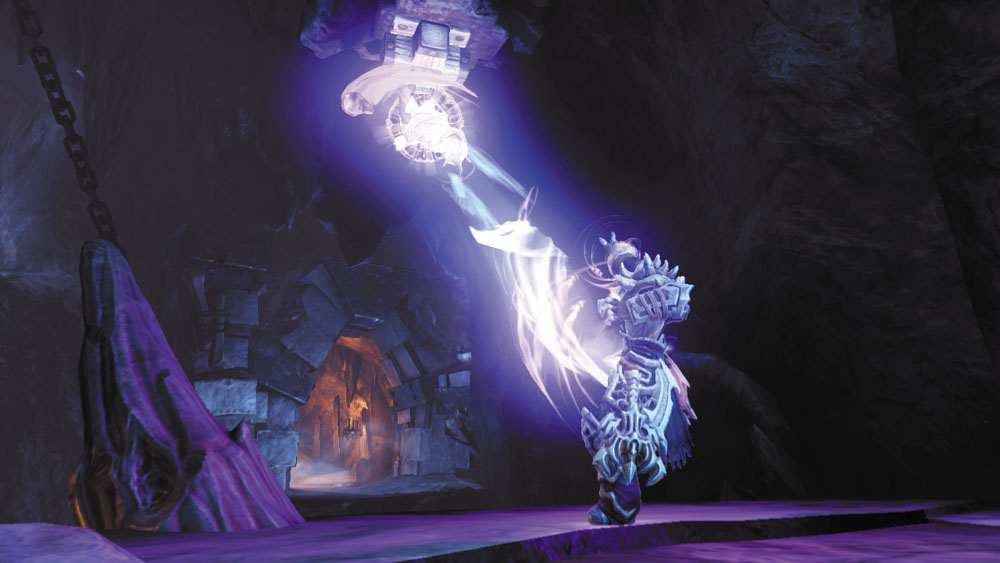
Deathgrip a hoop to clear a gap and reach these bone-filled passages. Slice up the Scarabs that lurk up here, and claim a Soul Arbiter’s Sacred Scroll from the third nook on your right as you advance.

|
Soul Arbiter's Sacred Scroll 6 |
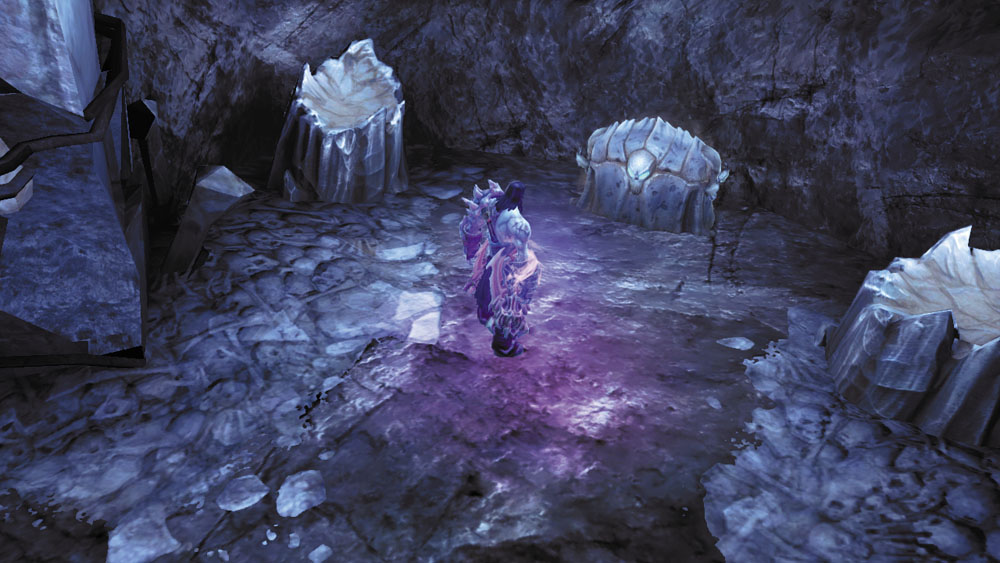
Ignore the pressure plate at the end of the first passage and enter the next passage to the south. Loop around to find a Scarab Mound and a second pressure plate at the passage’s end. Wipe out the mound to stem the tide of Scarabs, and then loot the two nearby chests. Backtrack a bit and claim a Boatman Coin from the south nook.
|
|
Boatman Coin 67 |
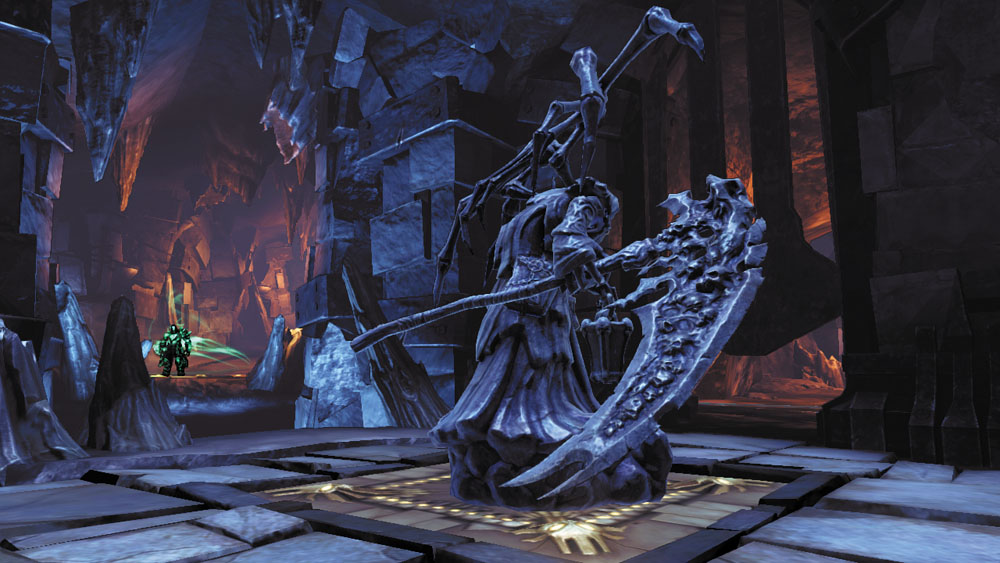
Split Death’s soul while standing atop the pressure plate near the north gate. Send one soul back through the burial passages to trigger the pressure plate you noticed a moment ago. With both plates depressed, the north gate begins to open. Revert to physical form and hurry through. Slaughter more Scarabs on your way up to Boneriven’s third floor.
Area 6: Scarab Hulk Lair
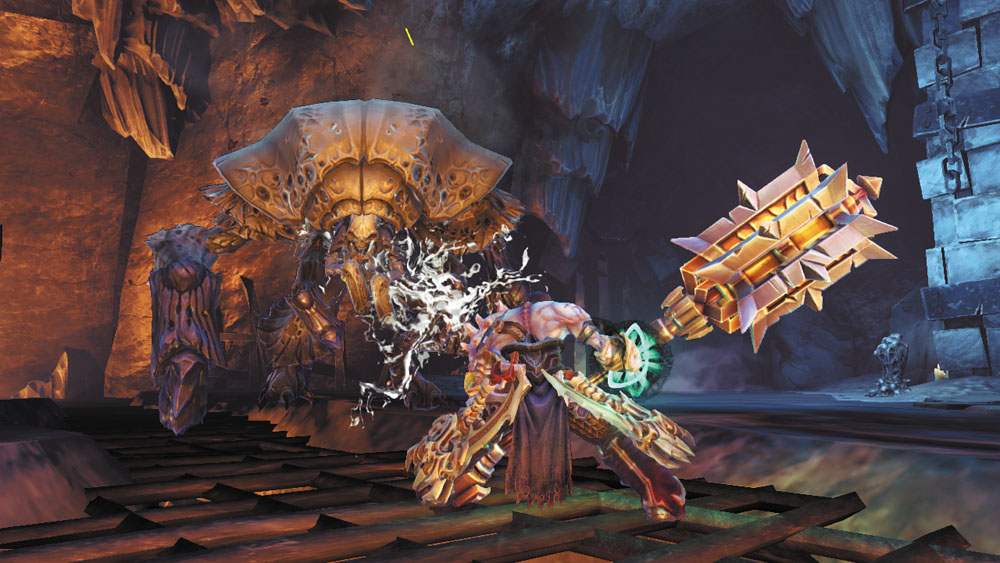
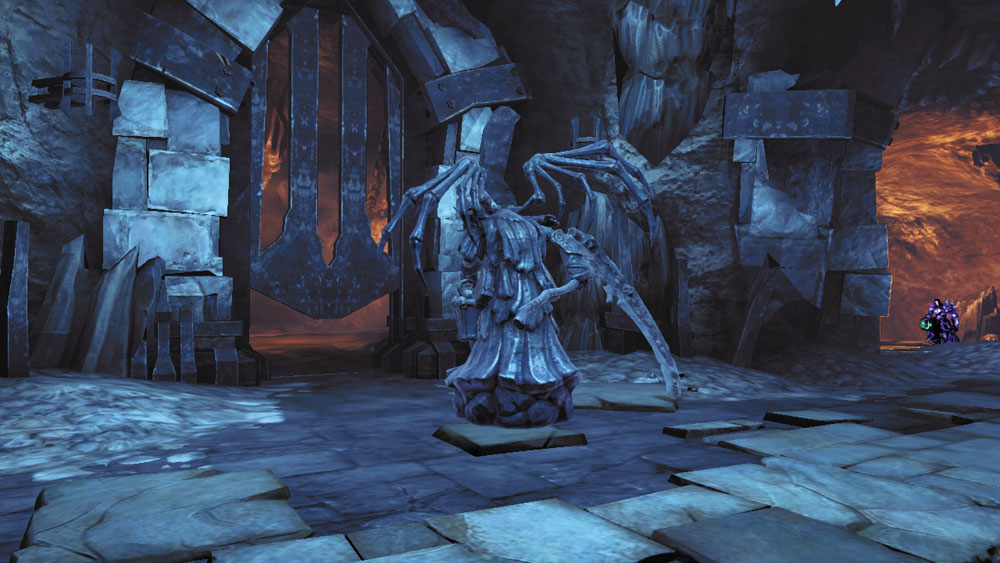
This spacious chamber is home to multiple Scarab Mounds. Three formidable Undead Scarab Hulks also combat you here. Stay mobile and focus on slaying the Hulks first, and then wipe out the Scarab Mounds. Crack open the southeast chest after the battle, and then stand before the east gate and split Death’s soul. Move each soul onto the two nearby pressure plates before racing past the gate as you’ve done before.
Area 7: Burial Passages II
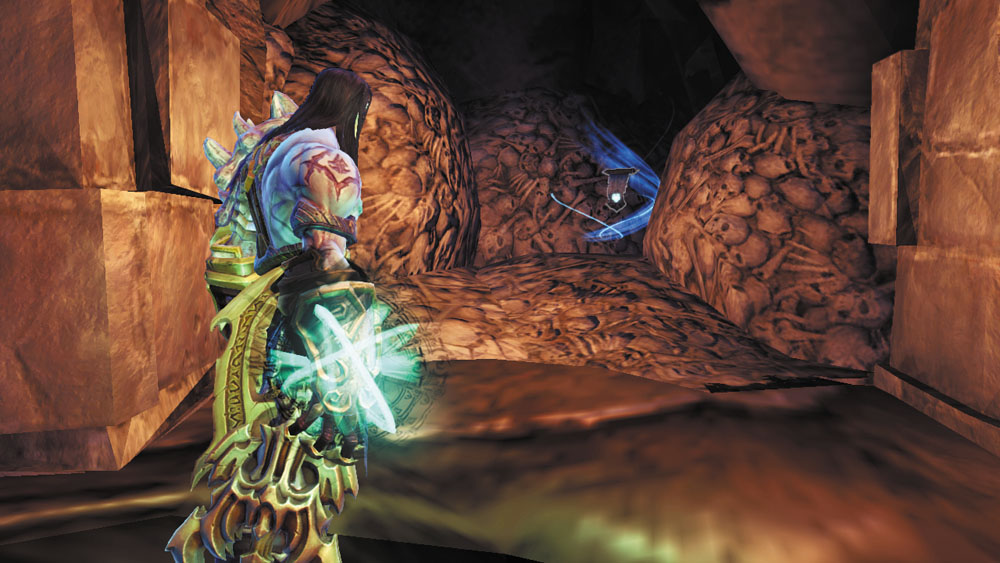
This final stretch of burial passages is devoid of hostiles and houses a number of prizes. The time has come to claim your just rewards. Find a unique talisman in the first nook on the right, and a Soul Arbiter’s Sacred Scroll farther ahead, inside another nook on the right. Three other nooks house chests that beg to be looted.

|
Keen Talisman |
|
|
Sould Arbiter's Sacred Scroll 7 |
Area 8: Treasure Chamber
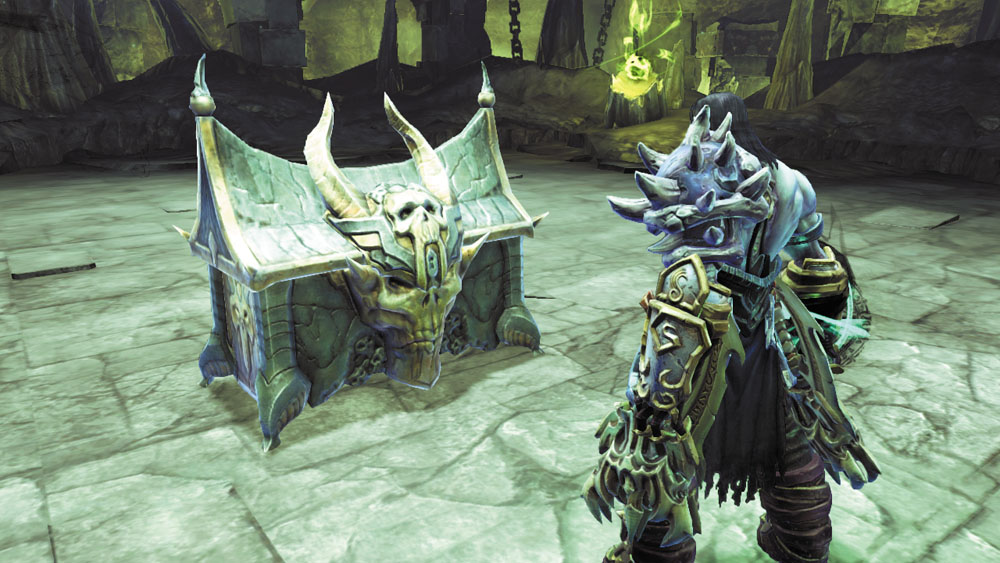
A large chest rises from the floor when Death strolls into this final cavern. Rip open the chest to claim even more precious loot, and then fast-travel out of this forsaken place.