
Darksiders II Guide Essentials Exploration and Combat
Exploring
Exploring
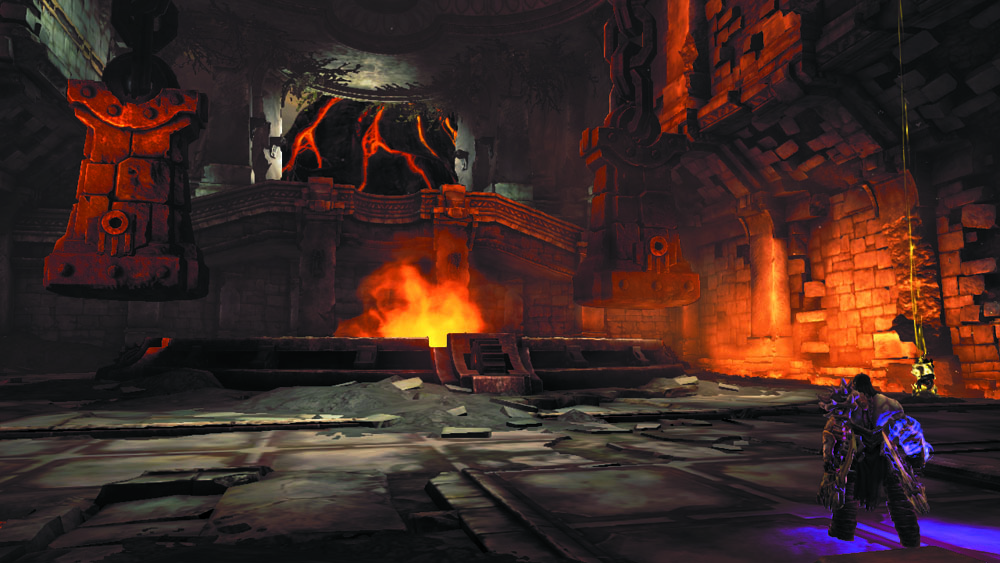
In Darksiders II, Death spends much of his time exploring ancient temples and ruins. Let’s examine the many ways in which the Pale Rider can traverse his unusual surroundings.
Wall-Run
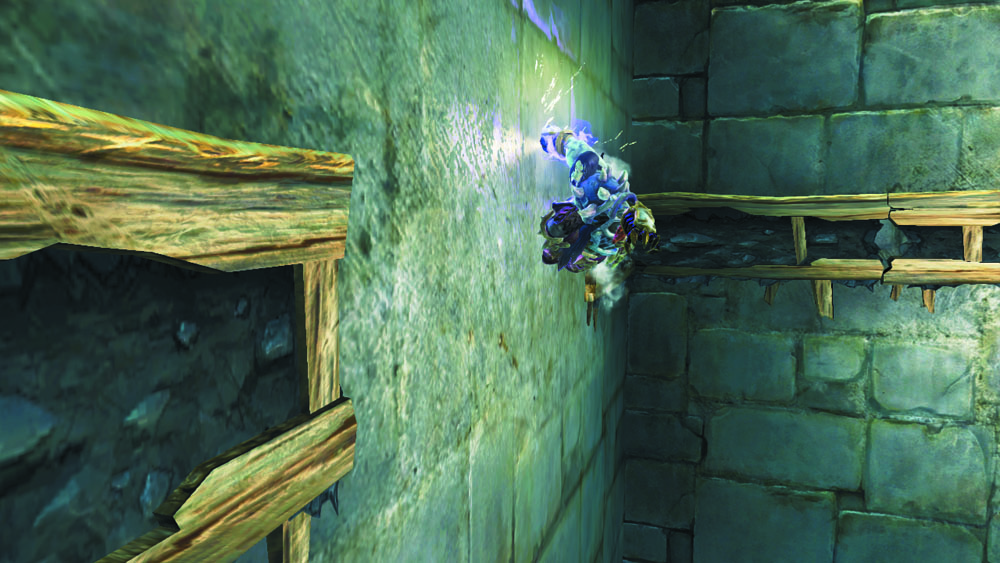
By running and jumping onto smooth walls, Death can scamper upward or sideways across short distances. This maneuver is known as a wall-run.
Vaulting
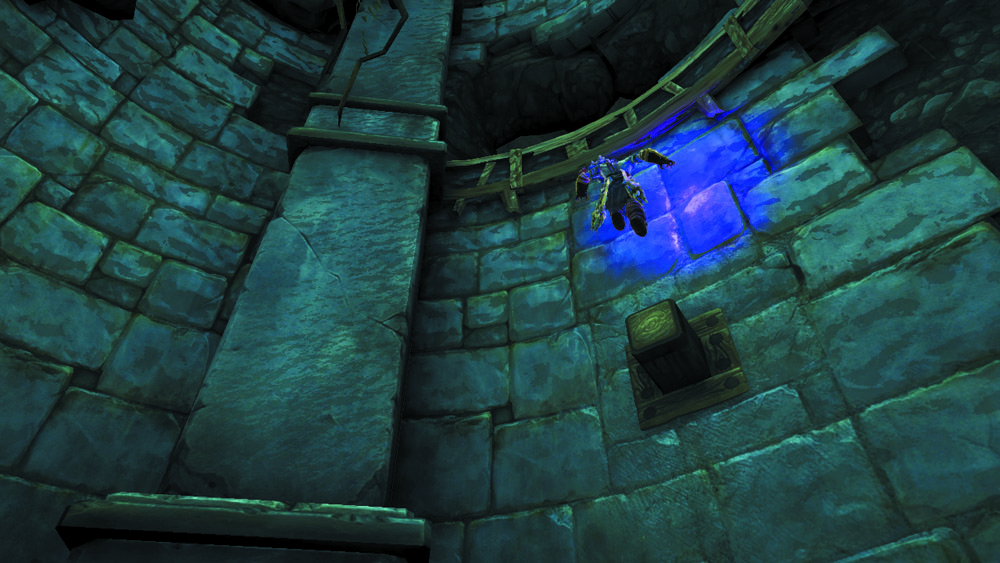
Death will automatically vault off of small wooden pegs during wall-runs, using them to preserve his momentum and extend his run along the wall.
Rounding Corners
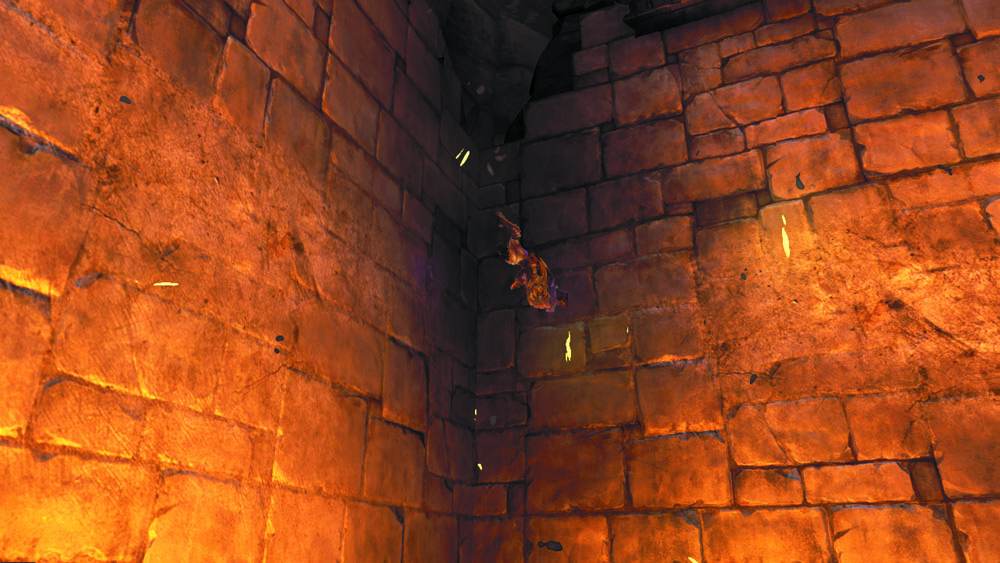
During horizontal wall-runs, Death can round corners by jumping when he nears them. The Rider then continues to run along the adjacent wall.
Wall Bounce
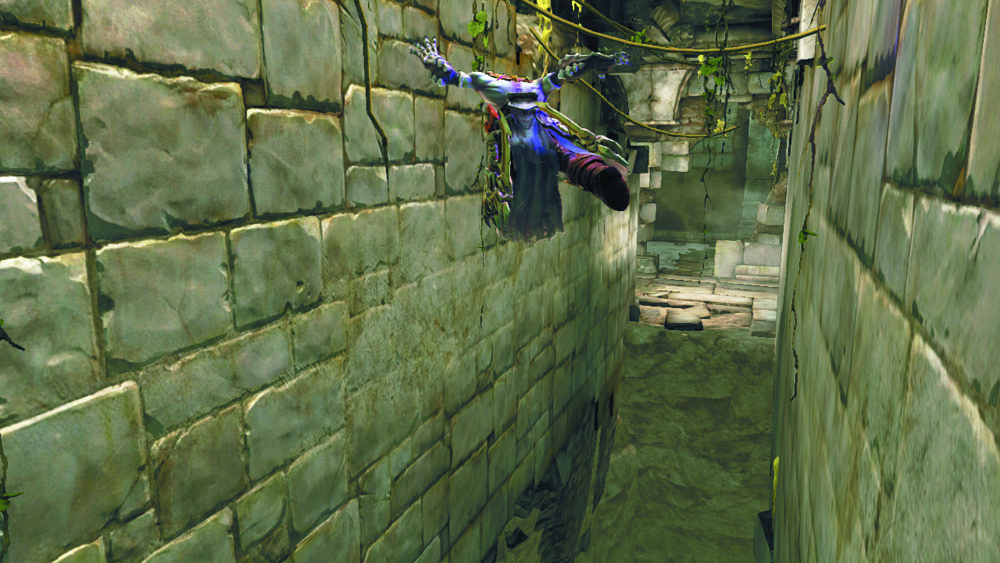
When positioned between two narrow walls, Death can jump between them to extend a vertical or horizontal wall-run. This allows the Reaper to reach greater heights, or to traverse long, narrow passages that have no floor.
Finding Purchase
Death will eventually fall if he doesn’t grab onto something during a wall-run. Let’s take a look at objects that the Horseman can cling to.
Hand Holds
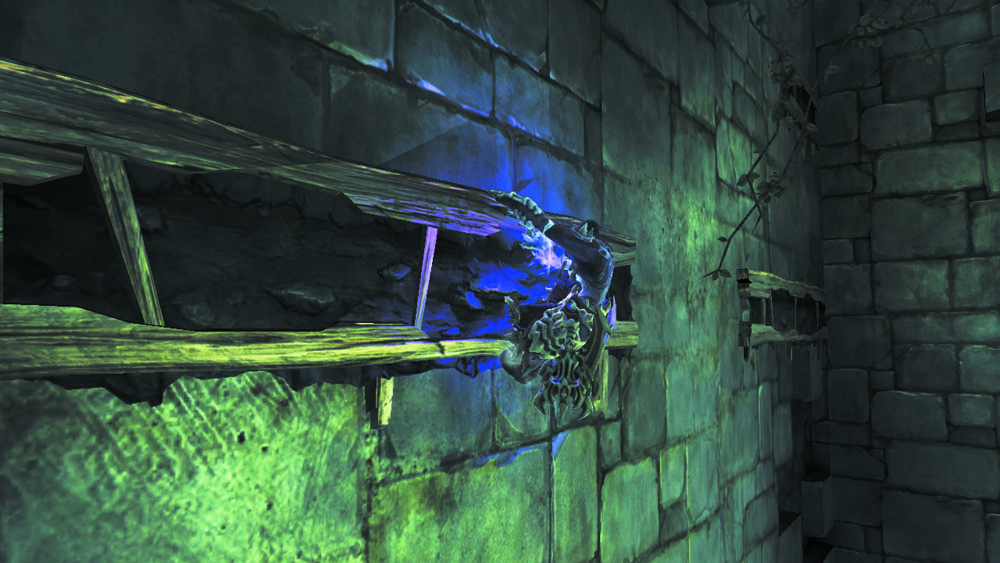
The most common objects that Death can grab are hand holds. These distinct grips allow the Rider to find purchase and keep from falling.
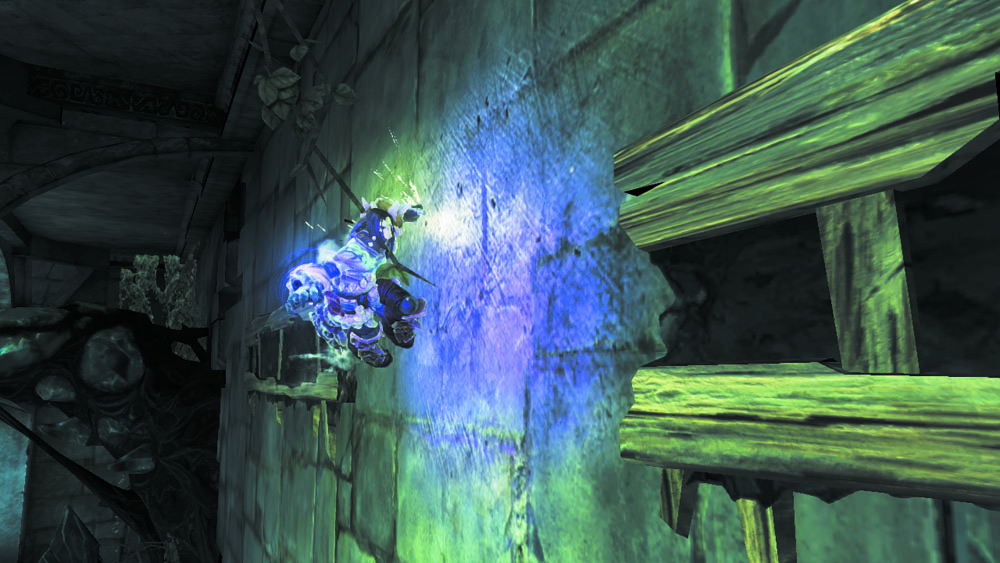
Death can shimmy between hand holds, jump from them, and even perform wall-runs from them. Consider the environment carefully whenever hand holds are present, as the Rider’s surroundings will often provide clues about where you might need to go.
Growth
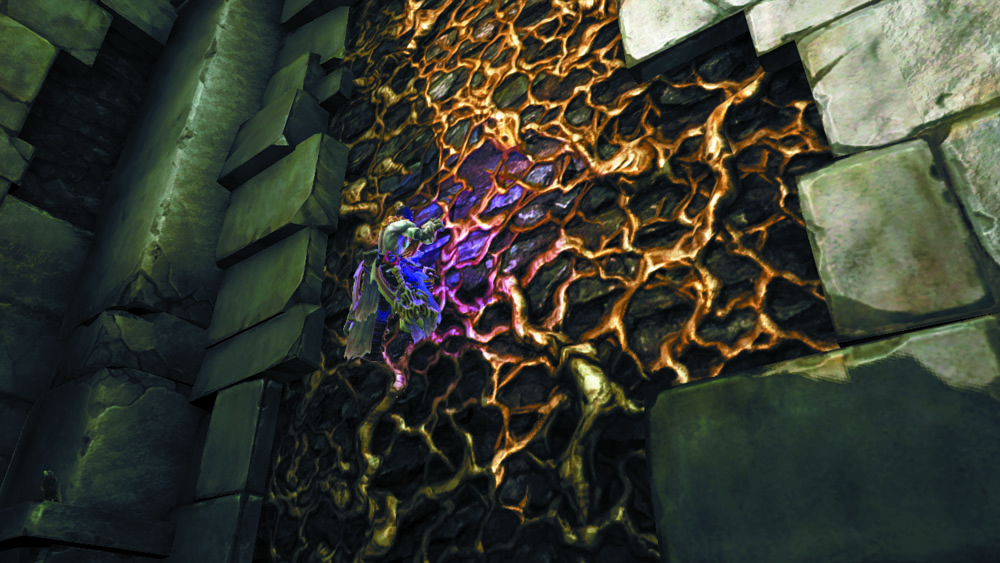
The Pale Rider can scale the distinct growth that sprawls across walls. Death has complete freedom of movement while traversing growth, and can even climb onto the ceiling if the growth spreads to it. Like hand holds, Death can also jump and perform wall-runs from this scalable substance.
Posts
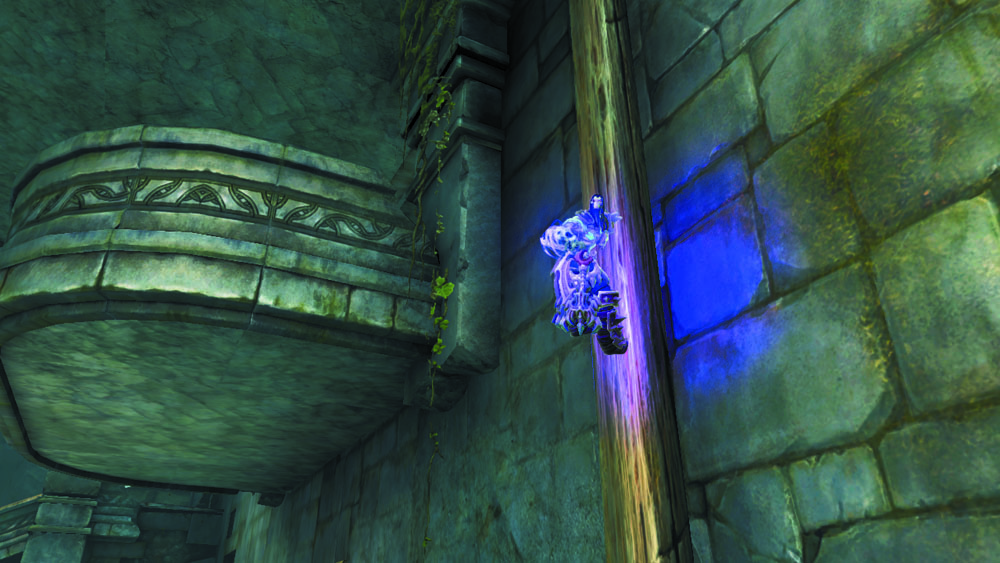
Wooden posts offer Death purchase as well. The Rider can circle around these narrow objects, climb up or slide down them, and jump upward or away from them, potentially initiating a wall-run. Some posts are affixed to walls, while others are free-standing.
180 Leap
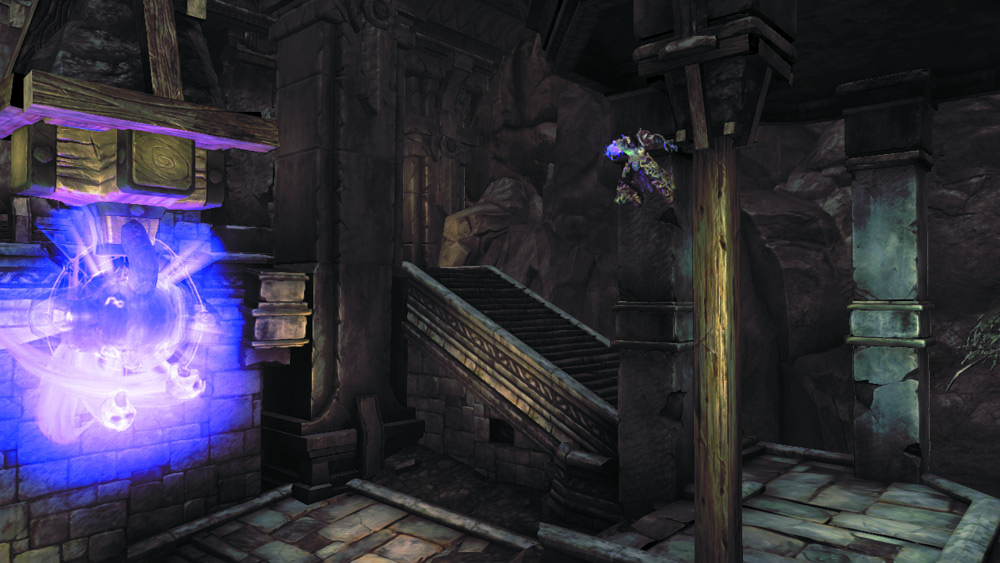
Death can perform a special backward leap while clinging onto any object. Simply press and hold the Focus trigger to make the Rider turn and lean, and then press the Jump button to make Death leap directly away from the surface or object he’s grabbing onto. This useful maneuver is called a 180 leap, and is handy when you need to make precise backward jumps.
Crossing Beams
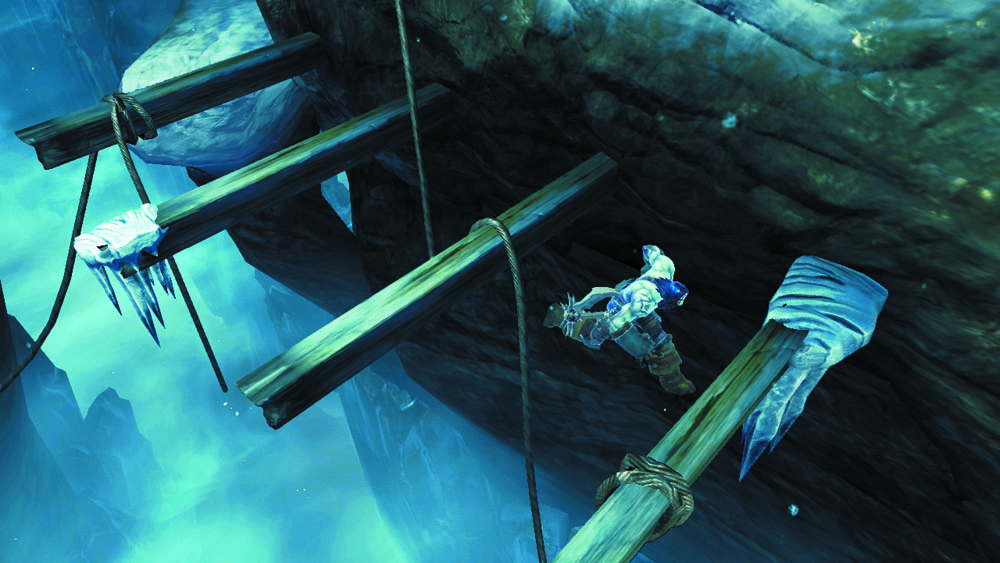
The Reaper can stand atop horizontal beams, as well as jump and initiate wall-runs from them. Tap the jump button while moving forward to skip across rows of beams.
Swimming
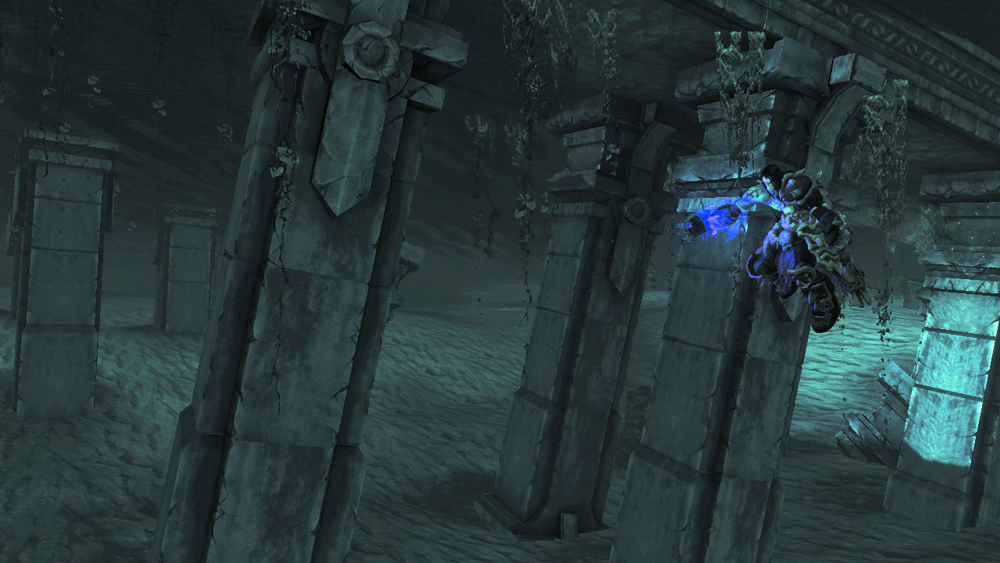
Death can dive underwater to explore the murky depths of any aquatic surroundings. Use the Secondary Attack button to dive, the Jump button to rise, and the Evade trigger to make Death zip forward with a burst of speed. The Rider can also initiate wall-runs while treading along the water’s surface—this lets him scale walls to reach higher ledges and hand holds.
Object Interaction
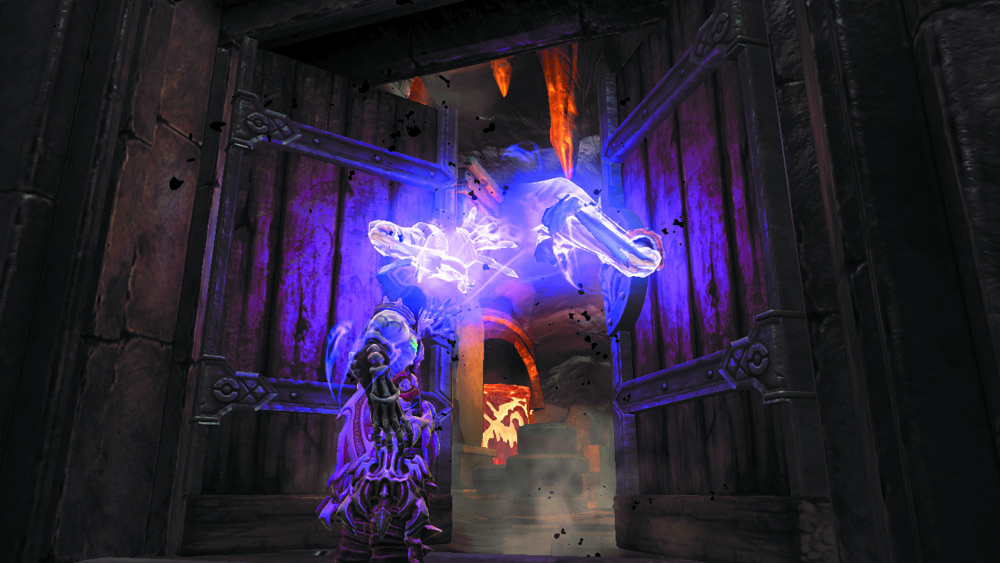
The Pale Rider can interact with a wide variety of objects. The vast majority of these interactions are performed by simply approaching the object and pressing the Action button. Such interactions include pushing switches, pulling levers, opening chests and doors, and speaking with entities that the Rider encounters.
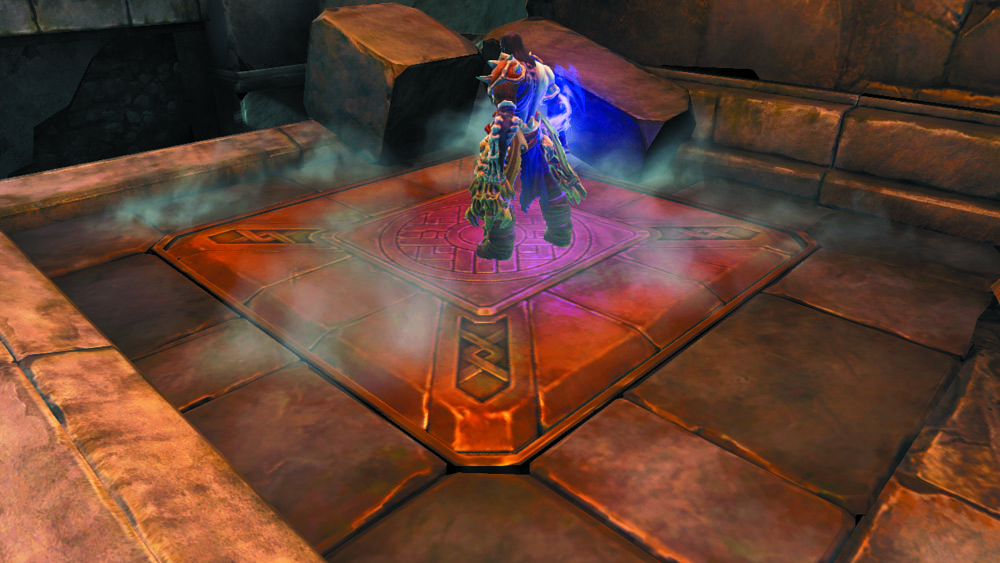
Other objects can be activated simply by moving Death into contact with them. For example, the Rider can activate pressure plates by standing atop them. Pressure levers that stick out from walls can be triggered by maneuvering Death on top of them as well. Whenever you see an unusual object that Death can’t activate through the use of the Action button, try standing atop it, or look for some other type of trigger in the environment. When all else fails, consult the walkthrough.
Using the Map
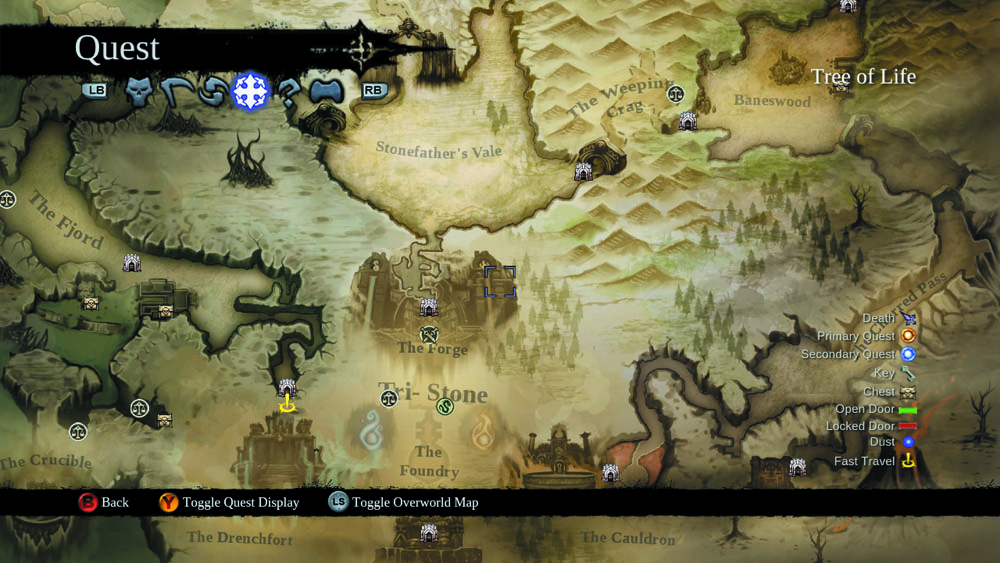
The map is an invaluable resource that keeps you on course as you explore Darksiders II’s vast locales. Regularly press the Chronicle button to call up your map—it’ll help you keep your bearings. The onscreen mini-map helps as well. Whenever you’re stuck or lost, consult the Chronicle map to determine which areas you’ve yet to explore.
The Dungeon Map
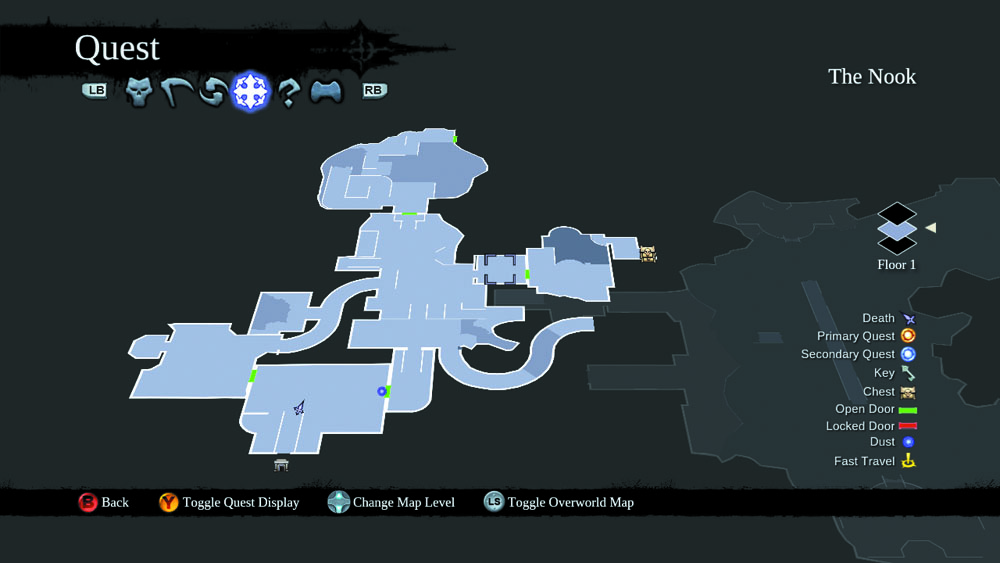
Every major dungeon in Darksiders II contains a special item known as the Dungeon Map. Once you find the ornate chest within each dungeon that contains this item, your Chronicle will be updated with a complete map of the current dungeon. Refer to the walkthrough to discover where each Dungeon Map lies.
Fast Travel
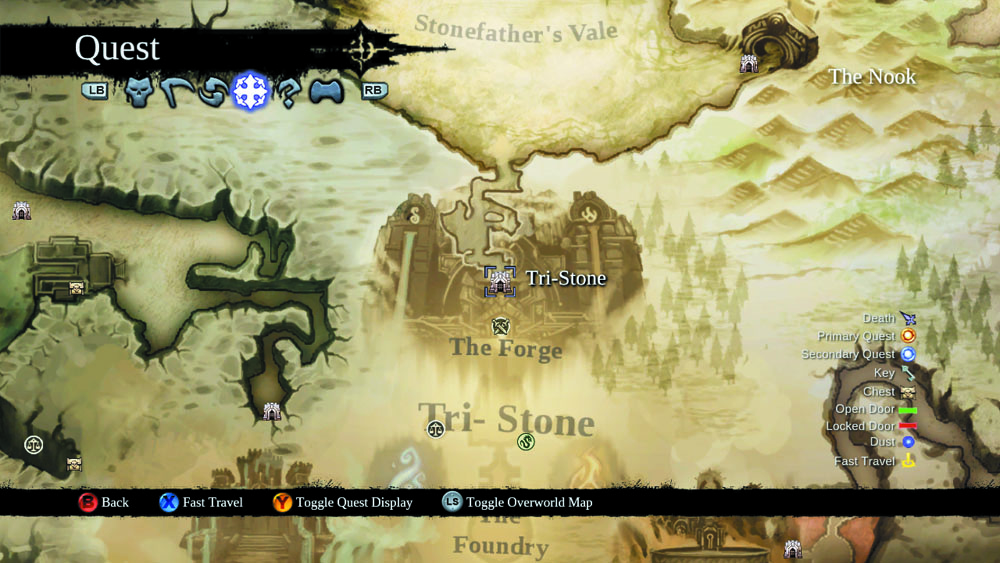
Darksiders II features a convenient fast travel mechanic that allows Death to travel instantly to any area he’s previously discovered. Simply call up the World Map through the Chronicle, highlight the desired destination, and press the Attack button to fast travel there. If you’re currently exploring a dungeon, a waypoint marker will be left at your current position—this allows you to fast travel back to the exact point where you left the dungeon.
Summoning Despair
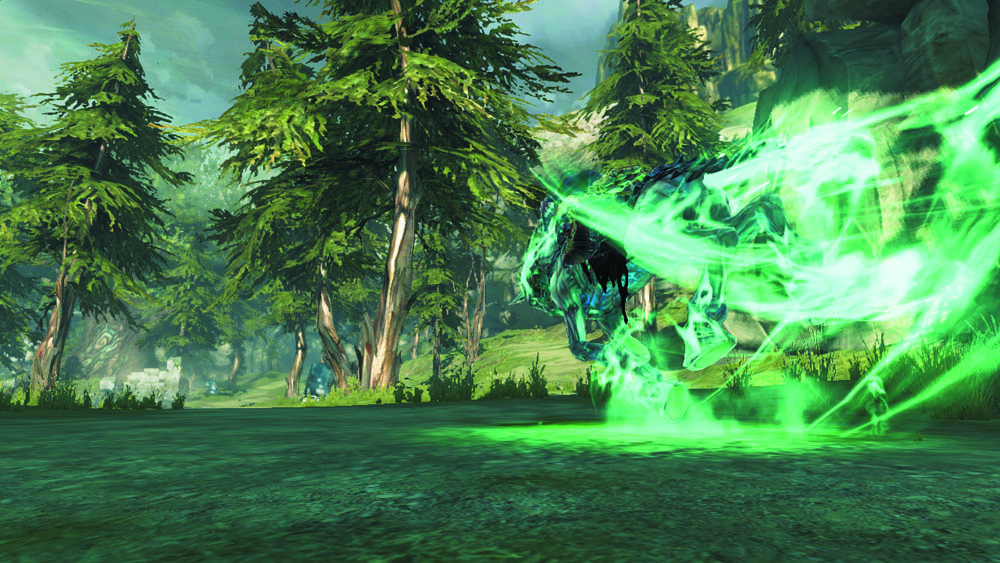
While roaming through spacious areas, you’ll often be able to summon and ride Death’s fearsome steed, Despair. Whenever Despair’s icon appears onscreen, summon Despair by pressing the Skill and Evade triggers simultaneously. Banish Despair in the same fashion to return to normal exploration.
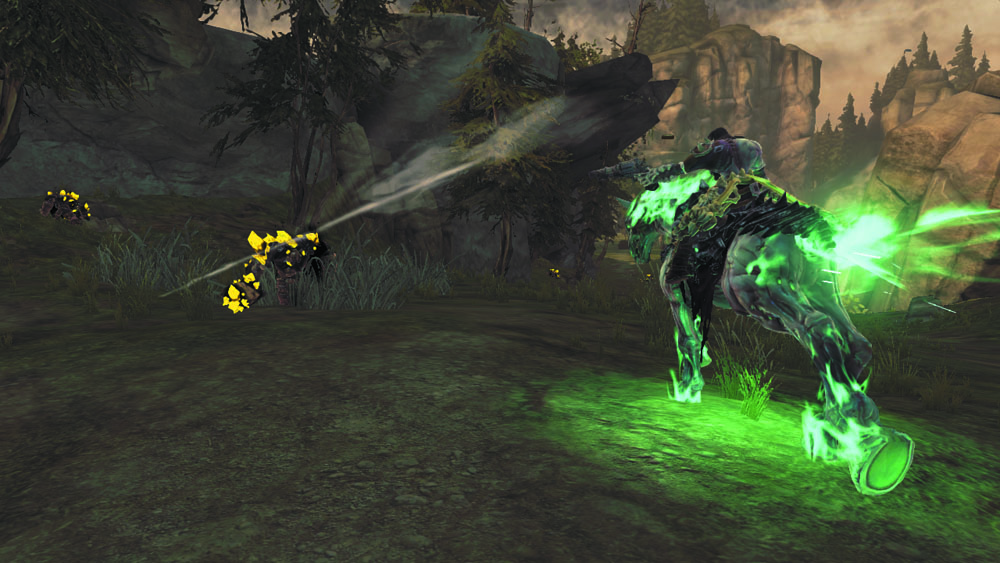
While riding Despair, press the Attack button to lash out with Death’s scythe. The Special Item trigger allows you to use your currently equipped item, such as Redemption, from horseback.
Press the Evade trigger to make Despair charge forward with a boost of speed. Each charge drains one pip of Despair’s stamina, which slowly regenerates over time.