
Darksiders II Guide Walkthrough Court of Bones I: Phariseer
Boss Battle: Phariseer
Boss Battle: Phariseer
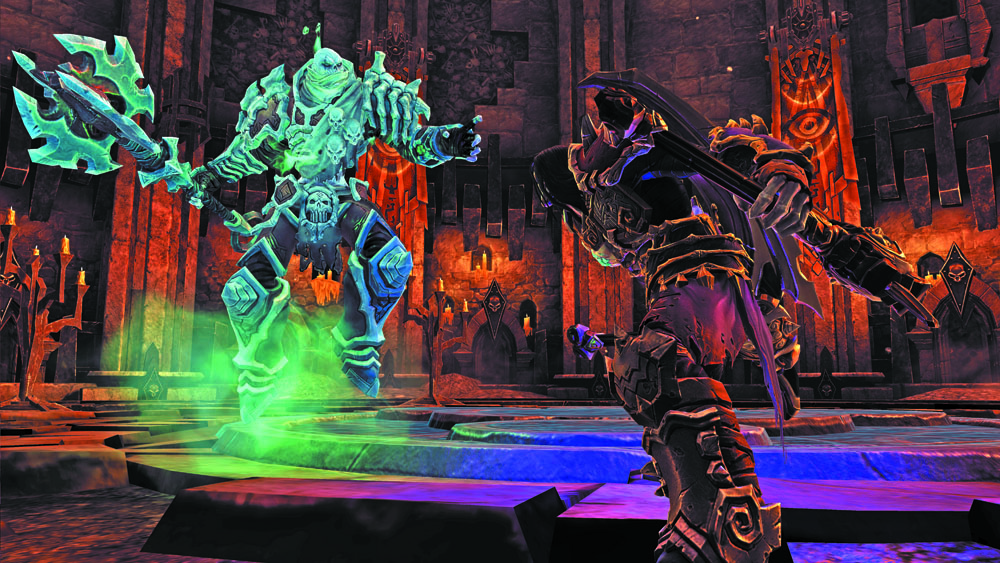
Phariseer is not pleased to have his slumber disturbed by a meddling Horseman, and battle quickly commences. Immediately call upon your best abilities and have at the Dead Lord. Unstoppable and Aegis Guard are excellent here, helping you inflict more damage and mitigate Phariseer’s swift and far-reaching attacks.
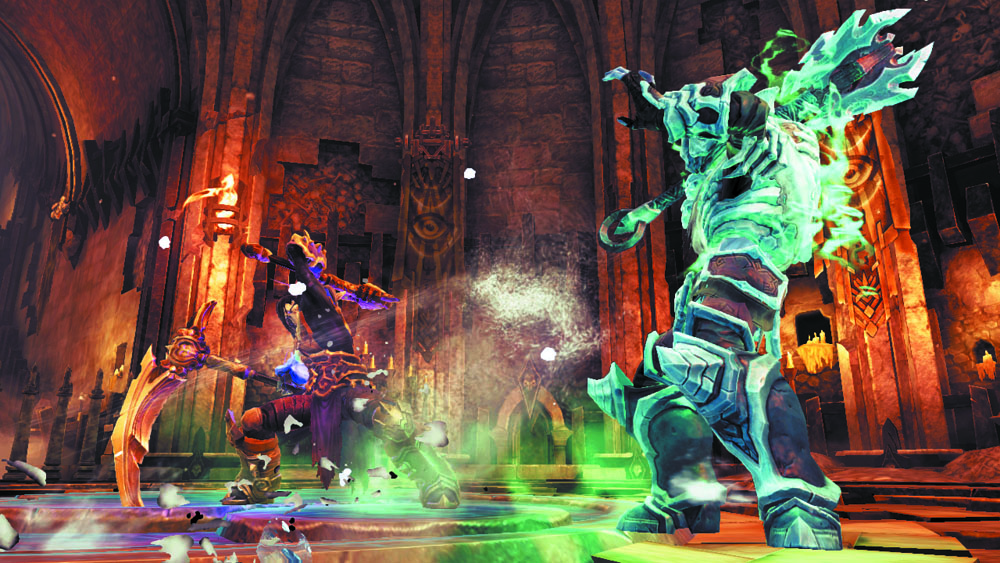
The Dead Lord doesn’t give much warning before he strikes, and he often attacks in fluid combos. Evade often to avoid this nimble boss’s crushing blows, especially when you see him swinging away with abandon. Immediately counter with combos of your own each time Phariseer misses or leaves himself open.
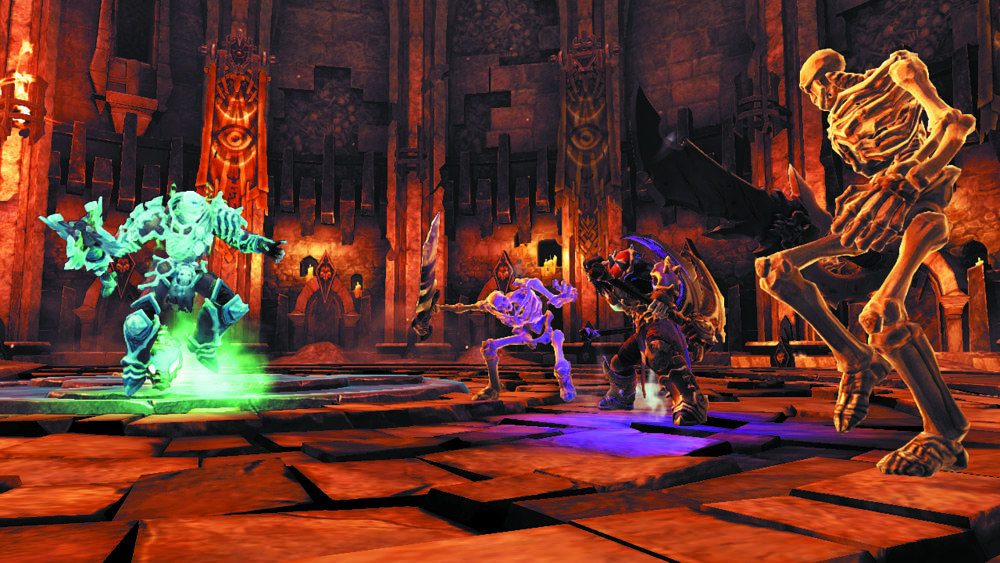
After suffering significant damage, Phariseer will begin to glow and rise, calling forth skeletal minions to aid him. These Skeletons and Skeletal Warriors add unwanted chaos to this already frantic battle—use skills such as Exhume and Harvest to keep them off your back while you focus on combating their master.
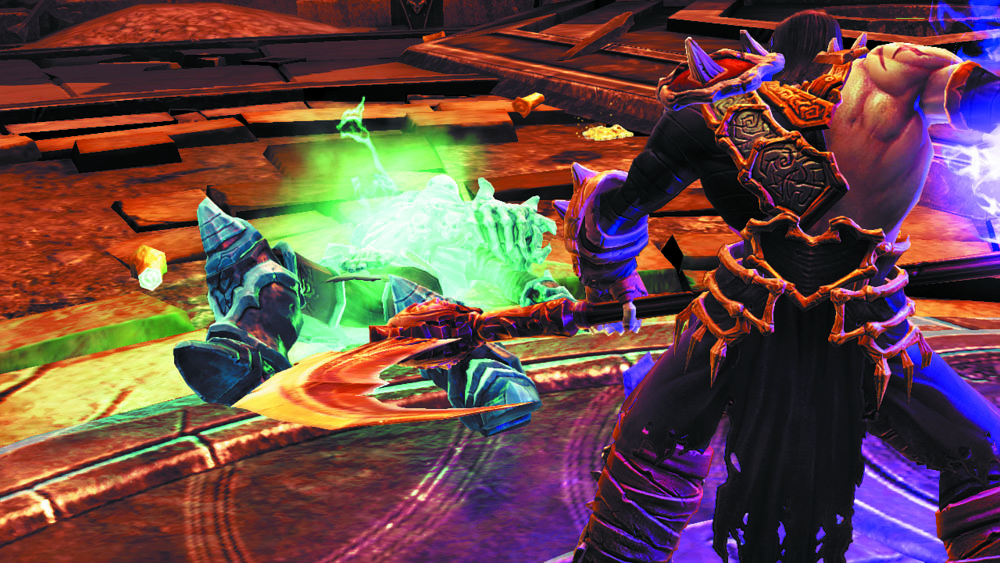
Defeating Phariseer is no easy feat, so expect to burn through several potions during the struggle. When the Dead Lord finally falls, he becomes yours to command. Excellent work, Rider—you’ve just gained an ally of immense power!
The Horseman’s Slave
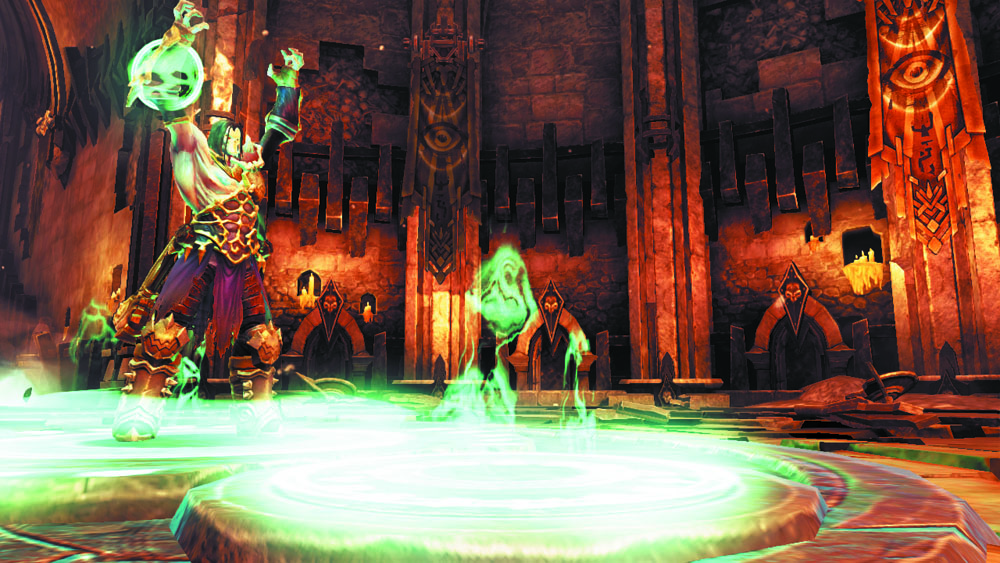
The time has come to leave this unholy place. Ready the Interdiction ability, and then stand on the chamber’s central Summoning Circle and use Interdiction to summon Phariseer. The Dead Lord will obediently await your command; enter aiming mode and target the pressure plate beyond the east gate, and then use Interdiction again to send Phariseer off to activate the plate. The Dead Lord passes through the gate unhindered, then depresses the plate to banish the obstacle.
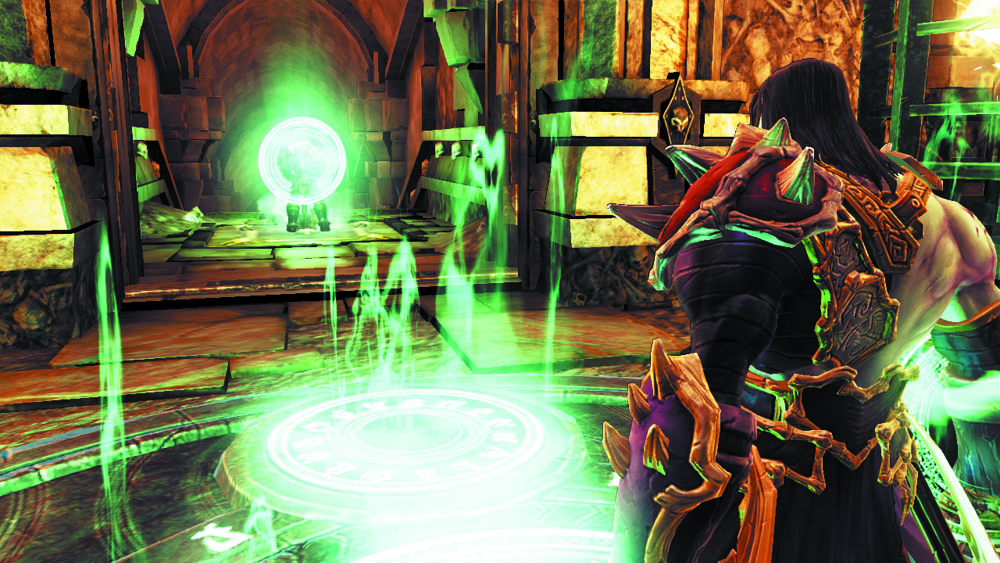
Before taking your leave of Phariseer’s Tomb, drop down from the east end of the elevator platform to return to the first floor one last time. Now that Phariseer is under your command, you can raid the first floor’s south chamber, which houses valuable treasure. Pass through the first floor’s south door and summon Phariseer at the circle beyond. Enter aiming mode and order the Dead Lord to trigger the pressure plate past the nearby gate. This lowers the gate, which had previously blocked your progress.
Area 9: Phariseer’s Hoard
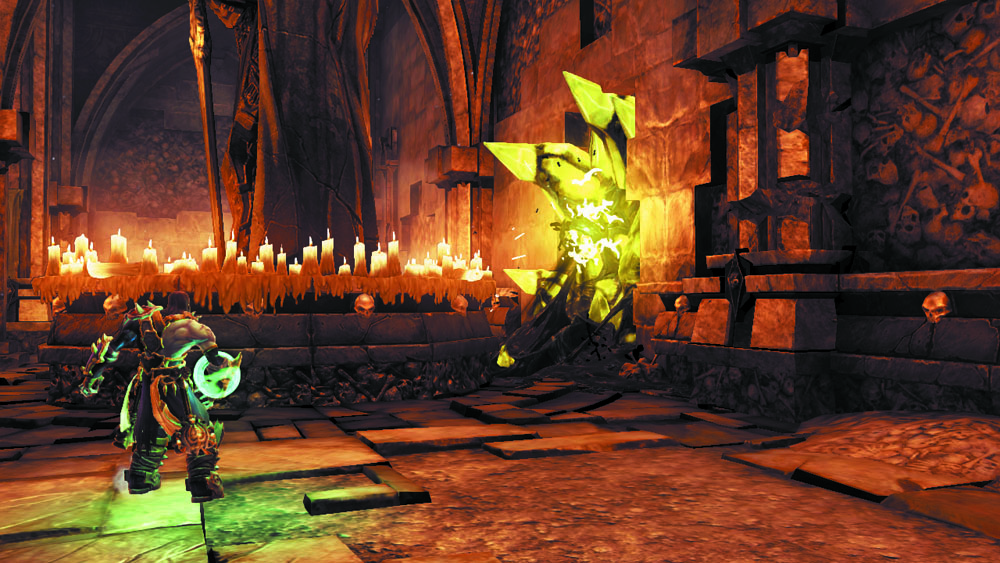
Slaughter a few lowly Mummies in this chamber and smash the surrounding weapon racks to obtain valuable gear. Grab a Shadowbomb from the west pod and use it to obliterate the south Corruption crystals so that you may descend into the pit beyond to reach a lower chamber.
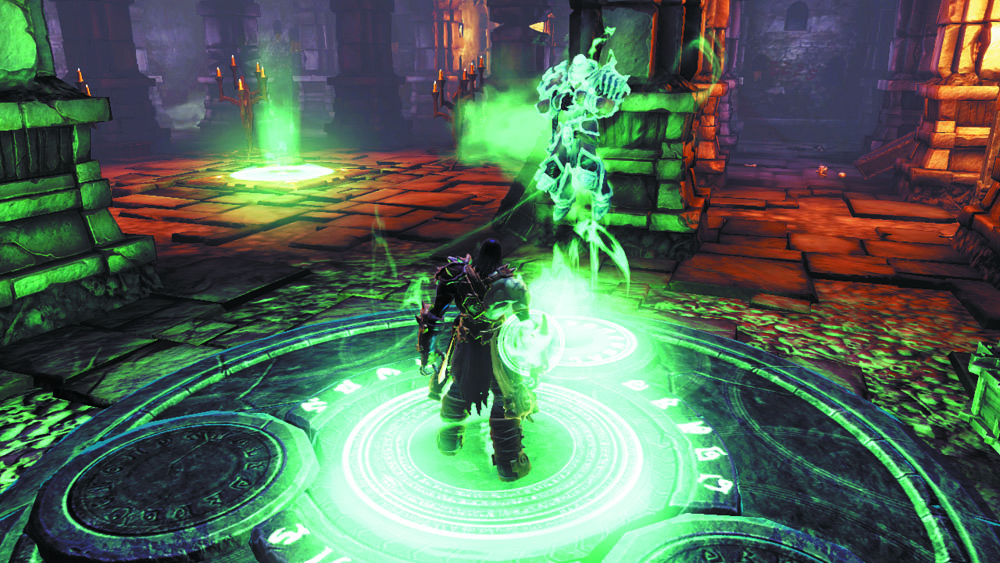
Use the lower room’s Summoning Circle to call forth Phariseer, and then command the Dead Lord to stand upon the central pressure plate. This lowers the surrounding gates that block three alcoves, each of which features a chest. Beware: you’re ambushed by enemies each time you open a chest. First you face a mob of Mummies, second you face an Undead General, and finally, a pair of deadly Wraiths. Raise Phariseer at the Summoning Circle to gain his aid during each fight. Phariseer can be slain by enemies, but you can simply summon him again whenever this occurs.
Make sure to inspect the scrawl on the wall in the room’s dark northeast corner before taking your leave of his place; it provides you with a Soul Arbiter’s Sacred Scroll.

|
Soul Arbiter's Sacred Scrolls 5 |
Fast Travel Time
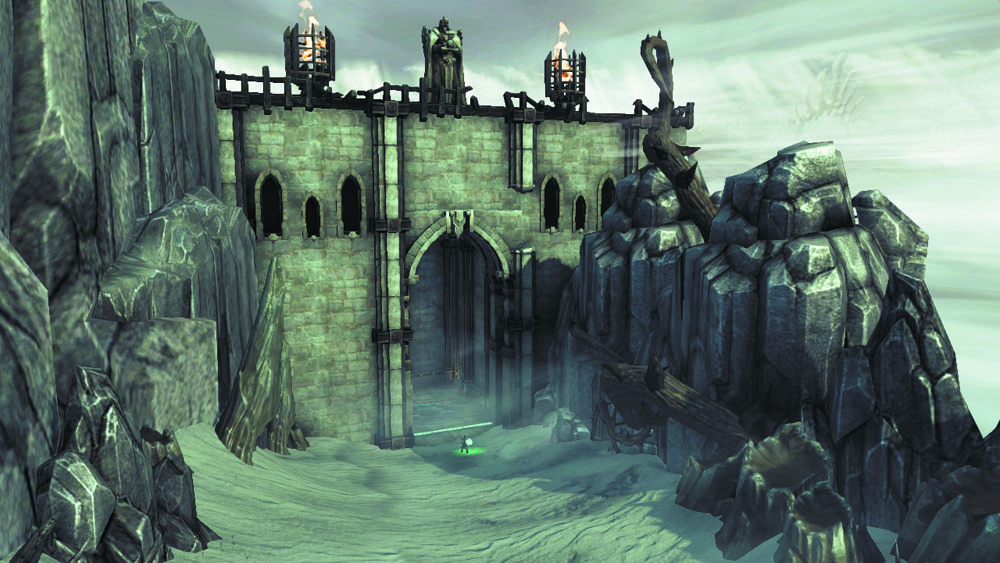
Phariseer’s Tomb holds no further secrets. Call up the World Map and fast travel out of the dungeon, returning to the Eternal Throne to barter with Ostegoth. Then, fast-travel back to Phariseer’s Tomb and venture toward the Maw’s south gate. You couldn’t open this gate before, but with the aid of Phariseer, no roads are blocked to you...