
Darksiders II Guide Walkthrough The Kingdom of the Dead
Breach
Breach
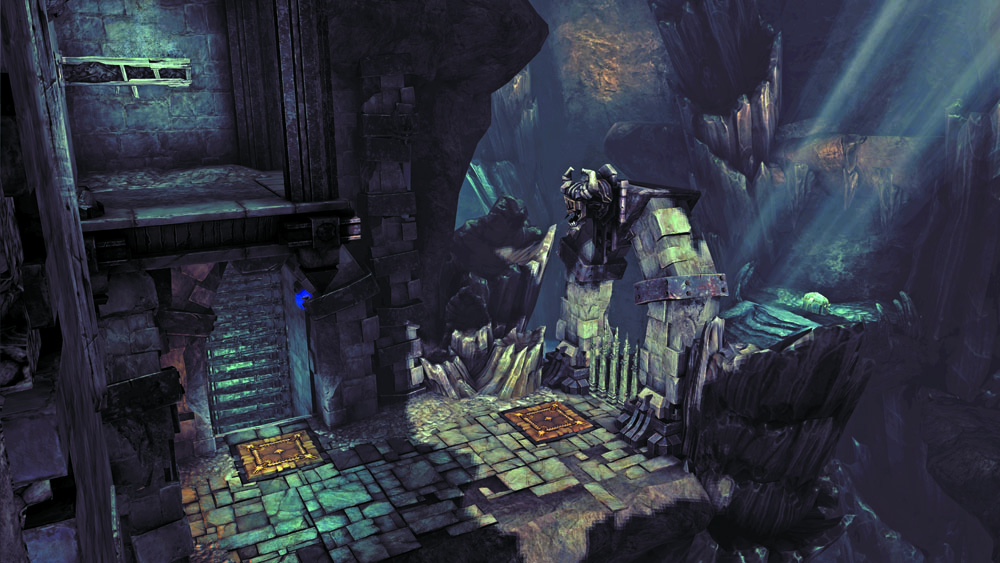
This derelict fortress connects Leviathan’s Gorge with the lands to the south.
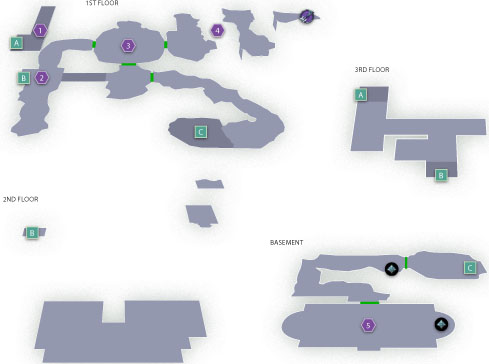
Area 1: Ruined Entry
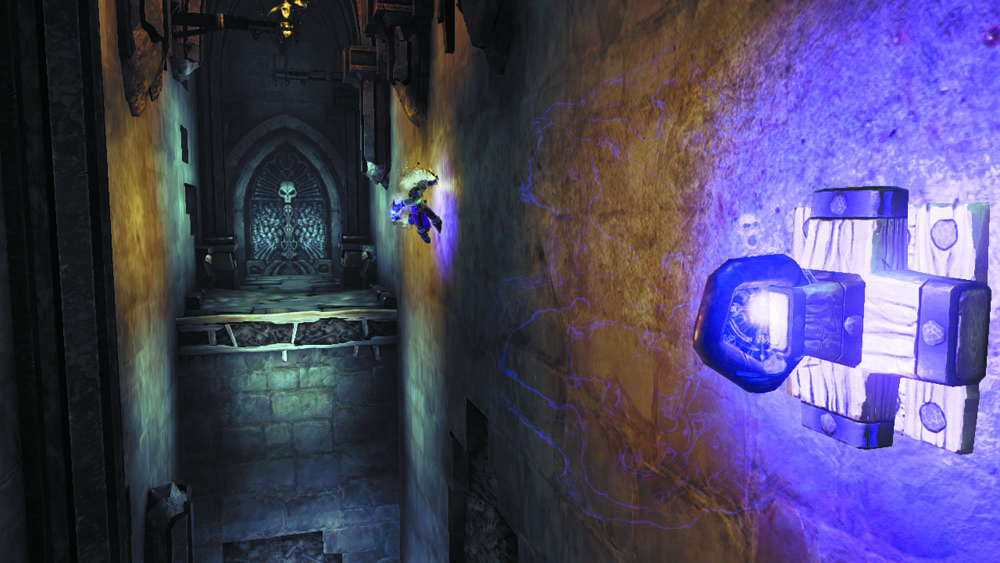
Wall-run along the Breach's entry corridor, Deathgripping a hoop and jumping at the corner to reach some growth.
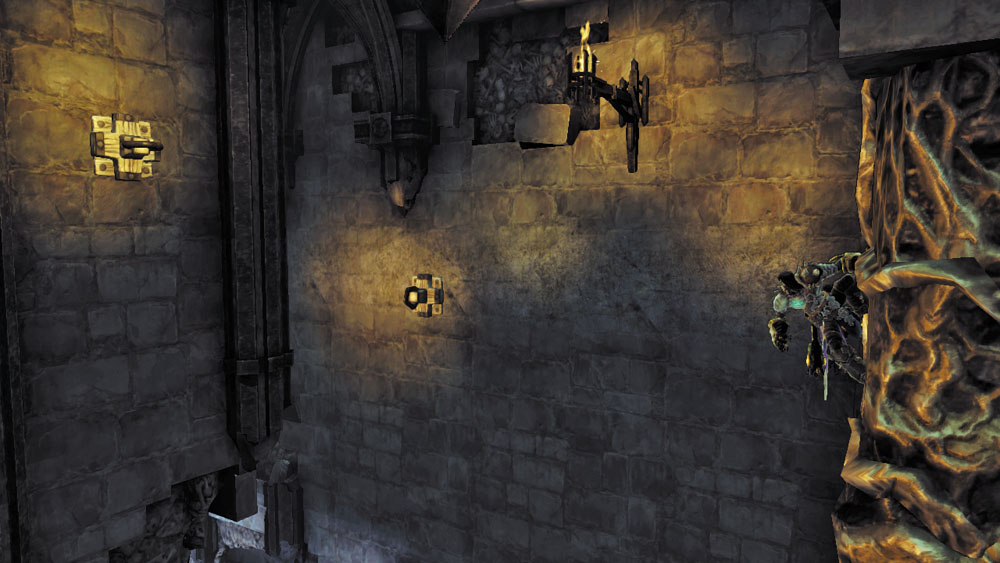
Don't scale the wall growth, but instead, perform a 180 leap and Deathgrip the hoop behind you.
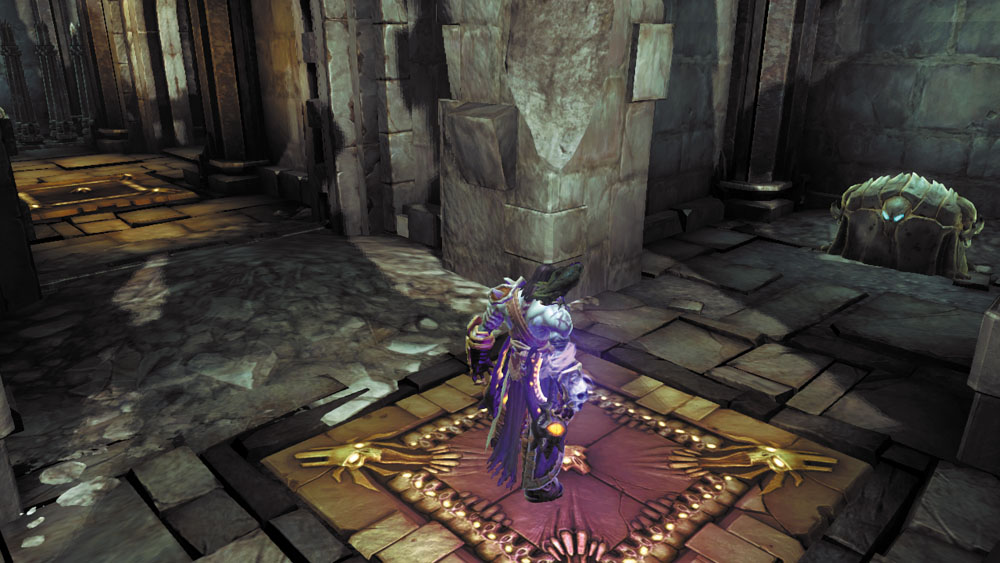
Scale the hoop, and the next one above, then jump off of the wall to reach a high passage with a chest. Stand on the pressure plate after looting the chest, then sprint past the nearby gate before it rises.
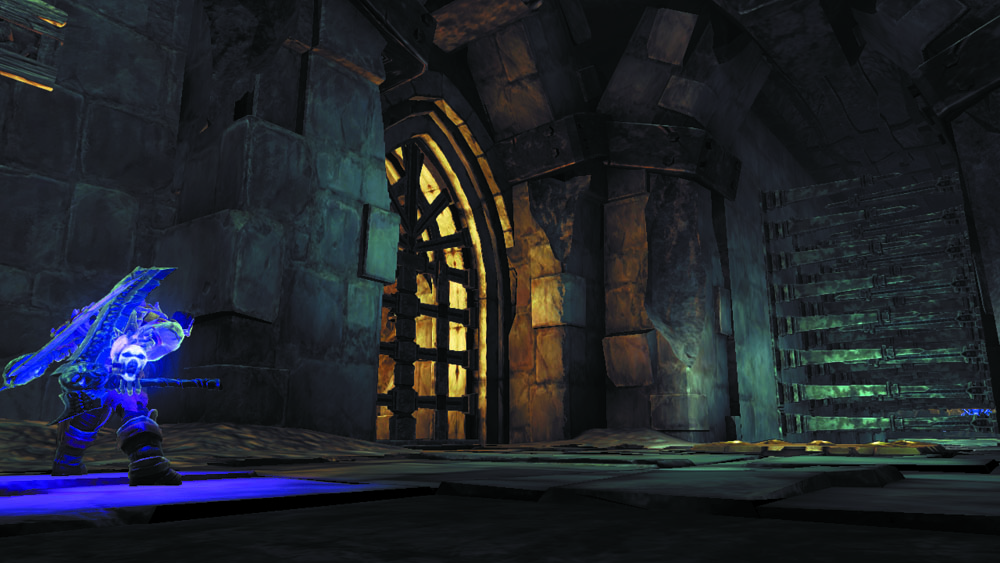
A special power is needed to acquire the chests in the passage beyond. Ignore them and descend through the nearby hole to reach a lower ledge. Drop again to reach a passage with more pressure plates.
Area 2: Pressure Plate Passages
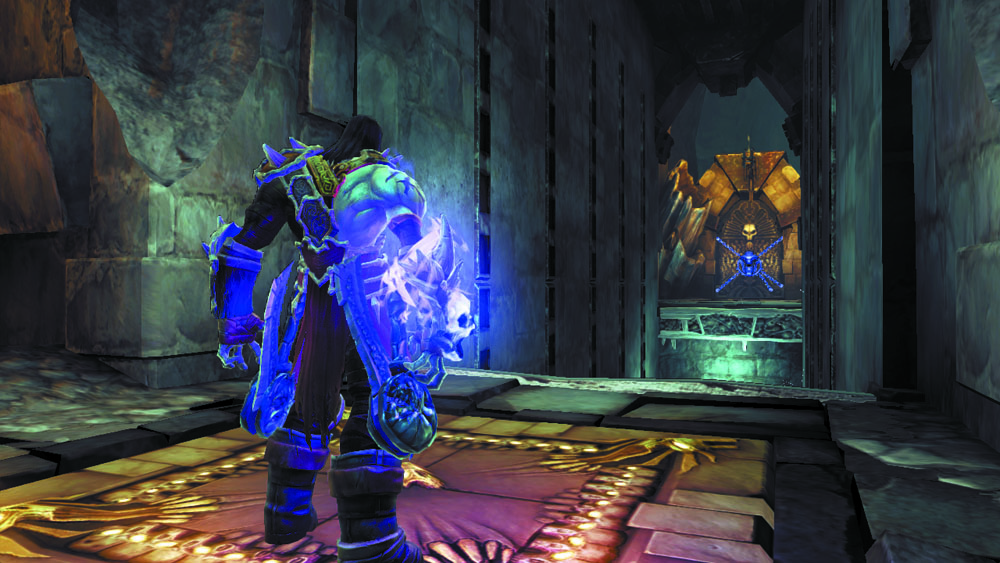
The passage below the post features a pair of pressure plates. One lies before a chest; the other, before a corridor with no floor. You can’t reach the chest without possessing a new special ability, so stand on the plate near the east corridor which leads to a locked door. Allow the corridor’s many gates to retract, and then quickly wall-run toward the locked door, jumping between the walls to extend your run.
Area 3: Arena Ambush
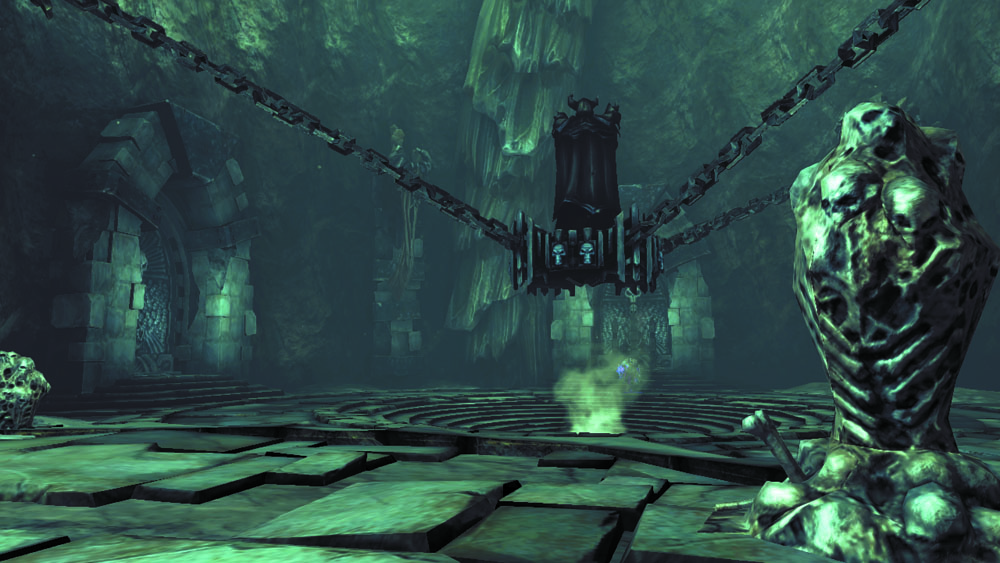
A Skeleton Key is needed to open the locked door. Proceed through the unlocked north door instead to enter a circular arena, where a horde of Skeletons stage a deadly ambush. Among their numbers are formidable Skeletal Warriors. Stay mobile and Evade often to prevent the dead from mounting a proper offense. Proceed through the east door when the mayhem finally subsides.
Area 4: Tricky Bridges
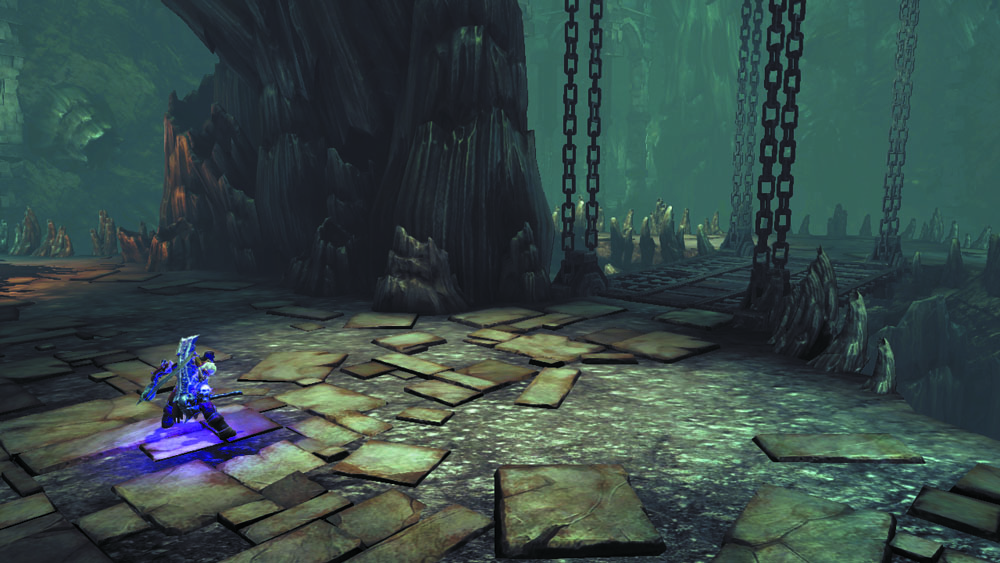
This quiet cavern features two bridges, but only one of them is extended. Before crossing the bridge, Deathgrip a Shadowbomb from the northeast pod. Toss the bomb at the wall, sticking it about halfway between the pod and the nearby switch. Leave the bomb be and cross the bridge.
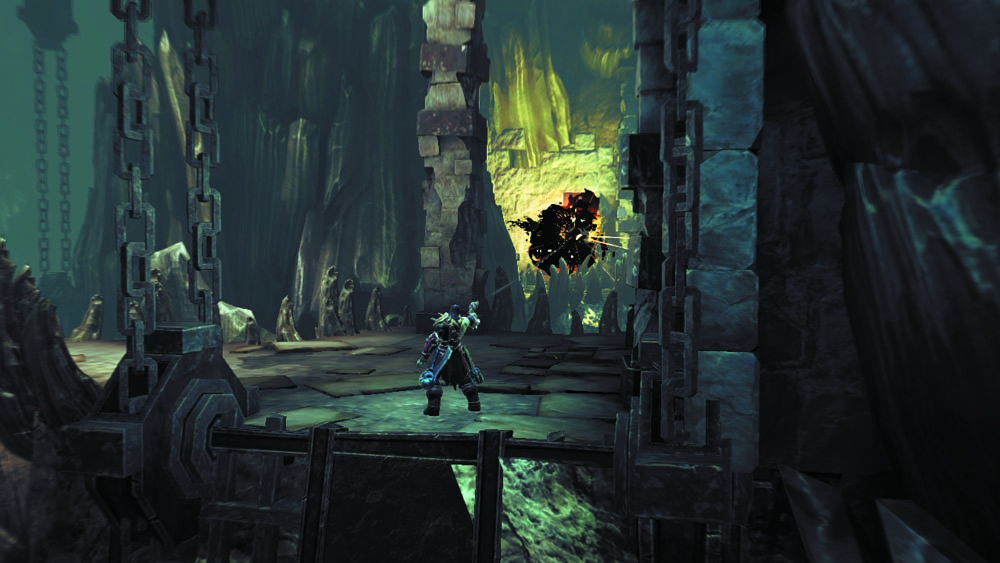
Stand near the foot of the second bridge, which is not extended and cannot be crossed. Enter aiming mode and target the Shadowbomb pod back near the switch. Blast the pod with Redemption to detonate it, along with the bomb you stuck to the nearby wall. If you did it right, the chain reaction will trigger the switch, causing the first bridge to lower and the nearby bridge to rise. Cross over and open the ornate chest to claim the Skeleton Key you seek.
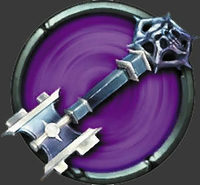
|
Skeleton Key |
Scarab Scare
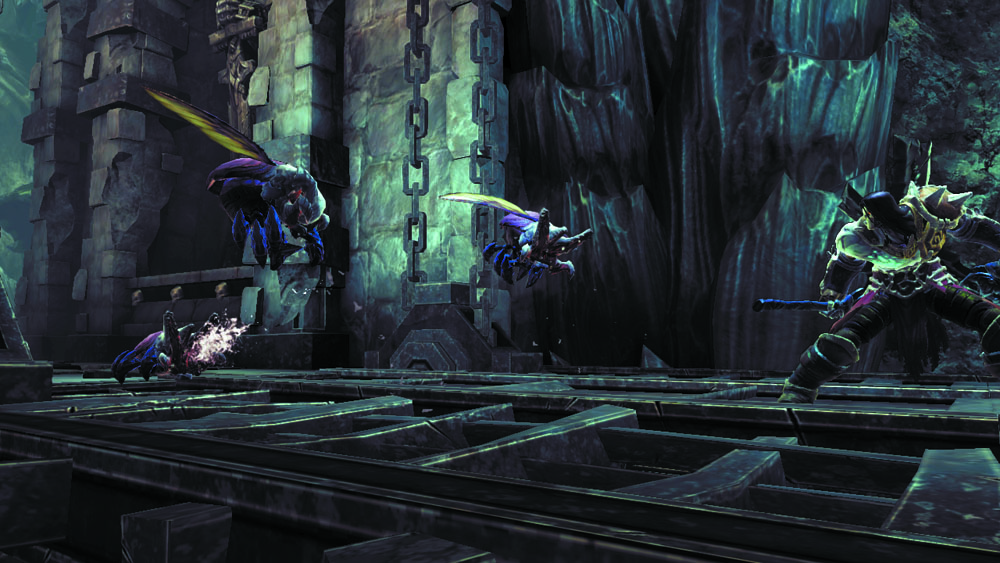
After retrieving the key, a swarm of Scarabs descends upon the Rider. Unleash anti-group attacks to make short work of these pests before they make a meal out of you.
Escape Plan
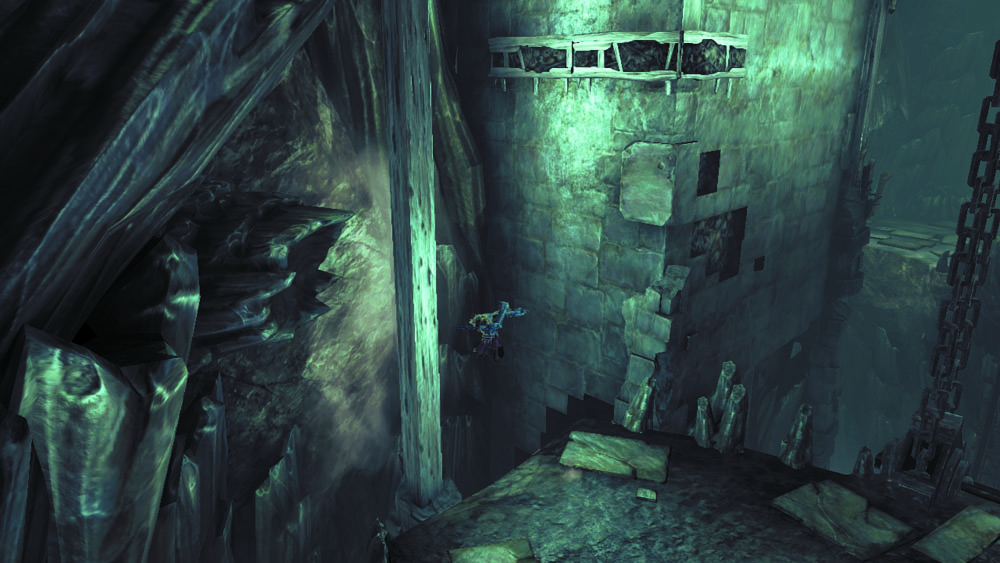
You’ve found the key you needed, but you’ve no way of manipulating the bridges again. No matter; go south and scale a wooden post, then perform a 180 leap to reach the nearby wall’s hand hold.
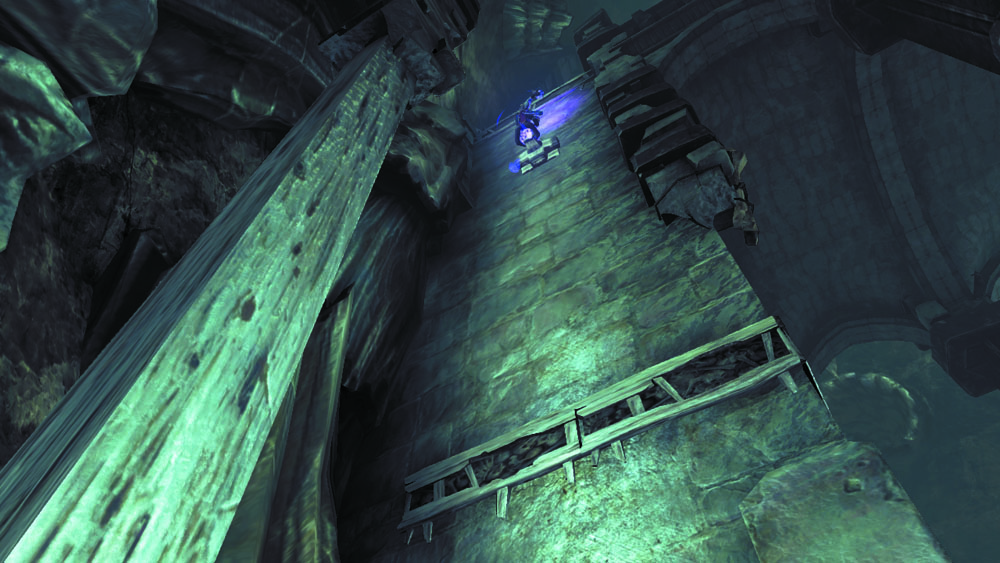
Before shimmying around the corner, perform a vertical wall-run and Deathgrip a high hoop to reach the top of the wall. Plunder the pair of chests up here, and then return to the hand hold and make your way back to the area’s entry by performing a 180 leap from the wall’s corner post.
Area 5: Breach Basement
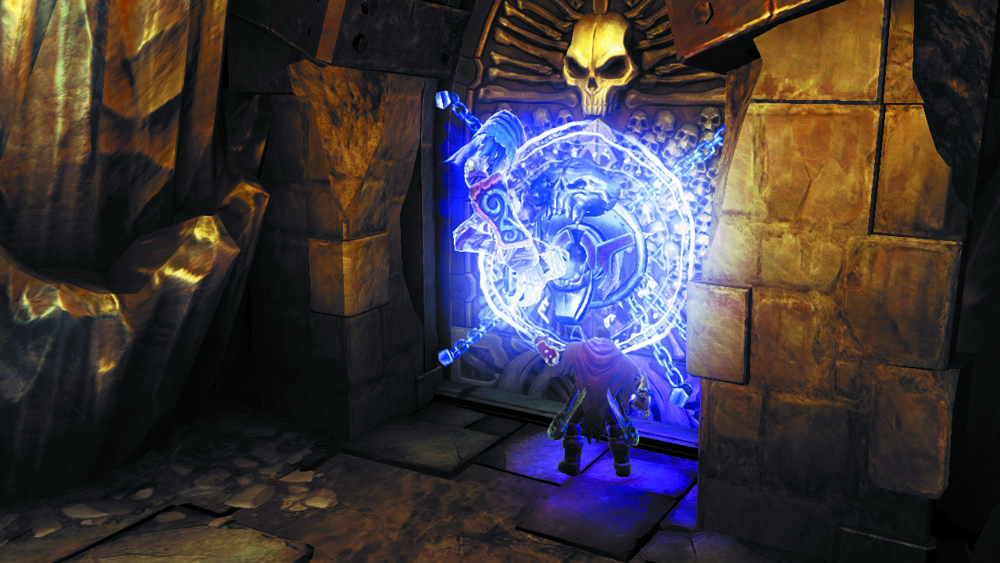
Backtrack through the arena and open the locked door you noticed earlier to enter a passage. Wall-run to a post, then drop down to a small basement chamber where a handful of Skeletons lurk.
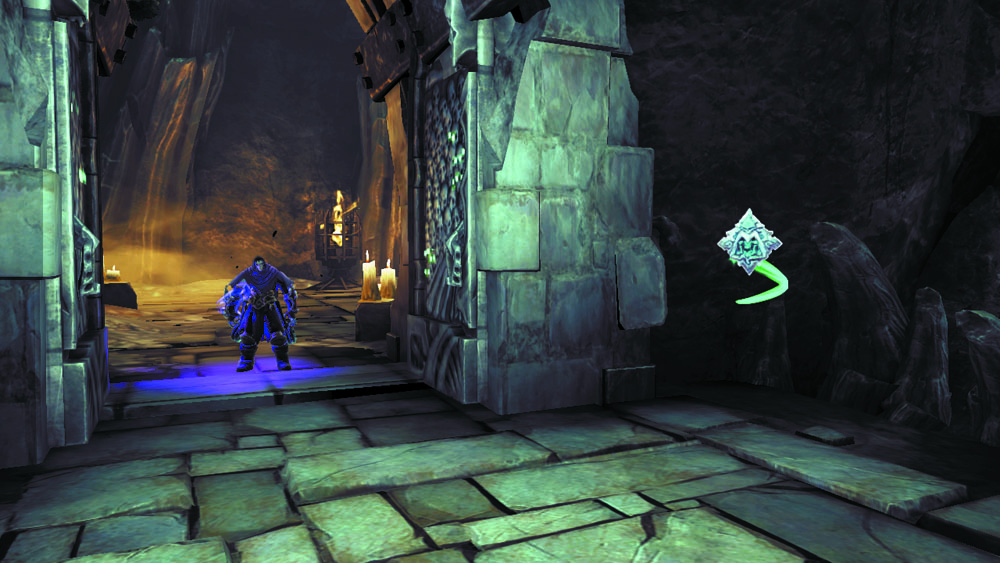
Proceed through the east door after dispatching the Skeletons, and then turn around and collect the Boatman Coin that hovers near the door’s other side.

|
Boatman Coin 45 |
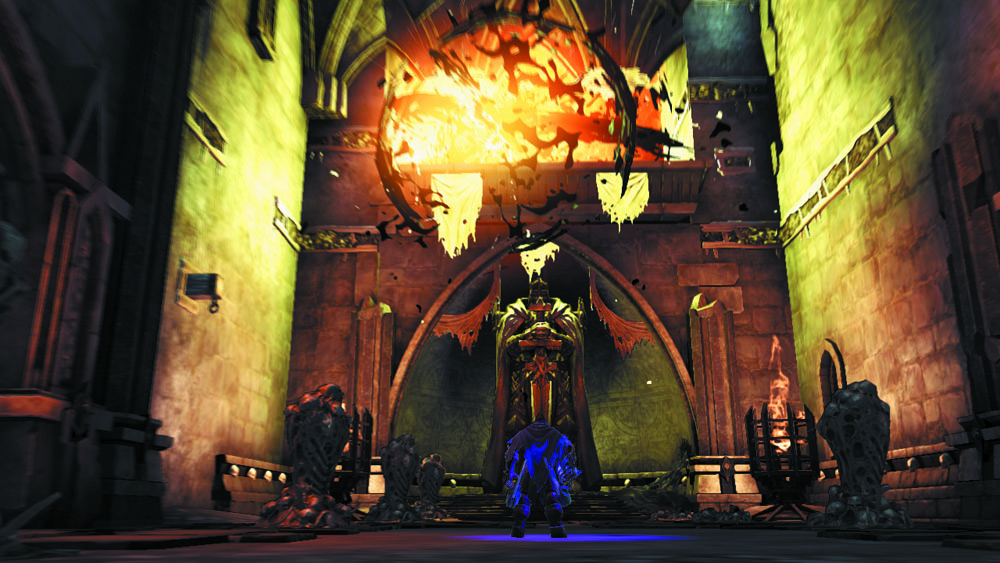
Slaughter a few more Skeletons in the chamber that follows before searching behind one of the room’s two statues to discover another Boatman Coin. Find a Shadowbomb pod behind the opposite statue, and use a bomb to obliterate the Corruption crystals on the ledge above.
|
|
Boatman Coin 46 |
Rooftop Loot
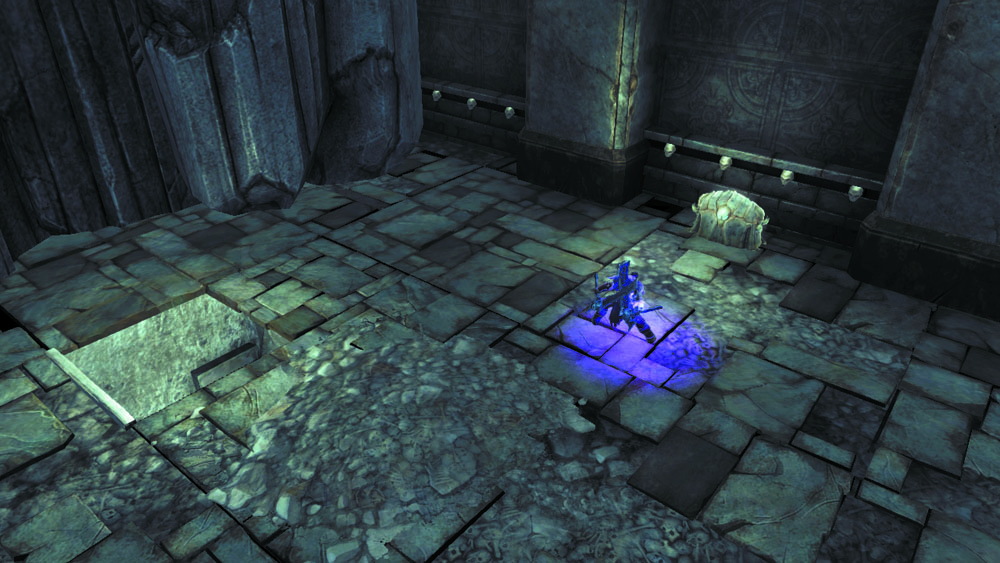
Scale the south wall after clearing the Corruption, and then work your way up to the ledge that the crystals were covering. Grab the north wall’s hand hold, shimmy around the corner, and perform a vertical wall-run to reach two chests cleverly hidden on the Breach’s roof.
Last Chest
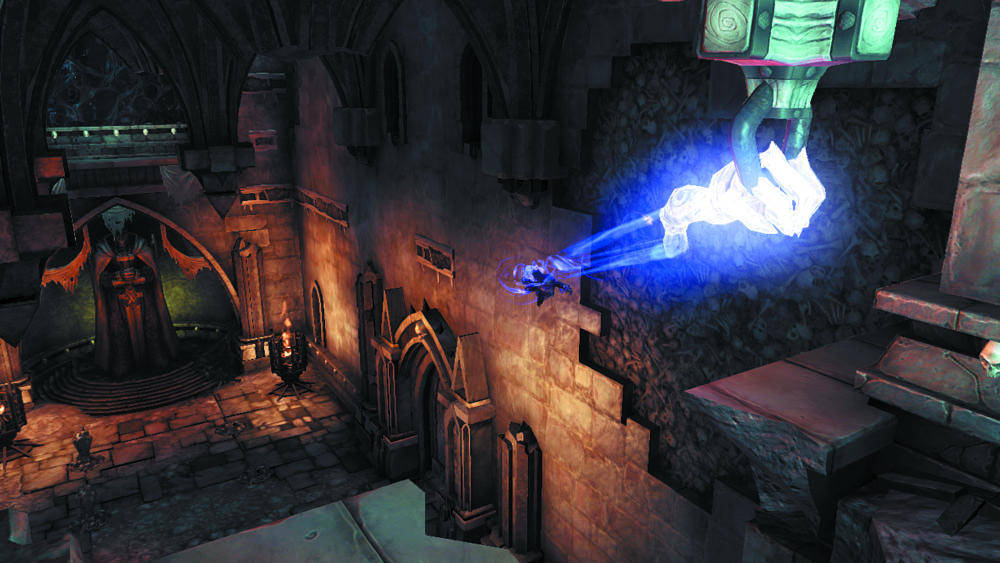
Drop back into the Breach’s interior and navigate the north wall’s hand holds. When you reach the last hand hold, wall-run toward a distant hoop, jump off the wall, and quickly Deathgrip the hoop to flip to the far ledge. Crack open the chest, and then drop down to the ground and slay the Skeletons that emerge from the floor. Exit the Breach afterward through the south door.