
Darksiders II Guide Walkthrough The Rod of Arafel
Boss Battle: The Noss
Boss Battle: The Noss
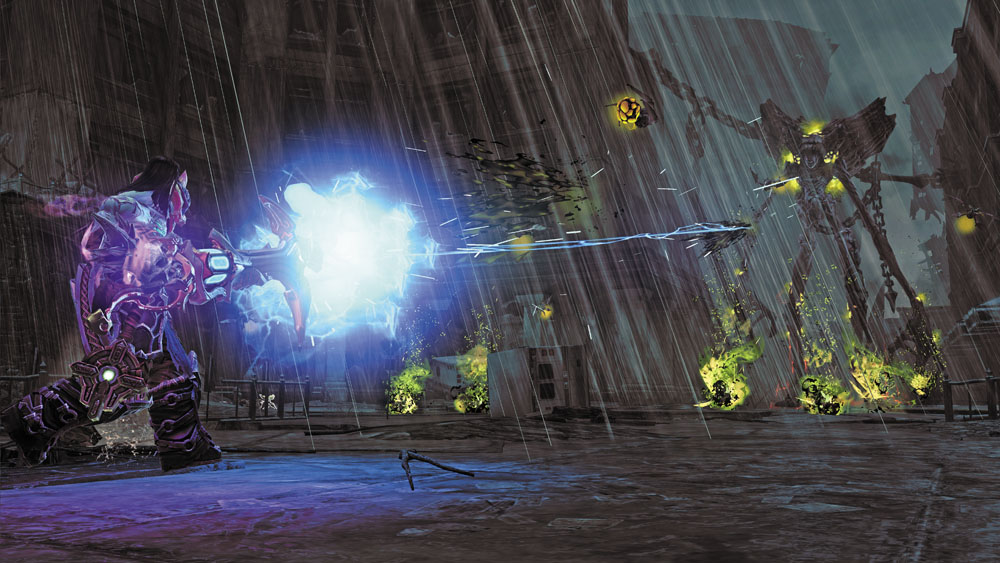
Continue moving westward. Drop down into a lower plaza where a towering fiend known as the Noss attacks. Largely ignore the Stingers that the Noss spawns and rush forward, unleashing Salvation’s charged shots from medium range to inflict maximum damage.
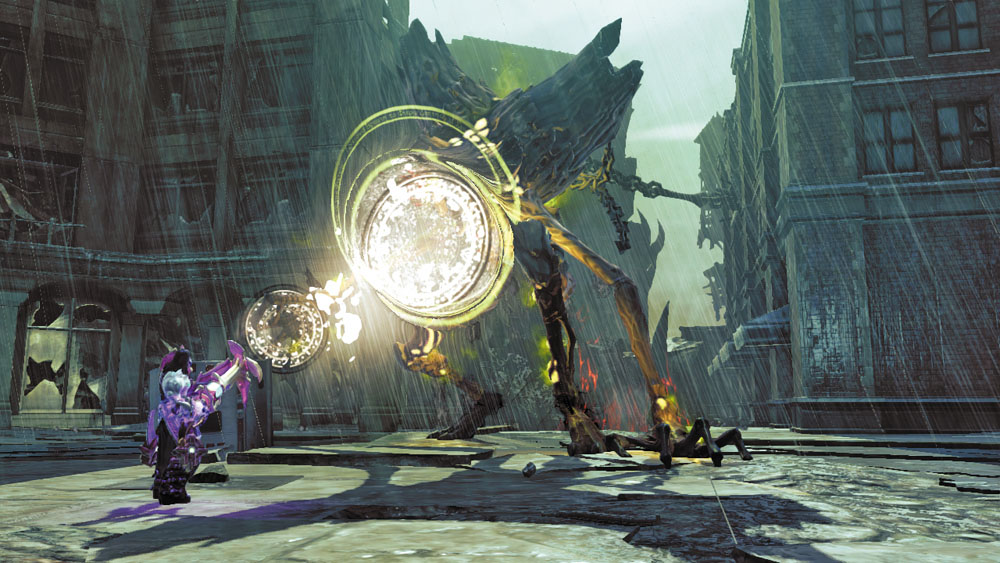
The Noss will periodically unleash terrible screams that push Death backward—this is because it doesn’t fare well against close-range Salvation blasts. Keep enough distance to avoid being smashed by the Noss’s melee blows, but stay close enough to inflict heavy damage with each charged Salvation blast.
Plaza Prizes
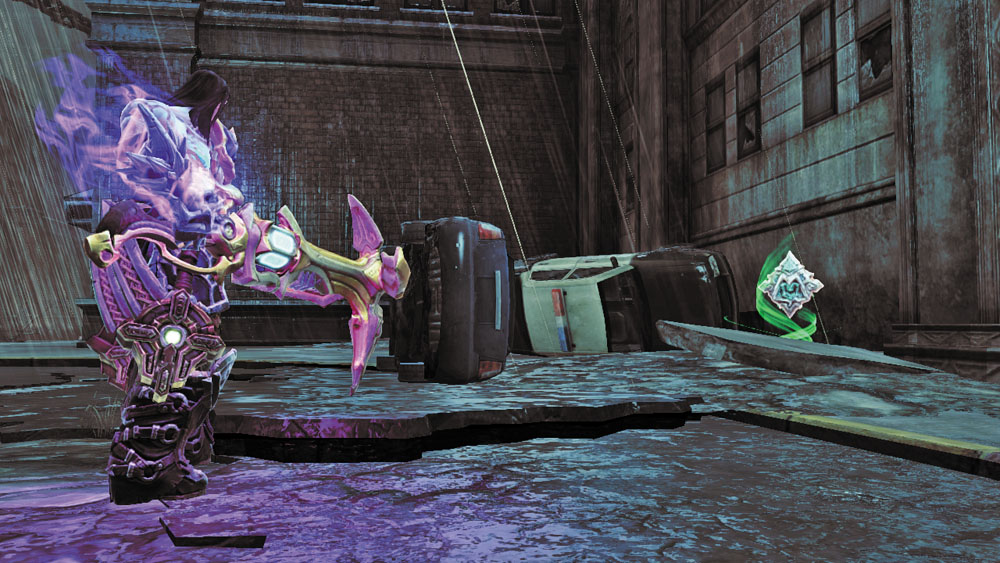
Claim a Boatman Coin from the plaza’s southwest corner after defeating the Noss, and then blast the Stonebite on the north building before proceeding into the south tunnel.

|
Boatman Coin 79 |
|
Stone of Resistance 6 |
Area 7: Car Tunnel—West
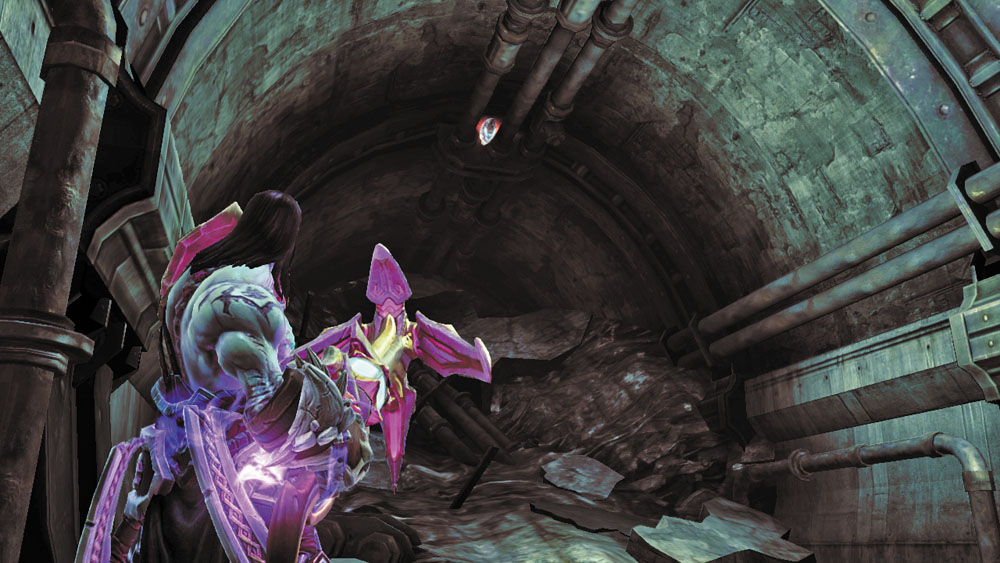
Eradicate more Swarm as you delve into this spacious car tunnel. Loop around and search a side tunnel to raid a chest after the main tunnel bends eastward, and then look up and blast the Stonebite on the tunnel’s roof.
|
Stone of Power 16 |
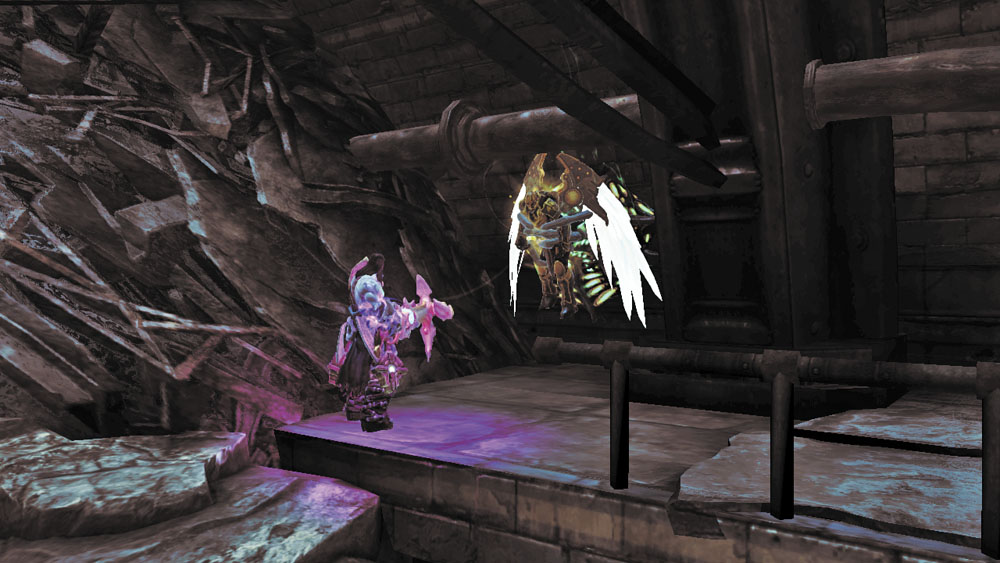
Scale some broken pavement to reach a narrow walkway, where more Swarm assault you. Cross the broken section of walkway to reach another trapped angel. Free the poor soul before advancing into the north tunnel.
|
Trapped Hellguard 6 |
Area 8: Access Tunnel
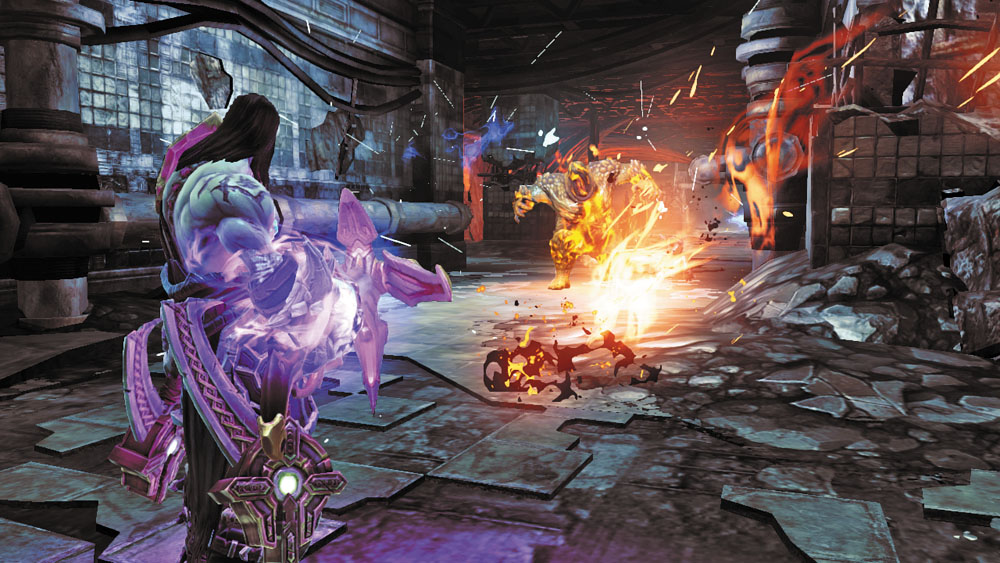
Obliterate more demons in this small side tunnel. Raid a chest in one of the north alcoves as you pass through, reentering the main car tunnel on the other side of some blockage.
Area 9: Car Tunnel—East
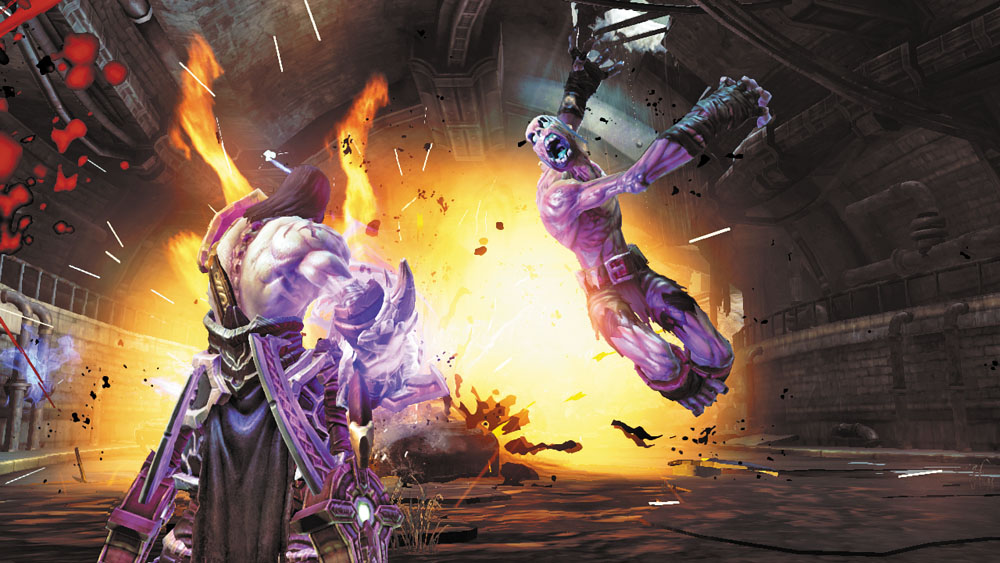
Shoot the cars in this stretch of tunnel to create explosions and thin the Swarm’s ranks. Several Fleshbursters and a hulking Suffering engage you here. After things quiet down, explore the south access tunnel to discover another trapped angel. Delve into the north sewage tunnel afterward.
|
|
Trapped Hellguard 7 |
Area 10: Sewage Tunnel
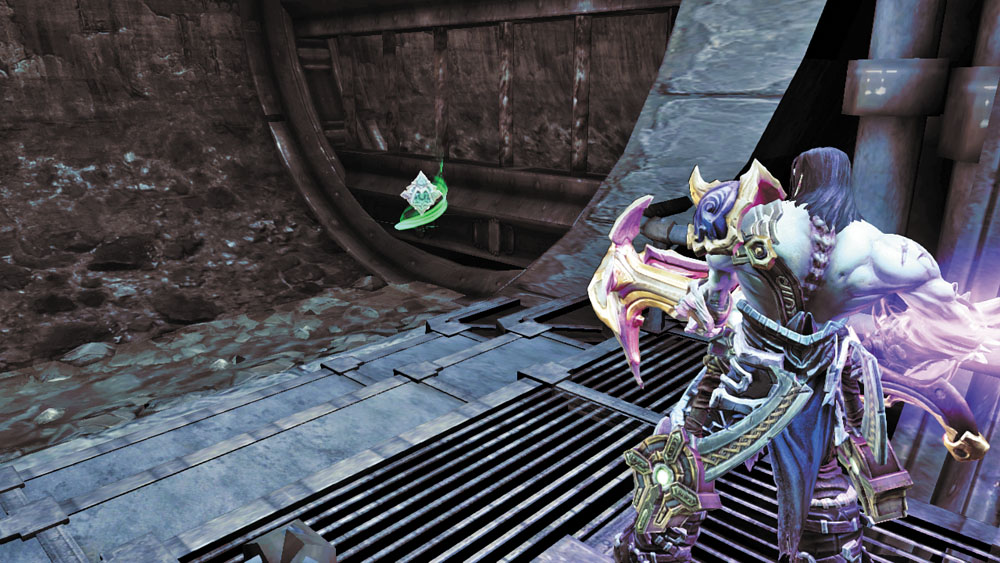
Beware of Fleshburners in this tight tunnel—drop them fast with charged Salvation shots. Snag a Boatman Coin as you exit the side passage, and continue heading north to reach the next area.
|
|
Boatman Coin 80 |
Area 11: Car Tunnel—North
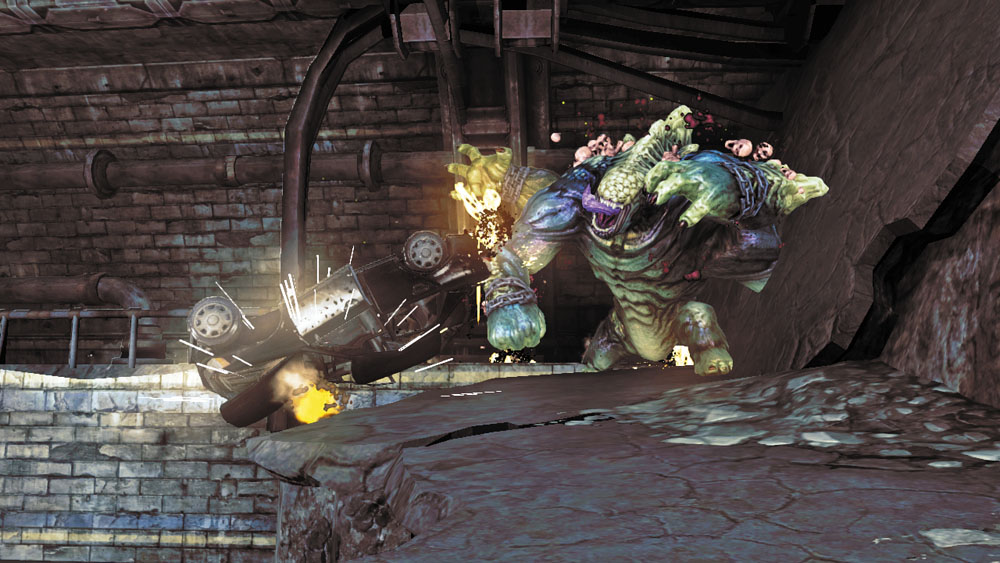
Bring down another Suffering in the car tunnel’s final stretch. Search the west alcove to discover a scrawl on the wall near the doorway—this bestows a Soul Arbiter’s Sacred Scroll.
|
Soul Arbiter's Sacred Scrolls 9 |
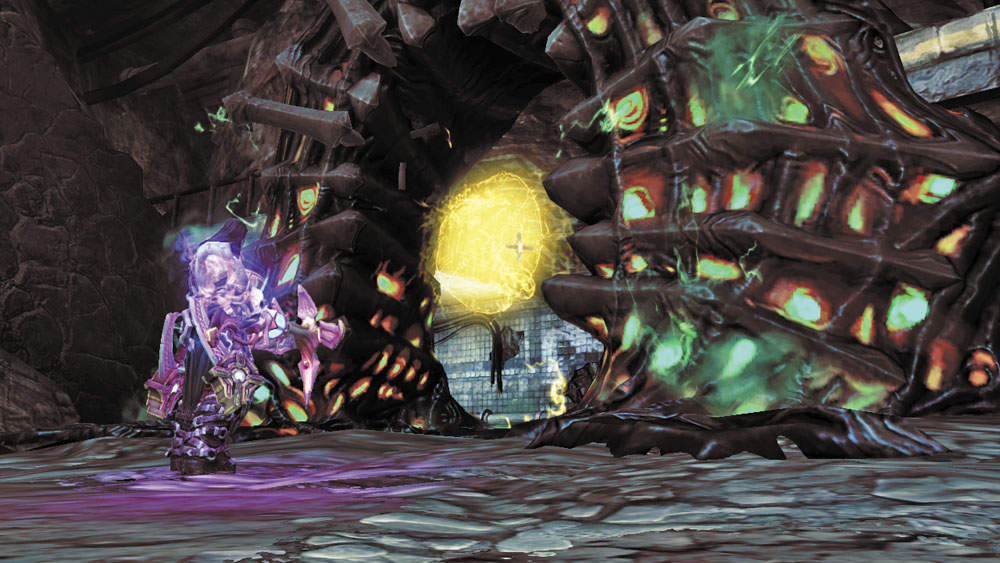
A demonic growth is found in this tunnel as well. Blast it to obtain the second piece of the Rod of Arafel, and then use the side passage beyond the growth to circumvent the tunnel’s rubble and return to the surface.
|
Eye of Arafel |
Area 12: Overpass—Lower Area
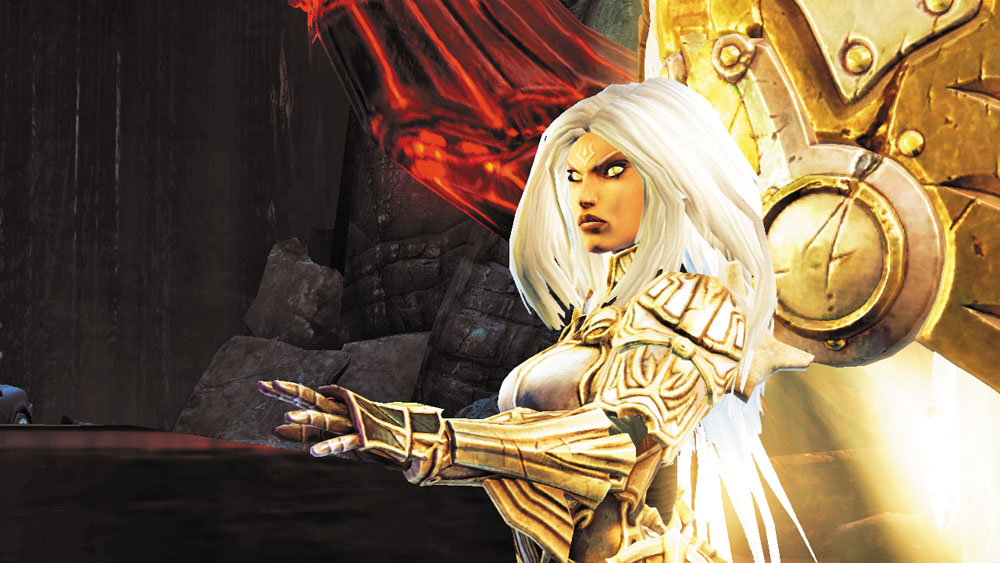
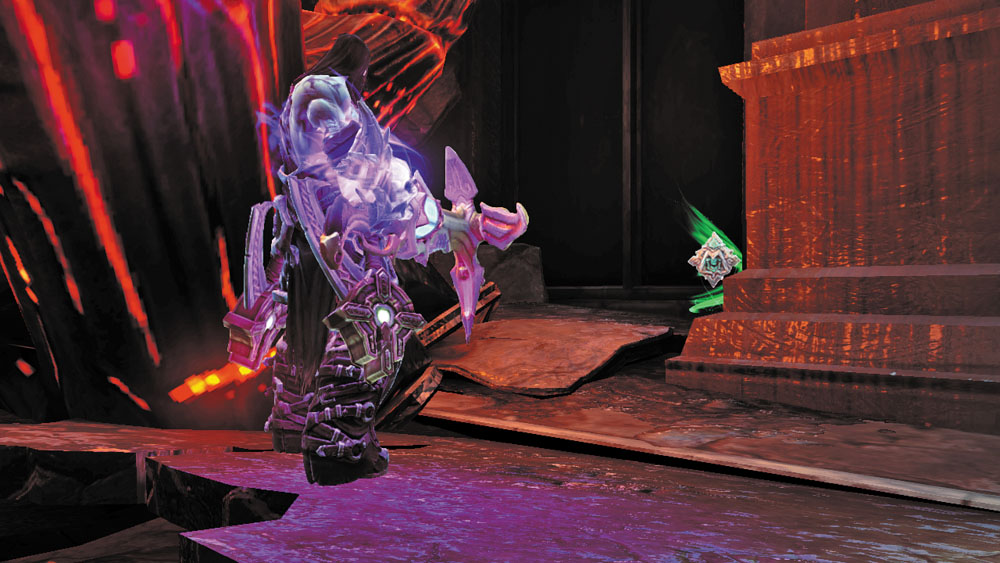
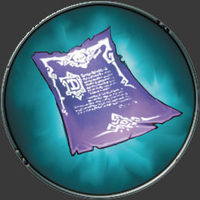
Uriel awaits Death at the far end of this area, which runs beneath Area 5’s overpass. Speak with her to advance your quest, and then claim a Book of the Dead page from near the south wall, along with a Boatman Coin from the northwest nook. Enter the west passage afterward to begin your search for the Rod’s final fragment.
|
Book of the Dead 32 |
|
|
Boatman Coin 81 |
Area 13: Access Tunnel 2
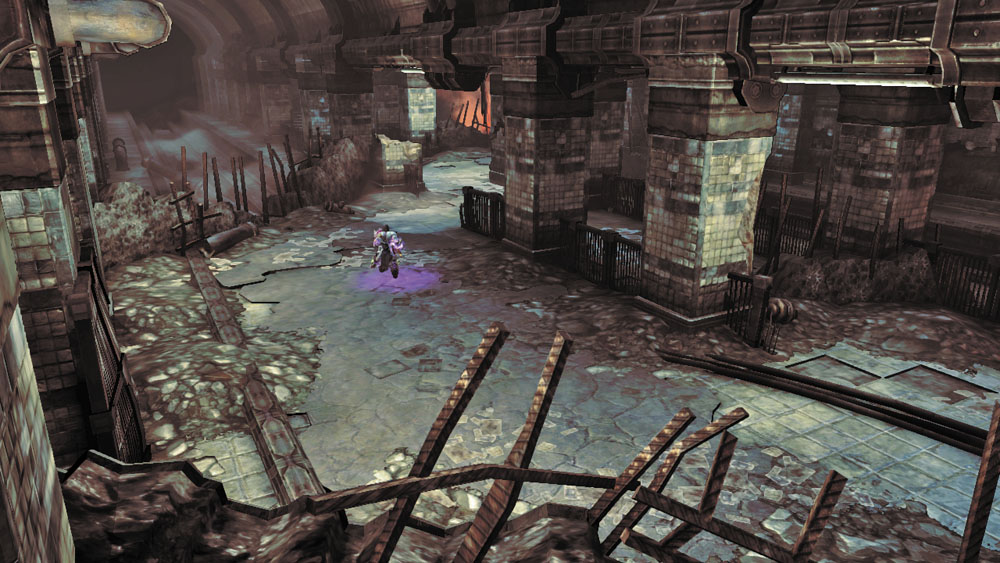
Despite what you might expect, there’s nothing of interest to be found in this winding passage. Simply make your way through to the next area.
Area 14: Noss Ambush 2
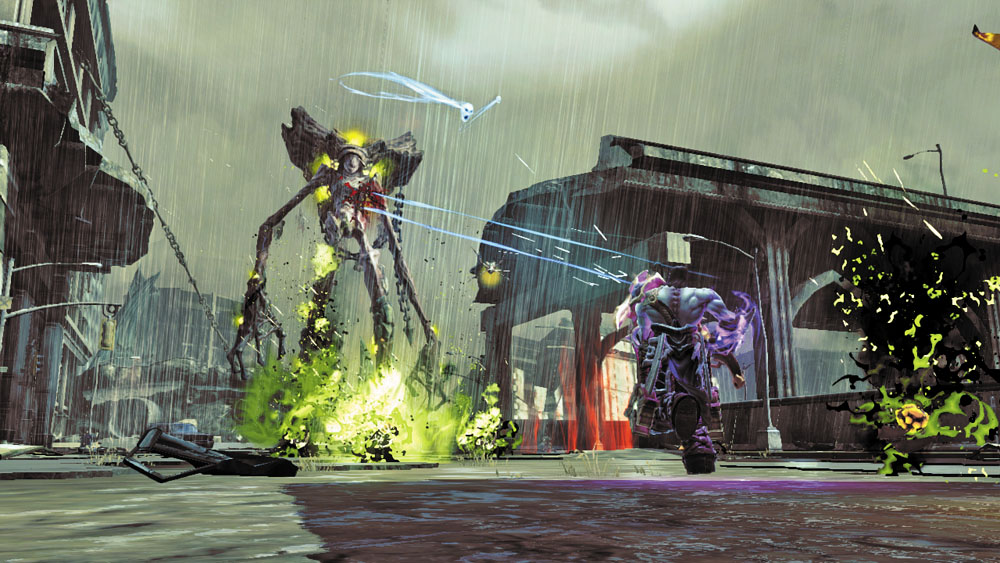
Another formidable Noss stalks you in this wide street. As before, rush the monster and bombard it with charged Salvation blasts, ignoring the Stingers it summons. The Swarm will periodically rush you during this encounter—back off and blast these demons as needed before returning to ripping into the Noss.
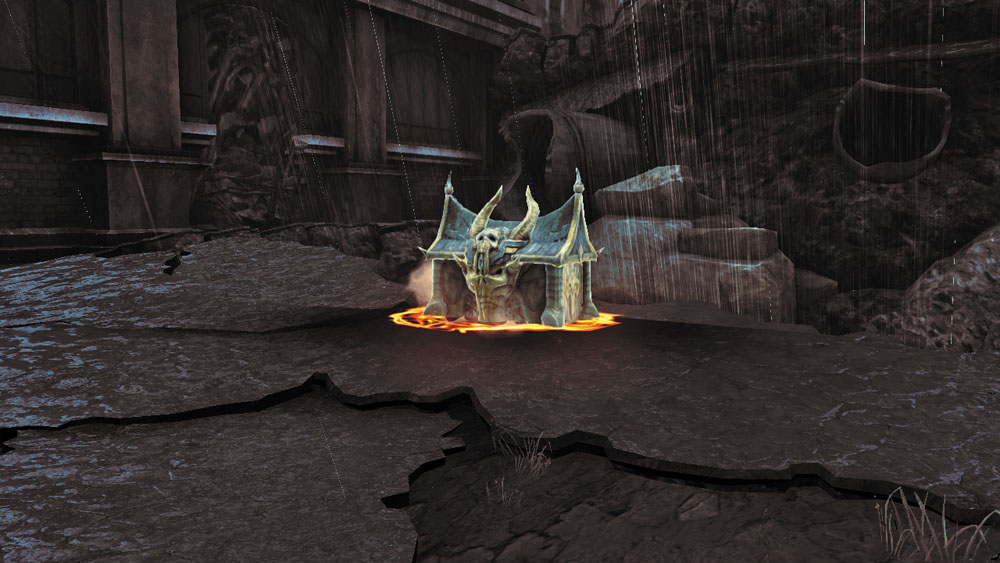
When the mayhem finally subsides, sweep the street and destroy four postboxes to make a secret chest appear at the street’s west end. Raid the chest, and then peer over the street’s west edge to discover another trapped angel. Set its soul free with Salvation before venturing across the north bridge.
|
|
Trapped Hellguard 8 |
Area 15: Lower Bridge
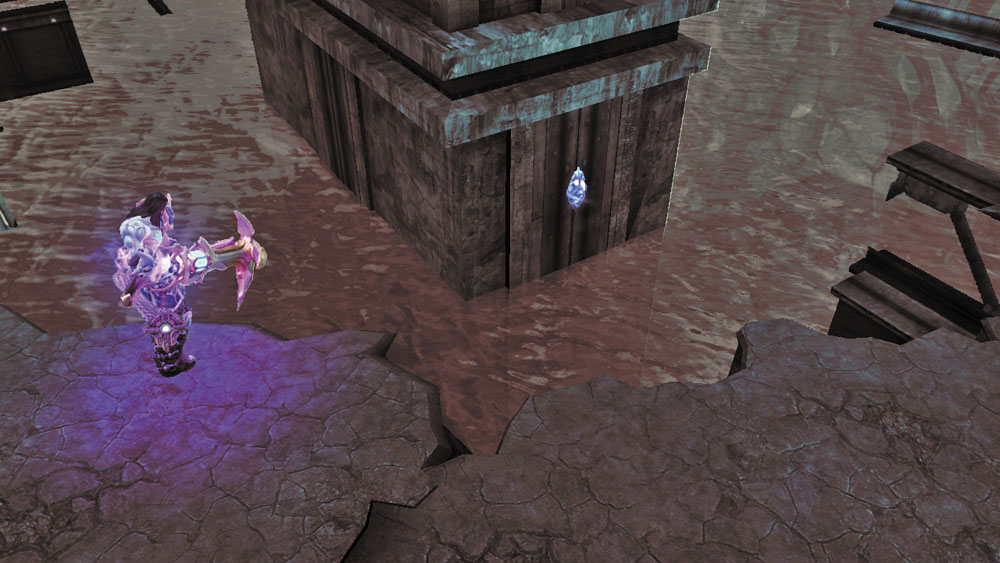
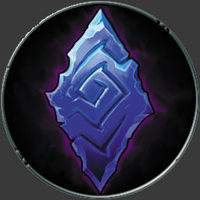
Lay waste to the Swarm and Suffering that assault you on this stretch of bridge. When you reach the first broken section, peer down at the bridge’s support column and blast the Stonebite on its north side.
|
Stone of Mystics 31 |
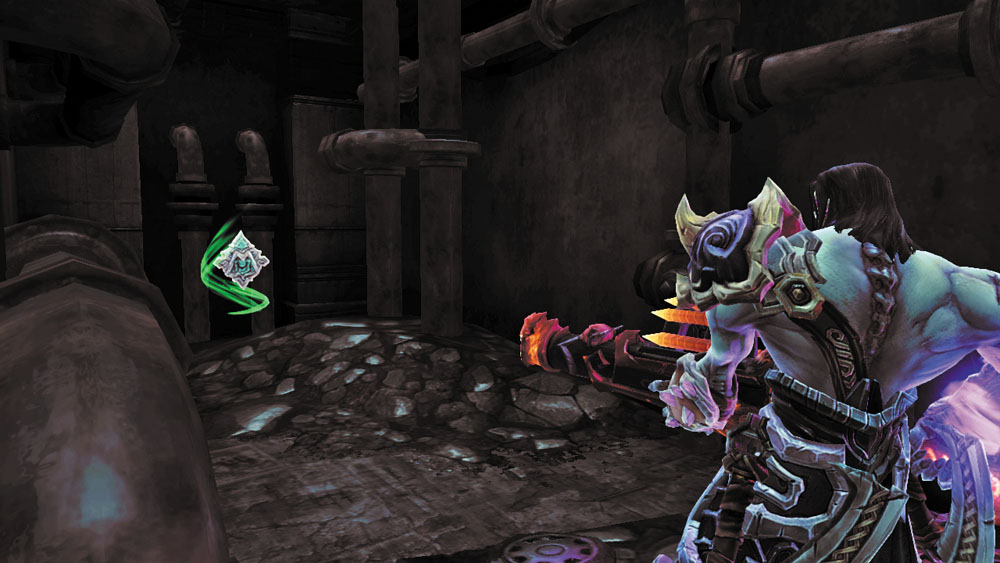
Continue moving northward and search a small side room to the left (west) to discover a Boatman Coin. Press onward and scale the north slope of broken pavement to reach the bridge’s upper half.
|
|
Boatman Coin 82 |
Area 16: Upper Bridge
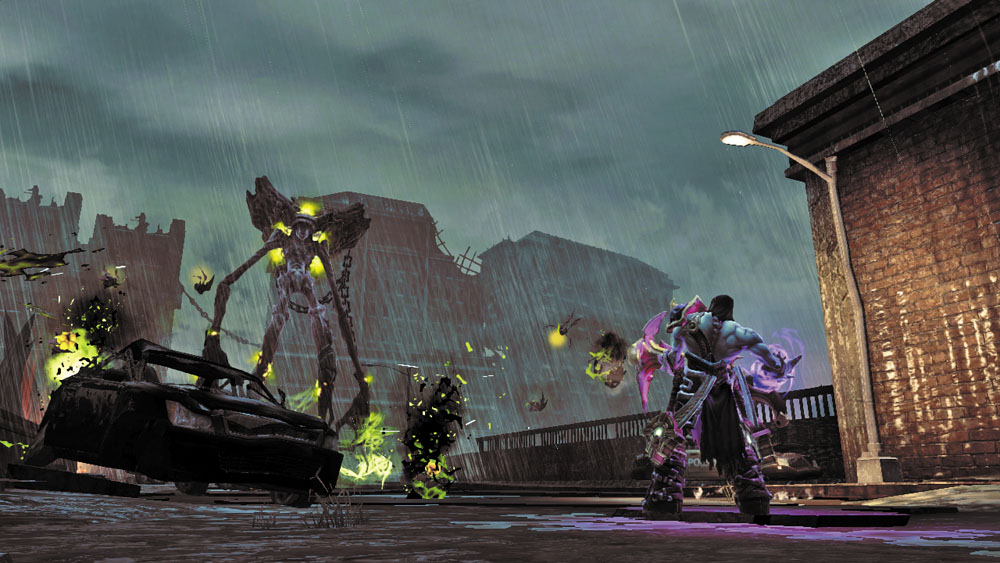
Death is forced to battle another towering Noss on the bridge’s upper area. Cut down the Swarm as you advance on this distant foe, and work at felling the Noss with charged Salvation blasts as you’ve done before.
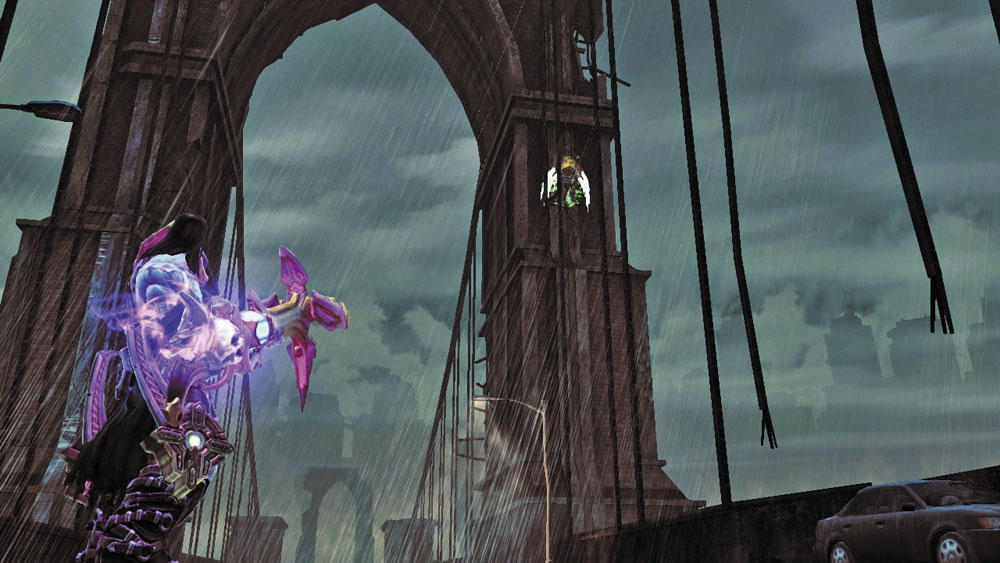
Fight your way southward until you reach a small passage that leads east. Before crossing, turn around and backtrack a bit to blast an angel that’s stuck to the south side of bridge’s tall arch.
|
|
Trapped Hellguard 9 |
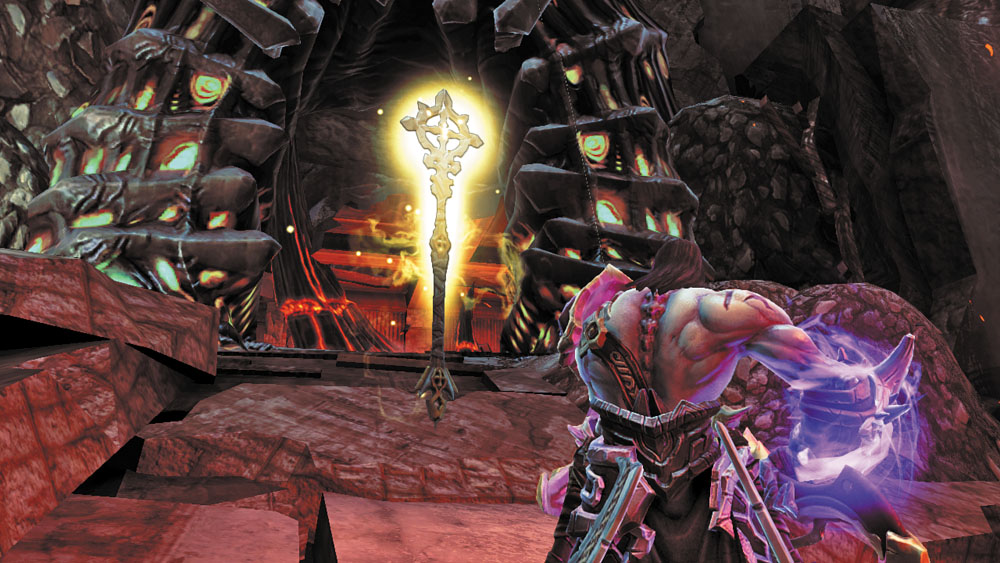
Cross the east passage to reach the third and final demonic growth. Destroy it to obtain the Rod of Arafel’s last missing piece. Now that Death has acquired all three pieces, the Rod is made whole once more.
|
Rod of Arafel |
Area 17: Hotel
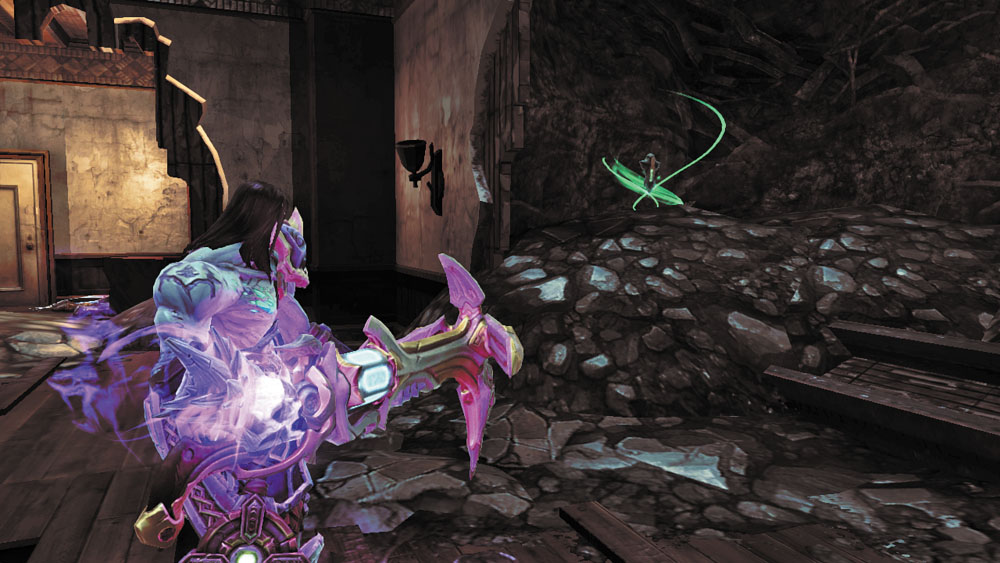
Advance past the growth and loot a chest as you maneuver through a ruined hotel. Search the dark hole in the wall across from the chest to discover a Relic.
|
Relic of Etu-Goth 12 |
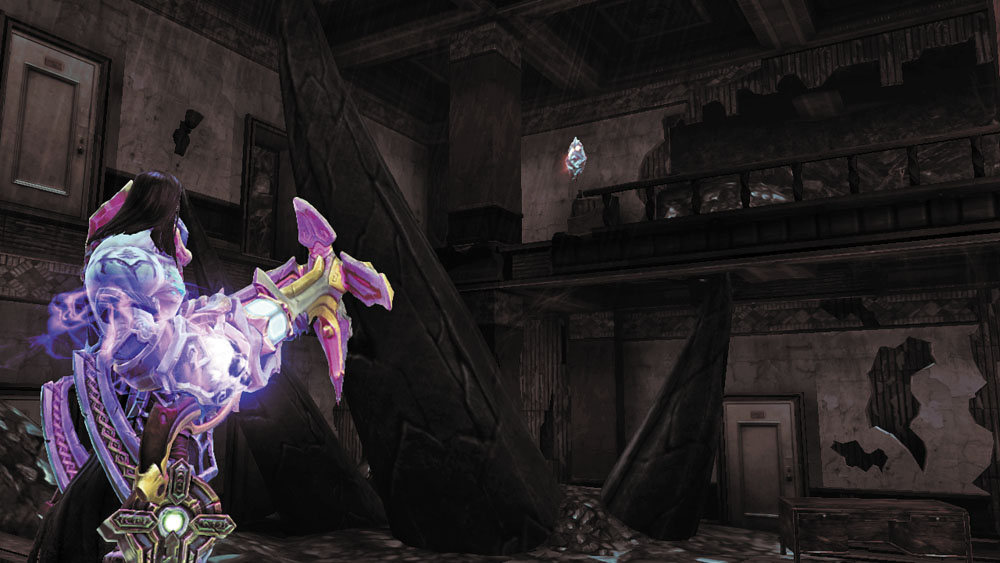
Press onward and descend a slope of debris. Shoot the Stonebite on the room's high north wall.
|
|
Stone of Power 17 |
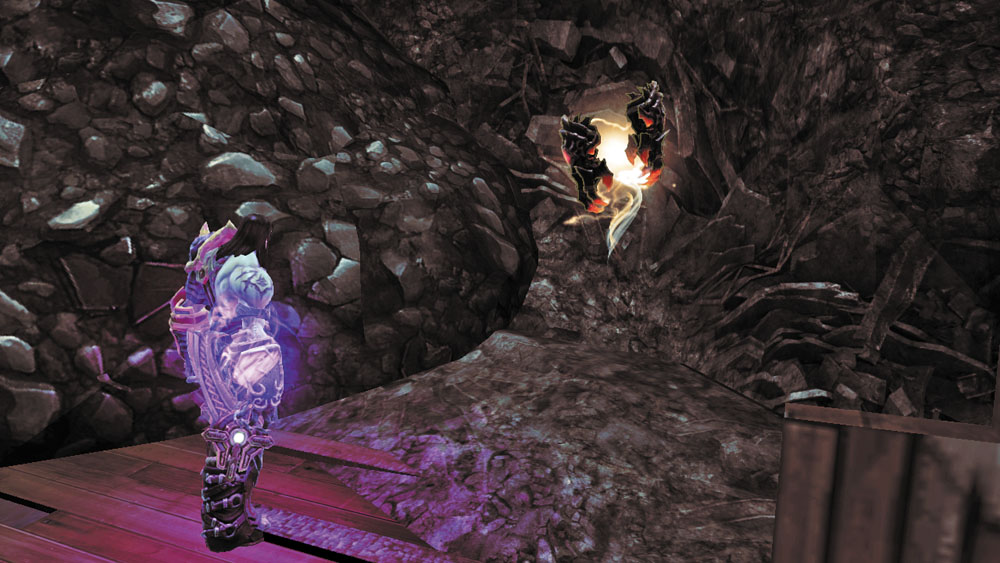
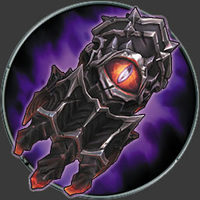
Scale the debris slope again and carefully jump to a nook in the south wall. Here you discover a unique secondary weapon known as the Fists of Elhazar.
|
Fists of Elhazar |
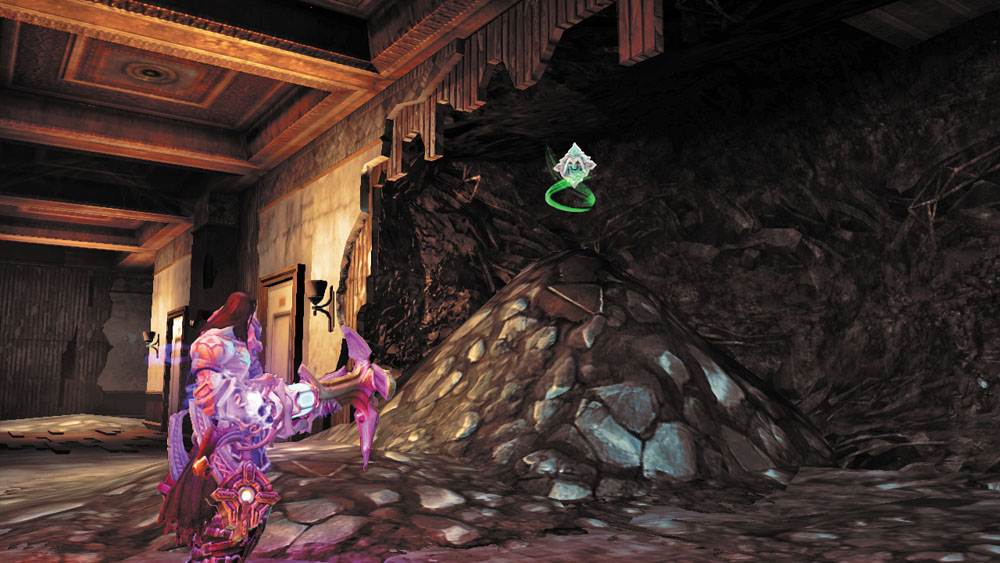
Advance into the next room and snag a Boatman Coin from a large hole in the left (west) wall.
|
|
Boatman Coin 83 |
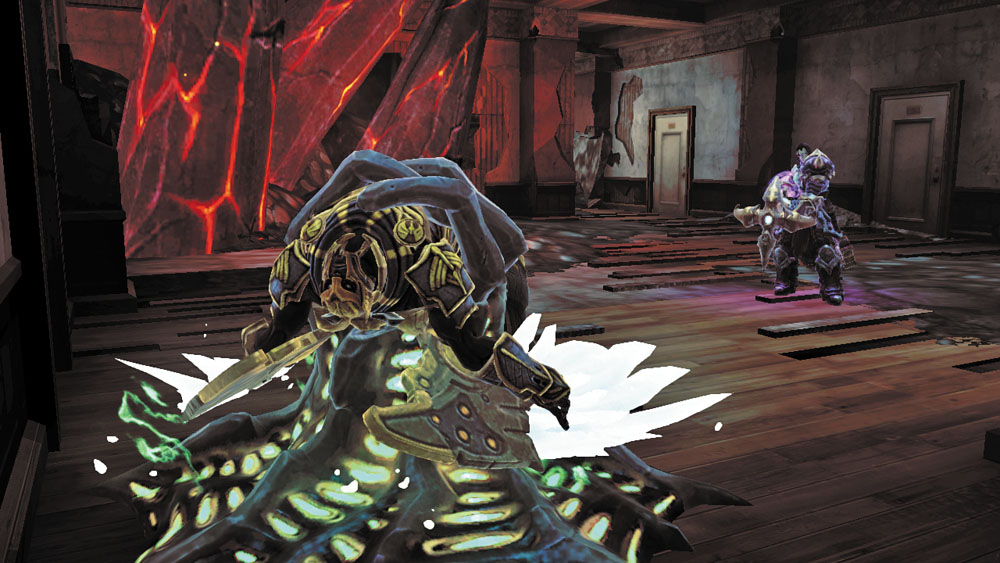
Blast the trapped Hellguard in the hall that follows to free the final angel. Exit the hotel via the hole in the wall to return to the Courtyard area.
|
|
Trapped Hellguard 10 |
Area 1, Third Visit
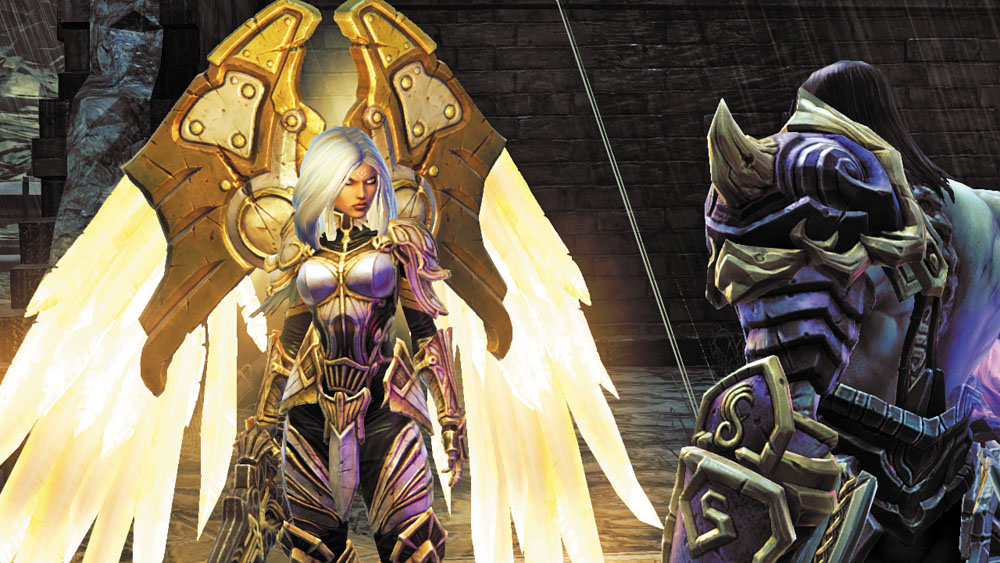
Uriel awaits the Reaper in the Courtyard. Inform her of your success in both restoring the Rod and freeing all ten of the trapped Hellguard. There’s little left to accomplish here on Earth, so leave the Hellguard to their fate and use the portal in the east building to return to Lostlight.
Side Quest Complete: “Light of the Fallen”
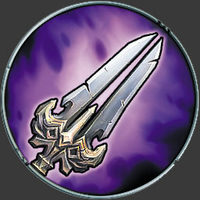
|
Sunder |