
Darksiders II Guide Walkthrough The Toll of Kings
The Second Animus Stone
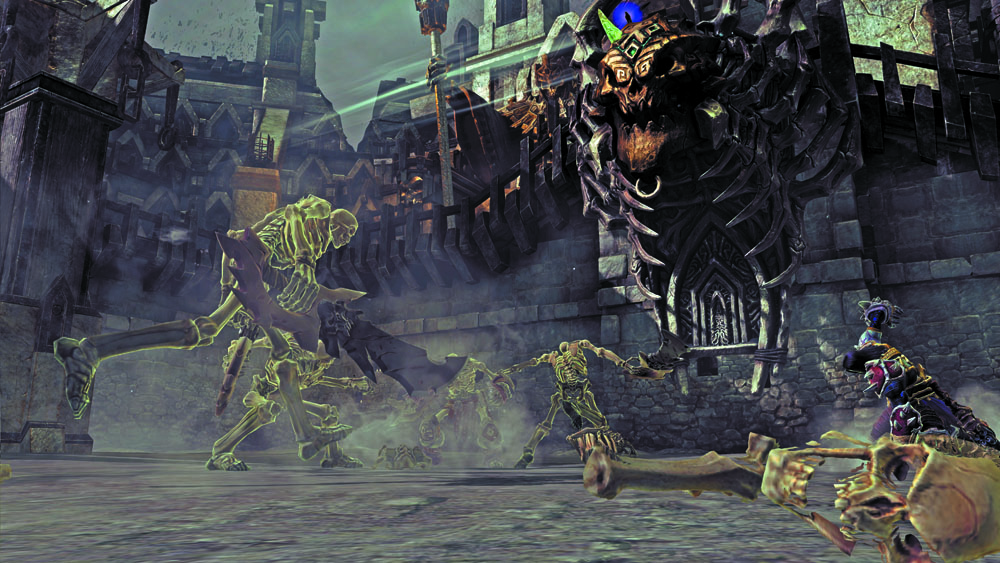
A handful of Skeletons and a Skeletal Warrior ambush you in the Arena after the first stone has been placed. Show them no mercy, and then enter one of the western passages to return to the balcony. Climb the southwest rubble to reach the second level, smashing through the occasional Skeleton as you make for the west door, which is no longer barred.
Area 11: West Wing; East Statue
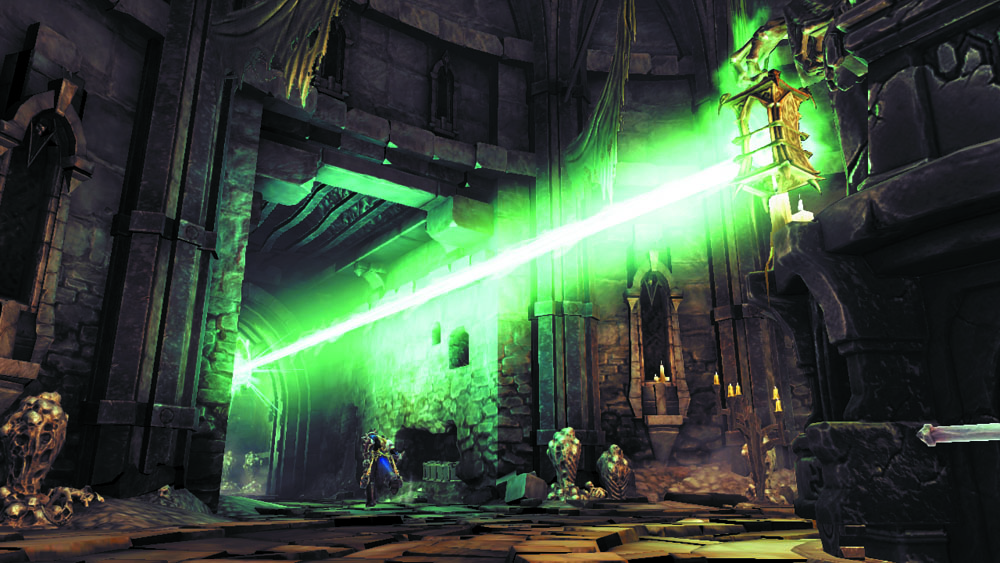
The Arena’s west door leads to a network of small circular rooms connected by winding stairs and narrow corridors. Go south, following a statue’s green beam of light to a stairwell. Go upstairs to find another statue that has no light-emitting lantern, and Deathgrip a Shadowbomb from the pod across the west pit.
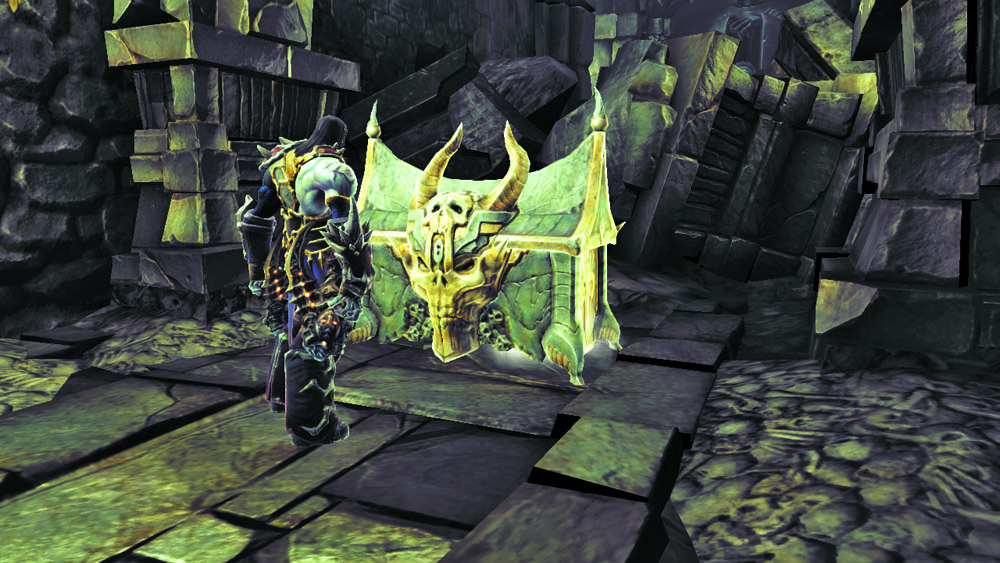
Use the bomb to blast the Corruption crystals that block the nearby south passage. The passage is a dead-end, but at its end rests a large chest filled with plunder.
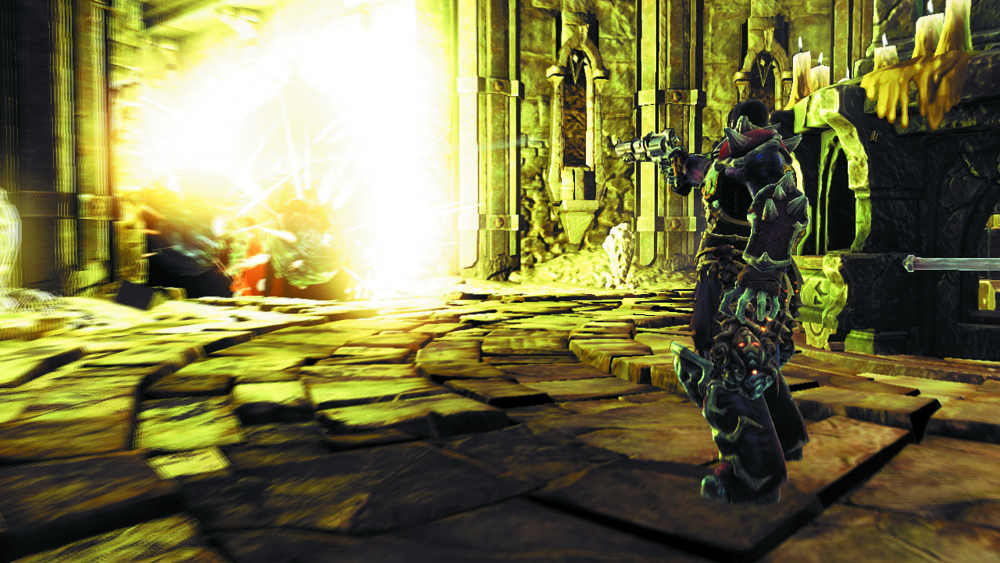
Collect another Shadowbomb and backtrack to the downstairs lantern statue. Use the bomb to destroy the Corruption crystals here, exposing another Shadowbomb pod in the north passage. Spin the statue to lower the west gate, and then collect a bomb and obliterate more crystals beyond the gate.
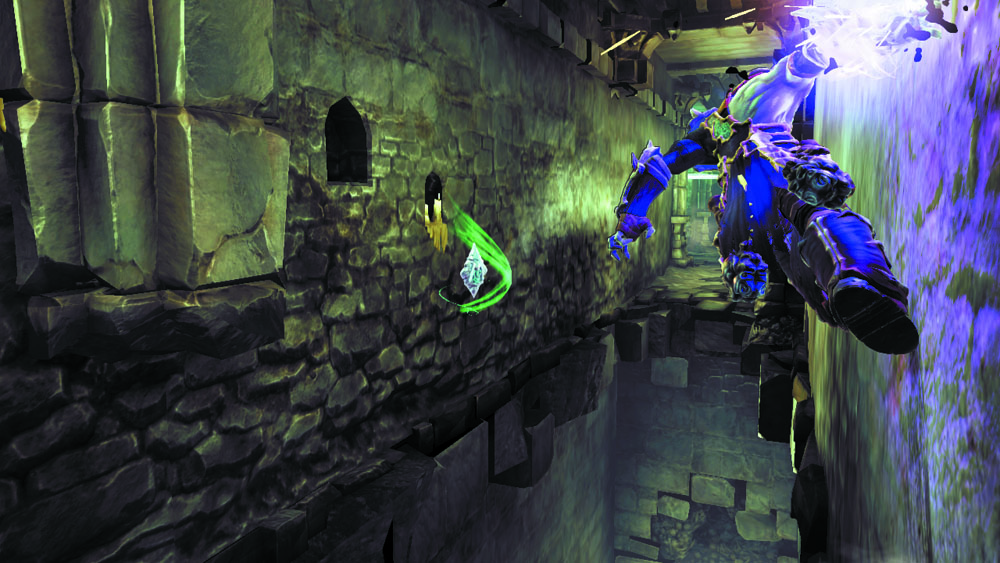
Enter the north passage and wall-run to clear its long pit. Jump from wall to wall to complete the run and claim a Boatman Coin in the process. You can also Deathgrip this collectible if you’re having trouble grabbing it during the wall-run.

|
Boatman Coin 52 |
Area 12: West Wing; West Statue
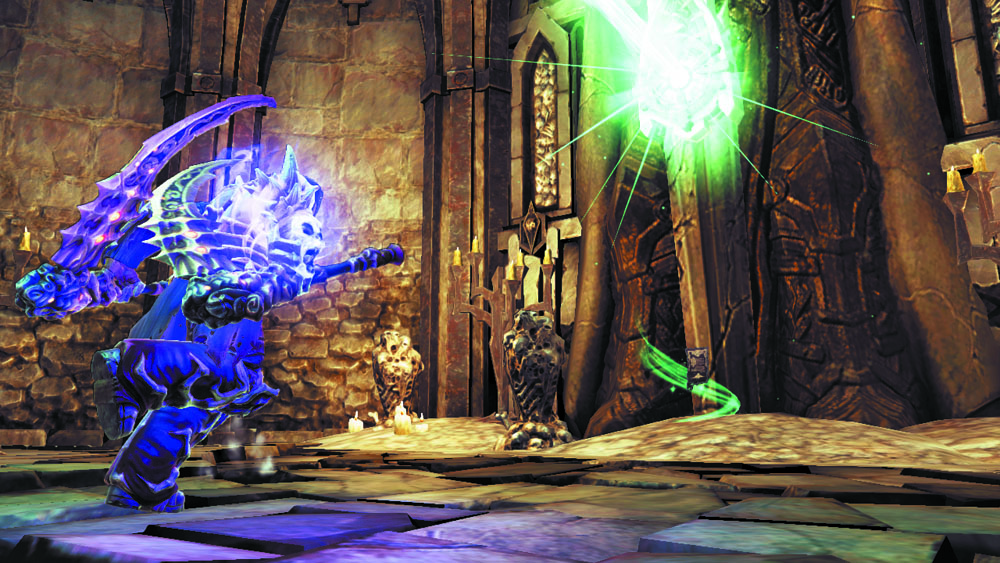
Rotate the statue you discover beyond the passage to direct its light west and raise a bridge. Sprint across and claim another lost page of the Book of the Dead.
|
Book of the Dead 14 |
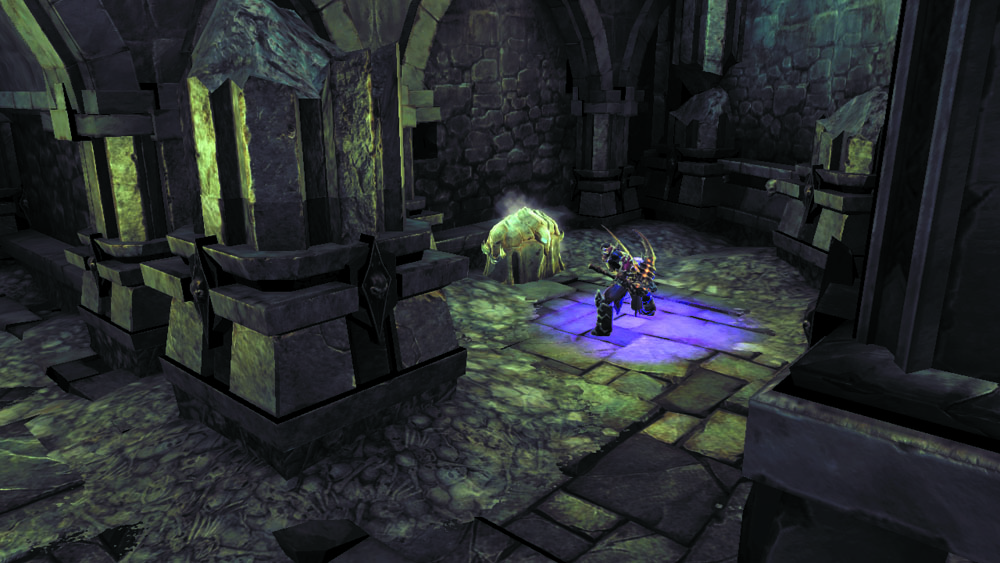
Spin the statue again, this time angling its beam south to open the south passage. Go through and loot a chest to your right. Continue south and claim a precious scroll from a nearby alcove.
|
Soul Arbiter's Scroll 2 |
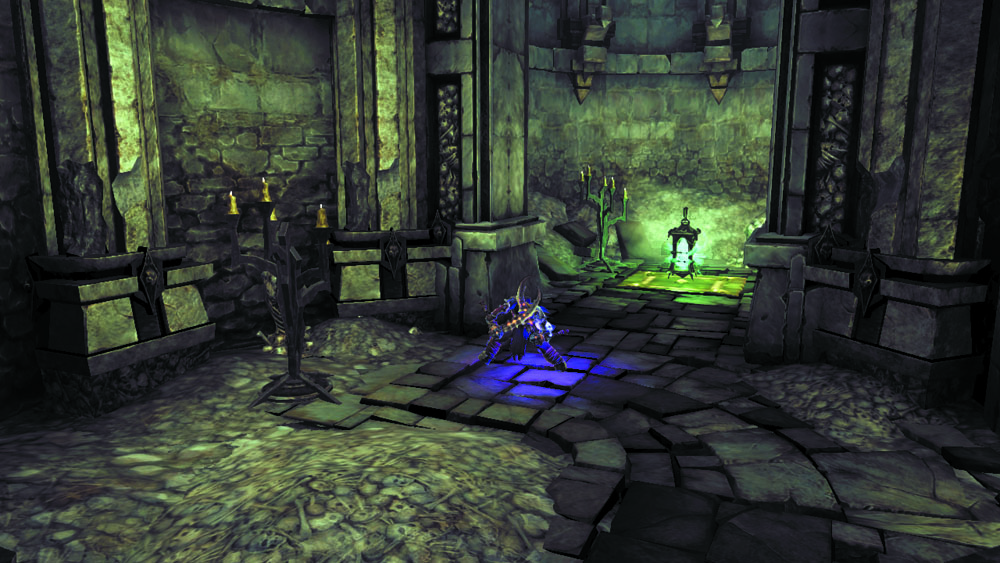
Search the south nook to discover a lantern. Beware: you’re trapped in this confined space and ambushed by Skeletons as you try to leave. Set the lantern down so you may do battle unhindered.
Lantern Dash
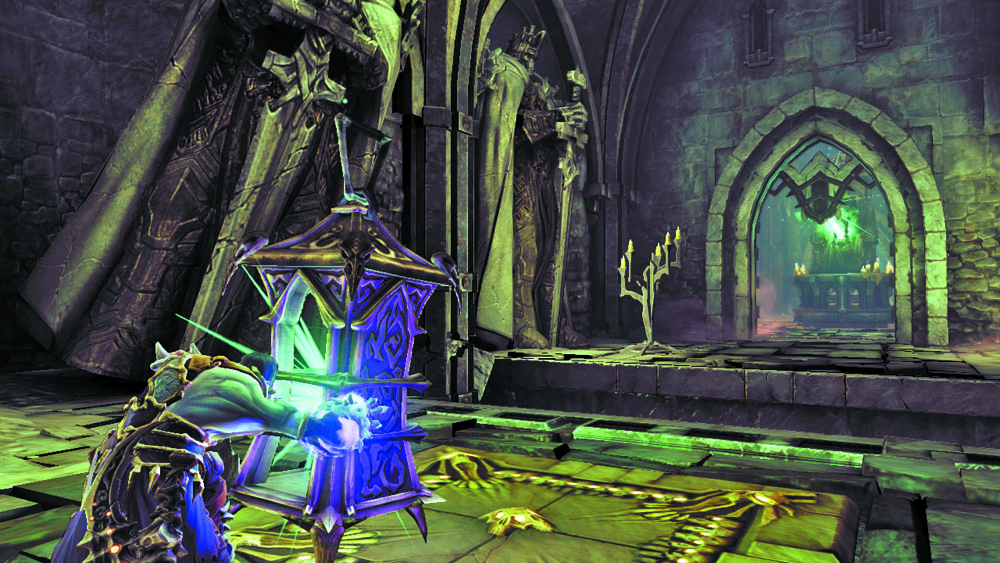
Now that you've found a lantern, you must bring it all the way back to the lantern-less statue you noticed earlier above the south stairwell. Begin by setting the lantern down on the pressure plate near the previous light-emitting statue. This lowers the nearby gate.
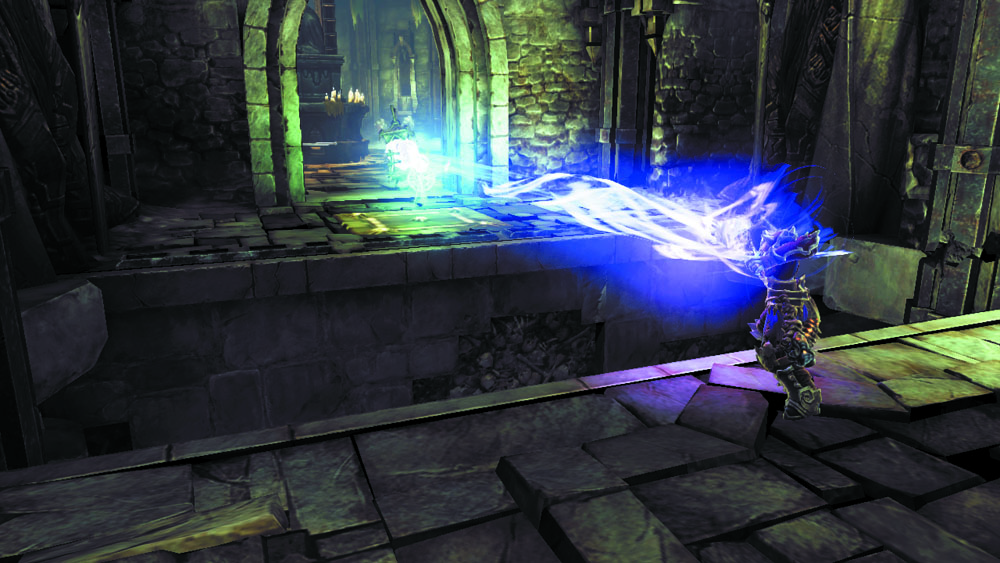
Leave the lantern on the pressure plate and wall-run back through the north passage to return to the other light-emitting statue. Deathgrip the lantern you left on the pressure plate to obtain it once more, then set it down and rotate the nearby statue to open the south passage.
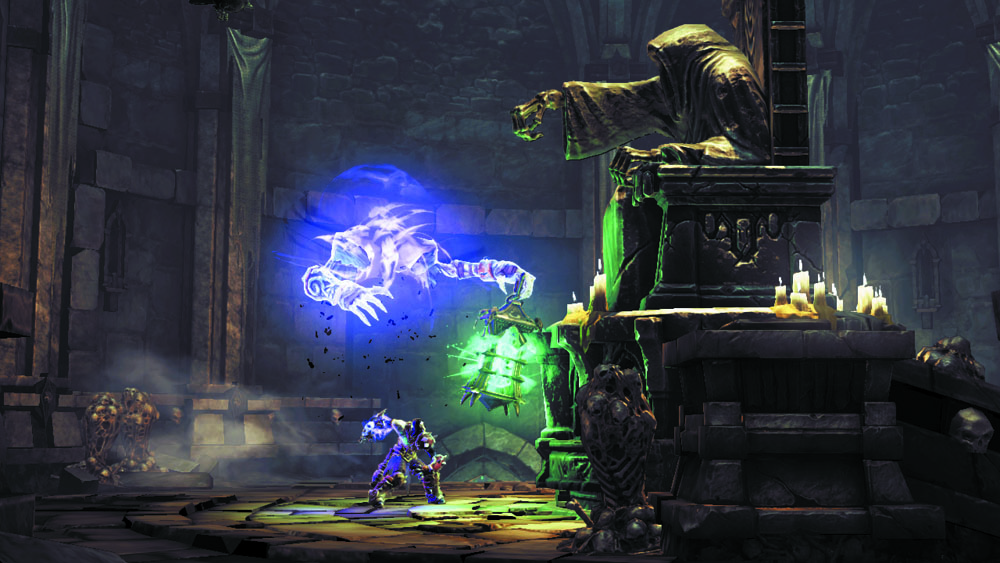
Carry the lantern up the south stairwell and give it to the statue atop the stairs. The lantern shines its light once placed, raising the west bridge. Cross and proceed through the far west door.
Area 13: Broken Stairwell II
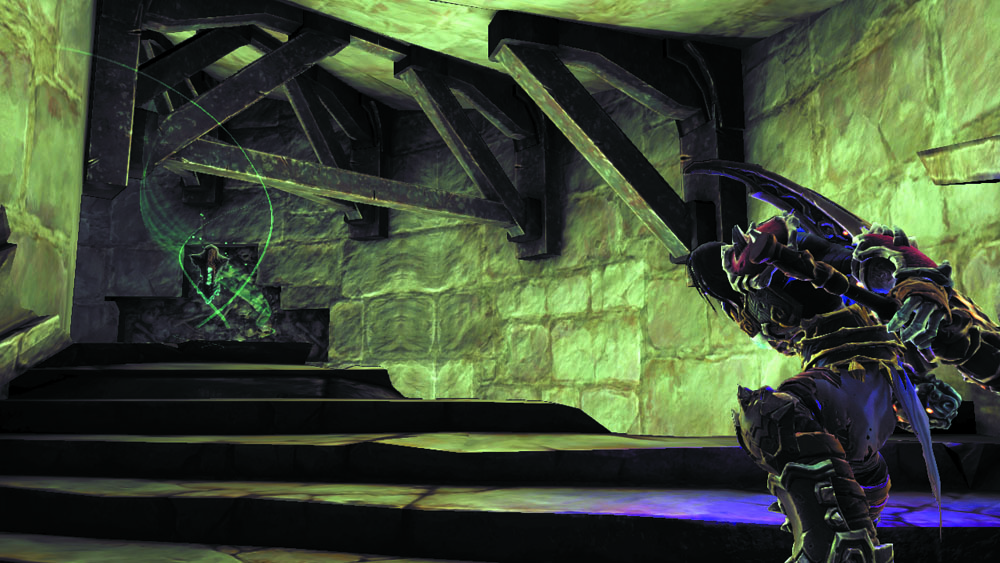
Wall-run to descend this familiar stairwell. After landing from one run, backtrack up the stairs to discover a hidden Relic for Ostegoth. Continue to descend the stairwell afterward until you reach the door at the bottom.
|
Relic of Etu-Goth 3 |
Area 14: Storage I
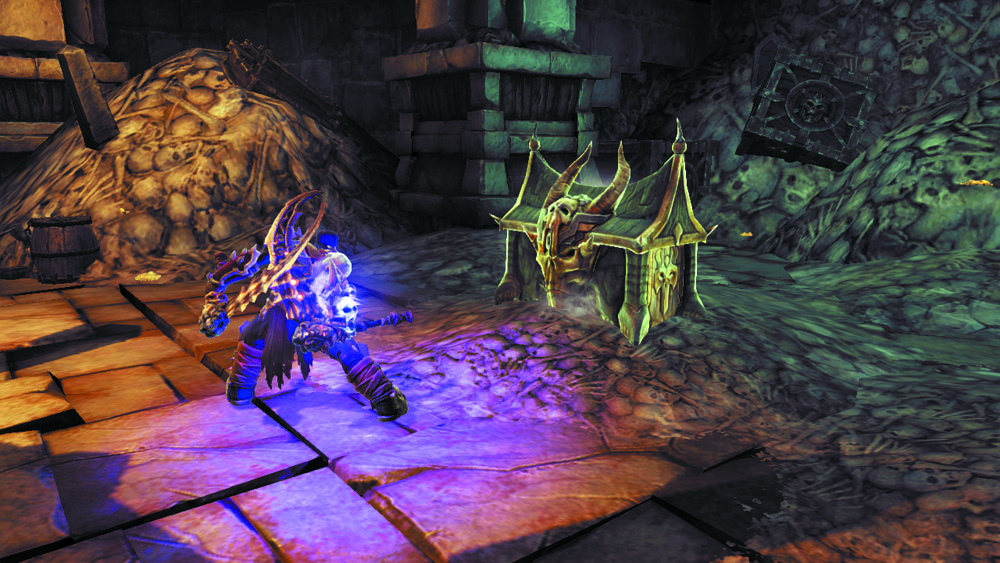
Destroy a large amount of clutter in this chamber to score plenty of potions and coin. Beware: Each of the large gravestones you destroy down here causes a crew of Skeletons to rise from the floor. However, smashing all three of these special gravestones also causes a secret chest appear, making it well worth the effort.
Area 15: Animus Stone Chamber II
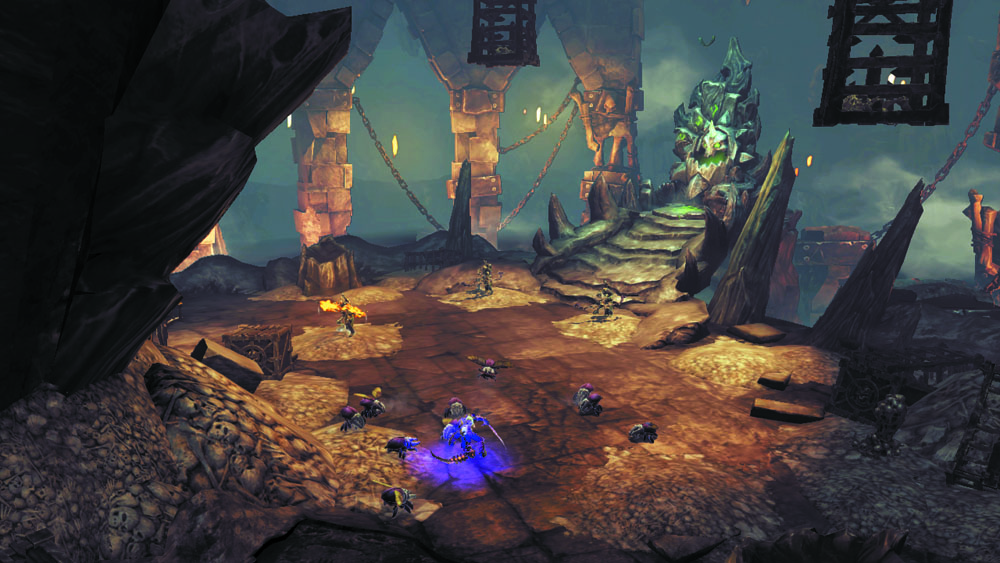
At last, you arrive at the cavern that houses second Animus Stone. Tear through the Skeletal Archers, Warriors, and Scarabs that stand between you and your prize. Pry the stone from the altar after the dust settles, and then leave the cavern by way of the northeast passage.
|
Animus Stone 2 |
Area 16: Storage II
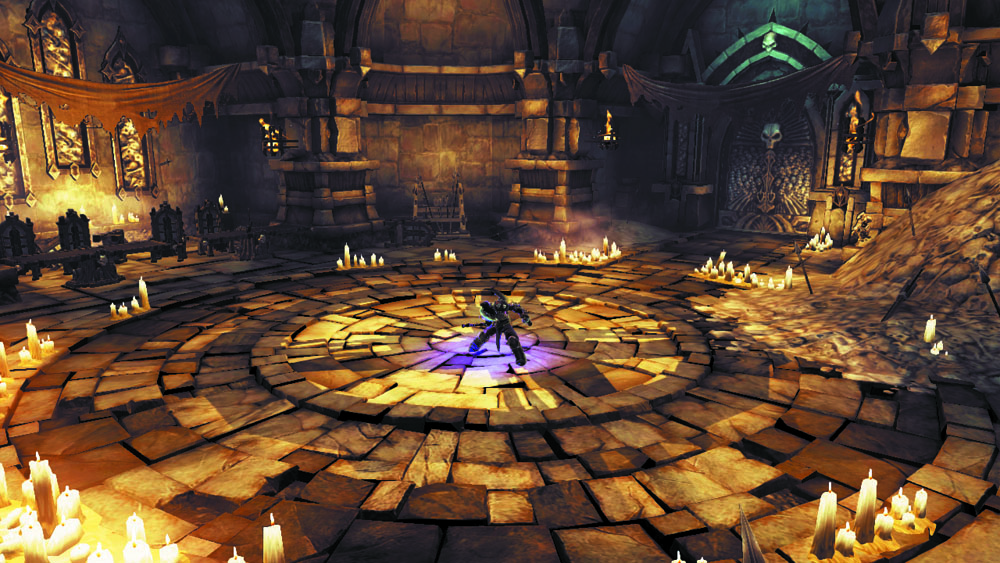
With the second Animus Stone in your possession, proceed north and smash up the weapon racks in the circular room to obtain worthy gear. Pass through the nearby door and open the chest in the small room beyond.
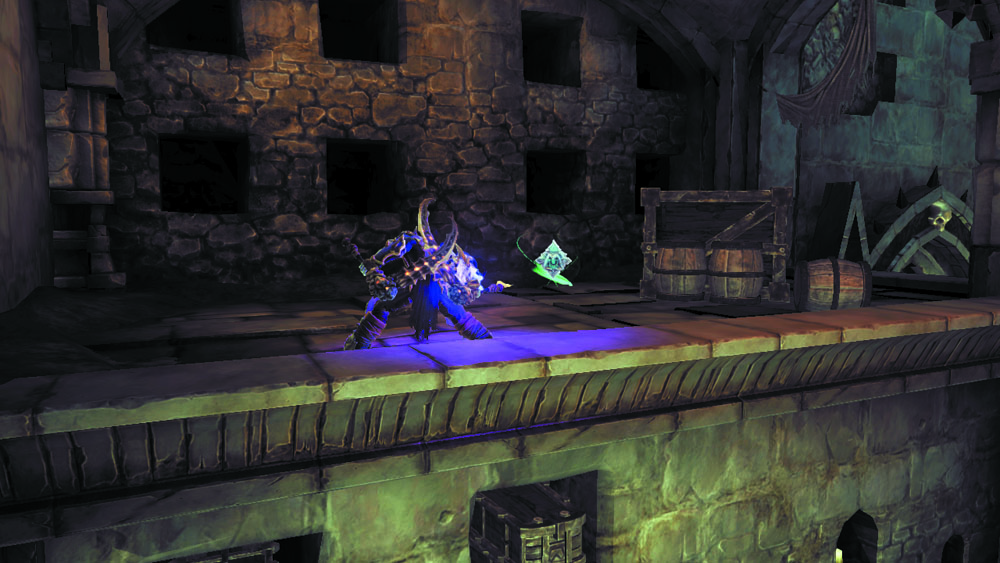
Before scaling the east wall, enter the south alcove and climb the side wall to reach a small balcony with some clutter. Wall-run to the neighboring balcony, and then smash a crate there to discover a hidden Boatman Coin.
|
|
Boatman Coin 53 |
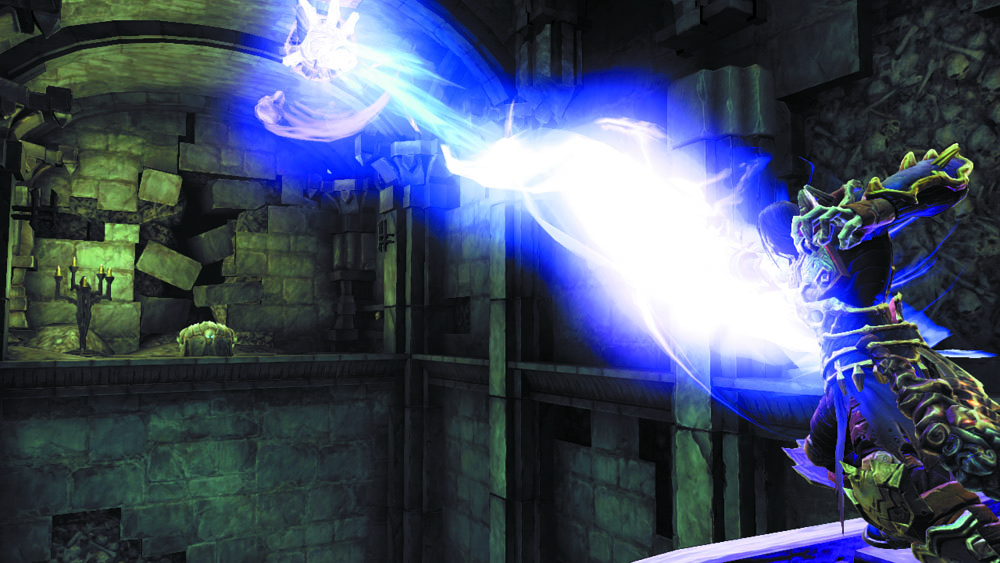
Use the Deathgrip to scale the east wall and reach a higher passage. Before pulling the lever and proceeding through the east door, turn around and Deathgrip an overhead hoop to reach the west chest.
Returning the Second Stone
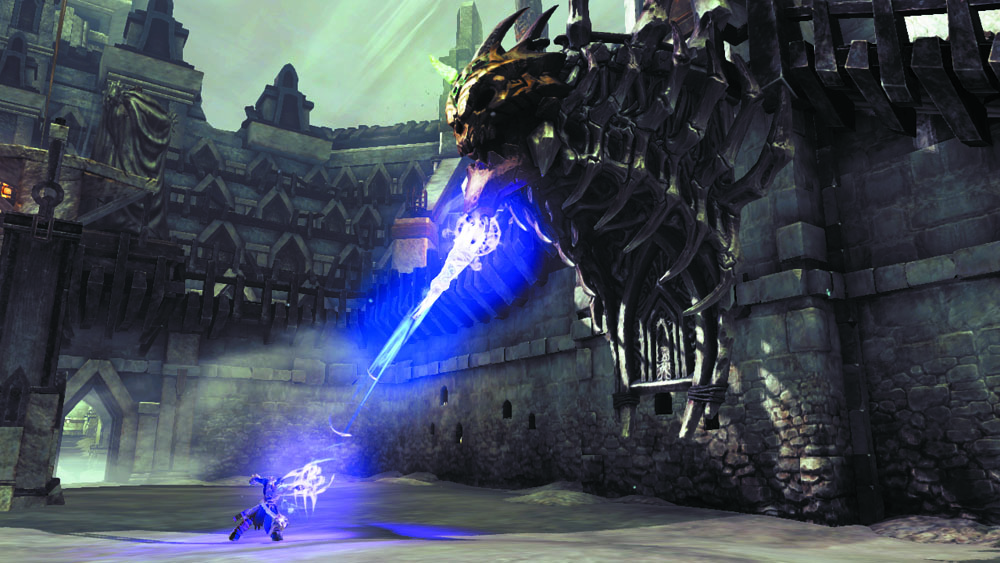
Deathgrip the hoop to place the second Animus Stone onto the Arena’s altar. No hostiles ambush you this time; simply proceed through the nearest passage to reach the balcony, and then pass through the north door, which is now open.