
Darksiders II Guide Walkthrough The Lord of the Black Stone
Boss Battle: Samael
Boss Battle: Samael
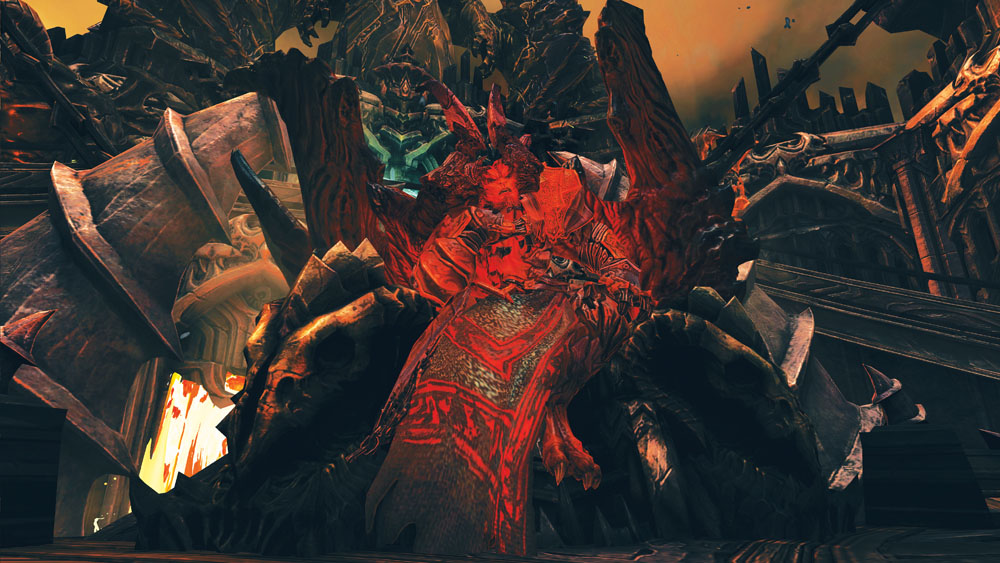
The Lord of the Black Stone is a mighty tyrant, and he is unwilling to part with the Demon Key. The Horseman must take it from him by force.
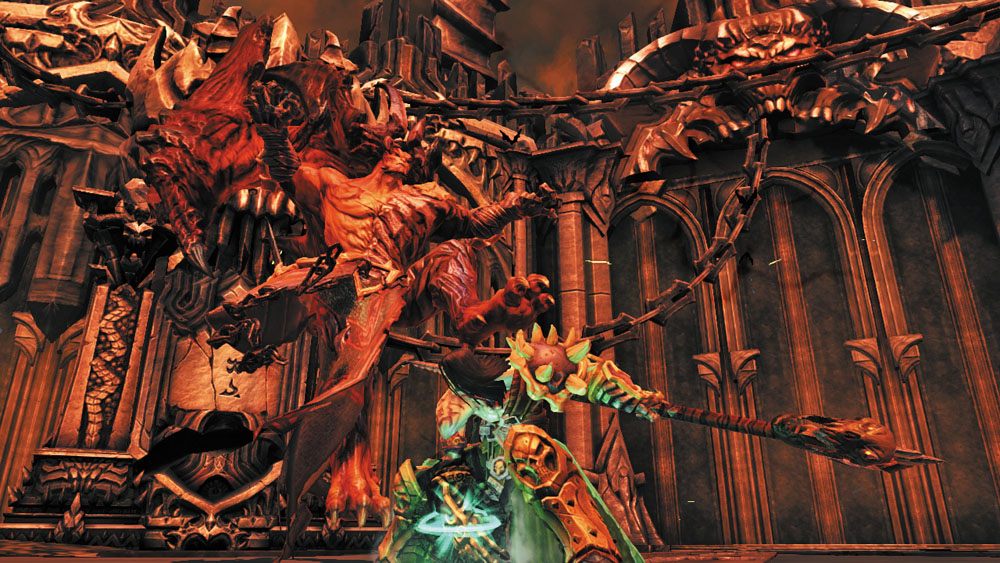
Samael has many powerful attacks and abilities. He often teleports before striking. Remain focused on the villain, evade the moment he teleports near, and then unleash a damaging skill or combo before evading out of harm’s way again.
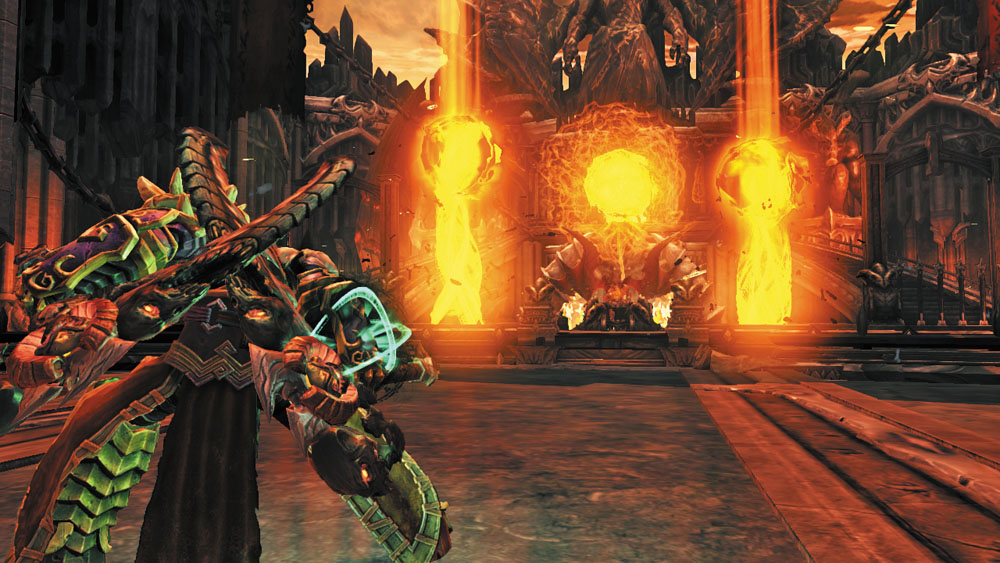
Each time Samael suffers significant damage, he flees to his throne and summons a number of energy orbs, and then casts them toward the Rider. Evade to one side and then the other to dodge these dangerous projectiles.
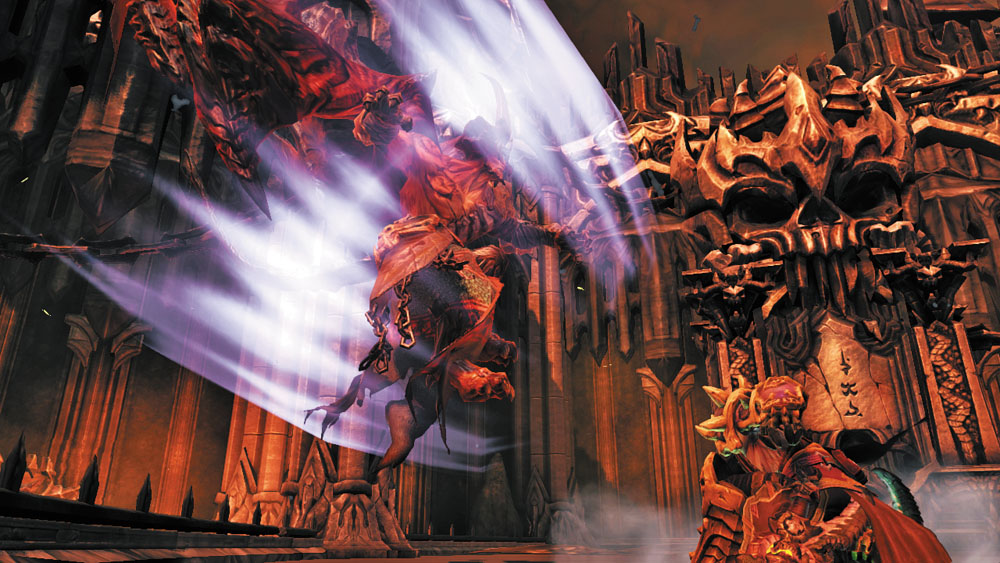
Samael’s most dangerous attack is a rare foot stomp that sends out a shockwave of lethal energy. Tap the Evade trigger to backflip away from the Blood Prince the moment you see him raise his left leg in preparation to stomp.
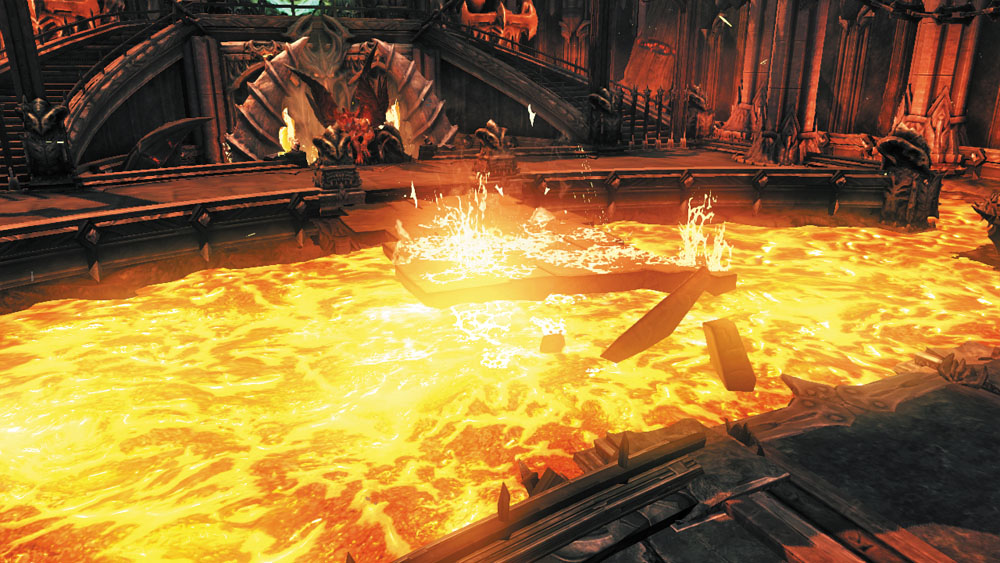
The third time Samael flees to his throne, a bridge appears, allowing Death to advance on him. Sprint over to the demon lord and pound away until he tosses the Reaper back to the main arena.
Phase II
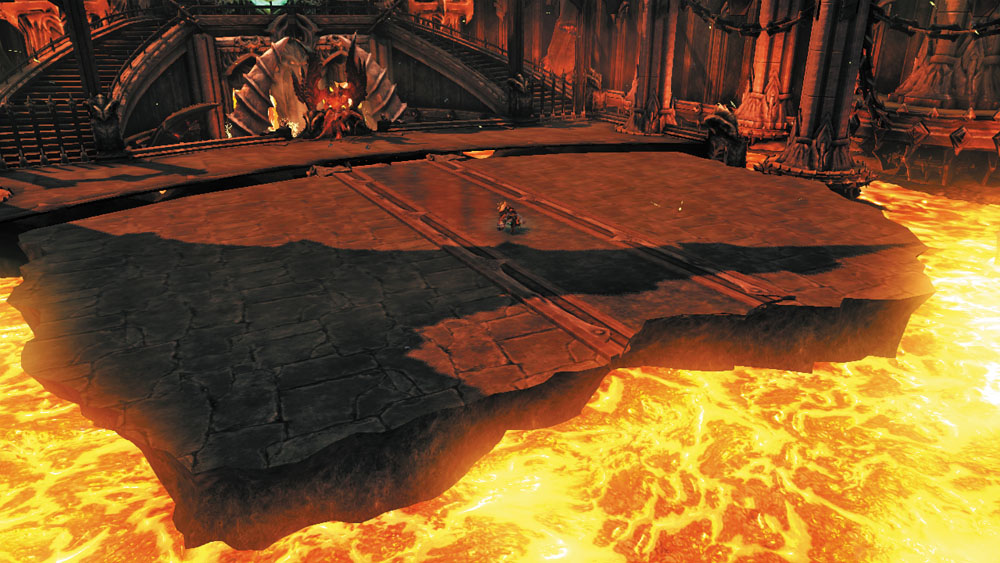
The pace of the battle changes after Samael uses his demonic power to draw the main arena closer to his throne. Now, the tyrant unleashes far more powerful attacks. Maintain Aegis Guard at all times, and do your best to avoid Samael’s devastating blows.
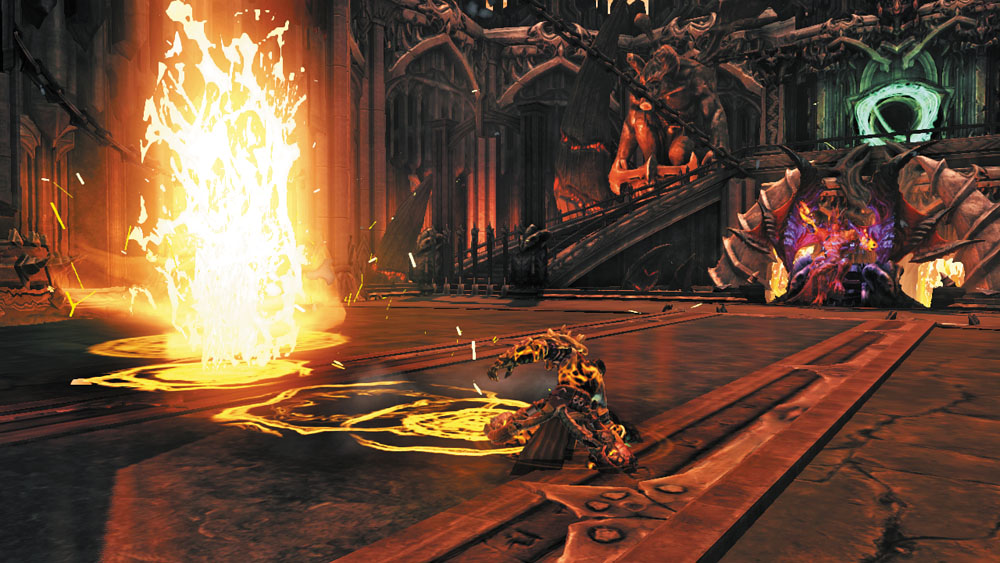
Samael will continue to flee to his throne after suffering significant damage. Instead of lobbing energy orbs, however, the villain summons columns of flame beneath Death’s feet. Run to avoid being scorched, and evade the moment you see a circular pattern appear on the ground, which heralds the arrival of each flame column.
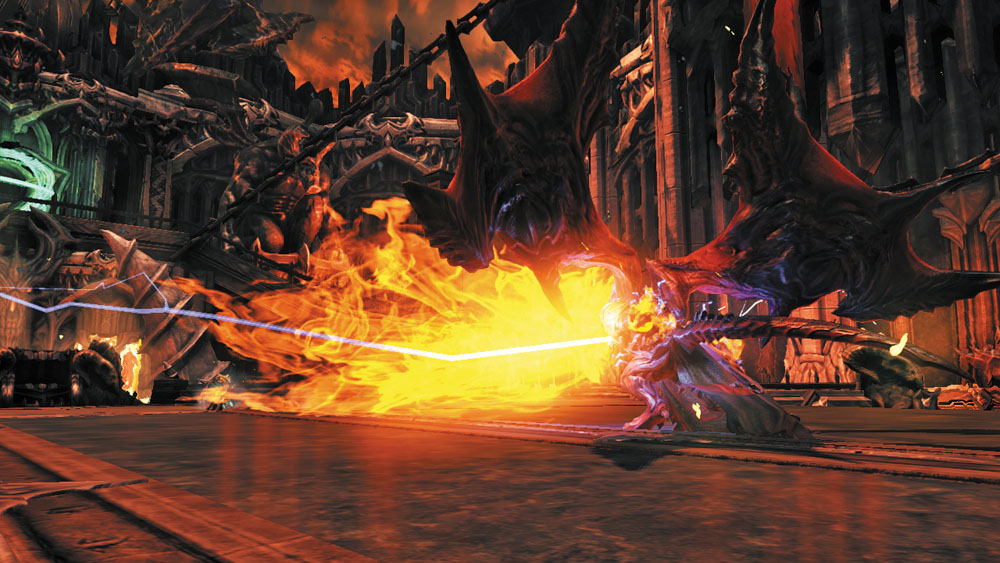
As he nears defeat, Samael will begin to spew out searing flames. This is one of his longest and least effective attacks, so if you have plenty of health potions, stand before him and capitalize by unleashing your most powerful combos. Don’t relent until the Blood Prince has been dethroned.
Demon Key Acquired
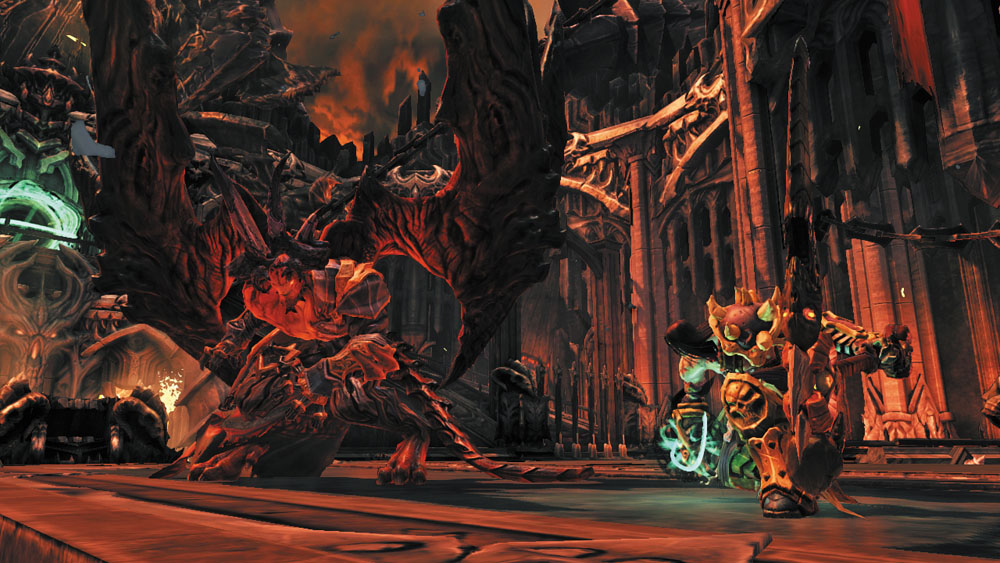
Beaten and broken, Samael has no choice but to admit defeat. He hands the Horseman the Demon Key, and then departs. Perhaps it was the Reaper who caused the Lord of the Black Stone to vanish all along? In any case, the way to the Well of Souls can now be opened!
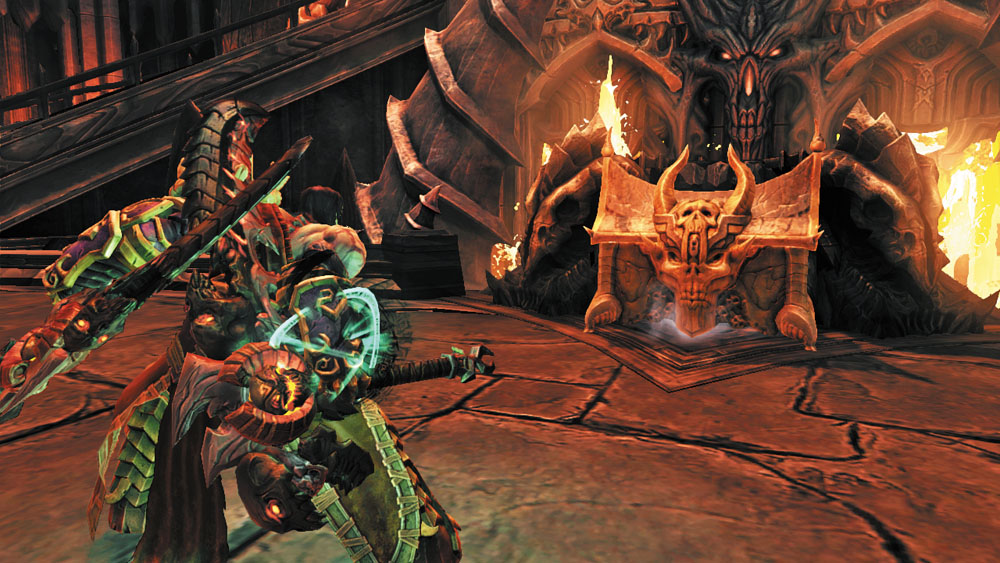
Open the large chest that appears after Samael departs. There’s nothing left for you to accomplish here; fast travel back to the Tree of Death to find the Crowfather awaiting you.
The Last of the Loose Ends
If you’ve been following this walkthrough, then there are only three things left for you to accomplish prior to entering the Well of Souls. See the “Side Quests and Areas” chapter for additional details.
- Death Tomb IV: You’ve found the fortieth and final Book of the Dead page within the Black Stone’s walls. Travel to any other realm and obtain the final Death Tomb key from Vulgrim, and then return to Shadow’s Edge and ride north from the Tree of Death to find the entrance to the final Death Tomb near Ostegoth’s position. Inside you’ll find the largest hoard of valuables yet, including two Stonebites, the final lost Relic, and two unique pieces of gear.
- The Soul Arbiter’s Maze: You’ve now found every Soul Arbiter’s Scroll and Sacred Scroll, except for the few that are found within the Maze itself. Go there now and complete this final side area to enter the Well of Souls at maximum power.
- Blackroot: After obtaining the final Stonebite from within the Soul Arbiter’s Maze, return to the Fjord’s most voracious construct and complete his side quest.
- The Crucible, Part III: Defeating Samael earns you the third Tarot Card, allowing you to delve deeper into the Crucible. Clear the 75th wave to claim another excellent prize.

|
Boatman Coin 100 |

|
Relic of Khagoth 5 |
|
Stone of Mystics 34 |
|
Stones of Power 23-25 |

|
Scroll Arbiter's Scroll 10 |
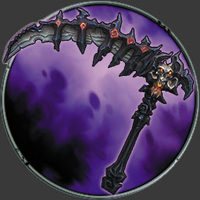
|
Black Demise |
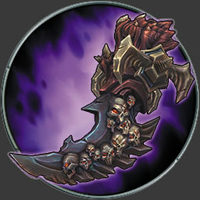
|
Executioner's Hooks |
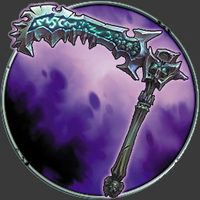
|
Barbed Defilers |