
Darksiders II Guide Walkthrough The Lord of the Black Stone
The Black Stone
The Black Stone
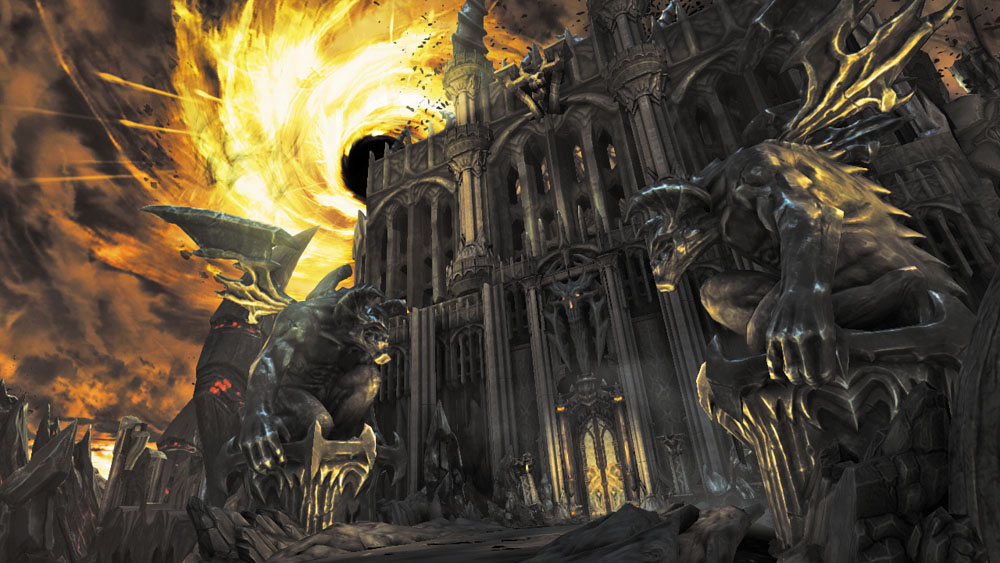
This once mighty stronghold has fallen to ruin. Corruption has taken hold of the fortress, but Death must still find a way to confront its master.
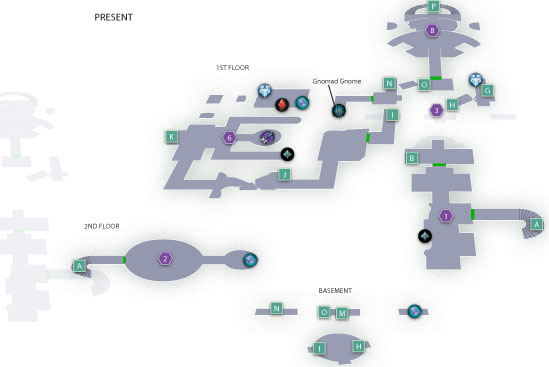
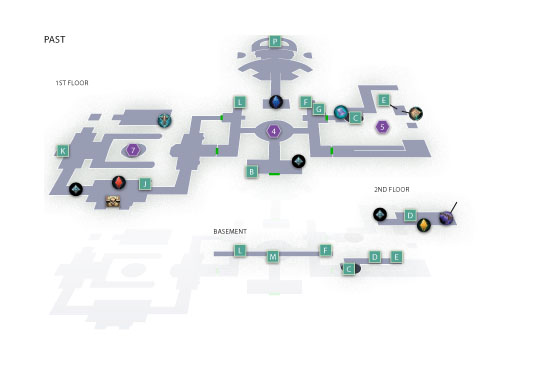
Area 1: Entry Hall
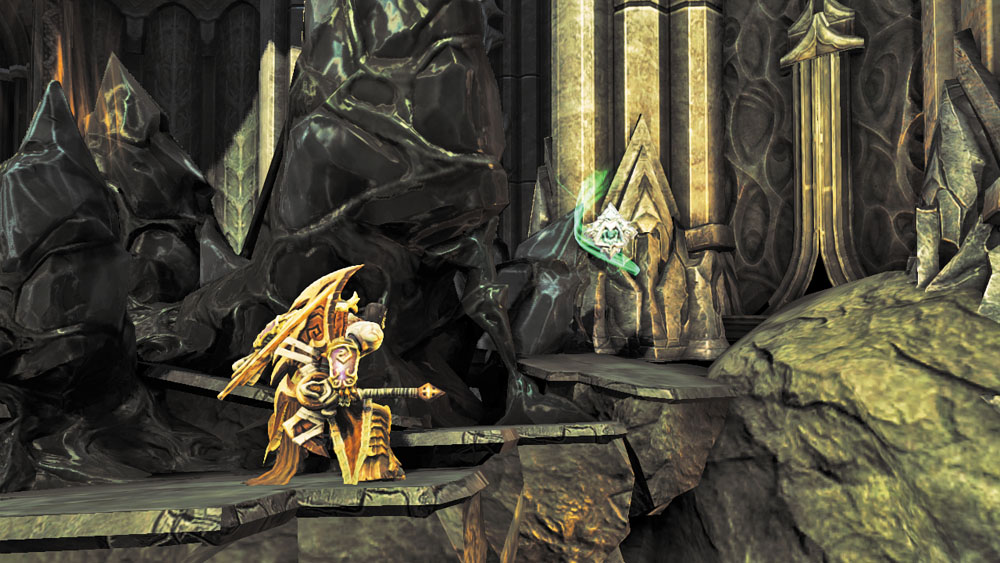
Ostegoth was right: something is very wrong here. Circle around the black Corruption to the left as you enter and claim a hidden Boatman Coin. Go through the east door afterward and scale some stairs to reach the stronghold’s second floor.

|
Boatman Coin 95 |
Area 2: Lilith’s Chamber
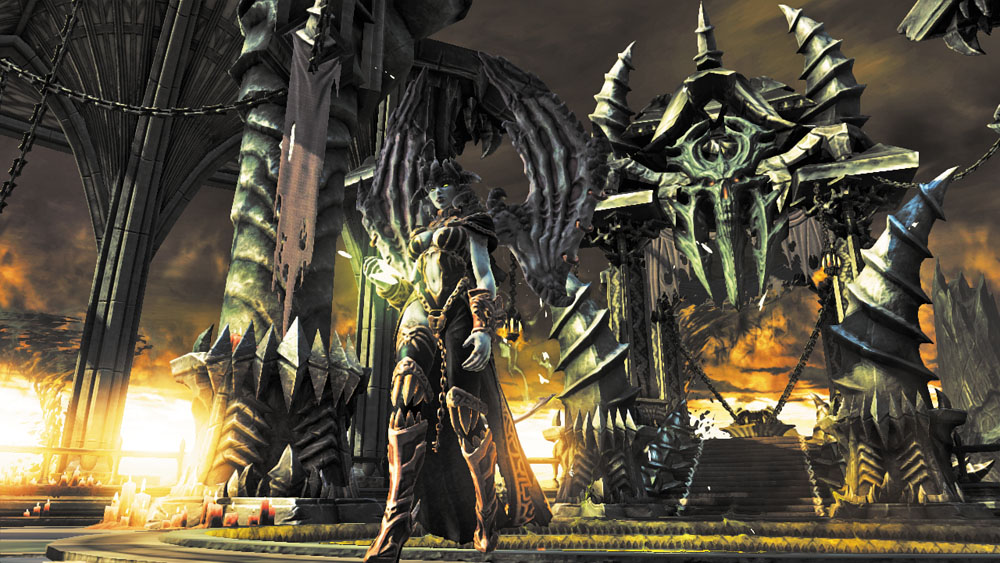
Here, Death encounters a seductive demon named Lilith: the one who was responsible for creating the Horseman and his brethren, the Nephilim. Lilith informs the Rider that Samael has left the Black Stone, and that the Demon Key has left with him. All is not lost, however: Lilith imbues Death’s Voidwalker with the power to open portals through time—a trick that will allow the Horseman to explore the Black Stone in the past, before its fall.
|
Phasewalker |
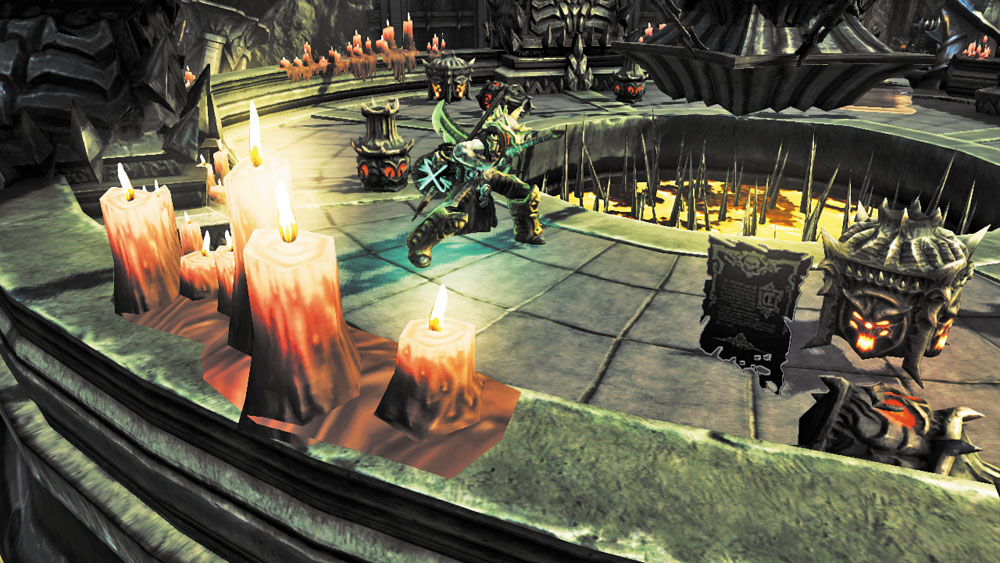
Question Lilith further if you wish, and then sprint east and claim a Book of the Dead page from the far end of the room. Backtrack downstairs afterward and proceed through the north door to reach the next area.
Area 3: Great Foyer (Present)
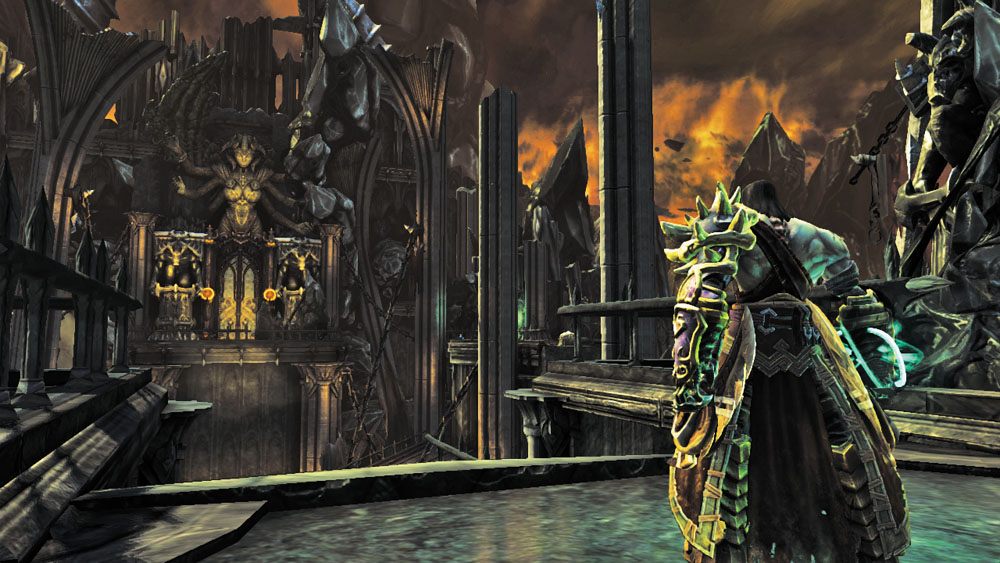
This massive chamber has fallen to ruin; there’s no way of exploring it in its present state. Use your newfound Phasewalker on the nearby time portal to open a window to the past. Step through to travel back in time.
Area 4: Great Foyer (Past)
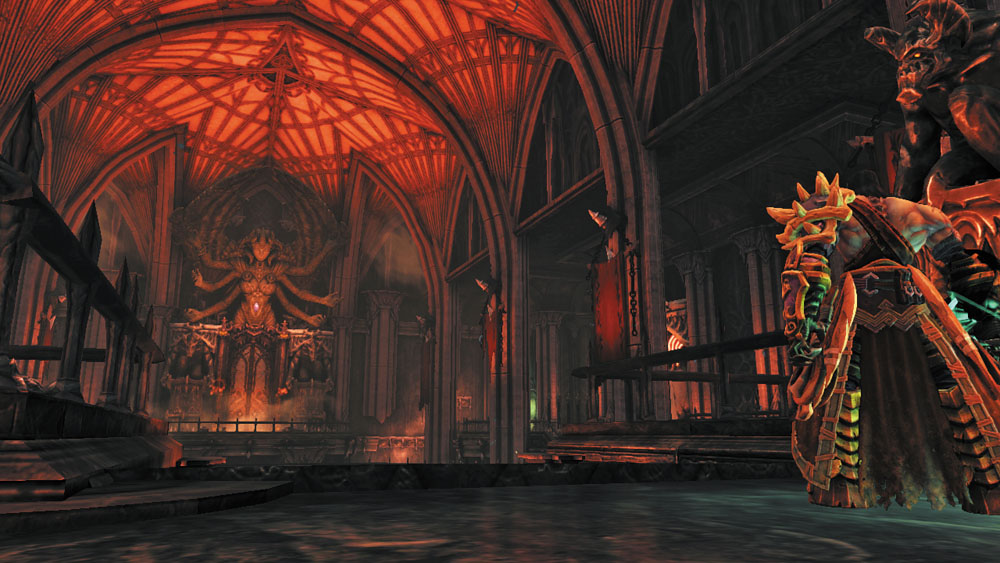
Death emerges from the portal to find himself in familiar surroundings, but the Great Foyer is no longer a ruin. Search behind the east pillar to discover a Boatman Coin before advancing north to explore the area.
|
|
Boatman Coin 96 |
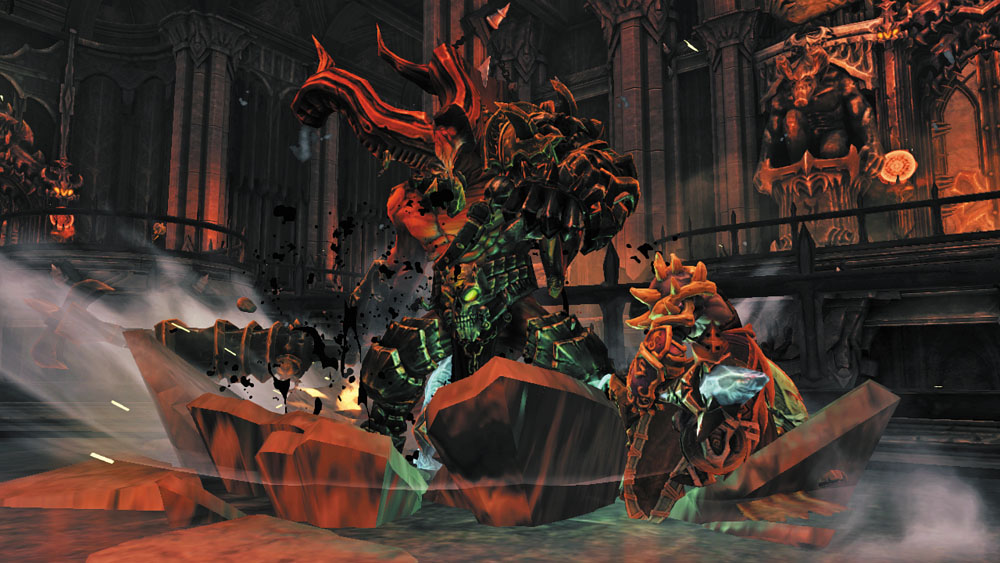
Beware: mighty demon warriors known as Legion Champions and Legion Soldiers ambush Death as he moves to the Foyer’s central platform. This is a deadly attack, so don’t hold back: unleash Death’s best skills to quickly cut down the demons, and dodge often to avoid becoming overwhelmed. Proceed through the southeast door after the battle.
Area 5: East Wing (Past)
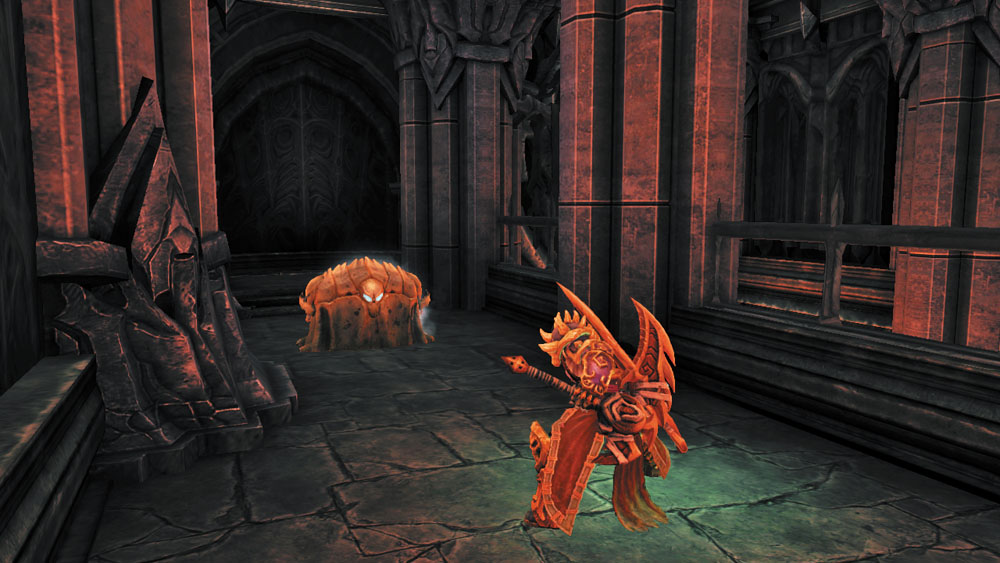
Open the treasure chest here before heading downstairs to reach a long passage filled with lava. Wall-run to the first platform, and then wall-run again, jumping between the narrow walls to extend your run to a distant hand hold. Wall-run to the next hand hold, and then climb up to the northern ledge.
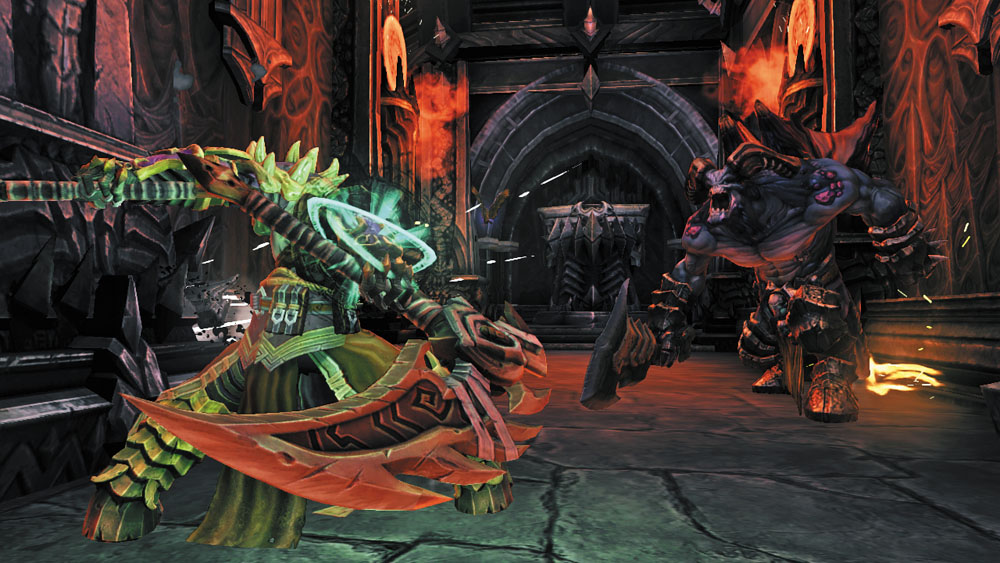
An ornate chest to the south tantalizes you, but you can’t claim it just yet. Instead, go west and slay a couple of Legion Soldiers in a passage that leads to a large circular pit.
East Wing Secrets
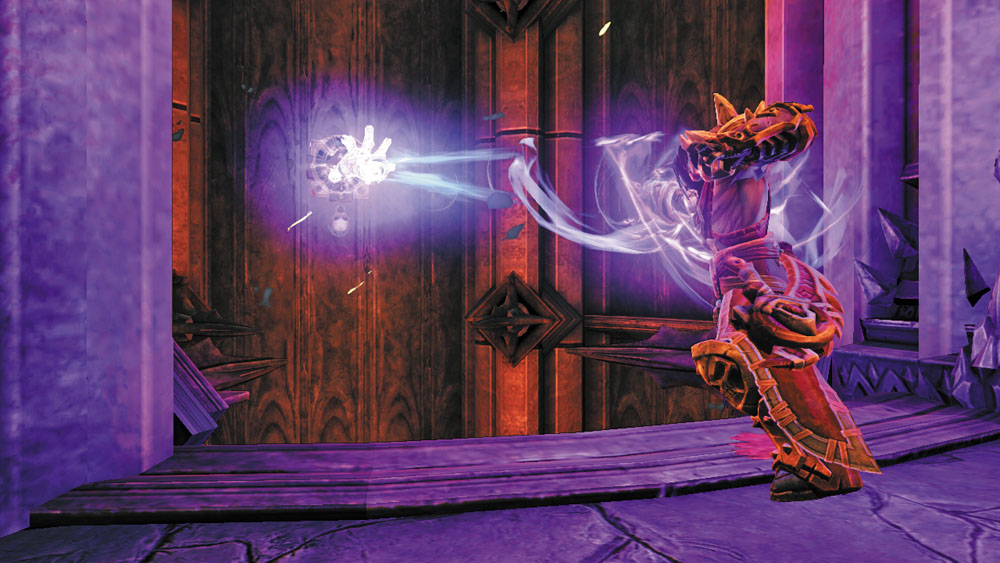
Leap out and Deathgrip the pit's south hoop to bound up to a hand hold. Rather than climbing out of the pit, drop from the hand hold afterward to slip past the hoop and grab a lower hand hold.
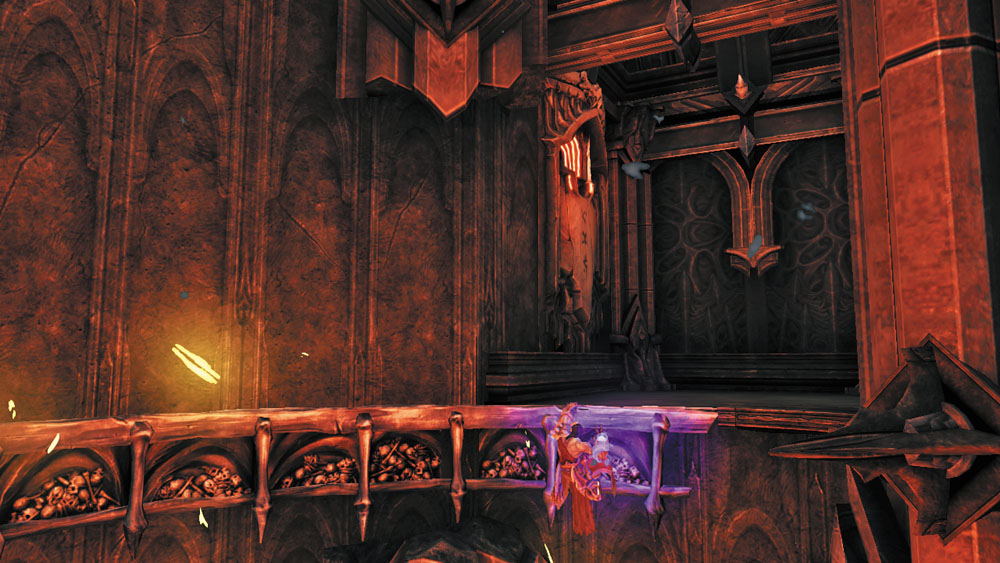
Shimmy around the low hand hold and climb up to enter a secret passage.
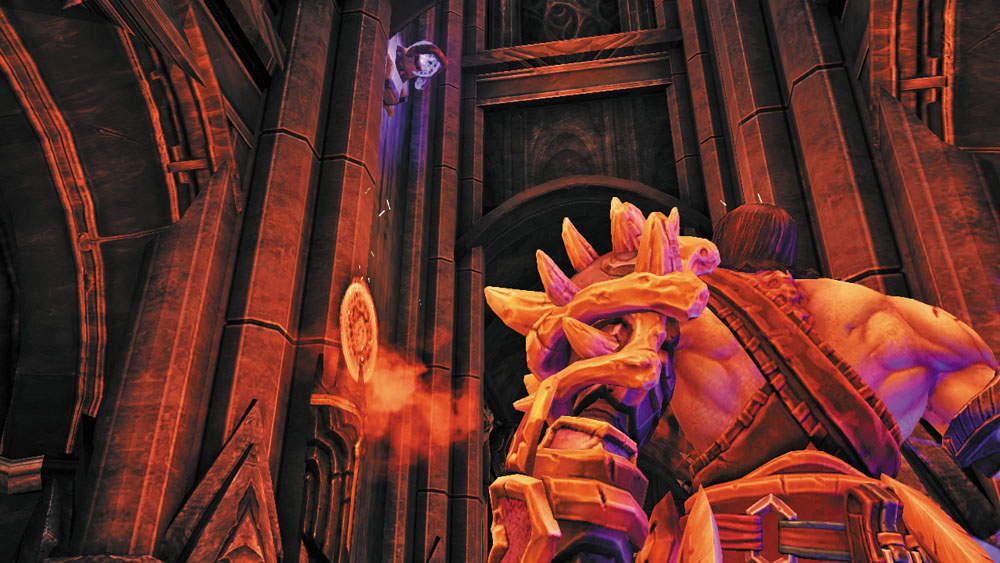
Don't Deathgrip the hoop at the passage's end. Instead, look for another hoop high on the south wall inside the passage. Deathgrip this hoop and make your way up a narrow shaft.
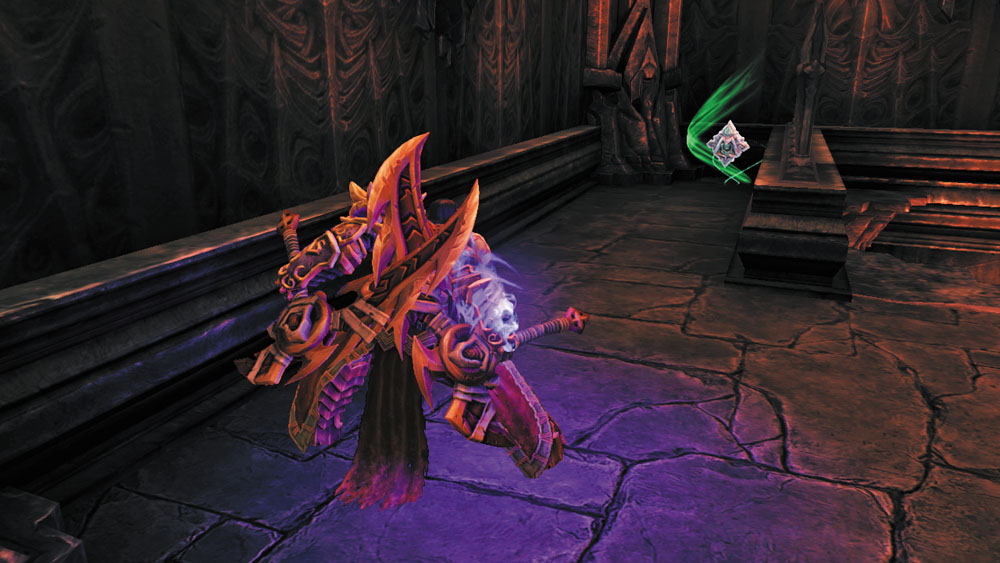
Battle a Legion Champion in the secret room above the passage, and then claim the nearby Boatman Coin. Face South afterward and blast the distant Stonebite on the ceiling.
|
|
Boatman Coin 97 |
|
Stone of Resistance 10 |
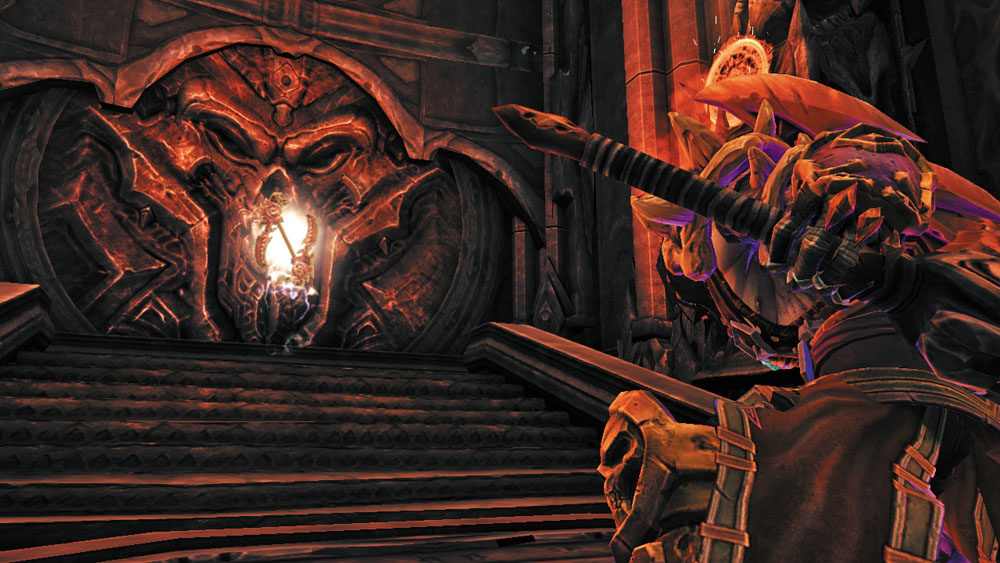
Scale the east stairs and claim a powerful unique weapon. Drop back down to the lower passage after claiming this final prize.
|
Demonflame Renders |
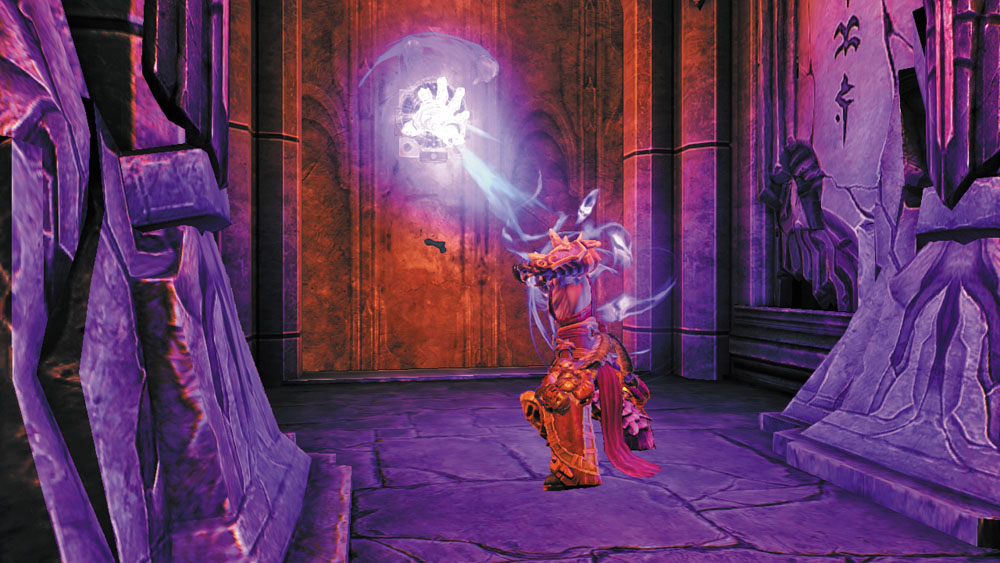
Now, Deathgrip the hoop on the east wall at the end of the secret passage. Death bounds up the wall; quickly jump back and forth until you reach the ledge with the ornate chest you noticed before. Open this to obtain the Dungeon Map.
|
Dungeon Map |
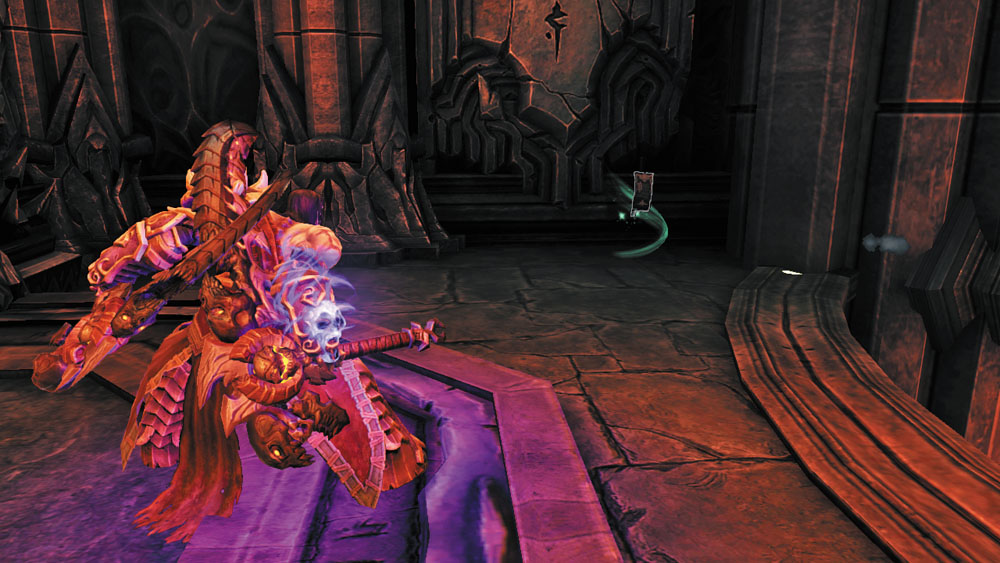
Wall-run to the north ledge after claiming the map, and then make your way back to the circular pit. Deathgrip the hoop again, and this time, scale the wall and climb out of the pit. Claim the nearby Book of the Dead page before proceeding through the west door.
|
Book of the Dead 38 |
Area 4: Great Foyer (Past), Revisited
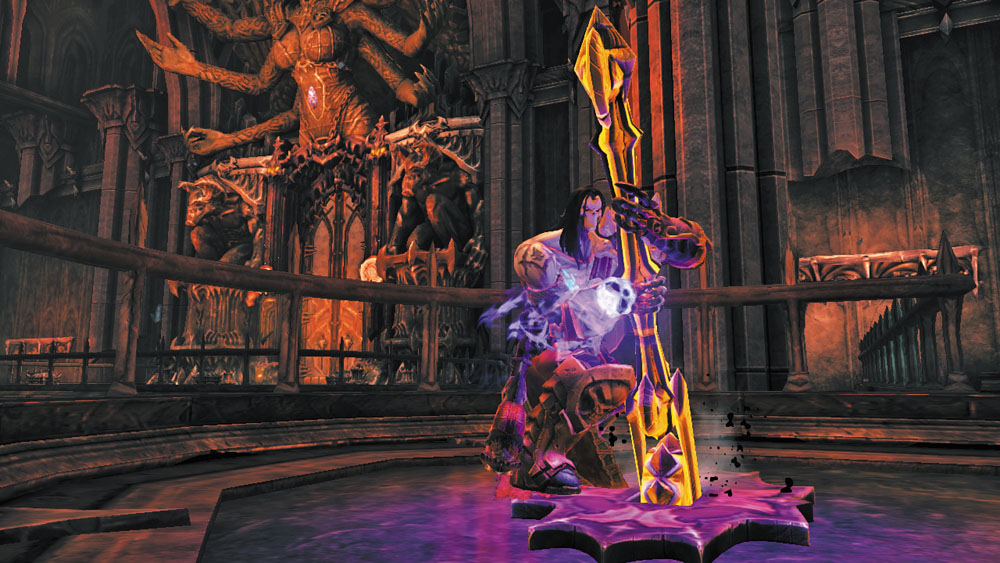
You emerge on the Great Foyer’s northeast balcony. Pull the lever to lower the nearby gate, and then battle the Legion Champion that materializes. Shoot the Stonebite on the belly of the large statue to the north after the fight.

|
Stone of Power 20 |
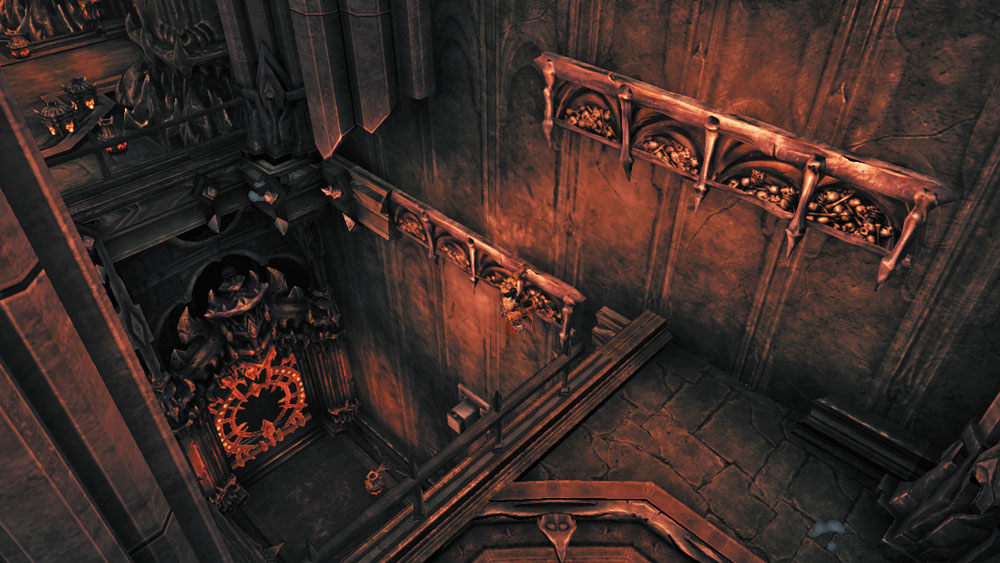
Before opening the nearby time portal, grab the north wall’s hand hold, shimmy to the left, and then drop down to the walkway below. Cut down the Legion Soldier here, and then open the chest in the nook. Climb back up the hand holds to return to the northeast balcony.
Area 3: Great Foyer (Present), Revisited
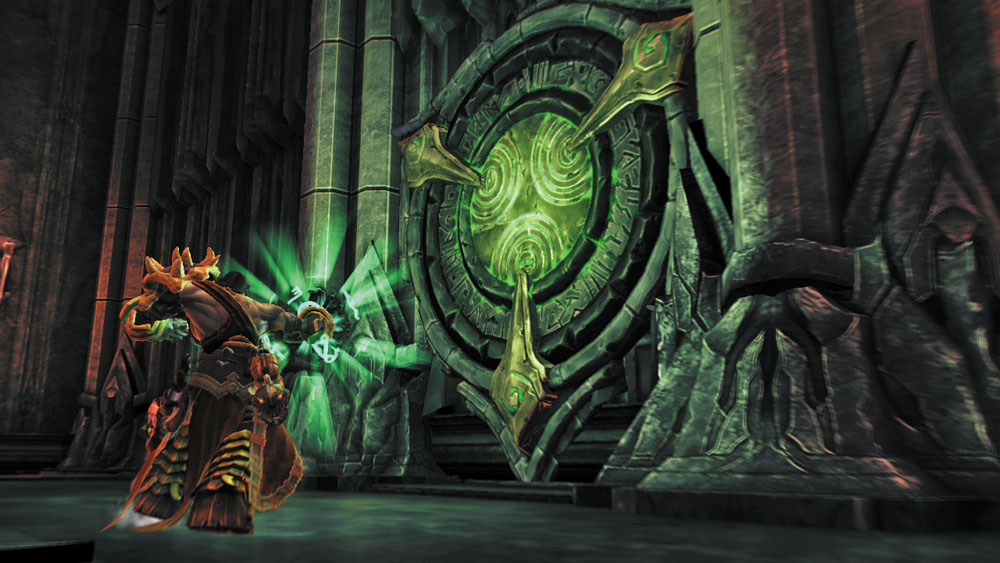
Now, open the balcony’s time portal with the Phasewalker and step through to return to the present. Raid the chest and collect the nearby Soul Arbiter’s Scroll, and then leap off the balcony to reach the Foyer’s collapsed central platform.

|
Soul Arbiter's Scroll 8 |
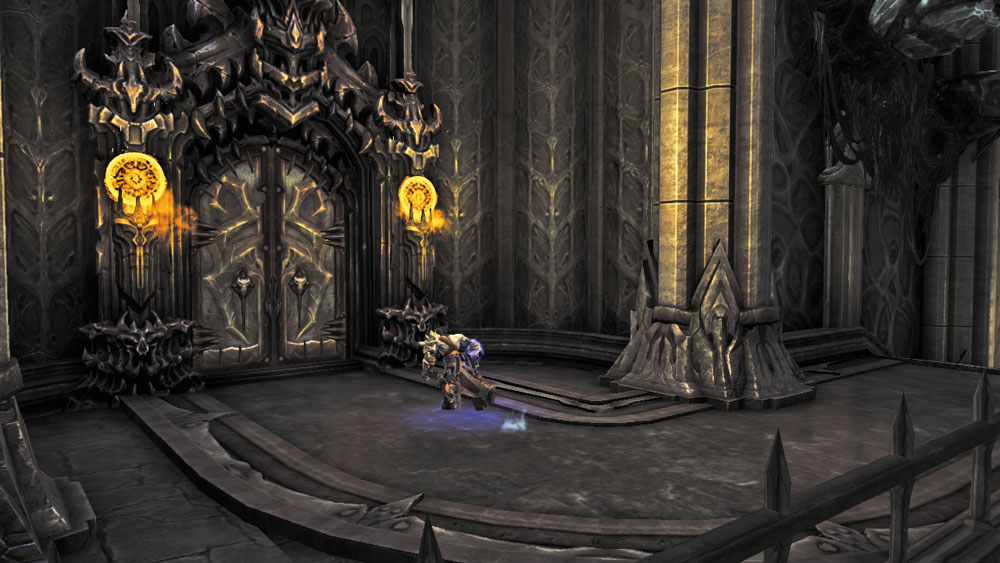
Deathgrip the west wall’s hoop and climb up to the Foyer’s west balcony. Sprint up the south stairs and proceed through the southwest door.
Area 6: West Wing (Present)
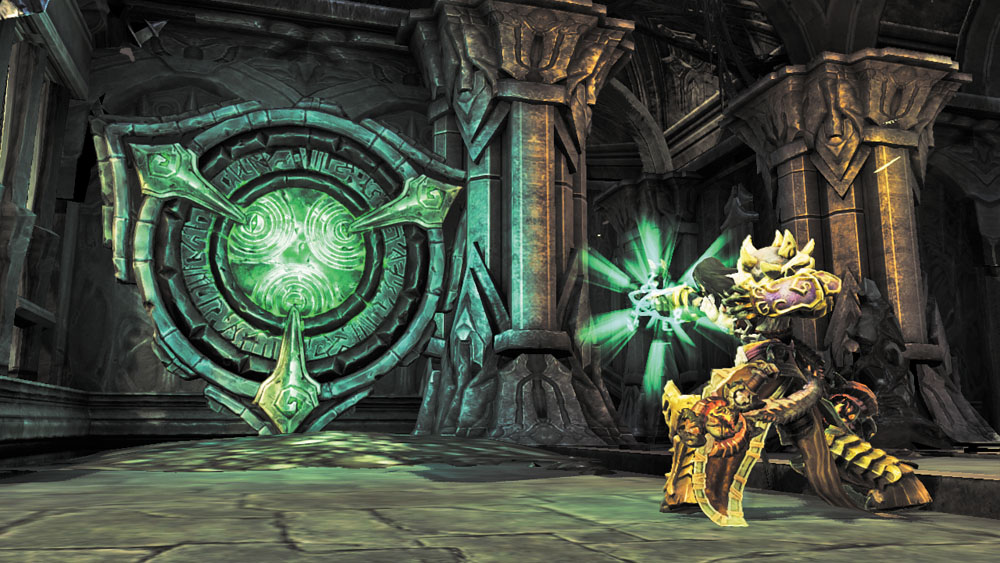
Take note of a locked door as you enter this area, and then make your way downstairs. Turn around when you reach the bottom of the stairs to see a time portal. Open this and step through to travel back to the past.
Area 7: West Wing (Past)
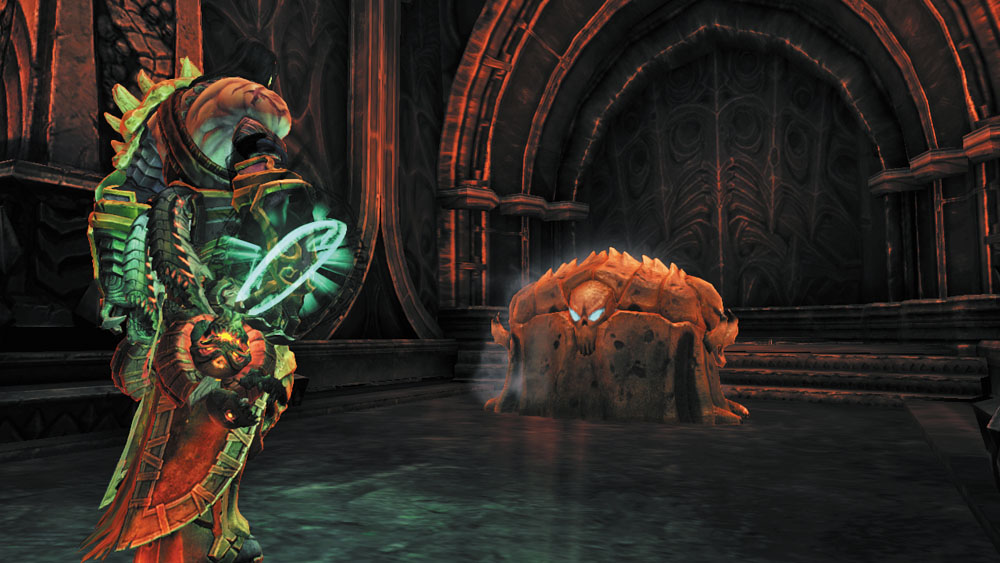
Open the nearby chest after you emerge from the portal, and then smash everything in the vicinity to make a secret chest appear. Loot this larger chest before traveling back through the time portal to return to the present.
Area 6: West Wing (Present), Revisited
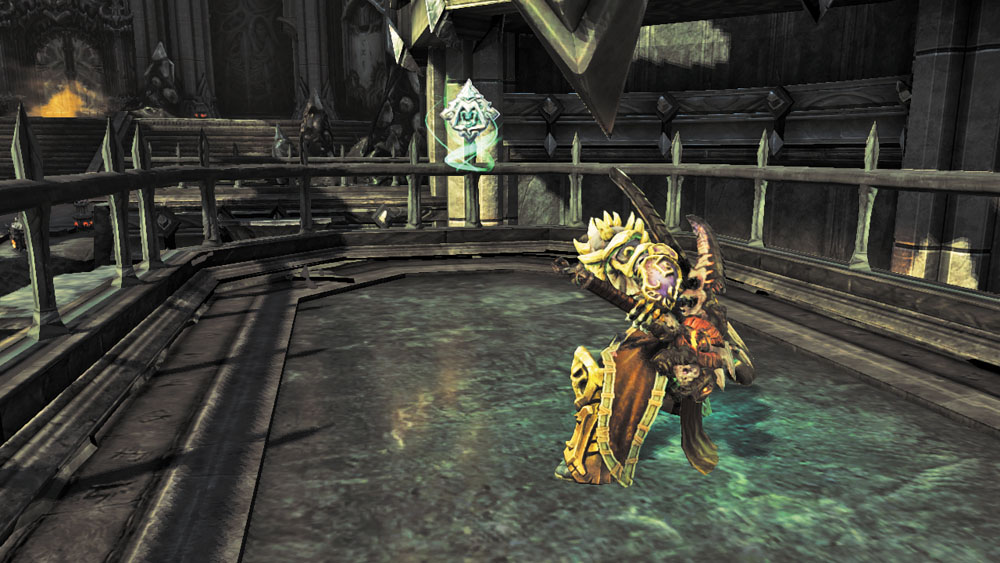
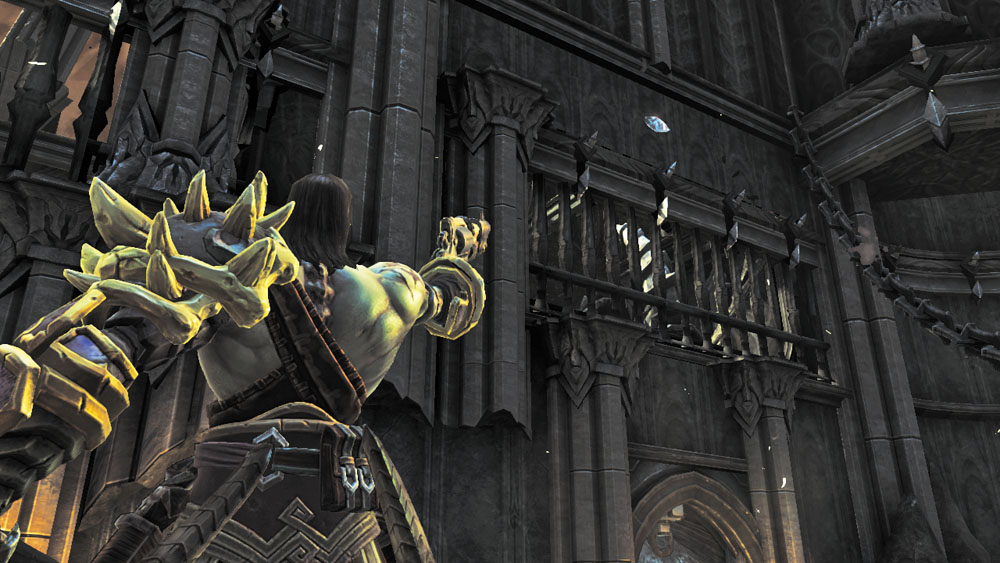
Press onward and descend another staircase. Ignore the west time portal for the moment and climb the east stairs to claim a Boatman Coin from the end of the south walkway. Loop around to the north walkway afterward and blast the Stonebite high up on the north wall. Return to the west time portal and pass through to travel back in time.
|
|
Boatman Coin 98 |
|
|
Stone of Power 21 |
Area 7: West Wing (Past), Revisited
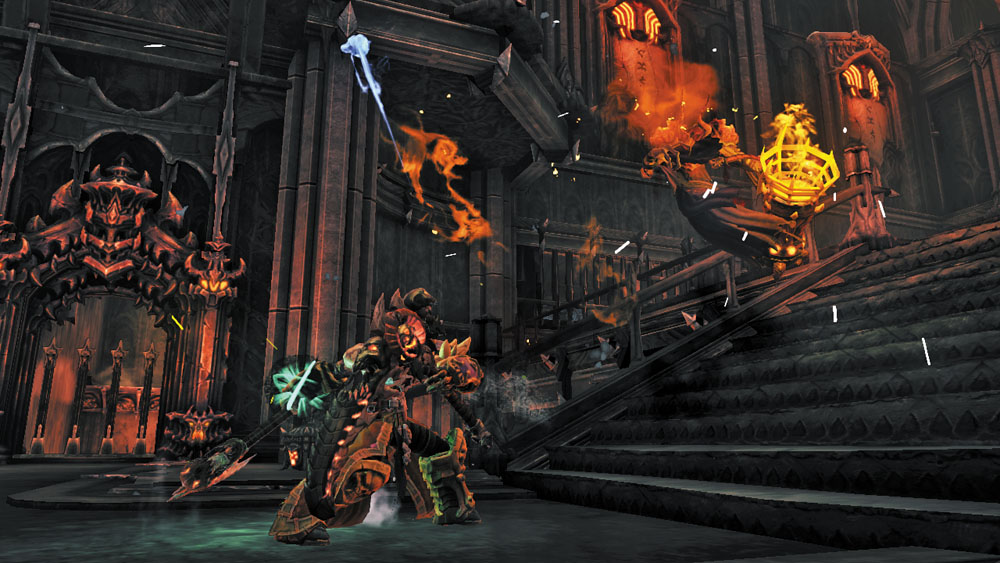
Battle a number of Legion Soldiers and a new enemy known as a Maelstrom after emerging from the portal. Use anti-group attacks and skills to hasten these fiends’ demise.
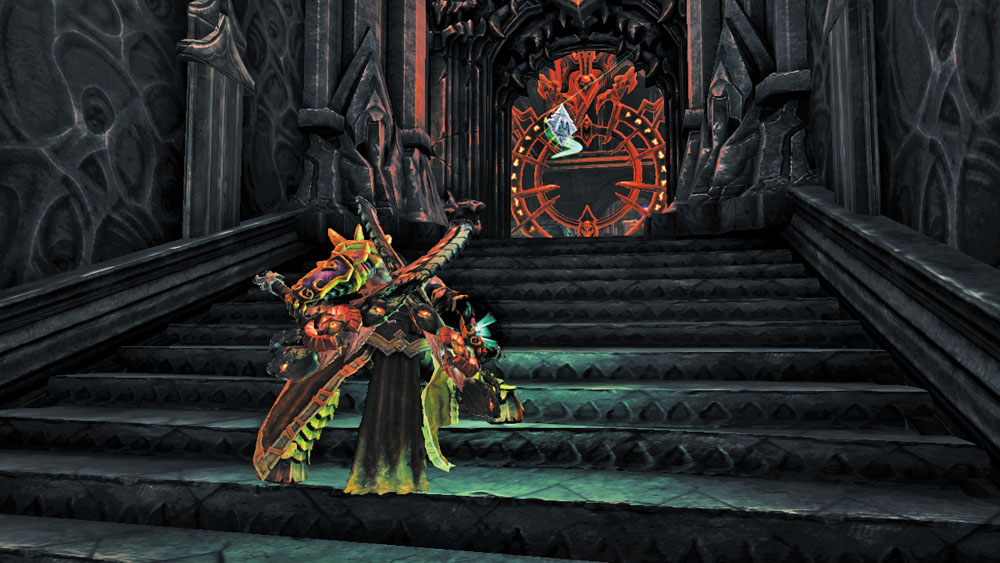
With the demons destroyed, run south and claim a Boatman Coin from atop the southern stairs. Backtrack and climb the east stairs afterward, and then shoot the Stonebite on the far south wall.
|
|
Boatman Coin 99 |
|
|
Stone of Power 22 |
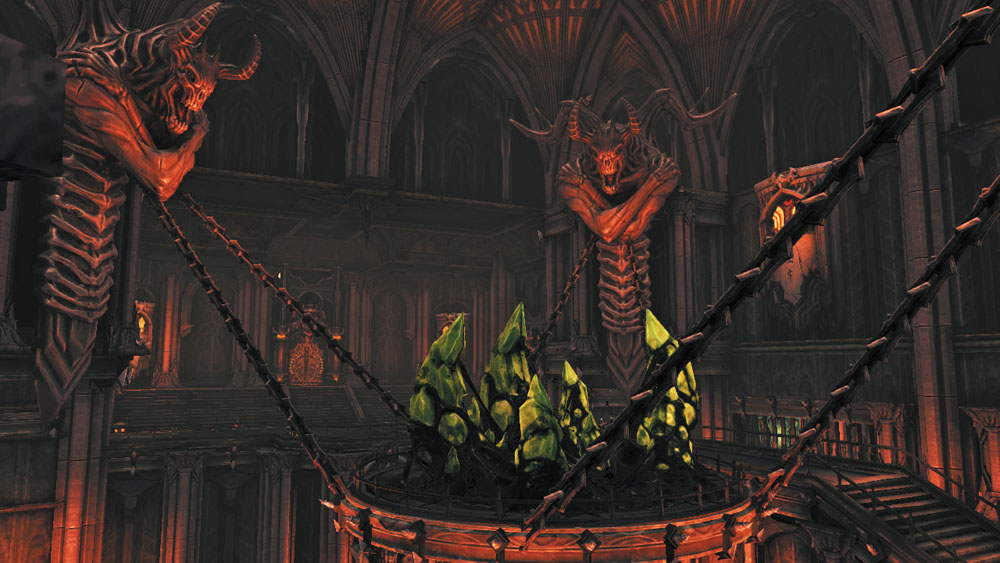
Descend the nearby stairs to reach a low walkway where another Maelstrom lurks. Slay this fiend, and then solve this area’s portal puzzle in order to destroy the central Corruption crystals.
Blast from the Past
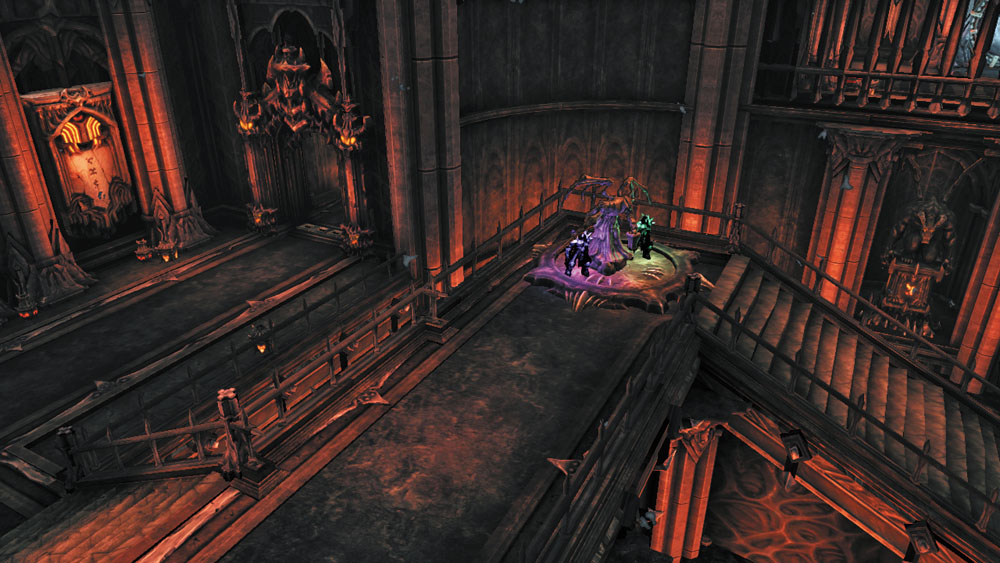
Split Death’s soul while standing atop the north walkway’s circular pressure plate.
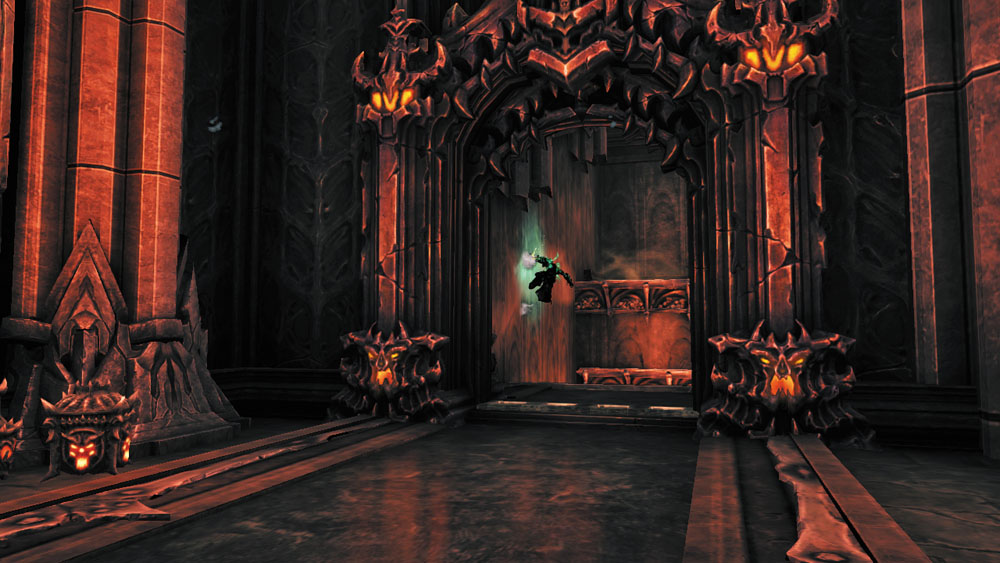
With the pressure plate depressed, a gate is lowered to the west. Loop around and enter the west passage. Wall-run to its hand holds and climb up.
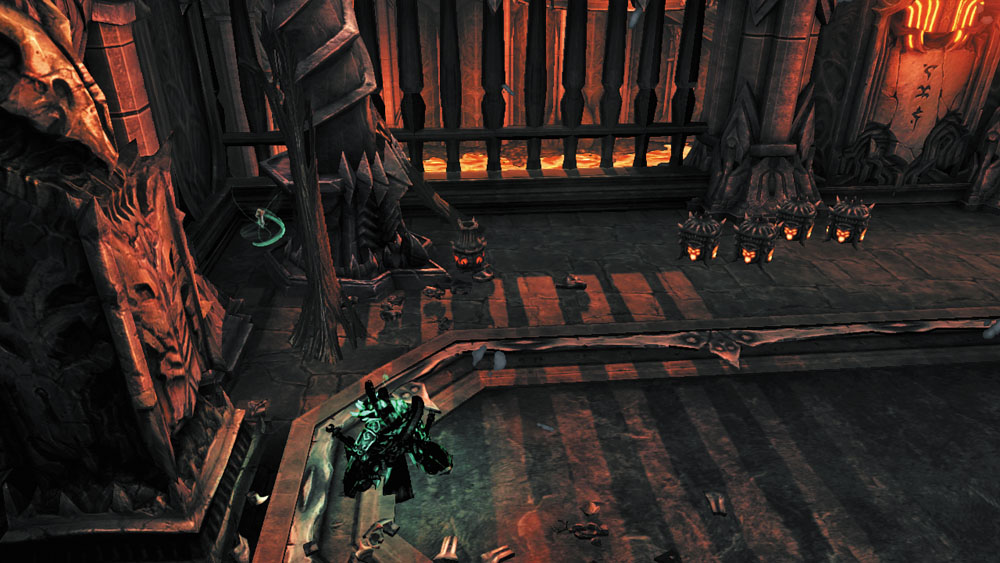
Wall-run again to reach a small side room where more demons ambush you. Show them no mercy, and then collect the Relic in the southeast corner before opening the nearby warp portal.
|
Relic of Etu-Goth 15 |
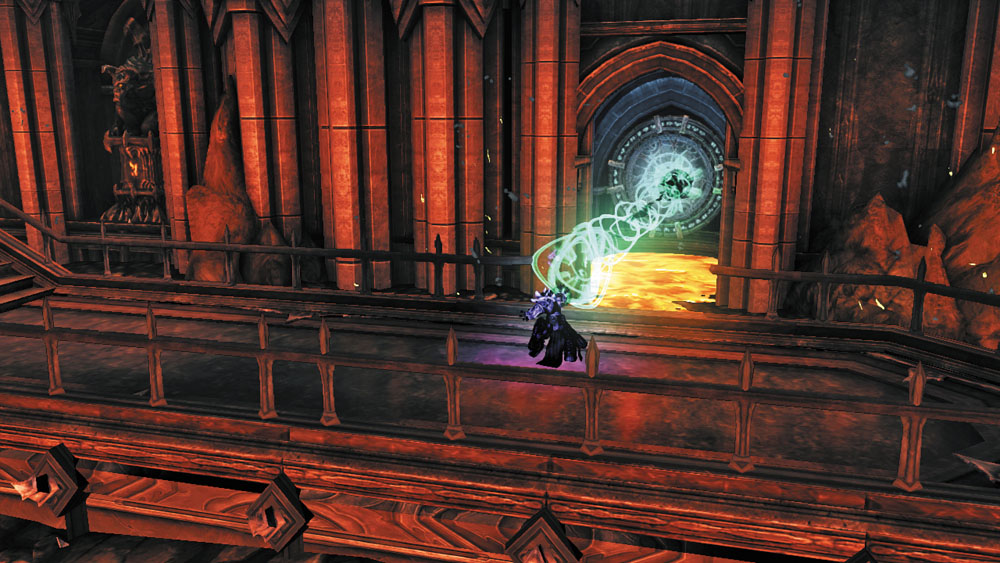
Switch souls, run east from the pressure plate, and open the north warp portal. Stand directly in front of the portal, where the walkway's railing is broken, and then switch back to the other soul.
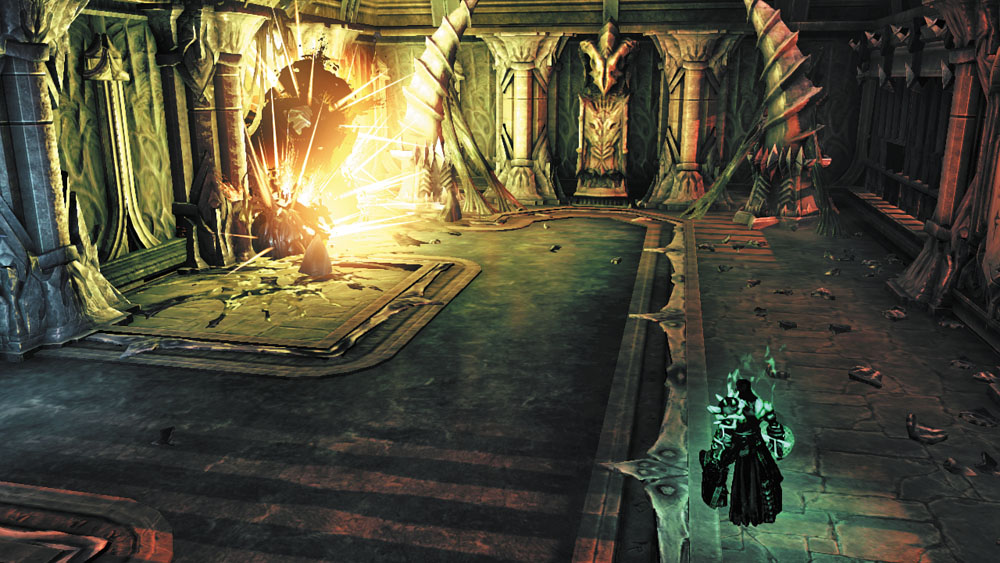
CCollect a Shadowbomb from the side room's pod and use it to destroy the nearby Corruption crystals. Grab another bomb and then peer into the portal you've opened. Aim and toss the Shadowbomb through the portal, so that Death's other soul catches it.
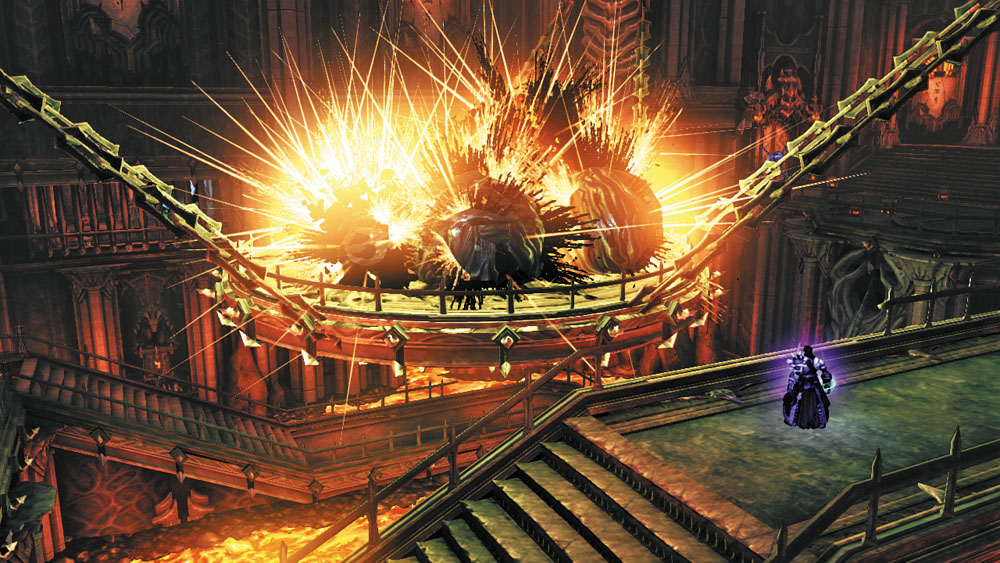
Switch souls and loop around to the southern walkway. Toss the Shadowbomb at the central Corruption crystals to obliterate them.
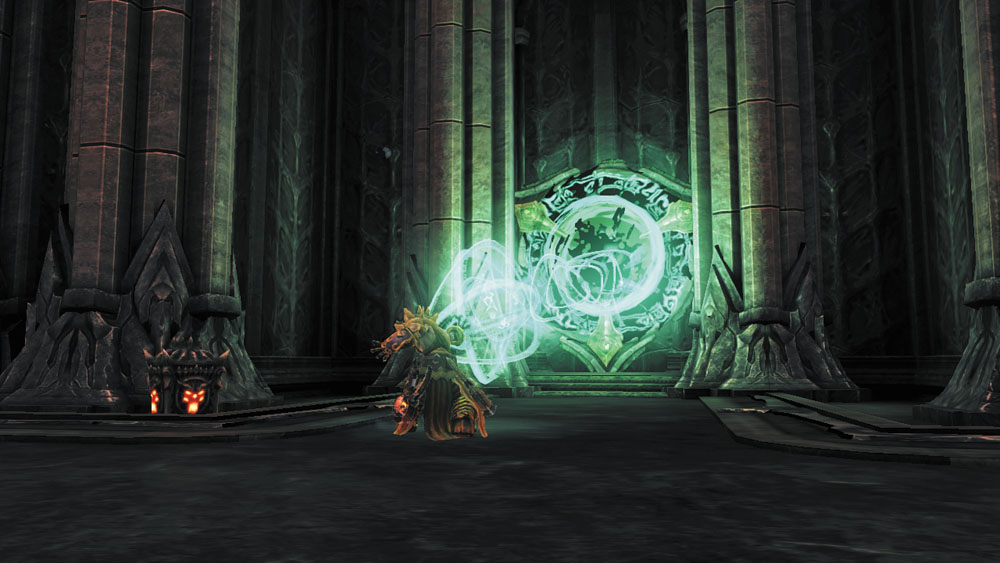
Return to physical form and open the west time portal. Step through to return to the present.
Area 6: West Wing (Present), Third Visit
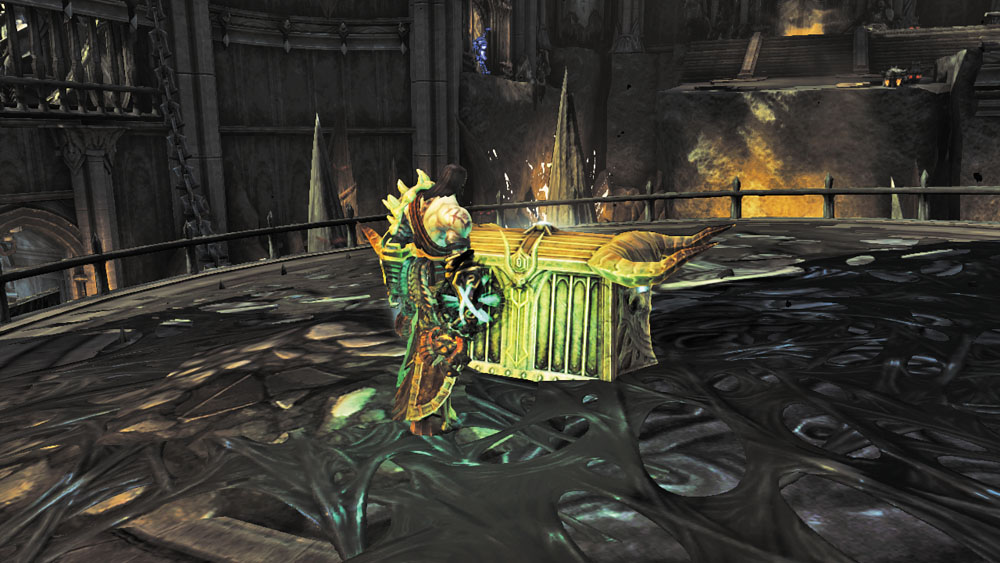
Destroying the Corruption crystals in the past has also eliminated them from the present. Walk onto the broken central platform and crack open the ornate chest to claim a Skeleton Key.
|
Skeleton Key |
Loot Before You Leave
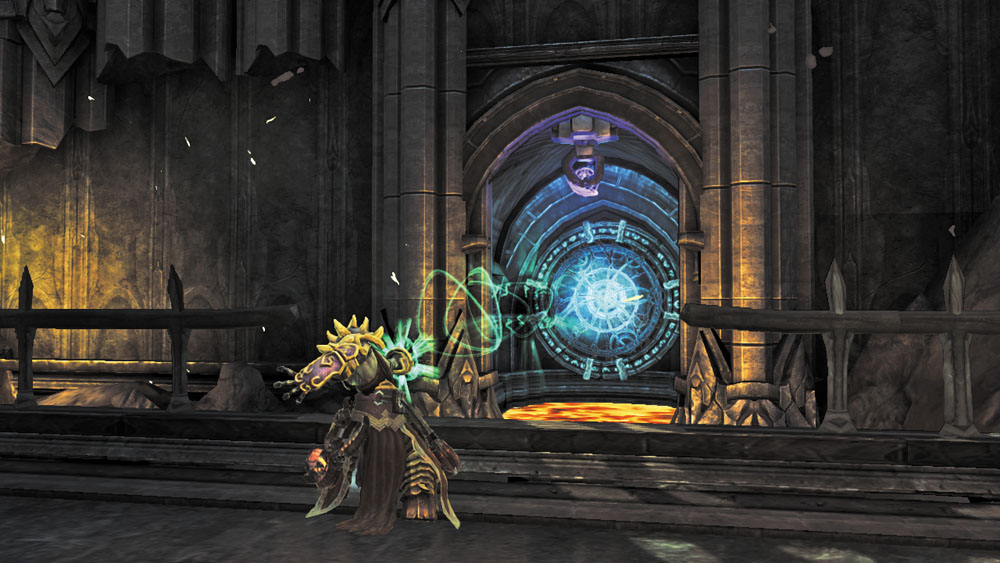
With the Skeleton Key in your possession, you’re ready to move on. Before you do, remain in the present and head north, and then open the two north warp portals again. Deathgrip the hoop near the lower portal to swing into it and emerge in the side room.
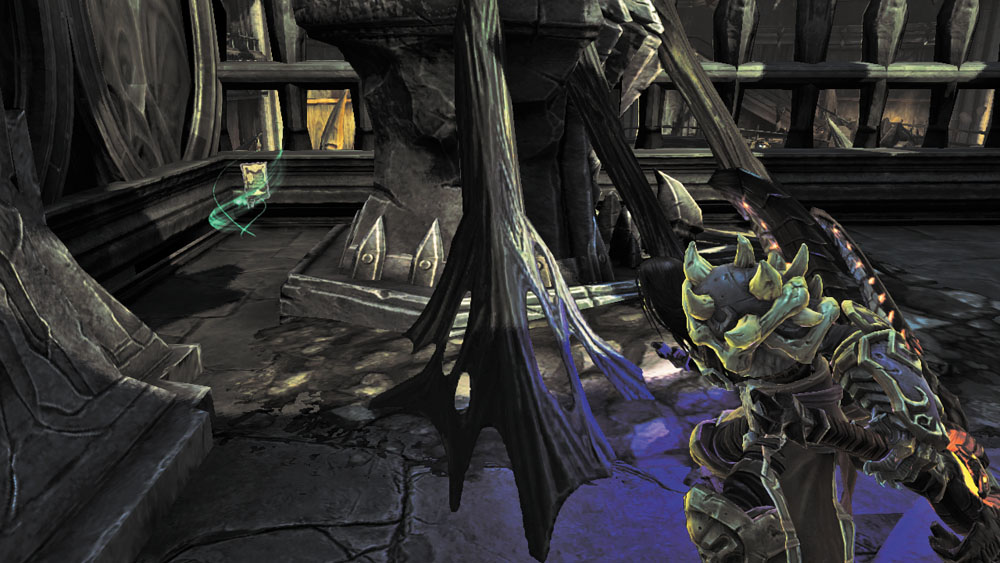
Search behind the black Corruption in the side room’s southeast corner to discover a Book of the Dead page. Then, inspect the scrawl on the wall where the Corruption crystals formerly stood in the past to acquire a Soul Arbiter’s Scroll. (If you don’t see the scrawl, return to the past and destroy the side room’s Corruption crystals.)
|
|
Book of the Dead 39 |
|
|
Soul Arbiter's Scroll 9 |
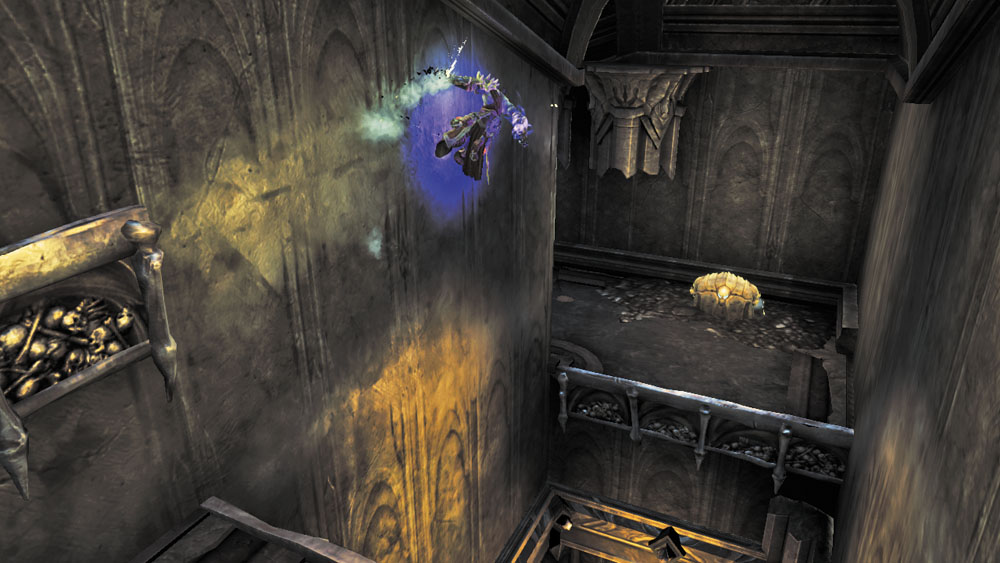
Go west and leap up to a hand hold. Shimmy around the corner, drop down to a small ledge, and wall-run over to another ledge with a chest. Claim your plunder before wall-running south, heading upstairs, and using the southern time portal to return to the past.
Area 7: West Wing (Past), Third Visit
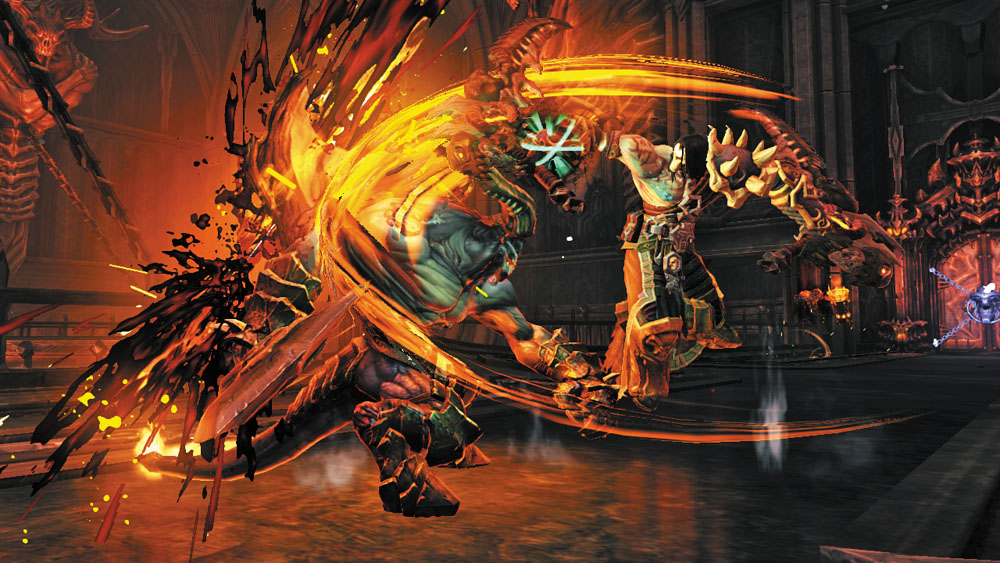
After popping out of the time portal, go upstairs and slay the band of demons that ambush you near the locked door. Open the door afterward and make your way back to the Great Foyer.
Area 4: Great Foyer (Past), Third Visit
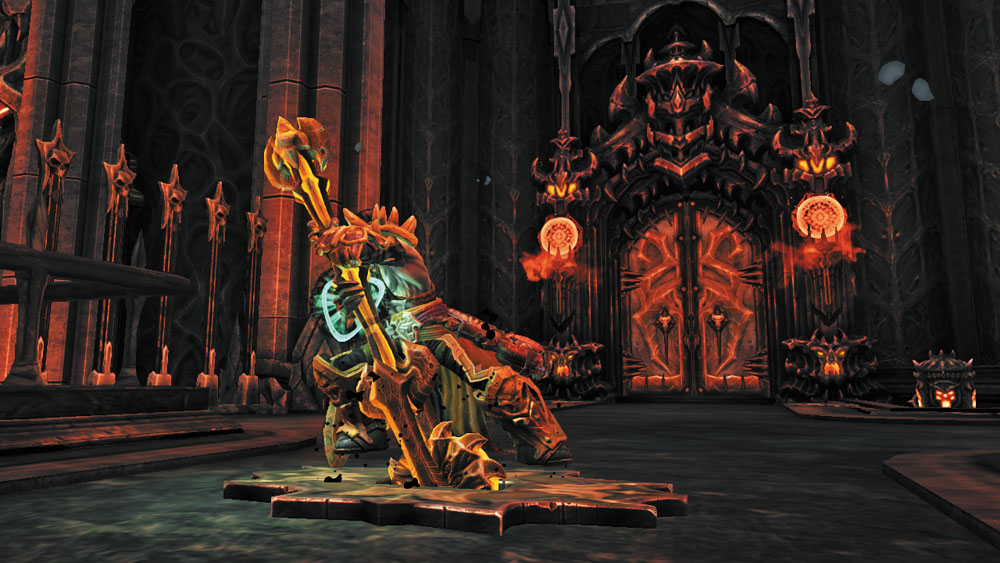
Back at the Great Foyer, pull the lever you discover on the northwest balcony to open the nearby gate. Descend the north wall’s hand holds afterward to reach a lower walkway. Slay the Legion Soldier down here and open the chest in the west nook before using the nearby time portal to return to the present.
Area 3: Great Foyer (Present), Third Visit
Climb back up the north wall to return to the northwest balcony. Enter the west door to revisit the passage beyond the West Wing’s locked door.
Area 6: West Wing (Present), Fourth Visit
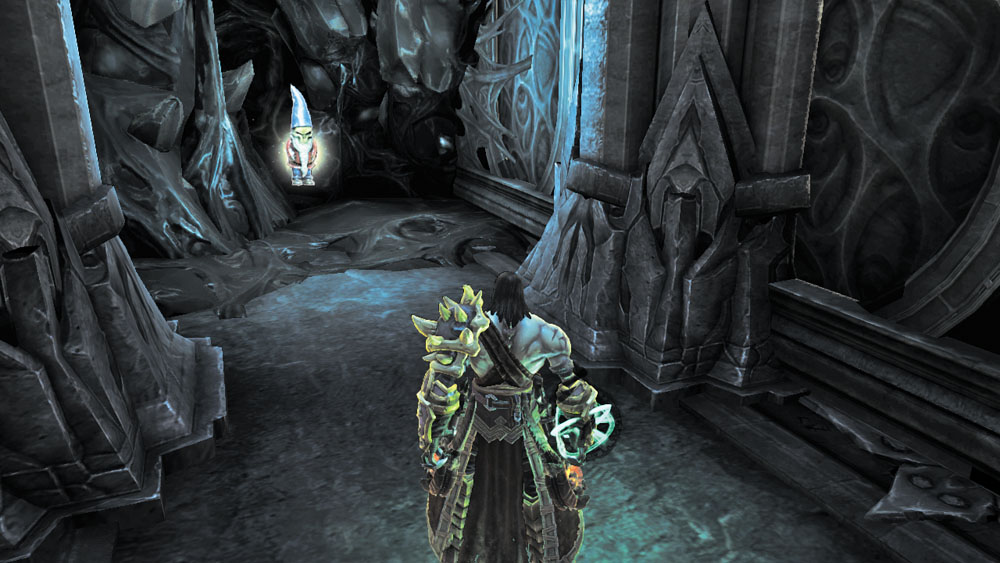
Now that you’re in the present, you can collect the fourth and final Gnomad Gnome from this small passage. Backtrack to the Great Foyer afterward.

|
Gnomad Gnome 4 |
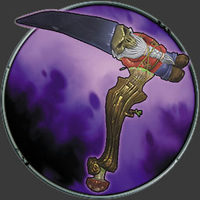
|
Gnomad Scythes |
Side Quest Complete: “GnoMAD”
Area 3: Great Foyer (Present), Fourth Visit
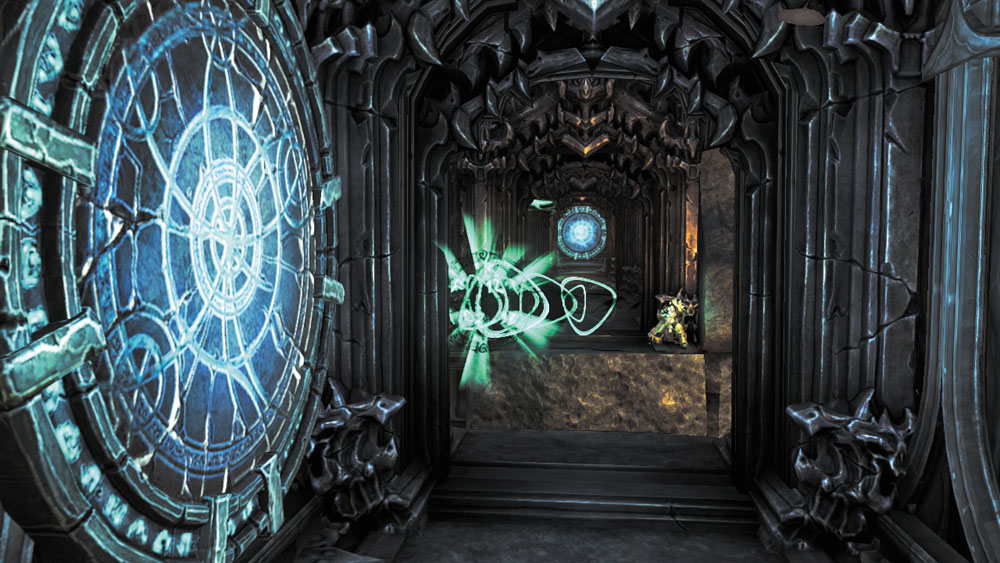
Descend the Foyer’s north wall again to reach the lower walkway. This time, open the west warp portal, then stand on the northeast corner of the walkway, aim carefully, and open the warp portal on the side wall to the east. Pass through the west portal to emerge from the east one and claim a Book of the Dead page.
|
|
Book of the Dead 40 |
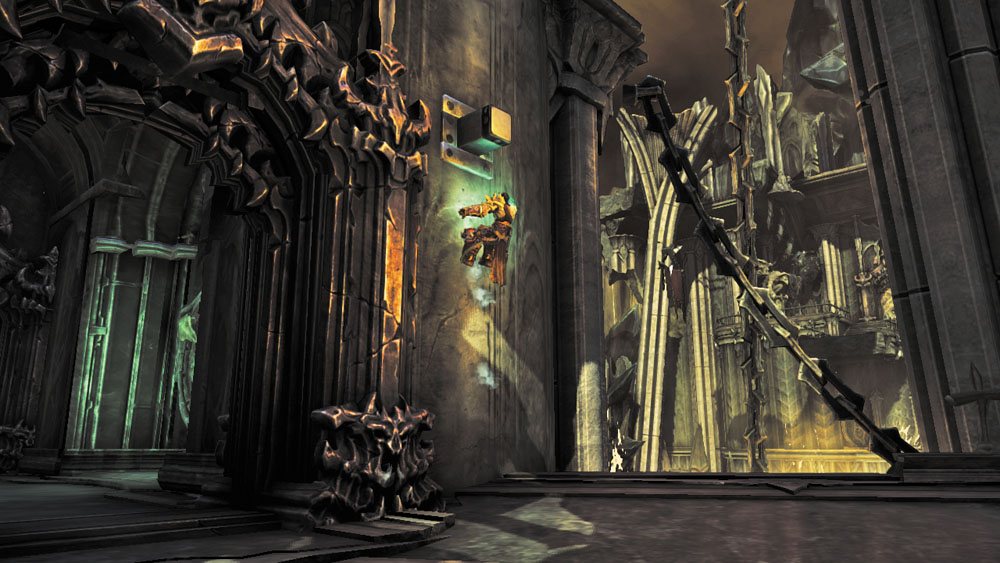
Travel back through the warp portals, and then notice a peg on the central wall. Scale this wall to reach the Great Foyer’s north balcony and proceed through the north door.
Area 8: Samael’s Throne Room (Present)
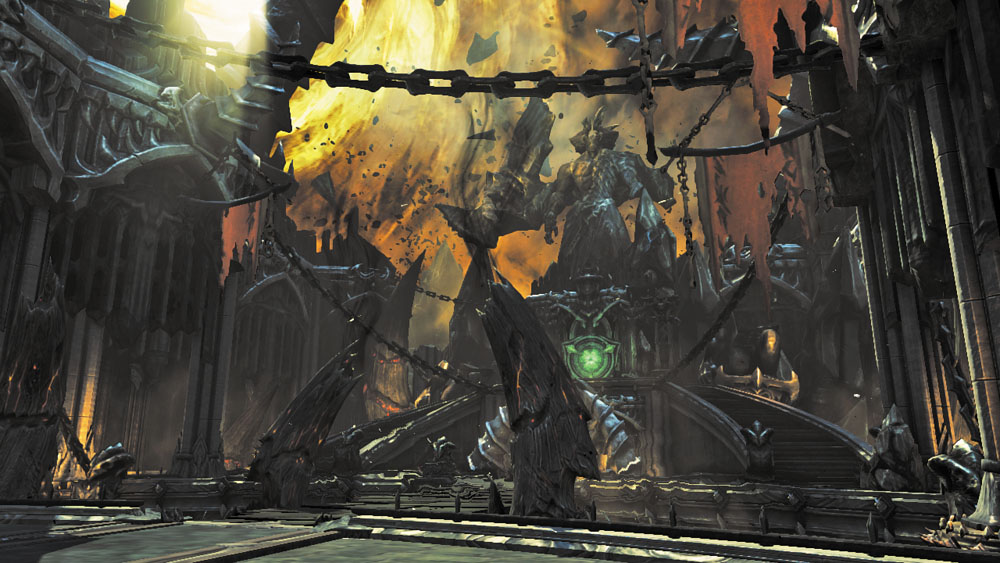
This spacious chamber is eerily quiet—Samael has indeed vanished from his fortress. He’s sure to be here in the past, however. Steel yourself for an epic battle before passing through the north time portal.