
Darksiders II Guide Walkthrough The Toll of Kings
The First Animus Stone
Area 6: Broken Stairwell I
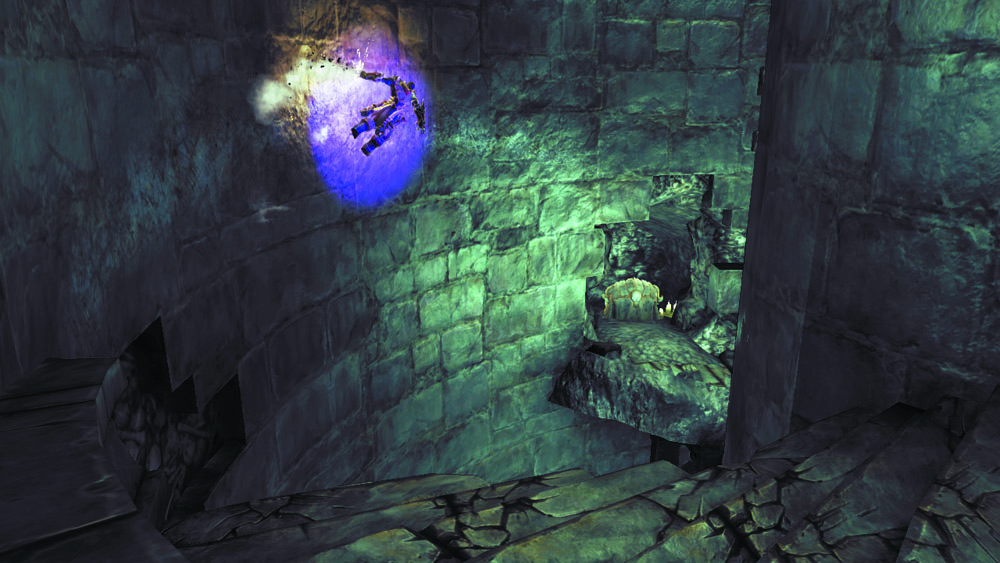
Beyond the door, a spiral staircase winds ever downward—but this, too, has fallen to ruin. Run along the outside wall to pass the collapsed stairs, and be sure to loot the chest you land near after the first wall-run.
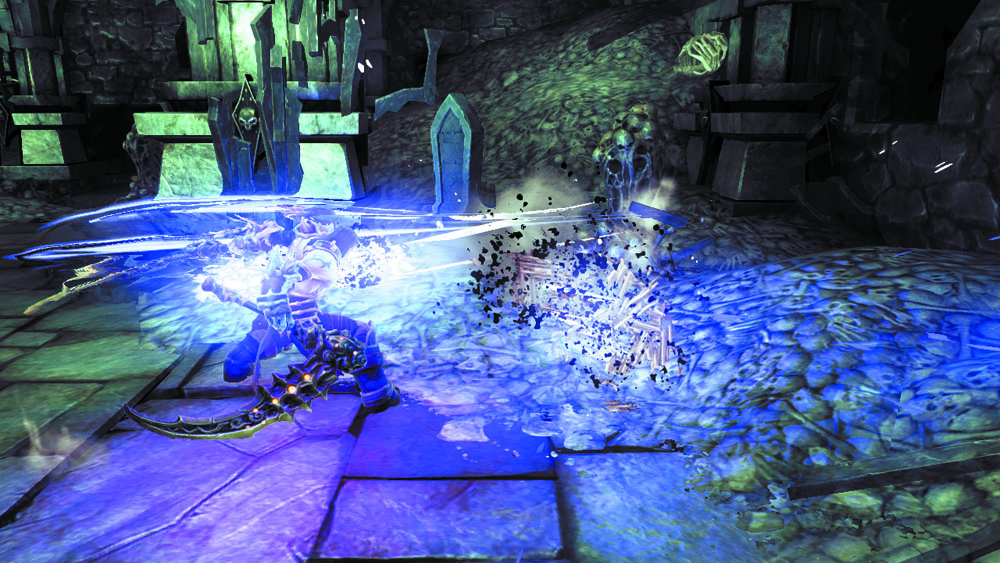
The stairs wind down into a small crypt. Smash the ample array of clutter down here for potions and other minor items.
Area 7: Room of Death
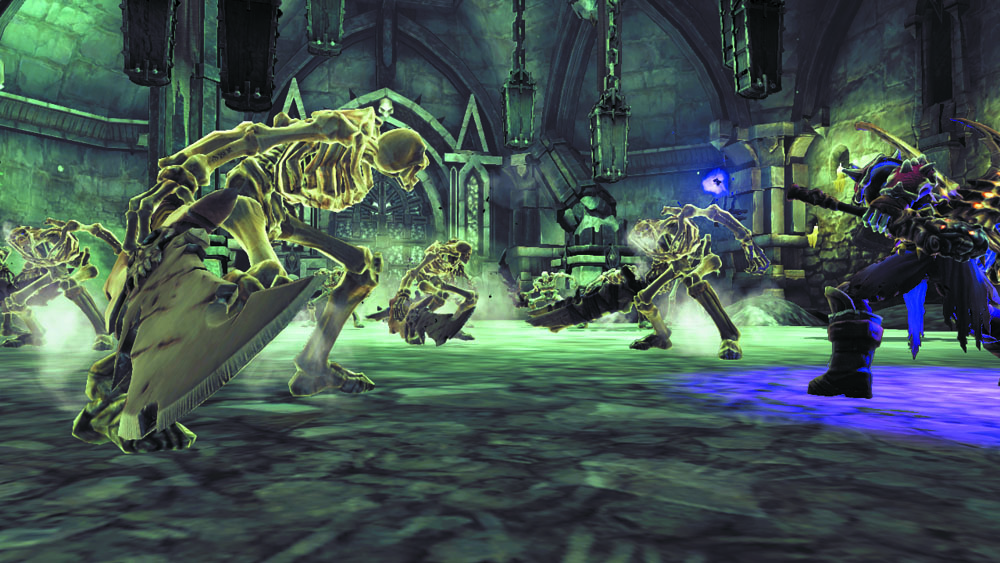
The walking dead have massed in this small chamber. Rip them asunder with vicious anti-group attacks and skills, evading between combos to present a difficult target. Beware: more powerful Skeletal Warriors enter the fray after the initial horde of Skeletons have been cut down.
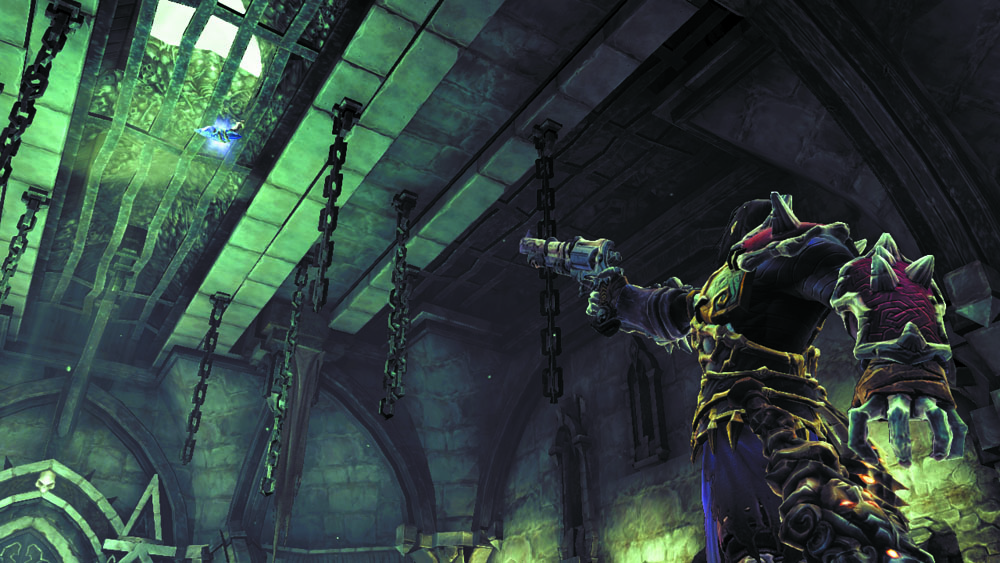
When the melee at last resolves, aim high and shoot the Stonebite on the ceiling to add to your your collection.

|
Stone of Mystics 18 |
Area 8: Lantern Chamber
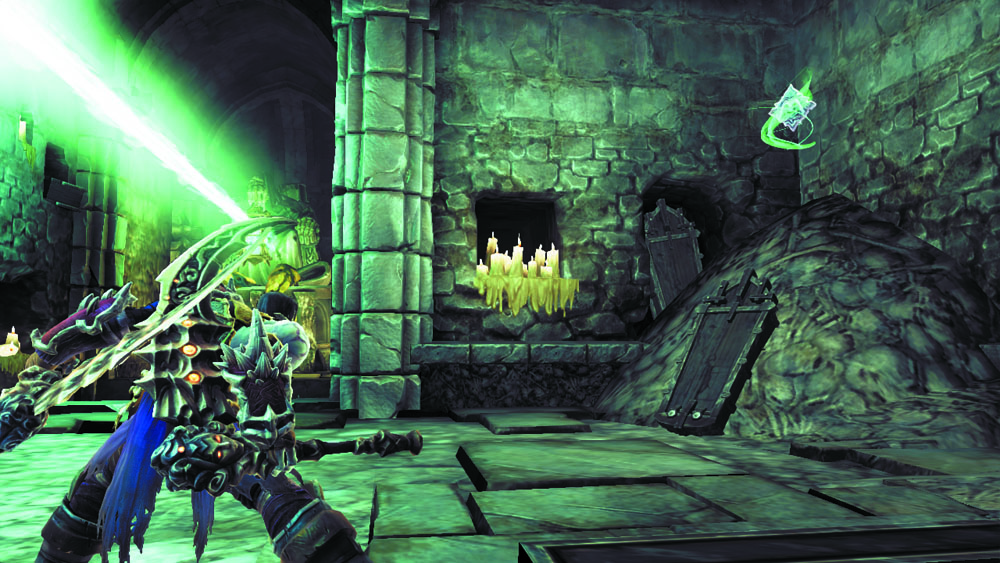
Claim a Boatman Coin from the southwest corner of this sizable chamber, where a puzzle must be solved in order to progress.

|
Boatman Coin 51 |
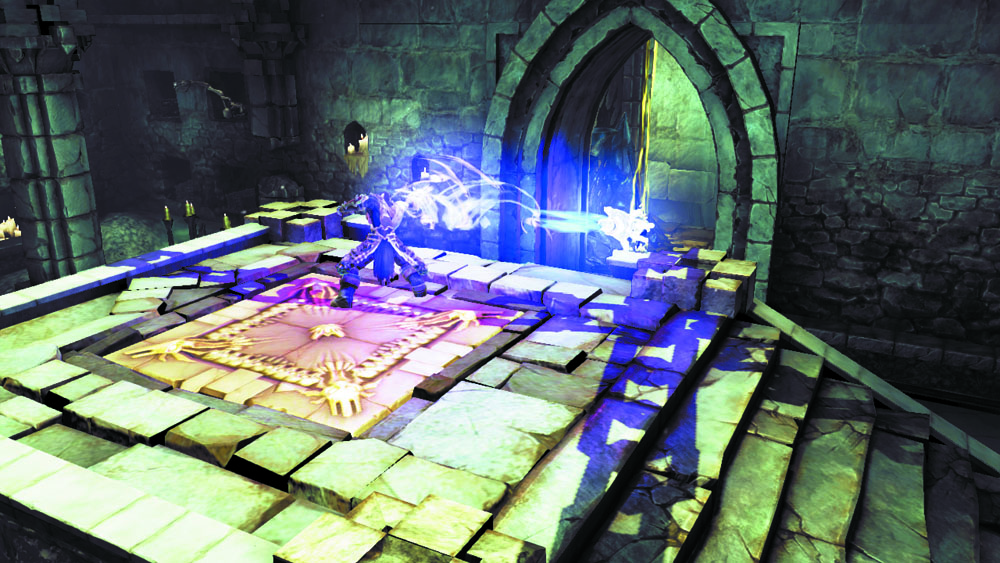
Stand on the room's central pressure plate to lower the east gate. Remain on the plate and Deathgrip a Shadowbomb from the pod beyond.
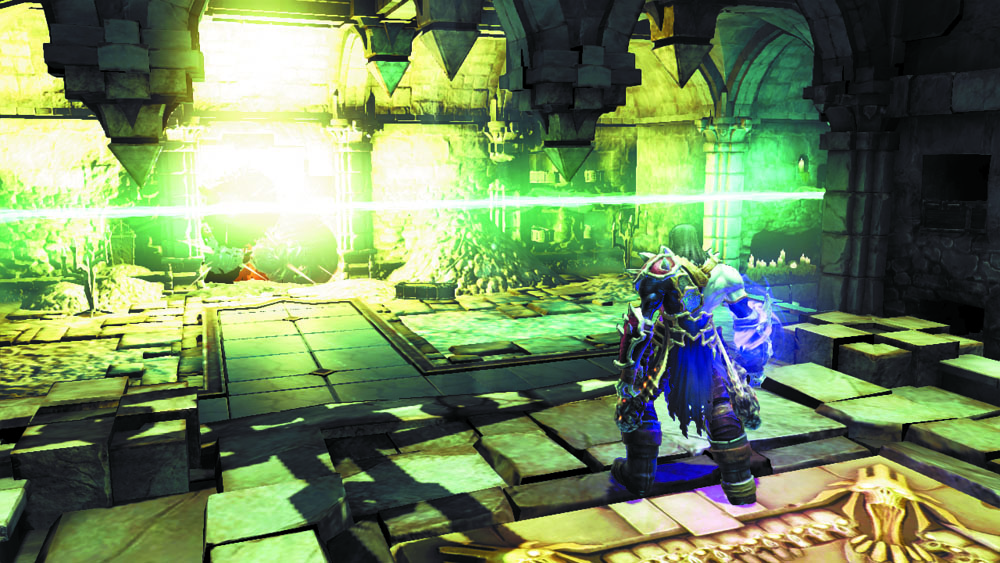
Toss the Shadowbomb at the south wall to obliterate some Corruption crystals and expose a chest.
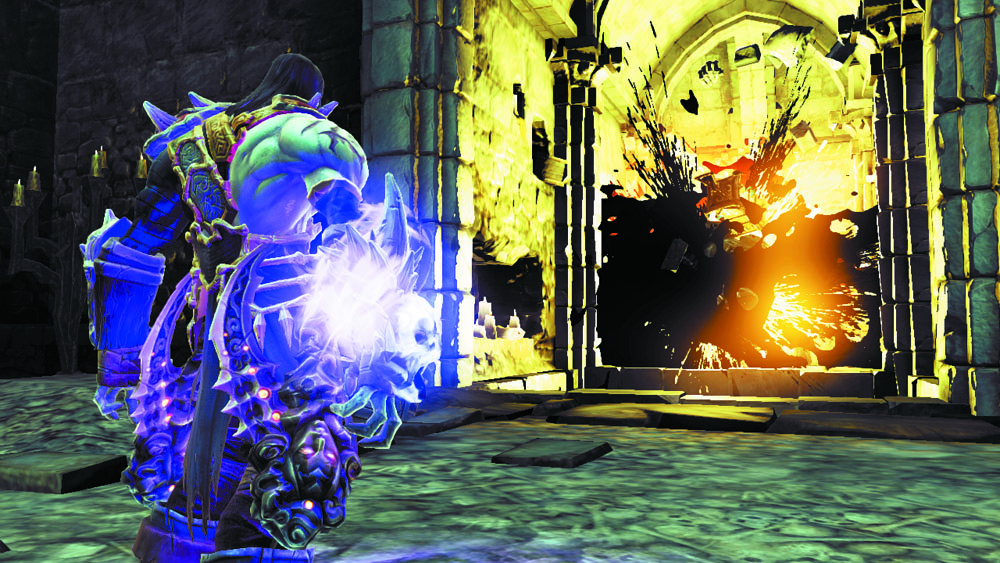
Collect another Shadowbomb, and then hurl it at the crystals beyond the southwest pit to knock a massive lantern out of a statue’s hand.
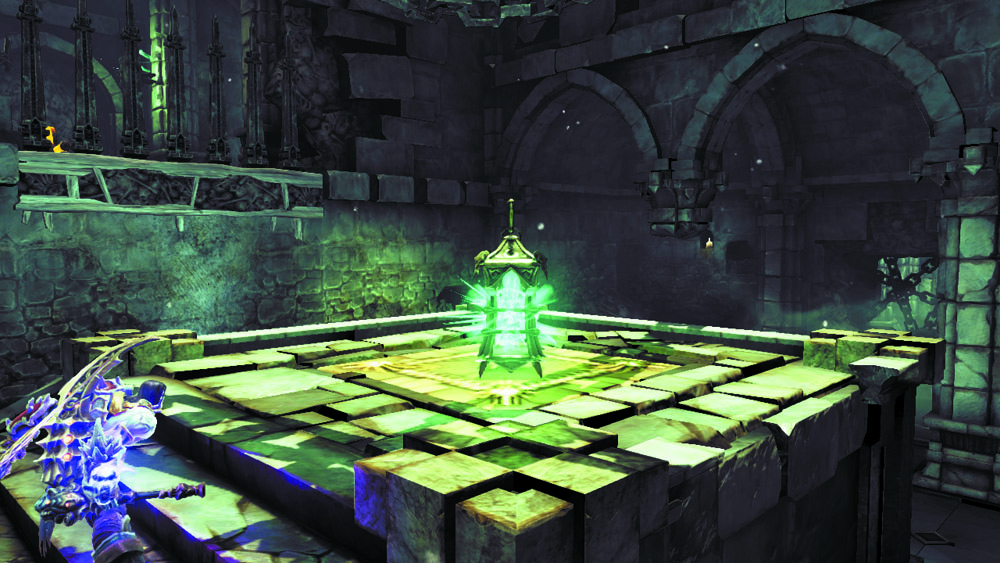
Deathgrip the lantern and return to the pressure plate. Place the lantern on the plate to keep it depressed, and then explore beyond the lowered east gate.
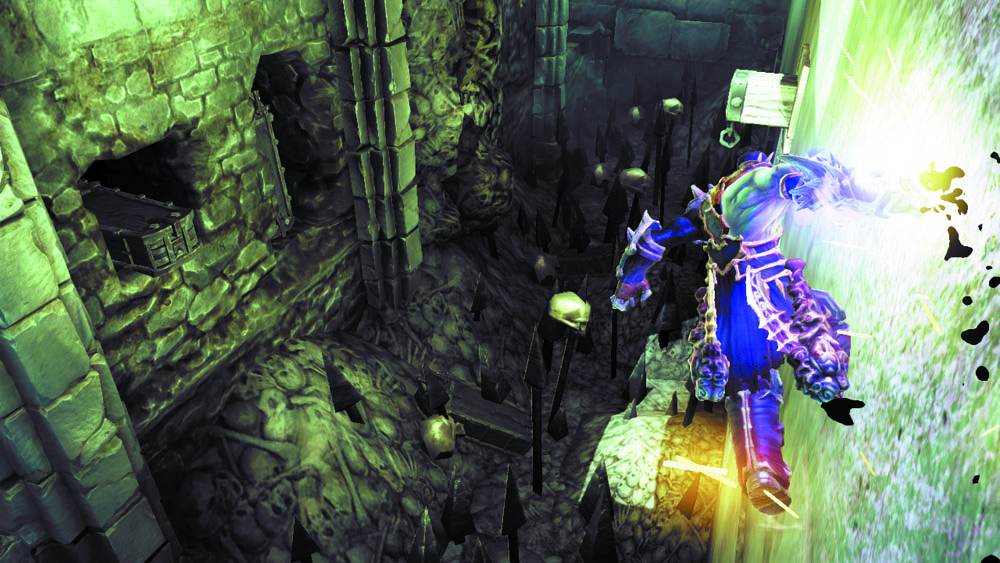
Wall-run through the pitfall passage that follows, jumping the corners to extend your run.
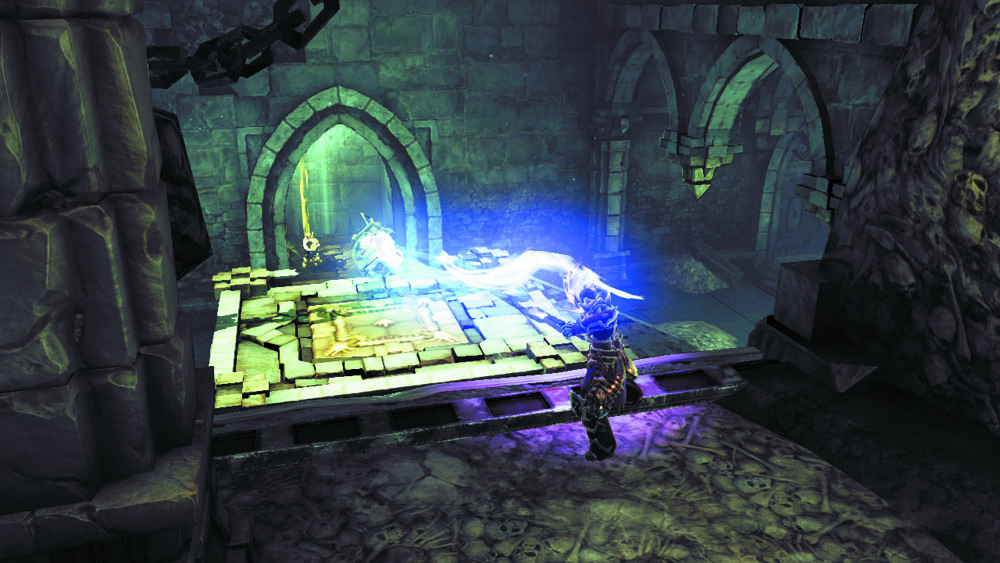
Follow the passage to a switch that lowers a nearby gate. Press the switch, then Deathgrip the lantern you left on the pressure plate before.
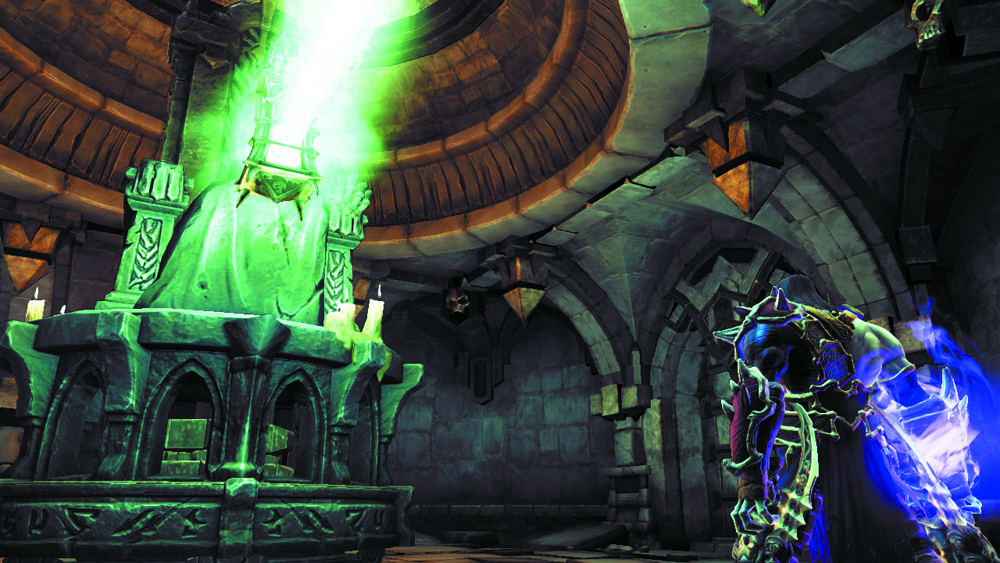
Backtrack a bit and go north to enter a small room. Press the Action button to place the lantern you're carrying on the statue here.
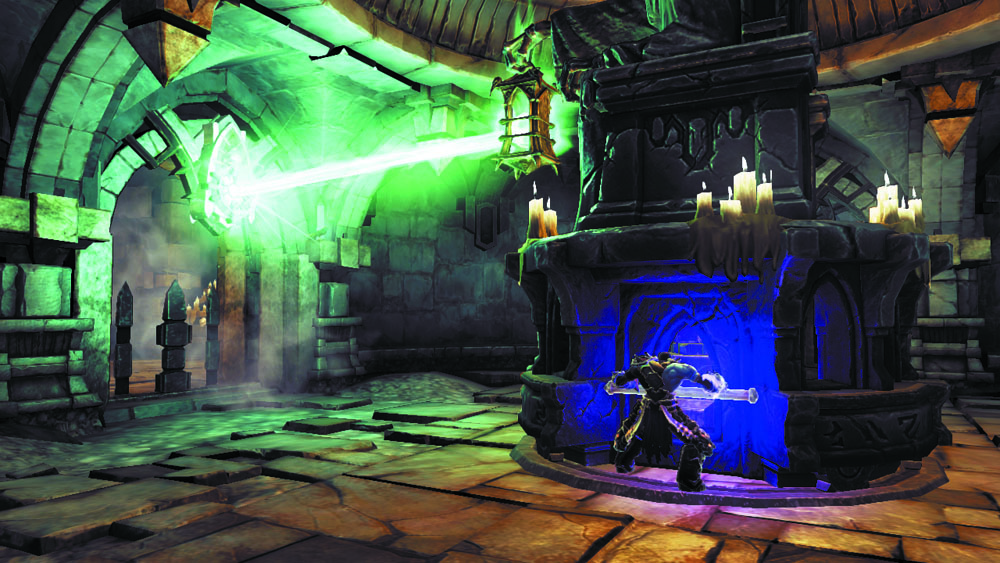
A beam of light now shines from the statue. Rotate the statue 180 degrees to shine its light north and unbar the north door.
Area 9: Animus Stone Chamber I
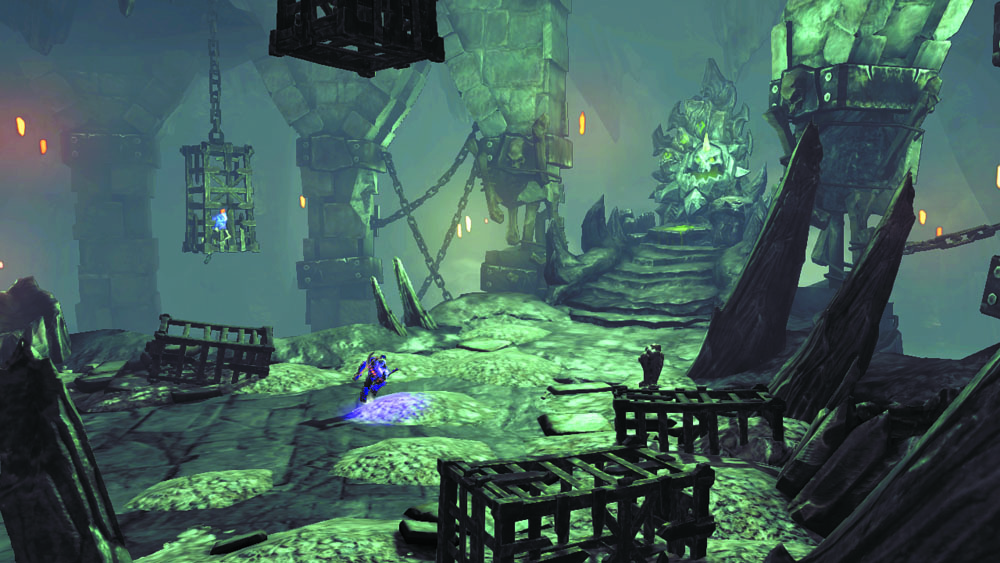
This cavernous chamber is home to the first Animus Stone. Simply approach the far altar and claim your prize.
|
Animus Stone 1 |
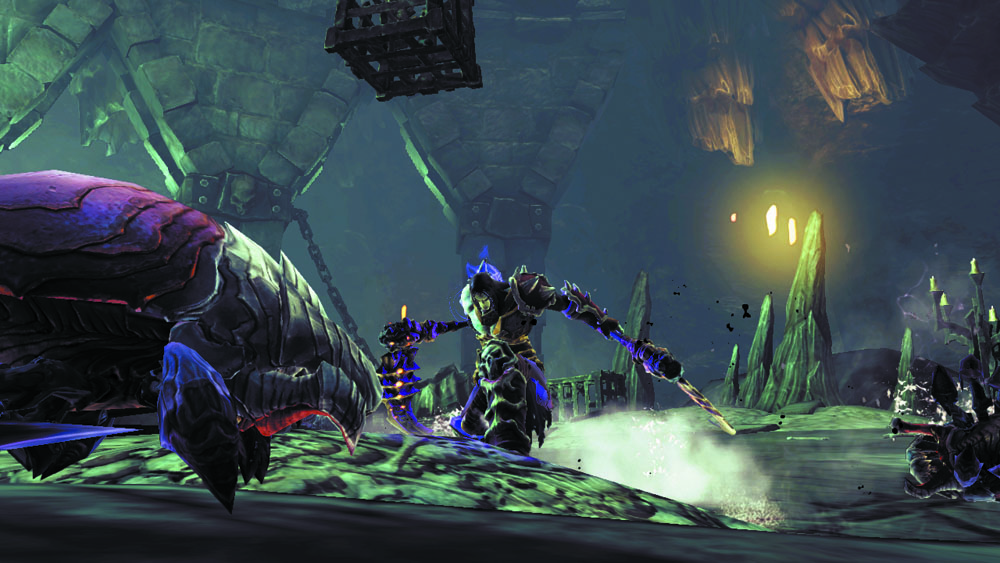
A swarm of Scarabs stage an ambush after you swipe the first Animus Stone. Blast these minor threats with Redemption, or cut them down with anti-group attacks and skills.
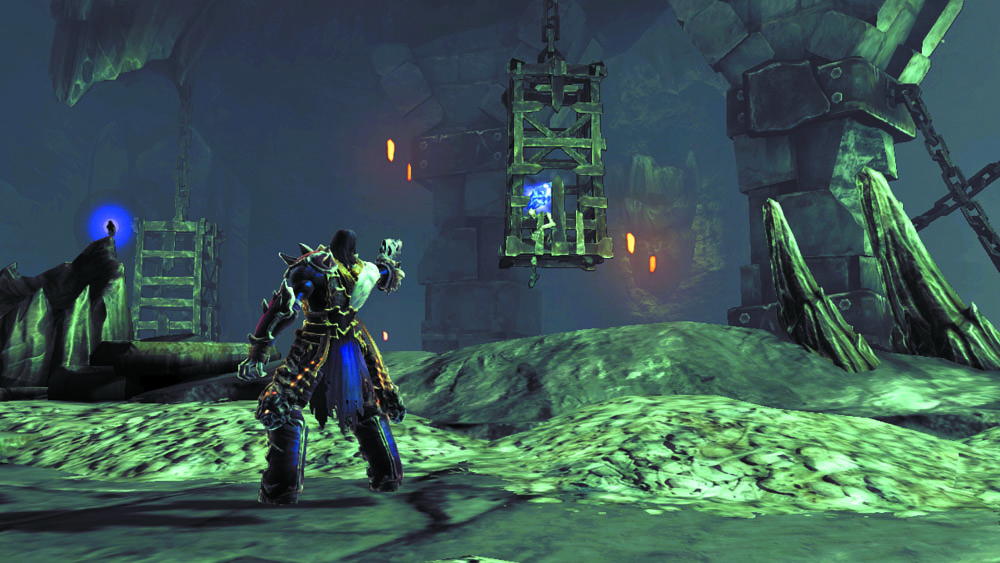
After the battle, blast the Stonebite that hangs on the nearby hanging cage to claim another Stonebite.
|
|
Stone of Mystics 19 |
Back to the Arena
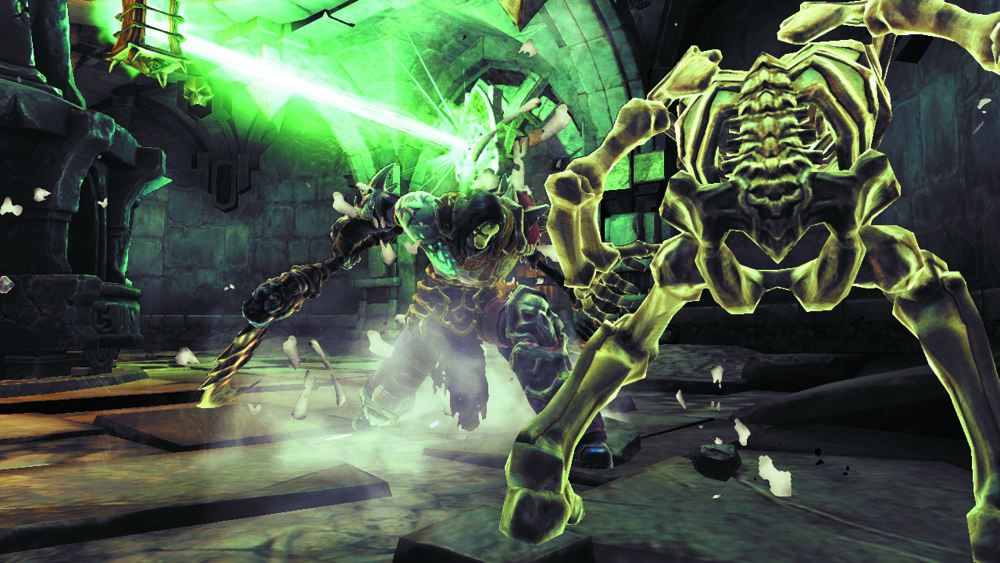
Backtrack out of the Animus Stone cavern and cut down the Skeletons that storm you in the outer room. The east passage near the lantern statue is now open—hurry through.
Area 10: East Passage
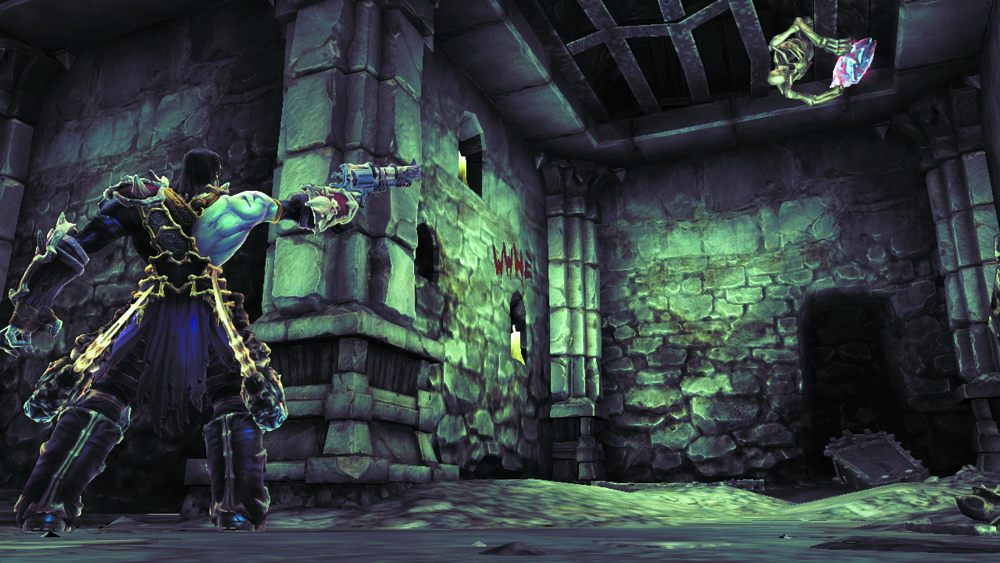
Take aim and blast a glowing Stonebite held by a Skeleton hanging from the ceiling in a nook. Then, examine the writing on the nook’s wallto gain a clue about a side dungeon known as the Soul Arbiter’s Maze. See the “Side Quests and Areas” chapter to learn more.

|
Stone of Power 7 |

|
Soul Arbiter's Scroll 1 |
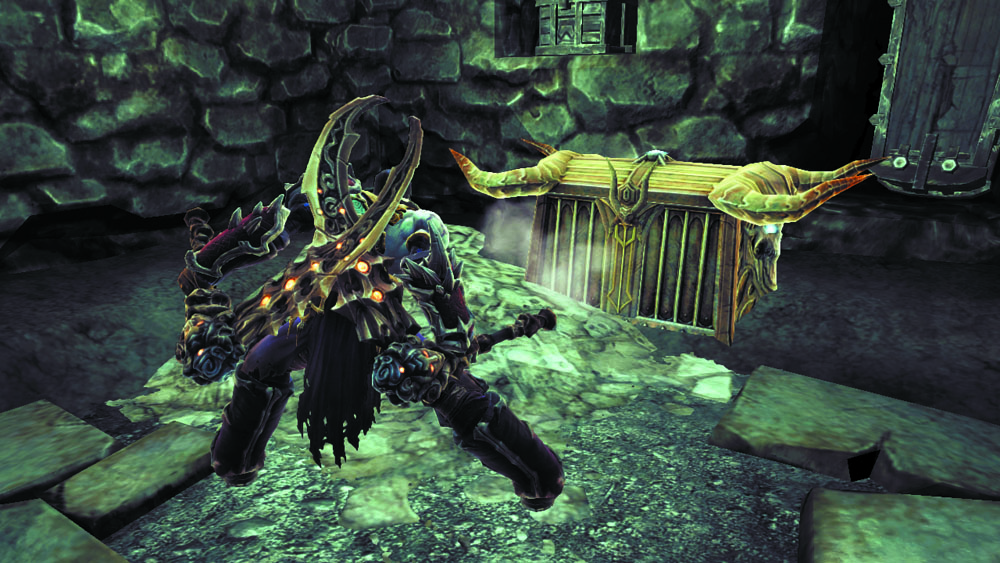
Open the ornate chest at the passage’s end to claim the Dungeon Map.
|
Dungeon Map |
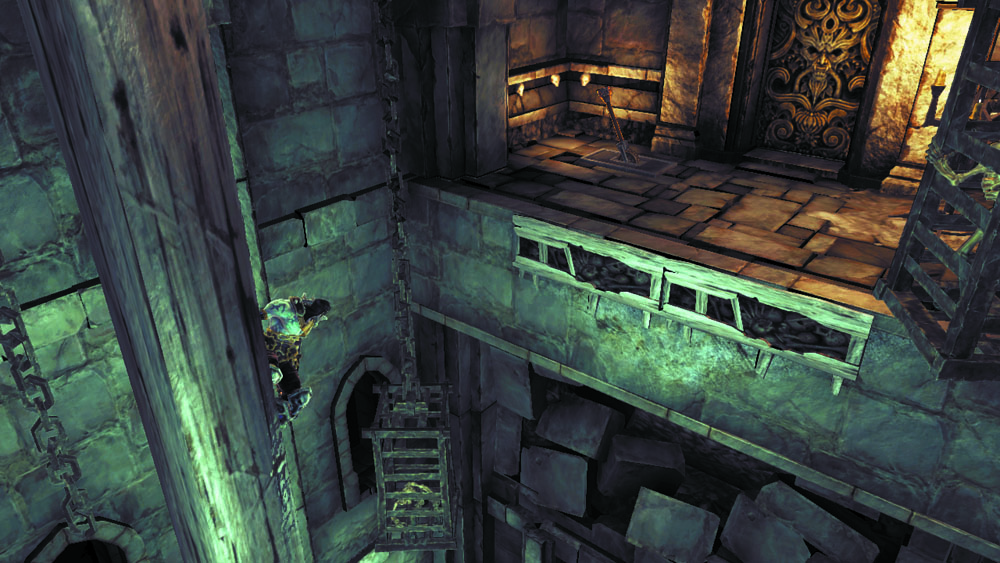
Scale the east wall to reach a beam, and then jump onto a hanging post. 180 leap to the west balcony, and pull the lever there to open the nearby door. Pass through to return to the Arena.
Returning the First Stone
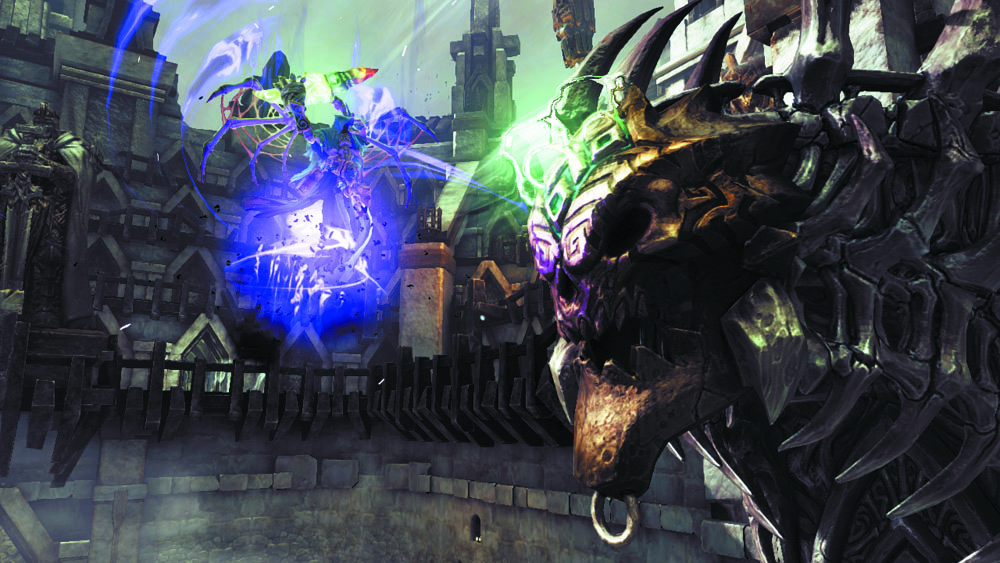
Back at the Arena, approach the altar to the north. Deathgrip the altar’s hoop to zip up and insert the first Animus Stone.