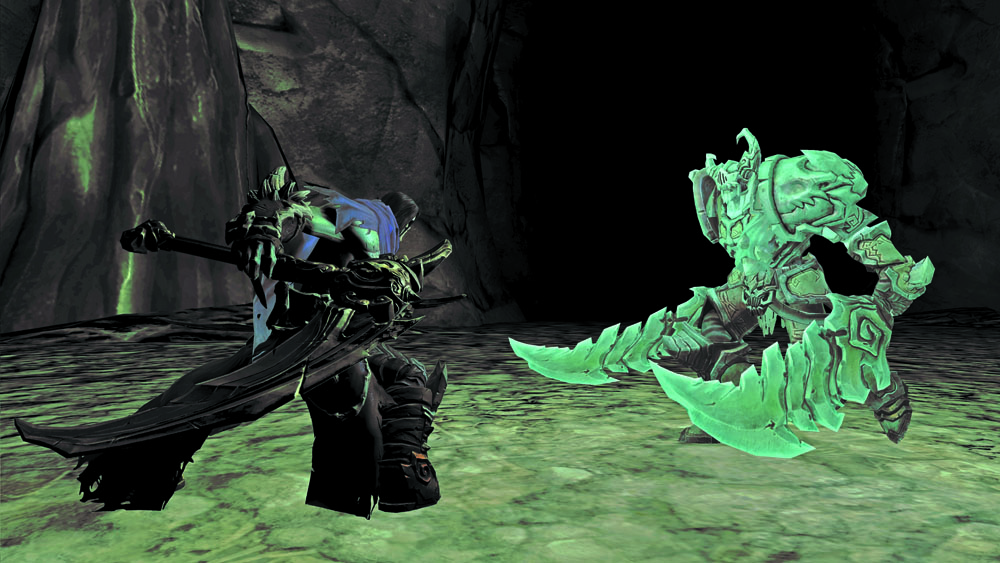
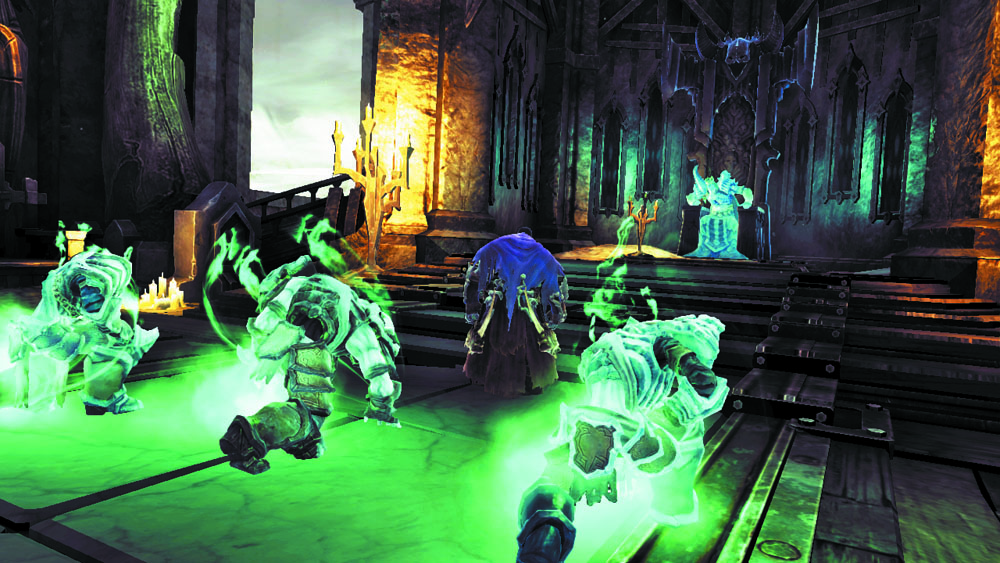
The final Dead Lord makes his stand against Death within this shadowy cavern. Basileus’s attacks are difficult to predict and evade, so focus on doling out fast damage instead. Skills such as Unstoppable can aid you in this effort, while Aegis Guard can help you withstand Basileus’s aggressive onslaught.
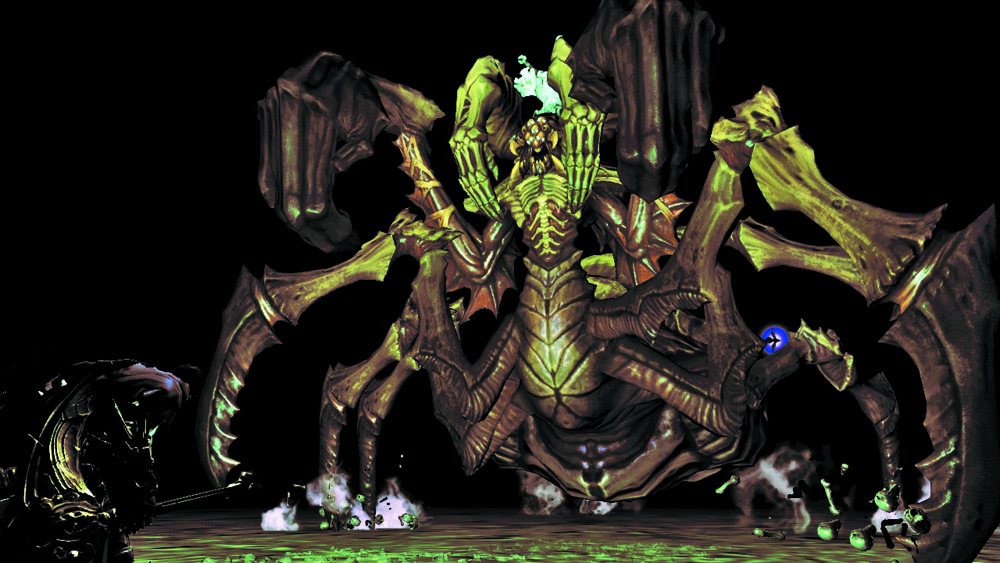
After losing significant health, Basileus calls upon a monstrous ally: an overgrown spider known as Achidna. Although the creature is enormous, Achidna’s attacks aren’t as powerful as Basileus’s. Leap to avoid damage when the monster slams the ground, and evade its lunging strikes as you look for openings through which you can pile on the damage.
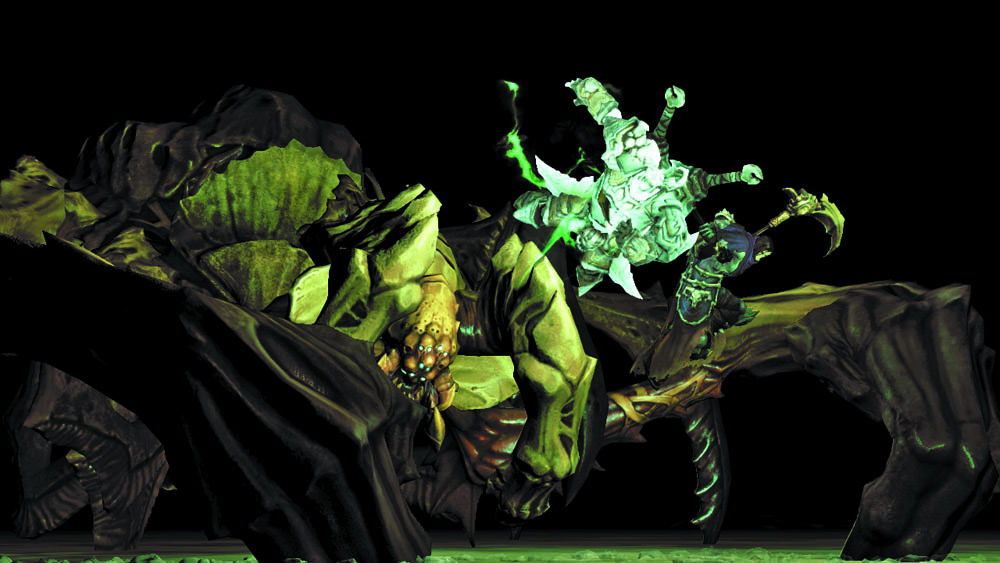
It’s not long before Death manages to rip Basileus off of Achidna’s back, reverting the battle to its initial stage. Face off against the Dead Lord again, doing your best to avoid his lightning-fast attacks as you unleash powerful skills at every chance. This is a good time to call upon Death’s Reaper Form if you haven’t already.
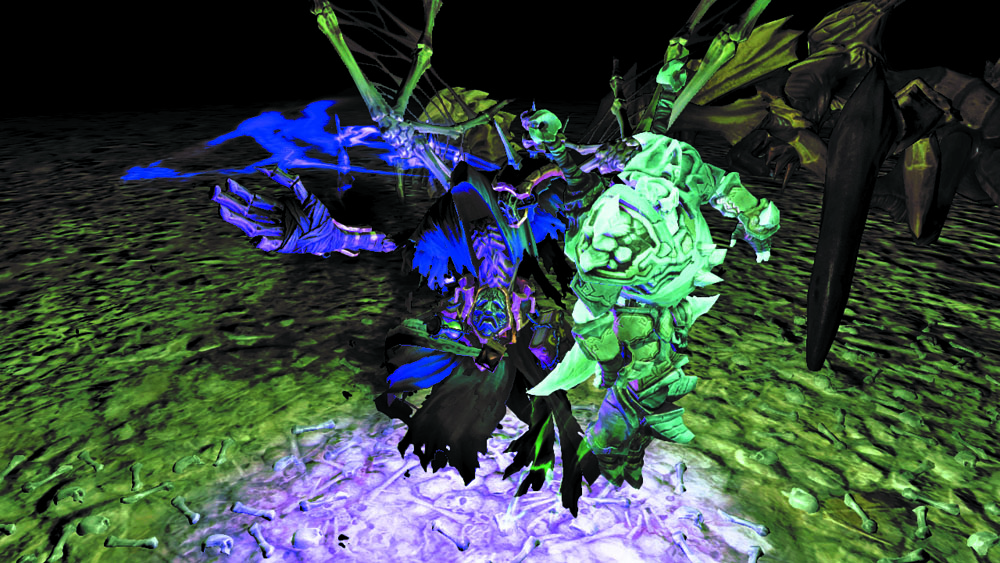
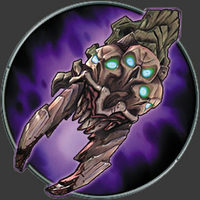
When Basileus is left with only a fraction of his health, he summons Achidna once more. Go on the offensive and finish off the eight-legged fiend, and Basileus will be left with no choice but to yield. Pleased with his handiwork, Death takes a moment to fashion a powerful new weapon from the remains of his latest quarry.
Achidna's Fangs
Side Quest Advanced: “Find and Kill Achidna”
The Dead King’s Wrath
With nothing left to accomplish within the Psychameron, fast-travel back to the Eternal Throne and present the Lord of Bones with his three wayward servants. The Dead King is not merciful toward his subjects and wastes no time in reducing the Dead Lords to ashes. Pleased to have his revenge, the Lord of Bones keeps his word to the Rider. He informs Death that one with knowledge on how to reach the Well of Souls lies beyond the City of the Dead, and grants Death the power he needs to enter and explore his kingdom’s greatest citadel.
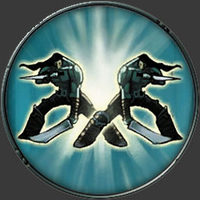
Soul Splitter
Soul Splitter Excursions
Now that you’ve acquired the Soul Splitter, you’re able to revisit a few areas and claim some bonus loot before tackling the Kingdom of the Dead’s final dungeon. Here’s the rundown—refer to the “Side Quests and Areas” chapter for further details:
The Fjord’s East Keep: Travel back to the Forge Lands and use the Soul Splitter to divide Death into two souls. Use his physical form and one soul to trigger the keep’s two pressure plates, then use the remaining soul to claim a Book of the Dead Page from the upper balcony, along with a special chest that appears after you smash all four of the balcony’s pots.
Leviathan’s Gorge Underbelly: Fast travel to the Breach’s north entrance and go west toward the gate that connects to Leviathan’s Gorge’s west valley. Don’t pass through the gate, but navigate the nearby wall’s hand holds and posts instead to reach the Gorge’s underbelly. Destroy the Corruption crystals and traverse the overhead hoops to reach a pair of pressure plates, then trigger them to access a chest. Blast a Stonebite on the high wall near the chest afterward.
Breach Chest: Return to the Breach and raid the chest in the pressure plate passage. Split Death's soul and leave one on the plate, then use the other soul to loot the chest.
The Maw's Northwest Ruin: Return to the Maw's northwest ruin (across from Sentinel's Gaze) and split Death's soul to trigger the pressure plates and access the chests here.