
Darksiders II Guide Walkthrough Side Quests and Areas
Lair of the Deposed King
Lair of the Deposed King
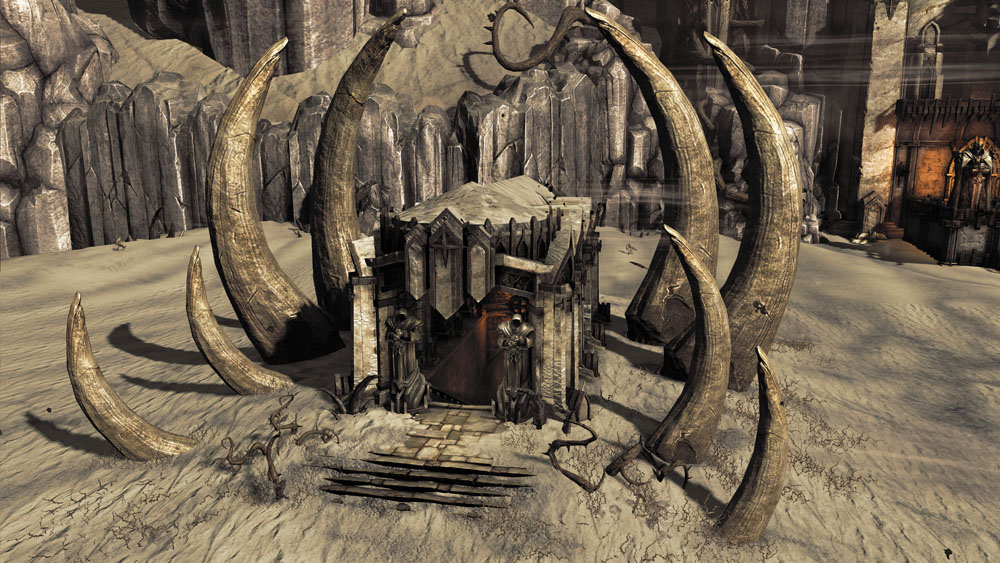
This underground ruin is home to a menacing skeletal giant named Argul. The door to the second Death Tomb is also located at the bottom of this ruin, and can be easily accessed by descending the main stairwell all the way to the bottom. Argul is a mighty adversary, and likely too much for Death to handle until the Rider nears the end of his quest.
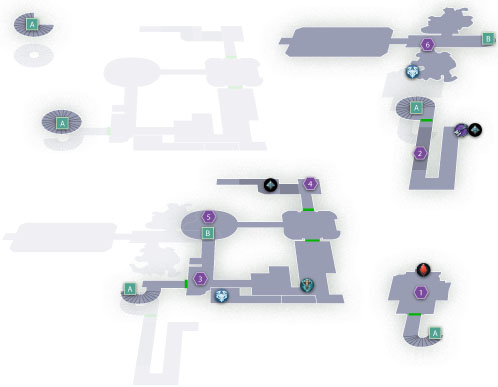
Area 1: Death Tomb Access
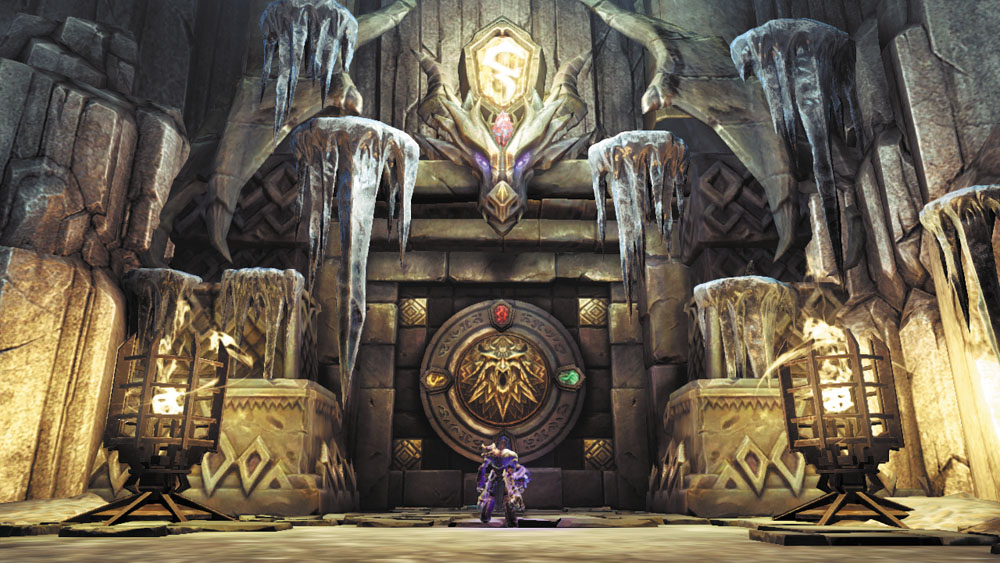
Descend the Lair’s main stairwell, continuing ever downward until you reach the chamber at the very bottom of the stairs. The door to the second Death Tomb is located here, along with a Stonebite that’s lodged atop the door. After collecting twenty Book of the Dead pages, obtain a special key from Vulgrim that allows you to enter this Death Tomb and claim the valuables housed within.
|
Stone of Power 5 |
Area 2: Skeleton Key Passage
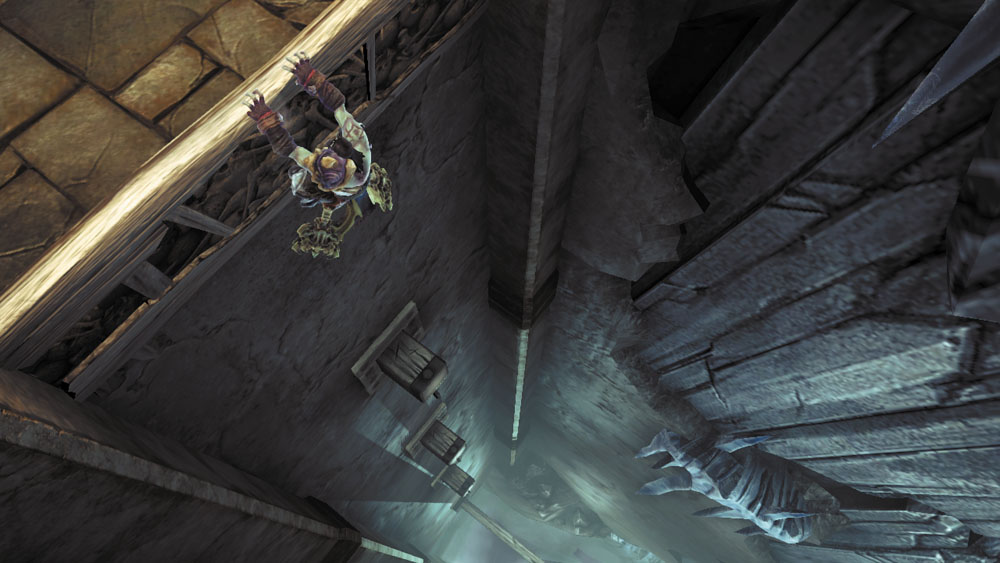
Enter the stairwell’s second door to reach this narrow passage. Hang from the entry ledge and drop down past several pegs to reach a low beam.
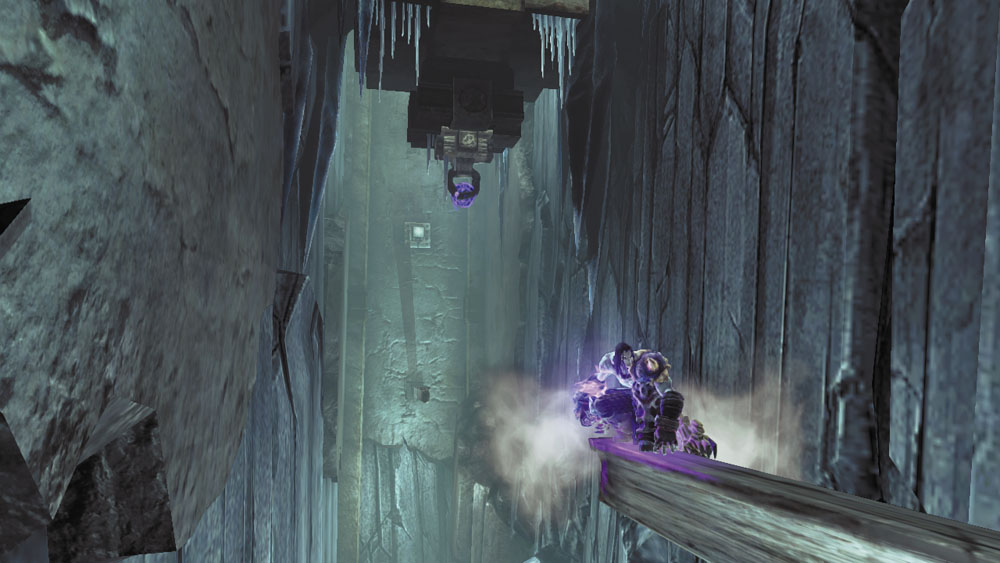
Jump from the end of the beam and Deathgrip a hoop to swing over to another beam. Scale the wall to reach the passage above.
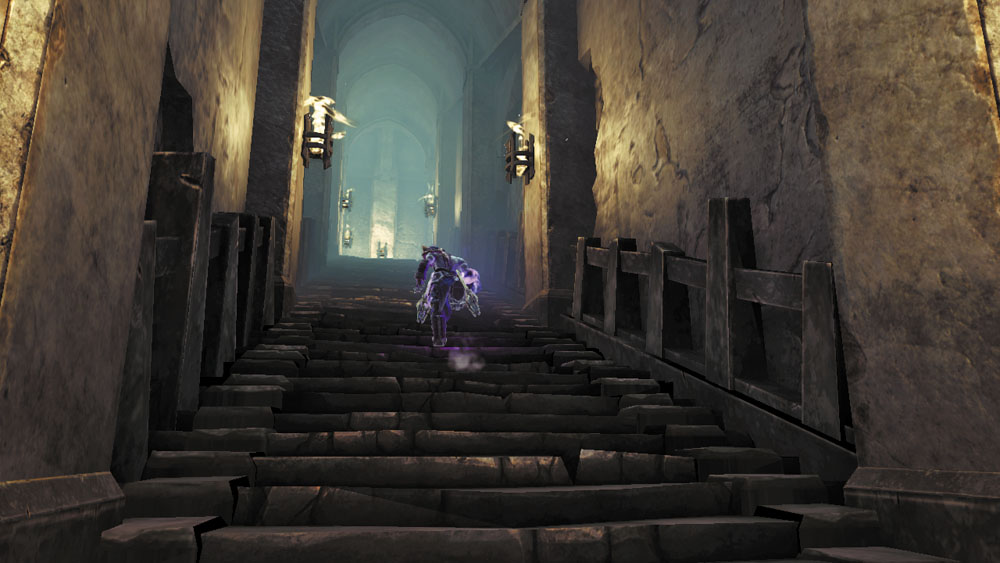
Sprint up the long flight of stairs to reach an ornate chest that contains a Skeleton Key. Run up the nearby wall after claiming the key, and then jump from the height of your vertical wall-run in order to reach a floating Boatman Coin. Backtrack to the main stairwell afterward, return to the first door you encountered, and then head through.

|
Boatman Coin 43 |
Area 3: Main Ruin
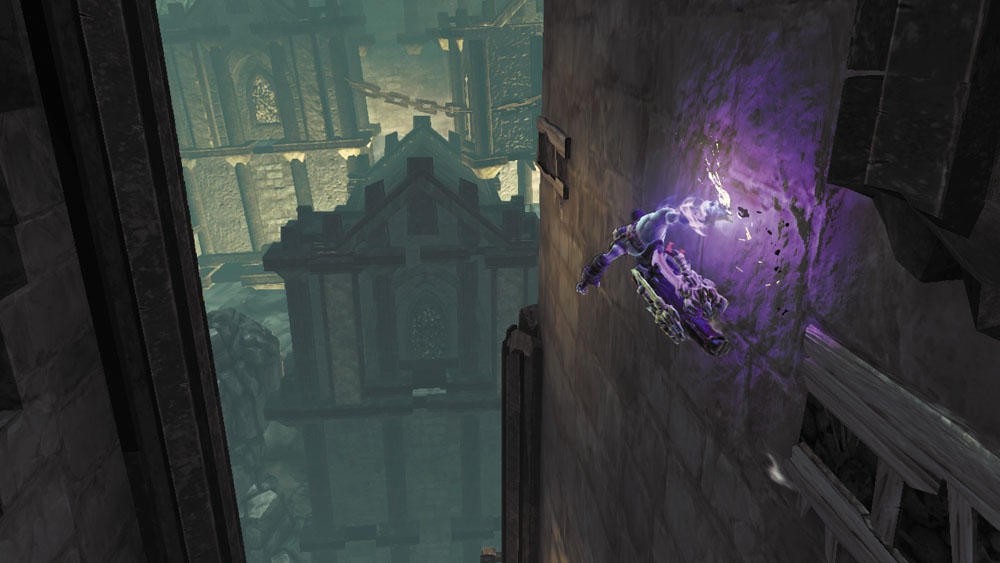
The stairwell’s first door leads to the main ruin. Descend the ruin’s east stairs, and then look for a pair of hand holds on the south wall. Climb up, wall-run to a third hand hold, and then shimmy around two corners.
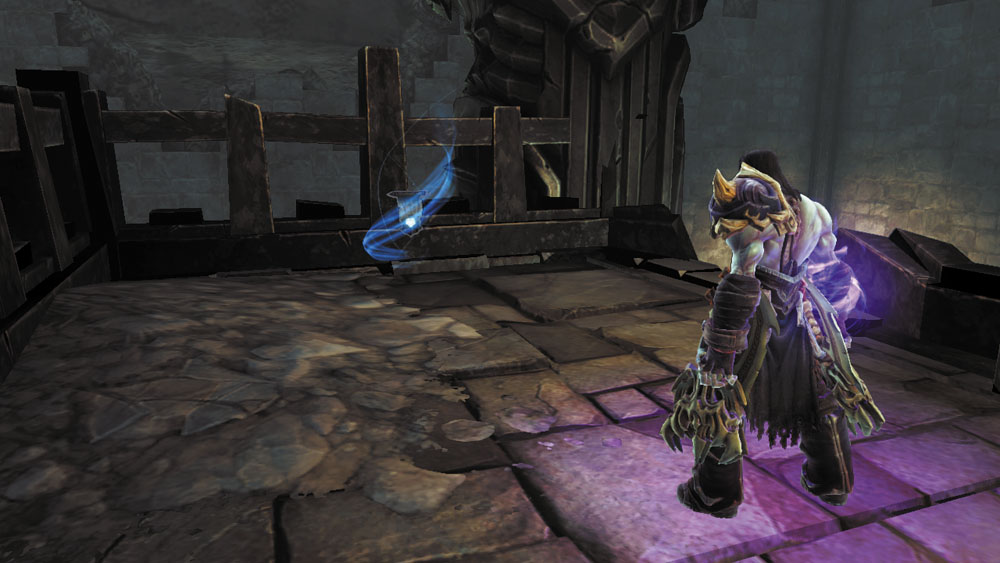
Wall-run past a peg to reach another hand hold, and then Deathgrip the hoop above to soar up to a ledge. Collect the Soul Arbiter’s Sacred Scroll you find on the ledge before dropping down to return to the east stairs.
|
Soul Arbiter's Sacred Scroll 1 |
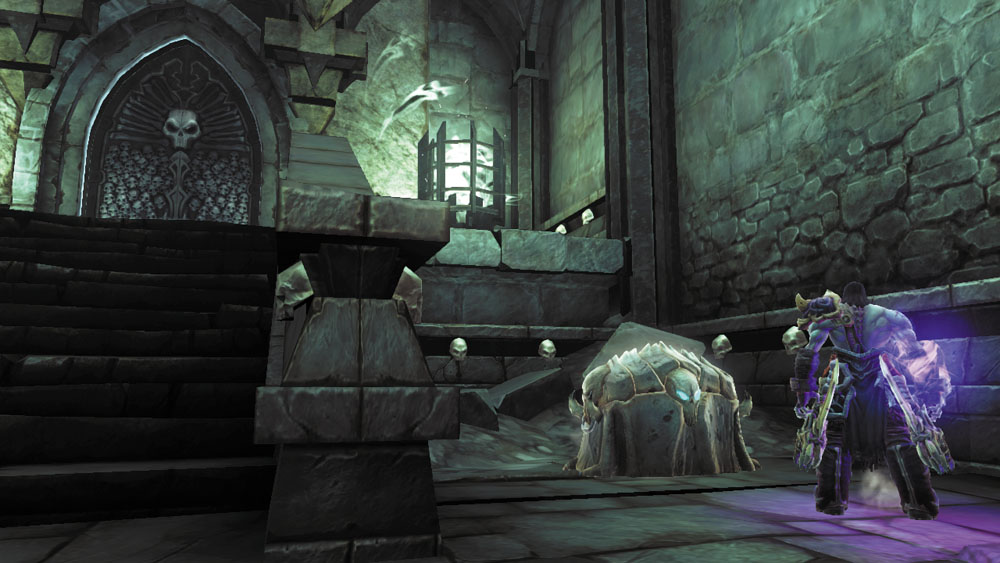
This time, descend the east stairs and drop down off the end of the broken stairs that follow. Turn around and collect the Relic that’s hidden beneath the broken stairs, and then open the chest to the north. Proceed through the north door afterward.
|
Relic of Etu-Goth 1 |
Area 4: Pitfall Passage
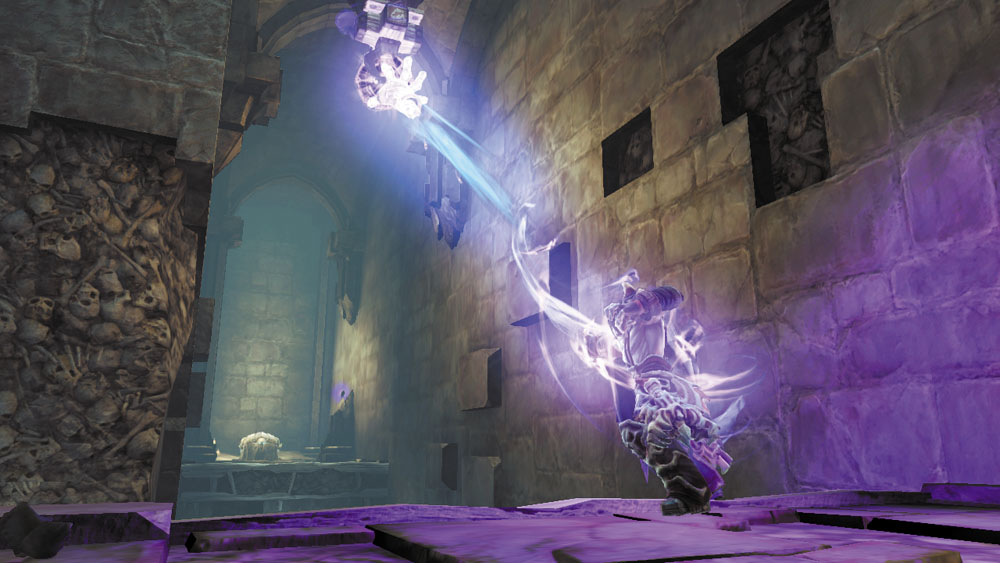
Pass through an empty room to reach this passage, which features two lethal pits. Wall-run past the first pit, and then smash the crates you find on the ledge beyond to discover a Boatman Coin. Deathgrip an overhead hoop to flip past the second pit and land near a chest. Backtrack out of this passage after claiming your plunder, and use the Skeleton Key you found in Area 1 to unlock the empty room’s west door.
|
|
Boatman Coin 44 |
Area 5: Elevator
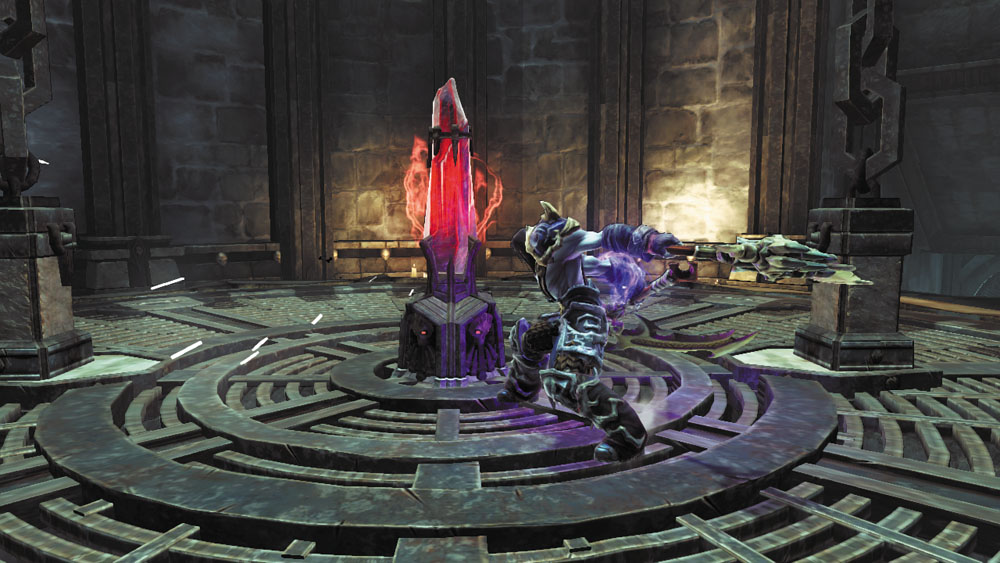
Scale this small chamber’s south wall to reach a ledge with a lever. Pull the lever to open the nearby gate, allowing for easy travel back to the Lair’s main stairwell. Drop down from the ledge afterward and strike the room’s central crystal to make the floor lower like an elevator.
Area 6: The Deposed King’s Court
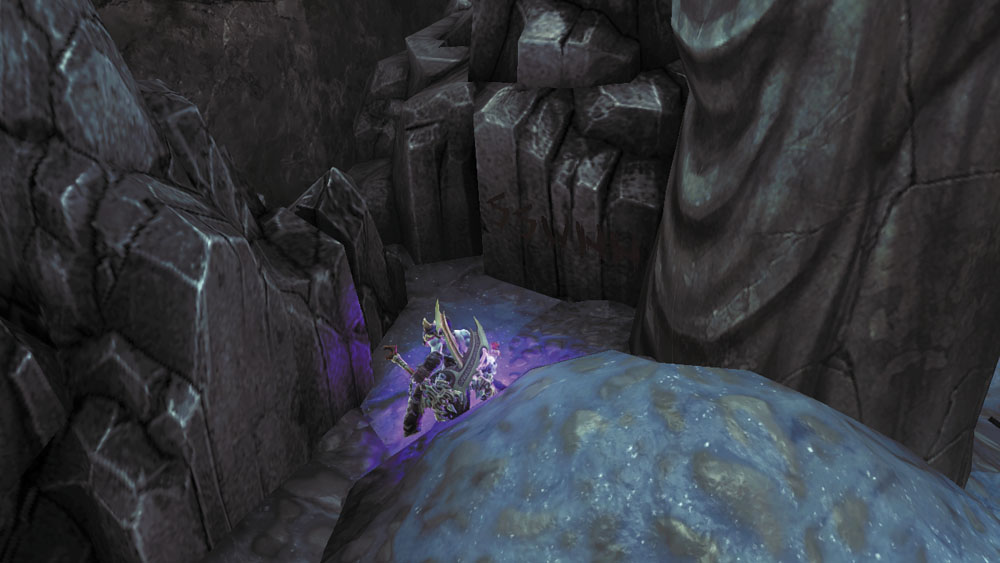
The elevator ferries Death to a frigid section of the ruin. Wipe out the Ice Skeletons in the north and south side caverns, and then search the south cavern’s southwest corner for a scrawl on the wall that bestows a Soul Arbiter’s Sacred Scroll. Backtrack out and proceed west to face off against the Deposed King, Argul—but only if you’re prepared for an extremely difficult challenge.
|
|
Soul Arbiter's Sacred Scroll 2 |