
Darksiders II Guide Walkthrough Court of Bones III: Basileus
Psychameron
Psychameron
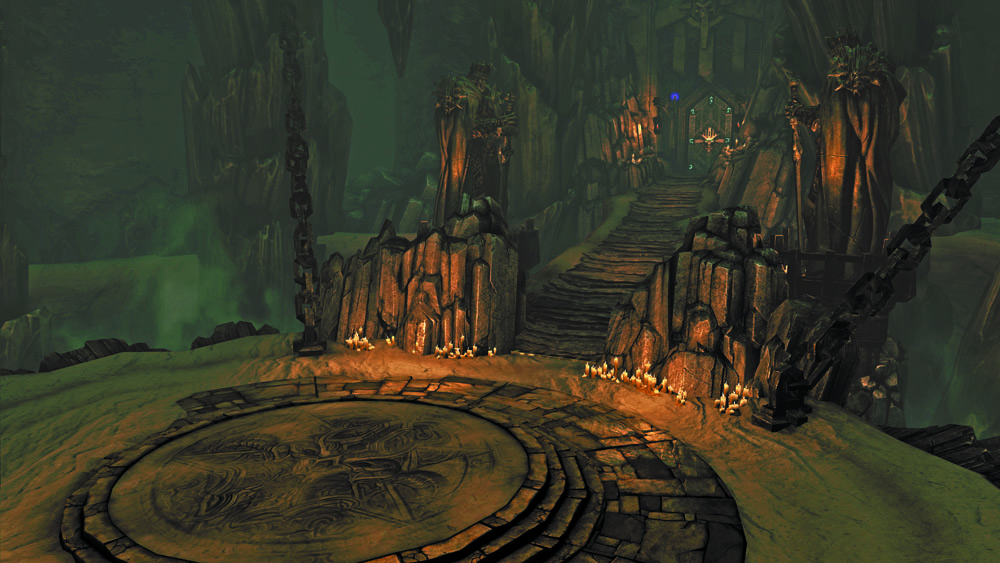
Few would dare to brave the epic depths of this twisted underworld maze.
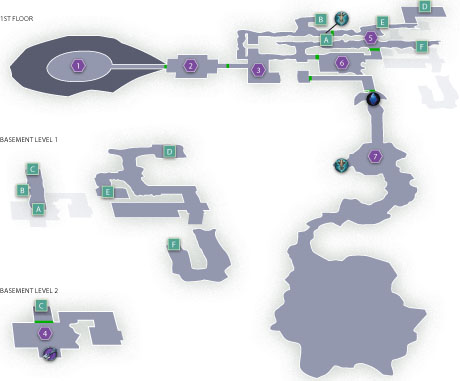
Area 1: Arena
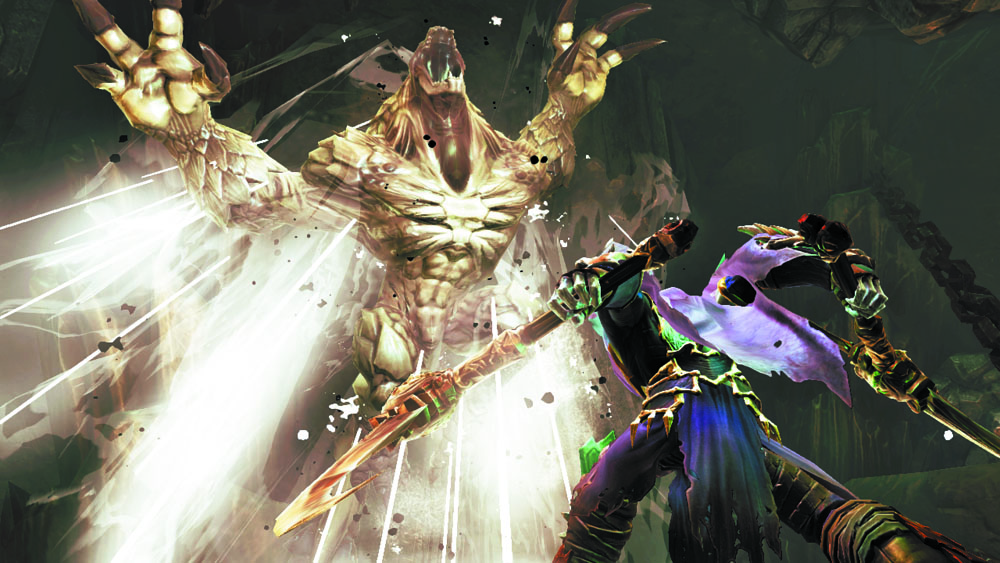
As soon as the Reaper enters the Psychameron, he’s plunged into a frantic battle against not one, but two Undead Stalkers. This is the most challenging battle Death has faced thus far, so don’t hold back. Focus on slaying one of the Stalkers, and then work at cutting down the other. Remember that Undead Stalkers attack with great ferocity as they near death, so avoid weakening both creatures at once. Strive to damage only one at a time.
Area 2: Lift
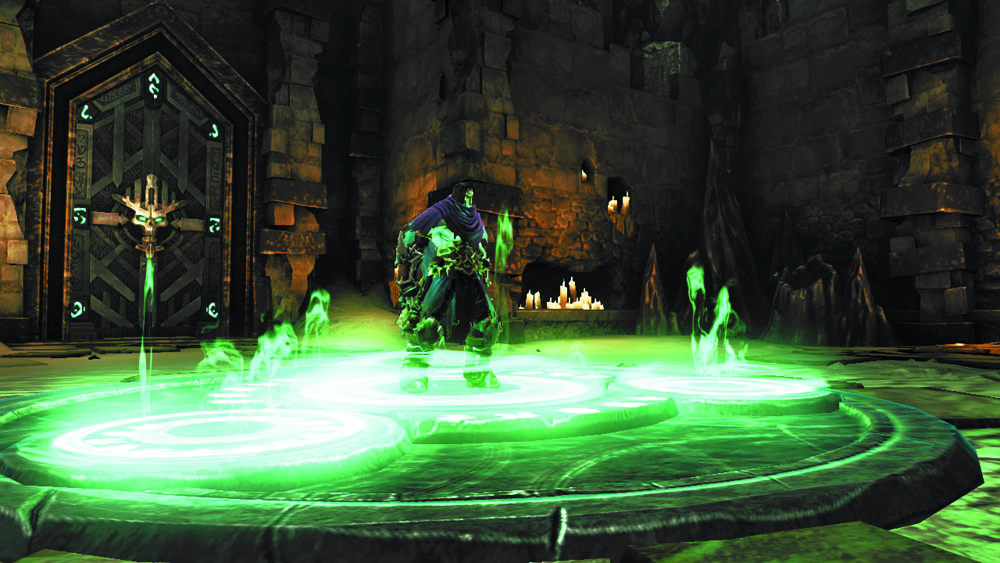
If you survive the undead ambush, proceed through the east door to reach a small chamber with a Summoning Circle. Call forth the Dead Lords and order one to trigger the south pressure plate so that you may climb the wall and reach a chest on the ledge above.
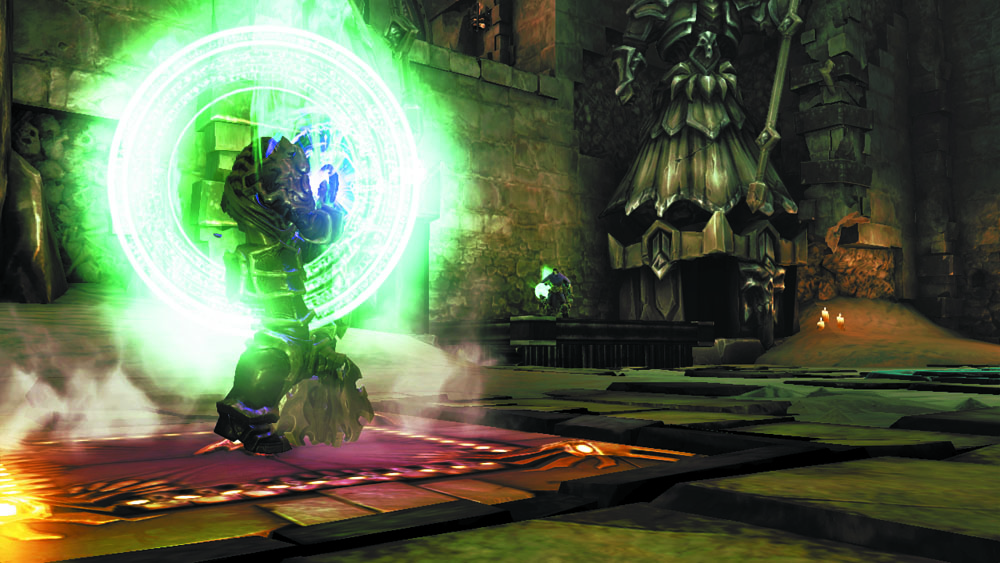
Next, stand in the east nook and order your remaining Dead Lord to trigger the north pressure plate. This causes the floor beneath you to rise, delivering Death up to a higher passage. Proceed through the east door.
Area 3: Puzzling Passages—West
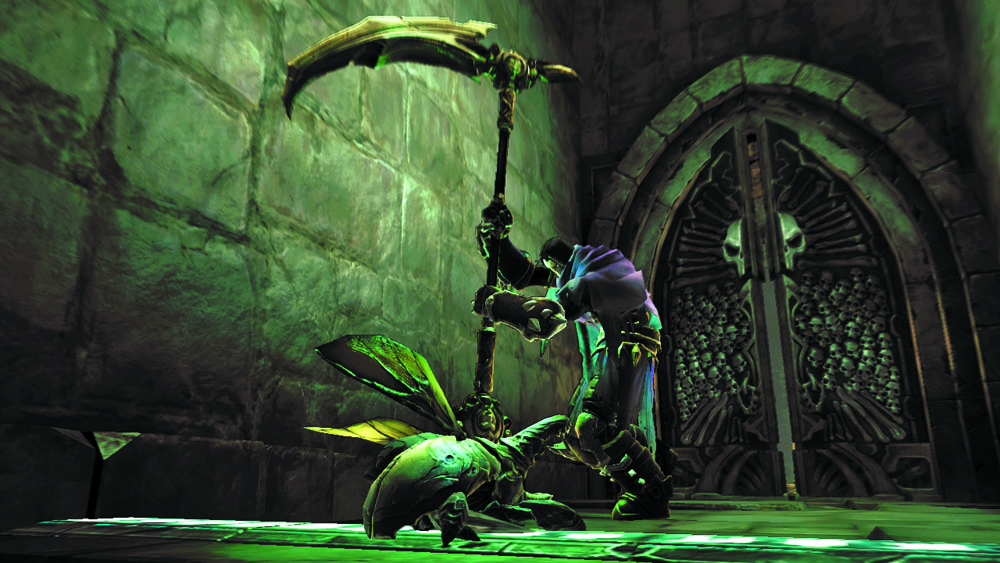
Slay a few Scarabs as you enter these mind-bending passages. Use the Summoning Circle near the entry to summon your Dead Lords, and then begin the process of navigating this confusing area.
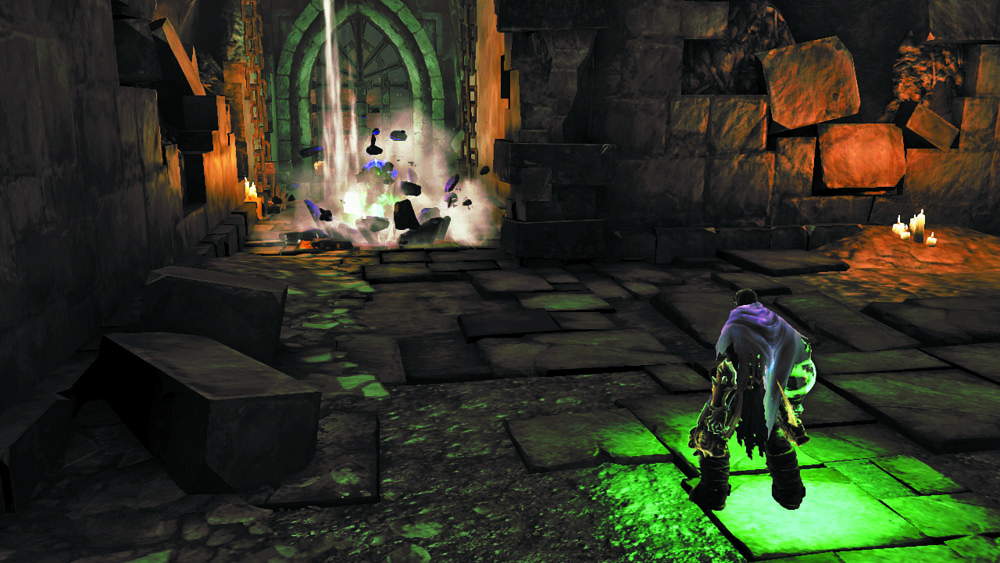
Order one Dead Lord to stand on the nearby pressure plate, extending a bridge to the north.
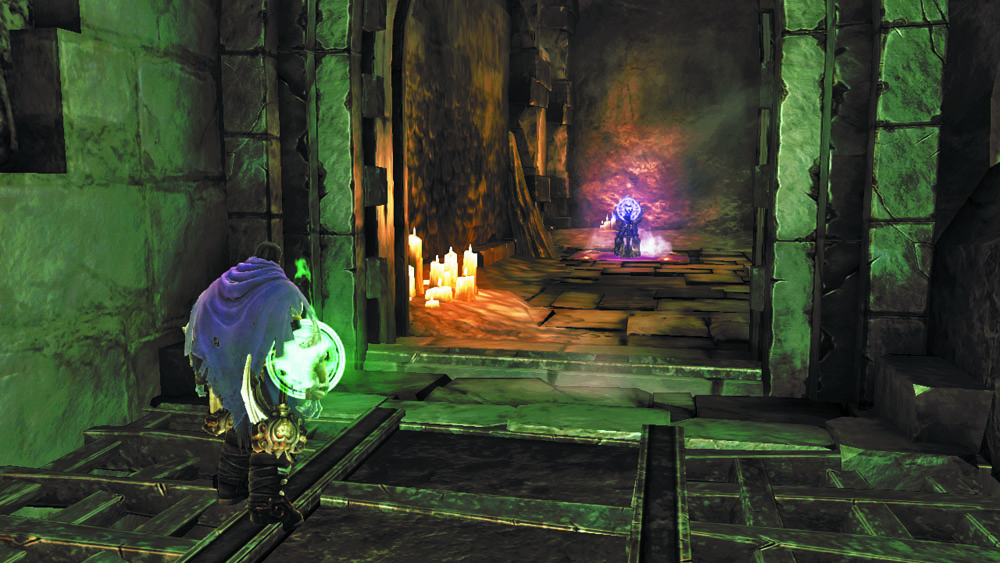
Cross the bridge and order the other Dead Lord to trigger the pressure plate beyond the north gate. This removes the gate, allowing Death to advance.
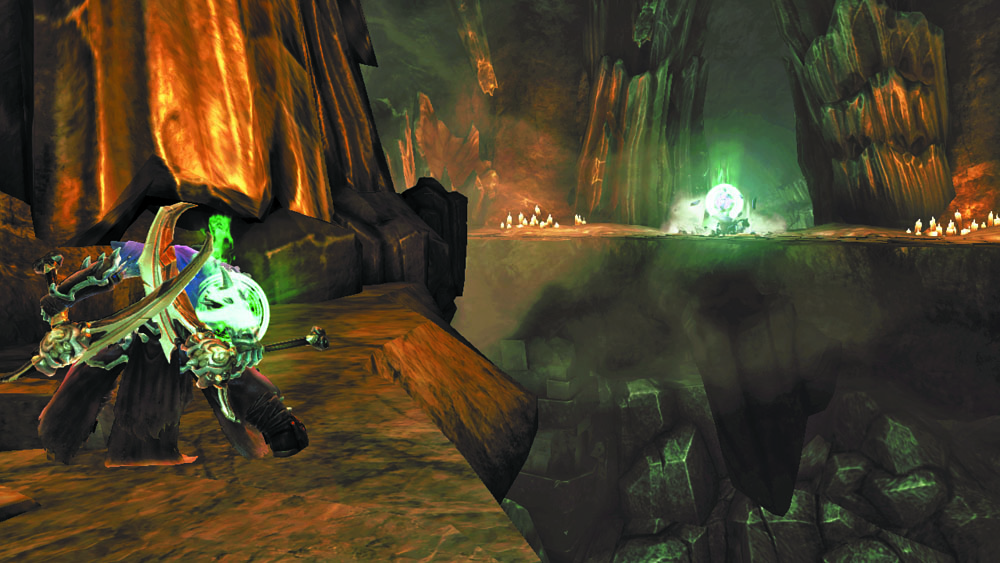
Pass through the gate, and then order both Dead Lords to step off of their pressure plates. Run east and order one Dead Lord to trigger the pressure plate across the chasm, which exposes a chest.
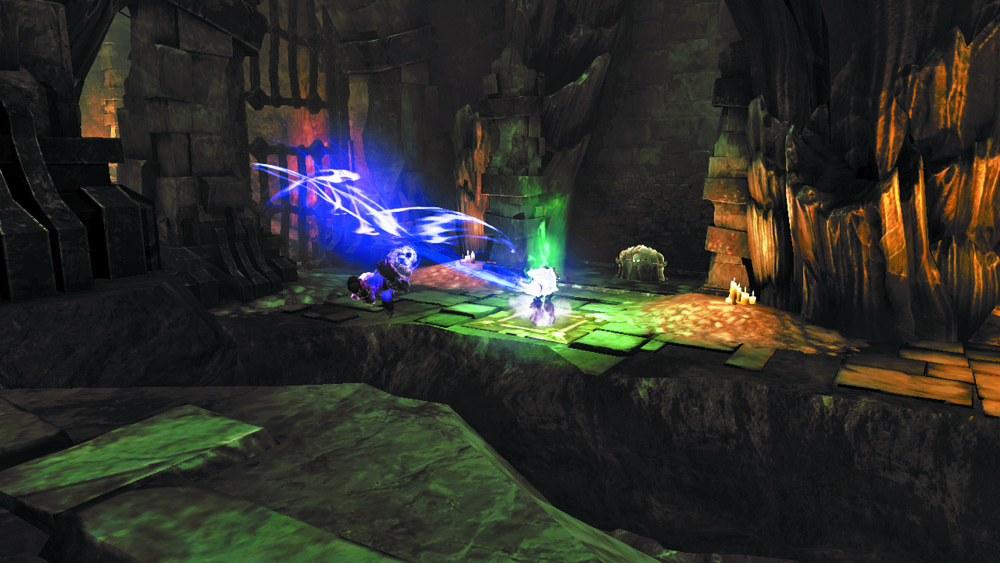
Leap toward the Dead Lord and Deathgrip him to zip over to the chest. Claim your plunder, and then look down into the chasm you've just crossed and notice a low gate.
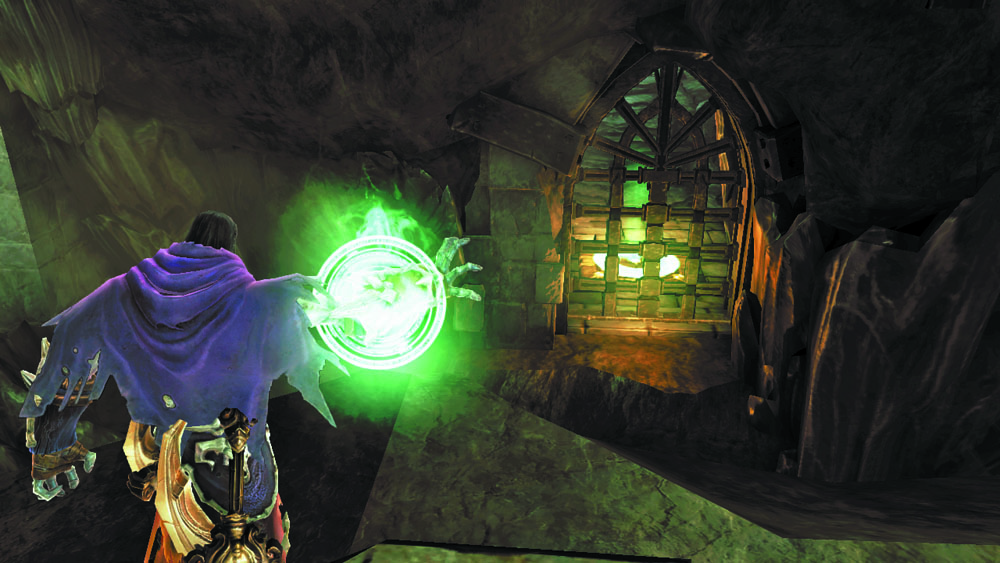
Look for the pressure plate beyond the low gate and command your remaining Dead Lord to activate it. He'll do so after a bit of traveling.
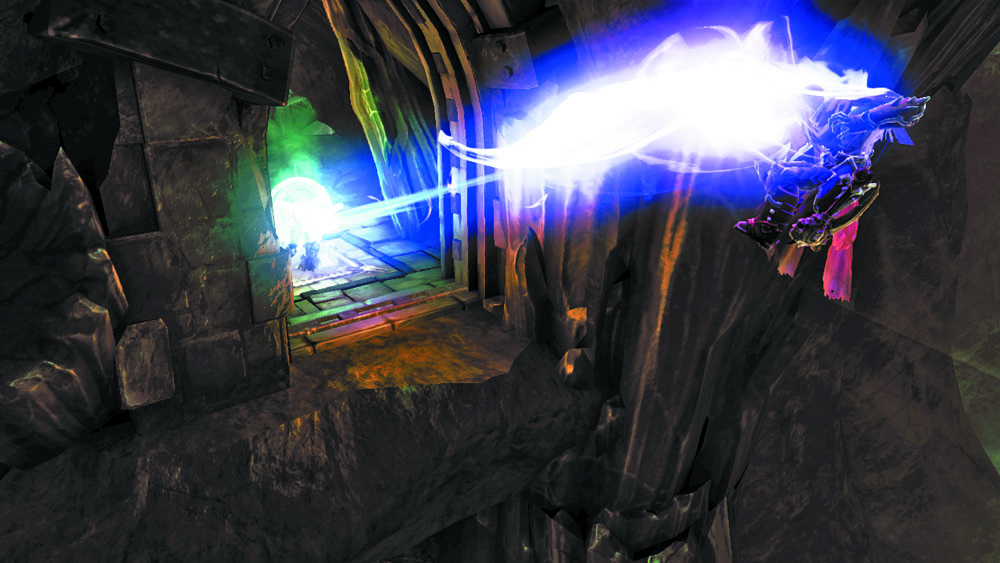
With the low gate gone, leap toward the Dead Lord and Deathgrip him to zip into the lower passage.
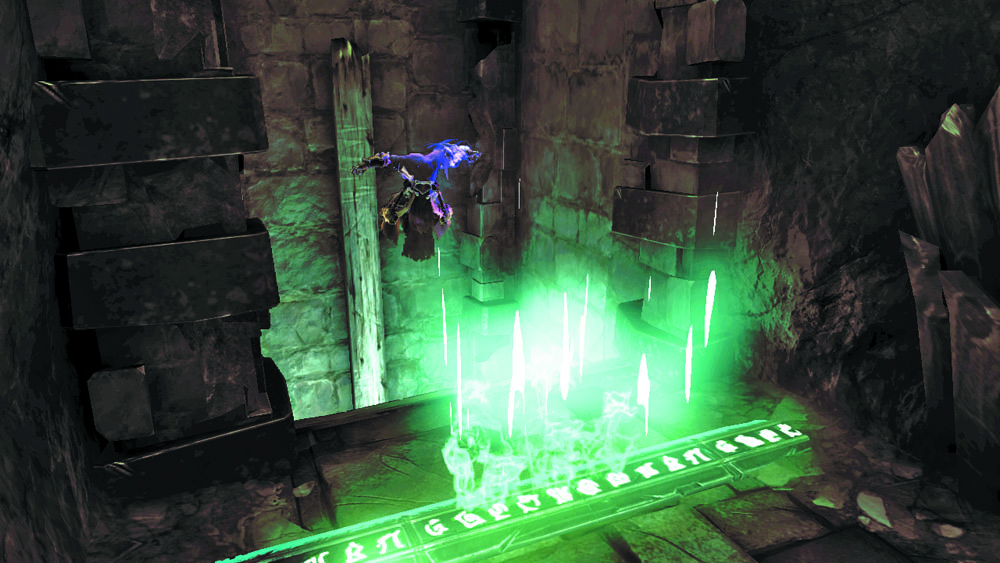
Explore the passage, cross a Banishing Field, and leap to the wall post beyond. Slide down to an even lower passage that leads into a new area.
Area 4: Key Chamber
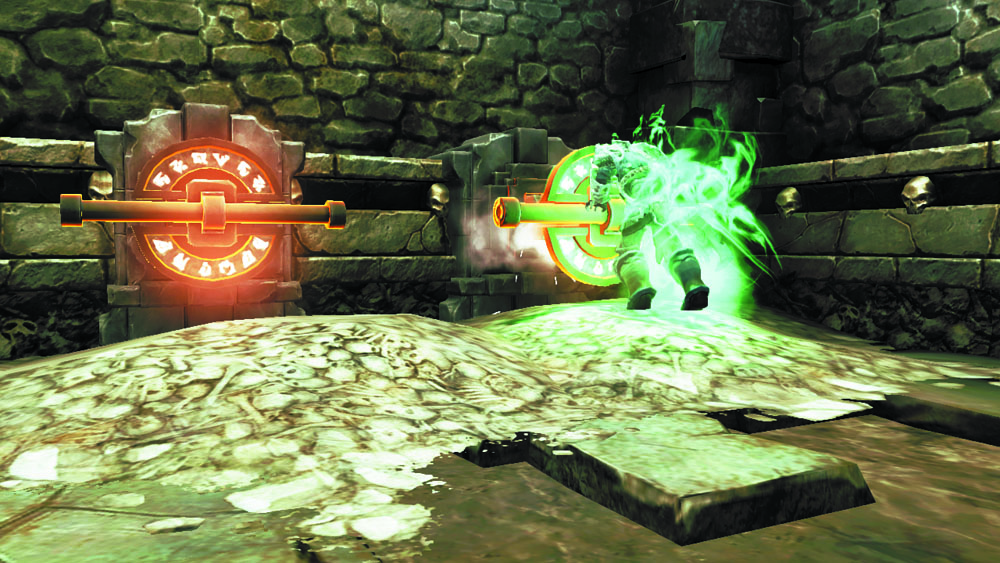
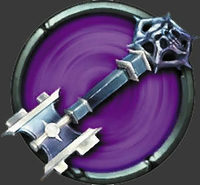
Summon your Dead Lords at the circle in this chamber, and then order one to trigger the middle of three switches on the high east balcony. Trigger the right switch next, followed by the left, in order to gain access to the room’s ornate chest. Rip it open to acquire a Skeleton Key.
|
Skeleton Key |
Back to the Passages
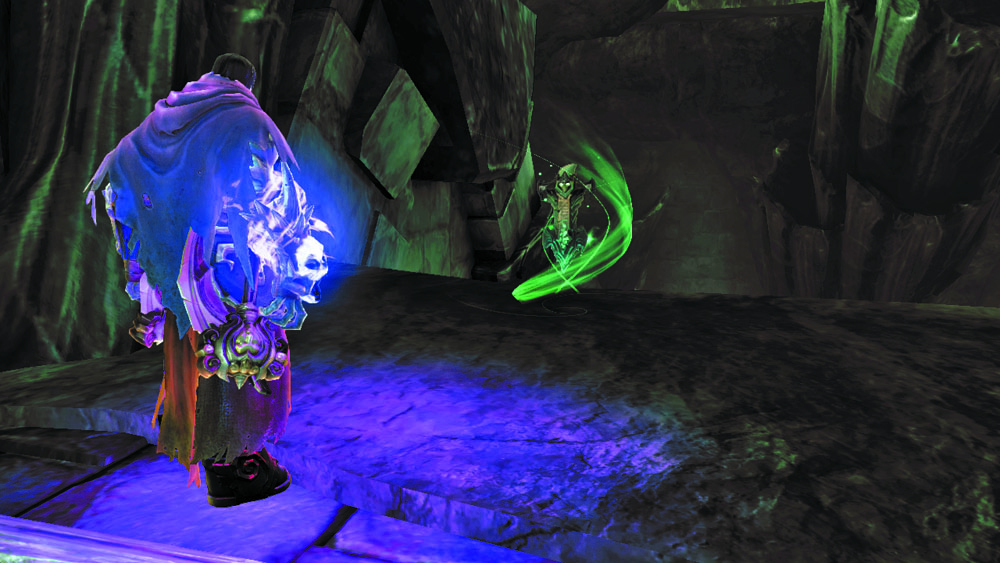
Backtrack out of the chamber and scale the wall post to return to the passages above. Glance up to notice a high hoop, and Deathgrip it to vault up to a small ledge where a lost Relic awaits. Drop down from the ledge to land near a locked door, and then head through it.
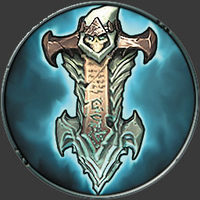
|
Relic of Renagoth 4 |
Area 5: Puzzling Passages—East
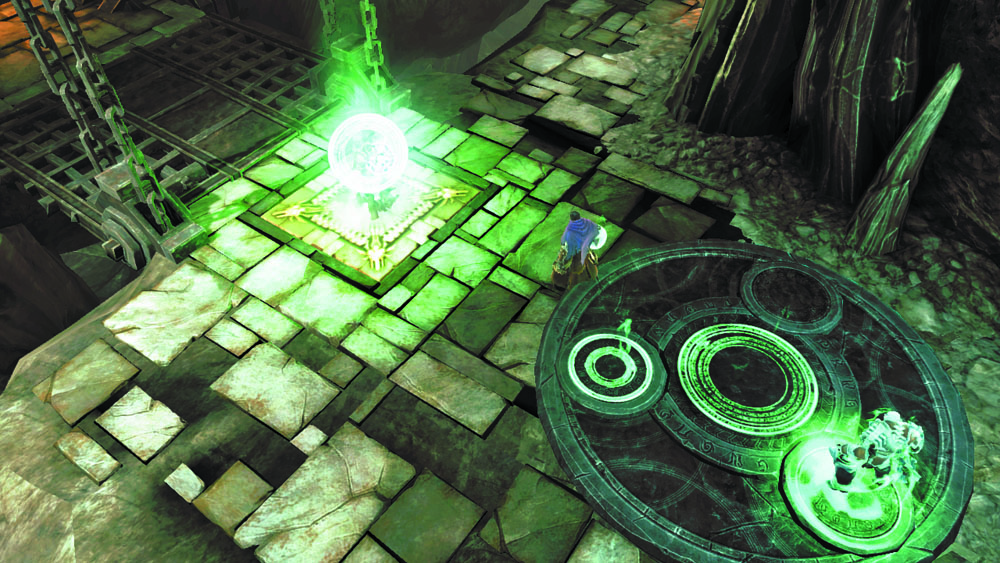
Call forth your Dead Lords at the circle beyond the locked door, and then order one to trigger the nearby pressure plate. This extends a nearby bridge.
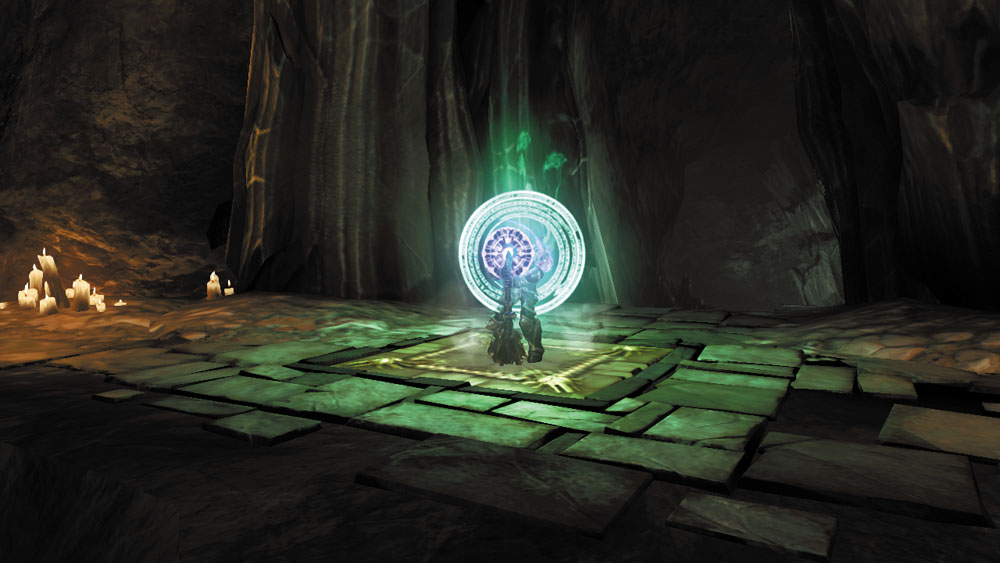
Run east and spy another pressure plate on the south passage. Order your remaining Dead Lord to trigger this plate, and the nearby gate will open.
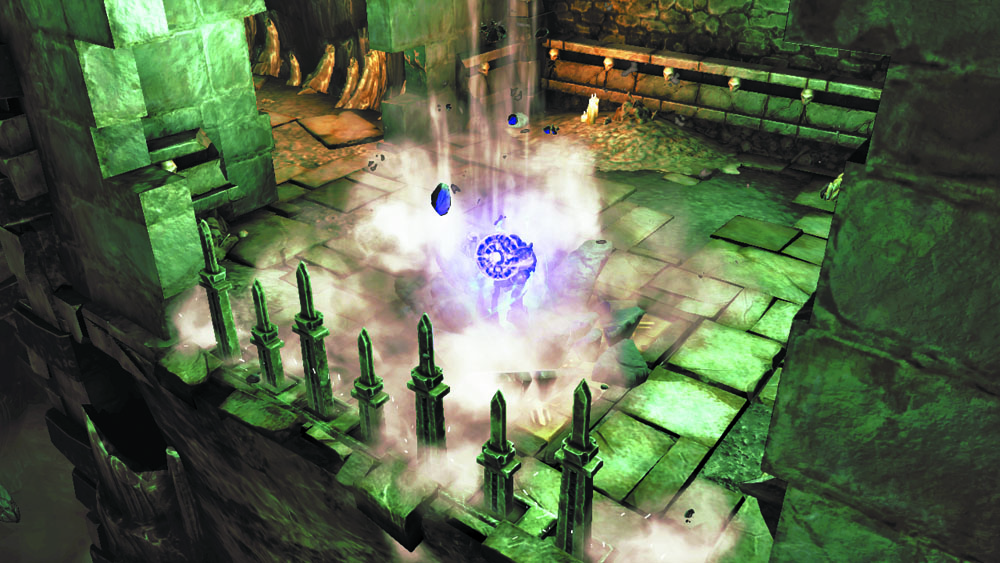
Before exploring beyond the gate, order the first Dead Lord to step off of his pressure plate. Move past the gate and order the Lord to trigger a lower, distant pressure plate to the north.
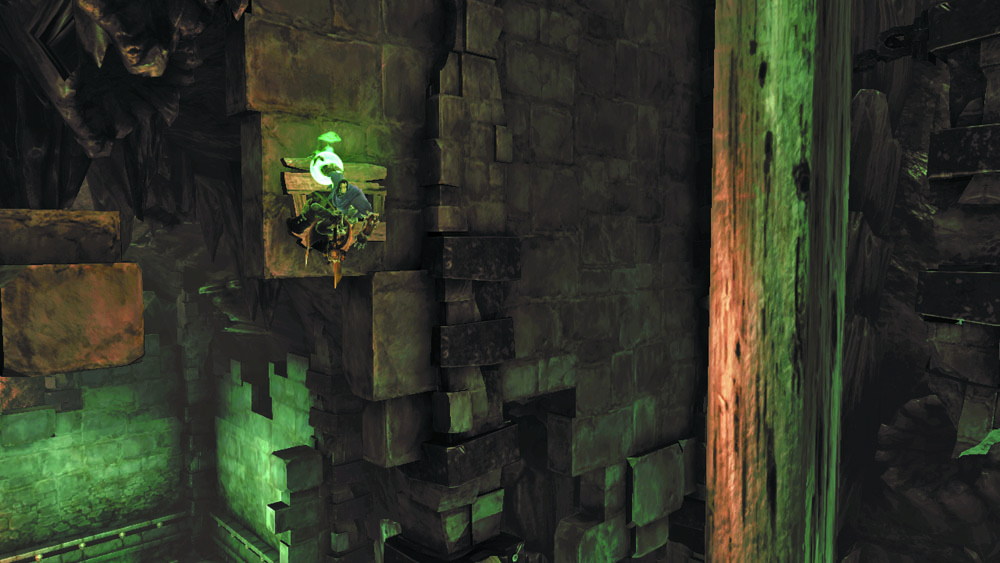
With the Dead Lord in place, wall-run to a hand hold, and then shimmy to the right. Perform a 180 leap from the final hand hold to reach a hanging post.
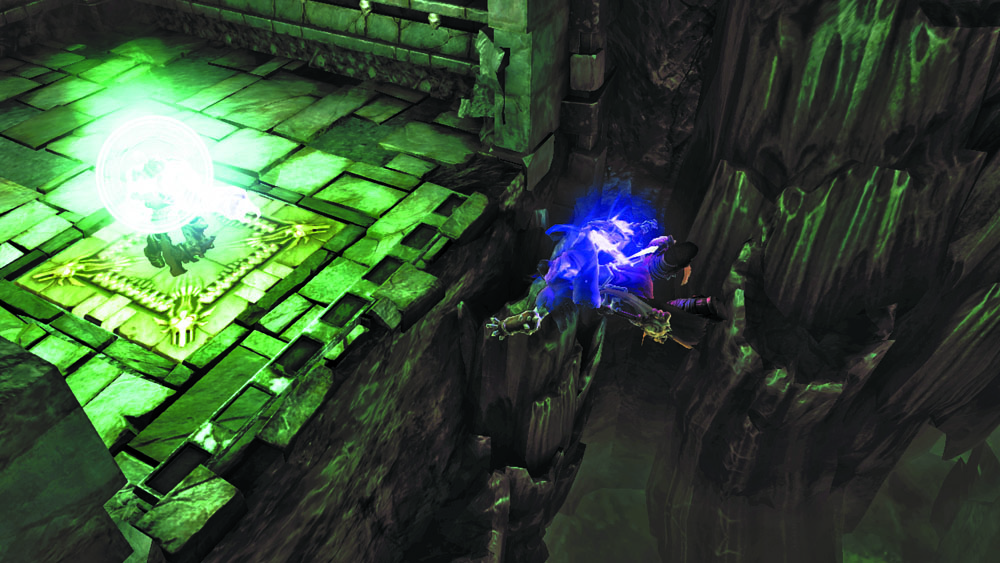
Slide down the post, and then 180 leap toward the Dead Lord. Deathgrip the Lord to zip into the lower passage.
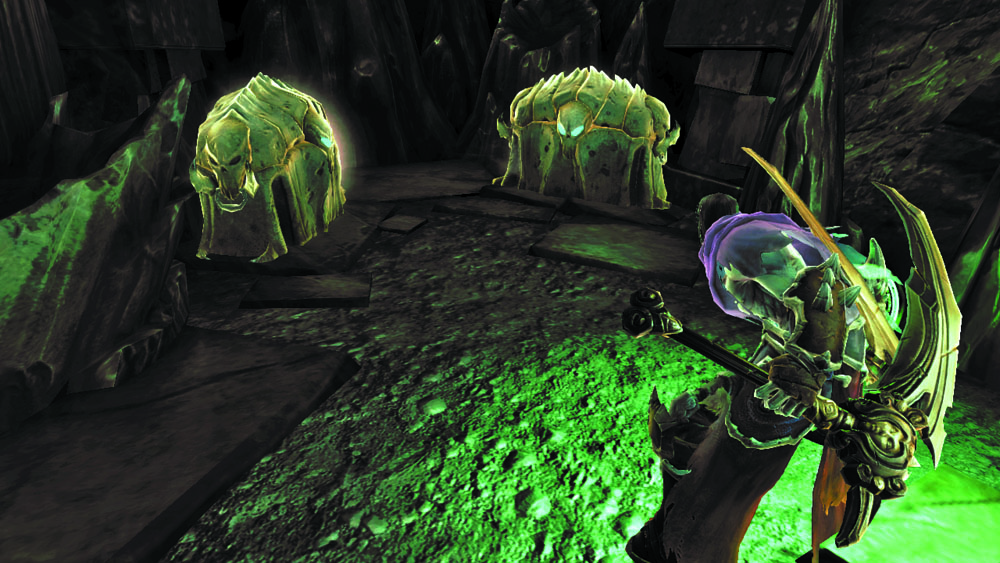
Command the Dead Lord to step off the pressure plate, and then explore the passage. Raid a piar of chests on your way to another pressure plate.
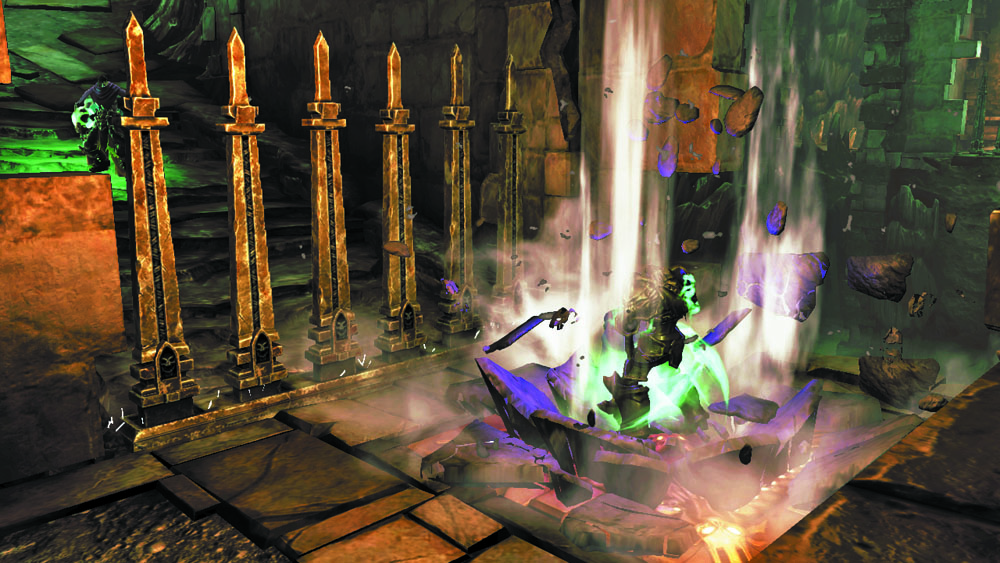
Order the Dead Lord to trigger the plate, and move beyond the gate it lowers. Push the switch there to extend a bridge across the nearby chasm.
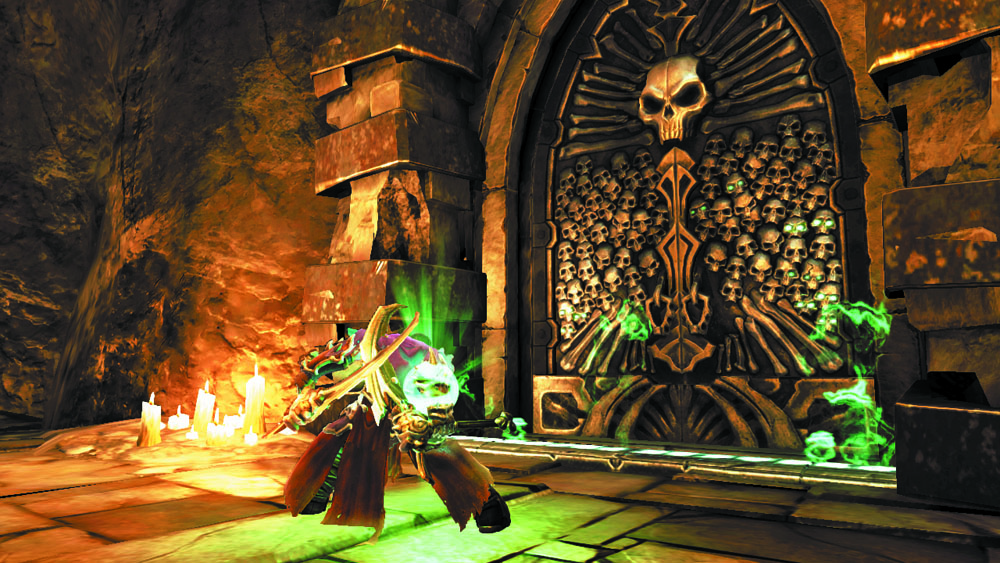
Cross the bridge and cut down Scarabs as you climb the stairs. You emerge near the second Dead Lord; leave him be and enter the nearby south door.
Area 6: Brutal Ambush
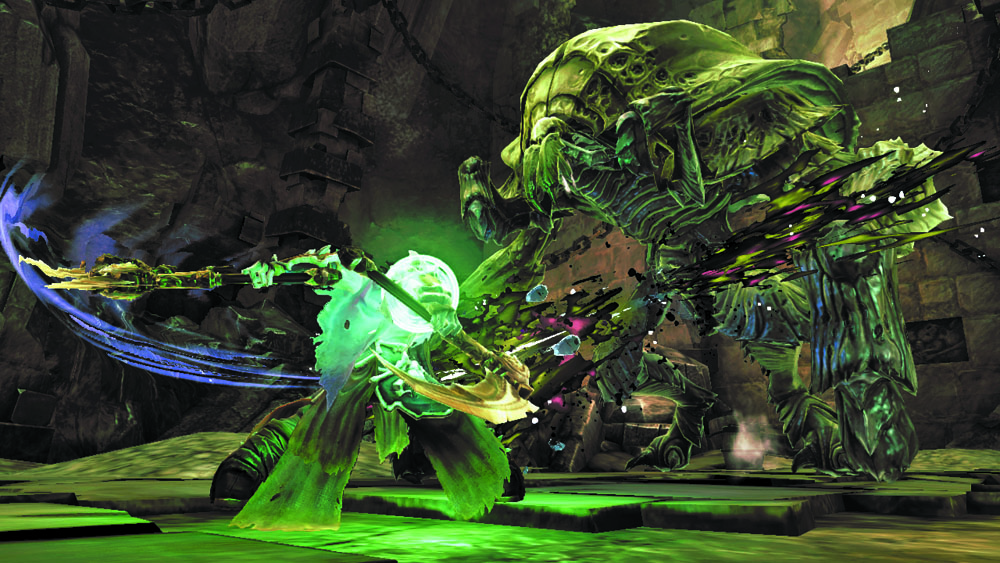
The door leads into a square chamber. Ensure you’re prepared for a challenging battle before using the central Summoning Circle to call forth your Dead Lords, for doing so triggers a deadly ambush. First, you face a lone Bone Giant, followed by a pair of Undead Scarab Hulks. It is fortunate that you have the aid of the Dead Lords to help you battle these dangerous brutes!
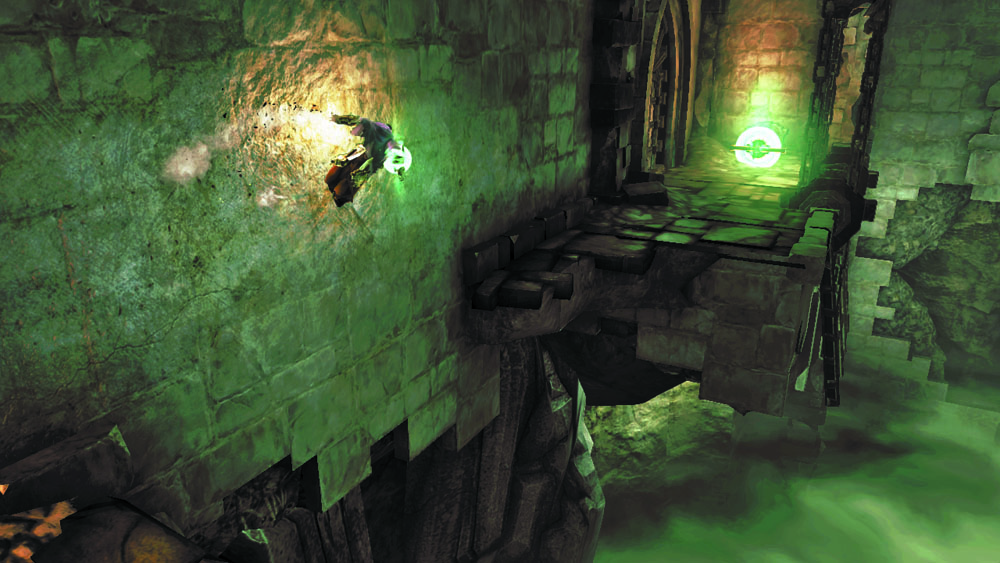
Proceed through the west door after cutting down the Undead Scarab Hulks. You find yourself back at the west side of the Puzzling Passages. Wall-run across the south pit to reach a switch, and then push it to extend the nearby bridge leading back to the entry. There’s no need to cross the bridge, however. Advance through the north door instead.
Area 7: Path of Shadows
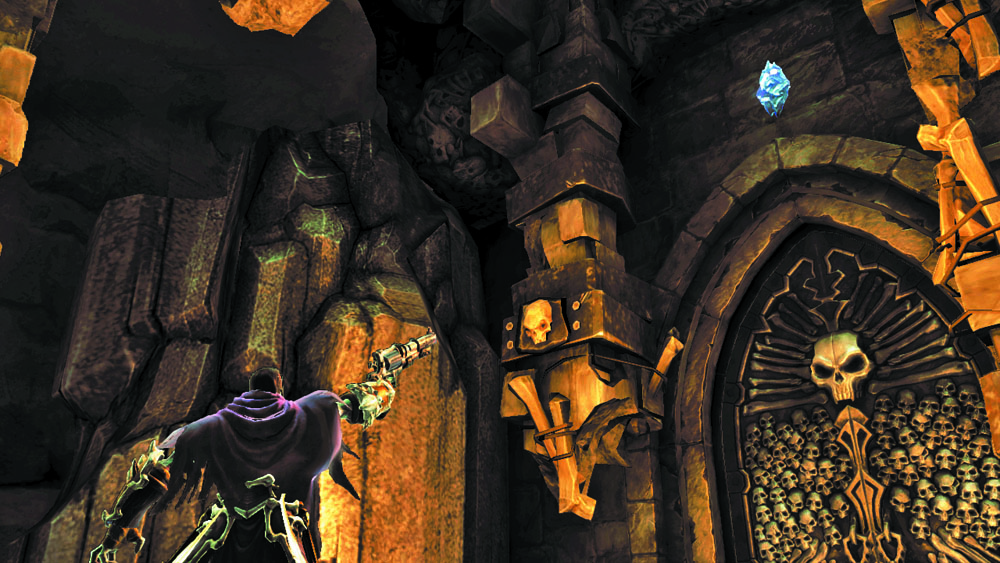
After navigating a hallway and passing through a door, turn around and blast the Stonebite above the door's opposite side. Cross the bridge ahead afterward, and then search the landing on the right to discover a lost Relic. Continue following the passage until you reach a large, dark cavern where the final challenge awaits.
|
Stone of Mystics 23 |
|
Relic of Etu-Goth 9 |