
Darksiders II Guide Walkthrough Court of Bones II: Judicator
The First Soul
Area 4: Lich’s Lair
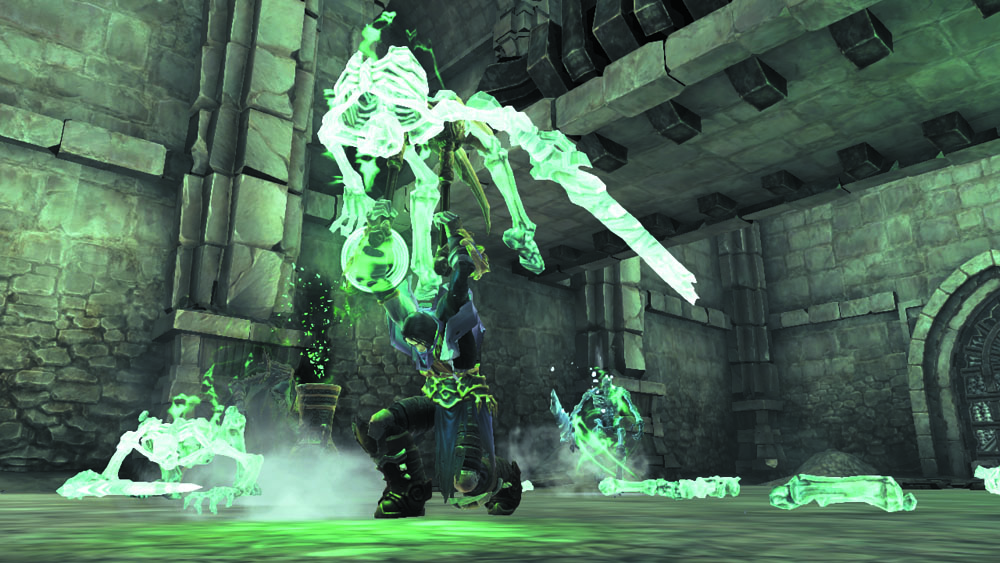
After speaking with the Judicator, proceed through the west door and cross a bridge that leads to this chamber, where a devious Lich assaults you. The Lich isn’t particularly powerful, but it has the bothersome ability to summon undead minions to aid it in battle. Focus on killing the Lich, and then mop up any skeletal stragglers.
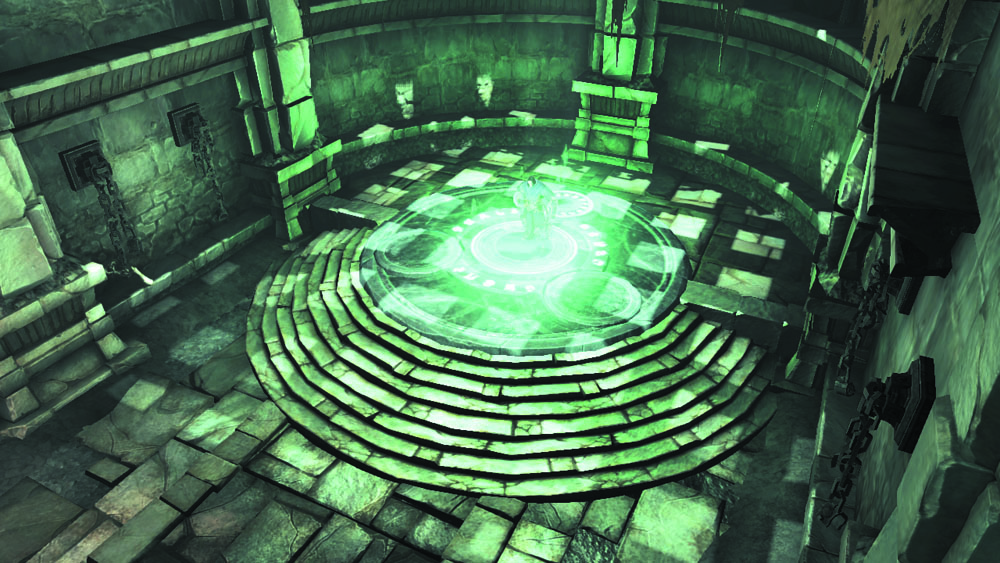
After the Lich has been defeated, go through the west door and sprint upstairs. Summon Phariseer at the Summoning Circle you discover near the door to the next area.
Area 5: Statue Room
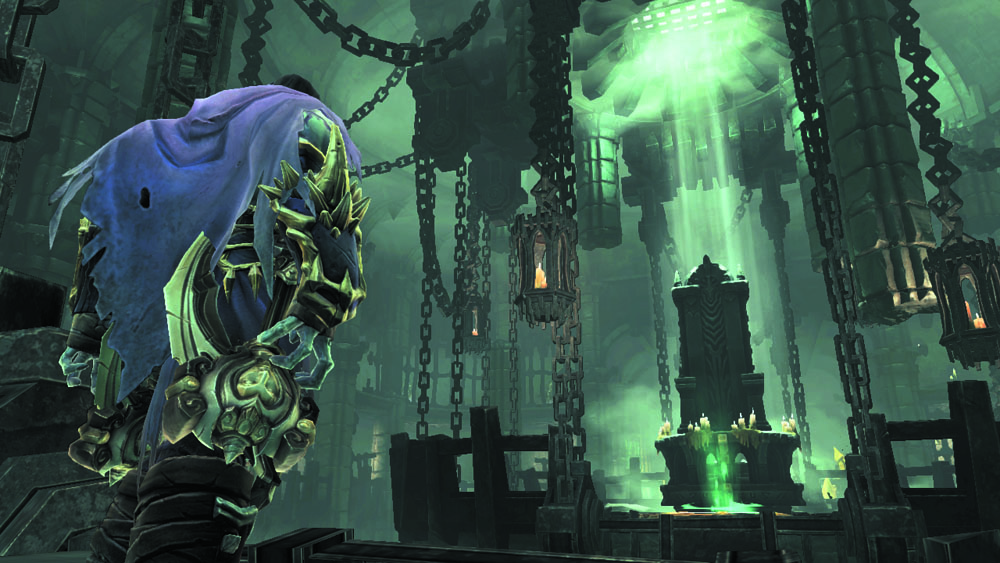
A familiar statue stands in the center of this chamber, but it lacks a light-emitting lantern. You’ll need to solve this puzzling room in order to progress.
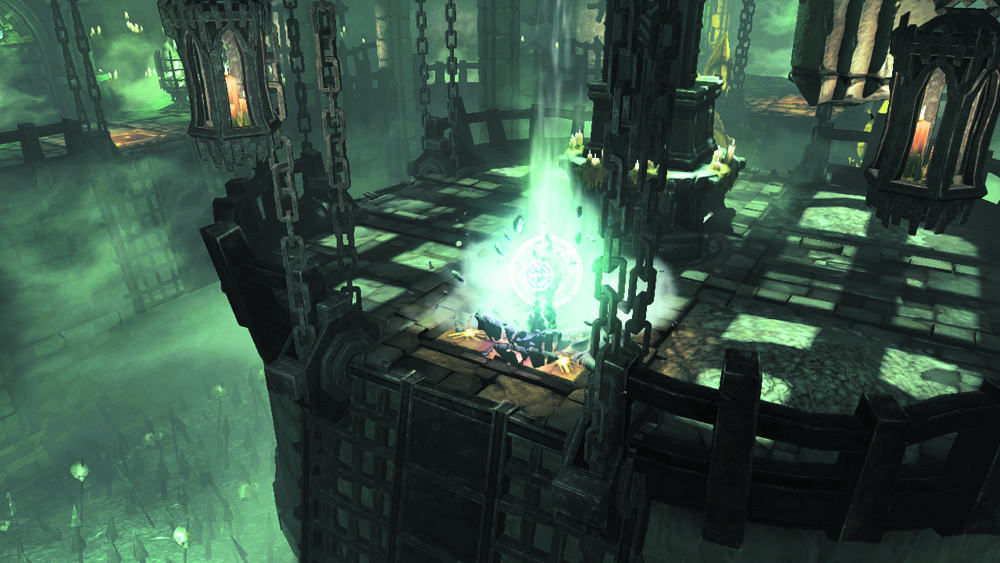
Order Phariseer to trigger the pressure plate near the statue. It takes a moment for the Dead Lord to get there.
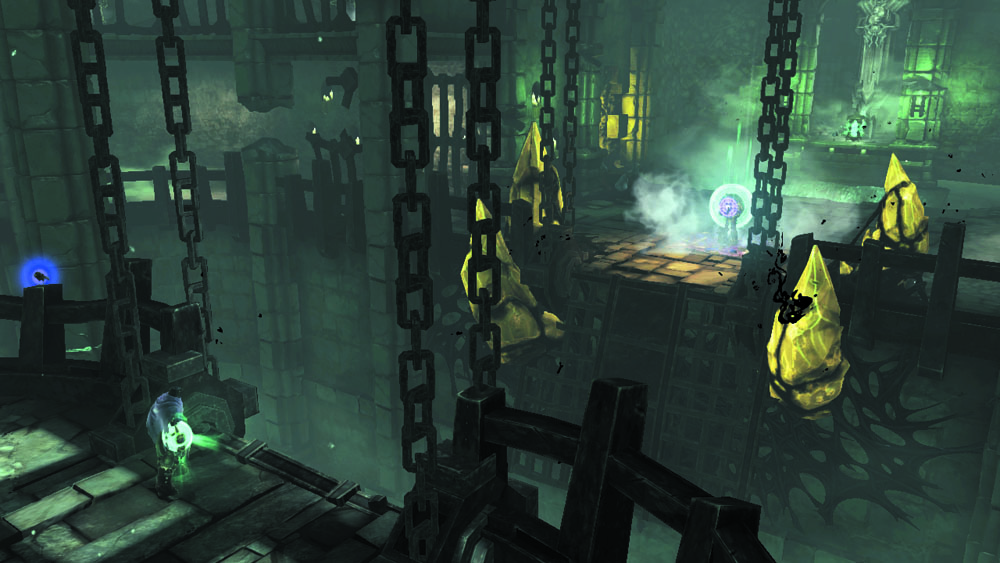
Cross the bridge that extends when the plate is triggered. Now order Phariseer to trigger another pressure plate near the east Corruption crystals.
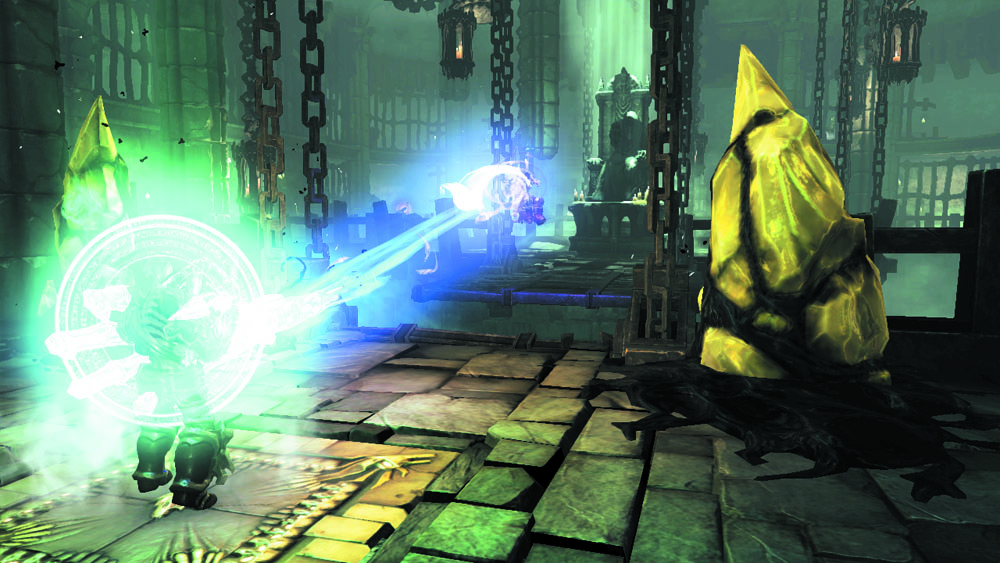
Only half of the bridge extends; the crystals are causing an obstruction. Leap toward Phariseer, then Deathgrip the Dead Lord to zip over to the east ledge.
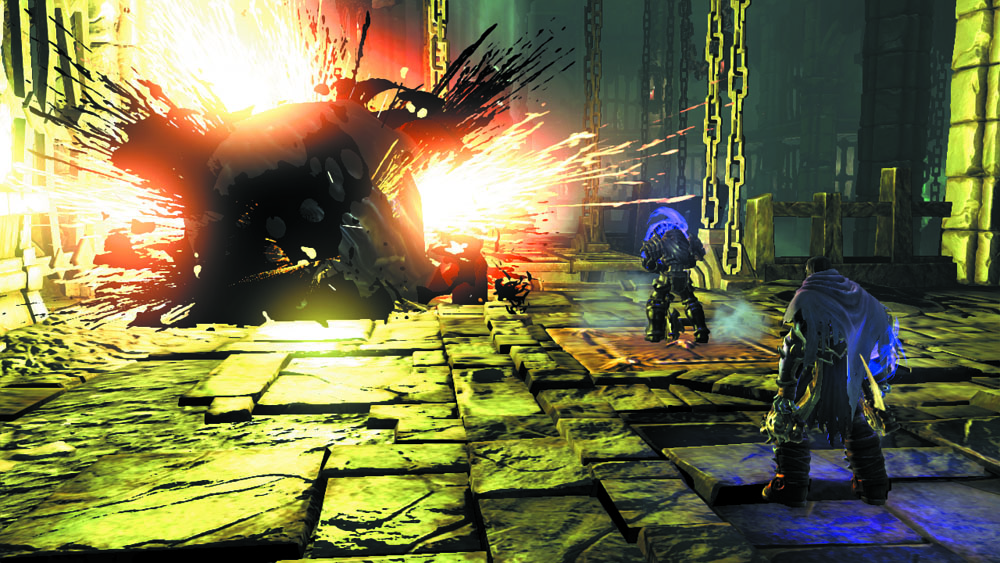
Collect a Shadowbomb from the east ledge's north nook and use it to destroy the Corruption crystals. Now the bridge may fully extend.
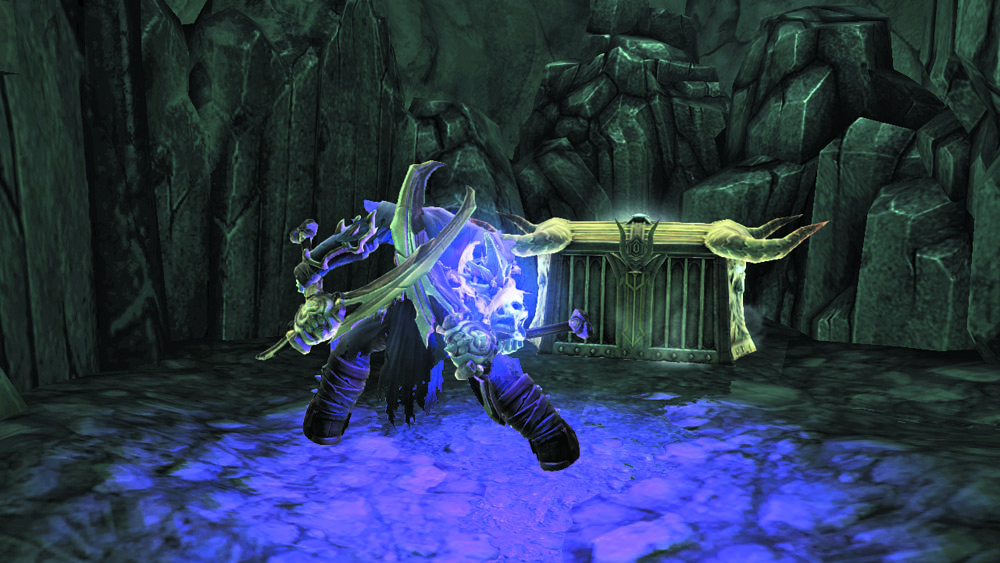
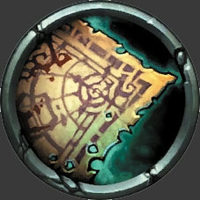
Open the chest in the east ledge’s south nook to claim the Dungeon Map.
|
Dungeon Map |
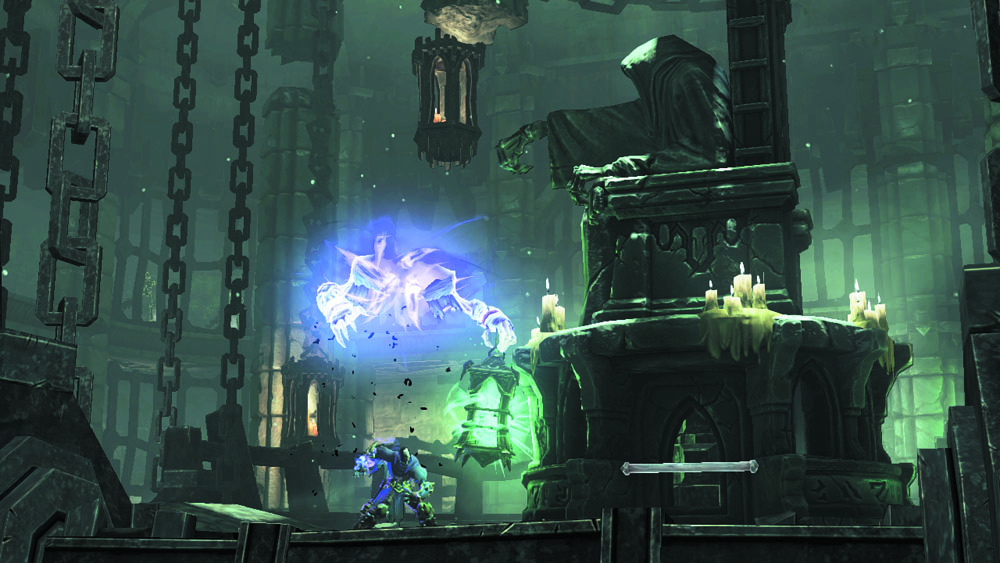
Deathgrip the lantern that lies beyond the east pit and carry it back to the central statue.
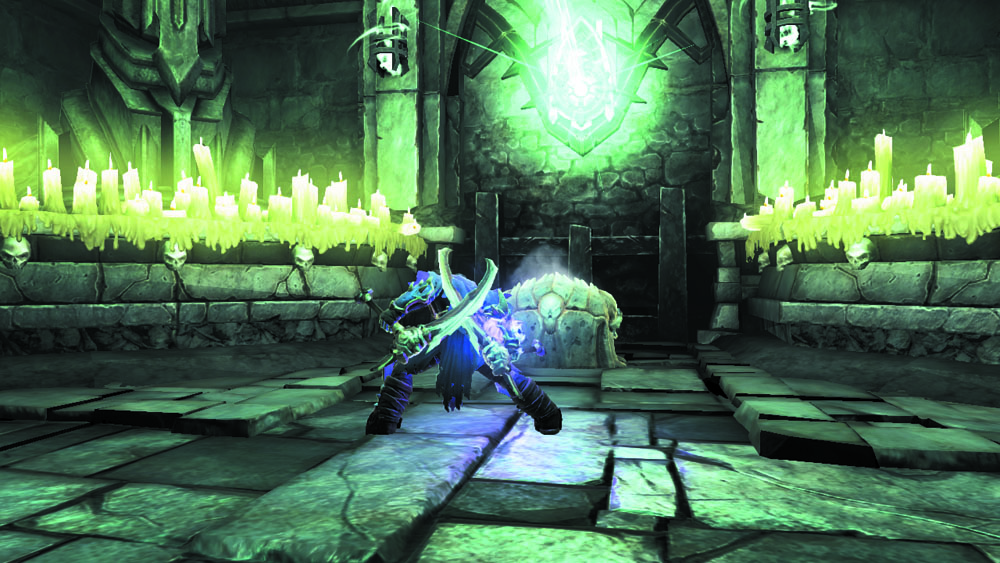
With the lantern in place, spin the statue so that its beam fires south. Now you may loot the room's south chest.
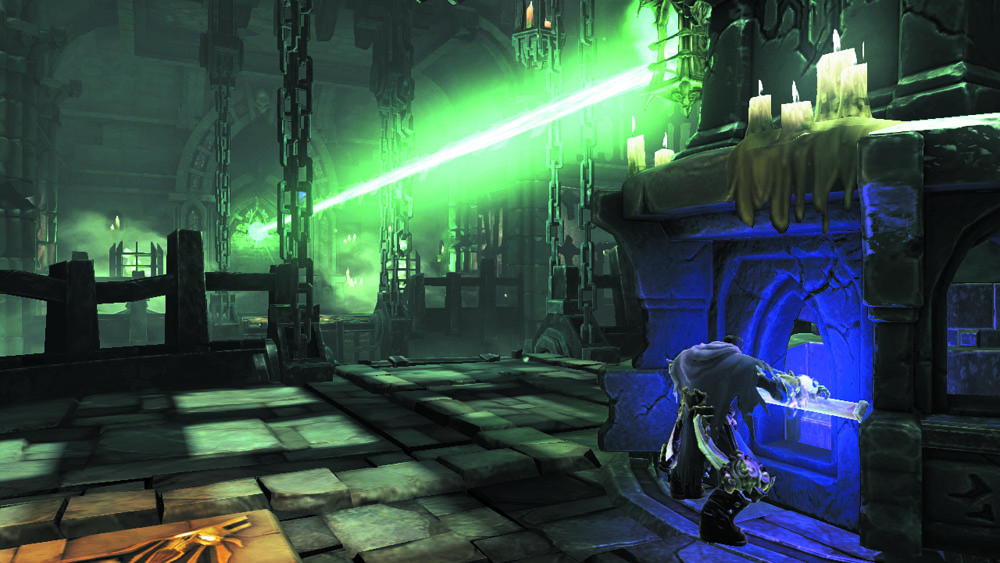
Spin the statue so that the beam faces north to unbar the north door. Order Phariseer to stand on the north ledge's pressure plate, and then cross the bridge after it extends.
Area 6: West Tower
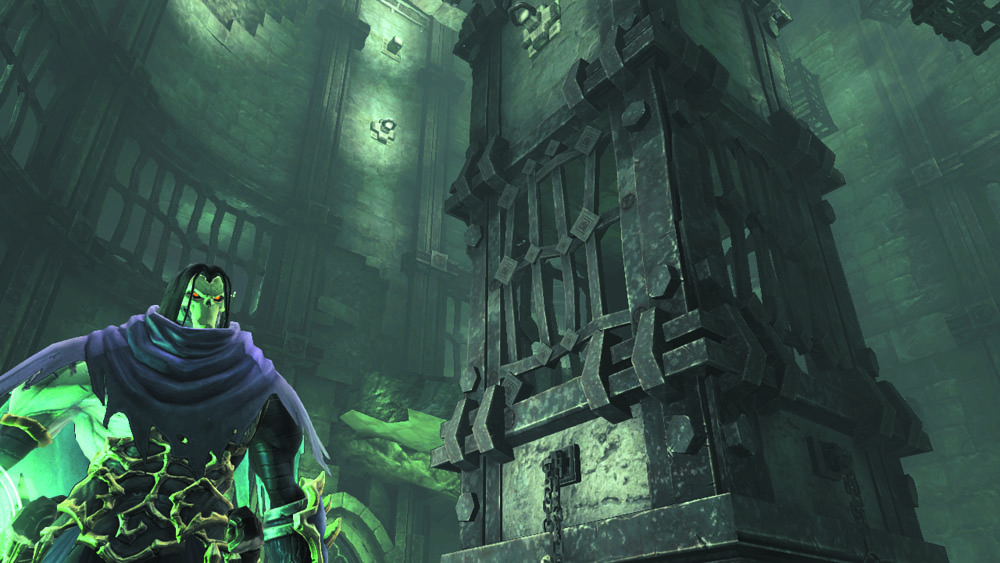
Make your way to this tall tower, where the first imprisoned soul is held. The stairs here are broken, but you must find your way to the top of the tower in order to free the soul.
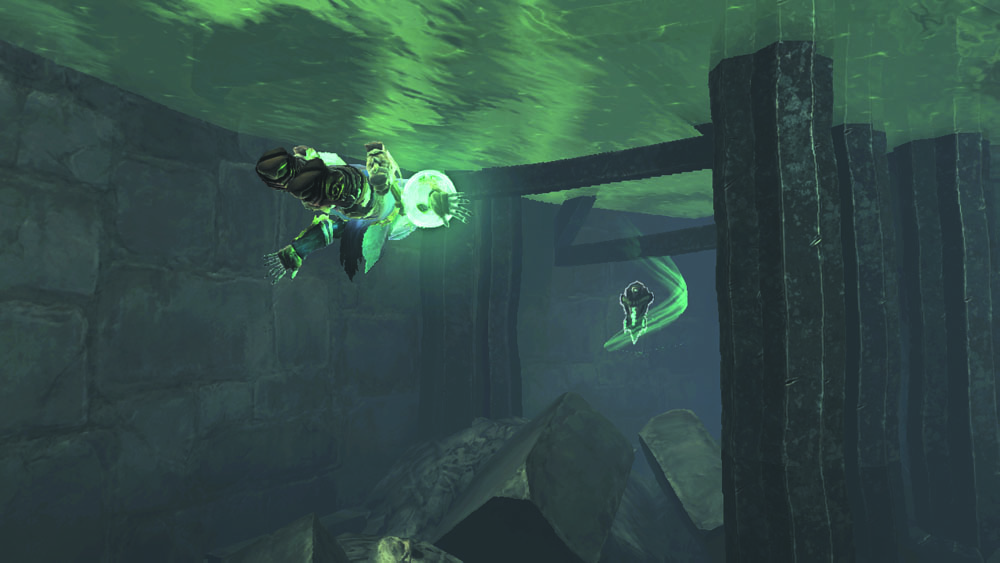
Before beginning your ascent, dive underwater to discover a hidden Relic.

|
Relic of Khagoth 2 |
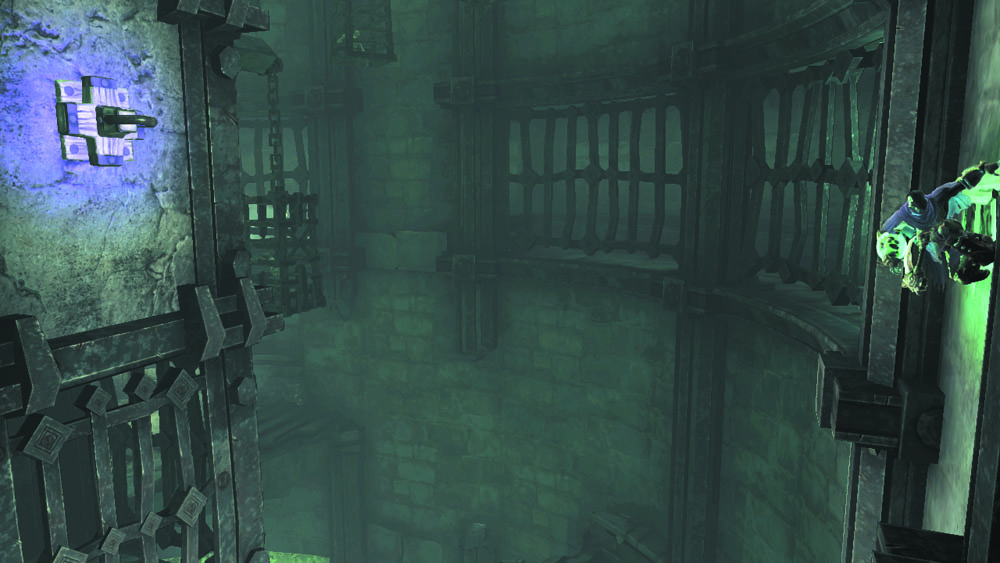
Scale the east wall to reach a high hand hold, and then perform a 180 leap and Deathgrip the hoop behind you.
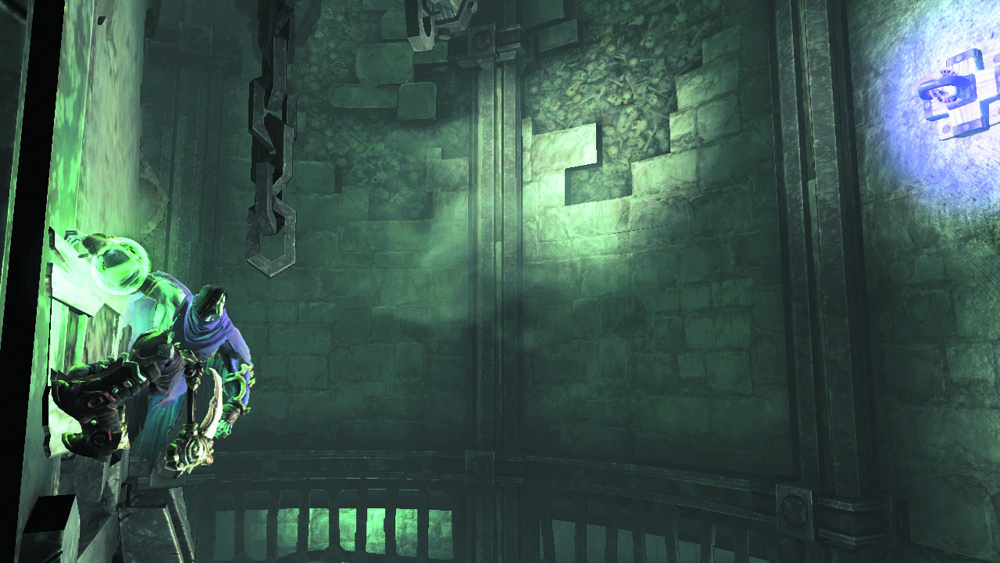
Death grabs a higher hand hold. Shimmy to the left, around the corner, and then perform another 180 leap to Deathgrip another hoop.
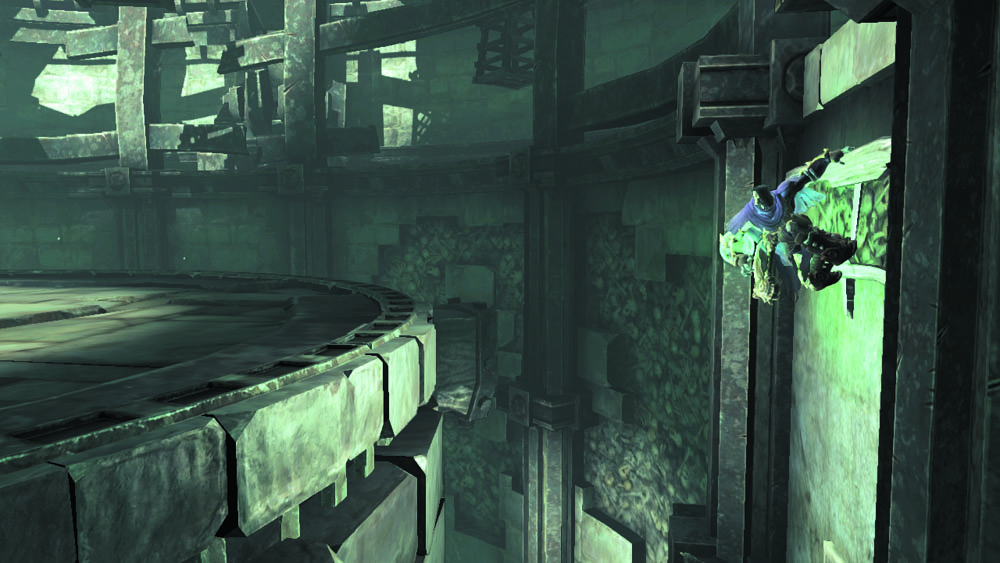
Again, the Rider scampers up to a high hand hold. Perform one last 180 leap to reach the tower's apex.
Lost Soul I
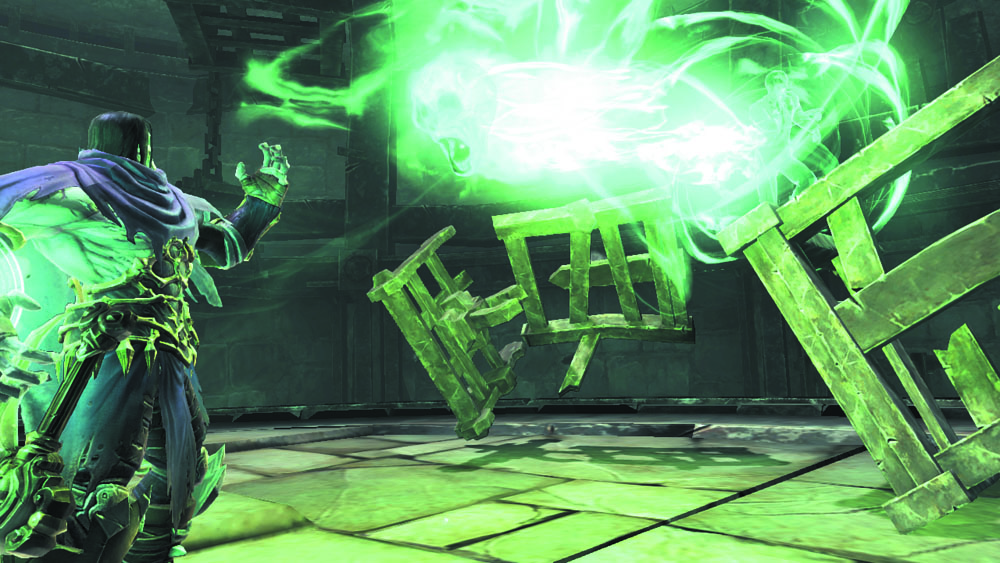
The first lost soul lingers in a cage atop the tower. Approach it and press the Action button to collect the soul—but be ready to battle another vicious Lich and two Skeletal Champions afterward! Make good use of the Deathgrip throughout this trying fight.
Tower Treasure
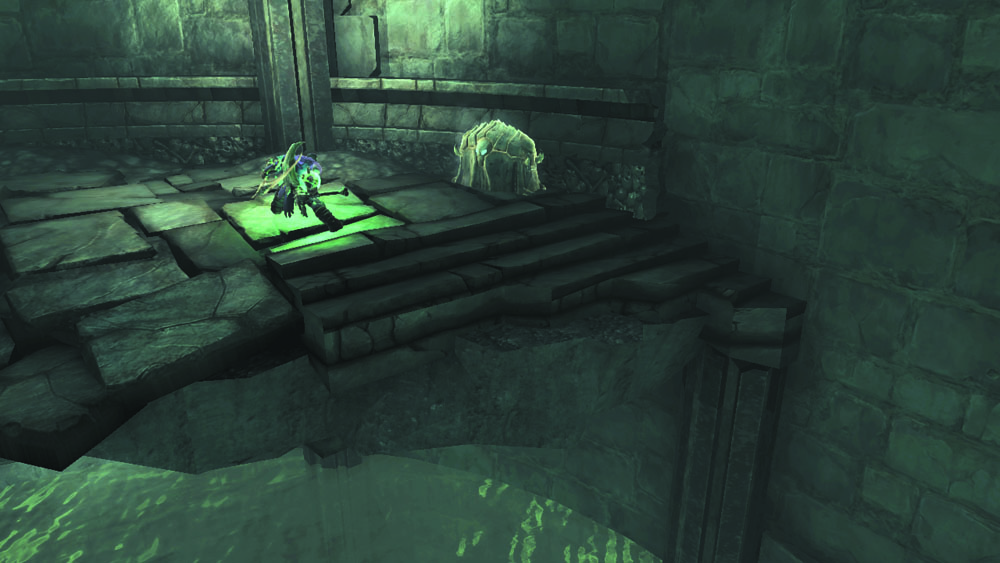
When the battle is over, peer over the tower’s southwest edge to spy a chest on the ledge below. Carefully drop down to the ledge and crack open the chest, and then jump to another nearby ledge to raid a second chest.
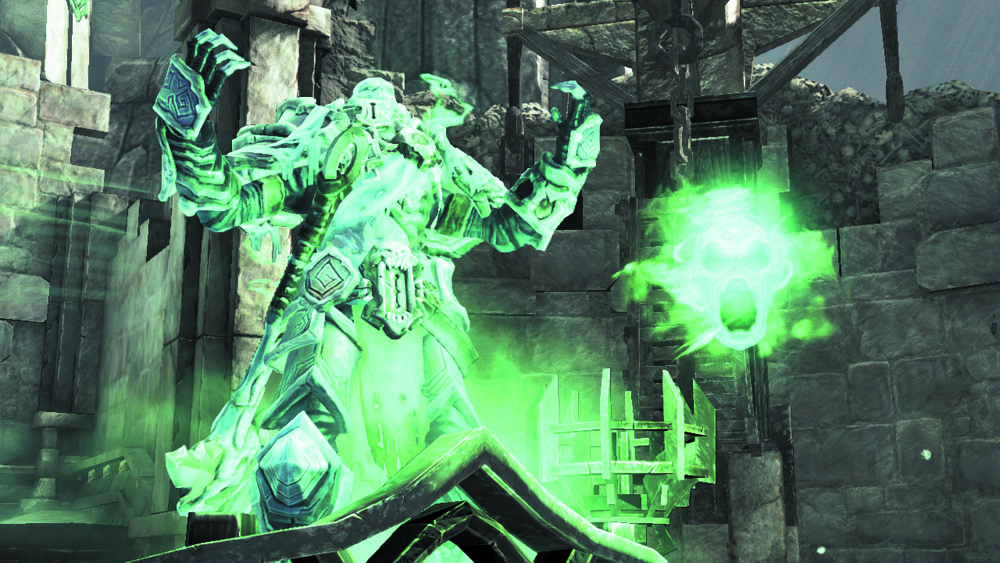
You’re all finished here. Return to the Judicator and allow him to pass judgment on the soul you’ve claimed. The east door then unbars—hurry through and begin your search for the second soul.