
Darksiders II Guide Walkthrough Heart of the Mountain
The Foundry
Having awakened the Construct Warden and restored Tri-Stone’s southern bridge, Death must now embark on a perilous journey through the Foundry—a giant, sweltering dungeon filled with all manner of traps and hazards. The Horseman must locate three Heart Stones within the Foundry, for these ancient objects serve as the only means of awakening the Guardian, the greatest Construct ever conceived of by the Makers. Only the power of the Guardian will be enough to eradicate the nest of Corruption surrounding the Tree of Life.
The Foundry
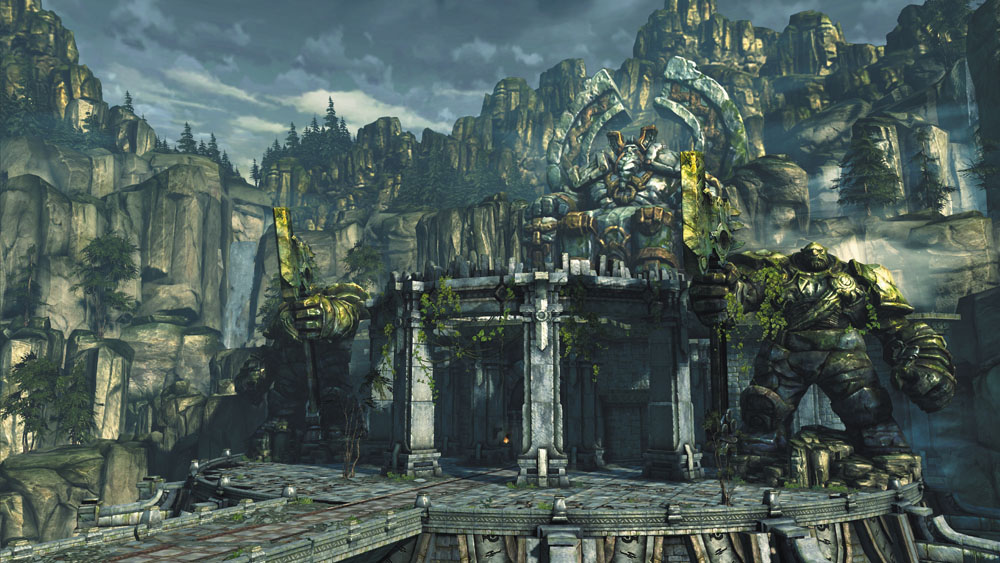
The Foundry is a frightful site, so it’s fortunate that Death is aided by the young Maker, Karn, during this quest. Karn will help the Pale Rider traverse this inhospitable place, and will also lend Death a hand—and the weight of his massive hammer—in battle.
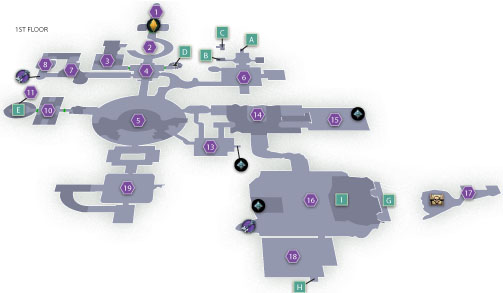
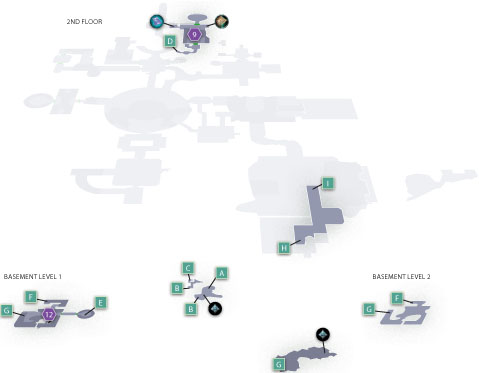
Area 1: Foundry Entrance
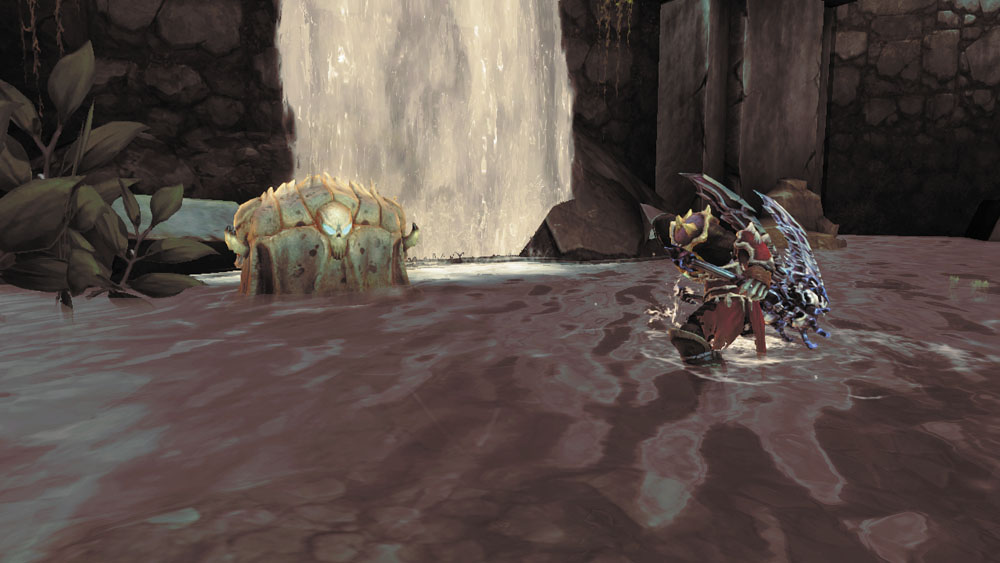
Pause as you pass through the Foundry's entry door and watch as hanging cauldrons slowly pass by overhead. Blast the Stonebite that's affixed to the top of the fourth cauldron, then loot the chest that lies in shallow water to the east before advancing.
|
Stone of Resistance 1 |
Area 2: Foundry Forge
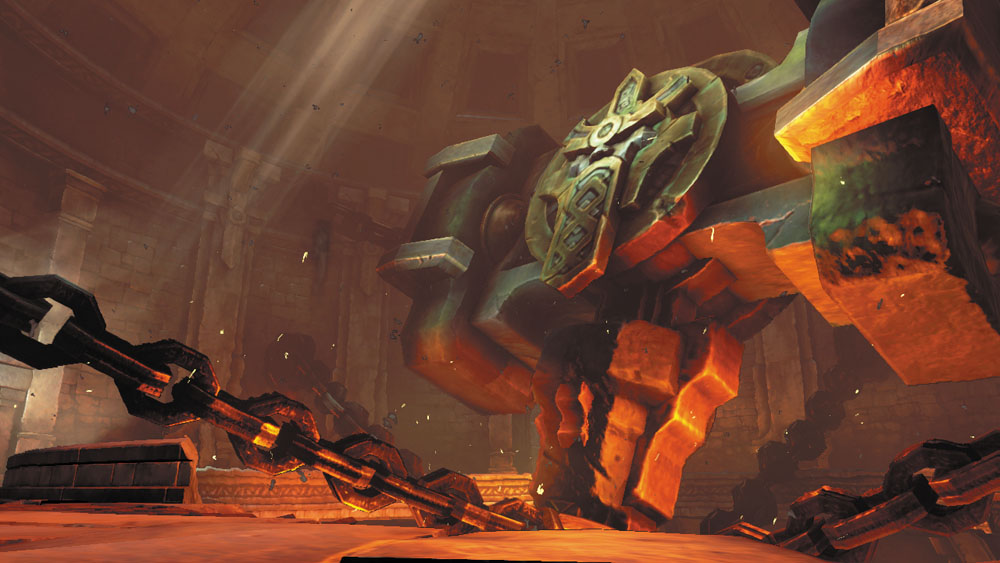
Massive chains support a giant stone hammer in the center of the Foundry’s circular entry chamber. Not exactly a welcoming sight! Circle around the central forge, passing a clutter-filled corridor to the east and a giant sealed door to the south.
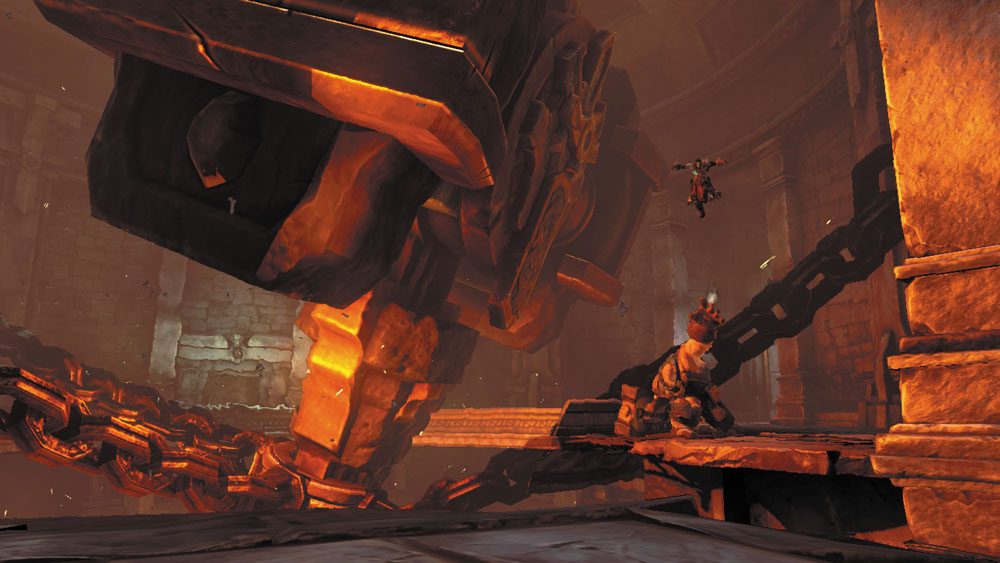
When you reach an apparent dead-end, Karn offers to help Death progress. Approach the young Maker and press the Action button, and he’ll hurl the Rider up to an otherwise unreachable ledge.
Area 3: Cauldron Corridor
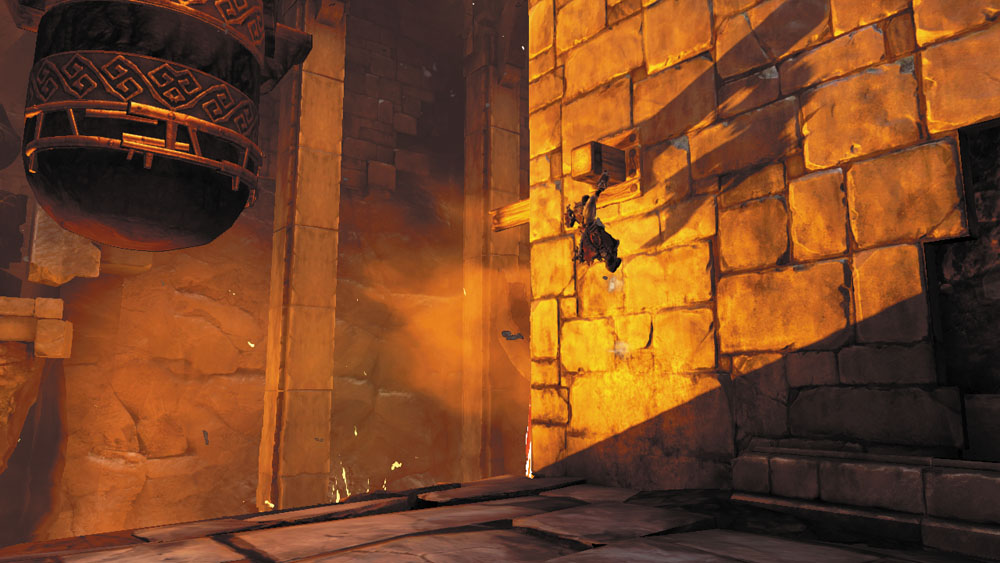
After being tossed by Karn, run up the wall and vault from the peg to reach a high hand hold.
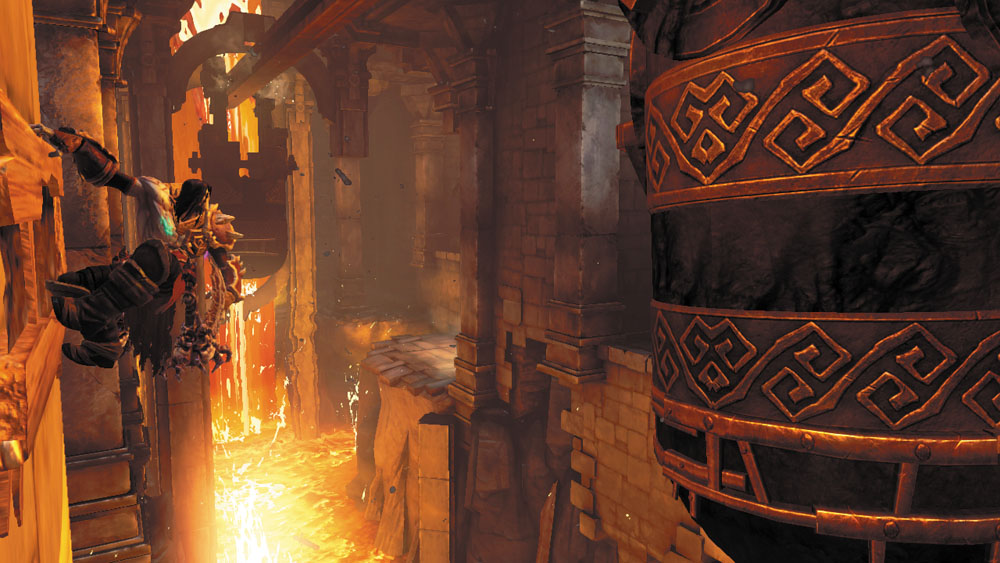
Shimmy around the corner and perform a 180 leap to grab a passing cauldron and hitch a ride southward.
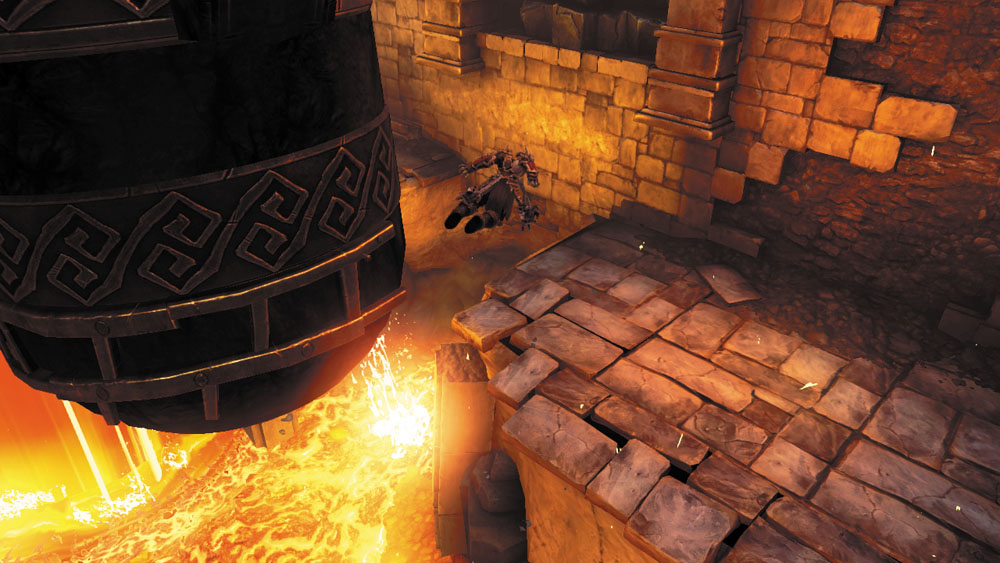
Circle around the cauldron as you’re ferried along and jump to the west when you pass a ledge.
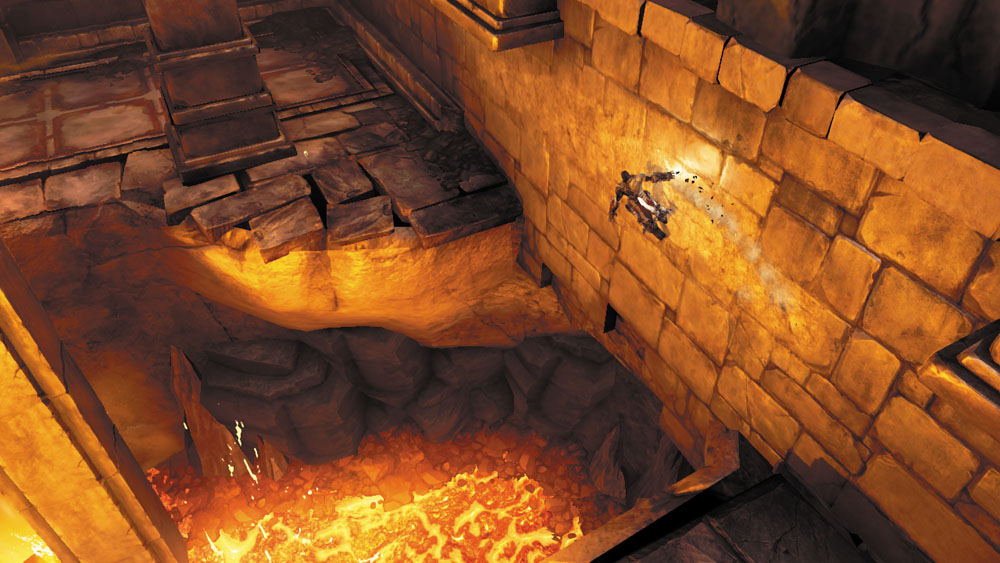
Wall-run south along the smooth west wall to clear a fiery gap.
Construct Clash
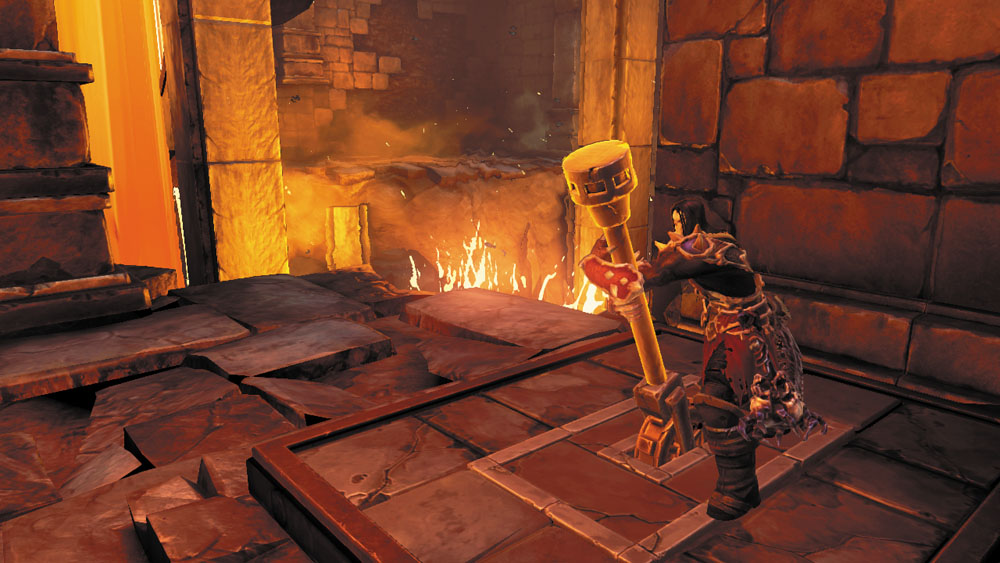
Several Tainted Construct Warriors attack once you complete your wall-run. Secure the area, and then approach the nearby lever.
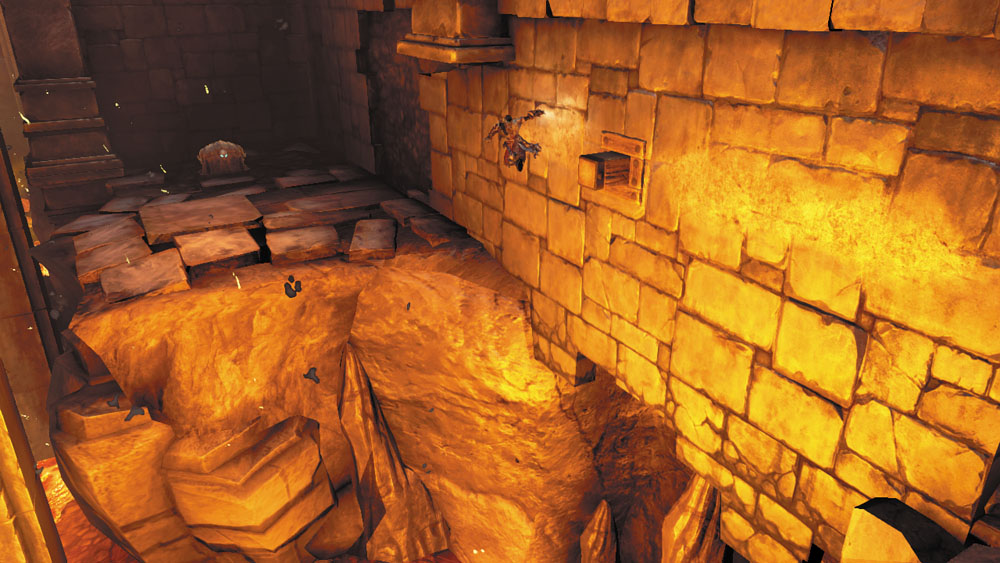
Before pulling the lever, peer north to spy a chest on a ledge. Wall-run over to the chest, claim your treasure, wall-run back to the lever, and then pull it to unbar the nearby door.
Area 4: Crossroad Chamber
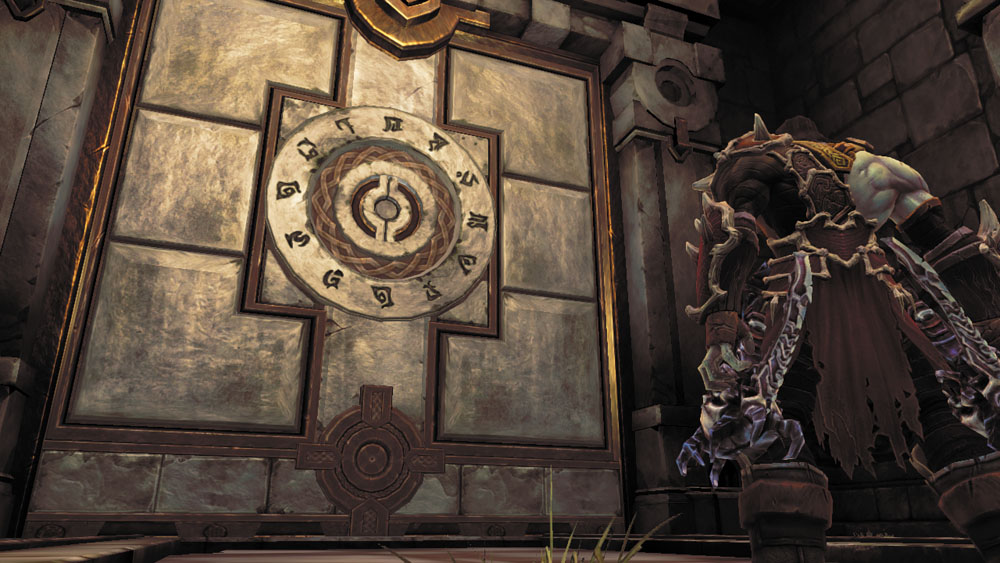
Karn calls out from beyond a massive door when Death enters this large chamber. Better find a way to open that thing!
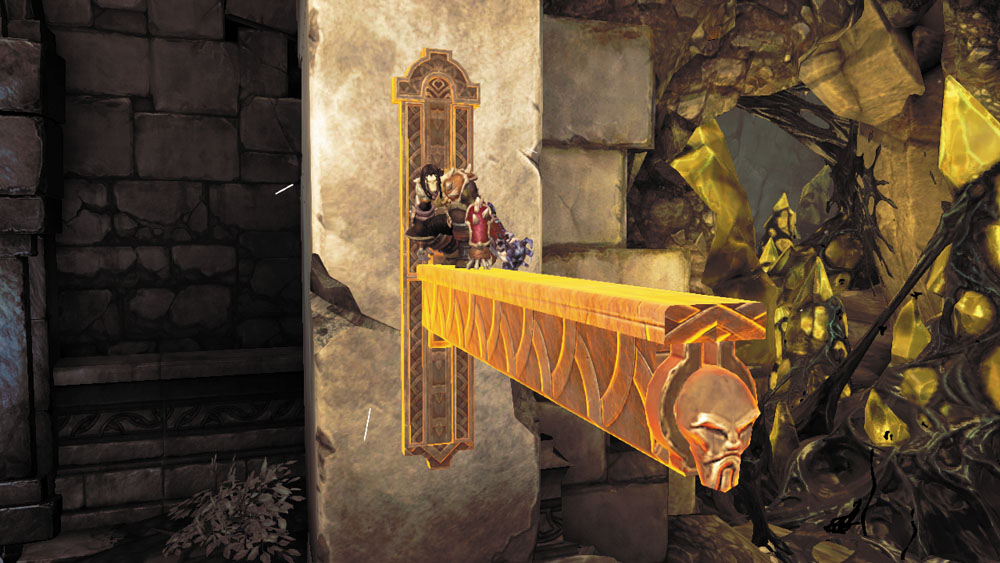
Ignore the northeast passage; it leads back to the Foundry Forge. Instead, find a long lever sticking out from the east wall and perform a vertical wall-run to climb onto it. Wait there for a moment until Death’s weight causes the lever to lower.
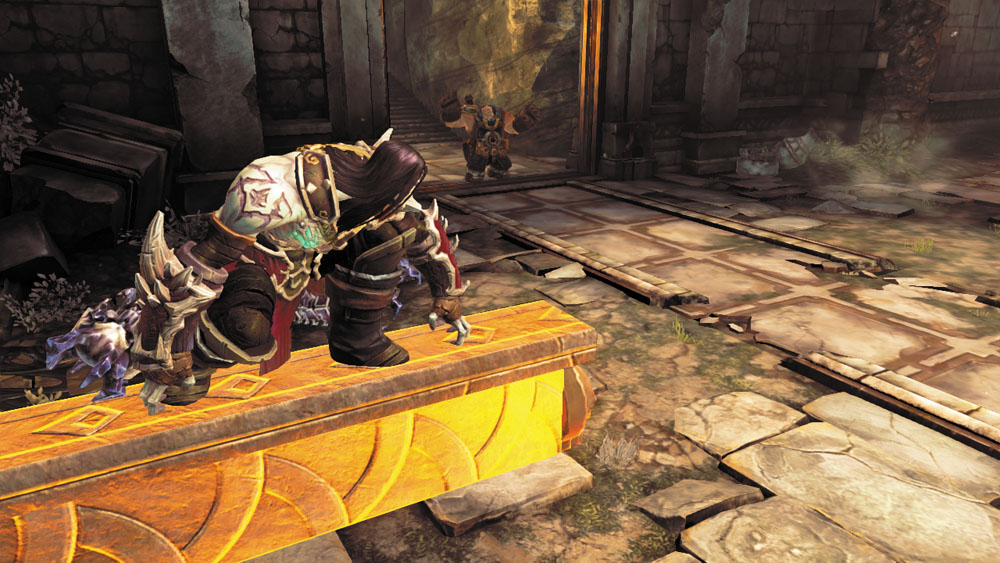
Lowering the lever raises the huge north and south doors, allowing Karn to join you. Remain on the lever while the Maker crosses the room and positions himself under the south door.
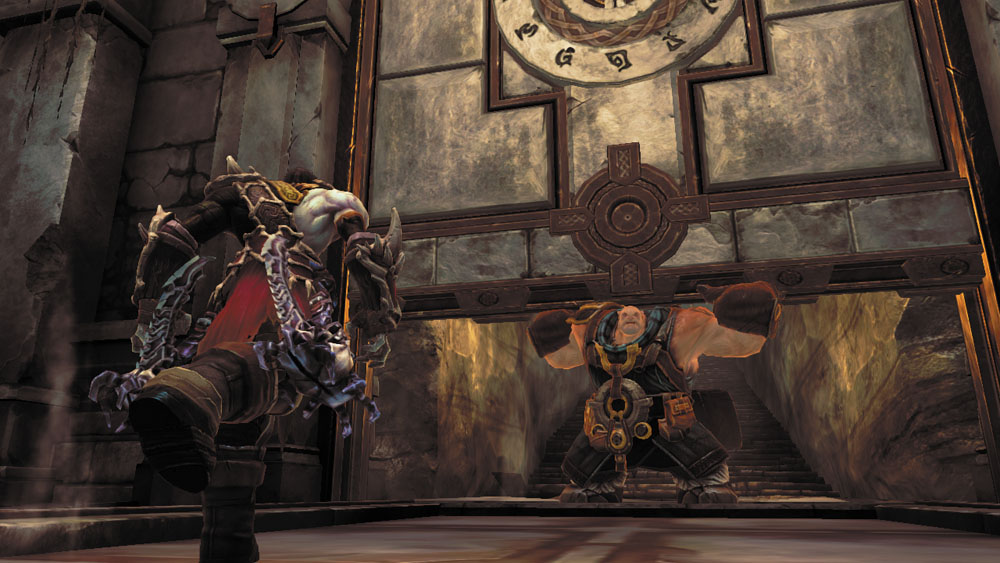
Step down from the lever once Karn is in position. The doors slam down again, but the Maker’s great strength allows him to hold the south door open. Hurry and sprint through!
Area 5: Guardian Assembly
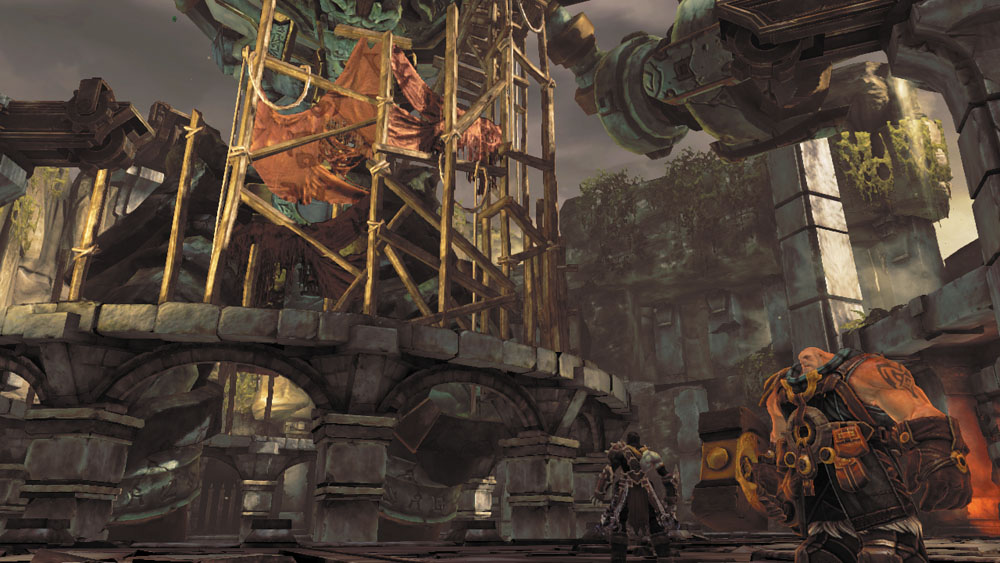
Fresh air greets Death as he enters this sizeable outdoor area. The center of the site is dominated by a towering, lifeless construct of immense size. Karn informs the Rider that this is the Guardian, which only the power of the Heart Stones can wake.
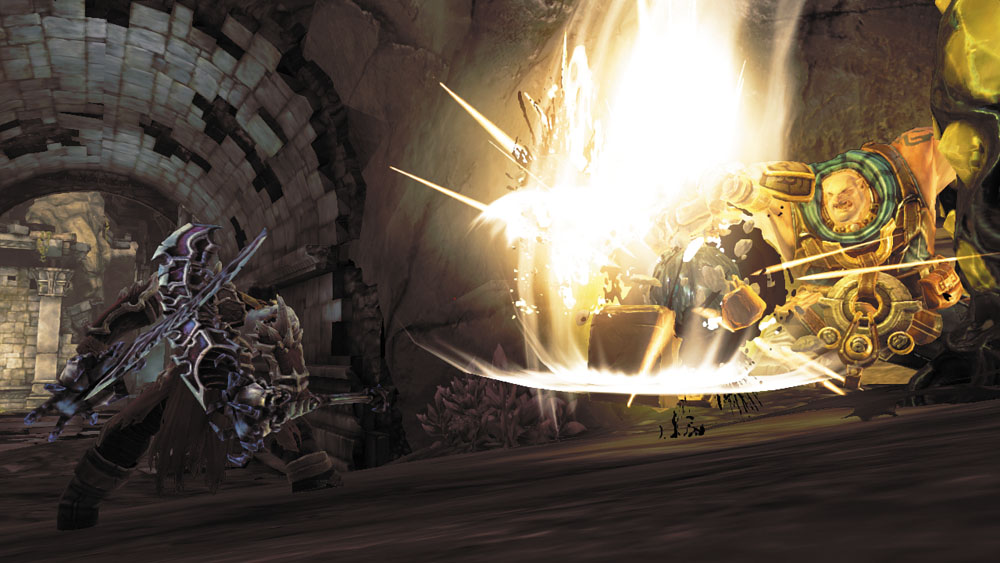
Smash the outlying debris to claim some loot, and then enter the northeast passage, which is filled with yellow Corruption crystals and Tainted Construct Warriors. dispose of the fiends with Karn’s help to secure the passage, and then follow it to the next area.
Area 6: Lift Chamber
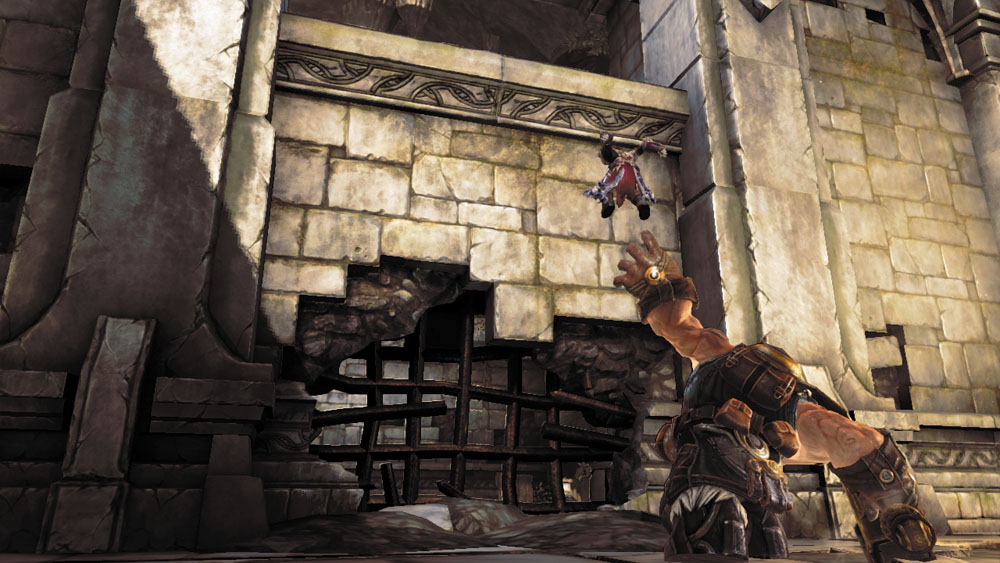
All is quiet in this spacious chamber. Smash the surrounding clutter in search of minor items before allowing Karn to heave the Horseman up and onto the east wall. Explore the small network of passages and underwater tunnels that surround Area 5 while Karn waits patiently behind.
Waterway Romp
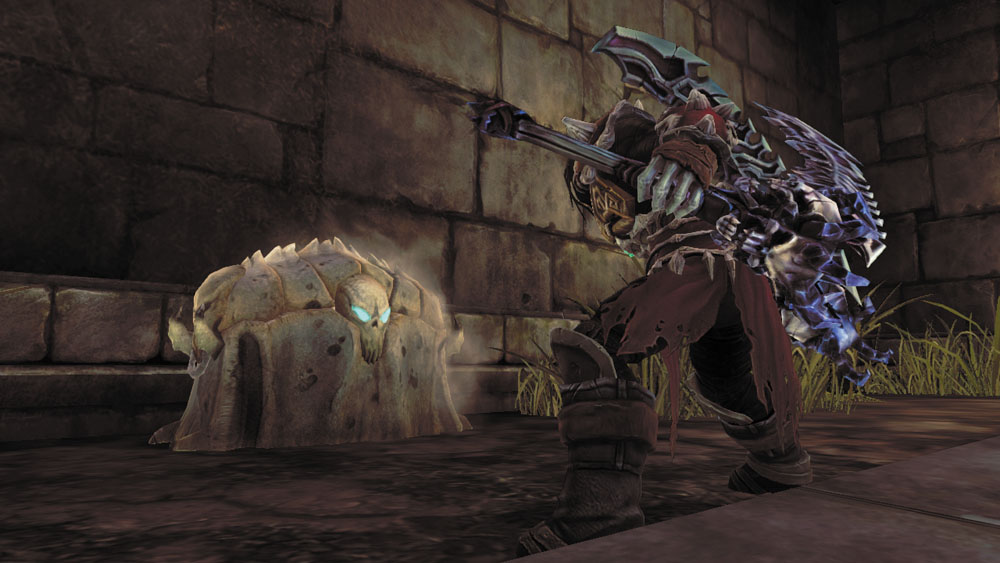
First, circle around the high ledge and smash the clutter to expose a chest.
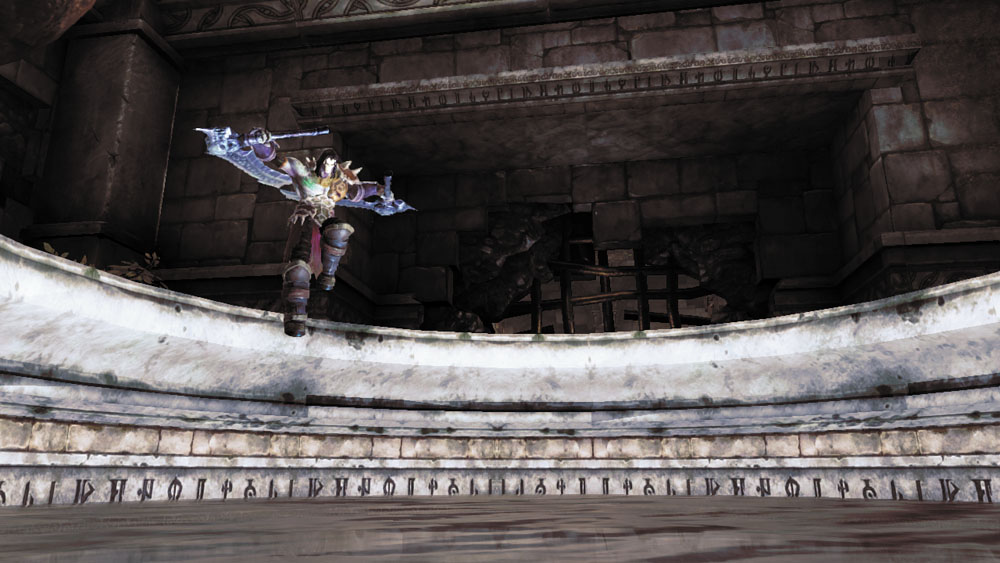
Drop to the lower level after looting the chest, shatter some more debris, and then leap into the central pool.
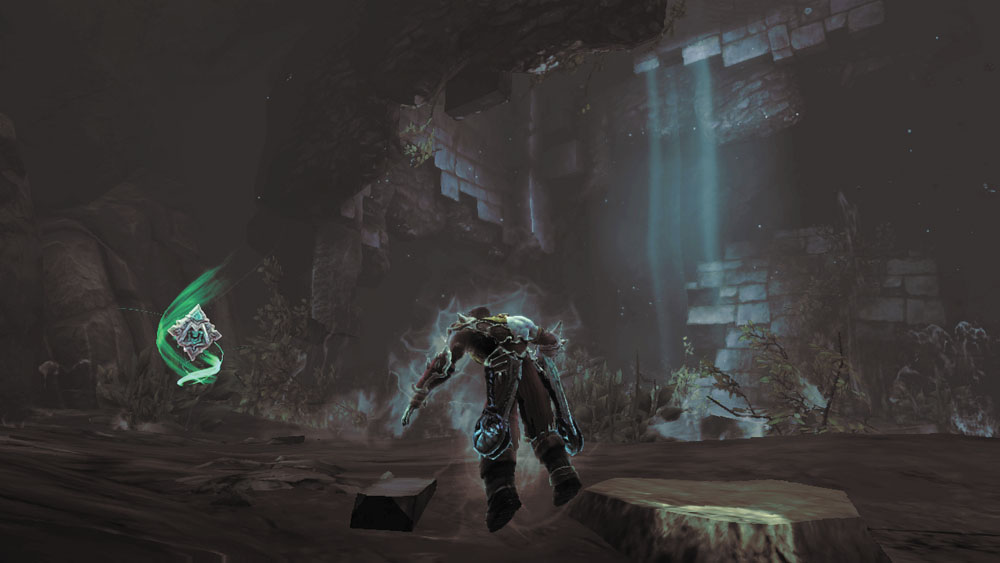
Swim north and claim an underwater Boatman Coin. Surface and scamper up the smooth north wall to reach a room with an orb.

|
Boatman Coin 34 |
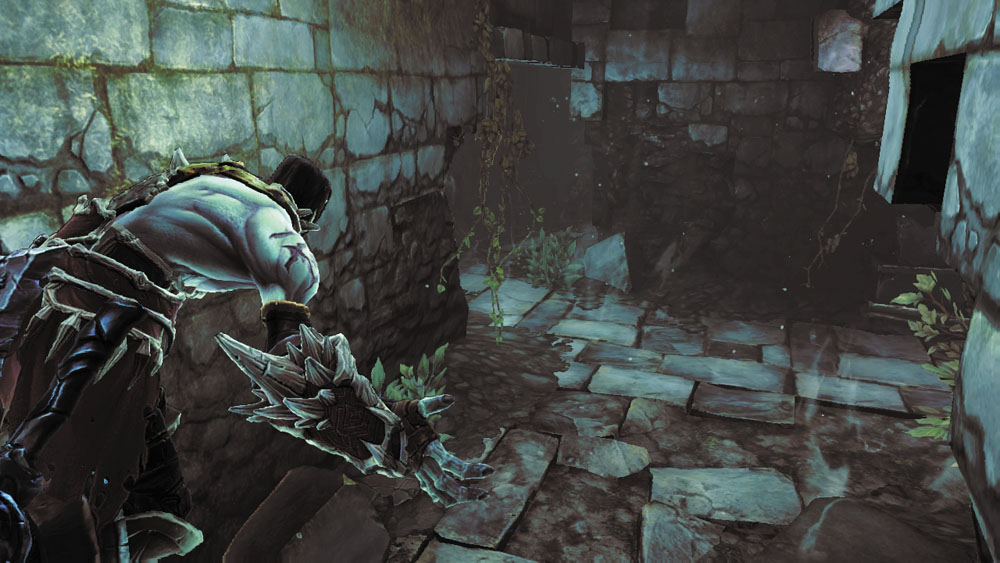
Cross the room and ignore the orb - you'll soon return for it. Plunge into the west pool and swim toward the ray of sunlight.
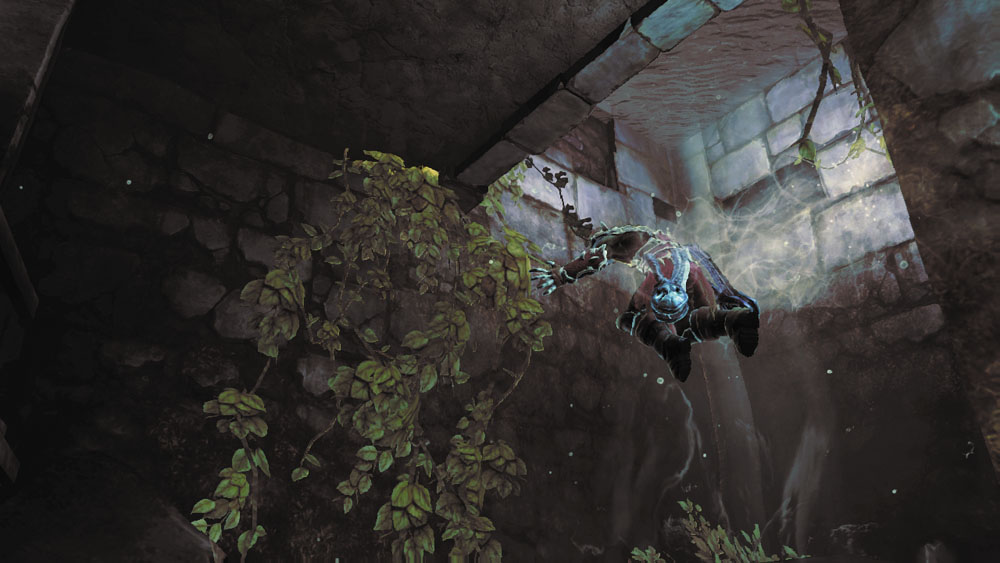
Turn left when you reach the sunlight, and then swim north. Surface and scale another smooth wall.
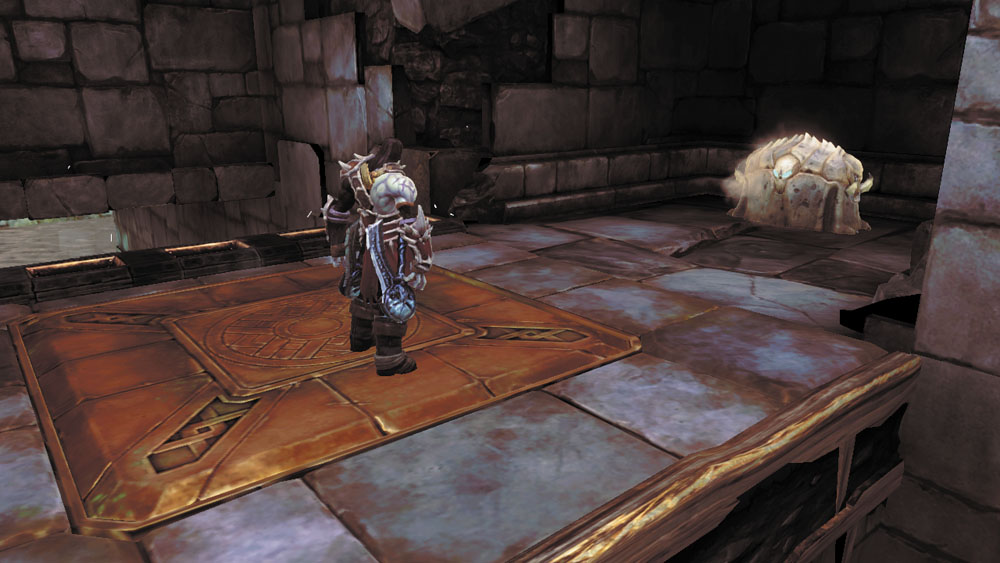
Open the chest you find in a nook, and then step on the nearby pressure plate to lower the bars ahead. Sprint forward and drop back into the water.
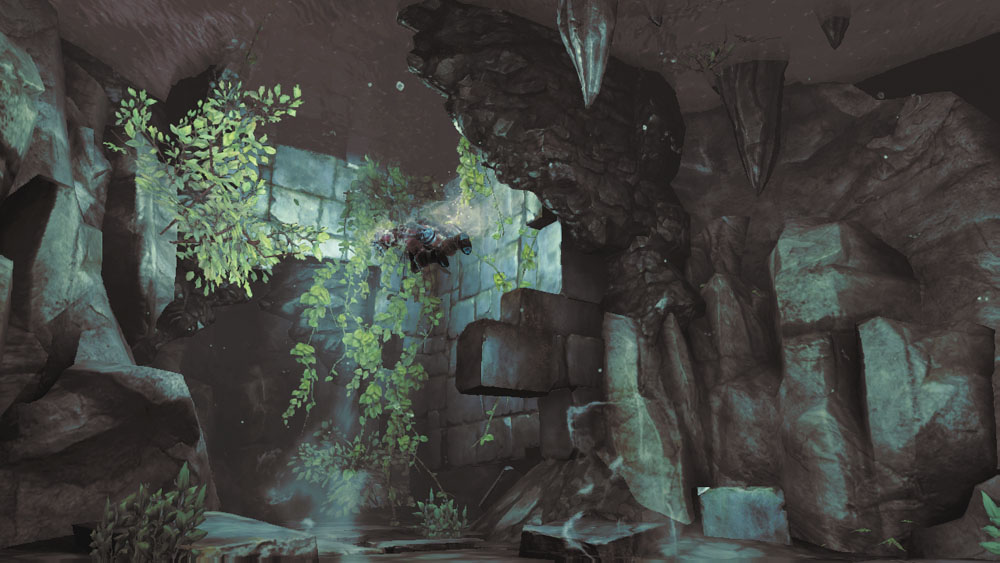
Swim east and surface. Scale another smooth wall to return to the room with the orb.
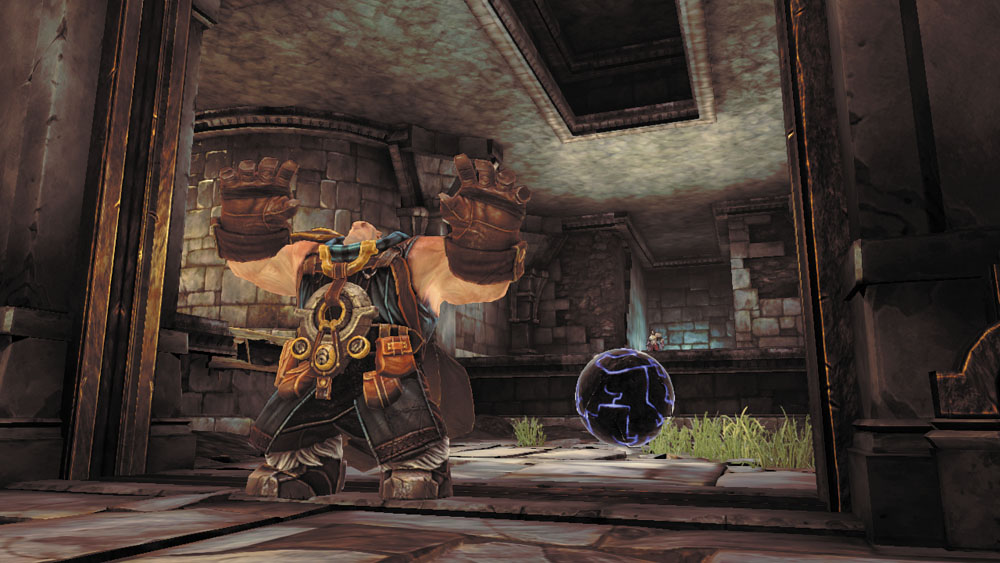
Stand on the pressure plate to lower the bars ahead and raise the far door. Let Karn move into position before stepping off the pressure plate.
Raising the Lift
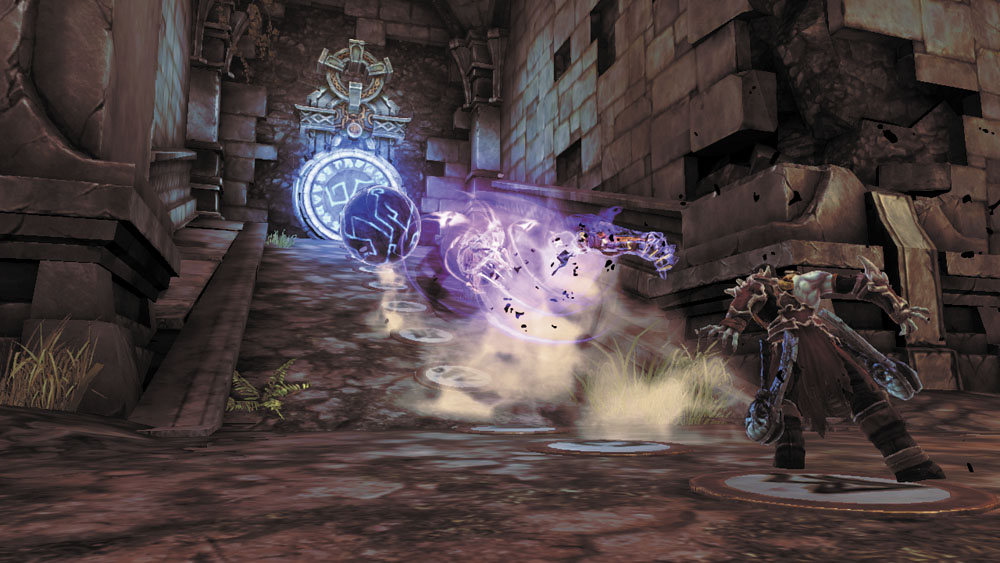
With Karn supporting the door, grab the nearby orb and roll it into the Lift Chamber. When you reach the south slope and can roll it no farther, press the Special Item trigger to shove the orb up the slope and into the slot on the south wall. The orb glows with power, and energy is quickly sent to the room’s center, causing the central lift to rise and delivering a Maker Custodian into the room.
Custodian Crusher
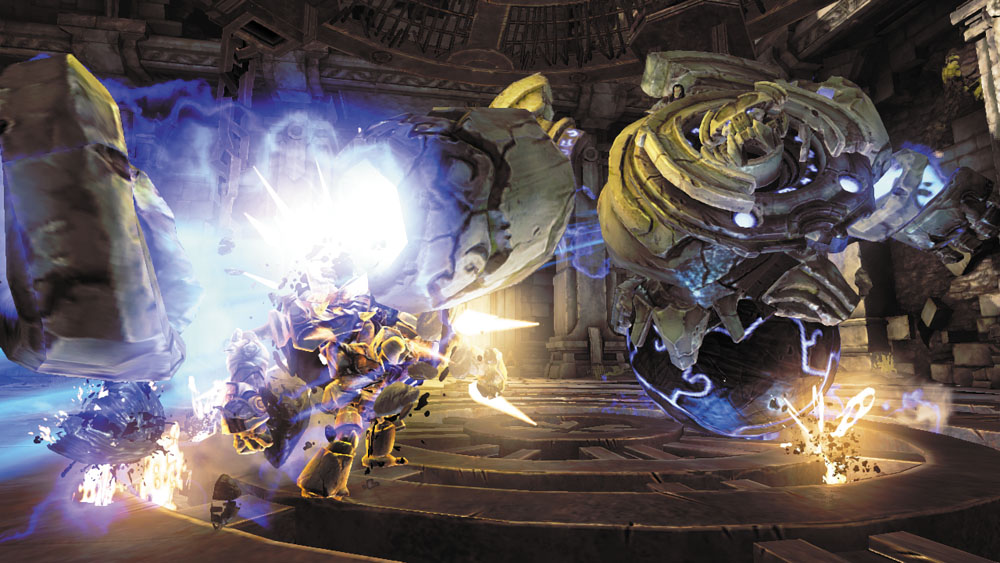
A small army of Constructs storms into the chamber after you activate the orb and raise the lift. Immediately activate the Maker Custodian and lay waste to the swarming foes.
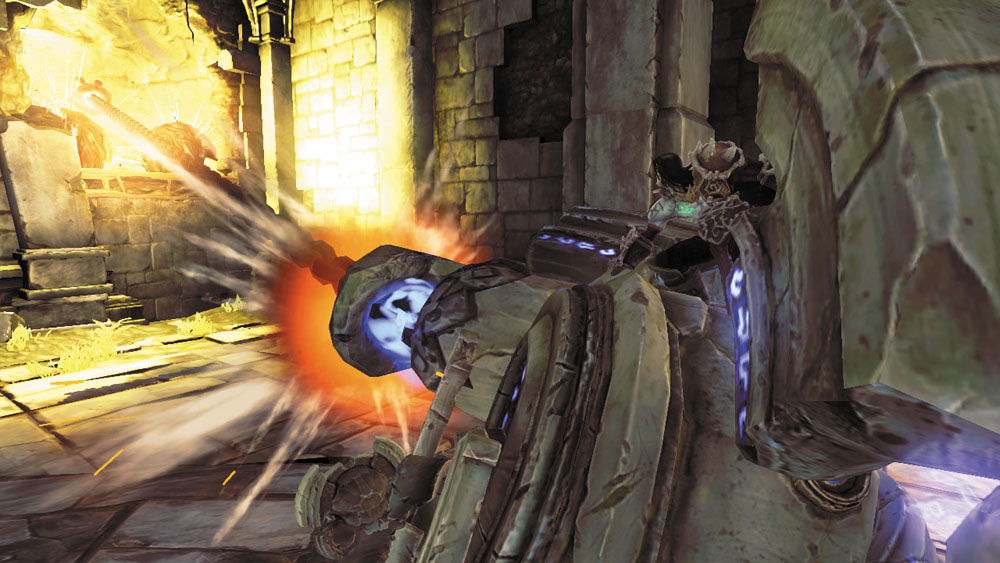
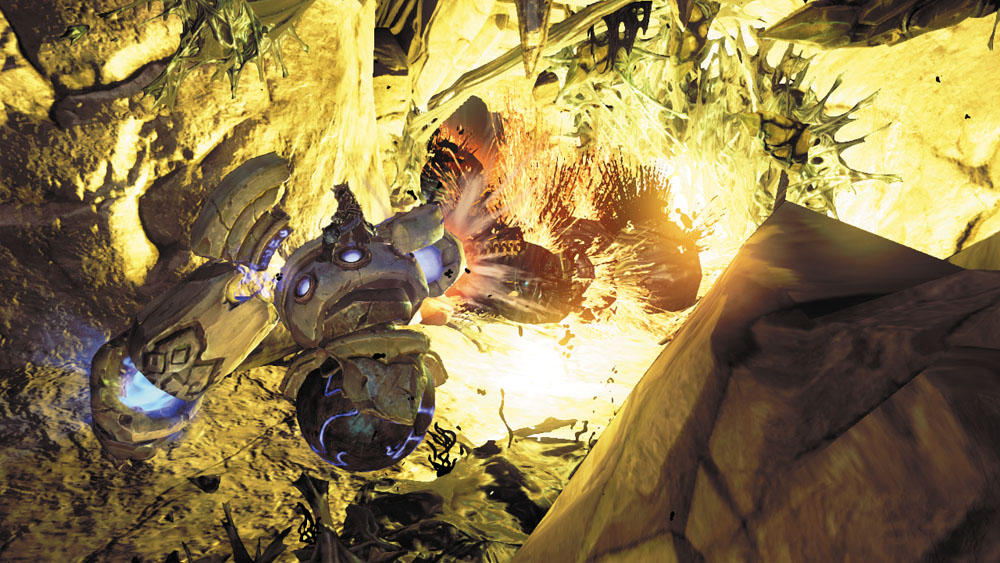
Roll up the south passage, heading back toward the Guardian Assembly site. Smash more crystals in the passage to expose another chest in a nook. Roll onward and turn right before you reach the Guardian Assembly area. Use the Custodian’s heavy attacks to destroy the crystals blocking a passage back to the Crossroad Chamber.
Chain Game
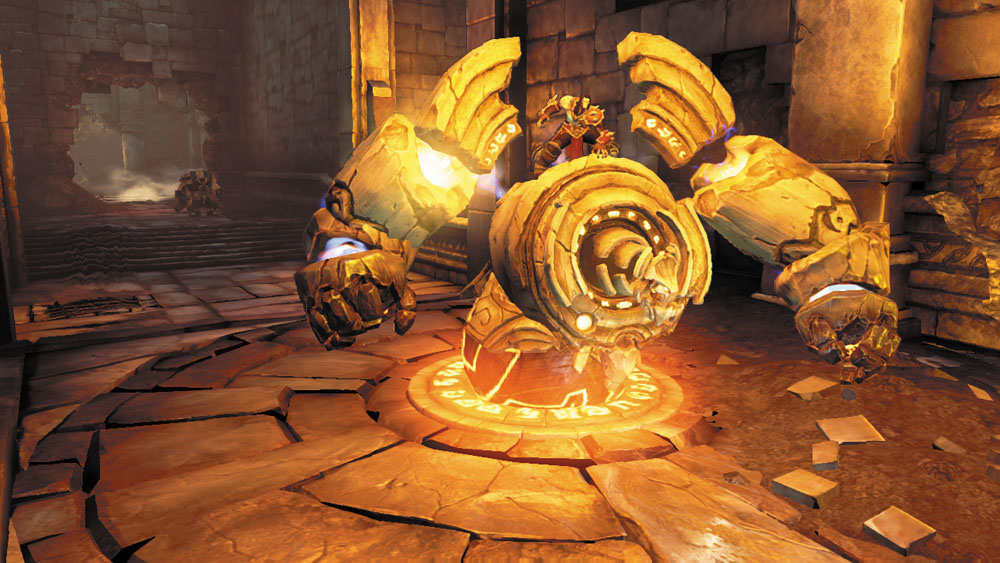
Back at the Crossroad Chamber, roll the Custodian directly down the west passage and park it atop the orb slot at the far end.
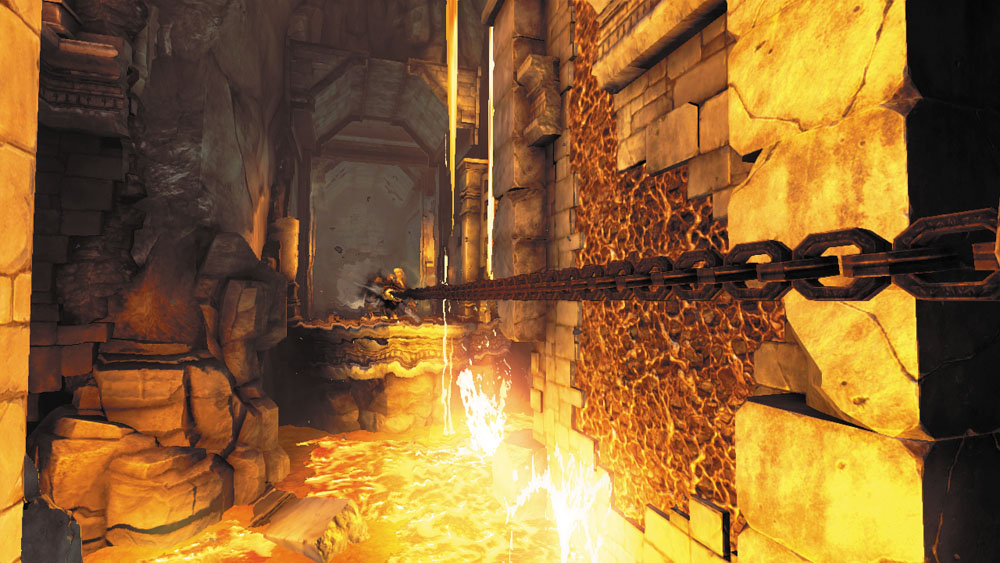
Take aim and fire the Custodian’s chain at the distant target on the far wall, and then tiptoe across the lava pit.
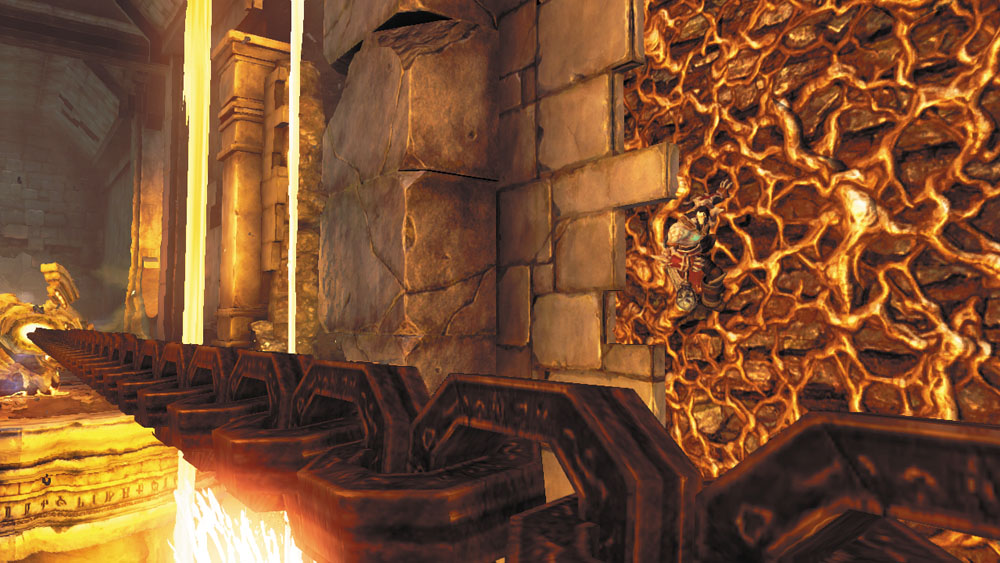
As you near the end of the chain, jump to the growth on the left wall and climb up.
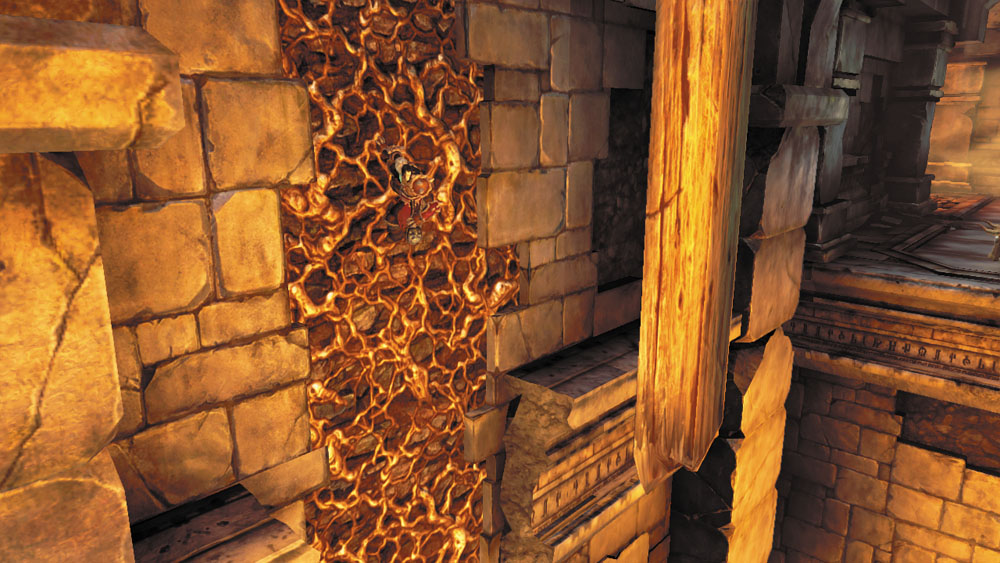
Perform a 180 leap from the top of the growth to grab the wooden post that hangs from the ceiling.
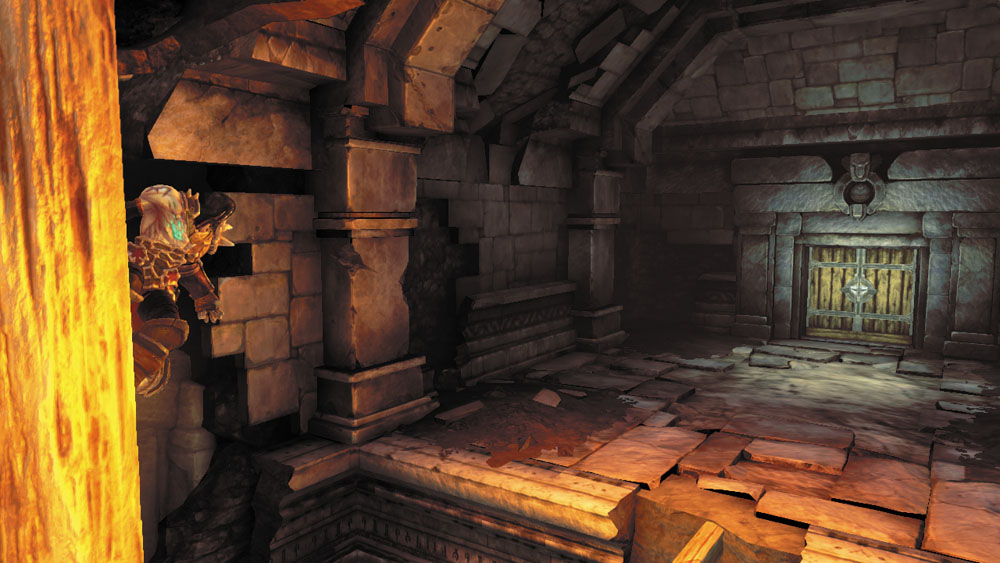
Perform two more 180 leaps to reach a horizontal beam, and then enter the door that follows to reach the next area.
Area 7: Lava Passage
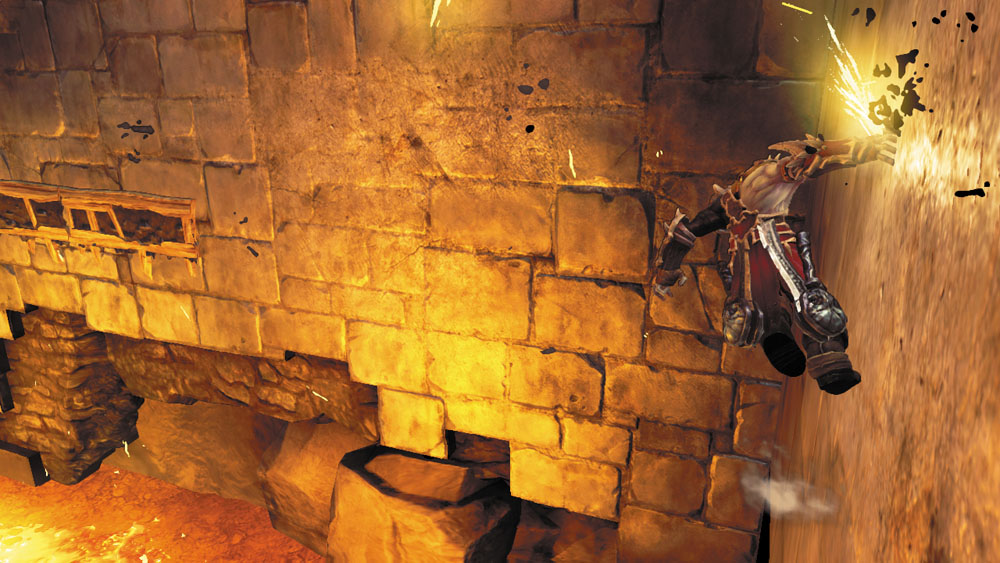
Wall-run along the right wall and jump as you near the corner to continue your run.
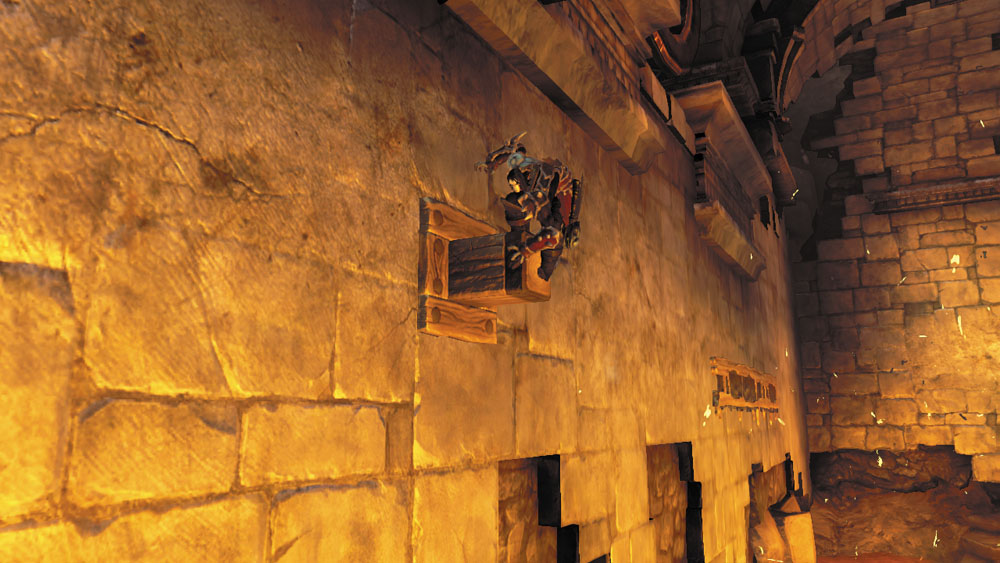
When you reach a hand hold, wait for the lava waterfalls to stop flowing, then quickly wall-run over to the west ledge and proceed through the door.
Area 8: Corrupted Construct Ambush
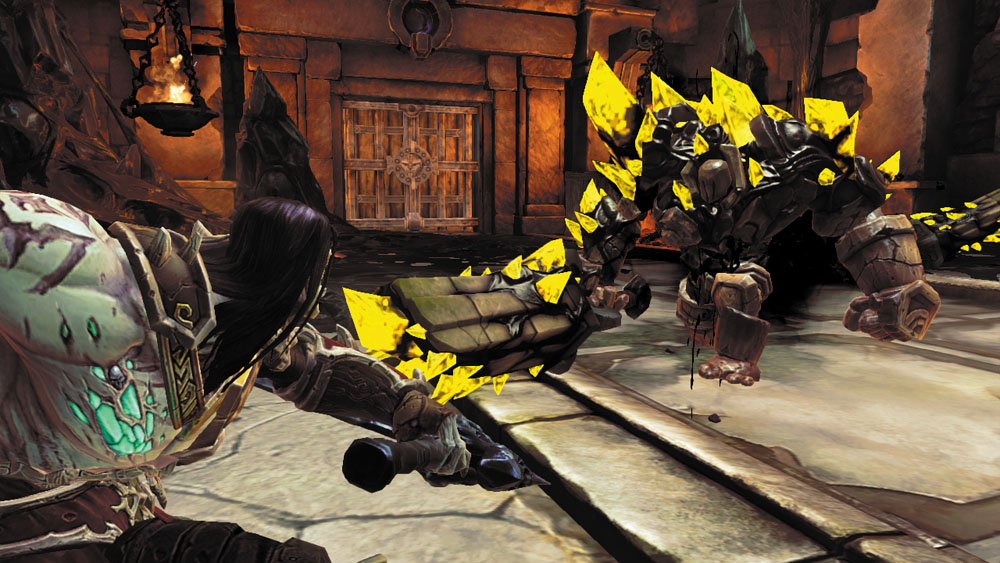
Death becomes trapped in this small chamber and is forced to battle a trio of Corrupted Construct Warriors. Unleash anti-group attacks and Evade often to present an elusive target for these aggressive minions.
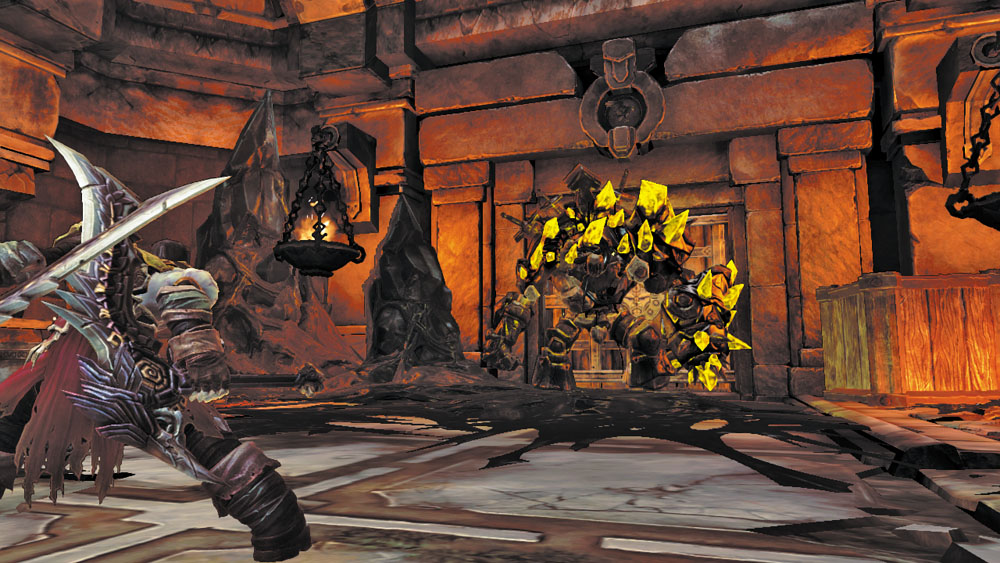
Beware: a monstrous Corrupted Construct Champion appears after you’ve slain the Warriors. Though stalwart, this lone brute should pose little threat to a Horseman of your experience.
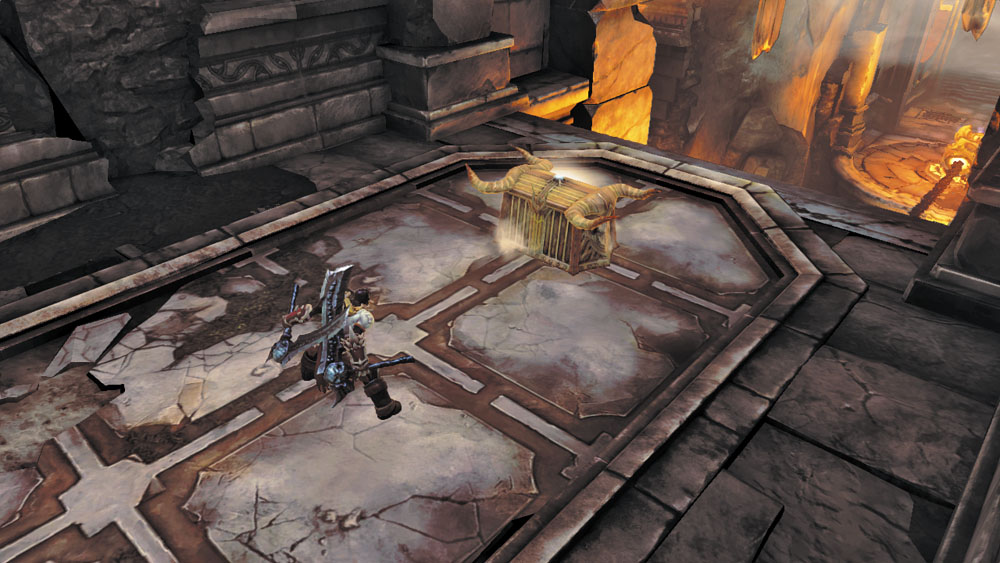
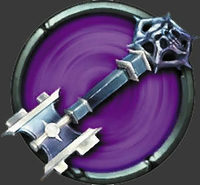
Proceed through the south door after defeating the Champion. Open the ornate chest you discover to claim a Skeleton Key.
|
Skeleton Key |
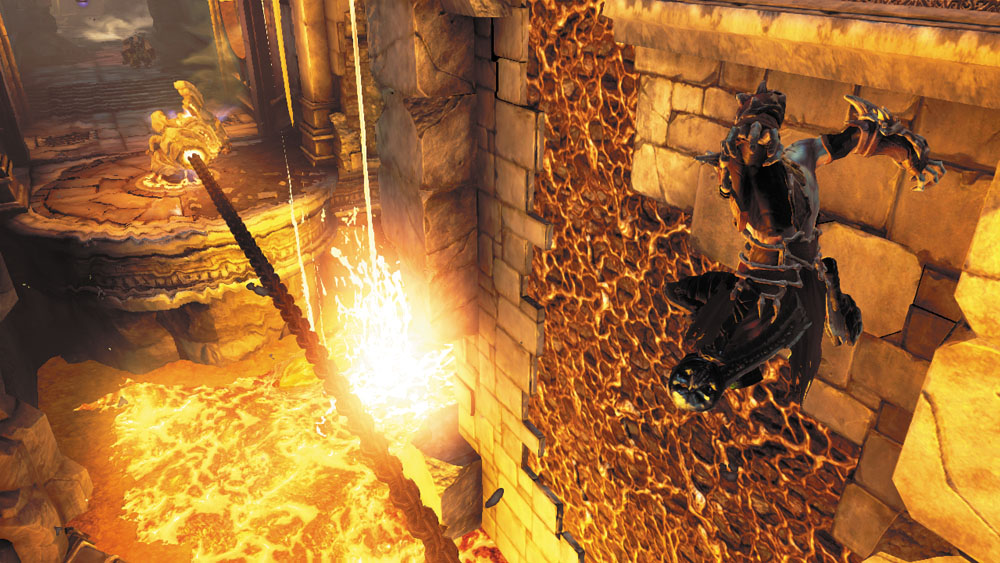
Gaze across the pit beyond the ornate chest to spy the Maker Custodian, whose chain remains extended. Carefully jump down to the chain and run across. Leave the Custodian as it stands and travel back to the Crossroad Chamber on foot.
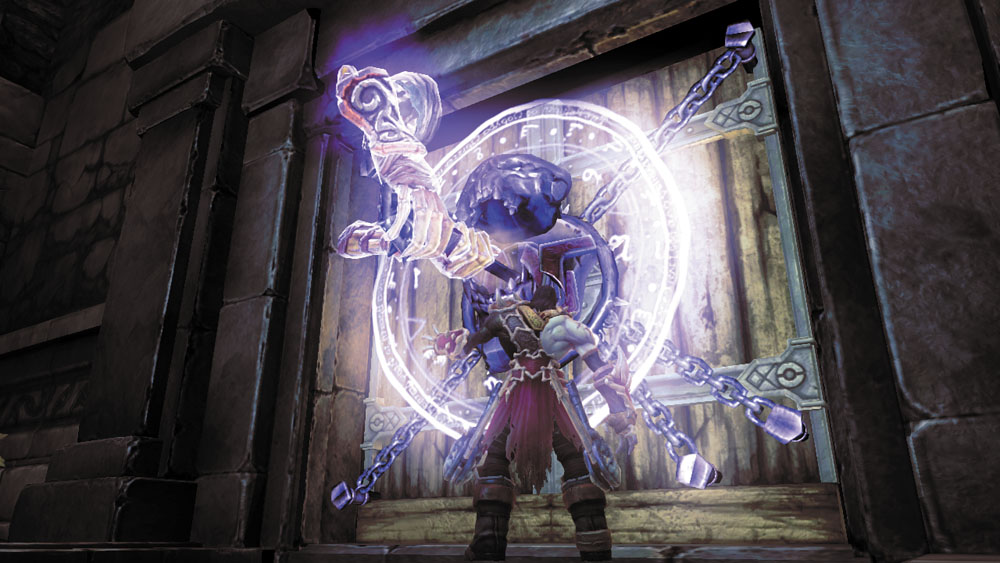
Open the Crossroad Chamber’s locked door with the Skeleton Key and go through. Karn will join you in climbing the winding stairs beyond.
Area 9: Chasm Cavern
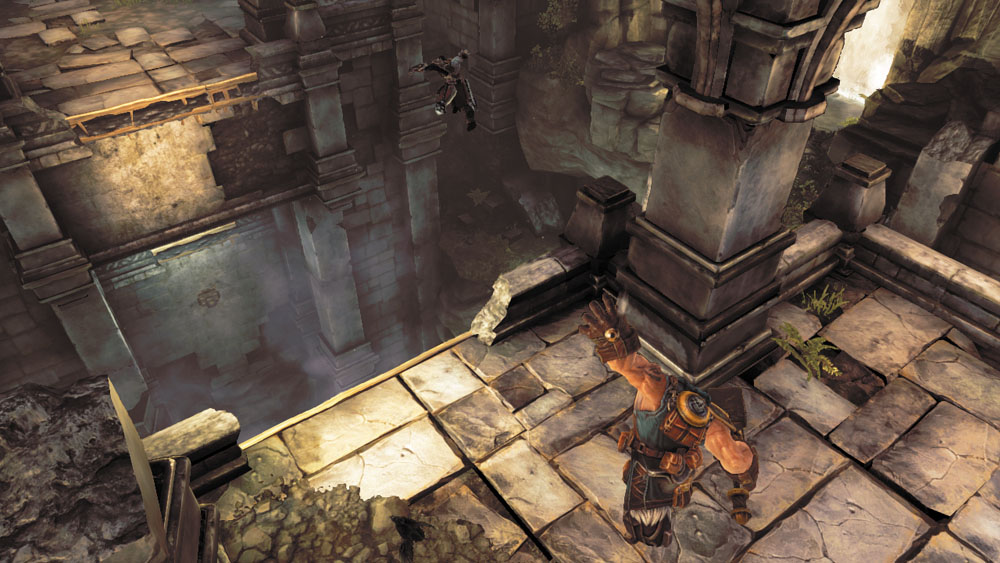
The stairs lead up to a spacious cavern. Allow Karn to toss you over the first expanse.
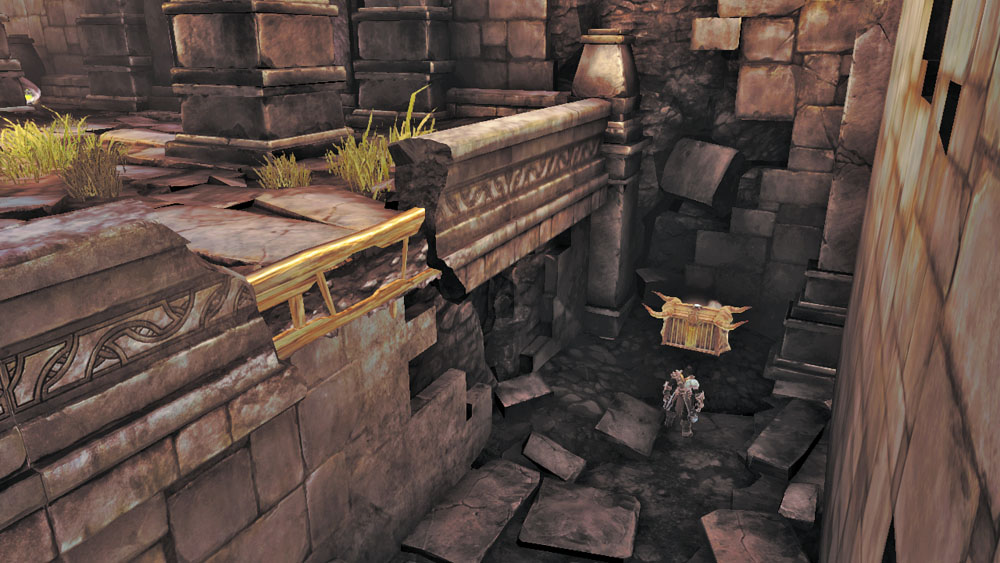
Cut down the Corrupted Constructs that attack after you land. One of these is an Adjunct, so deal with it first. Drop down from the ledge’s east side after clearing the room of enemies, and locate an ornate chest containing the Dungeon Map.
|
Dungeon Map |
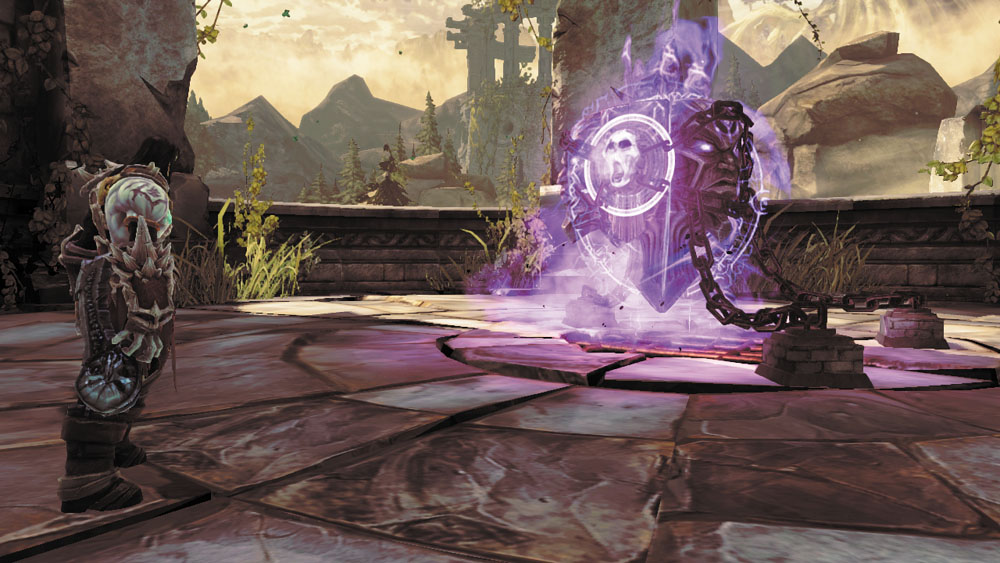
Return to the upper ledge after claiming the Dungeon Map and proceed through the north door. Attack the curious object in this small room to receive an awesome new ability: the Deathgrip!
|
Deathgrip |
Get a Grip
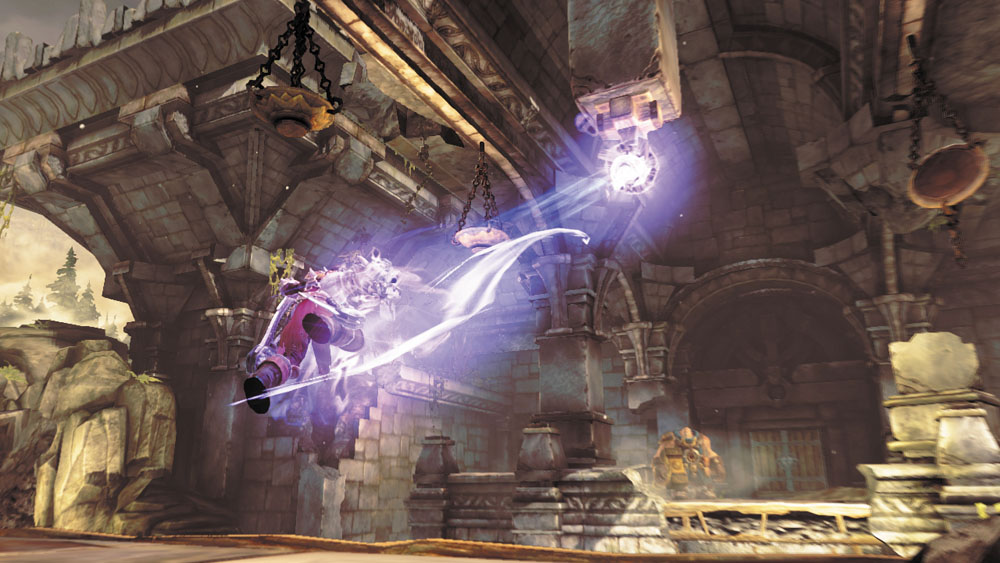
Exit the room with your newfound power and notice the small hoop on the ceiling. Now that you’ve found the Deathgrip, hoops such as these will glow with purple light. Jump and press the Special Item trigger to grasp the hoop with the Deathgrip and flip over to Karn’s ledge.
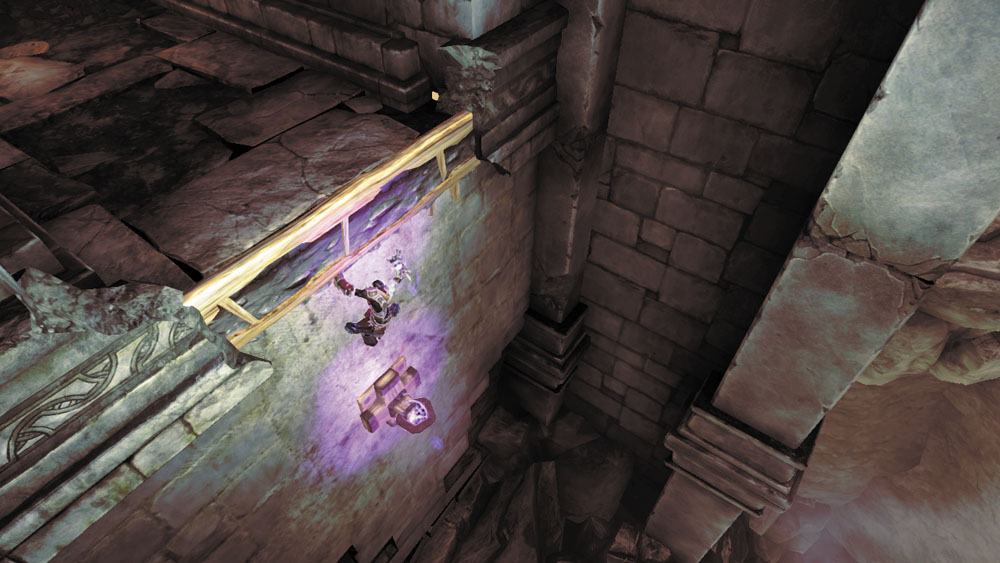
Before you leave this area, turn around and gaze down the pit. Look for another hoop far below the previous ledge, and make a daring jump toward it. Fire the Deathgrip as you plummet and you’ll zip over to the hoop. Death will then automatically wall-run up to a hand hold.
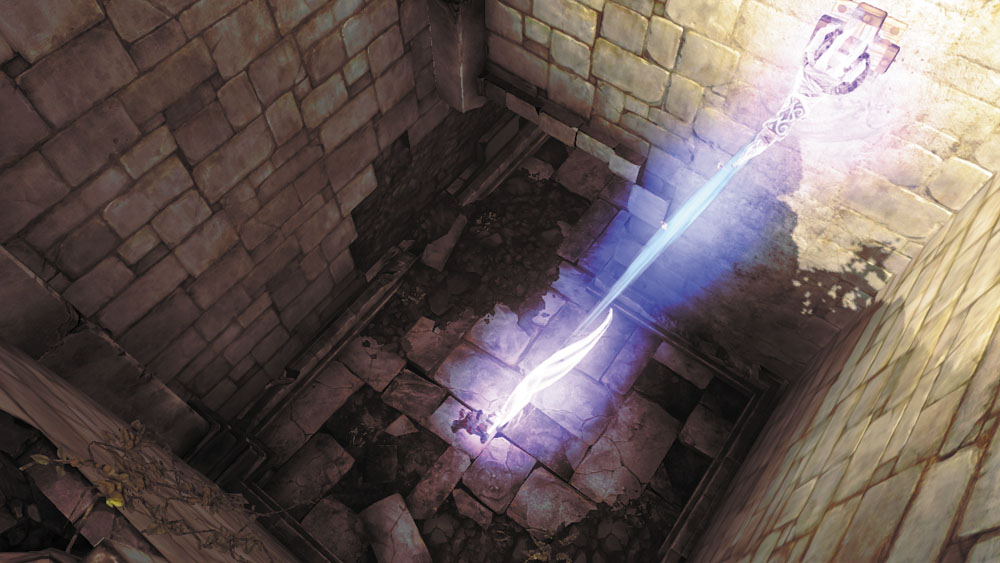
Enter the passage above the hand hold and slay the constructs that prowl this secret corridor. Look up when you reach an apparent dead-end and you will find an overhead hoop. Wall-run up toward the hoop, then Deathgrip it to extend your run up to a high ledge.
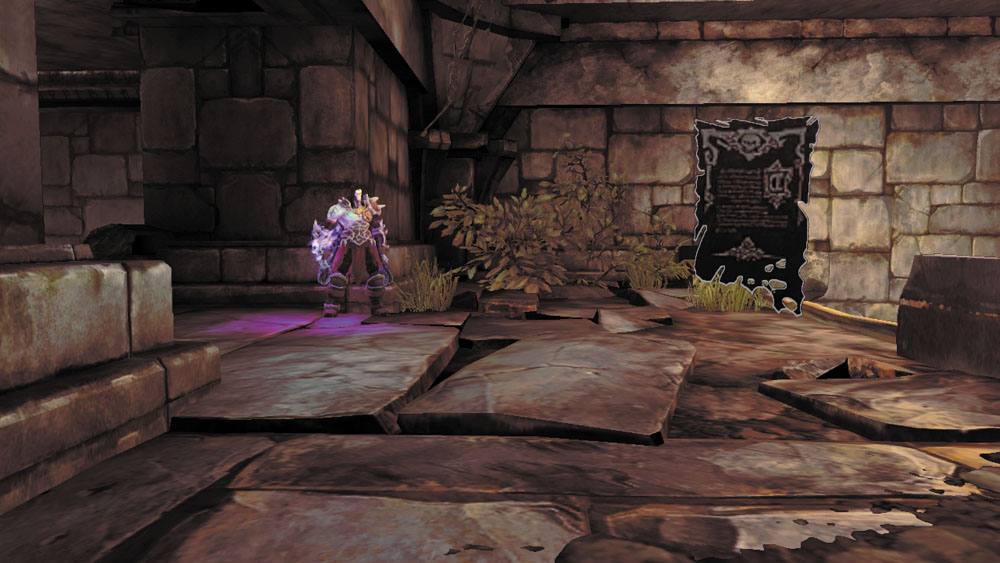
Claim a missing page from the Book of the Dead, and then drop down to a lower ledge. Flip back over to Karn by using the Deathgrip as you did before, and then take your leave of this place.
|
Book of the Dead 10 |
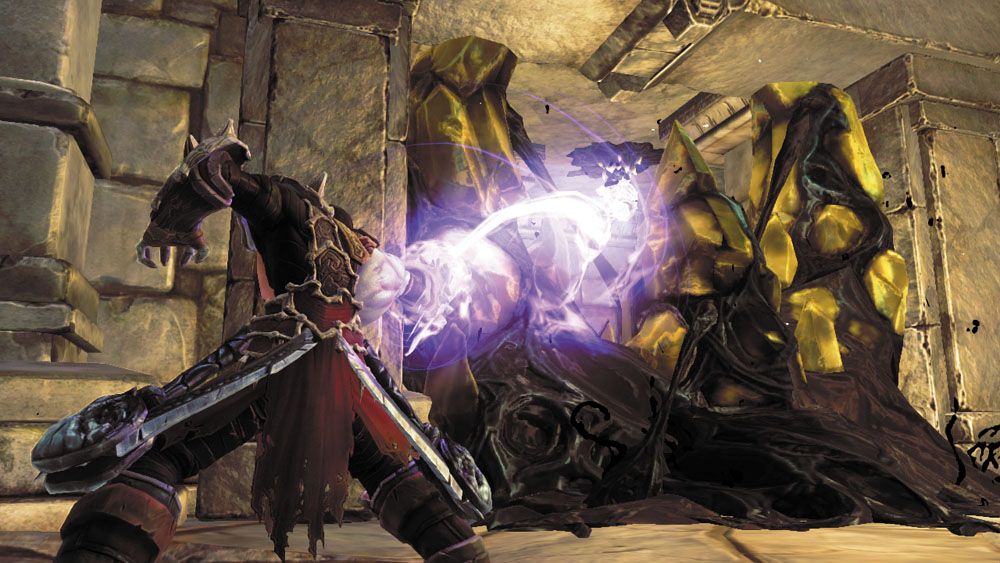
As you exit the area, pause near the yellow Corruption crystals at the top of the winding stairwell. Find the Shadowbomb pod on the ceiling in the nook beyond the crystals, enter aiming mode, and use the Deathgrip to snatch a bomb from range. Toss the bomb at the crystals to destroy them, and then enter the nook to discover a hidden chest. Sneaky!