
Darksiders II Guide Walkthrough Tears of the Mountain
The Drenchfort
The Drenchfort
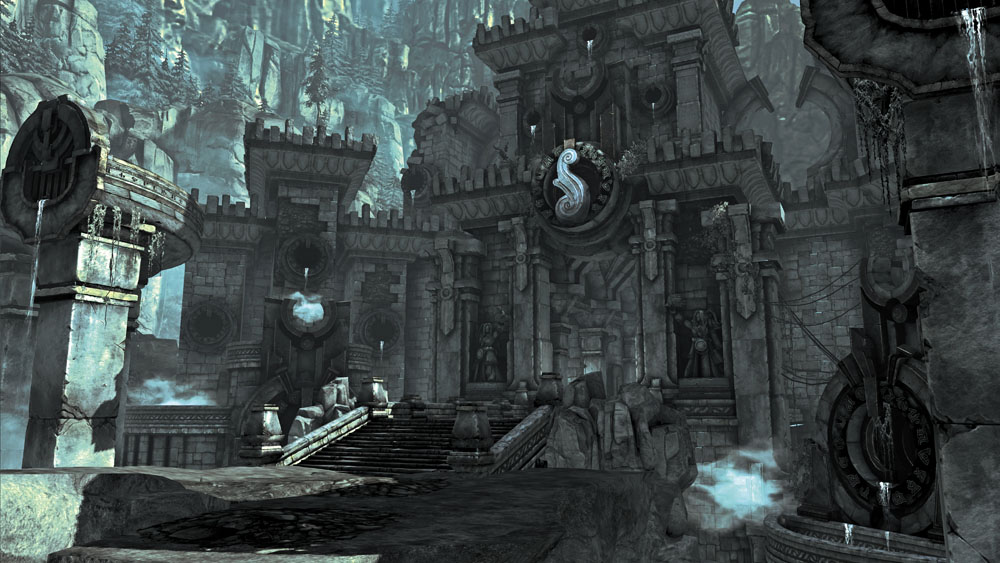
This aquatic stronghold lies east of the Fjord and houses the source of the Tears of the Mountain. The Pale Rider must brave this forgotten temple to restore the flow of the Tears to the Maker’s Forge.
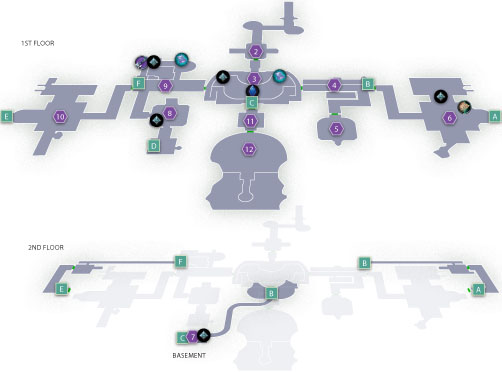
Area 1: Entry Hall
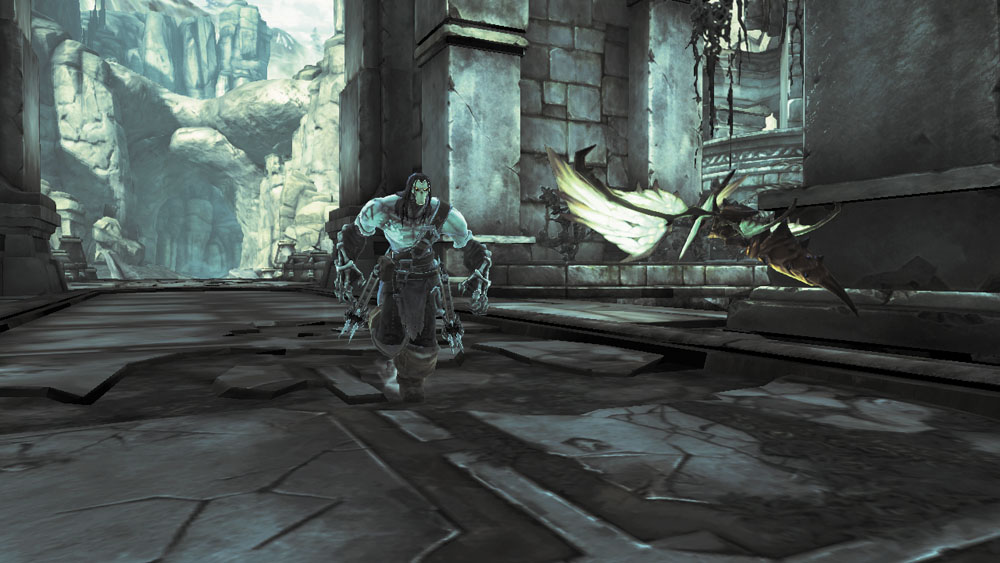
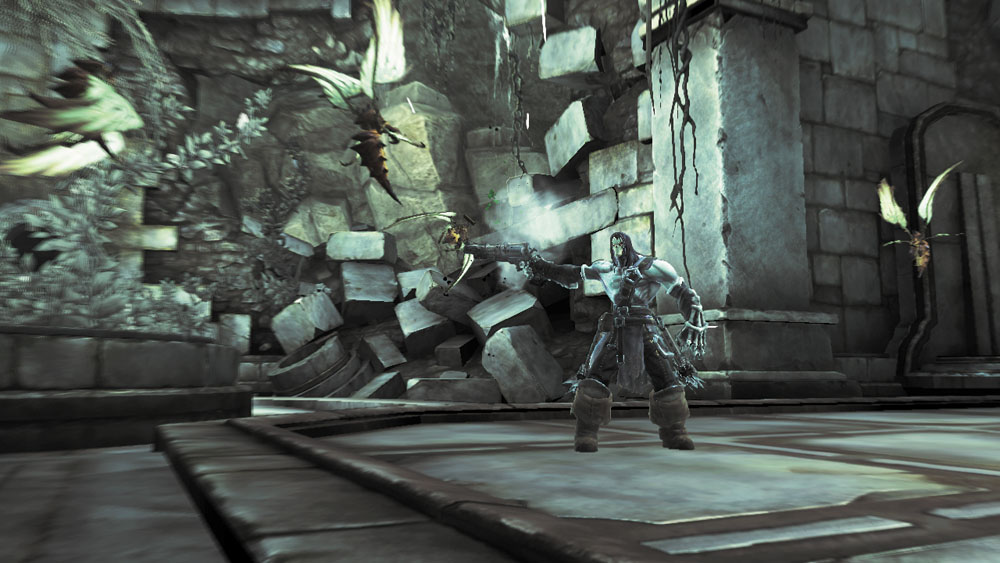
A swarm of Stingers fly out to meet Death as he delves into the Drenchfort’s impressive entry hall. Use Redemption and anti-group attacks to wipe out these bothersome buzzers.
Area 2: Savage Ambush
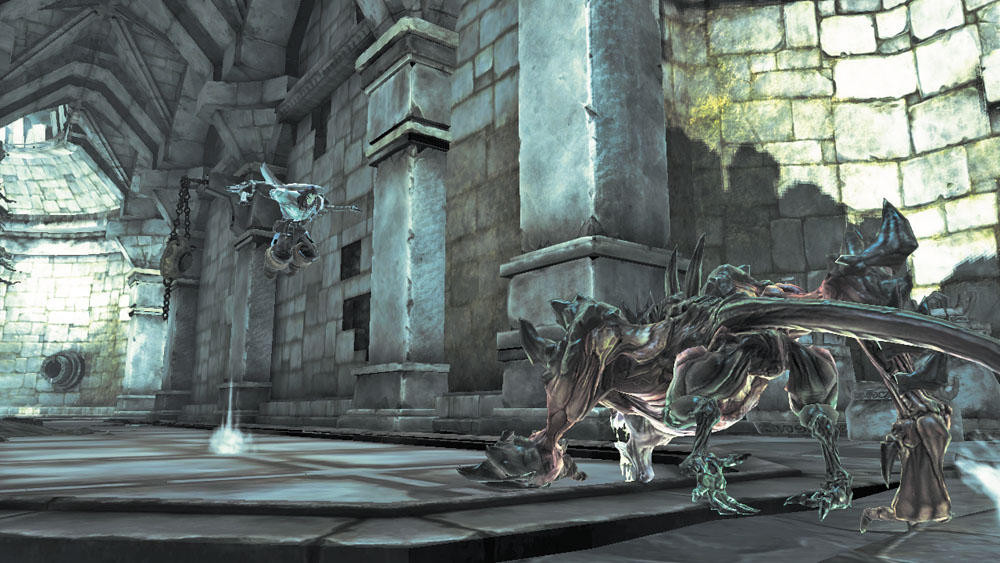
A pair of Savage Prowlers roam the small room at the entry hall’s end. Unleash the Reaper’s fury and slay these foul predators to secure the area before you unbar the south door.
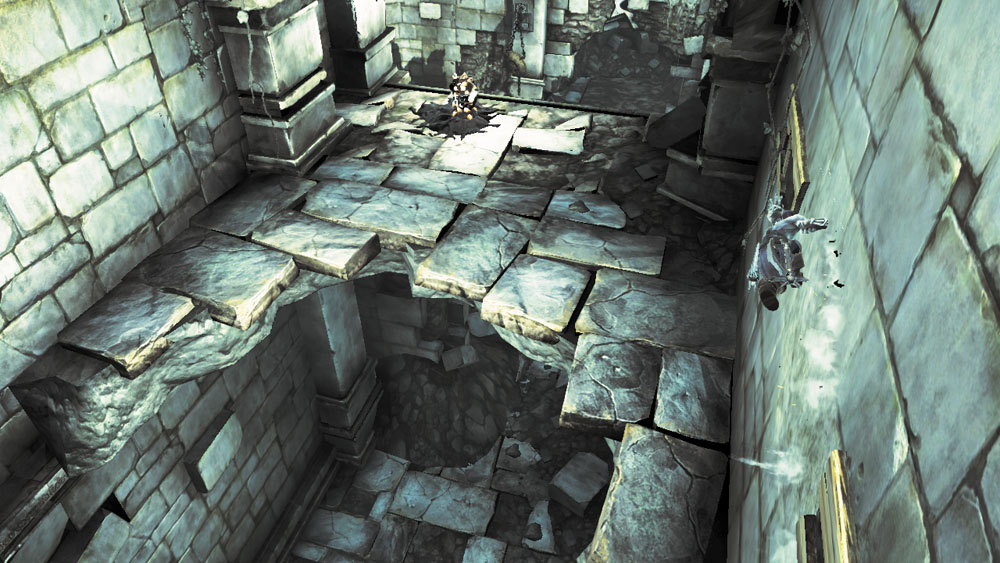
After the battle, scale the west wall’s pegs to reach a hand hold, then wall-run to the left to reach a high ledge.
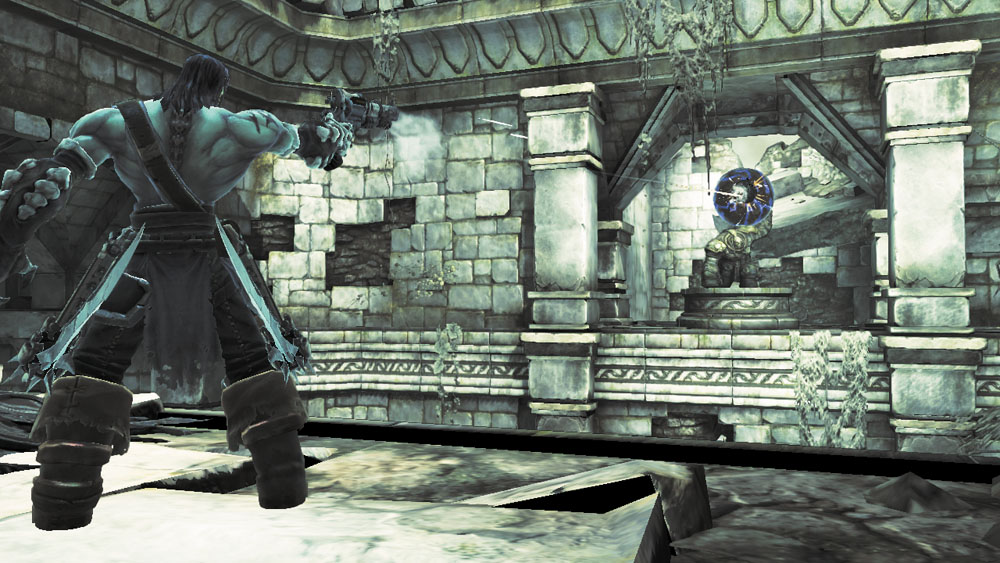
Collect a Shadowbomb from the ledge’s pod, toss it at the distant orb, and then shoot it.
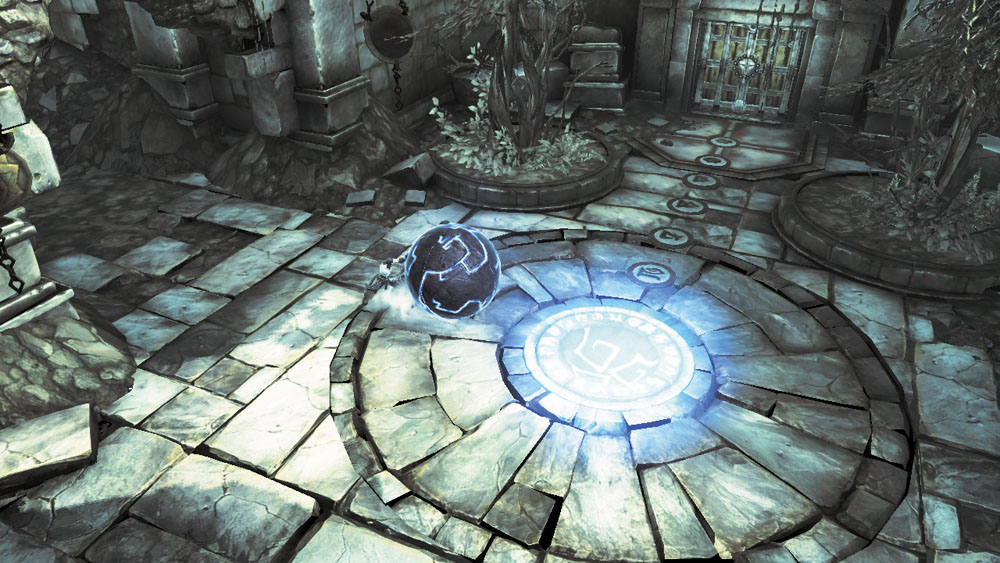
The explosion knocks the orb to the ground. Roll it onto the circular indentation to unbar the south door and enter the temple proper.
Area 3: Great Aqueduct
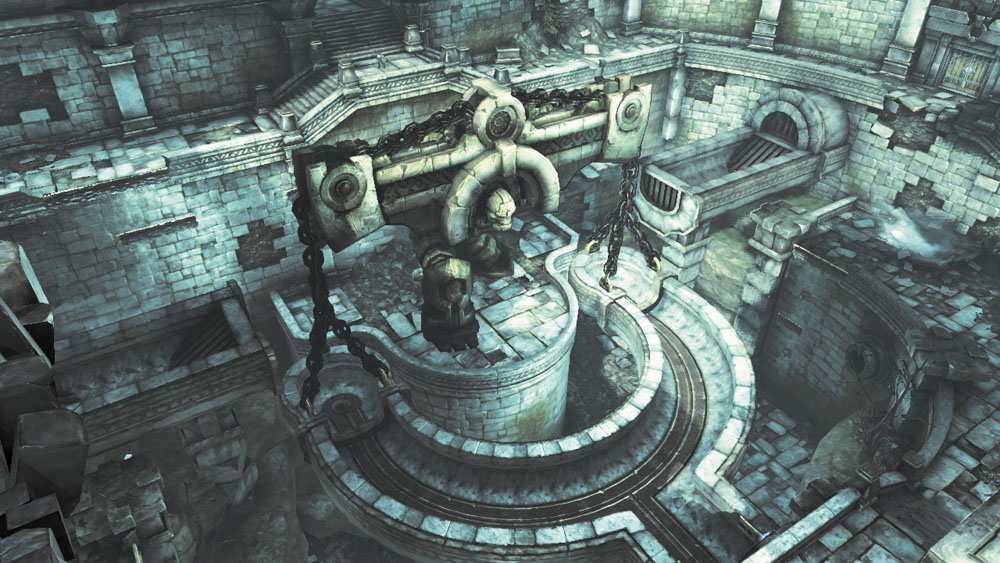
This massive outdoor area features giant stone aqueducts. No water is currently flowing—the Tears of the Mountain are being blocked elsewhere in the Drenchfort.
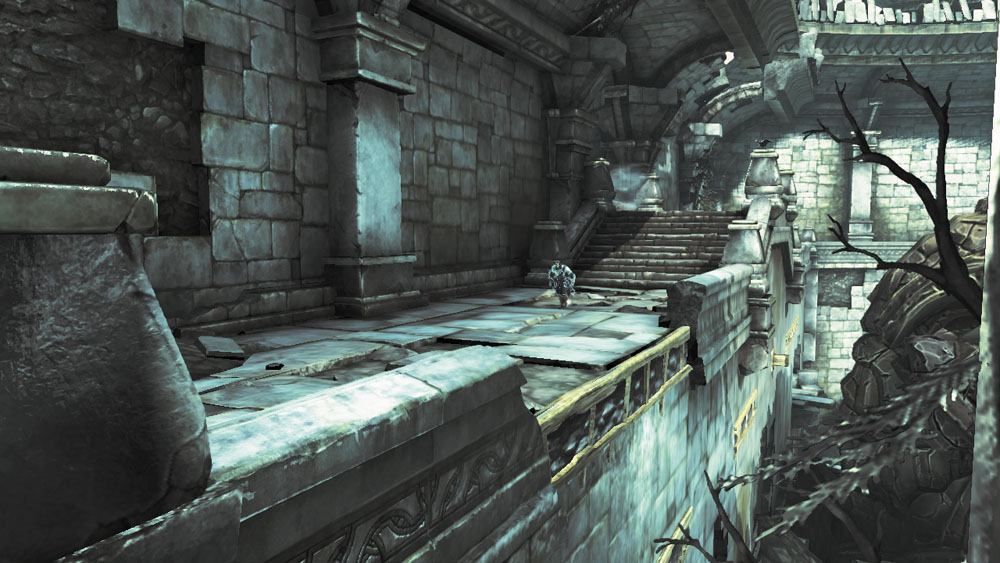
Turn right as you enter and sprint east along the upper balcony. Look for the top of a hand hold on the outside of the balcony, to the left. Slowly walk off the edge here to make Death drop down and grab the hand hold.
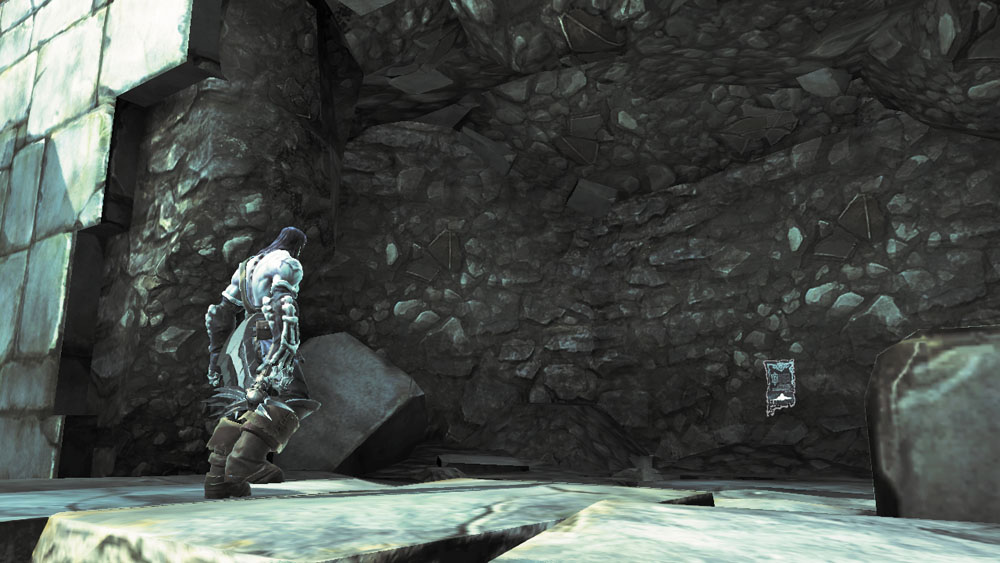
Shimmy and wall-run to the right across the series of hand holds that follow. Drop down from the final hand hold to land on a tiny ledge where you find a lost page of the Book of the Dead.
|
Book of the Dead 5 |
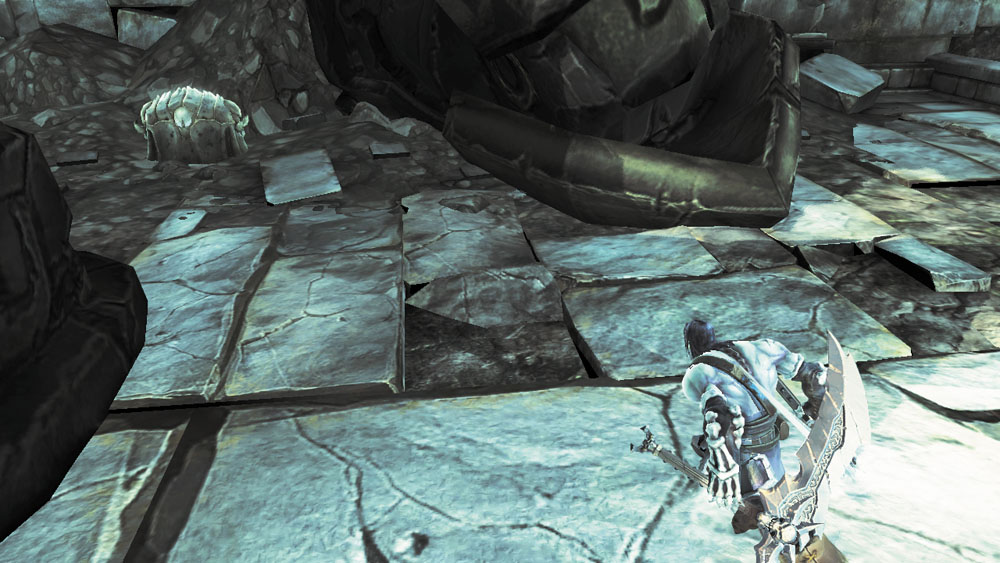
Leap to the west, onto the central platform, and raid the chest that sits near the large statue.
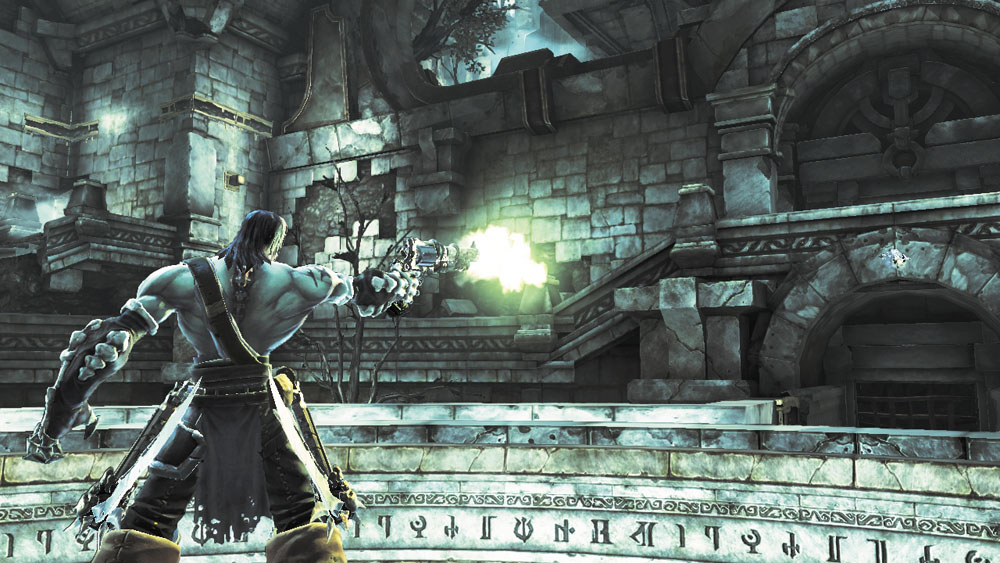
Next, spy a Stonebite on the south wall and shoot it.
|
Stone of Mystics 11 |
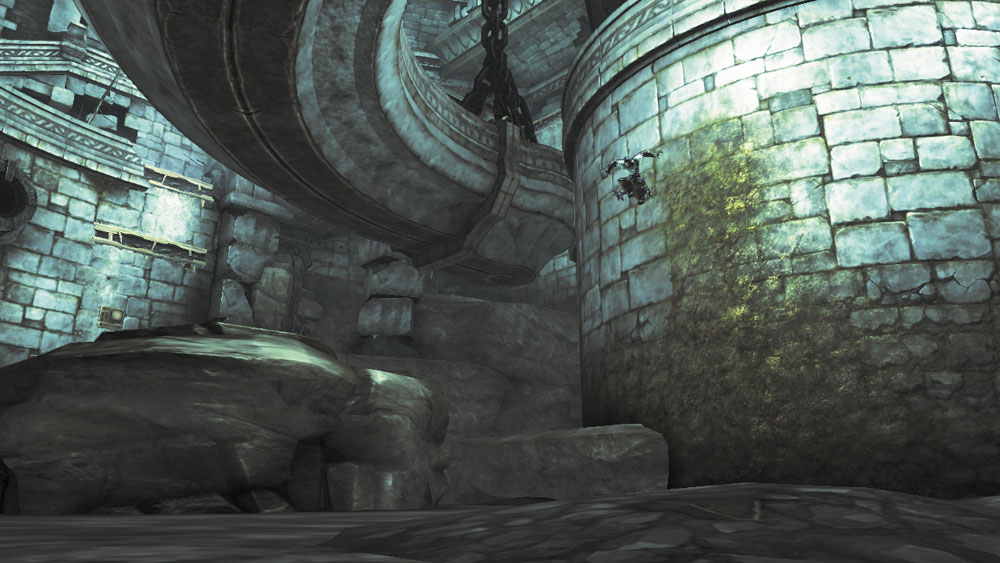
Drop down to the bottom of the area and scale the west wall’s pegs and hand holds to return to the upper level. Smash the jars in the corner and do battle with the Savage Prowlers that attack you. Climb the west stairs to return to the north balcony.
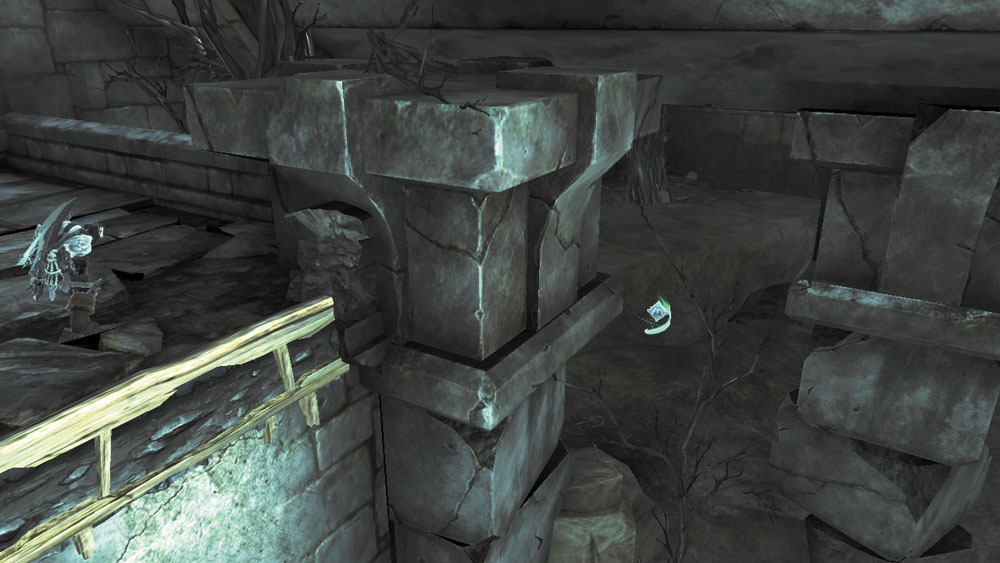
Stand in the northwest corner of the balcony and peer over the edge where the hand hold is to spy a Boatman Coin on a lower ledge. Carefully drop down and claim this prize.

|
Boatman Coin 20 |
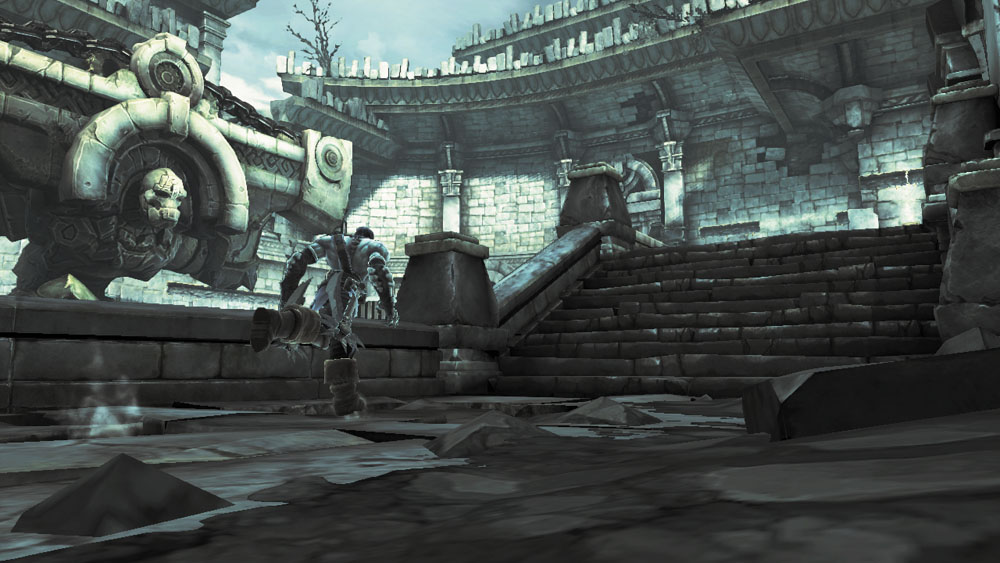
Scale the west wall’s pegs again to return to the balcony. Go east this time, cutting down more Savage Prowlers on your way to a pair of pegs that lead up to a hand hold on the east wall. Vault up the pegs and then shimmy to the left, rounding the corner.
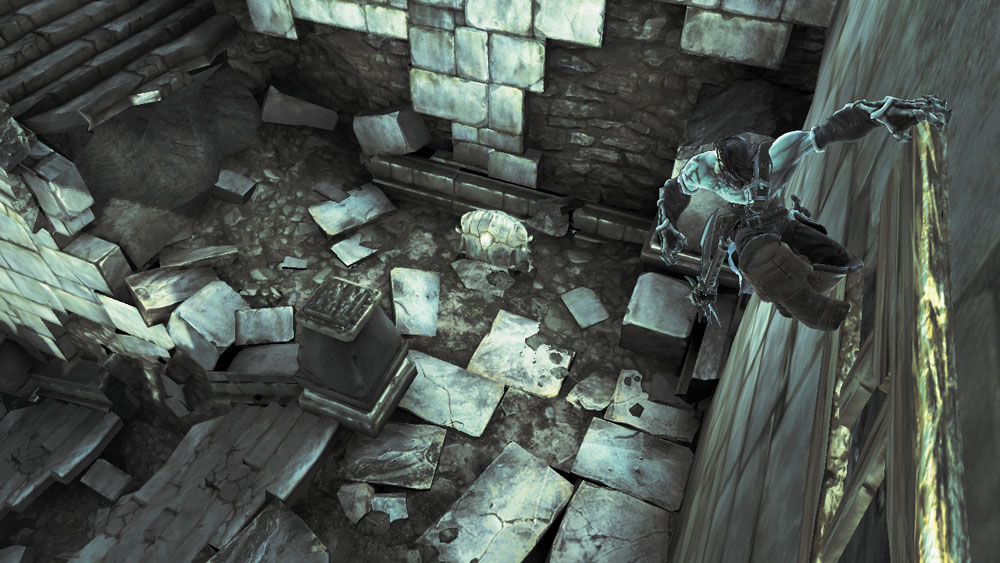
Don’t wall-run to the next hand hold. Instead, let go after rounding the corner and raid the chest you discover on the landing of the broken east stairs. Fall from the stairs afterward and vault up the east wall’s pegs again. This time, wall-run to the left after shimmying around the corner to reach a high east door, and then go through it.
Area 4: East Tear Duct
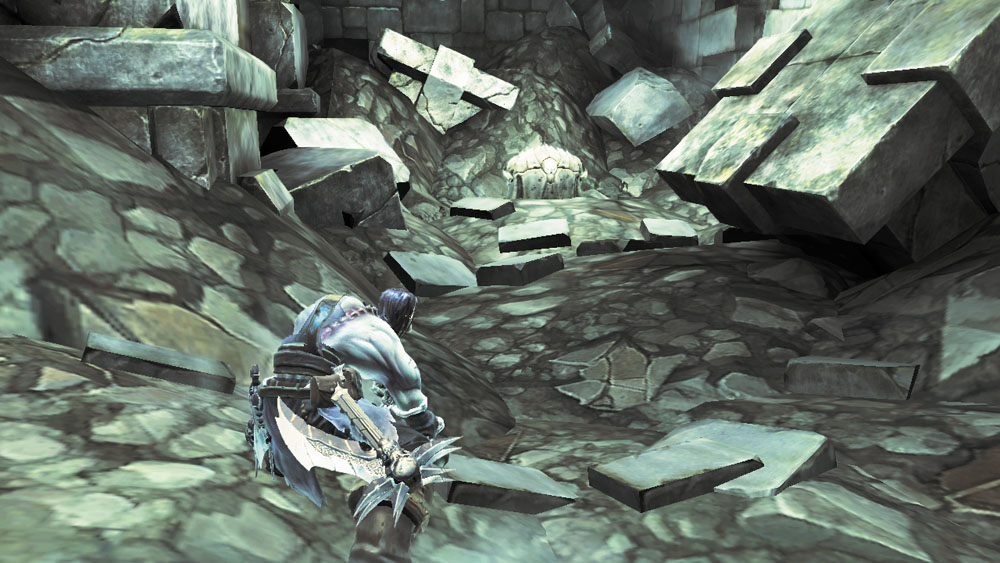
Venture eastward through this area and explore a ruined room to your right to locate a chest.
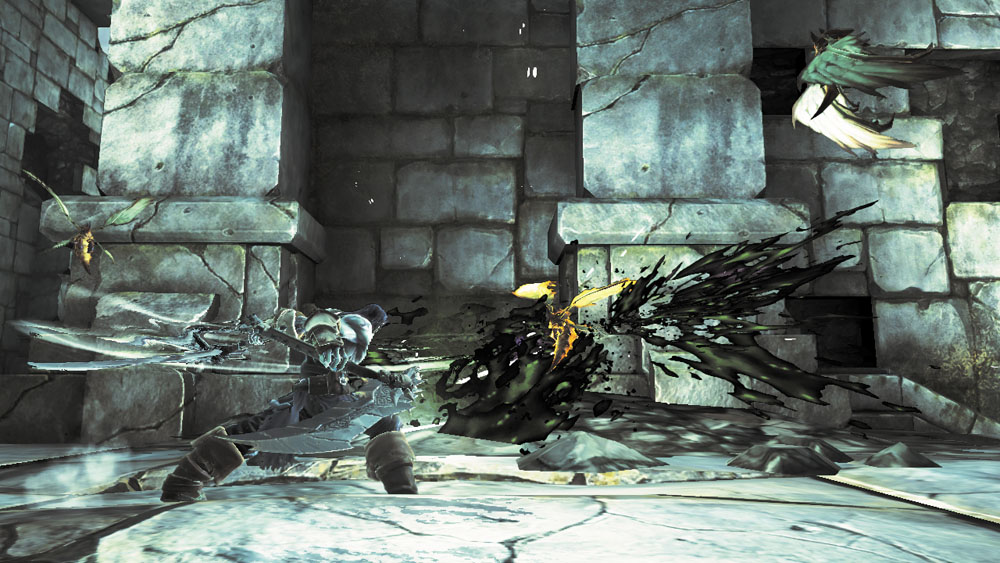
Cut down the Stingers that swarm you as you approach the area’s east door. Don’t enter the door; instead, face north while standing until you can spy a chest across the aqueduct. Leap over, loot the chest, and then use a hand hold to escape the barren channel. Again, ignore the east door and follow the corridor to another door that leads south.
Area 5: Earth Crag Chamber
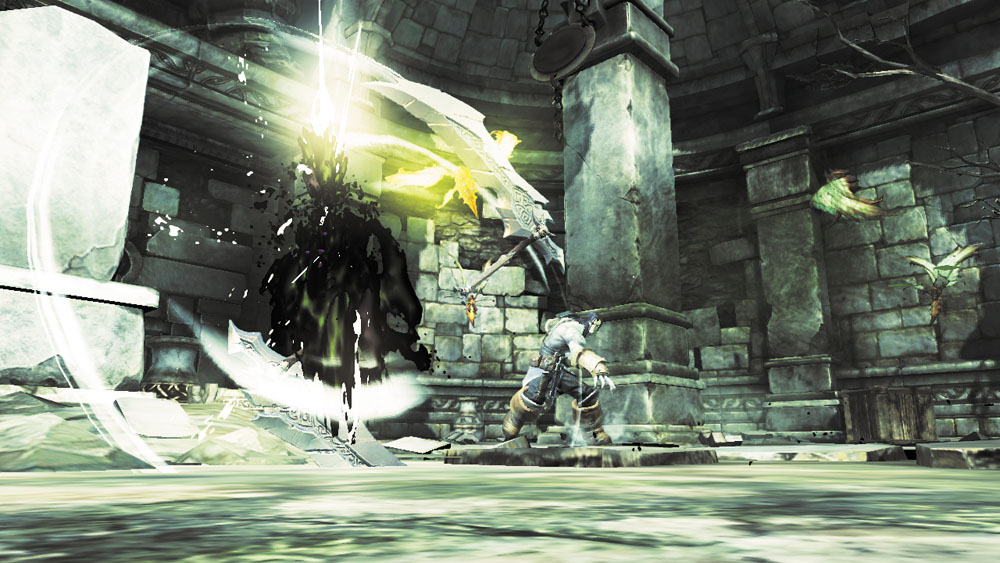
A chest tantalizes you from the far side of this crumbling chamber, but reaching it won’t be easy. A gate suddenly rises to protect the chest, and a number of Stingers swarm you, followed by several Savage Prowlers. Evade often and use anti-group attacks such as Harvest to even the odds.
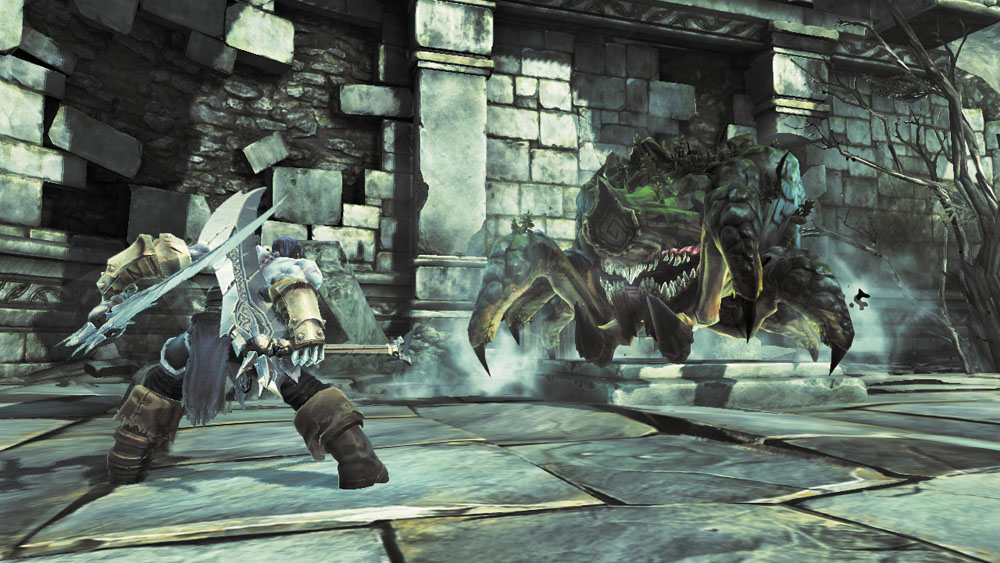
After the weaker foes have fallen, a monstrous Earth Crag emerges from the floor. These hulking monsters are swift and can quickly close the distance by charging forward. Evade around the room’s pillars to prevent the Earth Crag from crashing into you, then quickly counter with Death’s most powerful skills and combos.
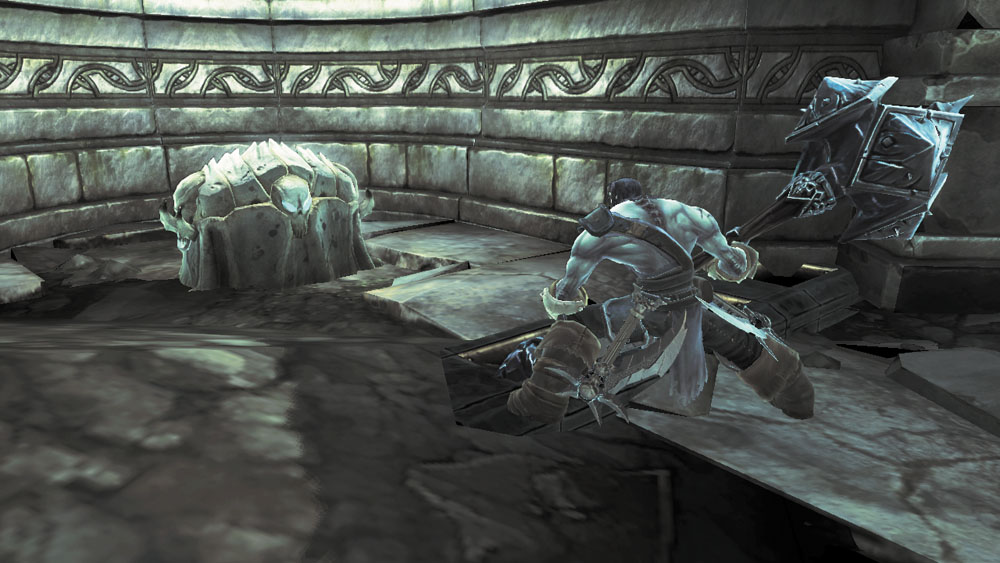
Destroy the surrounding debris in search of loot after slaying the Earth Crag, and then raid the south chest to claim some loot. Collect the helmet that sits atop a stand in the room’s southwest corner to advance Karn’s side quest. Backtrack to the previous area and proceed through the east door you previously ignored.
Area 6: East Reservoir
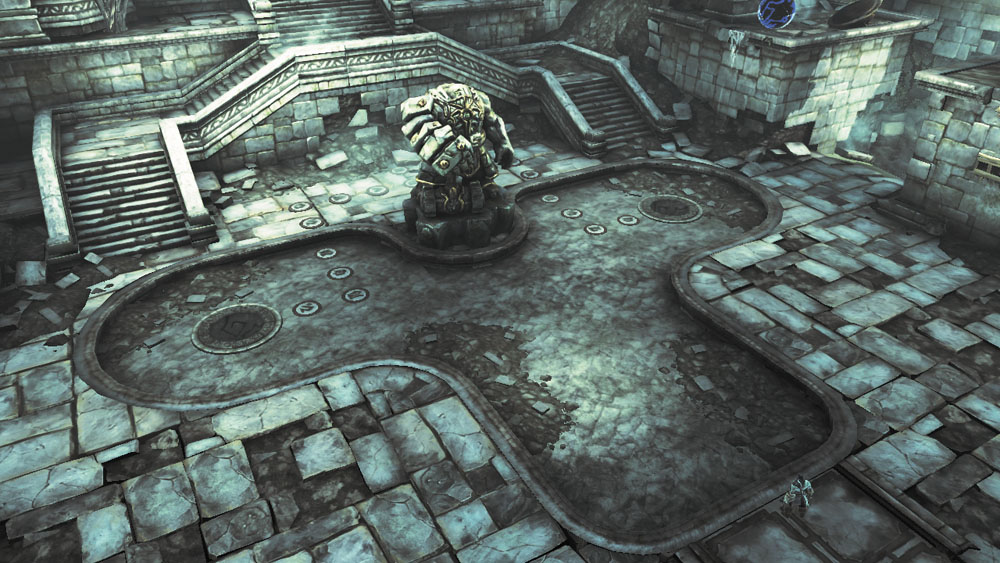
All is quiet as the Pale Rider enters this wide chamber. Two orbs must be placed in the room’s central slots to lower the east gate.
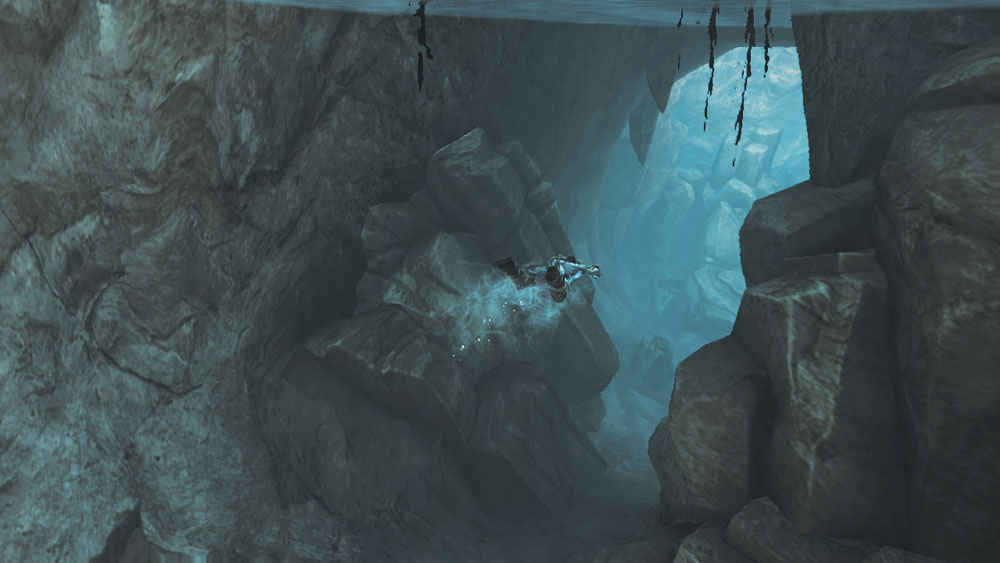
First, go south and dive into the water. Swim through an underwater hole to reach a secret cave where a large chest containing valuable loot is hidden.
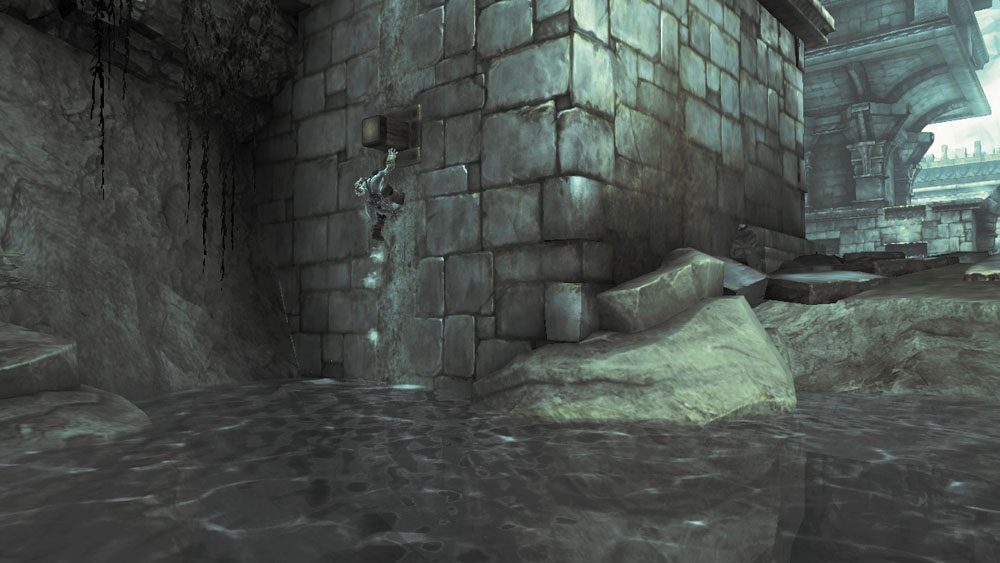
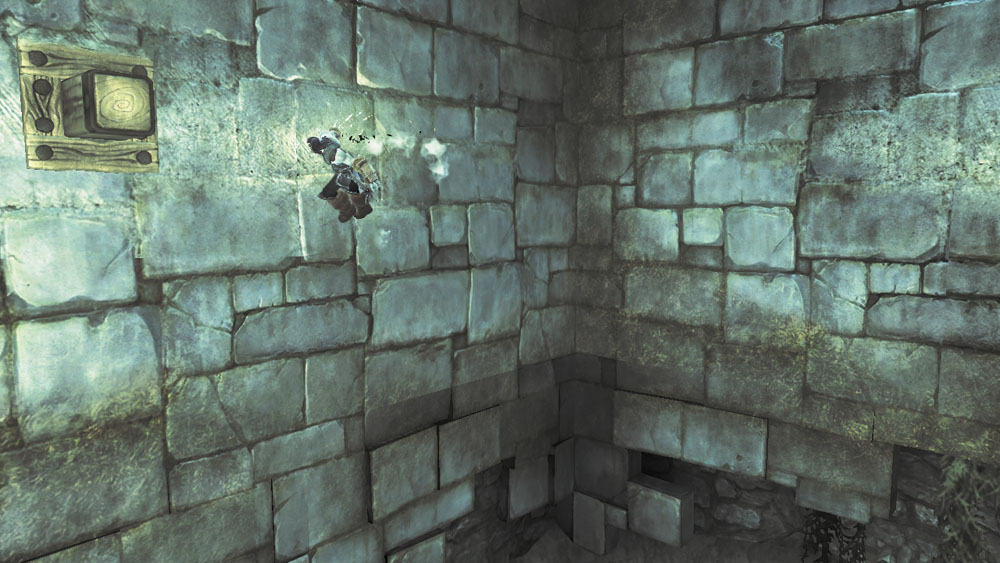
Swim out from the cave and vault up off a peg to escape the water and reach the top of the nearby wall. Turn around and wall-run along the wall to your right, jumping when you reach the corner and vaulting off of the two pegs that follow to extend the run.
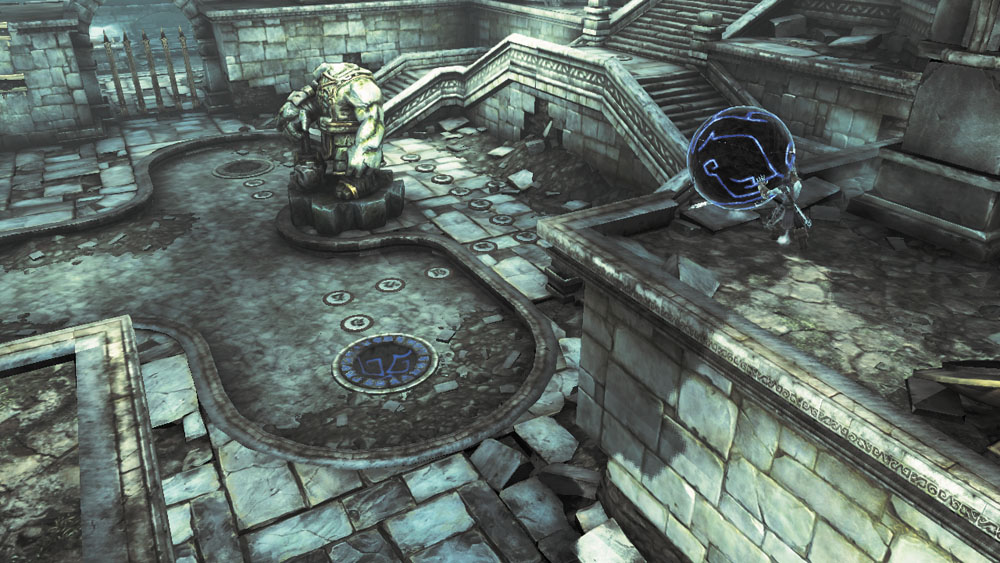
Jump again as you near the next corner and you’ll run down to the top of the neighboring wall, where a blue orb sits. Roll the orb off the wall, then drop down and maneuver it onto the nearby orb slot. The east gate lowers halfway, but there’s still work to do.
The Other Orb
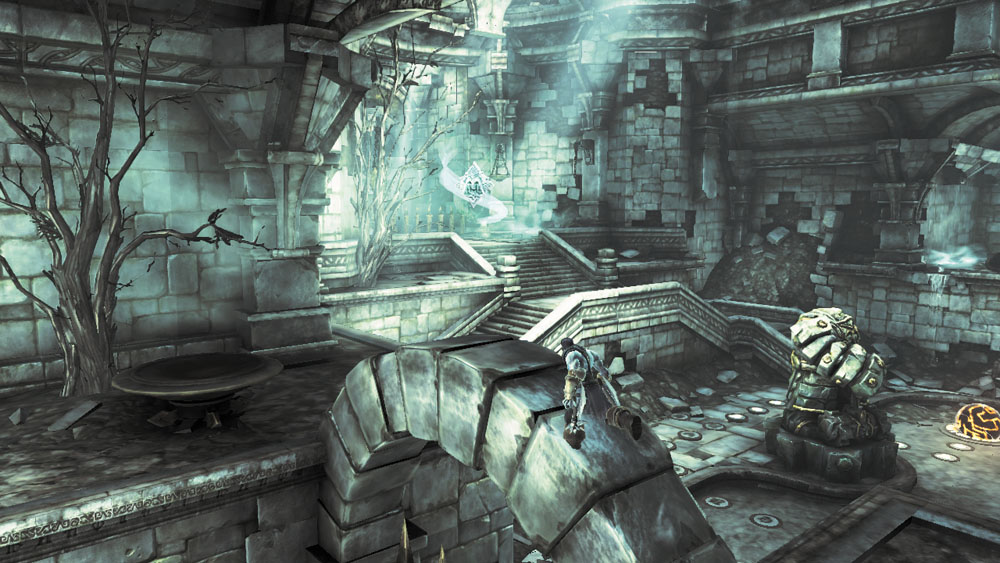
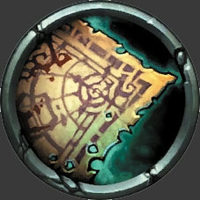
Scale the north wall’s hand holds to reach the wall’s top, and then run across the arch to snag a Boatman Coin. Keep going to reach an ornate chest that contains the Dungeon Map. Backtrack afterward and drop down from the wall to reach the room’s northern half, where a puzzle must be solved in order to free the second orb.
|
|
Boatman Coin 21 |
|
Dungeon Map |
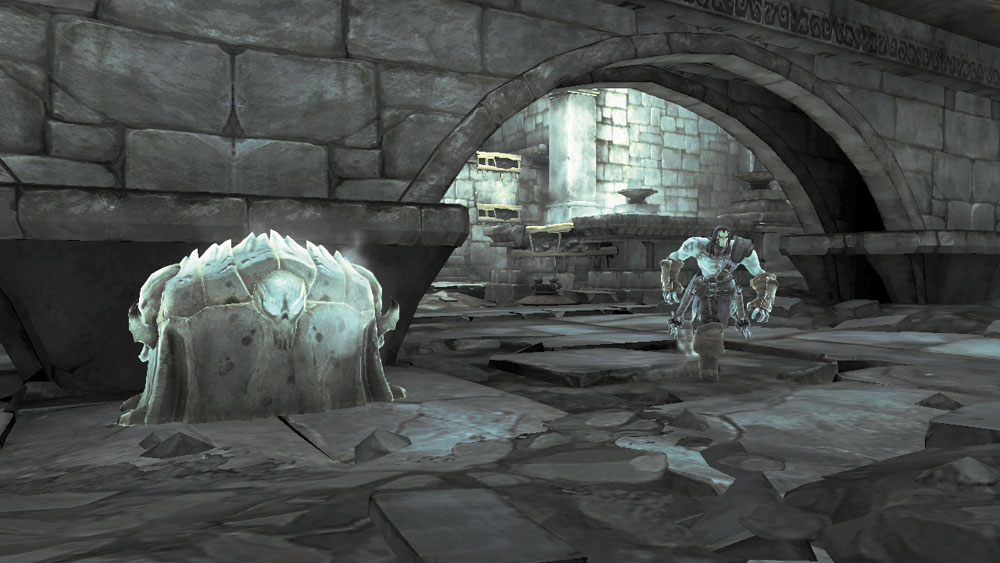
First, raid the chest that’s tucked away in the north alcove.
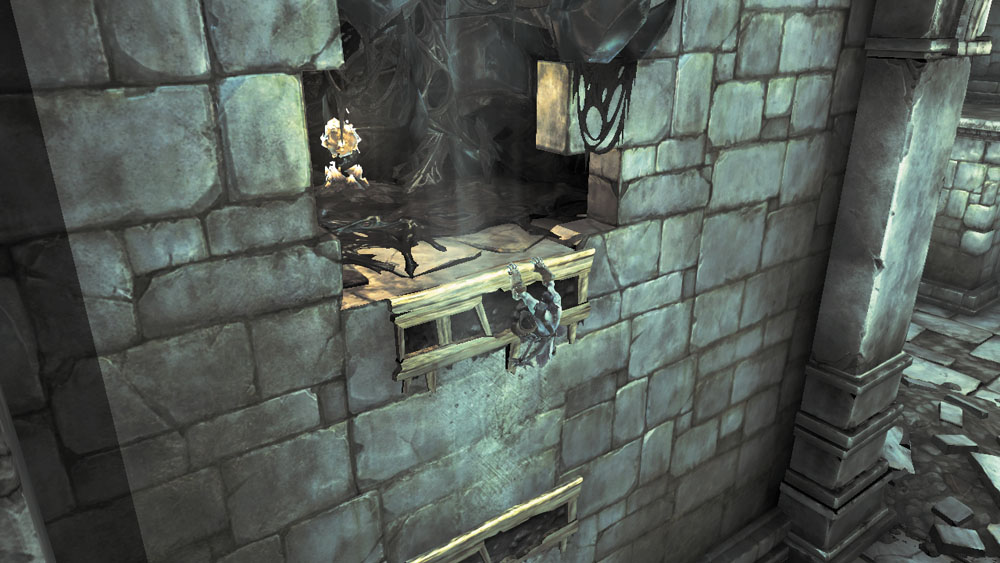
Next, use hand holds to scale the southeast wall and reach a nook with a Shadowbomb pod.
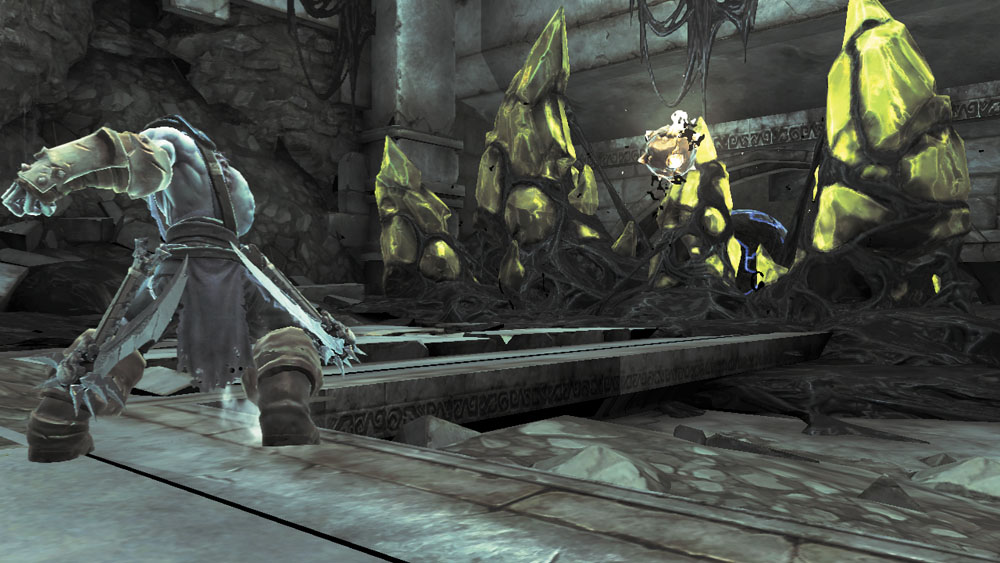
Collect a Shadowbomb and use it to destroy the northwest Corruption crystals that are trapping the orb.
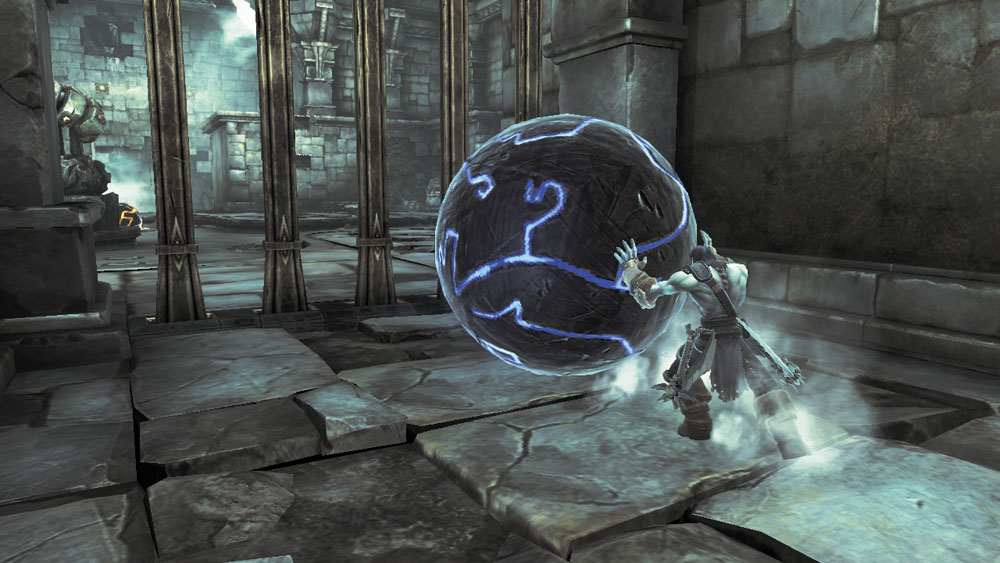
Roll the orb close to the south gate which leads to the area's center. Retrieve another Shadowbomb and stick it onto the orb.
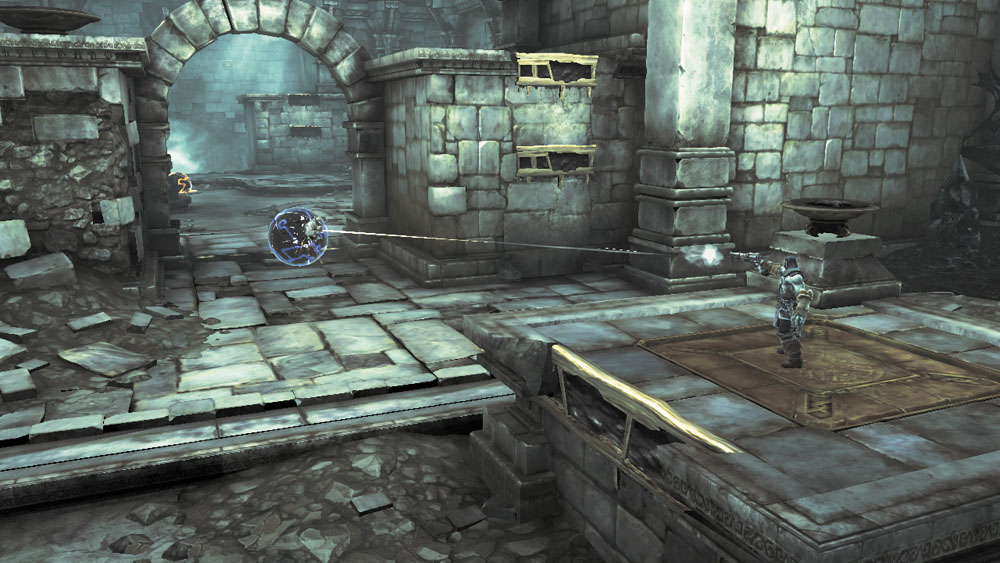
Stand on the nearby pressure plate to lower the gate, and then shoot the Shadowbomb to blast the orb into the main chamber.
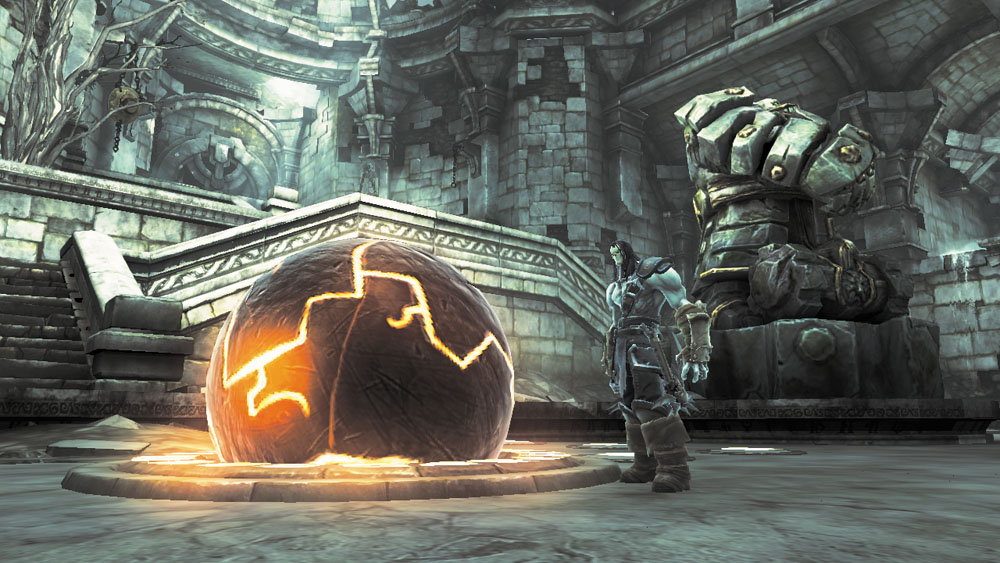
Excellent work! Now scale the wall and roll the orb into place. The east gate lowers, allowing you to proceed through the door beyond.
Hallway Hive
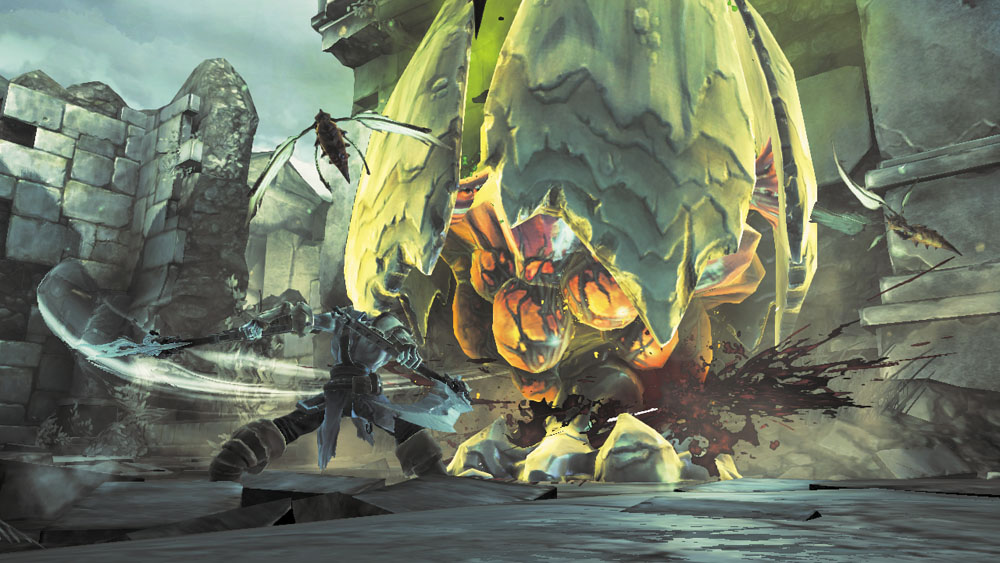
A giant pulsating Stinger hive stands in the passage beyond the door. Switch to Aiming mode and shoot down the Stingers that emerge from the hive, then rush forward and attack the hive itself with powerful combos. Don’t relent until the hive is destroyed and the Stingers cease to emerge.
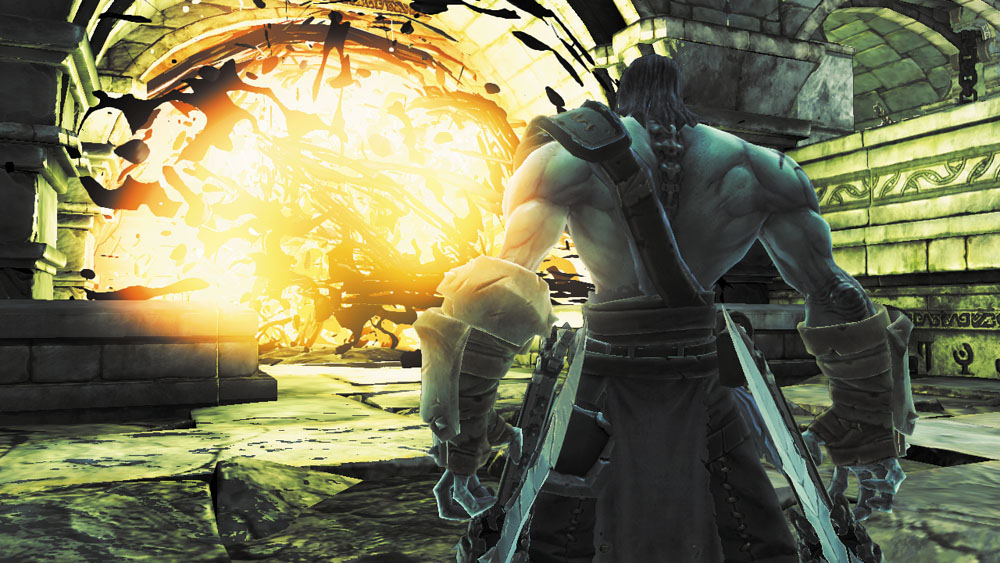
The hall leads to a small room that’s guarded by a pair of Savage Prowlers. Kill them, and then collect a Shadowbomb from the nearby pod and use it to obliterate the nearby Corruption crystals. Pull the lever that the crystals were covering to at last unblock the Drenchfort’s east channel, allowing water to flow through the aqueduct more.
Back to the Aqueduct
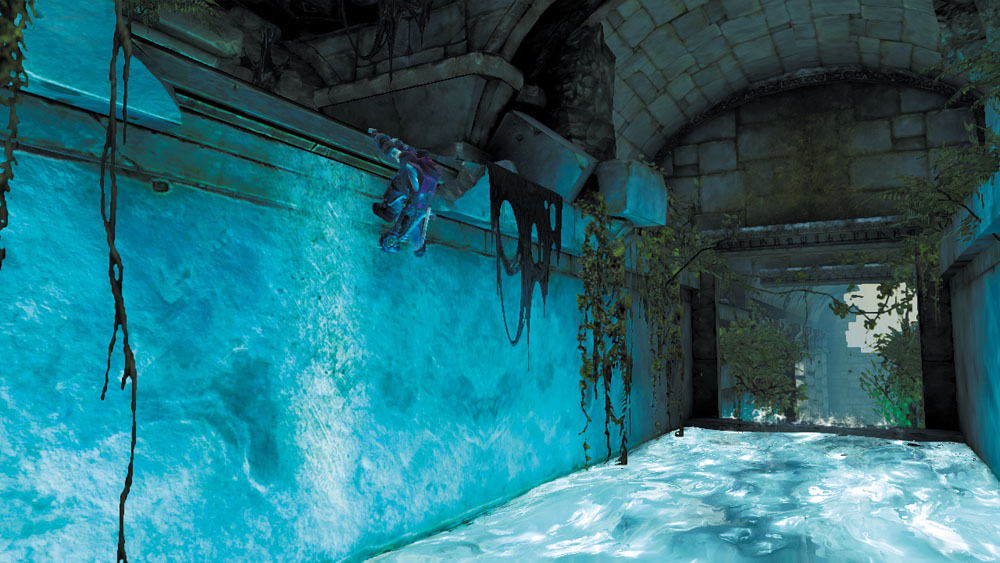
After all that hard work, it’s time to cool off. Leap into the rushing water and swim down the channel. As you near the end, look for a hand hold to the left and leap up to reach a small ledge where a chest is secreted.
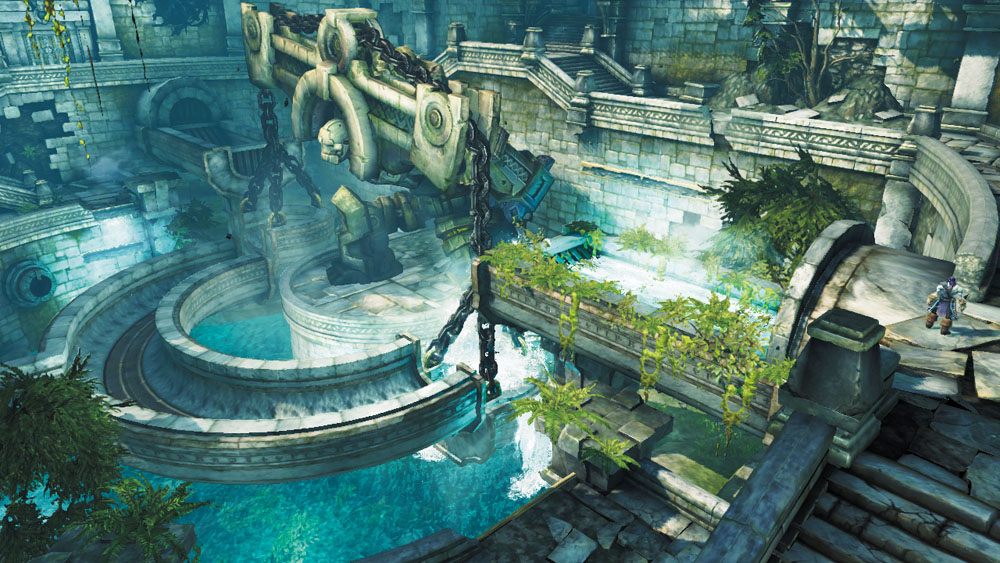
Return to the water and allow the current to carry you all the way to the grate at the channel’s far end. Climb out and head through the door to return to the Great Aqueduct area. The Tears are now filling half of the aqueduct, but there’s still more to restore.
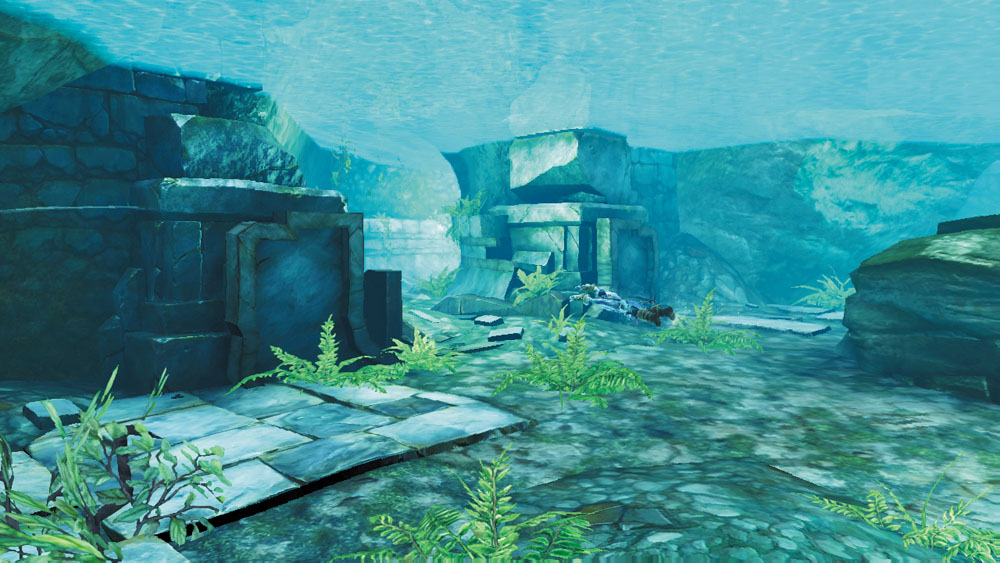
Dive into the water that now fills the bottom half of the Great Aqueduct and swim through the south tunnel to reach the next area.
Area 7: Tunnel Exit
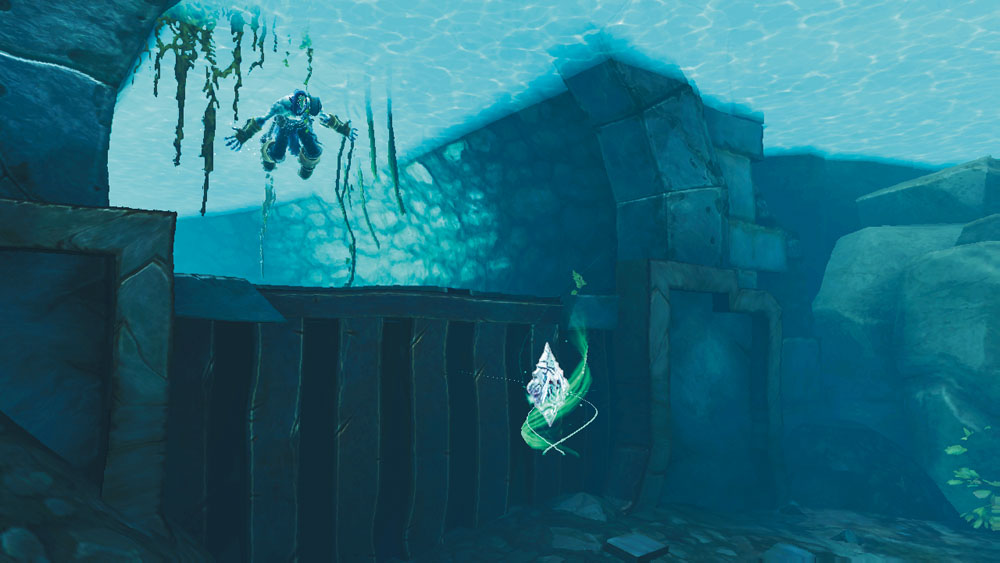
The tunnel leads to a small, tall chamber. With the east Tears flowing strong, the water level is high enough to let you reach this chamber’s hand holds. Claim an underwater Boatman Coin before beginning your ascent.
|
|
Boatman Coin 22 |
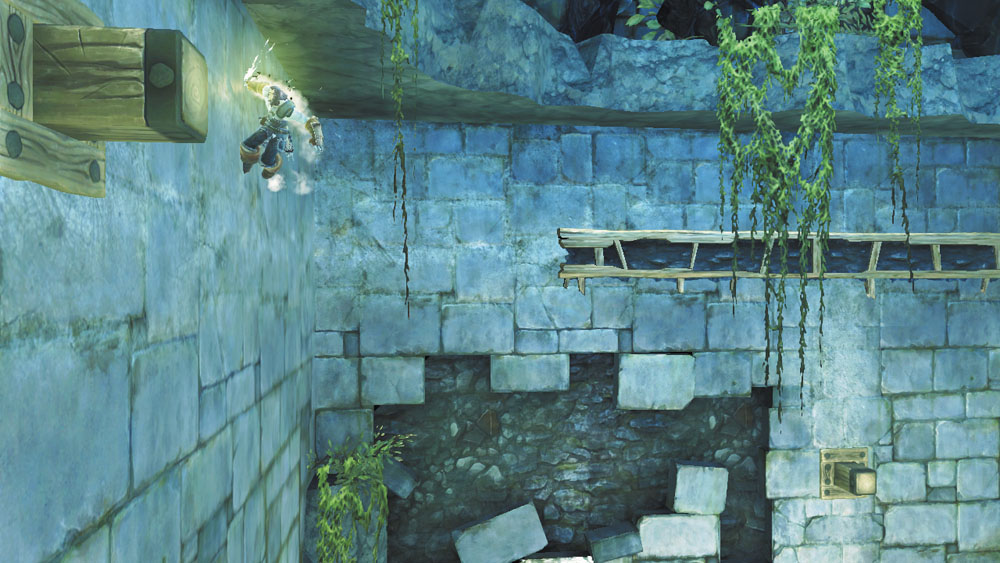
Scale the wall using the hand holds, and then wall-run to the left (not the right). Jump as you near the corner and vault off a peg to extend your run. Keep going until you reach a high nook where a chest awaits plundering.
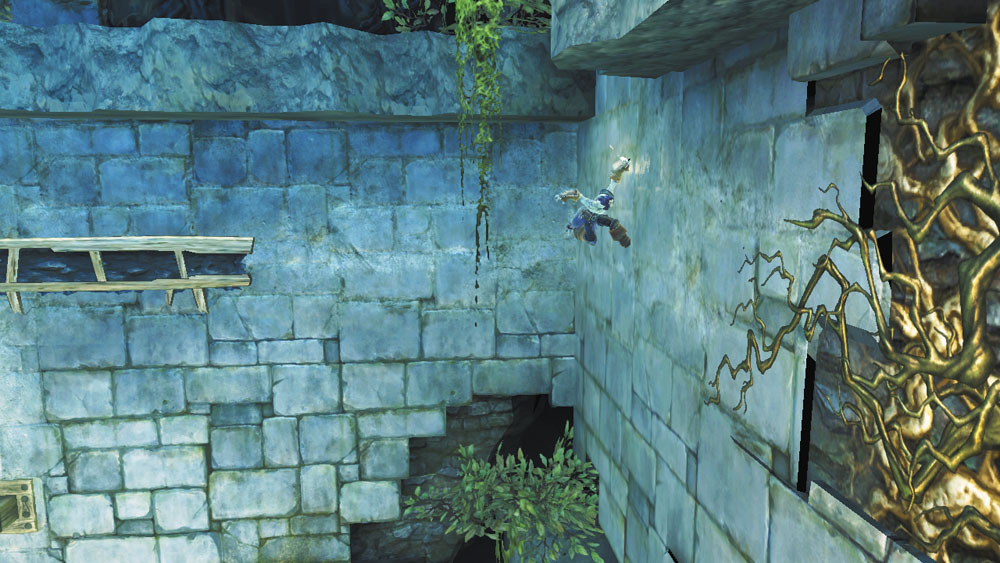
Drop back into the water and scale the wall again. This time, wall-run to the right to reach some climbable growth. Use this to reach the passage above and enter the next area.
Area 8: Savage Ambush
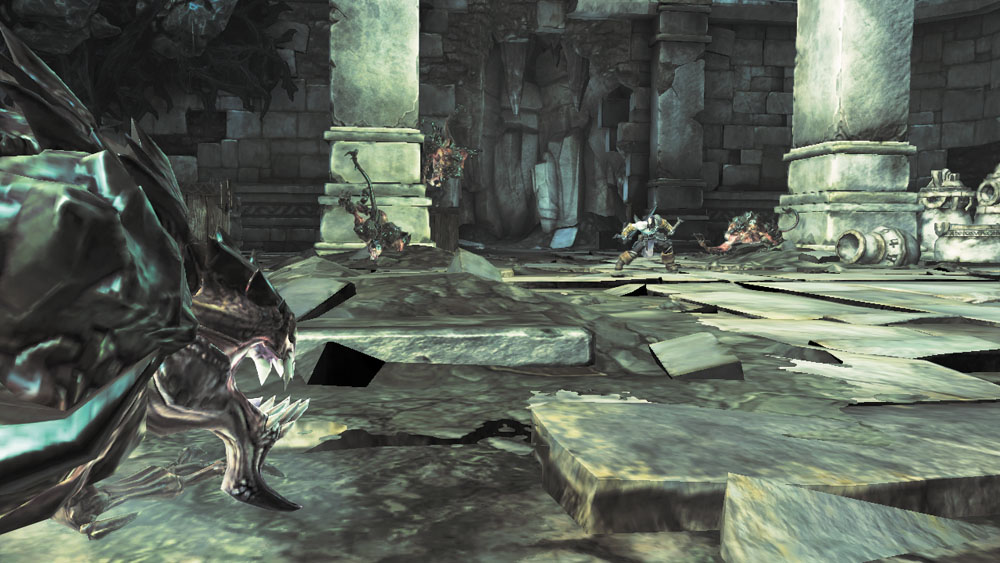
Beware: a swarm of Savage Prowlers fall upon you in this square room, and gates rise up to trap you inside. Try to weaken all of the Prowlers with anti-group attacks before killing too many, as a monstrous Savage Stalker joins the battle once several of the Prowlers go down. Use Death’s best abilities to simplify this challenging battle, and smash the surrounding debris in search of healing potions.
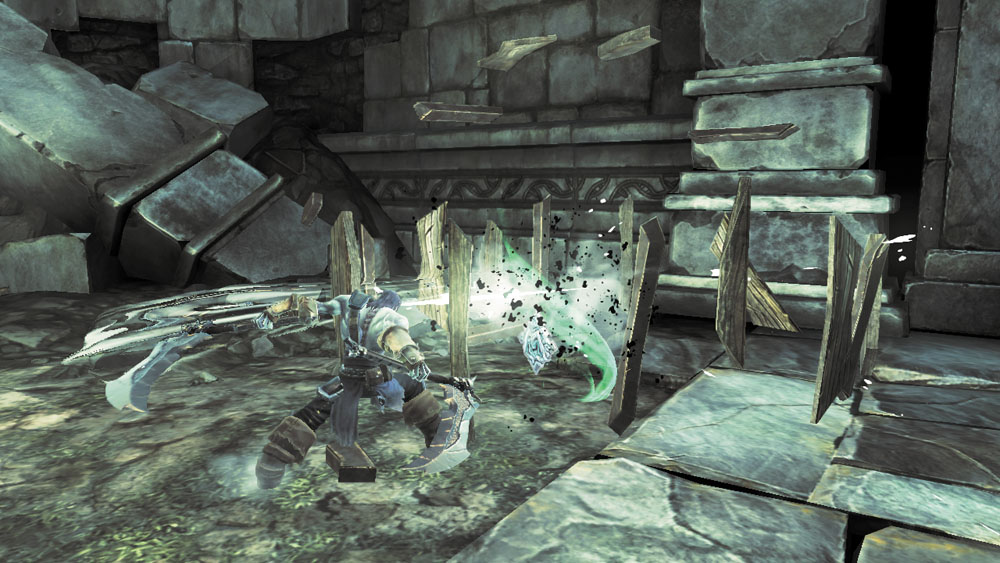
Things settle down after the Savage Stalker is slain. Collect the Boatman Coin from the room’s southwest corner if you haven’t already, and then destroy any lingering clutter before advancing through the west door.
|
|
Boatman Coin 23 |
Area 9: West Tear Duct
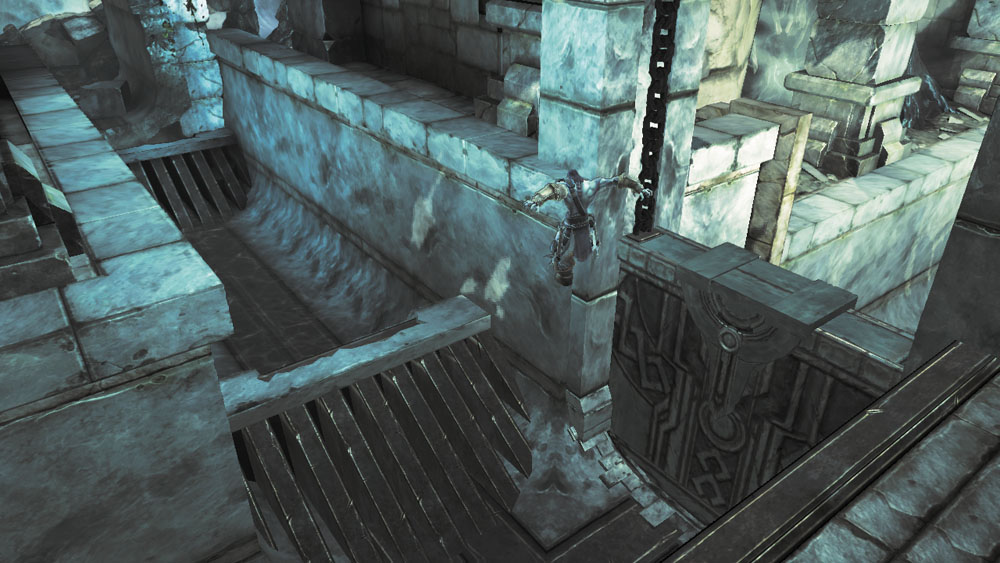
Dispatch a Savage Prowler as you enter this area, and take note of the locked door to the west. Drop down into the barren water channel and head north to reach the area’s northern half where the stone water channel has collapsed.
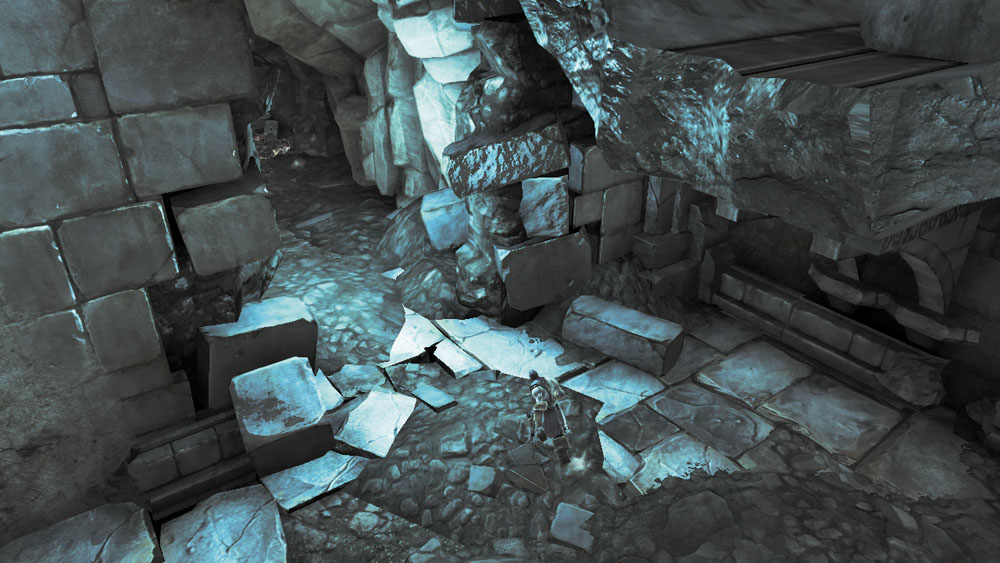
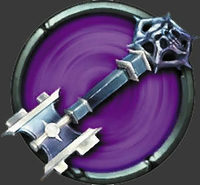
Drop down to the ground and run through the hole in the west wall to reach the area’s northwest section, where a number of Savage Prowlers lurk. Slay them all to secure the area and open the ornate chest unhindered. Inside, you discover a Skeleton Key.
|
Skeleton Key |
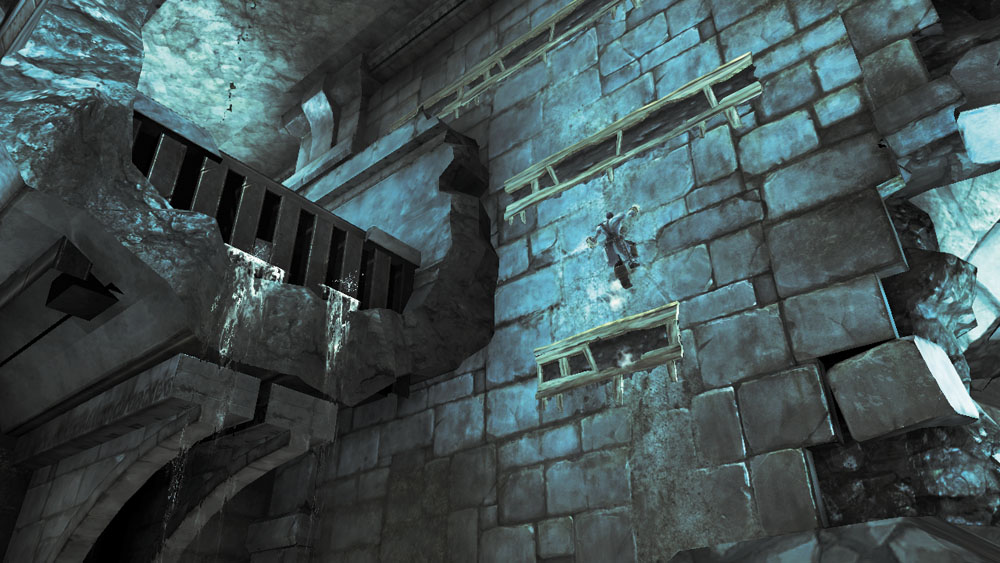
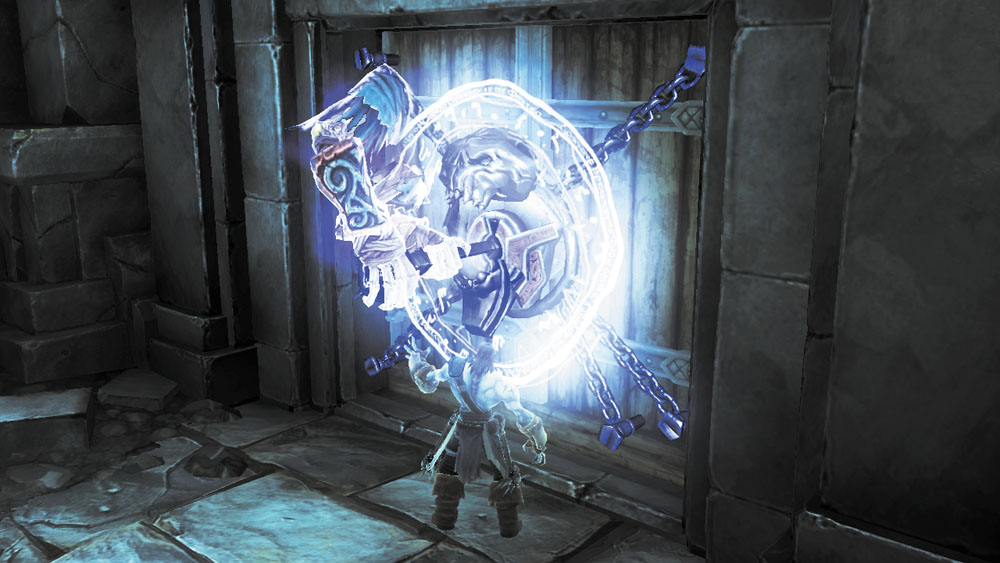
You can’t reach the high hand holds above the chest at present, so backtrack to the broken channel and use the west wall’s hand holds to return to the West Tear Duct’s southern half. Use your newfound Skeleton Key to open the locked door and proceed to the next area.
Area 10: West Reservoir
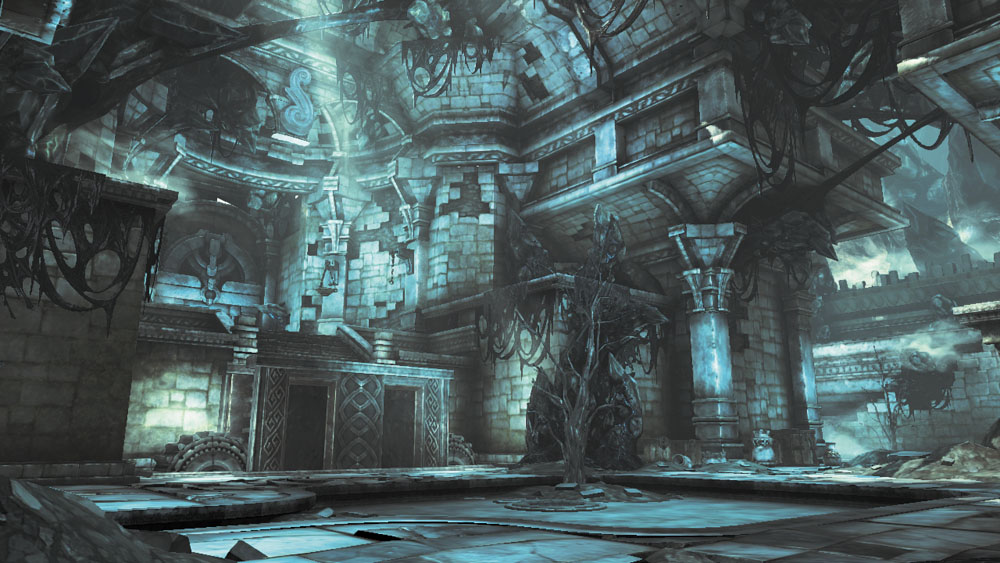
Shoot down some Stingers in the corridor that leads to this sizable area. An orb must be manipulated to reach the area’s western half.
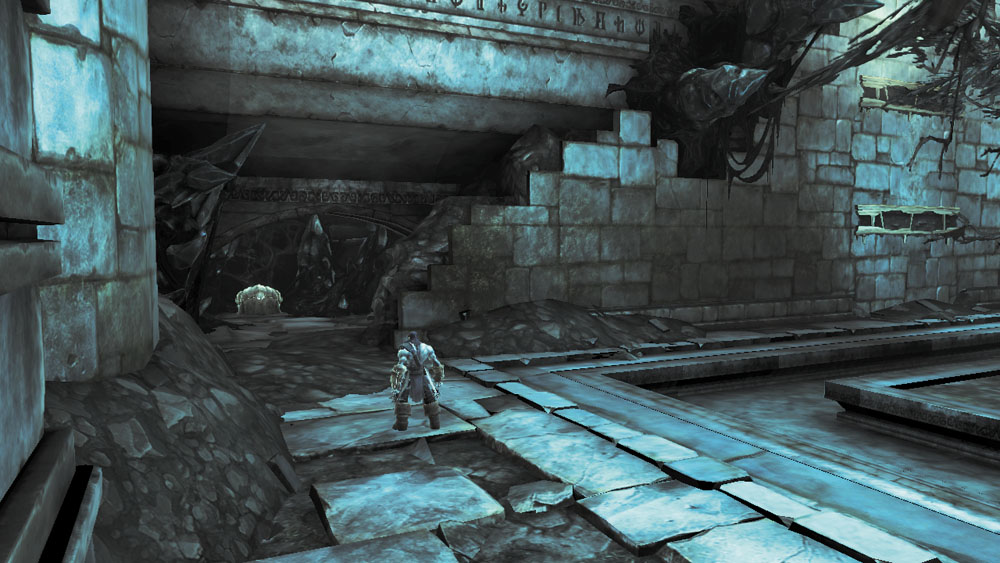
Before messing with the orb, run north and open the chest in the northwest nook. Easy money!
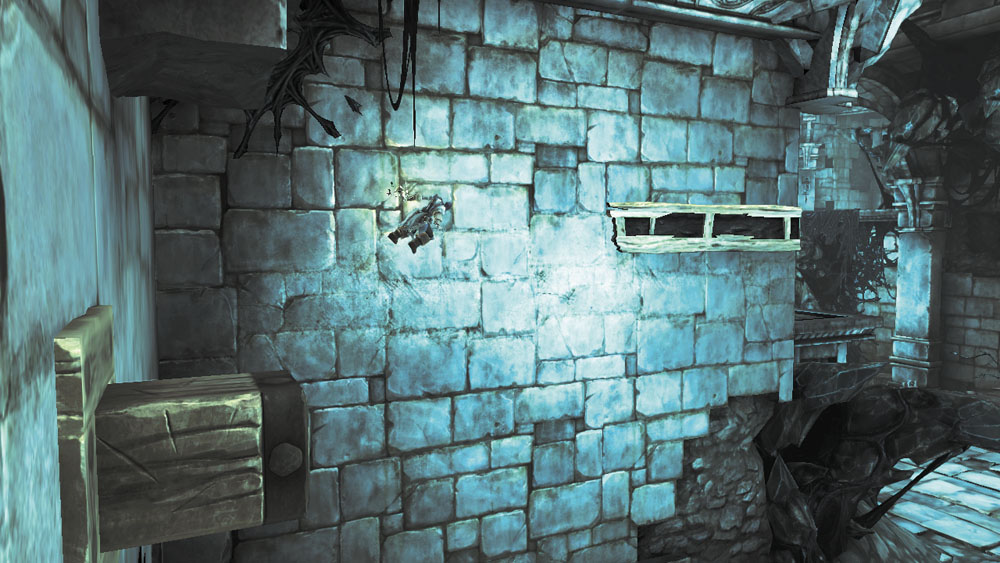
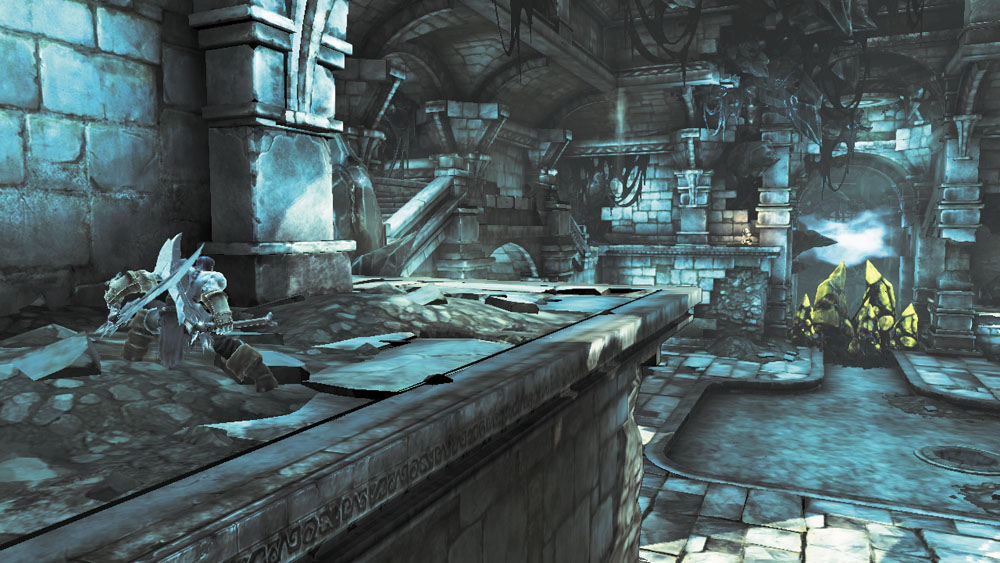
Next, scale the north wall’s hand holds, and then begin a long wall-run around the room, vaulting from pegs and jumping at corners until you eventually land atop the inside wall near the room’s entry. Here, you discover a chest that sits near a patch of oozing black Corruption. Drop down from the wall after claiming your treasure.
Orb Action
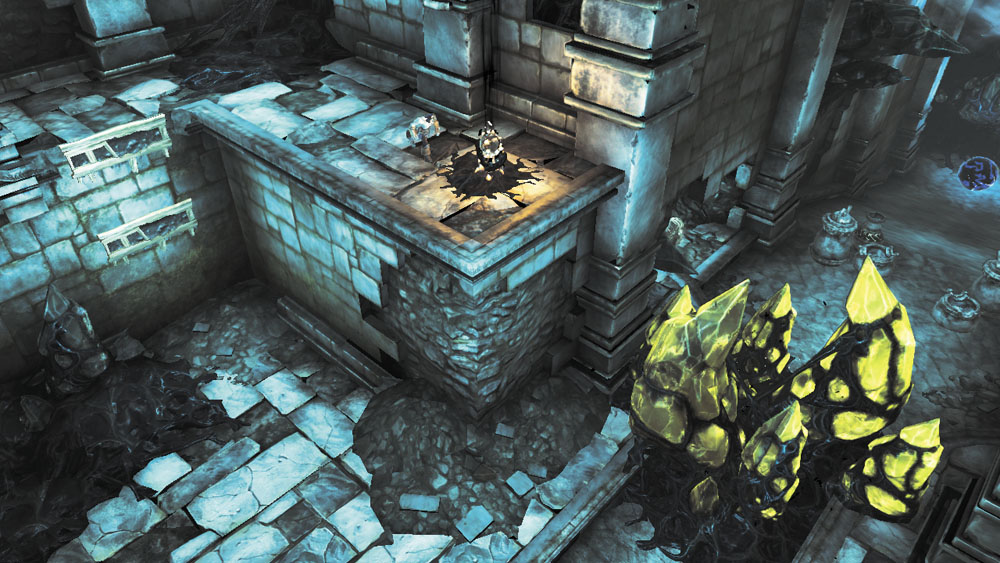
Scale the south hand holds to reach a Shadowbomb pod above the entry. Use a bomb to destroy the nearby Corruption crystals.
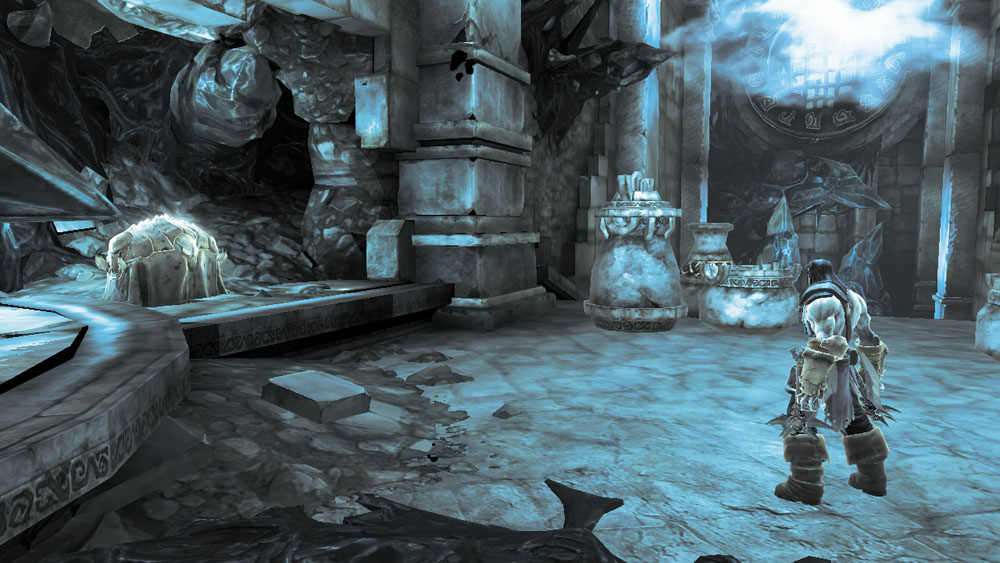
Drop to the ground and search the nook beyond the crystals to discover another chest.
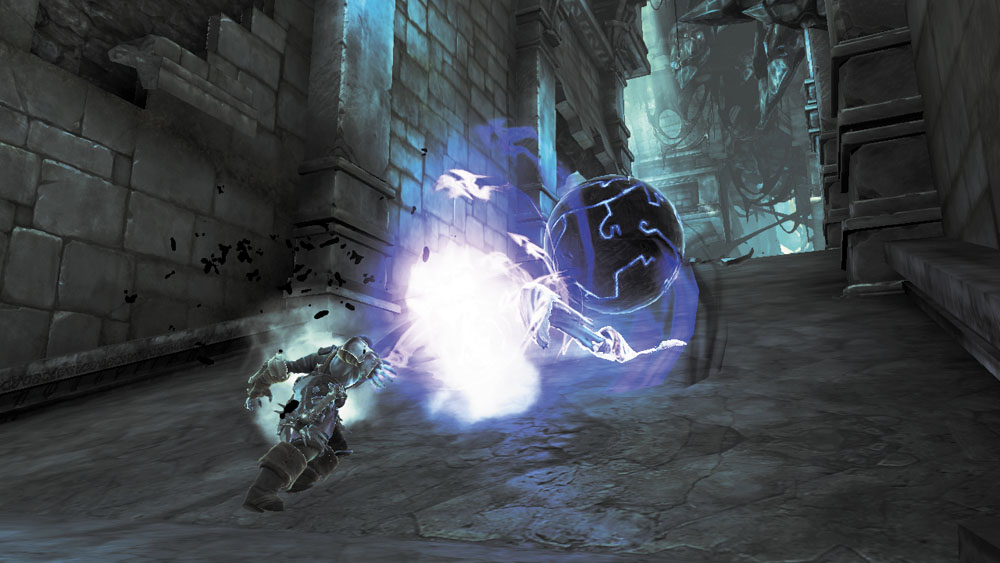
Run down the south slope and grab the blue orb. Start rolling it up the slope, and then press the Special Item trigger to shove it with extra velocity.
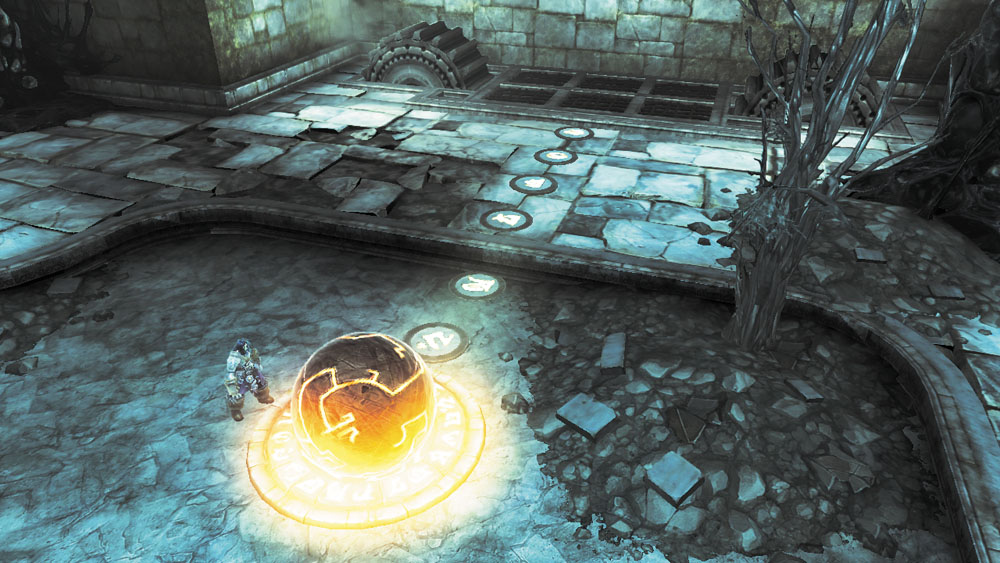
Roll the orb over the slot to lower the nearby west platform.
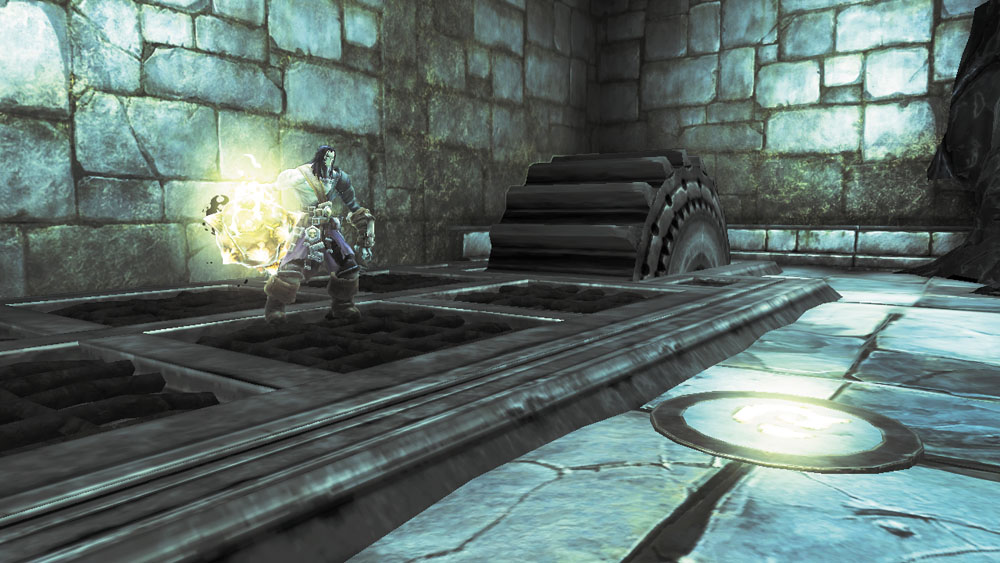
Collect another Shadowbomb from the pod above the entry, and then carry it over to the platform you’ve just lowered.
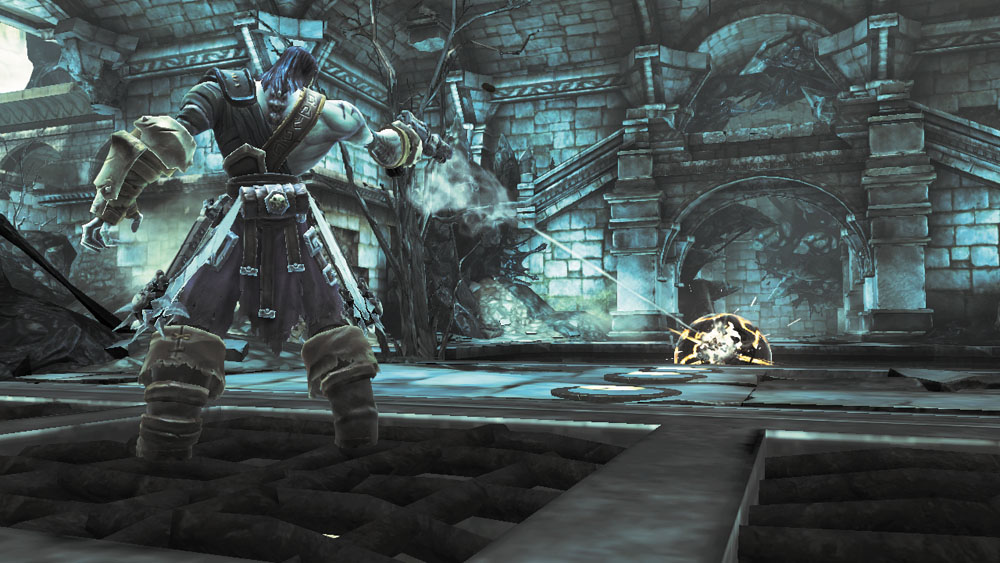
While standing on the lowered platform, toss the bomb onto the orb, and then shoot it. The platform rises, elevating you to the high west door.
Familiar Flow
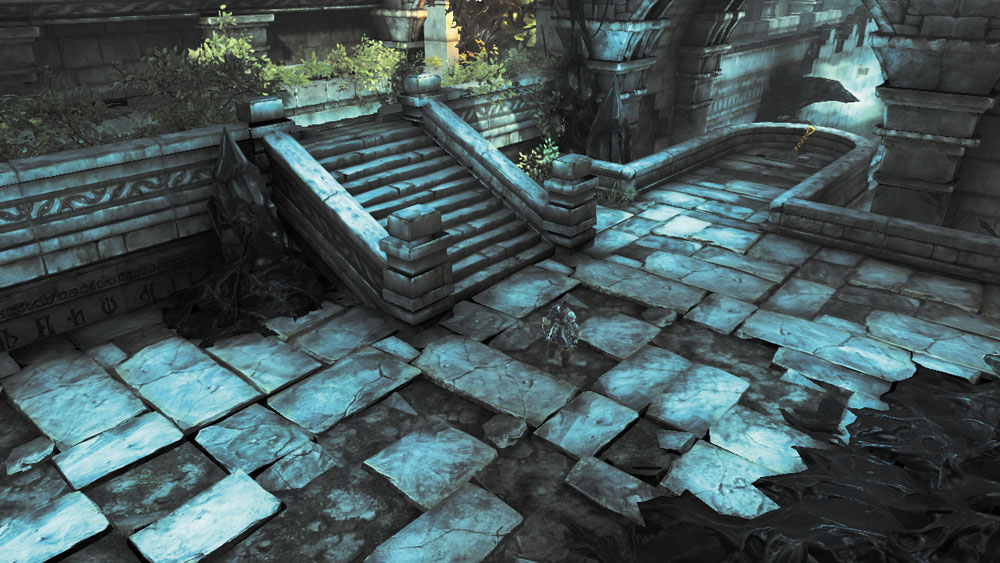
Go on the offensive and wipe out the Prowlers and Stinger hive in the hall beyond the west door. Proceed to a small room containing a lever that releases the water.
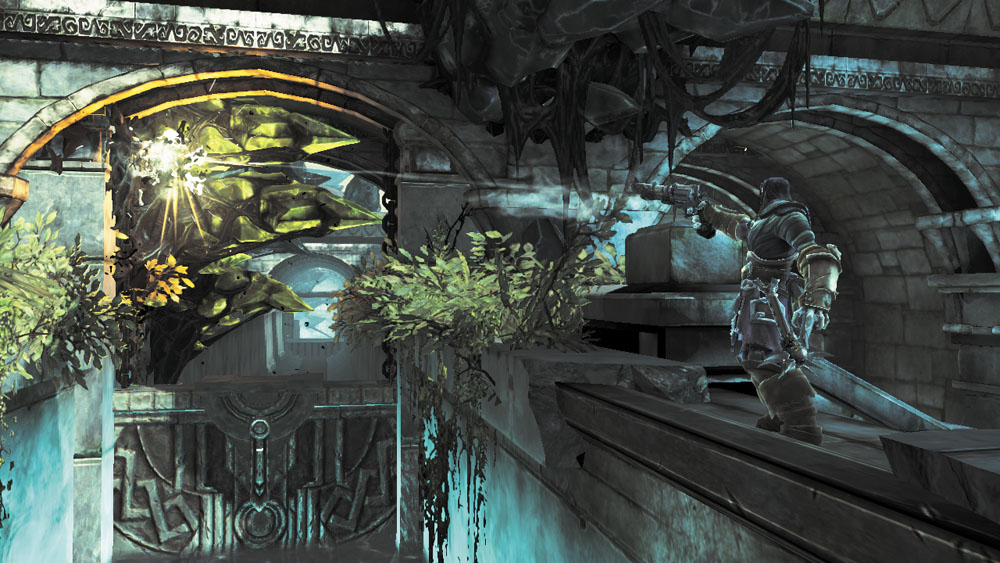
Pulling the lever does nothing; Corruption crystals are obstructing the dam mechanism. Take aim and blast the Shadowbomb pod that sticks out from the wall near the crystals, eliminating the obstacles. Now you can pull the lever to restore the flow of water through the Drenchfort’s west channel.
One Last Lever
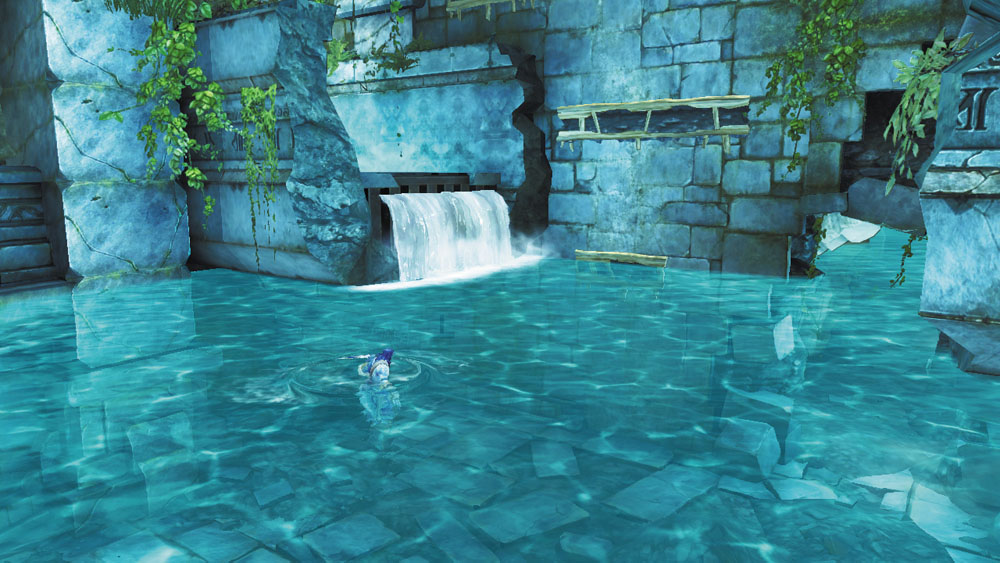
You’re nearly finished with your business here at the Drenchfort. Drop down into the water and swim east, and then head north to return to the West Tear Duct area’s northern half. Water now fills the area; swim across and investigate the broken portion of the aqueduct to discover a Book of the Dead page which was previously unreachable.
|
|
Book of the Dead 6 |
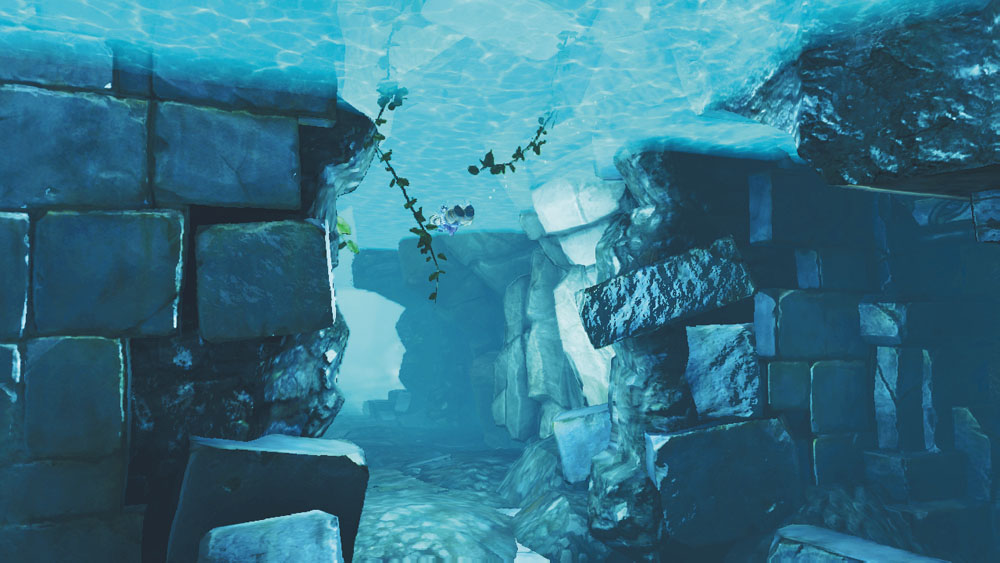
Dive underwater and swim through the now-submerged hole in the west wall to reach the area’s northwest section, where you previously discovered the Skeleton Key. The high water level now enables you to reach the hand holds here.
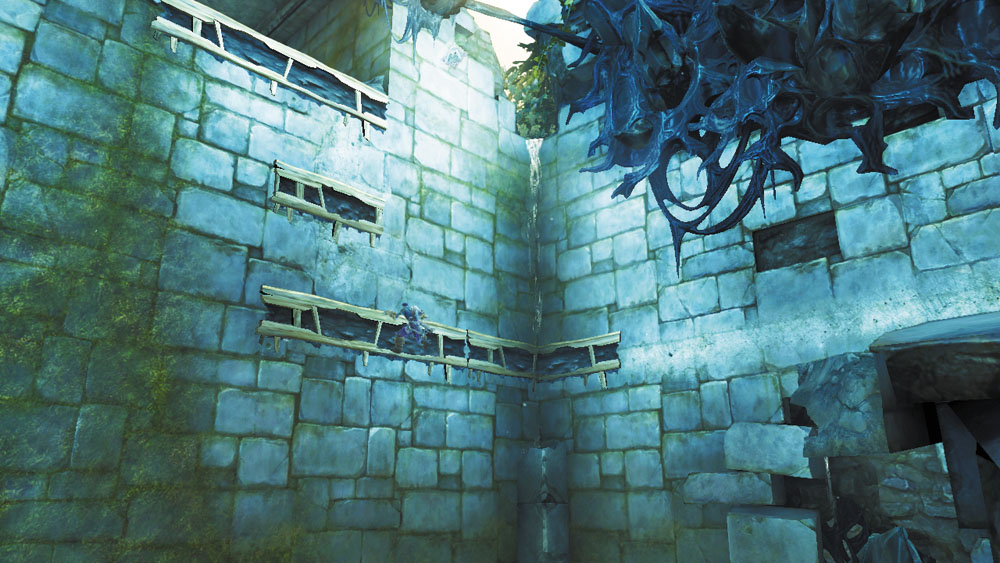
Work your way around the hand holds to reach a high passage with a lever. Pull this to raise the final gate and allow the last of water to rush into the Great Aqueduct.
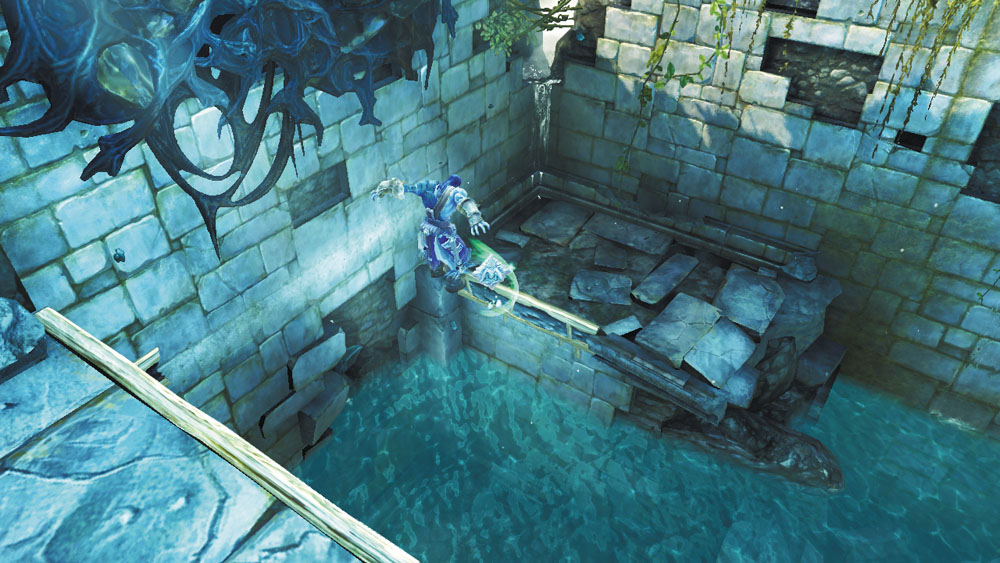
As you backtrack out of the lever passage, leap out to claim a floating Boatman Coin. The east door unbarred when you pulled the last lever, so you can now use it to return to the Great Aqueduct.
|
|
Boatman Coin 24 |
Area 11: Pool Room
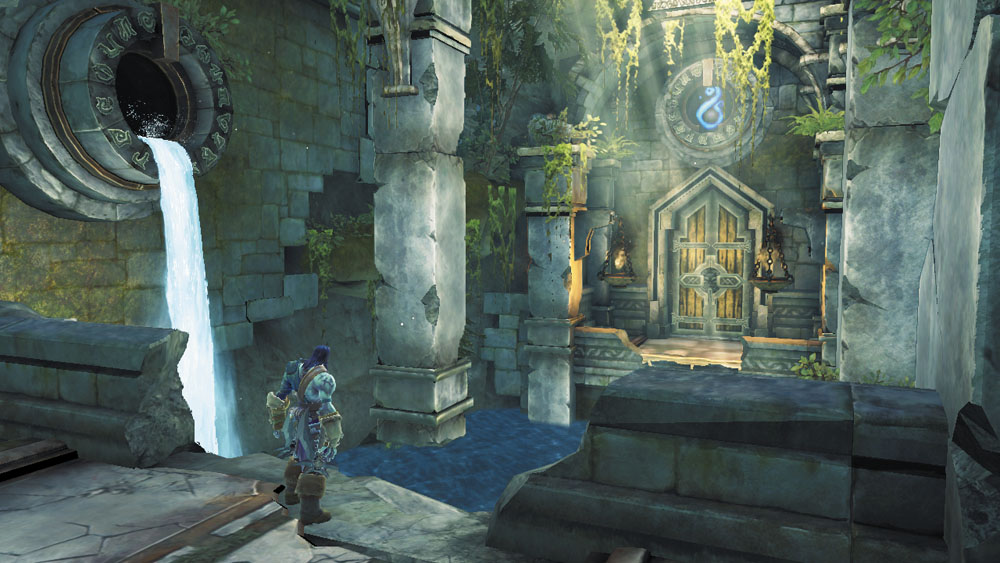
With the east and west Tears filling the Great Aqueduct, you’re now able to advance to the Drenchfort’s final area. Proceed through the Great Aqueduct’s south door to visit a chamber that you couldn’t have reached without fully restoring the Tears. Simply swim across the central pool and proceed through the south door to reach the final room.
Area 12: Earth Crag Den
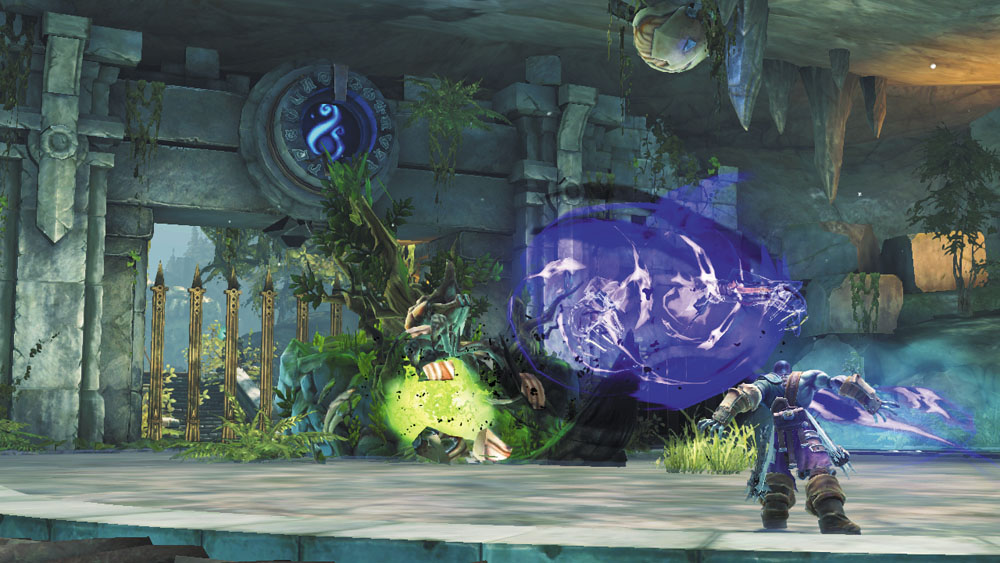
All is quiet in this chamber—but not for long. Ensure that Death is in good health, and then grab hold of the orb-like object in the room’s center. Press the Special Item trigger to shove the object at the room’s peculiar stone mound.