
Darksiders II Guide Walkthrough The Rod of Arafel
Earth
Death has fought his way to the Crystal Spire only to learn that the key he seeks isn’t kept there. Worse, Corruption has taken hold of Lostlight, and only a mysterious artifact called the Rod of Arafel can clear a path to the Ivory Citadel, where the Archon’s key is kept. With only one path leading forward, the Horseman travels to Earth by way of magic portal and begins his quest to locate the lost Rod...
Earth
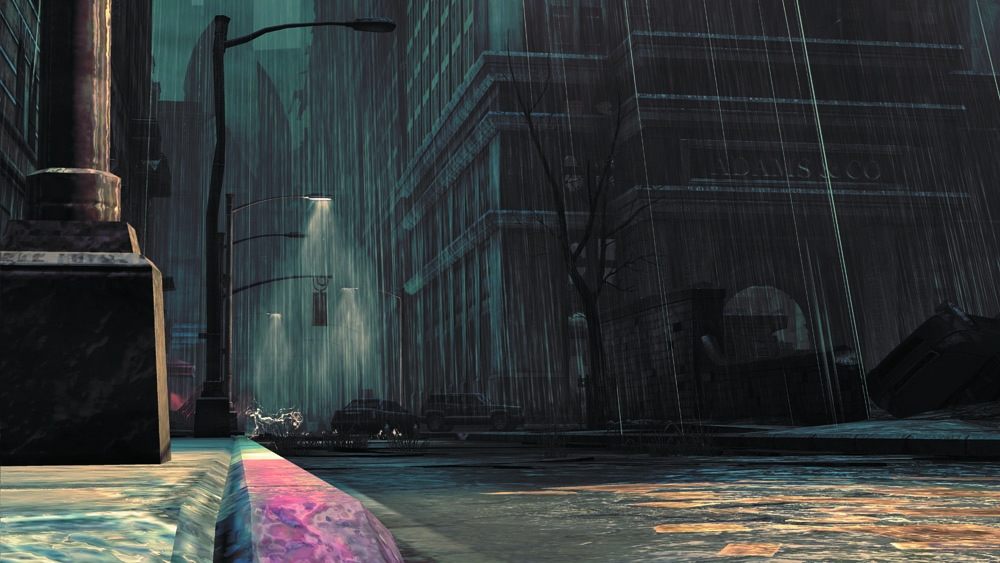
The advanced triggering of the apocalypse has left Earth in ruins. Angels and demons now wage war over possession of this fallen world.
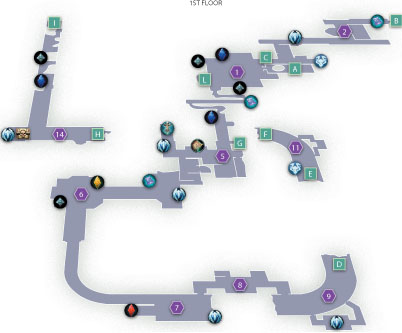
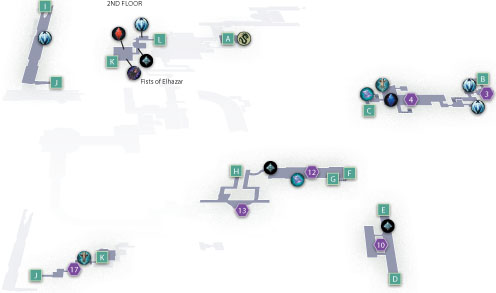
Area 1: Courtyard
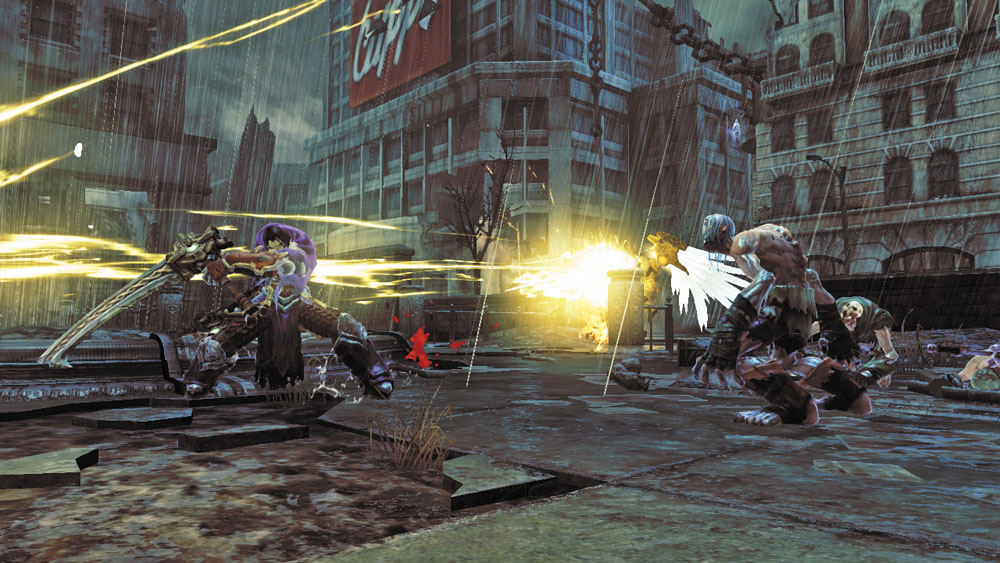
Death arrives on Earth just in time to help a Hellguard angel named Uriel battle a host of demons known as the Swarm. Hurry and collect the golden weapon in the southwest corner of the courtyard, which functions like a machine gun. The weapon is called Salvation. Simply press and hold the Special Item trigger to unleash rapid-fire lightning rounds against the Swarm.
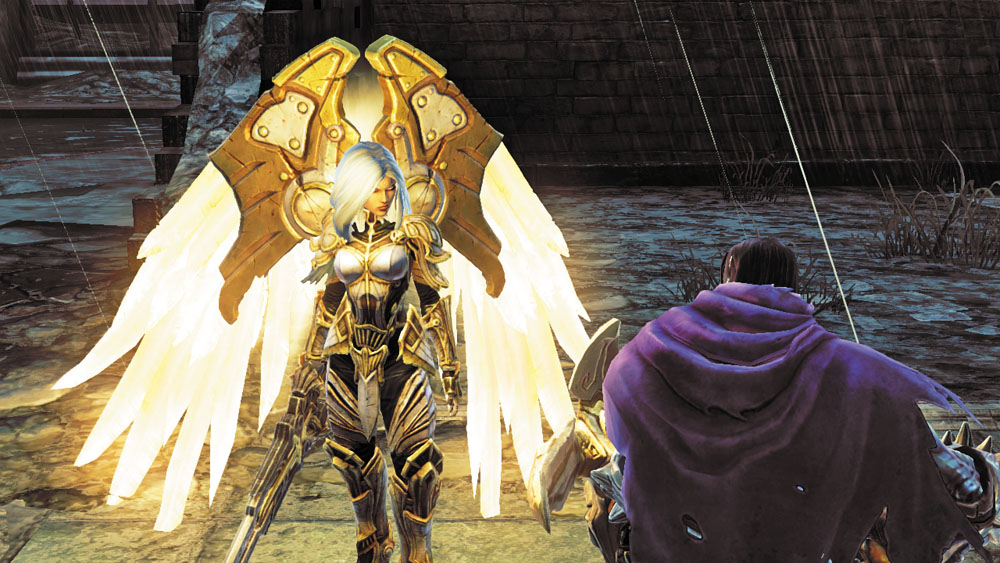
Uriel provides Death with information about the Rod of Arafel after the battle, revealing that it has been shattered into three pieces. Death must brave the city in order to locate all three and restore the Rod. Uriel also bestows a side quest on Death that involves slaying ten trapped angels around the city, thereby granting them peace.
Side Quest Acquired: “Light of the Fallen”
Courtyard Loot
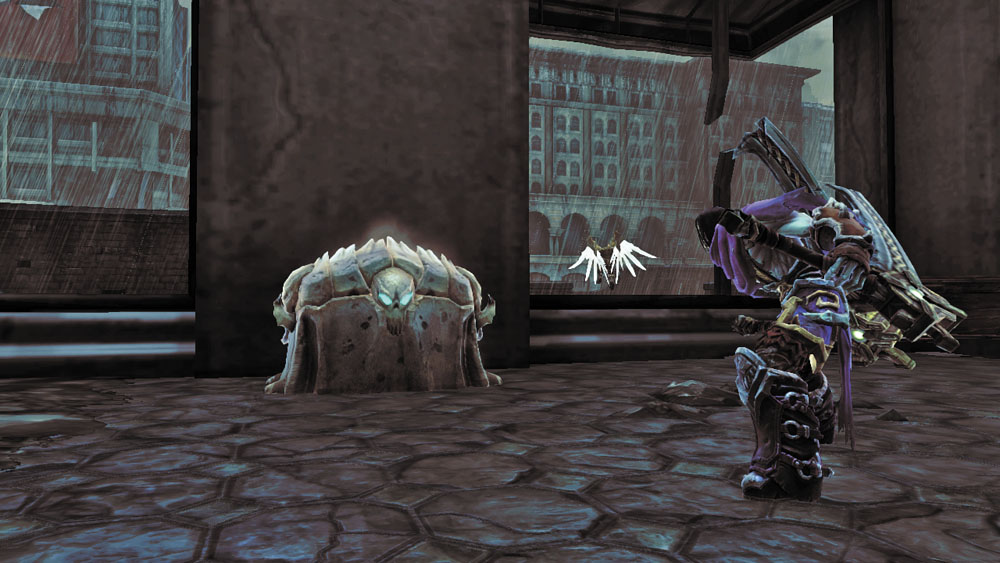
Make a thorough sweep of the Courtyard area after speaking with Uriel, raiding a chest to the north and another to the south. A third chest lies on the second floor of the east building; use the stairs near the portal to find it.
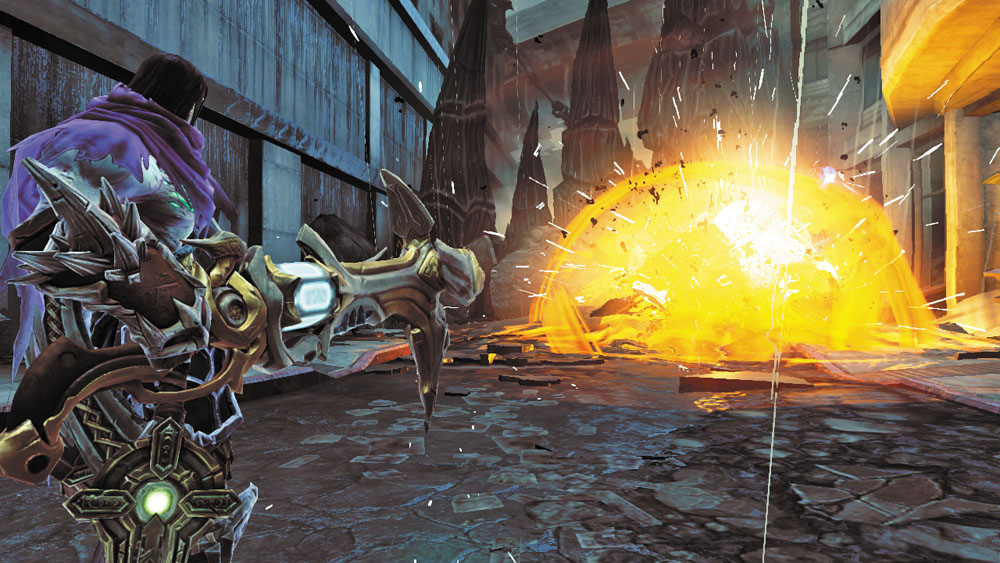
Blast a car in the northwest alley to expose a Boatman Coin.

|
Boatman Coin 77 |
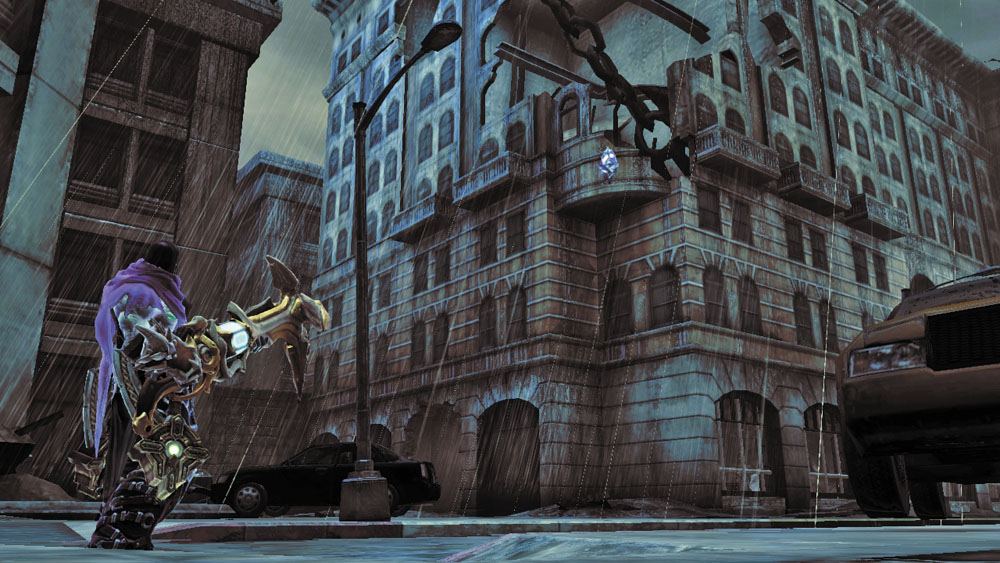
Look up after claiming the coin and notice the Stonebite on a nearby building. Shoot this with Salvation to draw in the stone.

|
Stone of Mystics 28 |
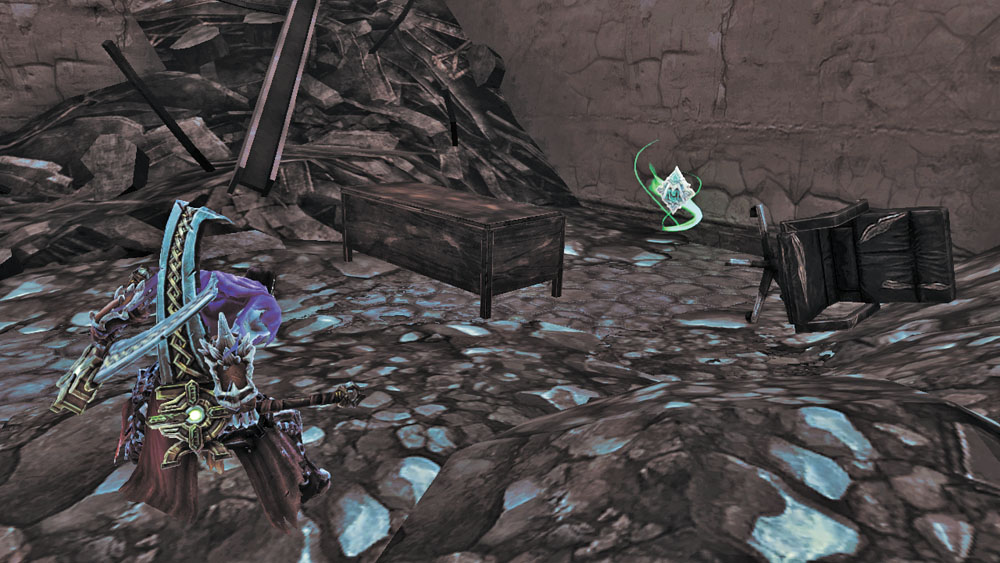
Another Boatman Coin is found in the southern building, not far from the south chest.
|
|
Boatman Coin 78 |
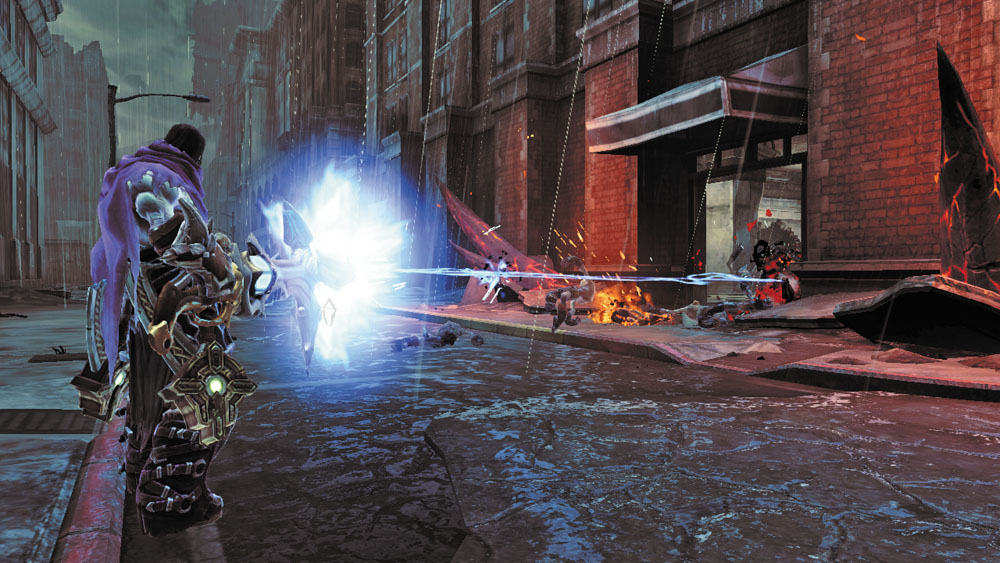
Beware of the Swarm as you venture northeast. Slay them all, and then drop into the northeast pit to find a Soul Arbiter's Scroll. Enter the nearby building afterward to proceed north to the next area.
|
Soul Arbiter's Scroll 7 |
Area 2: Northern Streets
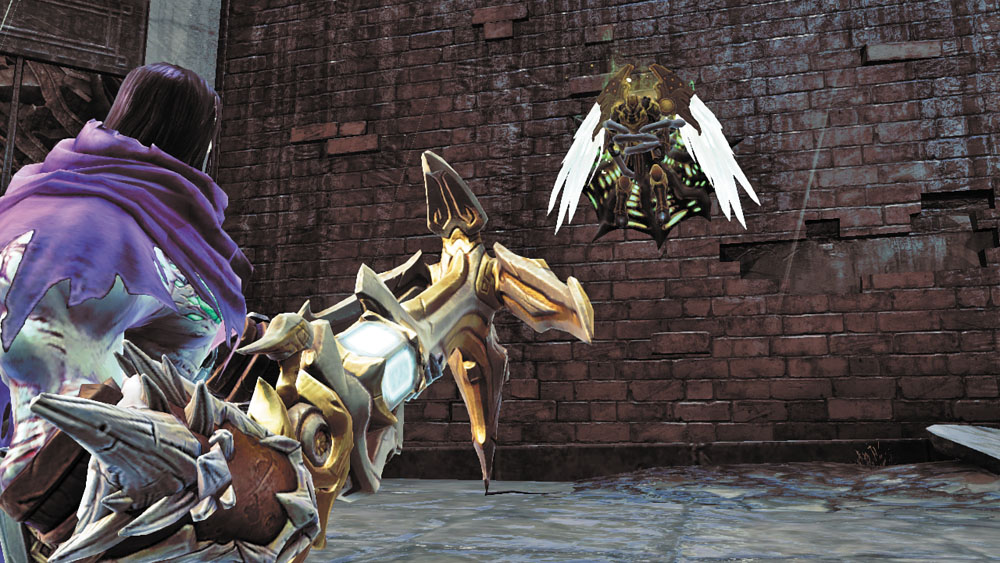
Cut down more Swarm in the northern streets, and shoot the angel trapped on the side of the building as you enter. You can’t save these tormented souls, but you can at least grant them the mercy of death.
|
Trapped Hellguard 1 |
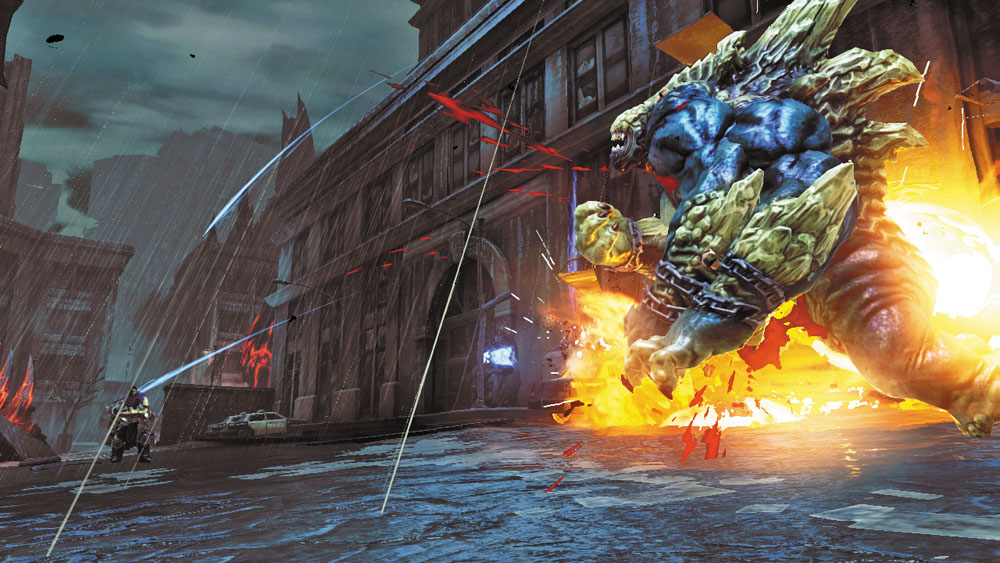
Beware: as you progress east down the street, a hulking beast known as a Suffering will storm forth. Back away and blast this overgrown demon with charged Salvation shots to keep it staggered until you can manage to kill it.
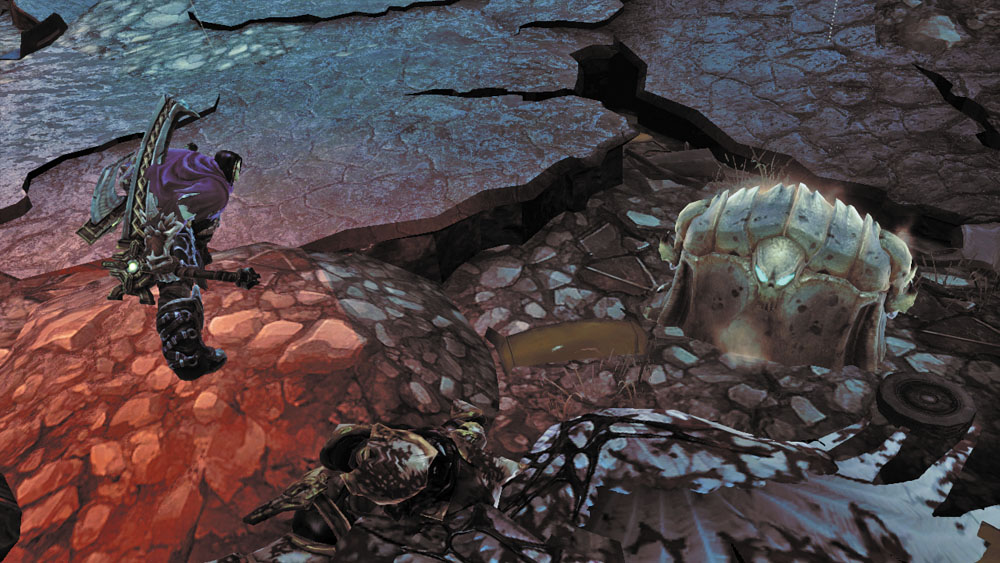
Proceed to the northeast passage after slaying the Suffering and crack open a chest along the way. Search around the nearby red Corruption crystals to discover a missing page of the Book of the Dead, and then enter the passage to reach the next area.
|
Book of the Dead 28 |
Area 3: Subway Entry
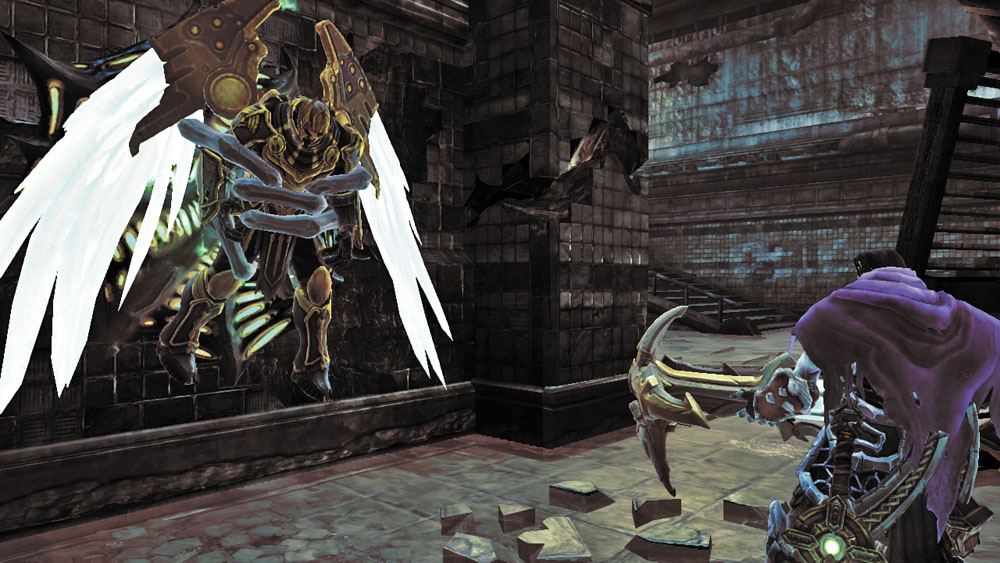
Descend the stairs beyond the northeast passage to enter a subway. When you reach the bottom of the stairs, check the west nook near a light to find another trapped angel.
|
|
Trapped Hellguard 2 |
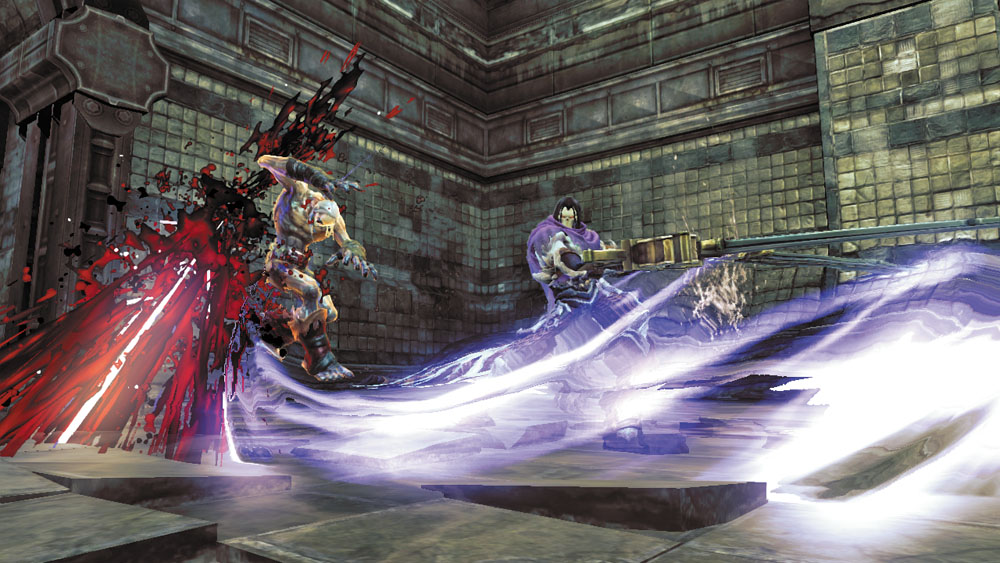
Cut through the Swarm as you advance down the next flight of stairs. Go east and find a trapped angel in a nook.
|
|
Trapped Hellguard 3 |
Area 4: Subway Station
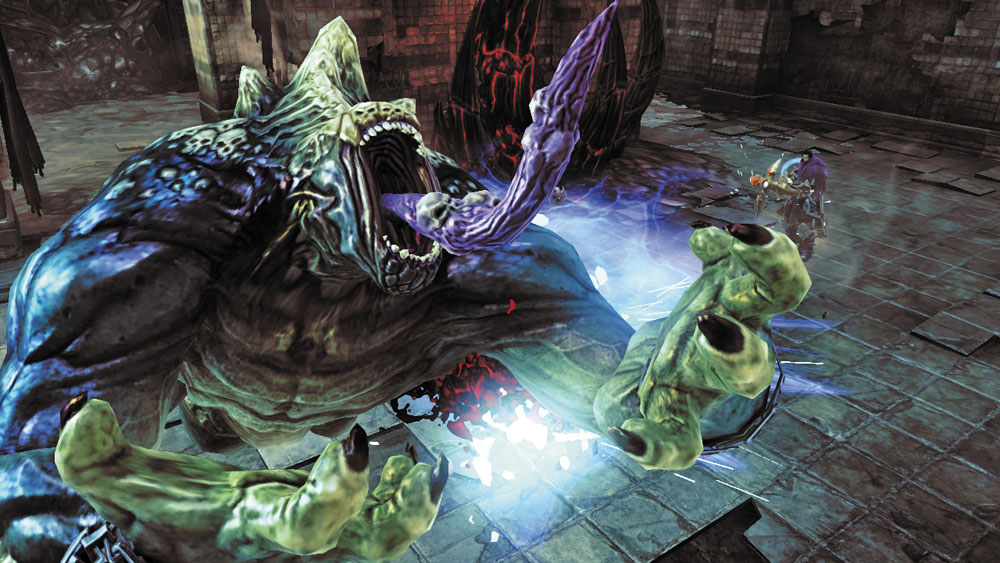
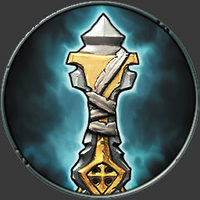
Dispatch another monstrous Suffering as you enter this spacious area. Fight your way westward and blast the strange demonic growth on the far west wall to obtain the Staff of Arafel.
|
Staff of Arafel |
Subway Secrets
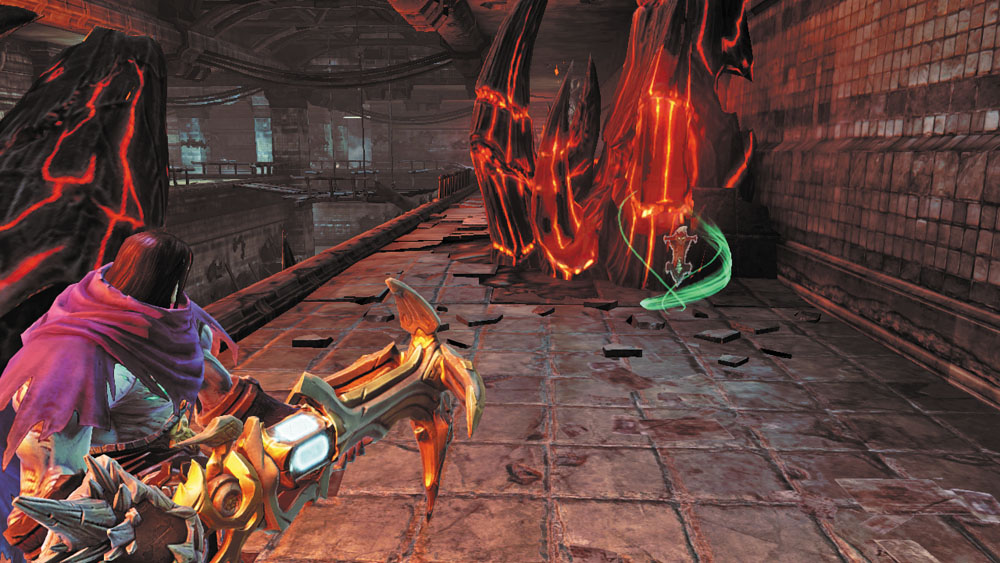
Before continuing westward, detour north from the demonic growth to discover a Relic hidden behind some red Corruption crystals.
|
Relic of Renagoth 7 |
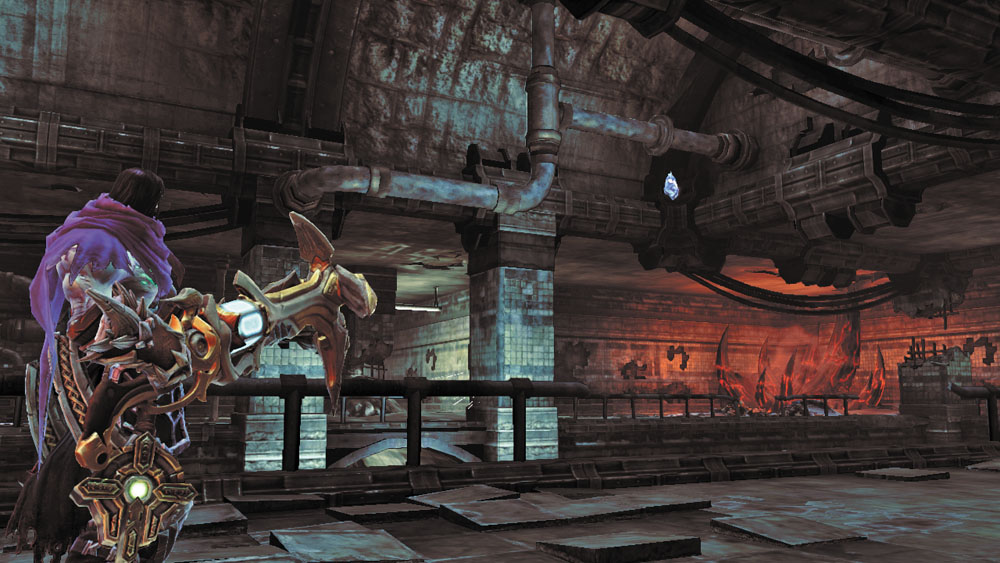
Backtrack to the east a bit and cross a bridge to reach the station's north side. Scan the ceiling over here for a Stonebite. Shoot the stone, and then enter the north room to loot a pair of chests.
|
|
Stone of Mystics 29 |
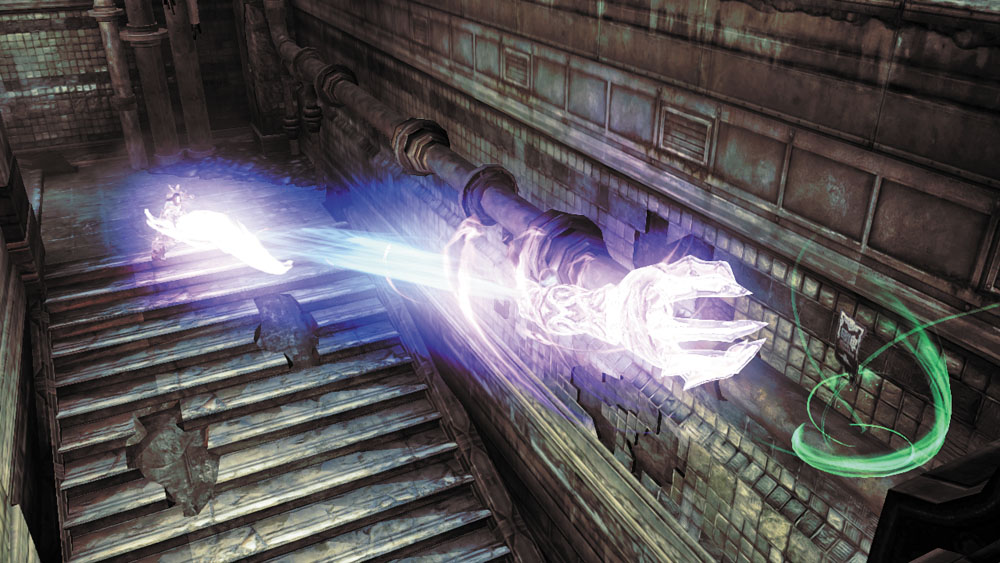
Proceed west, past the demonic growth, to find stairs that lead back out of the Courtyard area. Deathgrip the Book of the Dead page that sits on a high pipe as you ascend the stairwell.
|
|
Book of the Dead 29 |
Area 1, Revisited
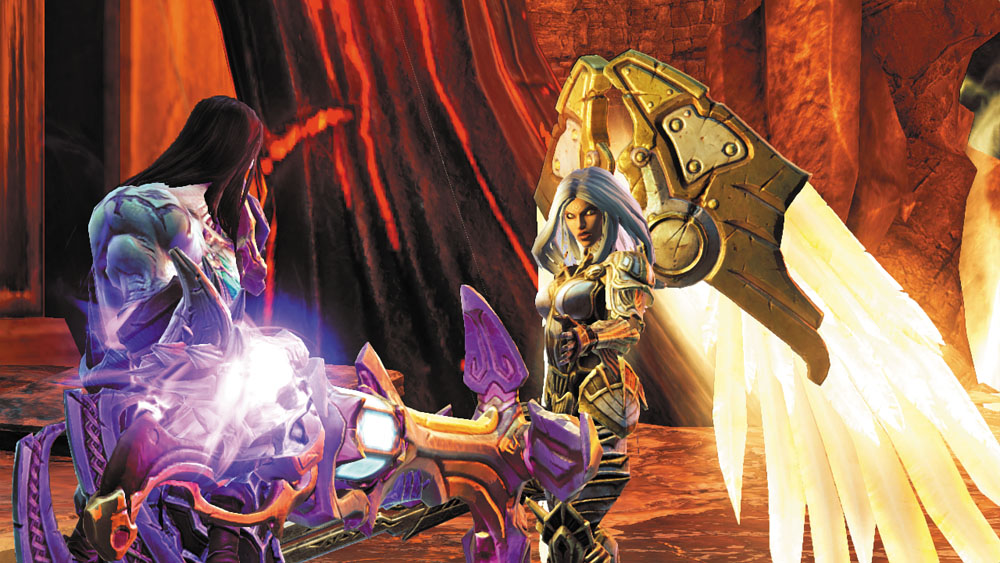
Take the subway’s west stairs to return to the Courtyard area. The Hellguard have taken position near the southwest passage. Speak with Uriel to advance your quest, and the angel will open the way forward. Proceed through a large tunnel to reach the city’s southern streets, collecting a Book of the Dead Page from the tunnel’s east end as you enter.
|
|
Book of the Dead 30 |
Area 5: Southern Streets
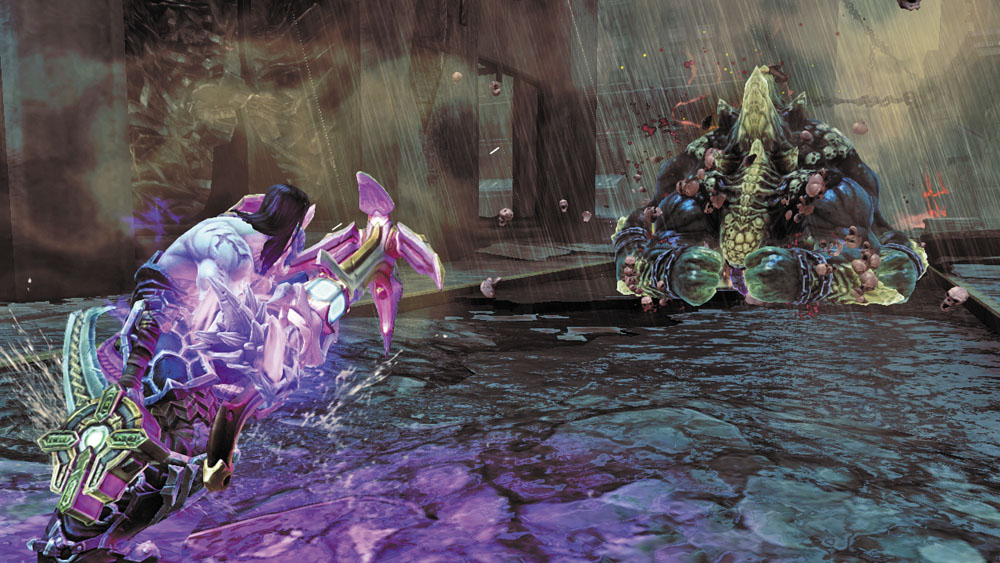
A new brand of weapon lies just outside of the tunnel. This one is similar to a rocket launcher, which makes it ideal for use against larger threats. However, its slow reload time isn’t well suited to handling the Swarm. Choose your weapon, and then advance and kill a host of demons, including another ferocious Suffering.
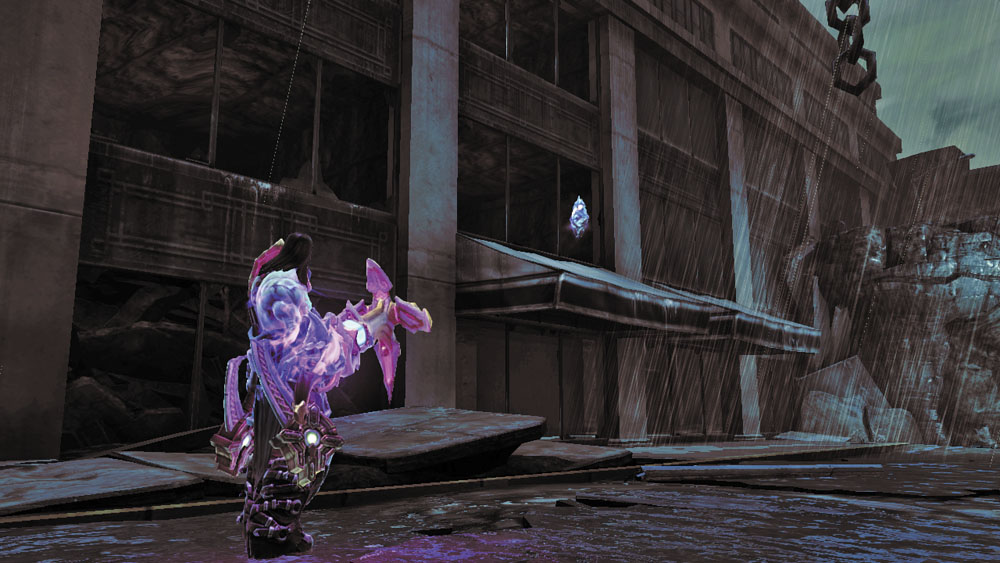
As you approach an overpass, turn and look for a Stonebite on the side of the nearby building. Continue south after shooting it, cross the overpass, and then enter a ruined building to raid the chest within.
|
|
Stone of Mystics 30 |
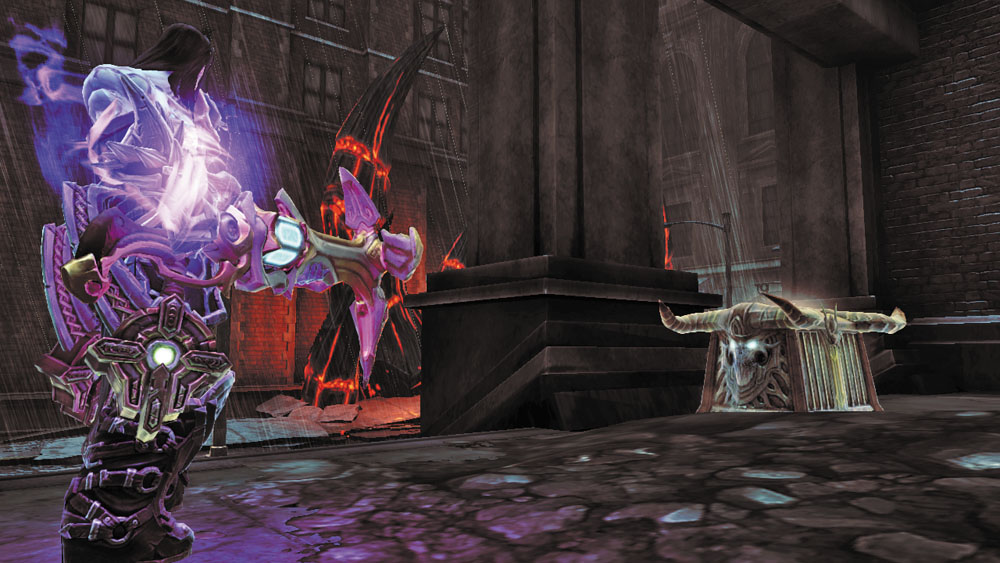
Take the west street and raid the ornate chest on the nearby stairs to score the Dungeon Map.
|
Dungeon Map |
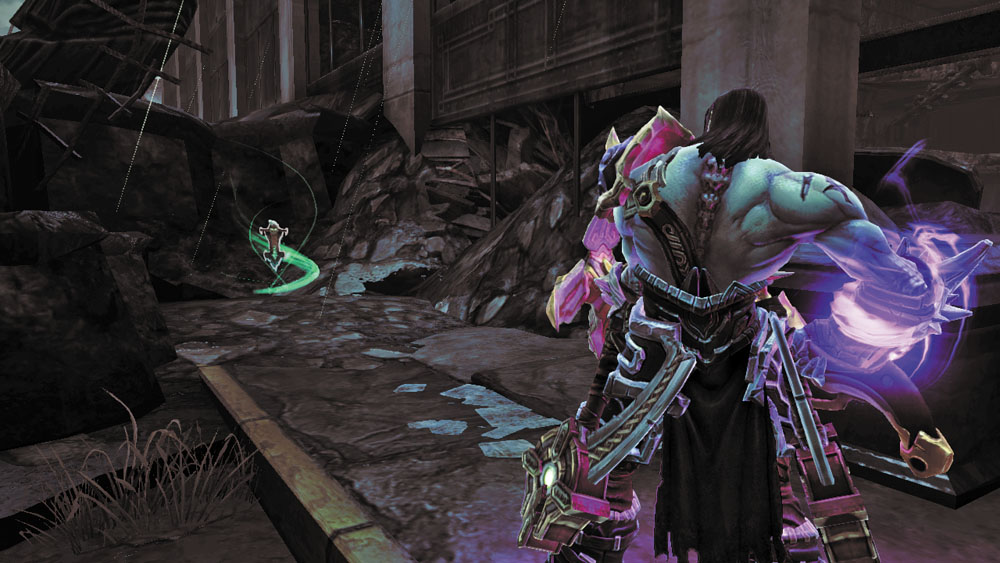
When you reach the street corner, sprint to the north dead end and collect a lost Relic that sits near a car. As you backtrack south, blast the trapped angel that’s stuck to the side of a nearby building.
|
|
Relic of Renagoth 8 |
|
|
Trapped Hellguard 4 |
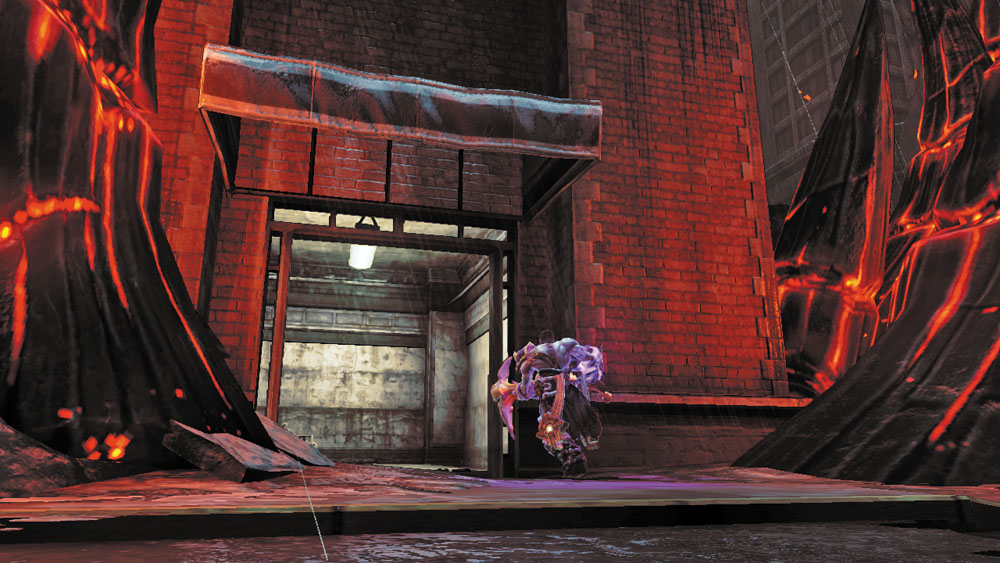
Head south and enter the south building. Blast more demonic foes as you make your way through the building and into the next area.
Area 6: Noss Ambush
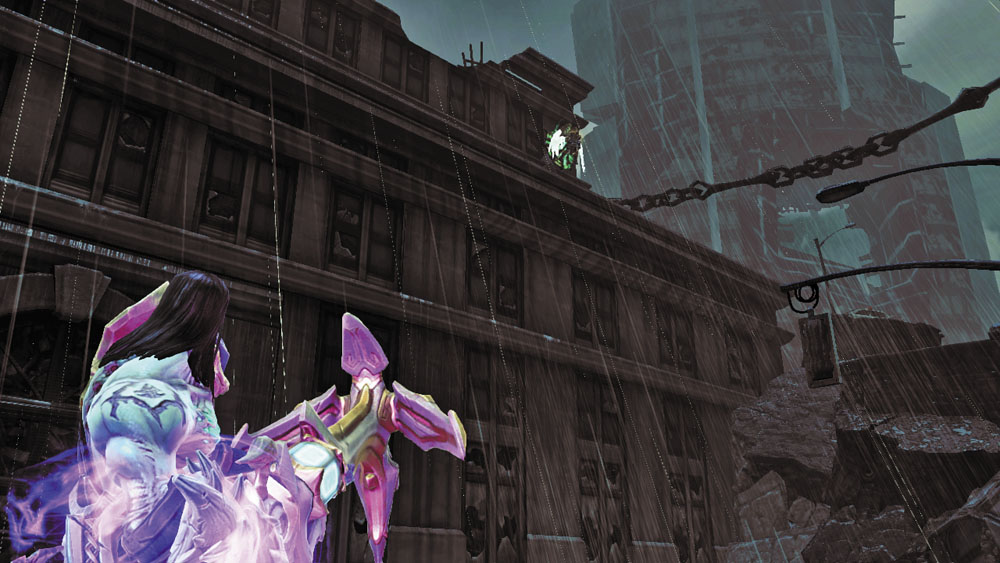
The streets widen beyond the building. Go west for a bit, then turn around and scan the tops of the east buildings to locate another trapped angel in need of Death’s mercy.
|
|
Trapped Hellguard 5 |
|
|
Book of the Dead 31 |