
Darksiders II Guide Walkthrough To Move a Mountain
The Lost Temple
The Lost Temple
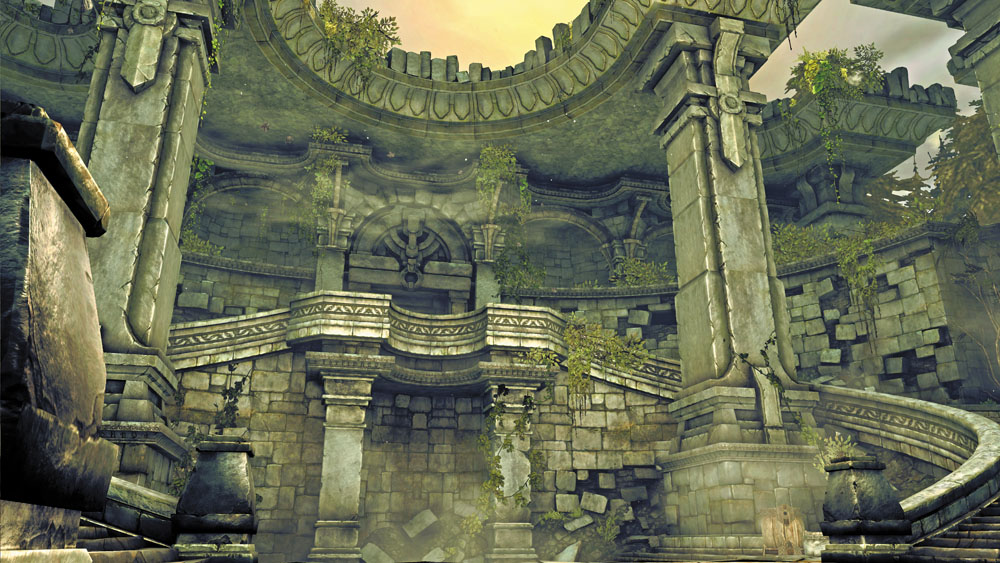
The purpose of this ancient temple’s construction is unknown, but one thing is certain: Death will face many trials as he explores this fallen place.
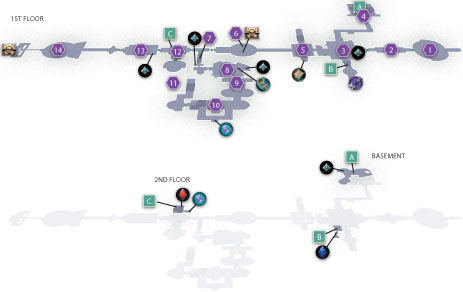
Area 1: Temple Entry
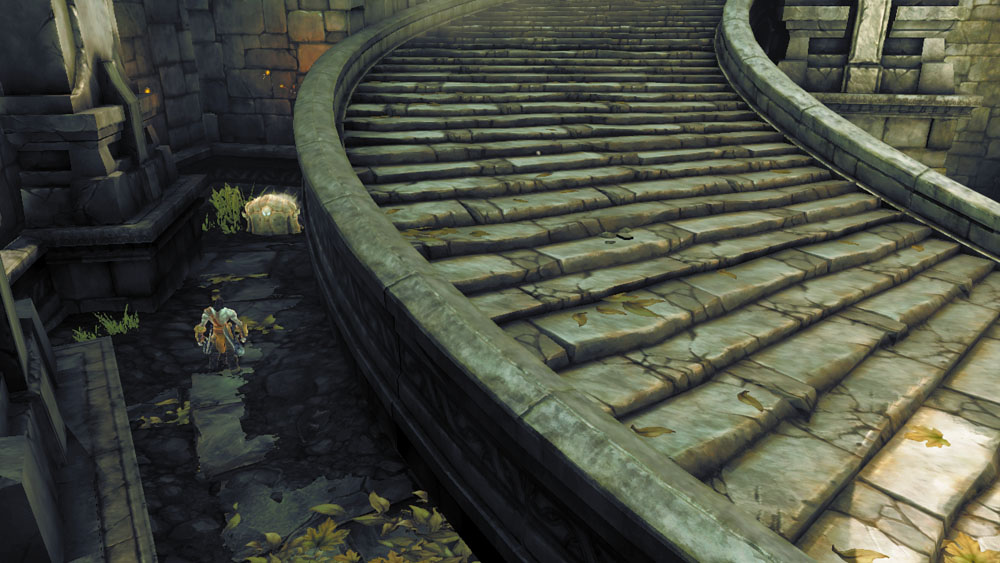
A pack of Prowlers ambush the Reaper in the temple’s very first chamber. Show them no mercy, and then search between the south stairs and wall to locate a chest that’s tucked away. After collecting your look, climb the stairs and proceed through the west door.
Area 2: Custodian Corridor
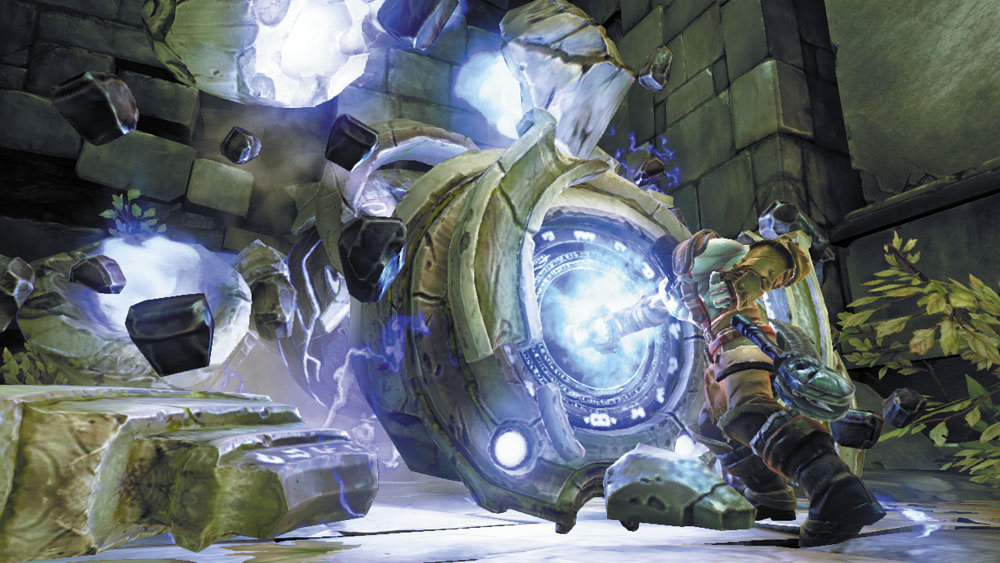
A Maker Custodian rests in the quiet hall beyond the entry stairs. Awaken the construct and ride it as close to the yellow Construction crystals before pressing the Attack button to smash the crystals to bits. It only takes a swing of the Custodian’s massive arm. Then, park the Custodian on the orb slot beyond the crystals to unbar the west door. Dismount here and venture onward alone.
Area 3: Great Hall
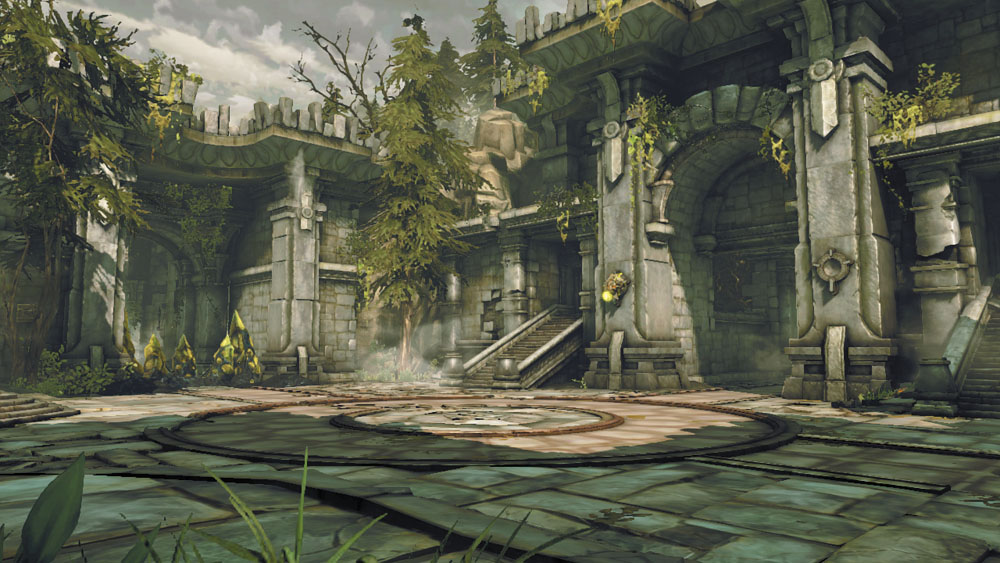
This wide courtyard features a locked door and a dangerous new enemy.
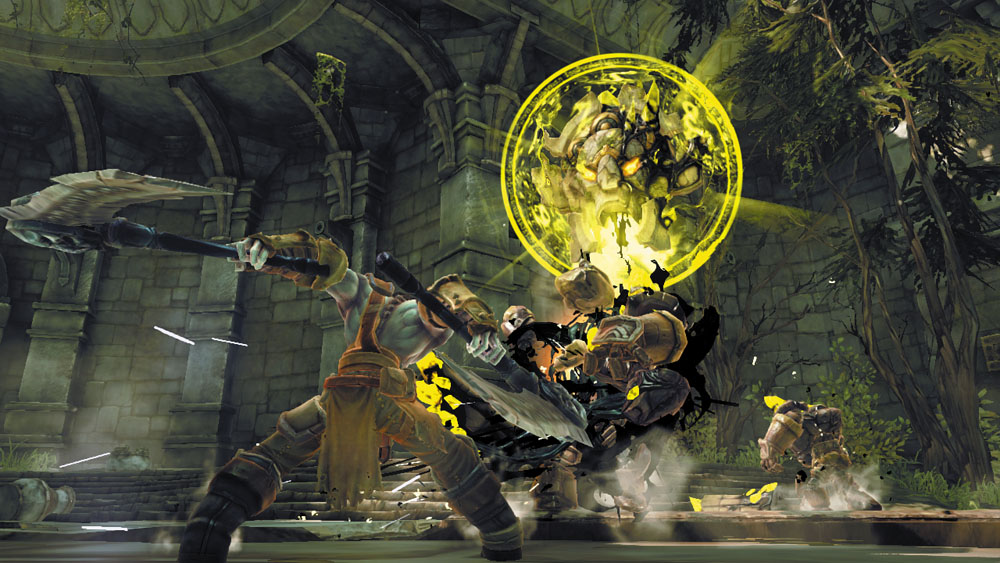
An ancient sentry known as a Construct Sentinel awakens as you explore this area. While the Sentinel does not attack Death directly, it has the power to revive fallen constructs. Two Tainted Construct Warriors also appear and attack—defeat them to entice the Sentinel into reviving them, then focus on the Sentinel and blast it with Redemption while its shield is down. The fight won’t end until you manage to destroy the Sentinel and finish off any lingering constructs.
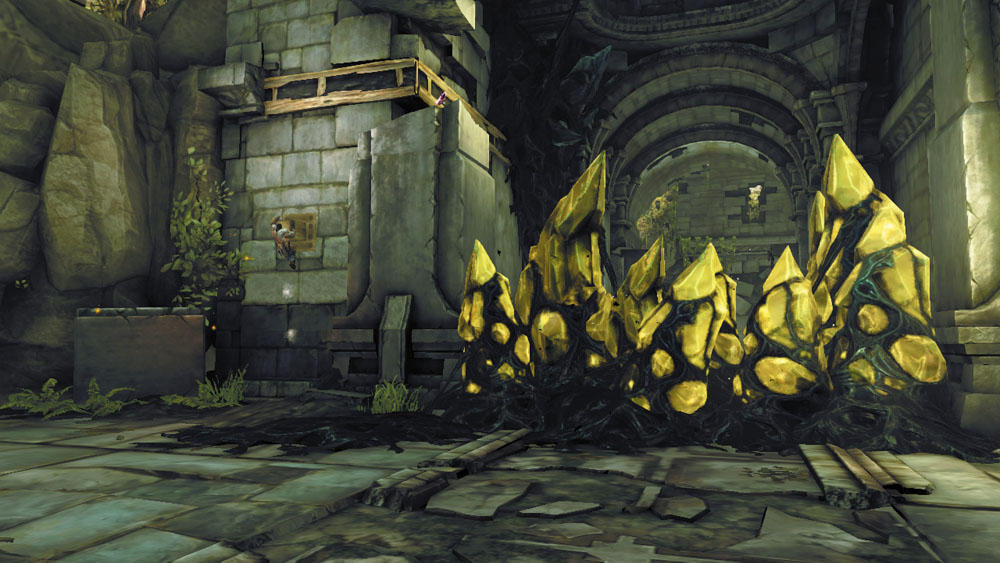
Dispatching the Sentinel advances Muria’s side quest. A section of wall also rotates after the battle, exposing a peg. Before vaulting up off of it, destroy the surrounding debris to discover valuable loot, including a Boatman Coin that’s hidden amongst the junk near the east door you entered through.

|
Boatman Coin 28 |
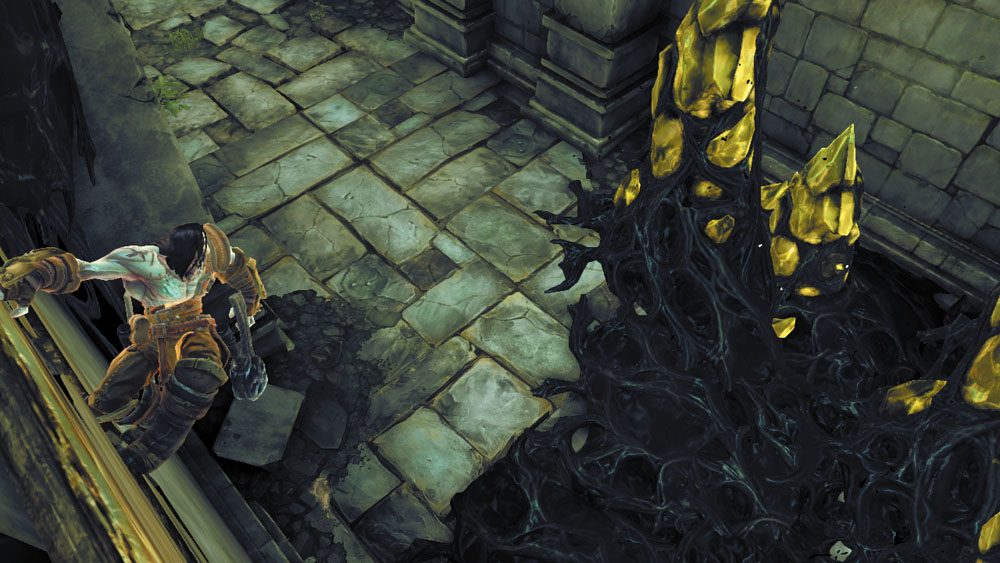
Vault up from the peg to reach a hand hold. Shimmy around the corner, and then drop from the end of the hand hold to land in the hall beyond the north Corruption crystals.
Area 4: Sunken Bridge
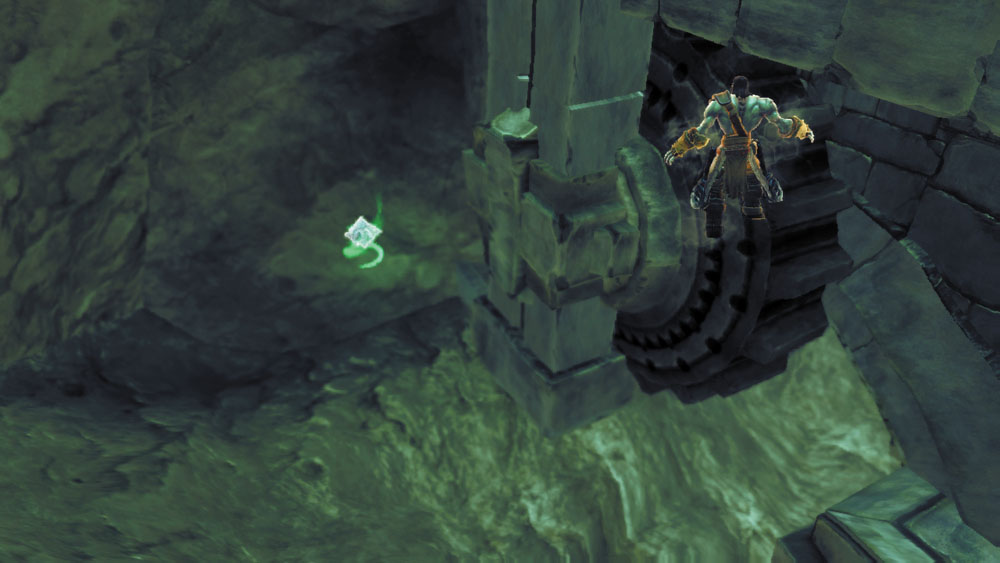
Sprint through a long corridor filled with Corruption crystals until you reach the north wing of the temple. Dive into the central pond and swim to the northwest corner to discover a Boatman Coin.
|
|
Boatman Coin 29 |
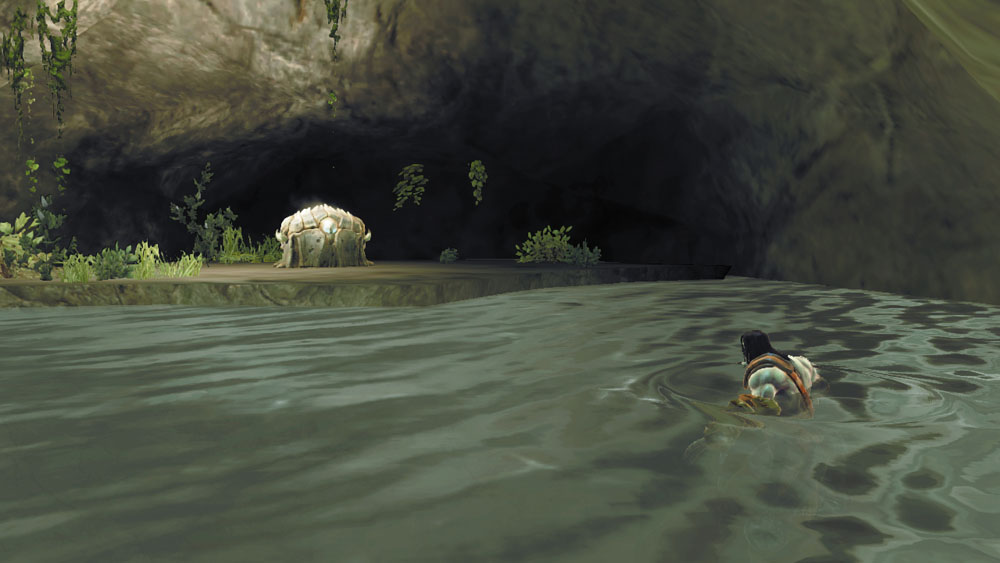
After claiming the Boatman Coin, swim south to discover an underwater tunnel that leads to a small cave with a chest. Surface and claim your loot before swimming back out.
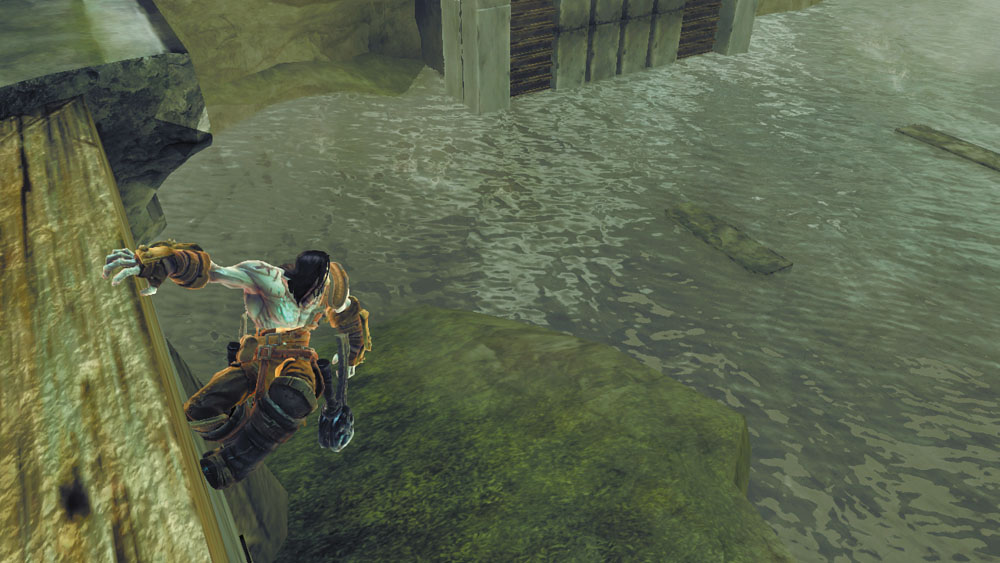
Scale the west slope to escape the lake, and then climb the west wall to reach a hand hold. Wall-run to the right, vaulting off a peg on your way to the area’s northern half, and face a Tainted Construct Warrior and Adjunct attack.
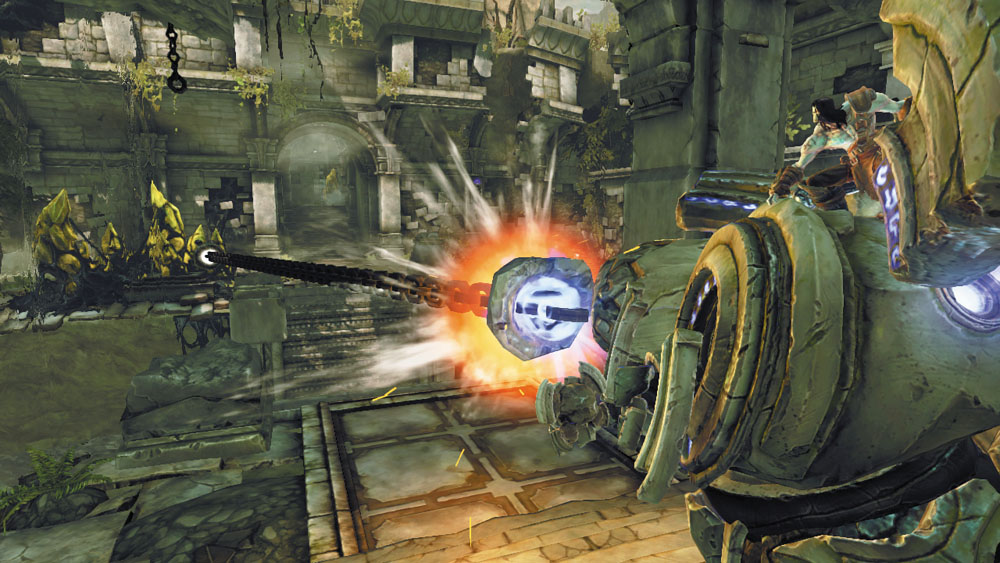
A Maker Custodian rests in a nearby alcove. Assume control of the brute, and then enter Aiming mode and fire its chain at the Corruption crystals in the distance. The crystals shatter, exposing a lever.
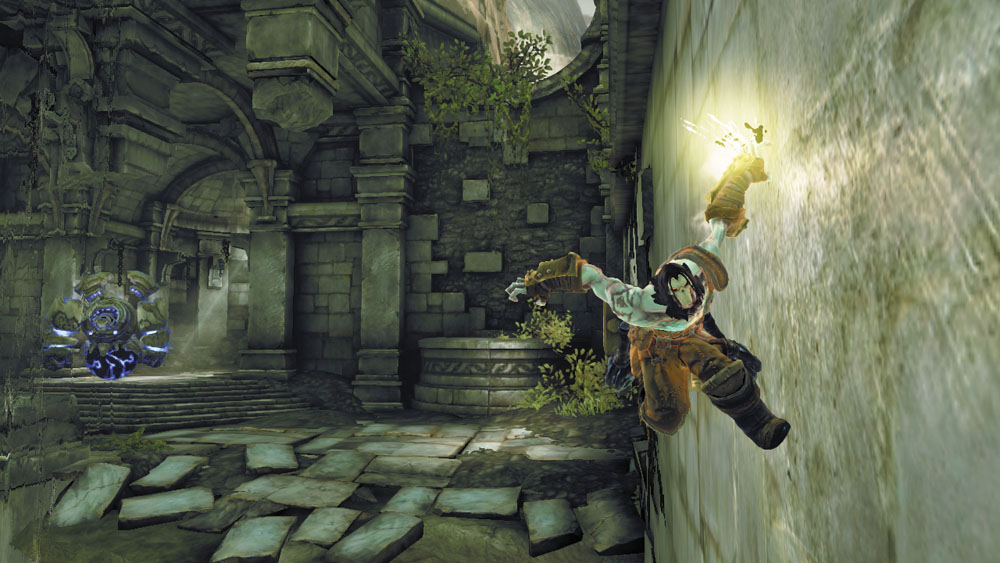
Dismount the Custodian and climb the growth on the west wall. Wall-run to the south, vaulting from a peg on your way to the lever. Pull the lever to raise a bridge up from the water.
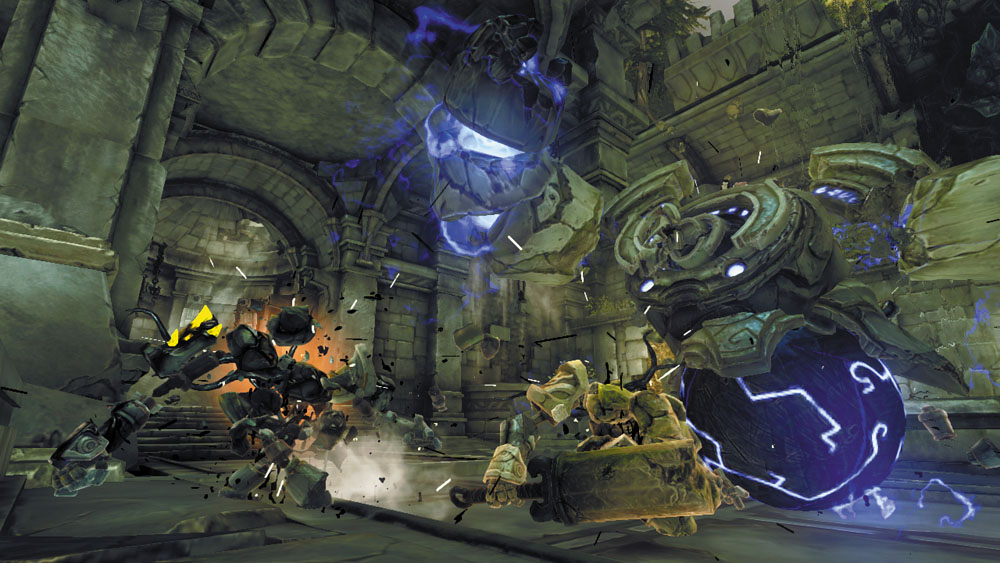
Return to the Custodian and climb aboard. Cross the bridge and use the Custodian’s devastating attacks to annihilate the army of Constructs that storm forth to thwart you.
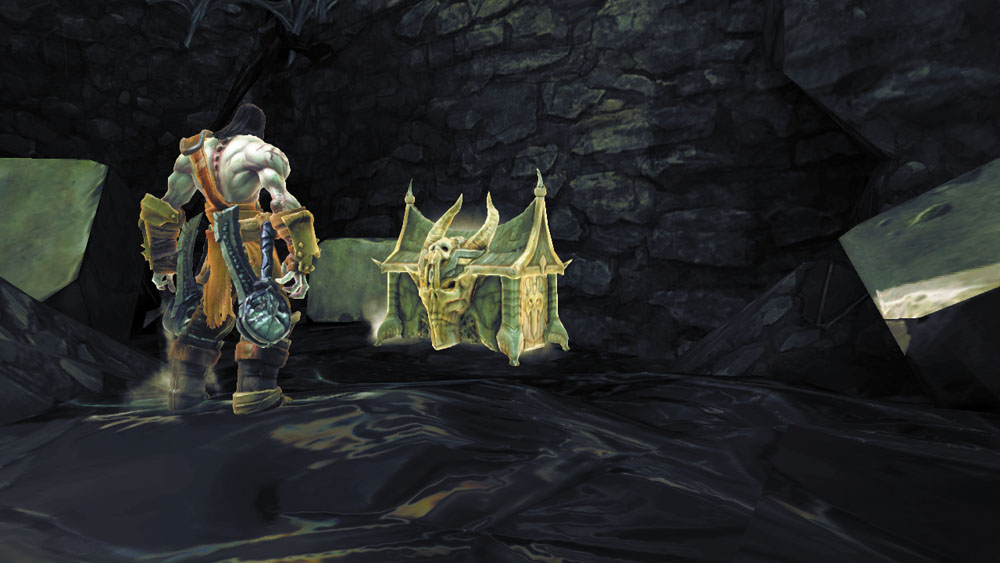
Roll your Custodian down the corridor, backtracking toward the Great Hall. Smash more crystals to expose a hole in the wall, then loot the large chest within.
Area 3, Revisited
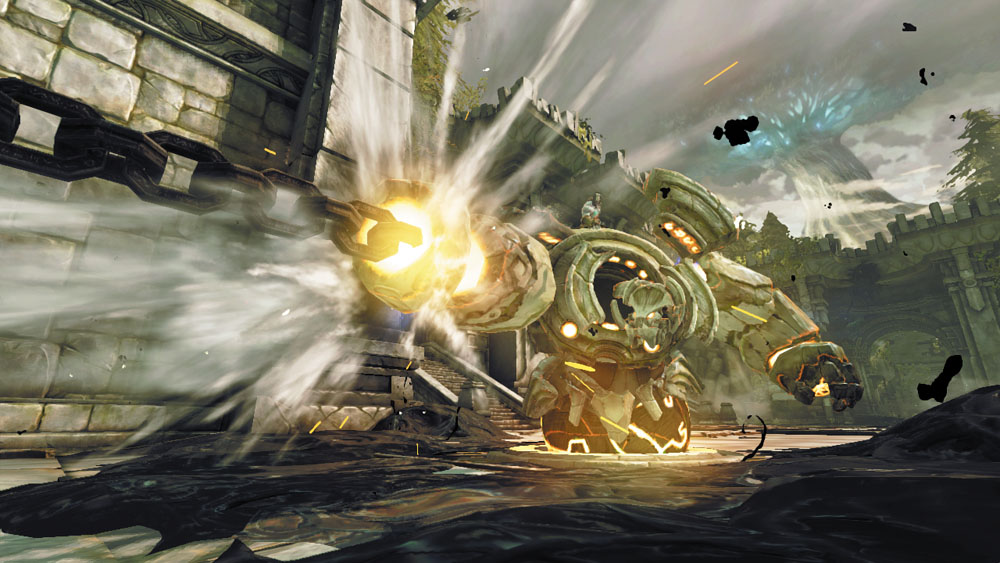
With the aid of your Maker Custodian, you’re able to explore more of the Great Hall. Destroy the south crystals to expose an orb slot, and then park the Custodian on the slot and fire its chain at the far target. Before crossing the chain, drop into the pit below to discover a chest, and don’t forget to shoot the Stonebite on the wall.
|
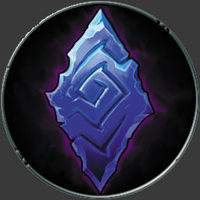
Stone of Mystics 14 |
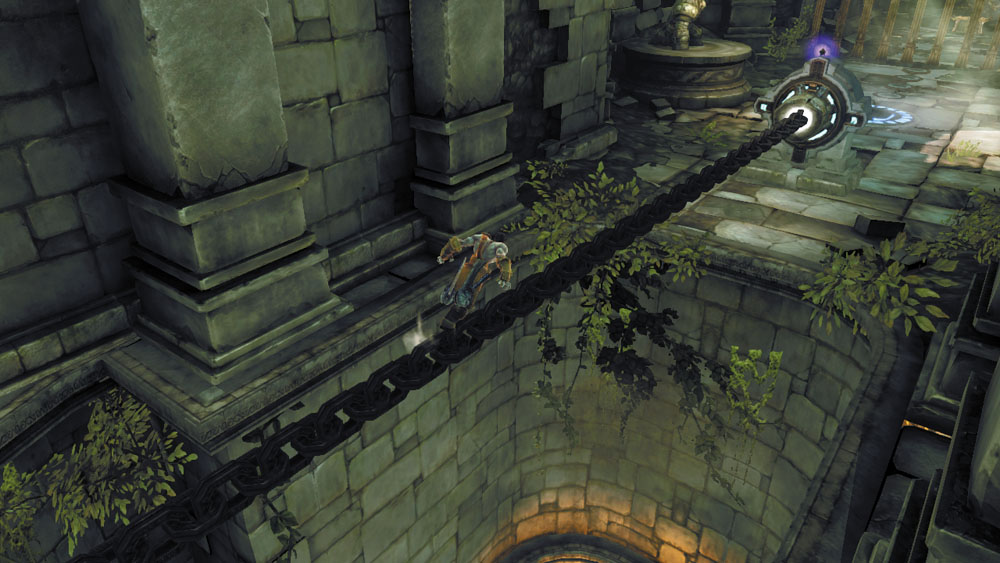
Return to the Custodian and tiptoe across its chain. A puzzle must then be solved to access a chest.
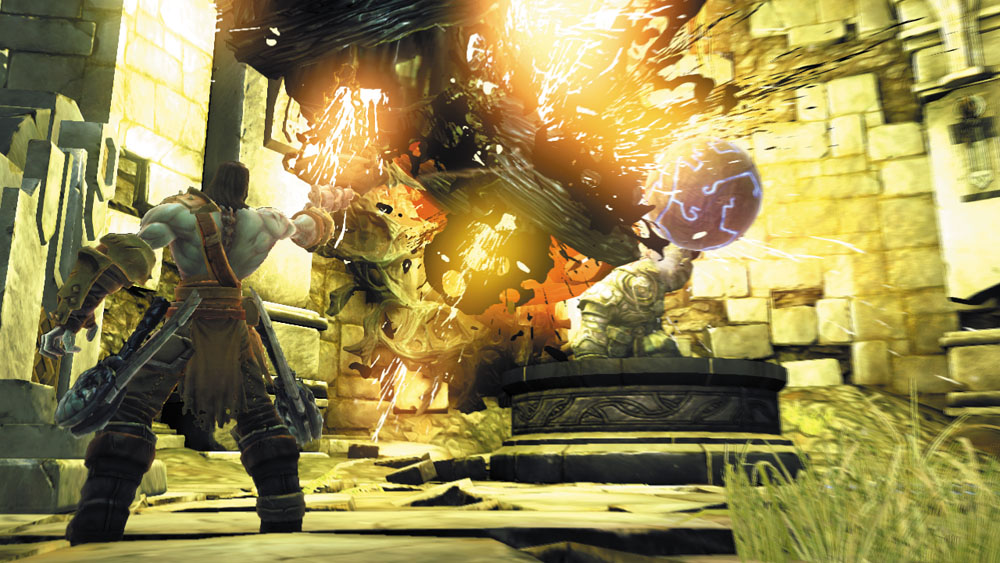
Aim and blast the Shadowbomb pod on the wall to knock down the nearby orb.
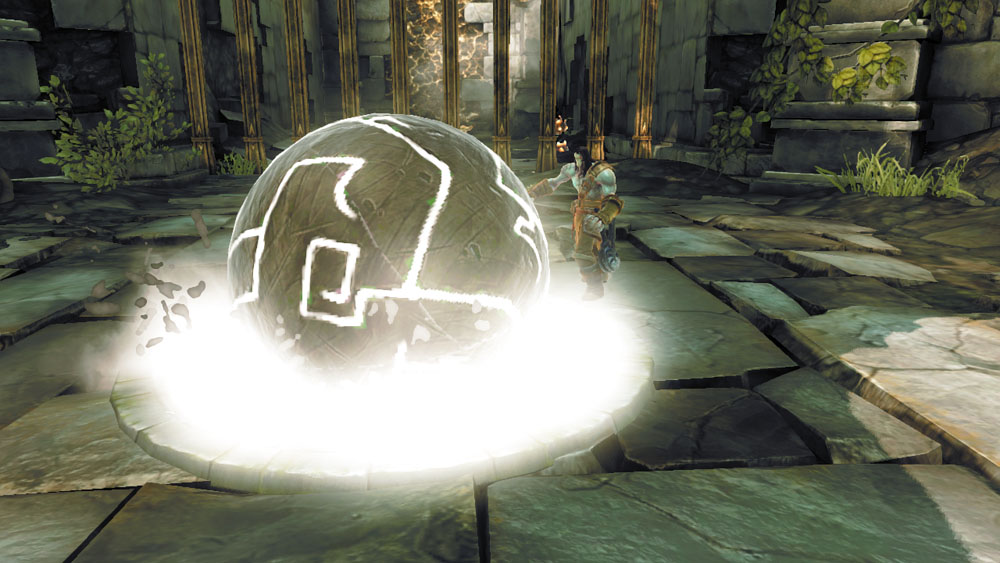
Grab the orb and roll it onto the orb slot. This lowers a gate to the south, but also raises another. Defeat the Constructs that ambush you.
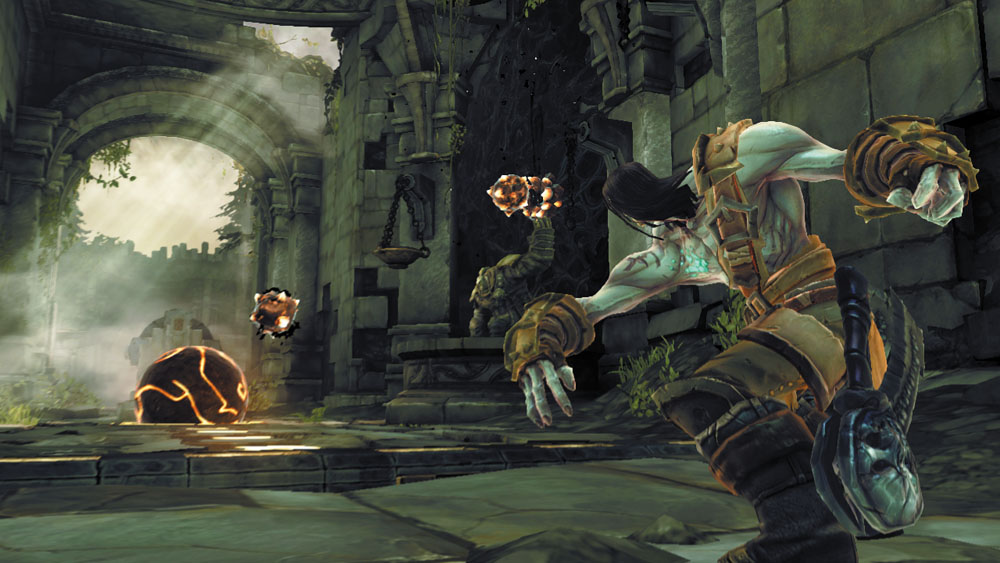
Collect a Shadowbomb from the pod near the gate and toss the bomb onto the orb.
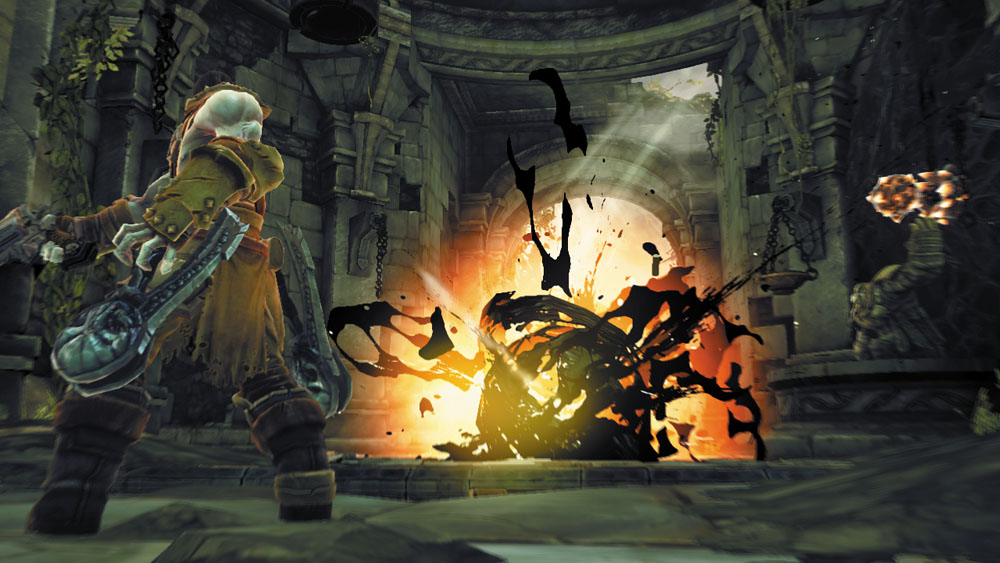
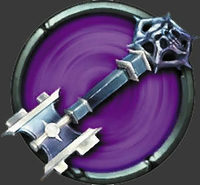
Remain near the gate and shoot the bomb to dislodge the orb. This lowers the gate near the chest, letting you claim a Skeleton Key from within.
|
Skeleton Key |
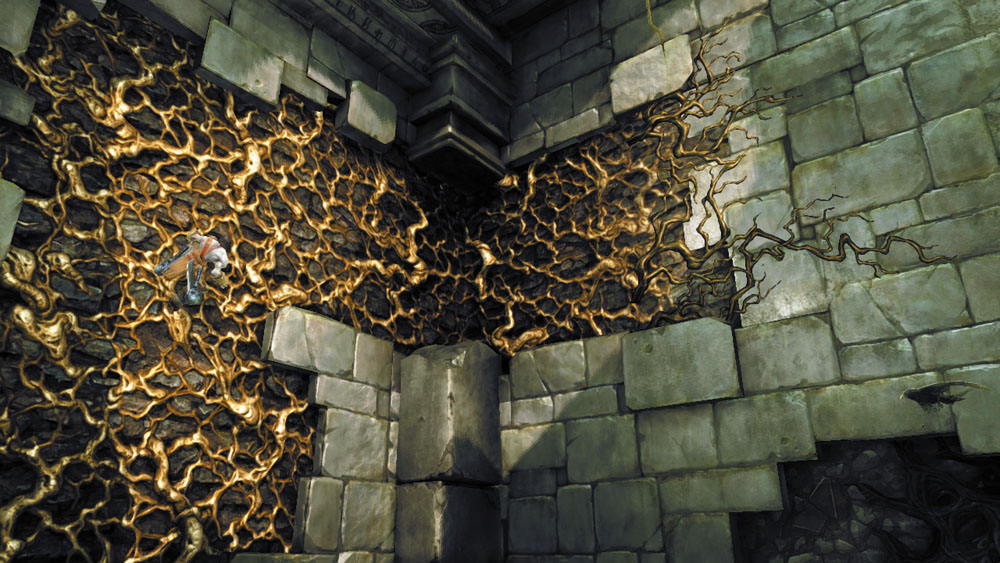
Climb the nearby wall growth and wall-run toward a peg. Vault up from the peg to bypass the raised gate and escape captivity.
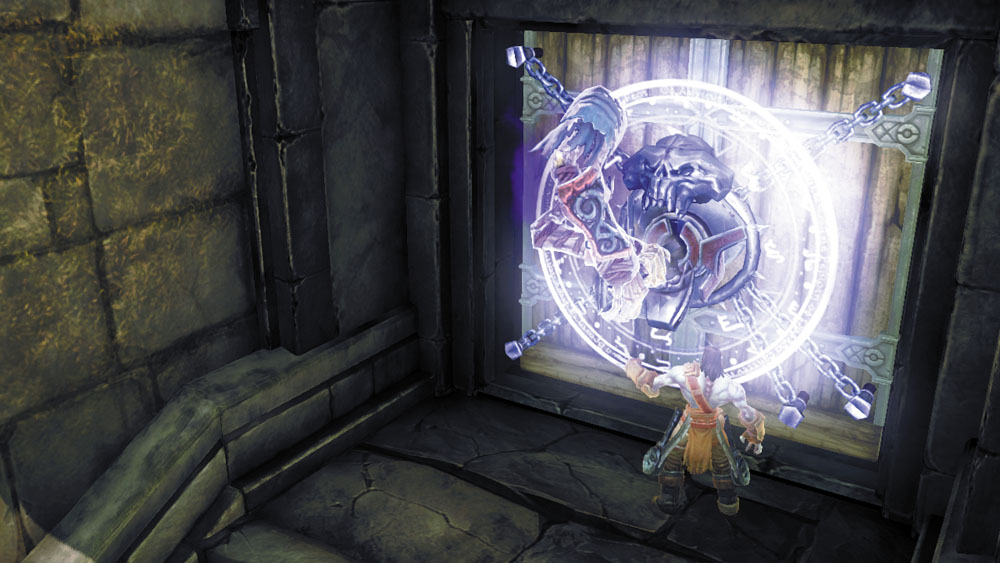
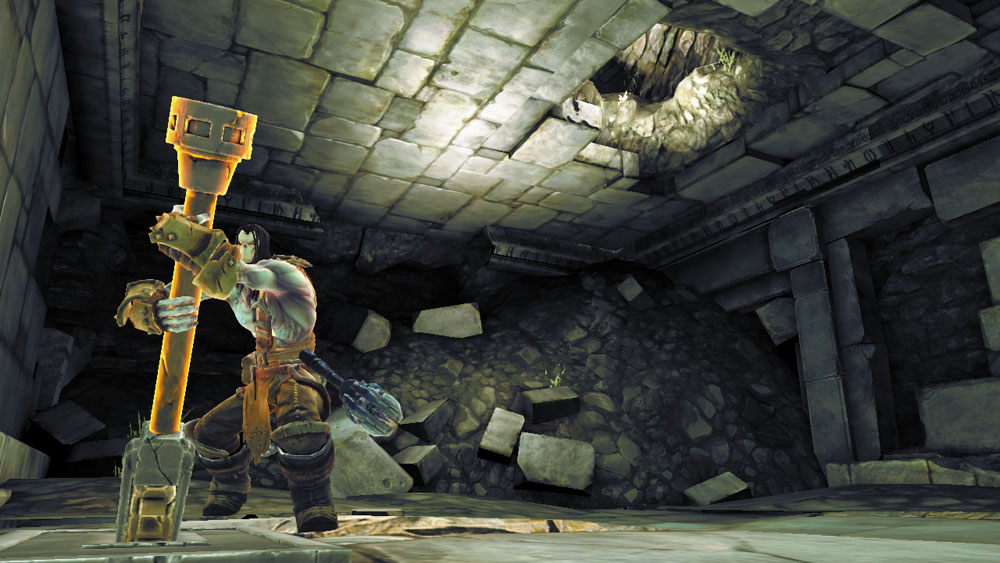
Great work! Now, cross the chain once more and use the key to open the great hall’s locked west door. Climb the growth beyond the door to cross the ceiling and reach a neighboring ledge with a lever. Slay the Constructs that ambush you here before pulling the lever to lower a gate that leads to the next area.
Area 5: Corruption Junction
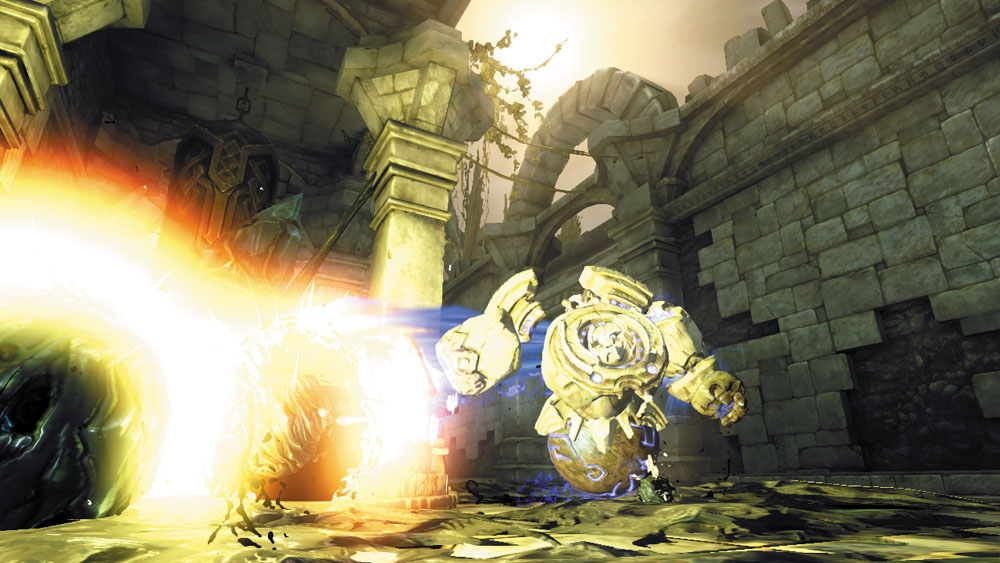
Return to the Maker Custodian and ride it west into a small junction filled with Corruption crystals. Clear away the Corruption with the Custodian’s mighty blows, then dismount and open the chest in the south nook to claim the Lost Temple’s Dungeon Map.
|
Dungeon Map |
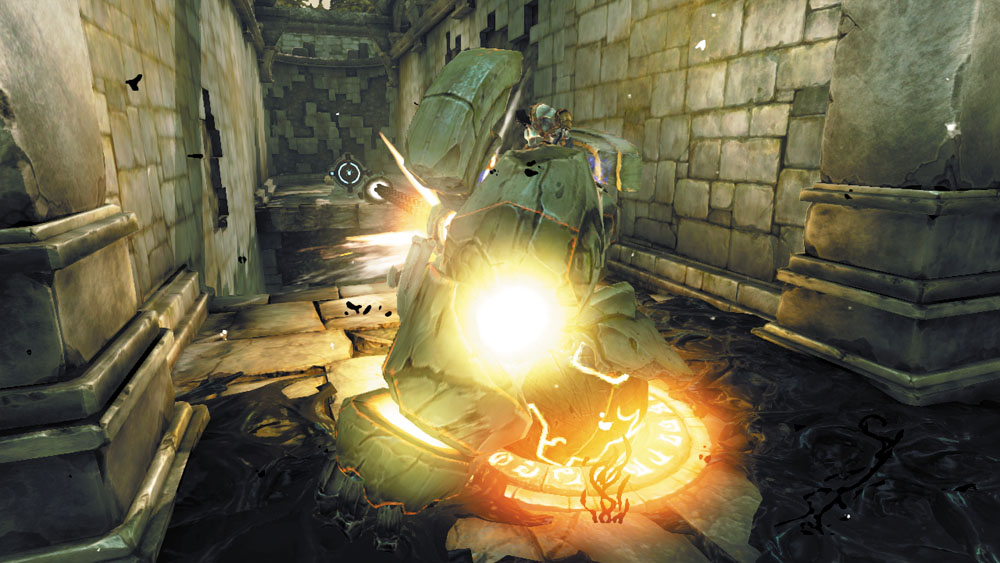
Head north and park the Custodian on another orb slot. Fire its chain across the northern gap and cross it to reach another chest which coughs up random goodies.
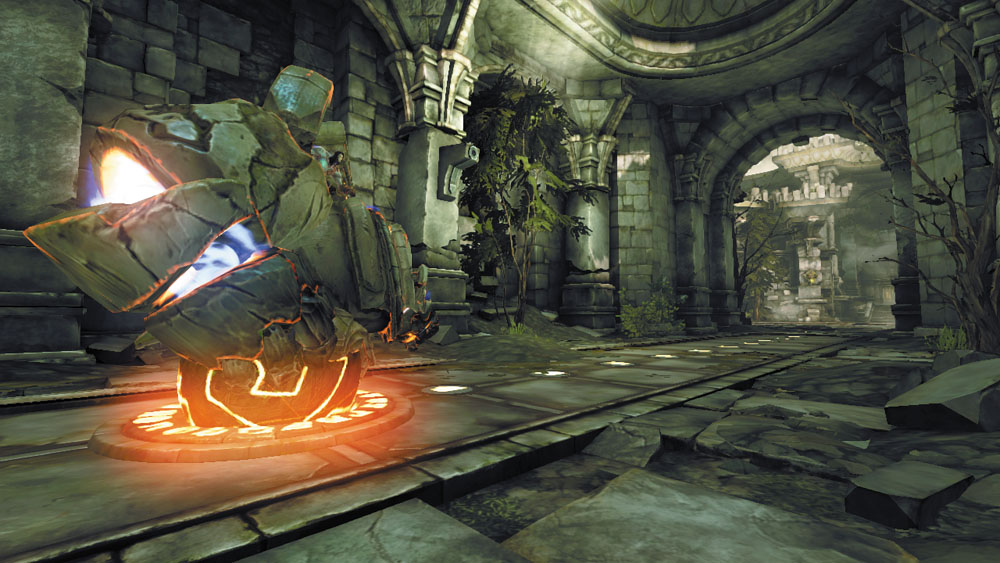
Tiptoe back across the chain and assume control of the Custodian once more. Roll west and park the Custodian on the west orb slot to lower the far gate. Dismount and proceed west toward the next area.
Area 6: Sentinel Checkpoint
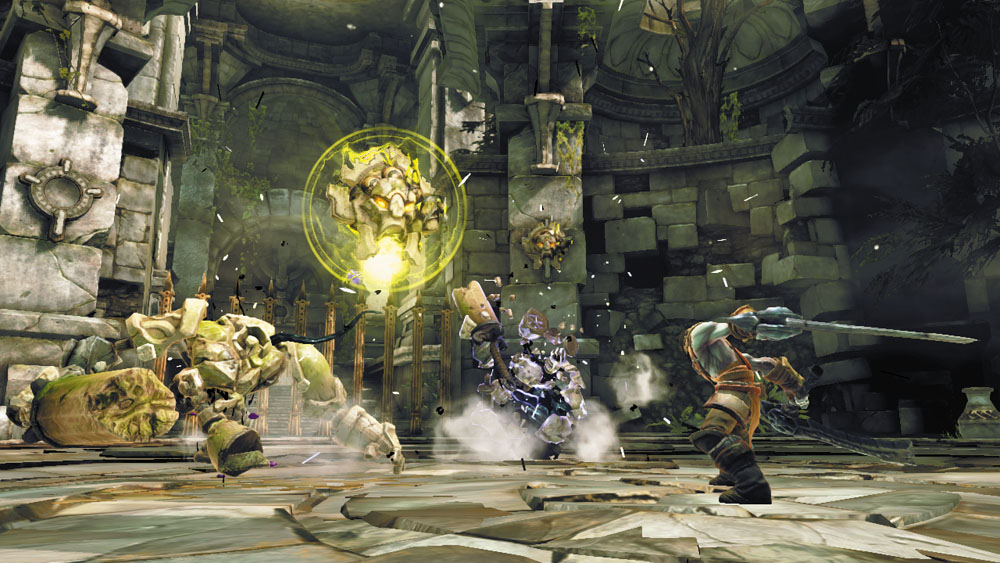
Beware: you become trapped in this wide, circular chamber, forced into a deadly battle against a number of Constructs and Sentinels.
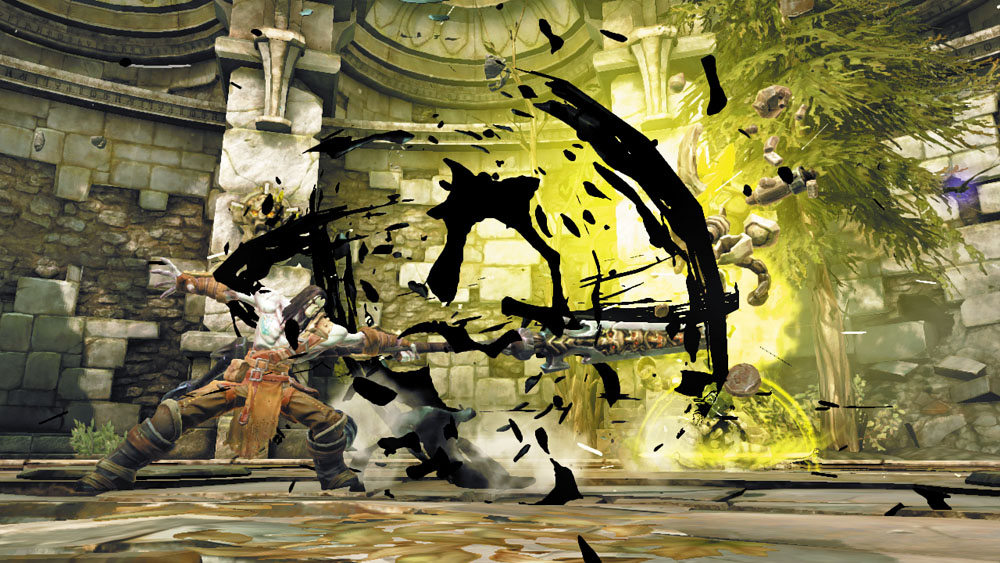
At first, only a few Construct Warriors and Adjuncts appear, backed by a Sentinel. Defeat these just as you did before, by dispatching the aggressive minions to make the Sentinel lower its shield as it revives them. Inflict as much damage against the Sentinel as possible while its shield is down.
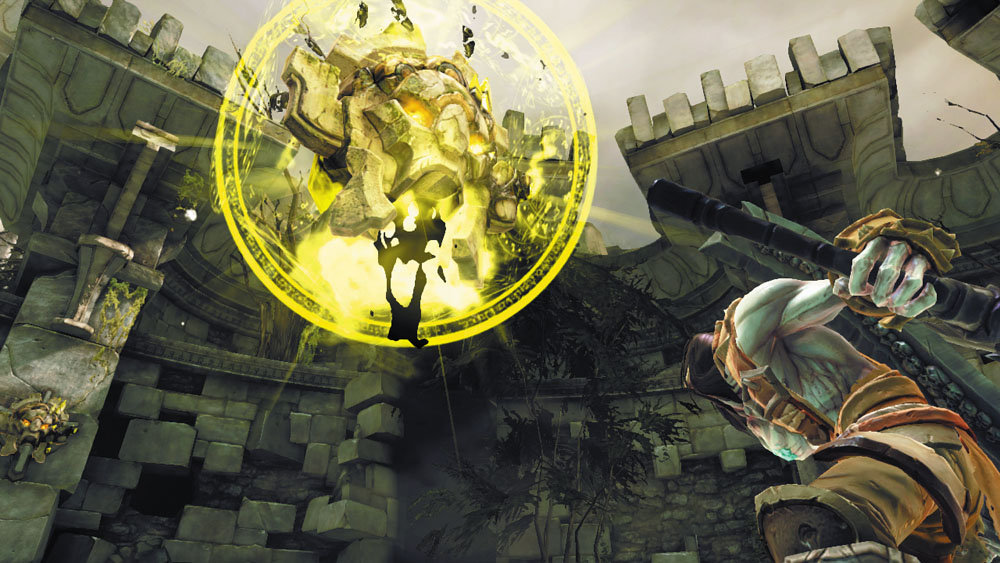
More Construct minions and a second Sentinel appear after the first Sentinel falls. Repeat the same tactics, using Death’s skills to simplify the fight.
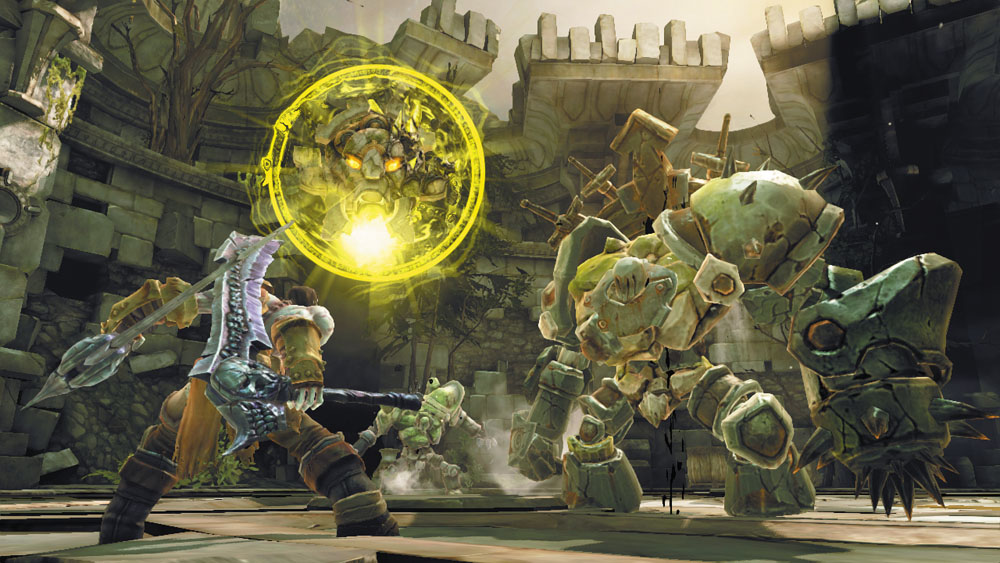
You must defeat a total of six individual Sentinels in order to survive this trying encounter. More and more construct underlings appear with each new Sentinel, steadily increasing the challenge factor. Dangerous Construct Champions appear with the final two Sentinels, making matters extremely difficult. Try to preserve your Reaper Form for the dungeon’s final battle, but don’t hesitate to use it if matters become dire.
Area 7: Pitfall Passage
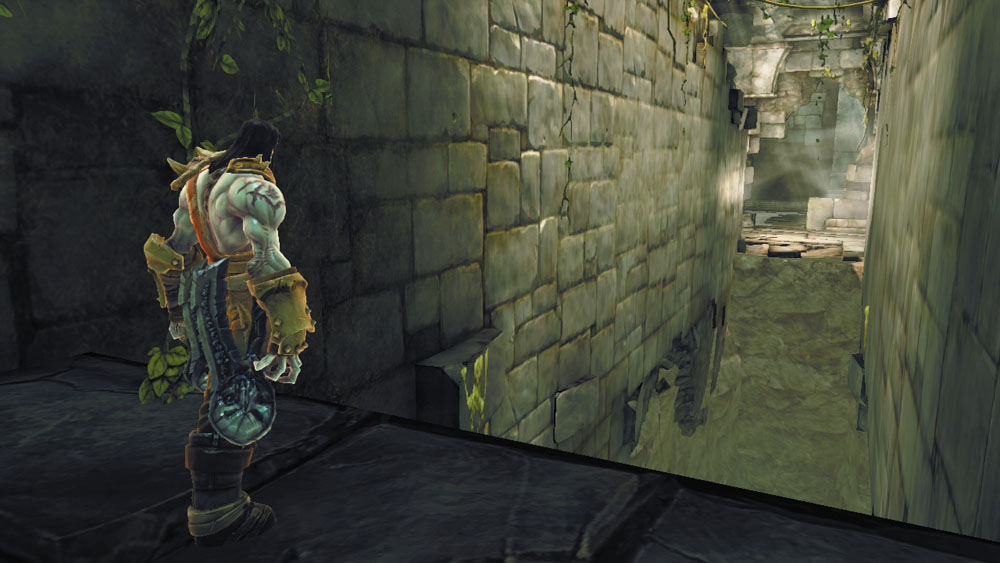
Proceed west after dispatching the Sentinels, then go through the south door. A long pit stretches out before you.
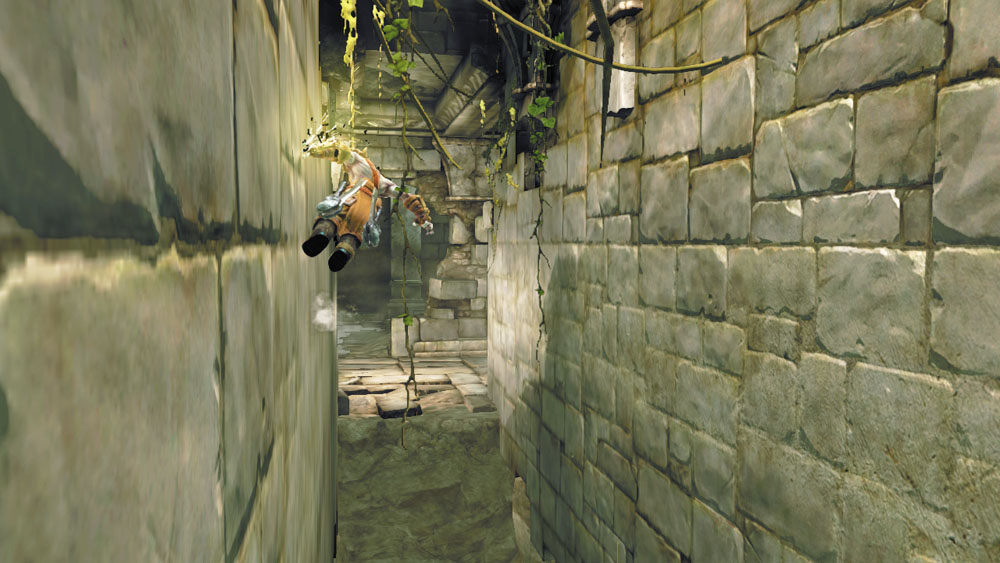
Initiate a wall-run, then jump to bounce between the narrow walls, extending your run and clearing the chasm.
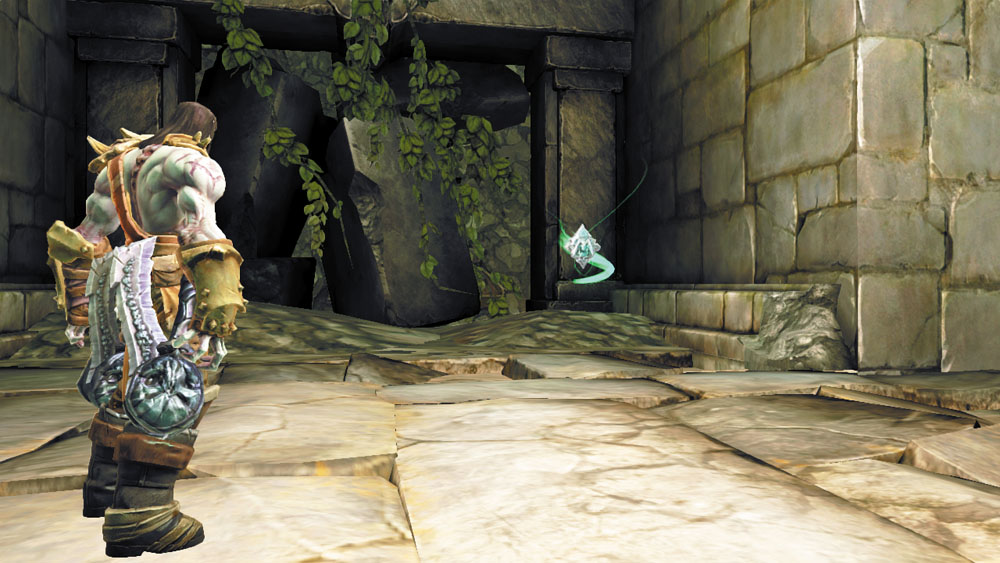
Turn around when you land and grab the Boatman Coin that’s tucked in the corner.
|
|
Boatman Coin 30 |
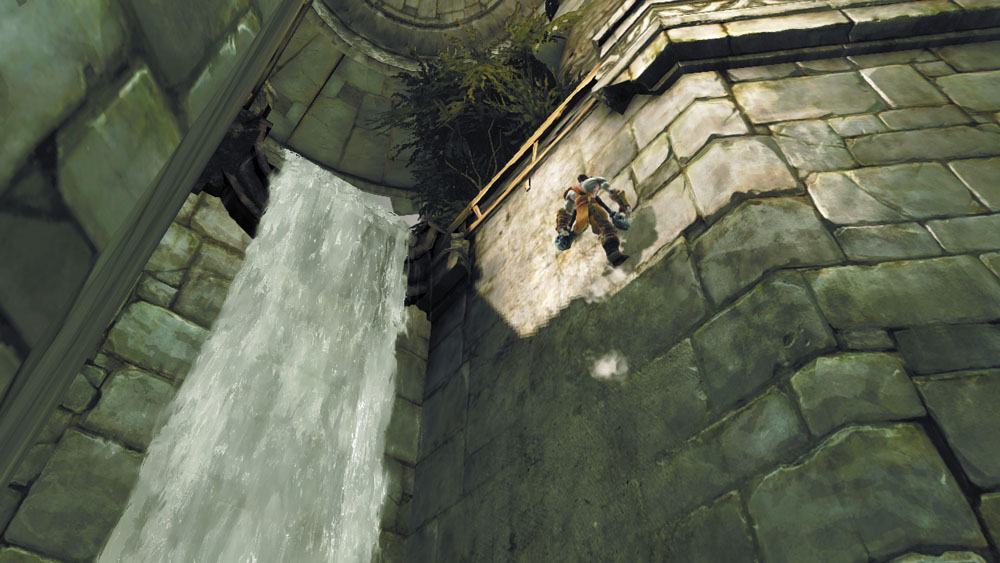
Jump between the narrow vertical walls near the east waterfall to reach higher ground.
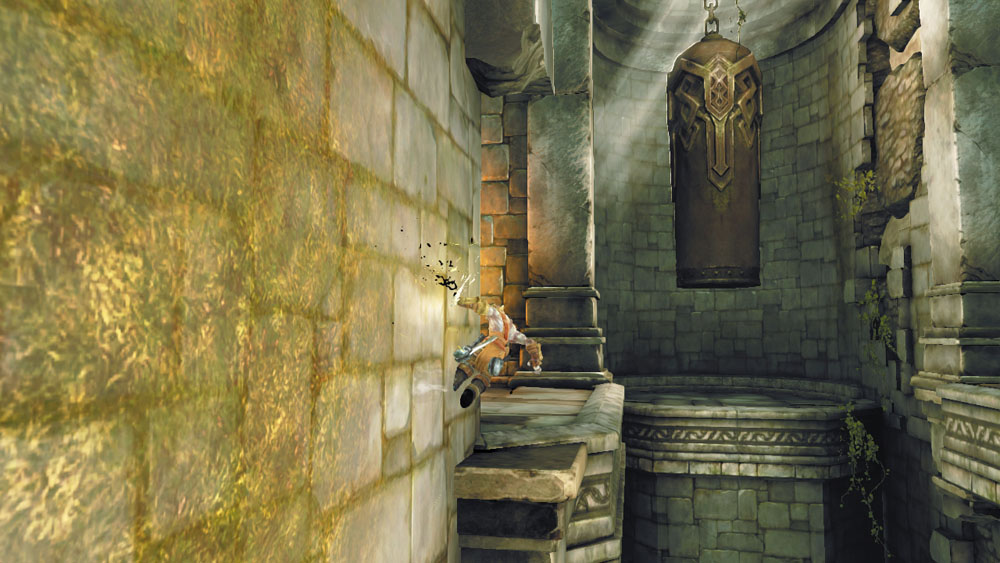
After scaling the vertical walls, turn around and wall-run up the south wall to reach a ledge.
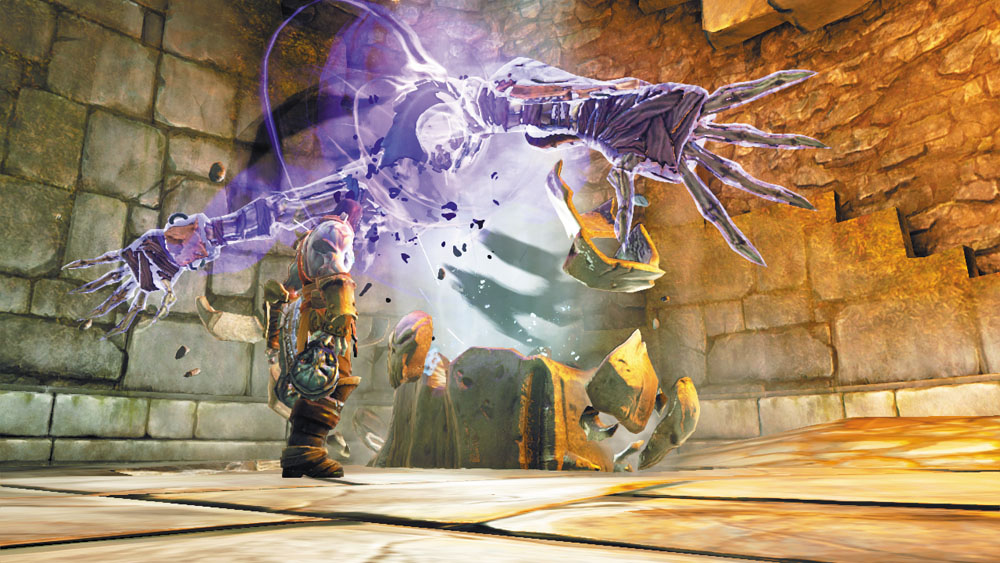
Open the chest you discover on the ledge, and then wall-run back out to explore the next area.
Area 8: Temple Plaza
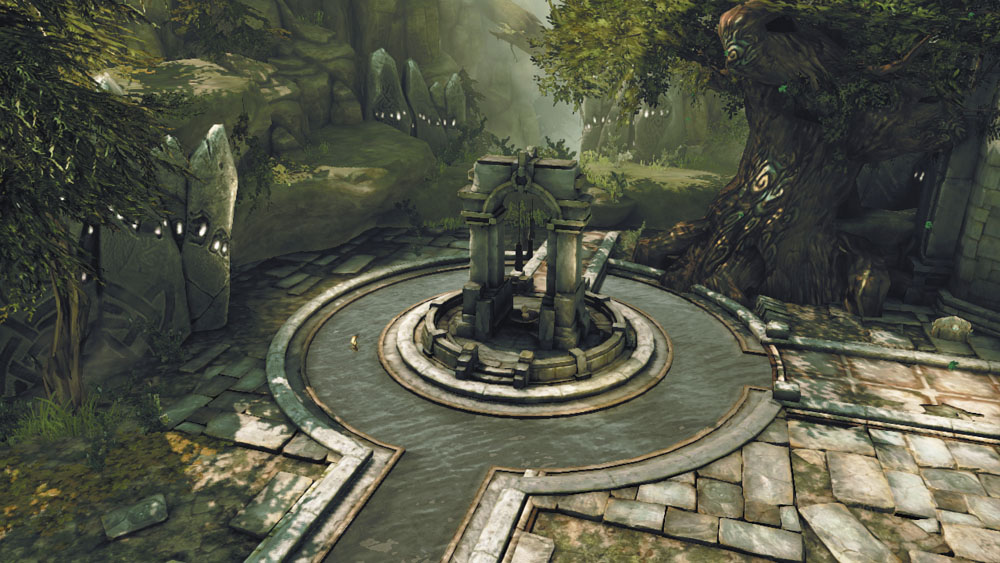
This tranquil plaza holds a handful of secrets.
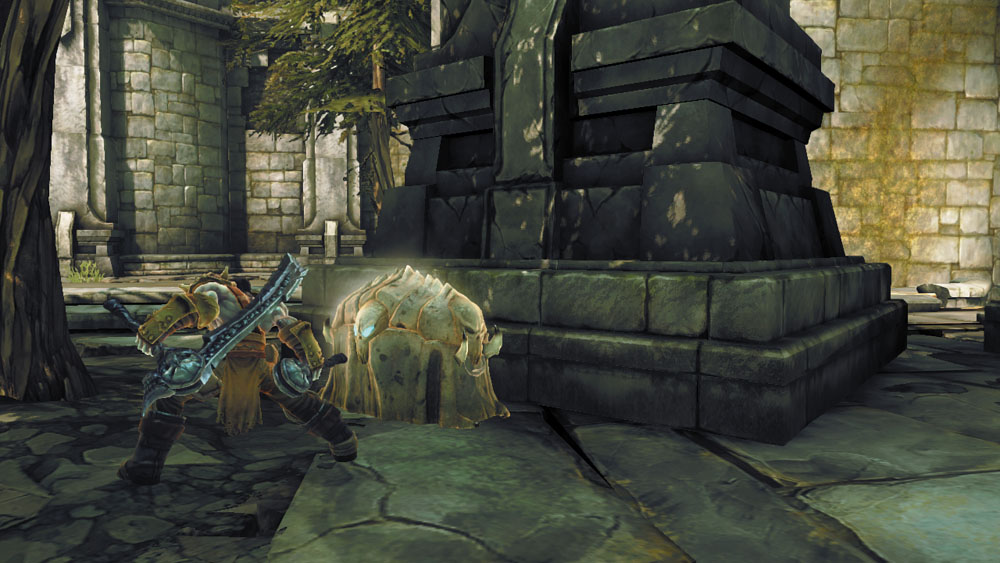
Search behind the pillars as you enter to discover a chest.
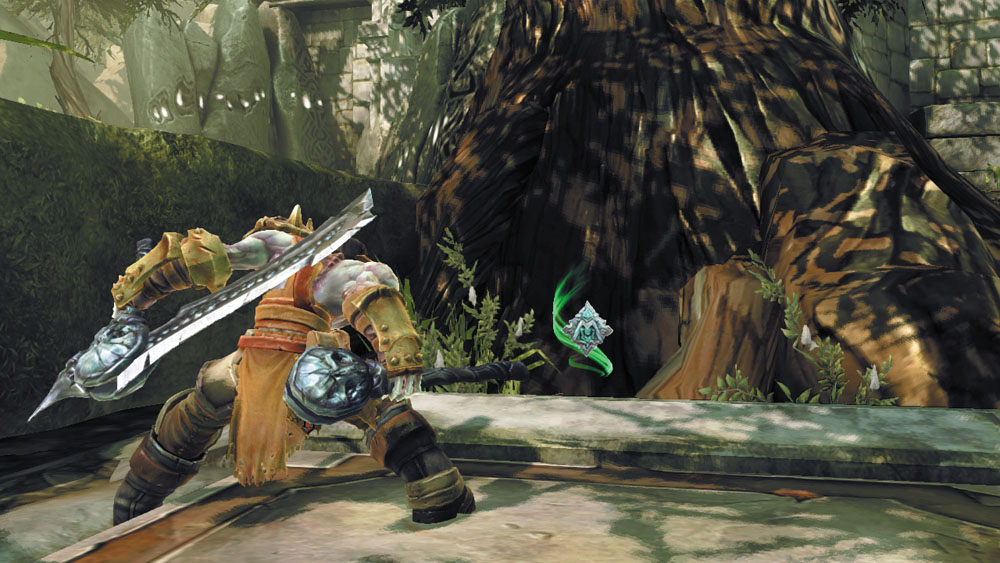
Collect a Boatman Coin that sits near a large tree.
|
|
Boatman Coin 31 |
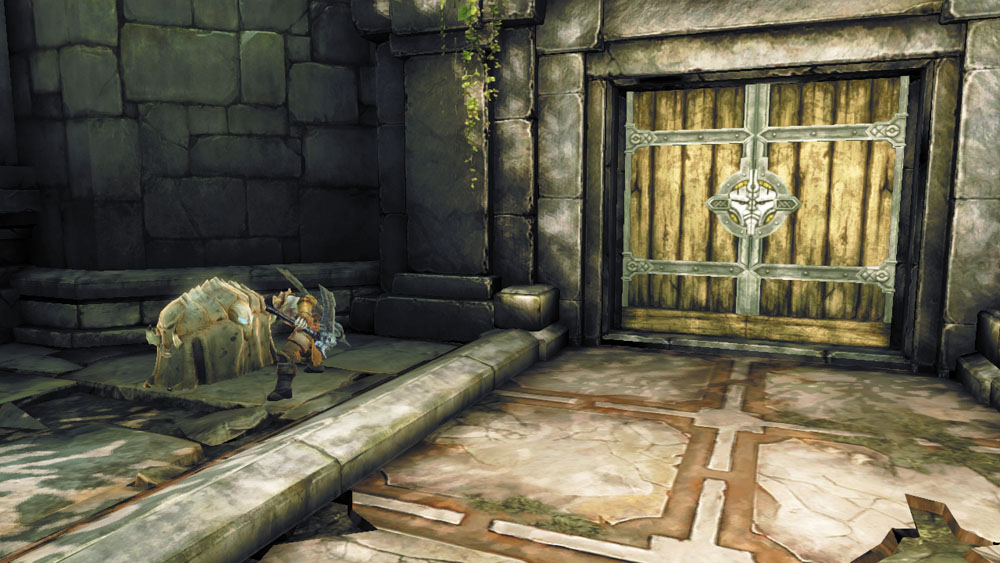
Raid the chest located near the south door, and then go through to the lower hold.
Area 9: Lower Custodian Hold
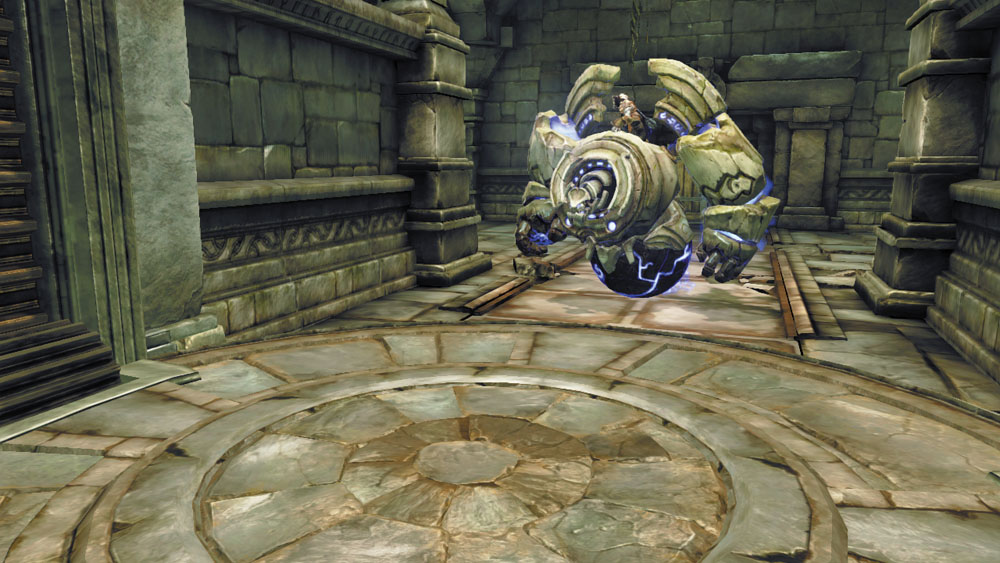
Destroy the debris in one corner of this room. Activate the nearby Maker Custodian and roll it over to the south elevator.
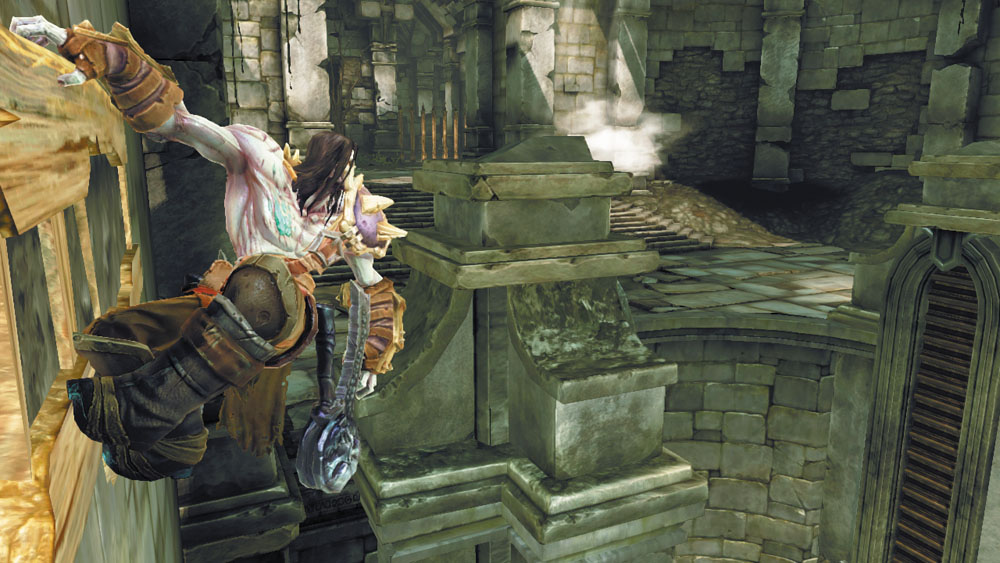
Dismount and use the nearby hand hold to reach a wall with a peg that can be vaulted off of to reach an overhead beam. Climb up and leap from the beam to reach another hand hold, and then wall-run around the room to get to a high balcony.
Area 10: Upper Custodian Hold
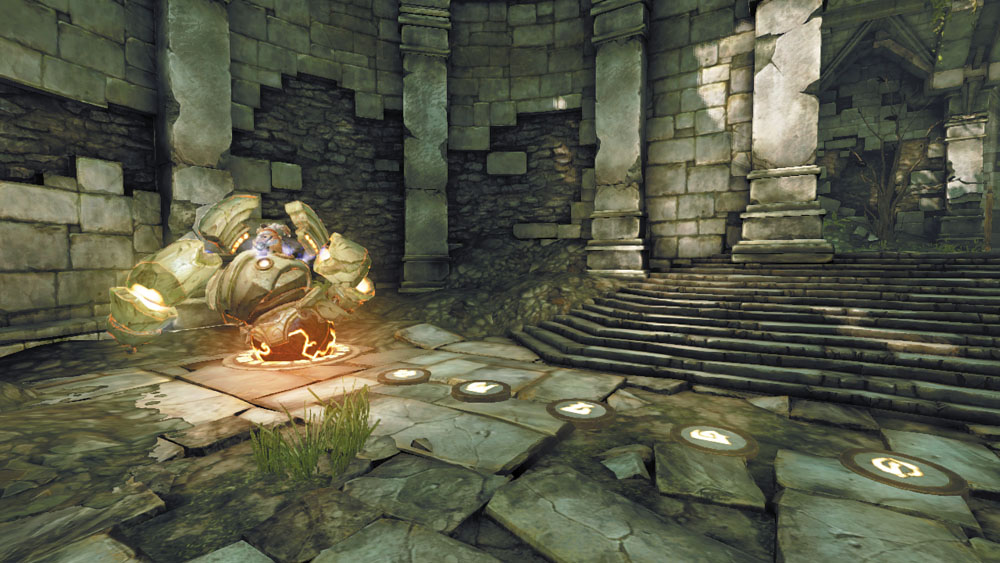
Activate a second Maker Custodian up here. Roll north and park the Custodian on the orb slot near the east wall. This activates the elevator, raising the first Custodian up to the balcony.
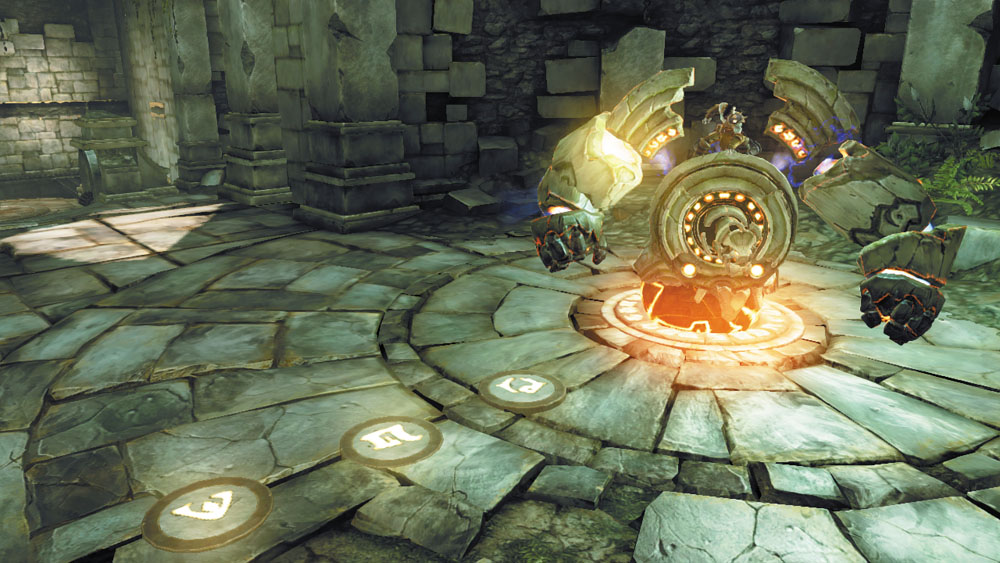
Mount the elevator Custodian and roll it up the south stairs. Turn left and park on another orb slot, which lowers the nearby south gate. Dismount and take control of the previous Custodian. Then, roll south and explore the passage that the gate had formerly blocked.
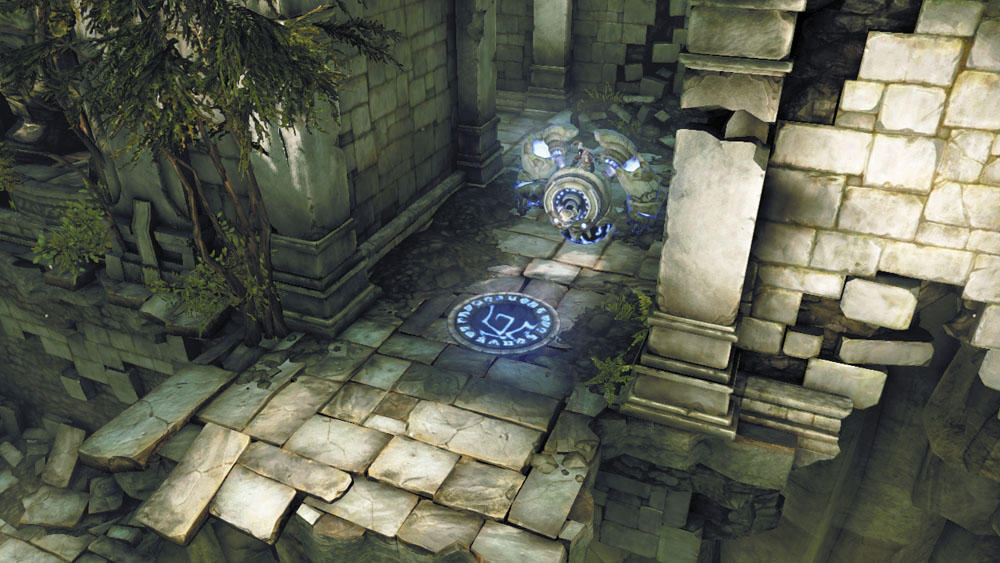
Ignore the Book of the Dead page that’s kept behind a gate in the south passage, and keep rolling until you reach another orb slot. Station the Custodian here and fire its chain to destroy the far Corruption crystals, exposing a target. Link the chain to this target, and then tiptoe across.
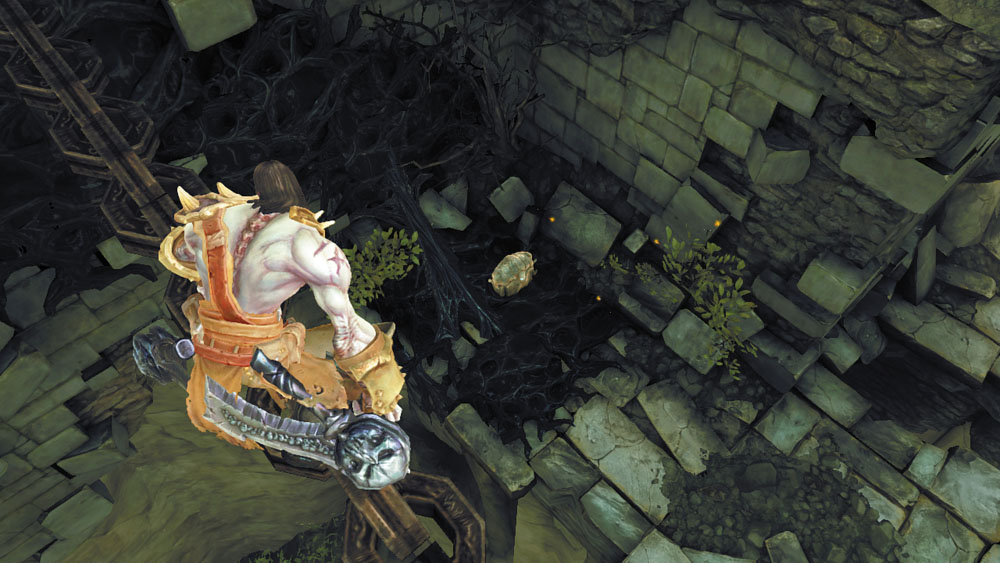
Notice the chest on the ledge below the chain as you cross. Carefully jump down to the chest ledge and claim your plunder, and then climb the nearby growth to return to higher ground.
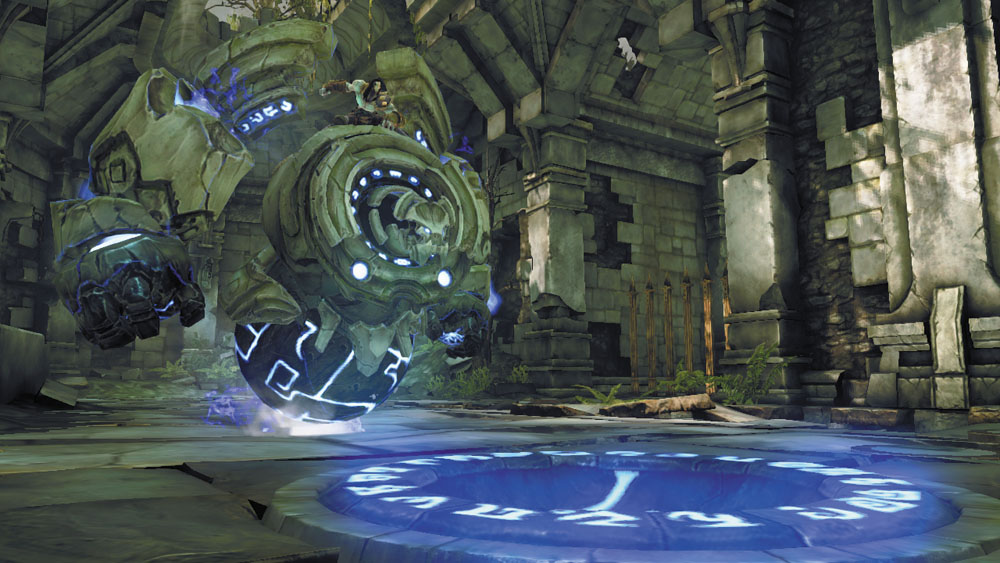
You are now back near the other Custodian. Hop aboard and roll west, parking on yet another orb slot that lies near the pit you’ve just emerged from. Activating this orb slot unbars the far west door; dismount and hop across a beam to reach the other Custodian’s chain.
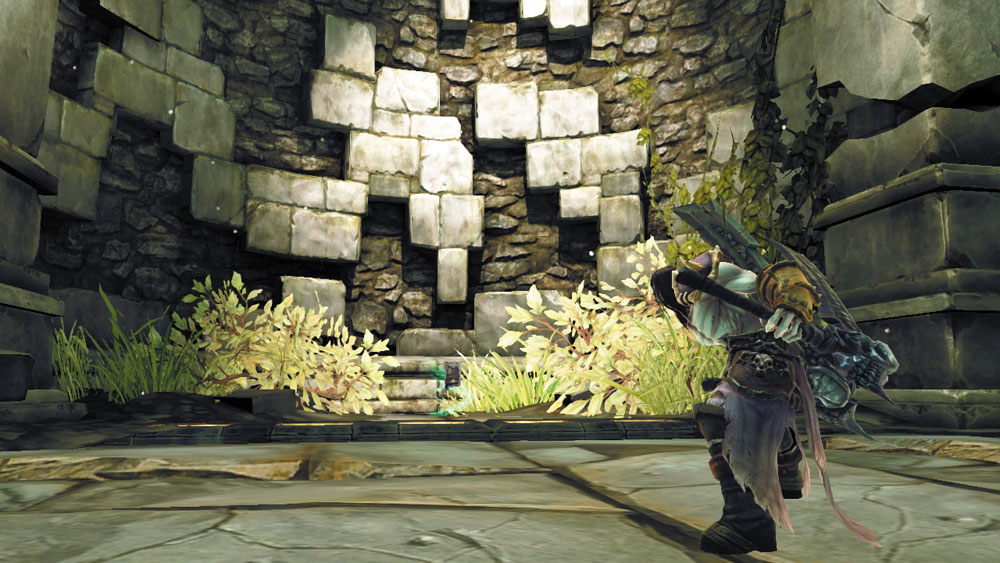
You didn’t forget that Book of the Dead page, did you? Tiptoe back across the chain to return to the south passage, and you’ll find that the page can now be claimed. That wraps up this area! Cross the chain again and hop across the beam to reach the west door and proceed through it.
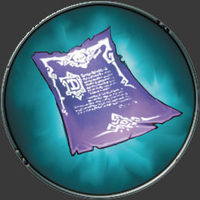
|
Book of the Dead 8 |
Area 11: Outer Wall
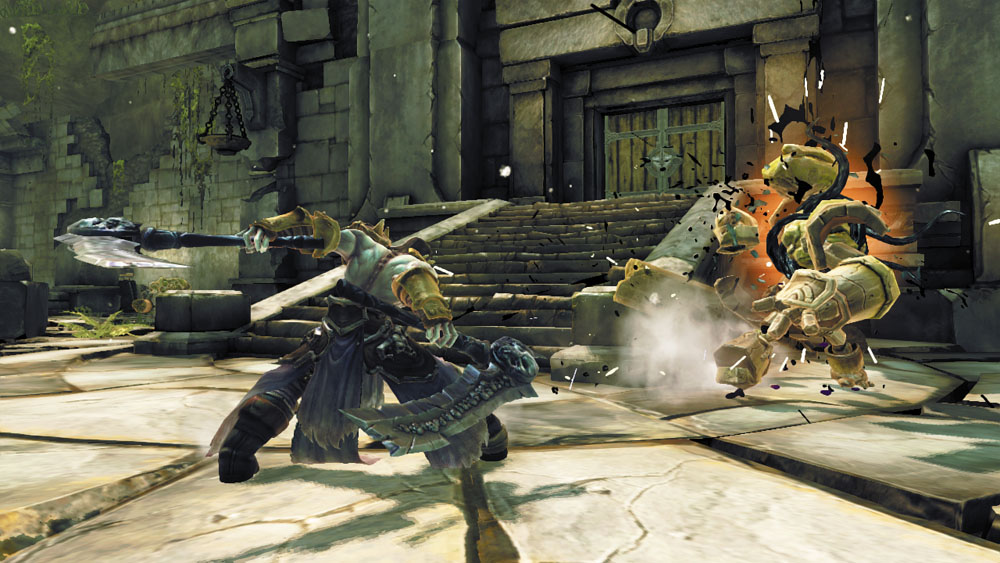
Cut down a few Constructs that ambush you in this outdoor area, and then wall-run north toward a hand hold.
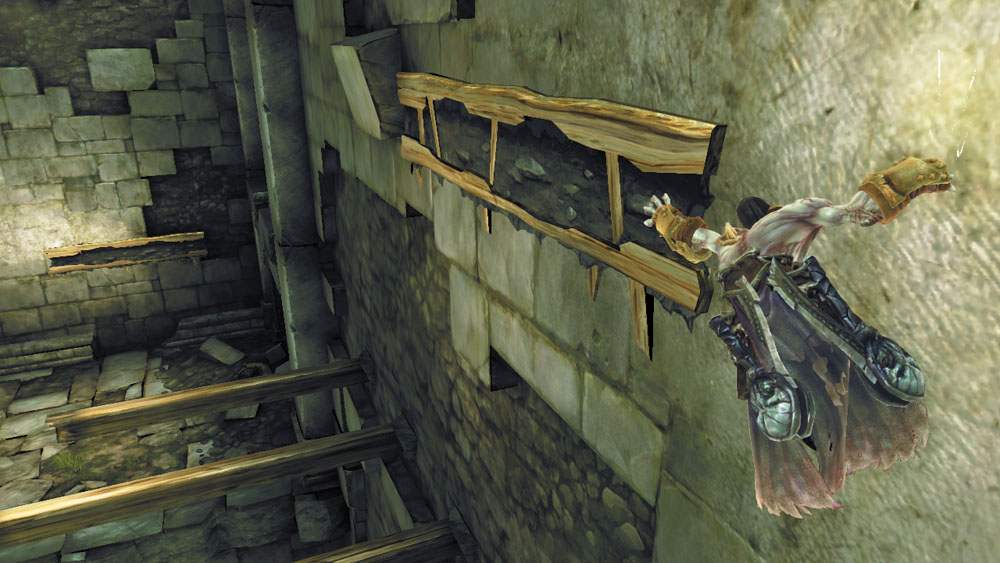
Jump from the hand hold to reach the beams that follow, hop across them, and leap from the final beam to land on a ledge.
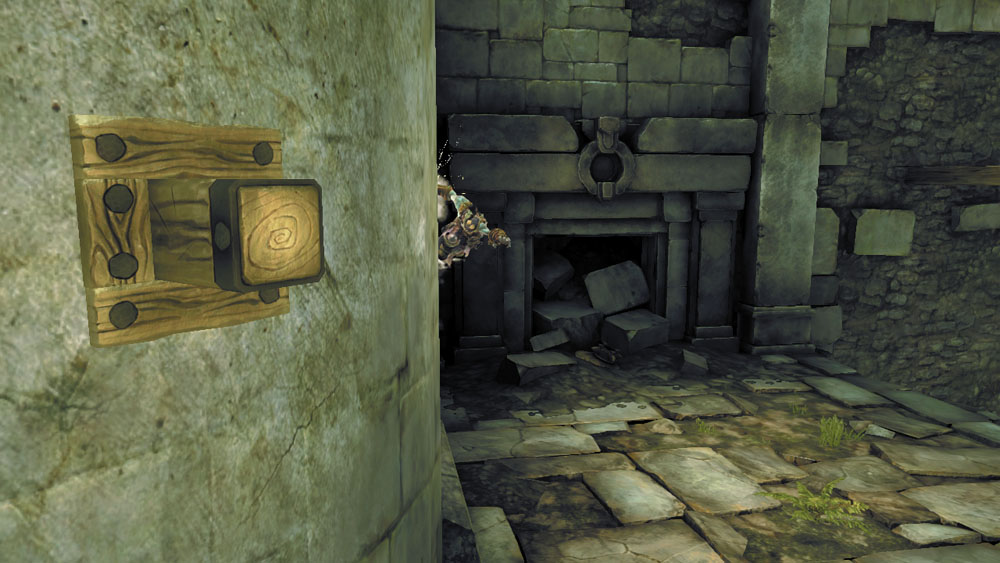
Scale a wall to grab another hand hold, and then wall-run to the left. Vault off of the pegs as you round the corner, heading for a wide balcony.
Balcony Beatdown
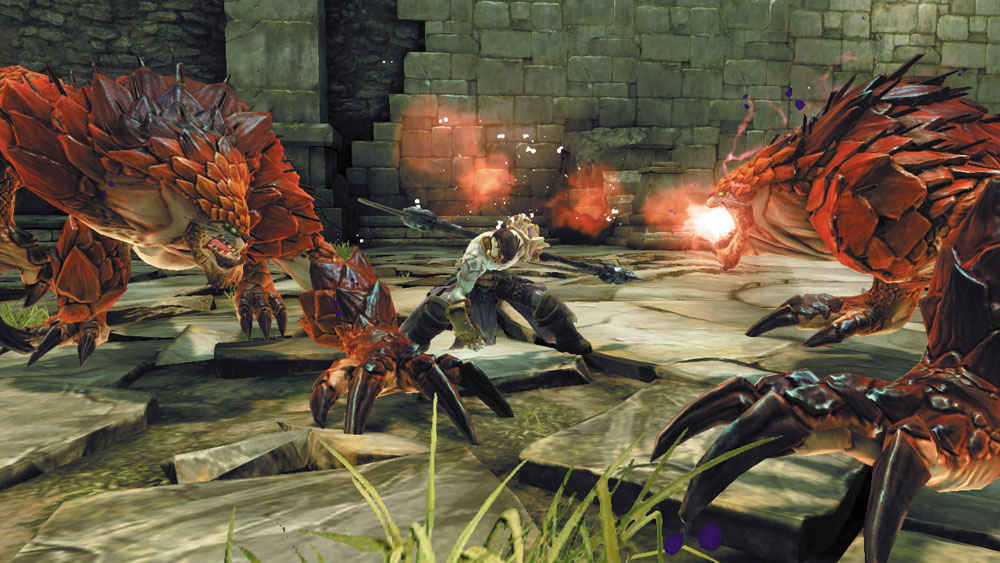
Once you slay the pack of Savage Prowlers that ambush you on the balcony, a formidable pair of Savage Stalkers will join the fight. Remain elusive as you combat this deadly duo. Focus on eliminating one Stalker first, and then take on the other. The north door becomes unbarred once all enemies have been slain.
Area 12: Orb Junction
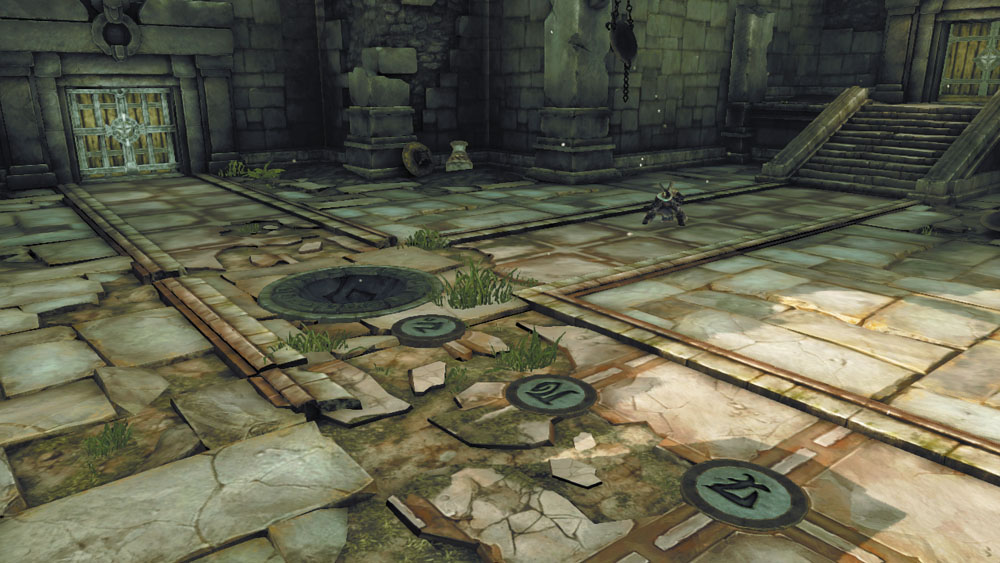
Dispatch the lesser Constructs and Stingers in this chamber so that you can concentrate on the puzzle solving required to open the room’s west door.
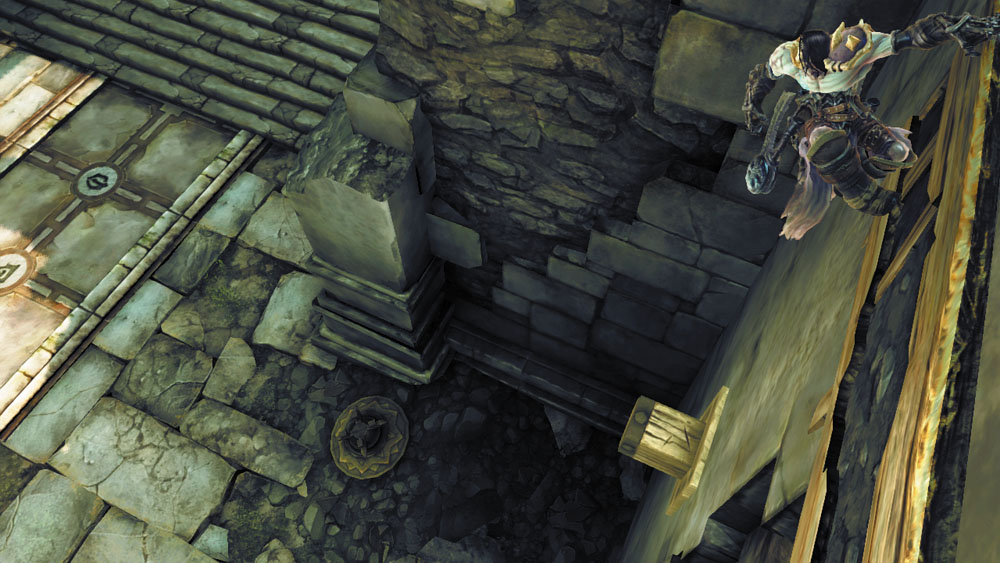
Scale the north wall by navigating a short series of pegs and hand holds.
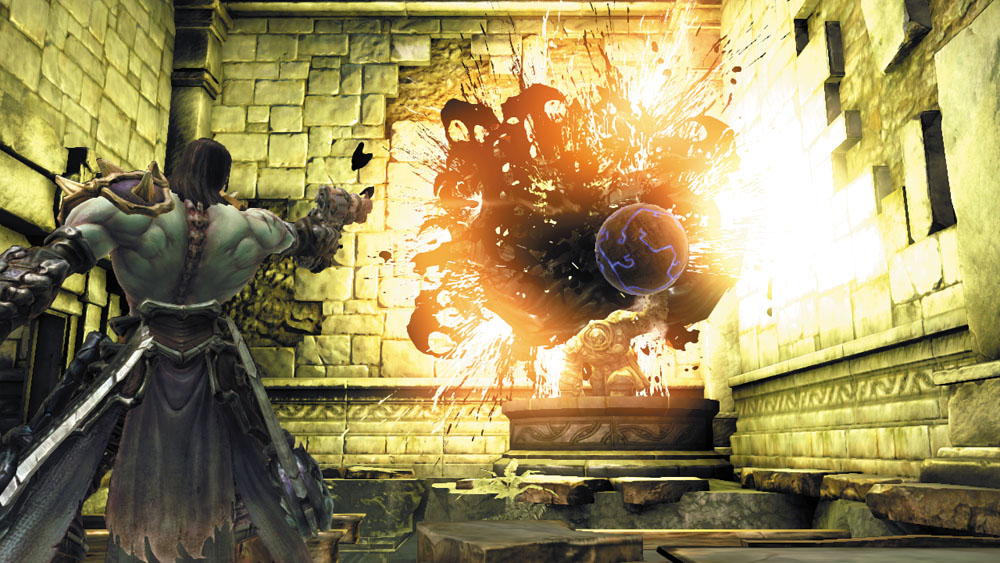
When you arrive at the upper ledge, turn and shoot the Shadowbomb pod near the south wall's Corruption crystals. The blast dislodges the nearby orb.
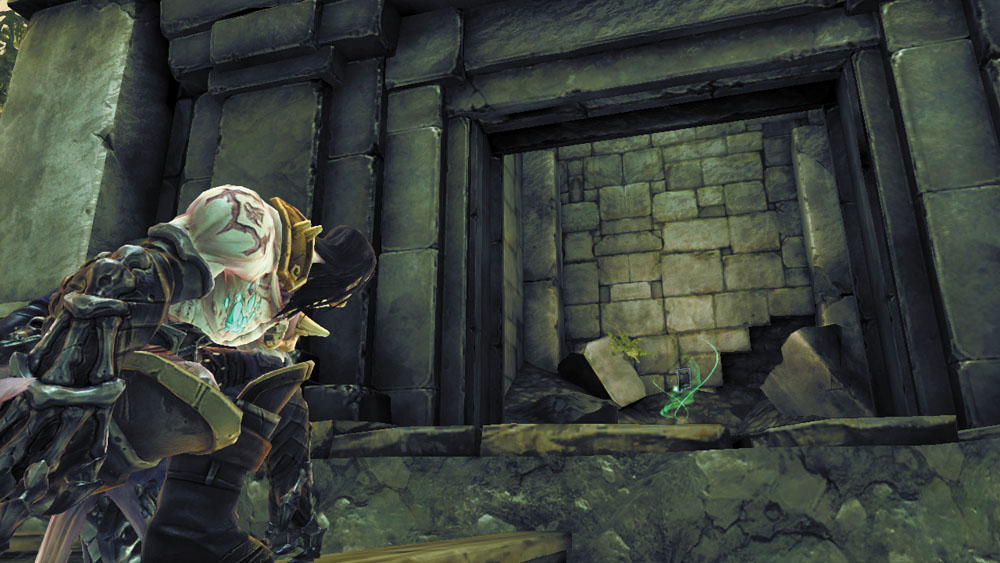
Before dropping down to the ground, hop across the broken beams to reach an alcove that houses a missing page from the Book of the Dead.
|
|
Book of the Dead 9 |
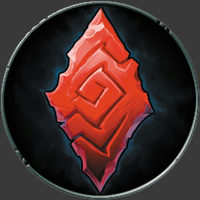
|
Stone of Power 3 |
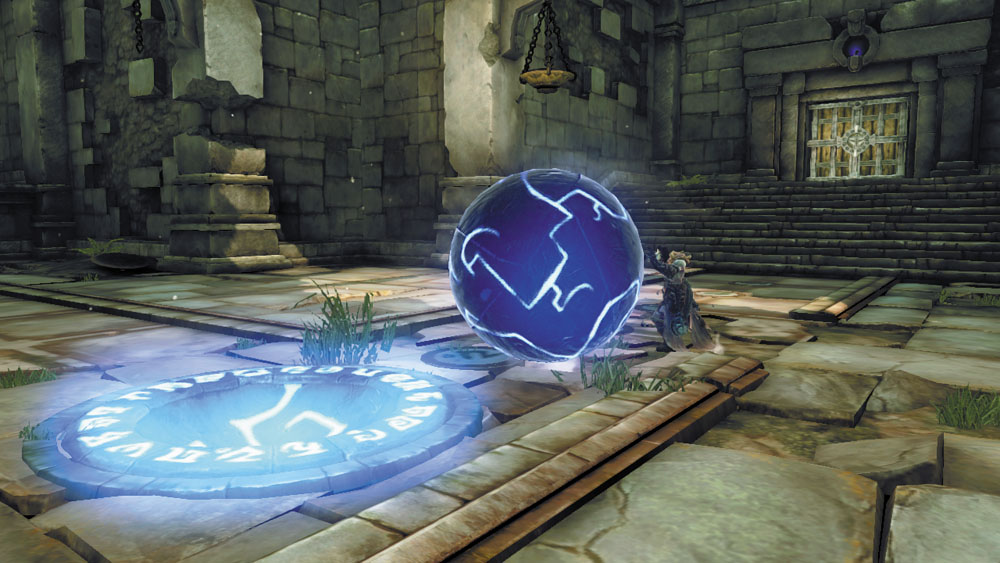
Once you have the page, drop down to the ground and roll the orb onto the orb slot to unseal the west door.
Area 13: Chamber of Champions
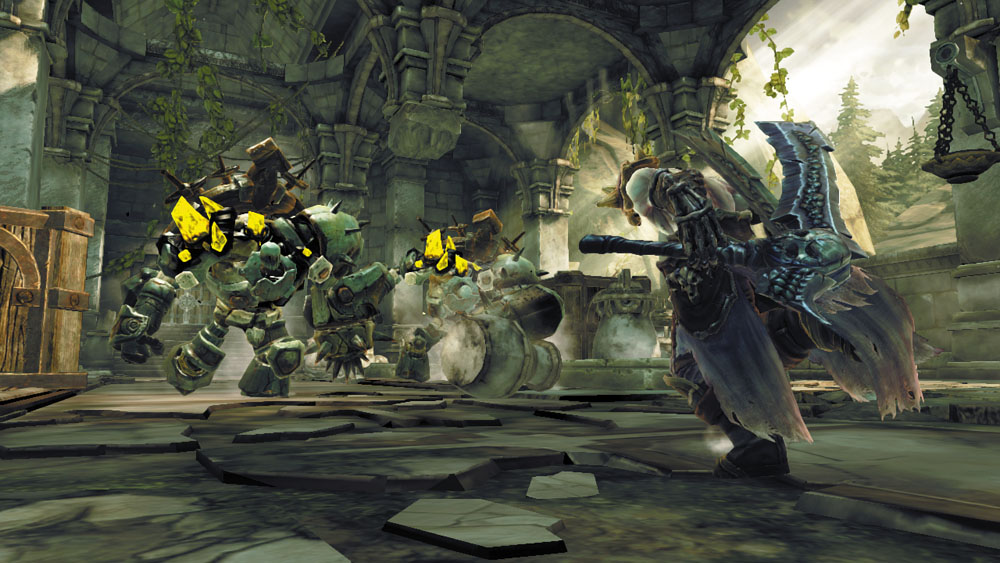
Beware: A pair of powerful Tainted Construct Champions storm toward you as you enter this room. Use evasive tactics to avoid being surrounded, and dodge around the thick pillars to keep the Champions from surrounding and double-teaming you. A small army of Tainted Construct Warriors will join the fight after the first Champion falls, so try to weaken both Champions before cutting down one of them—this lets you quickly dispatch the second as the lesser minions begin to swarm.
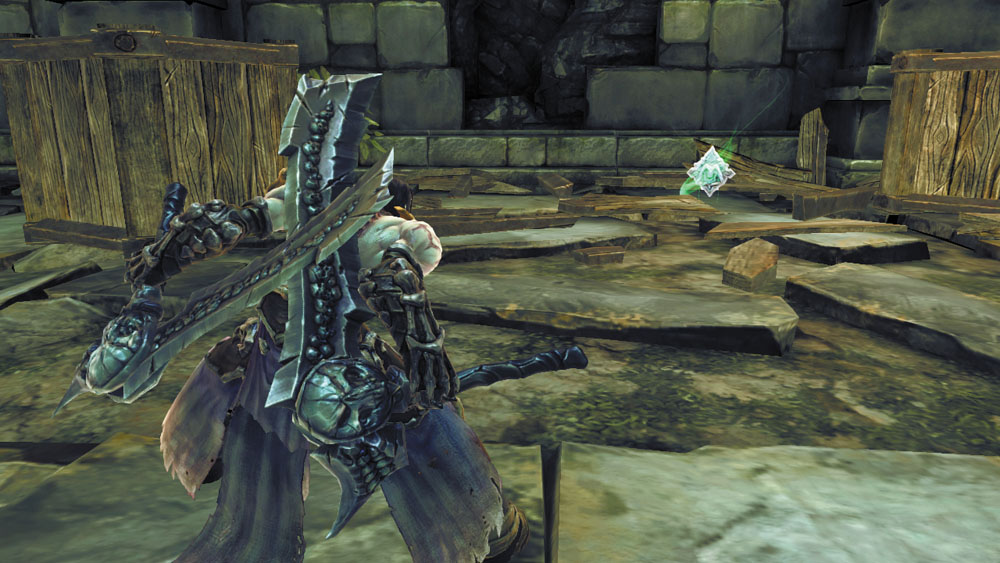
Smash the plentiful array of debris in this room to find more healing potions. A Boatman Coin is hidden amongst the junk to the south—be sure to grab it before advancing through the west door.
|
|
Boatman Coin 32 |
Area 14: Circle of Worship
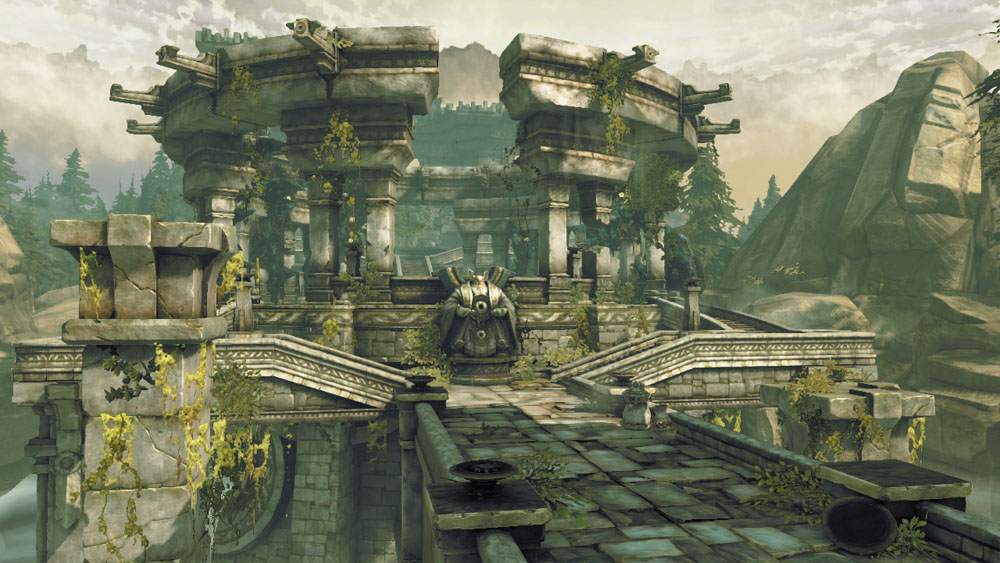
At last, you’ve advanced to the temple’s final area. A formidable adversary awaits you here, and it must be defeated before the Reaper can awaken the Makers’ great Construct Warden.