
Darksiders II Guide Walkthrough Side Quests and Areas
Sentinel’s Gaze
Sentinel’s Gaze
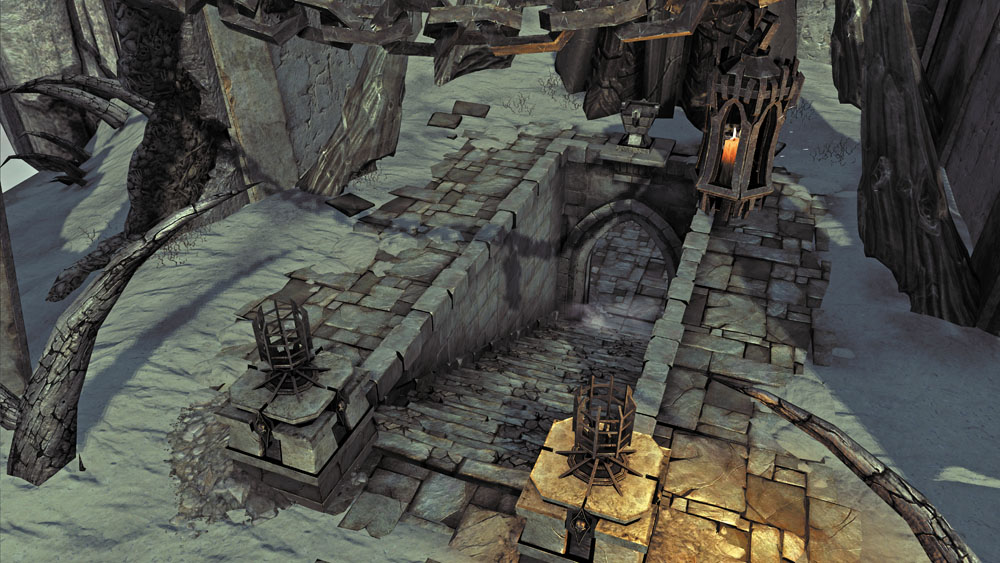
Descend the stairs at the Maw’s north end, just south of the three-way bridge, to visit a small underground keep that serves as the entrance to another side dungeon called Boneriven. The Soul Splitter is required to fully explore Sentinel’s Gaze.
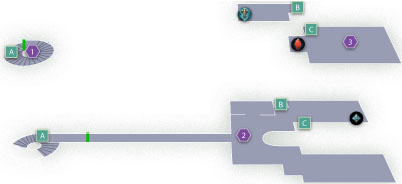
Area 1: Entry Stairwell
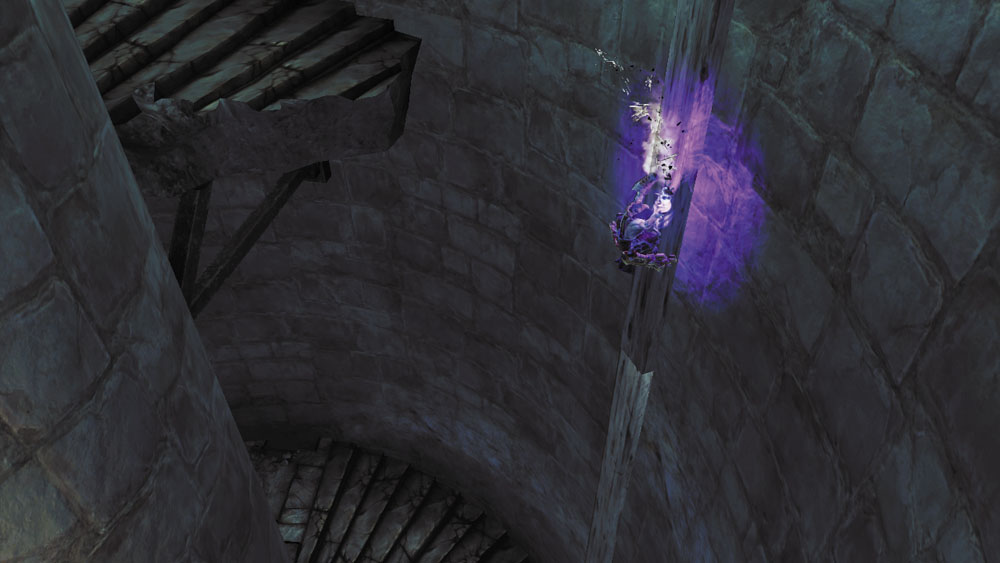
The winding stairwell that leads down into Sentinel’s Gaze is broken. Wall-run to a post where the stairs have collapsed, and then slide down. Wall-run to the left to crack open a chest, return to the post, and wall-run to the right to reach the bottom of the stairs.
Area 2: Keep Grounds
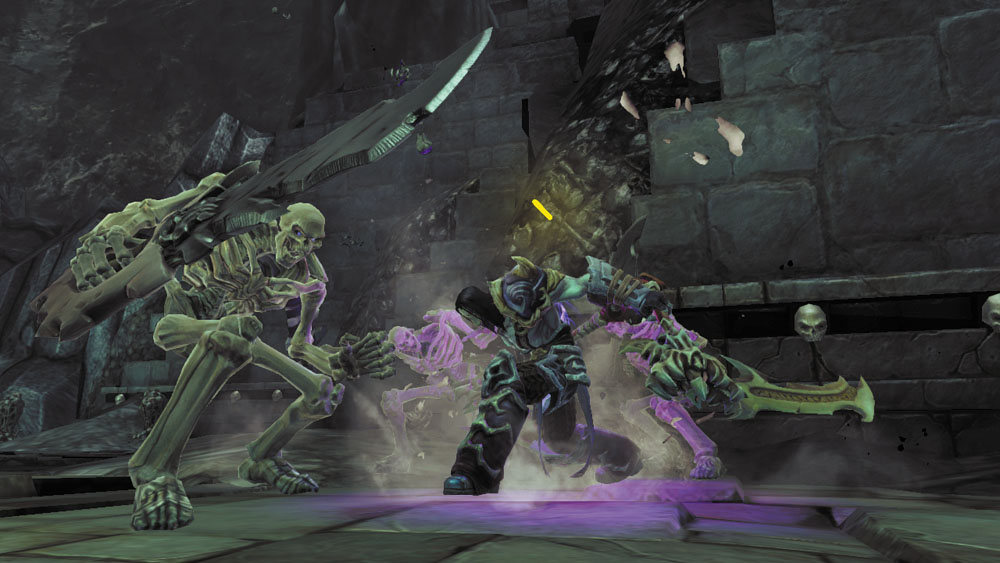
Skeletons and Skeletal Warriors roam the grounds surrounding Sentinel’s Gaze. Slay them all, and then run to the northeast corner of the area to find a Boatman Coin hidden inside a crate.

|
Boatman Coin 56 |
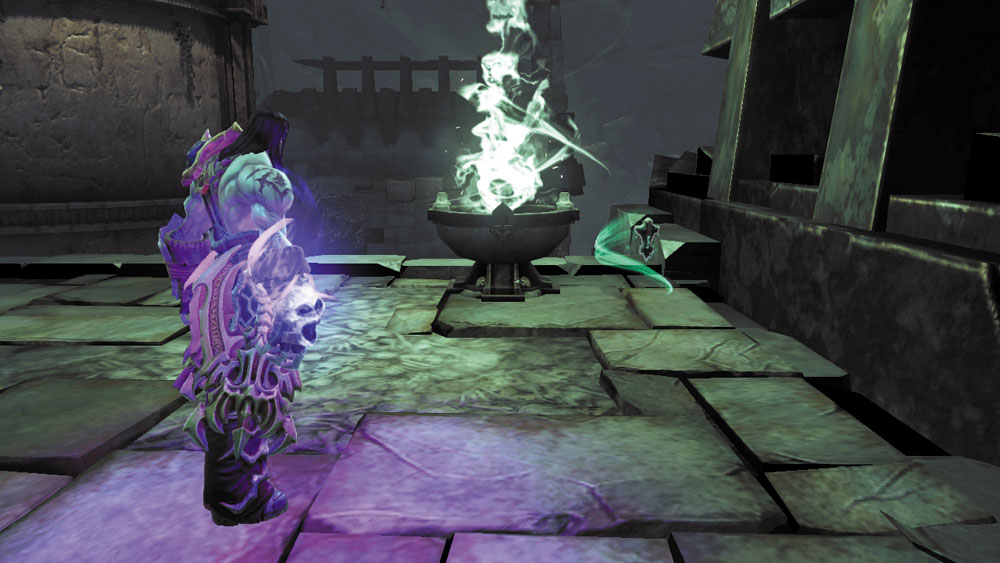
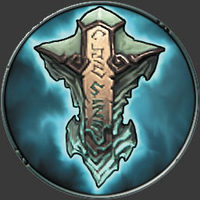
Backtrack a bit and scale the low wall near an alcove that’s blocked by Corruption crystals. Climb up to a ledge where a Shadowbomb pod grows. Collect the Relic that’s hidden behind the nearby torch, and then grab a bomb. Drop down from the ledge and use the bomb to obliterate the alcove’s Corruption crystals so that you may access the weapon racks and chest within.
|
Relic of Etu-Goth 5 |
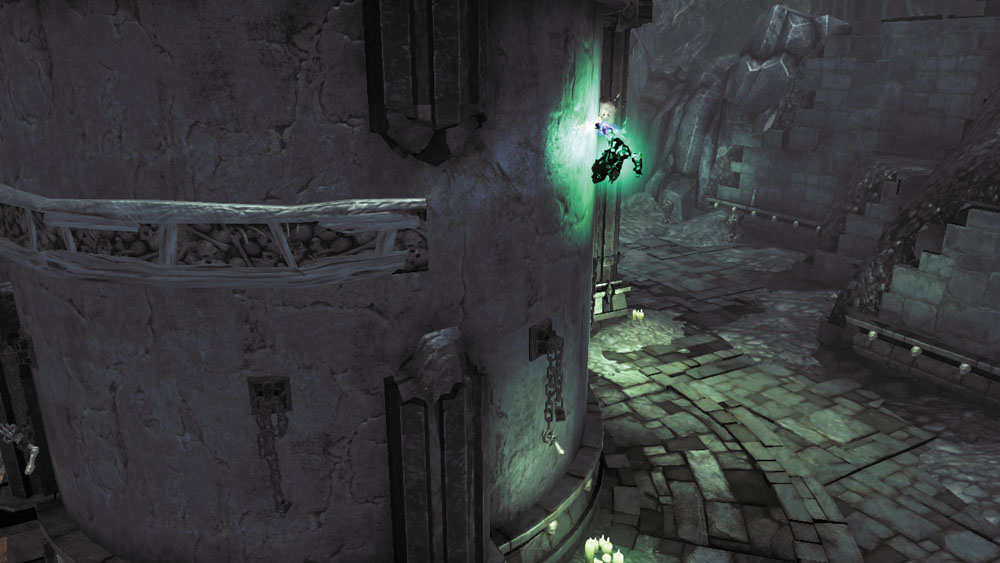
Stand near the front of the main structure and split Death’s soul. Climb the main structure and wall-run around its curved front wall. Keep going until you’re able to climb up to a higher ledge, where more Corruption crystals block your progress.
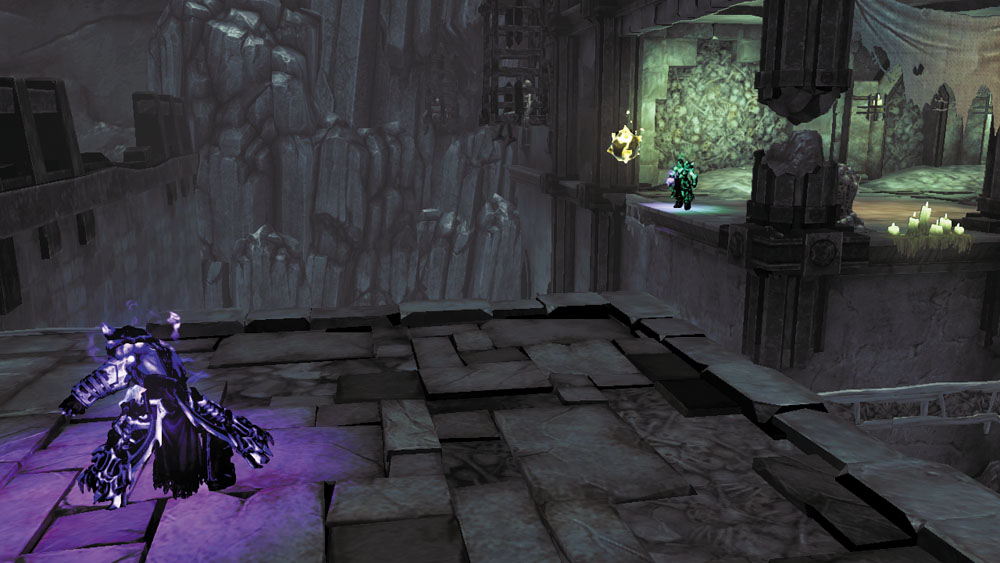
Switch souls and return to the Shadowbomb pod. Enter aiming mode and toss a bomb over to the soul that’s standing near the crystals. Switch souls, destroy the obstacles, and then scale the hand holds they were covering.
Area 3: Keep Roof
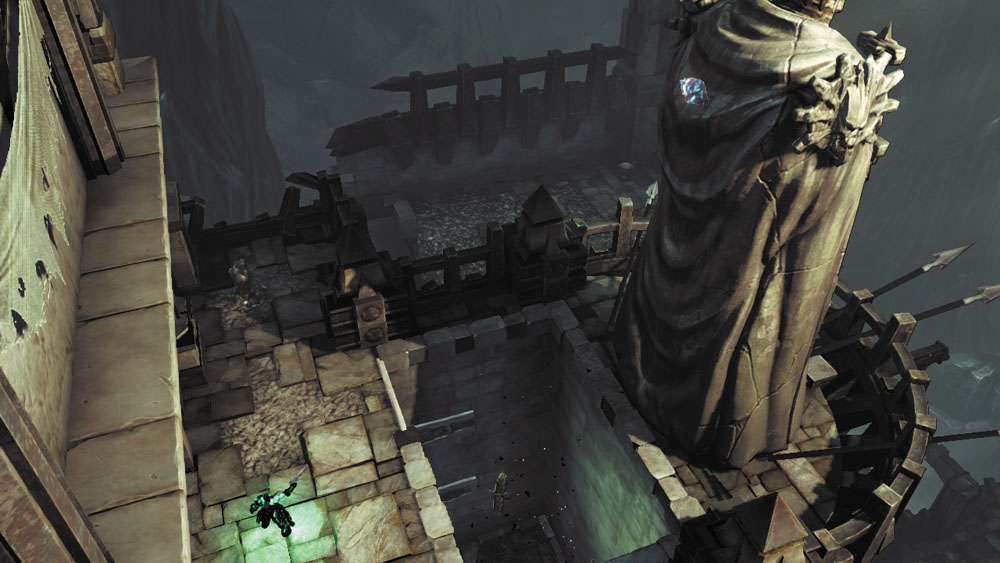
The hand holds lead up to the keep’s roof. Shoot the Stonebite on the back of the tall statue, and then stand on the roof’s northeast corner.

|
Stone of Power 12 |
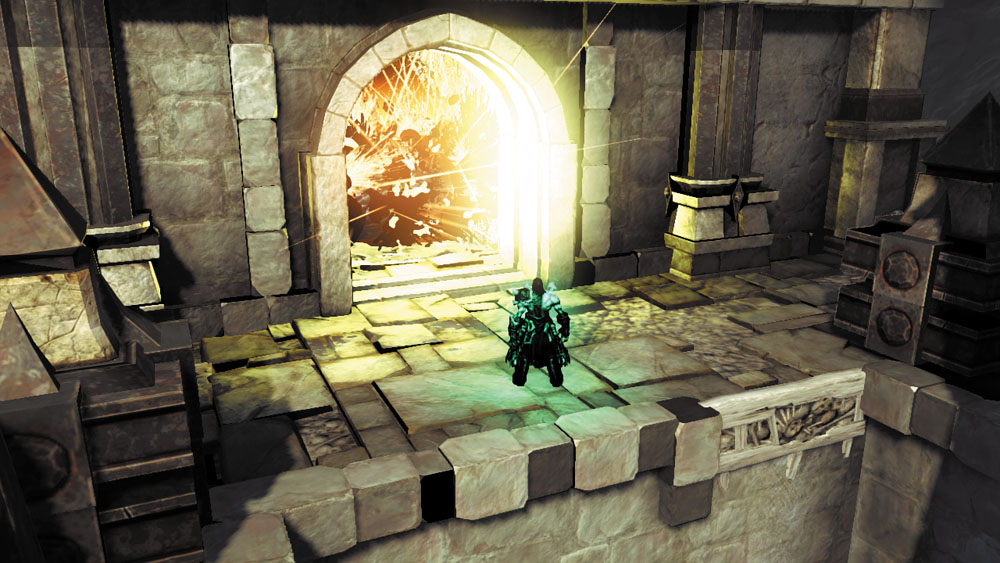
Switch souls again and hurl another Shadowbomb up to the soul on the roof. Use this bomb to obliterate the crystals inside the roof’s alcove, exposing a large chest. Claim your plunder, and then optionally drop down into the hole behind the chest to visit another side dungeon called Boneriven.