
Darksiders II Guide Walkthrough Heart of the Mountain
The Second Heart Stone
The Second Heart Stone
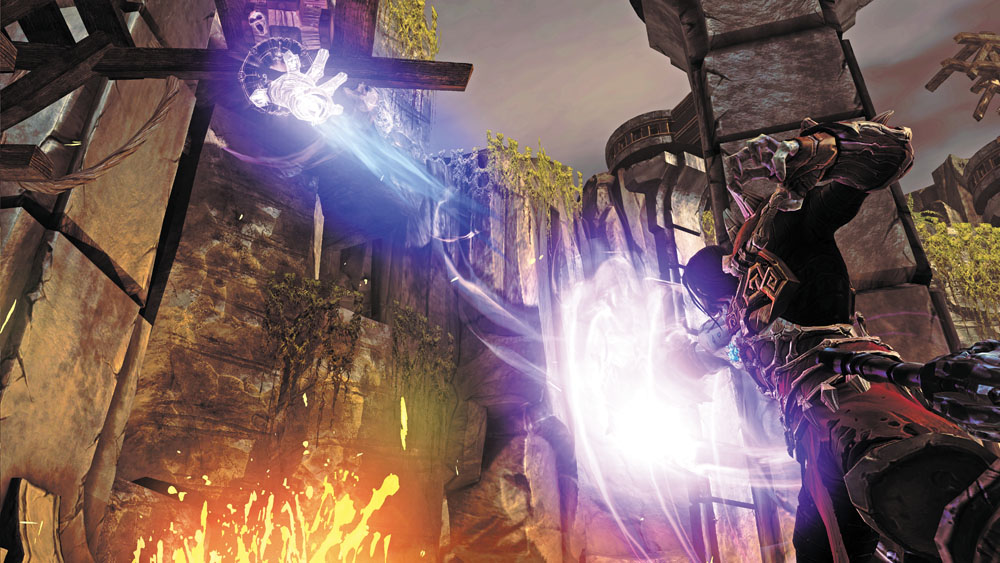
Some nearby scaffolding collapses after you place the first Heart Stone, exposing a hoop. Jump and Deathgrip the hoop to swing past the bubbling lava which now fills the Guardian Assembly area. Proceed into the dark tunnel beyond.
Area 13: Foundry Drainage
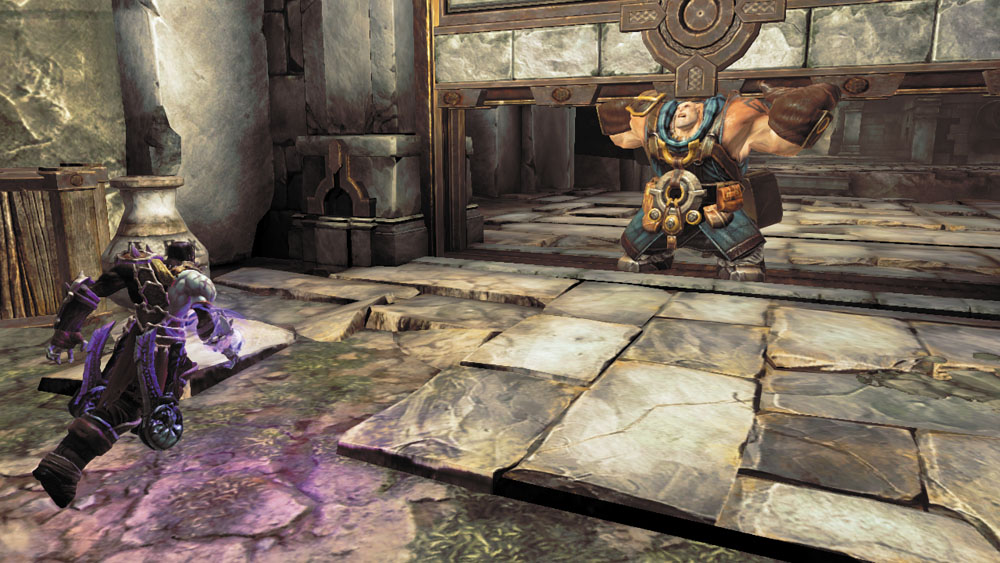
An out-of-reach Boatman Coin taunts you from across this pipe-filled chamber. Ignore it for now and pass through another nearby tunnel to reach a wide passage to the north. Stand on the pressure plate here to raise the east and west doors, then wait for Karn to position himself beneath the east door. Sprint through to the next area while Karn holds the door for you.
Area 14: Waterway
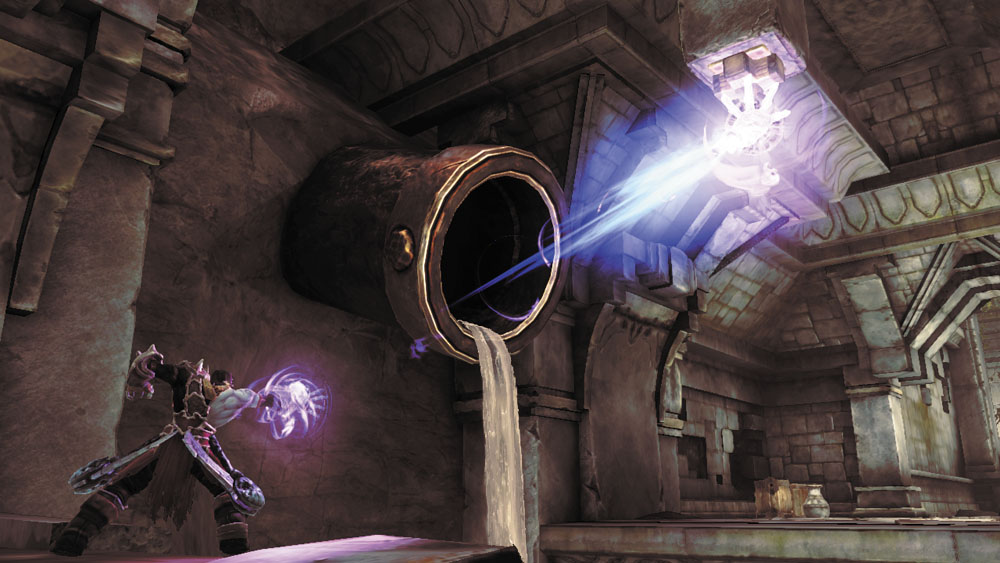
Let Karn heave you over to the this chamber’s central ledge, and then Deathgrip the hoop that hangs from the ceiling to reach the east ledge. Proceed into the roofless room beyond.
Area 15: Custodian Storage
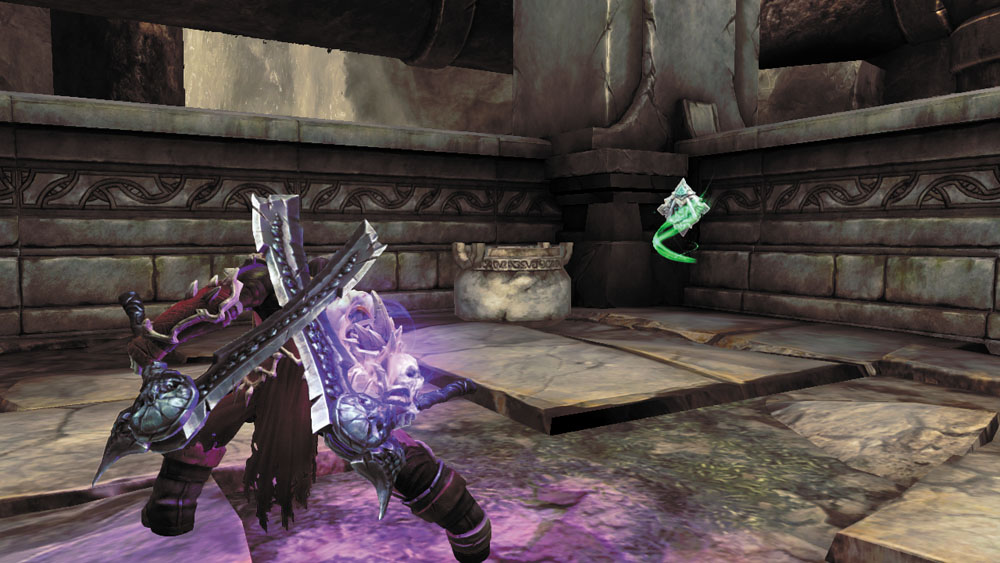
Slay a few Savage Prowlers in this crumbling room, and smash the clutter in the northeast corner to discover a hidden Boatman Coin.

|
Boatman Coin 35 |
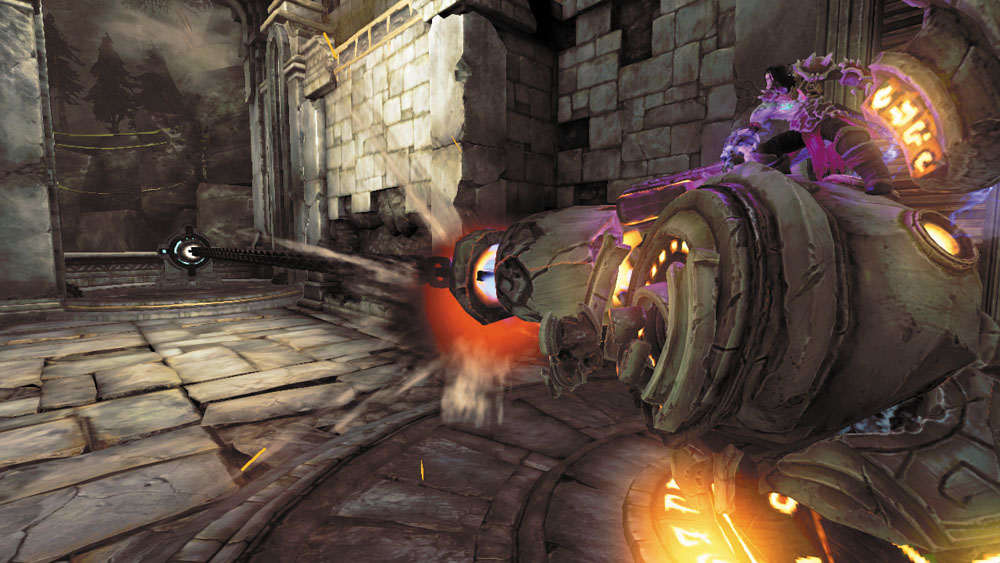
Activate the Maker Custodian here and park it on the nearby orb slot. Once in position, fire a chain to the nearby target and mount the chain. Drop down to the floor and climb atop the nearby platform to reach a lever.
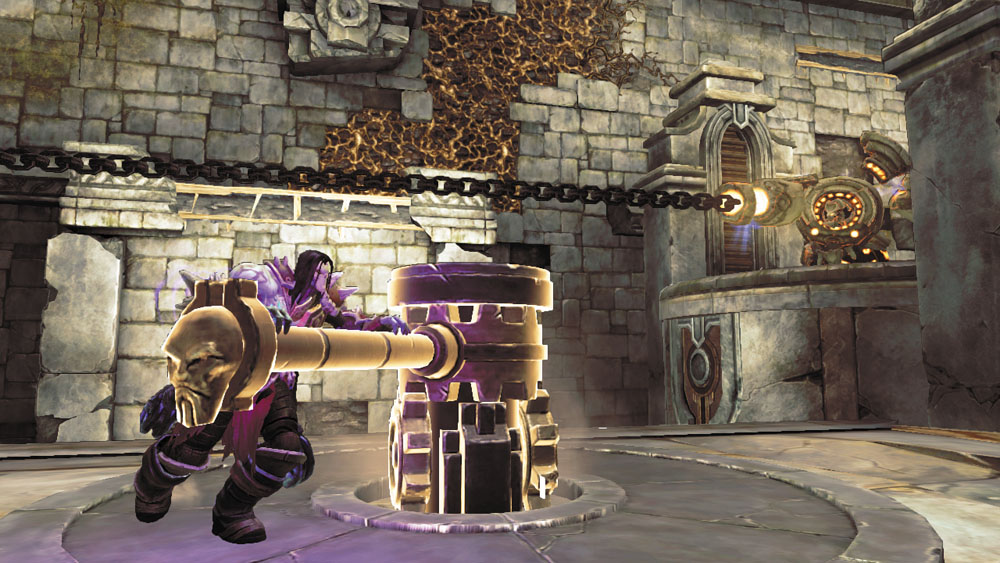
Grab and rotate the lever to raise the Maker Custodian, along with the chain target platform.
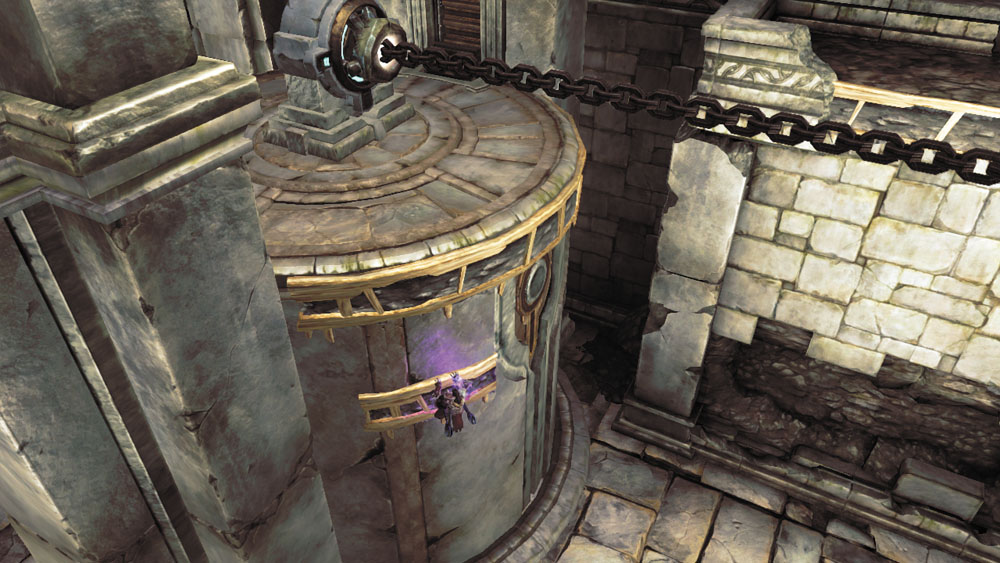
Release the lever, and then quickly jump at the chain target platform to perform a vertical wall-run up to its hand holds.
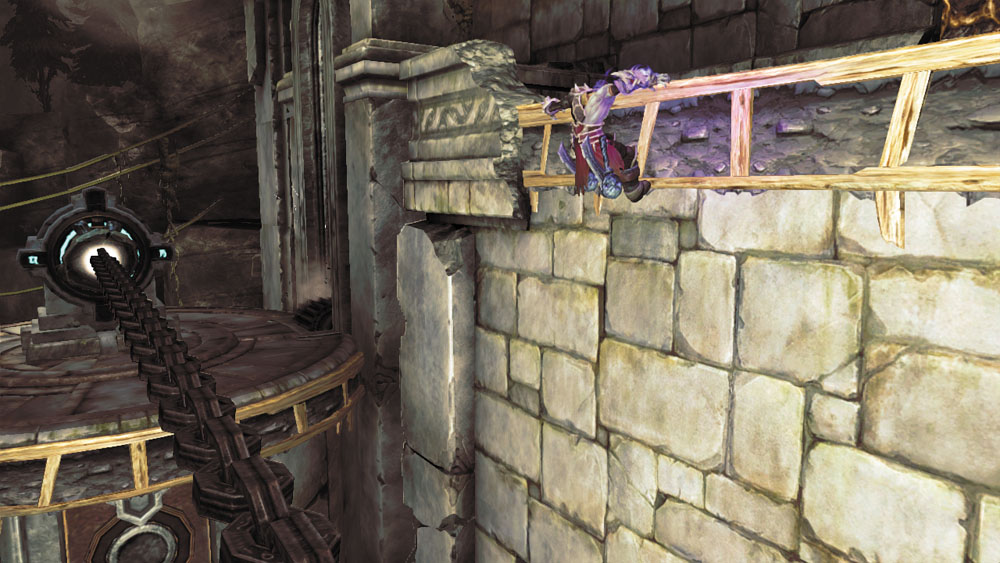
Climb onto the chain and leap over to the growth on the far wall.
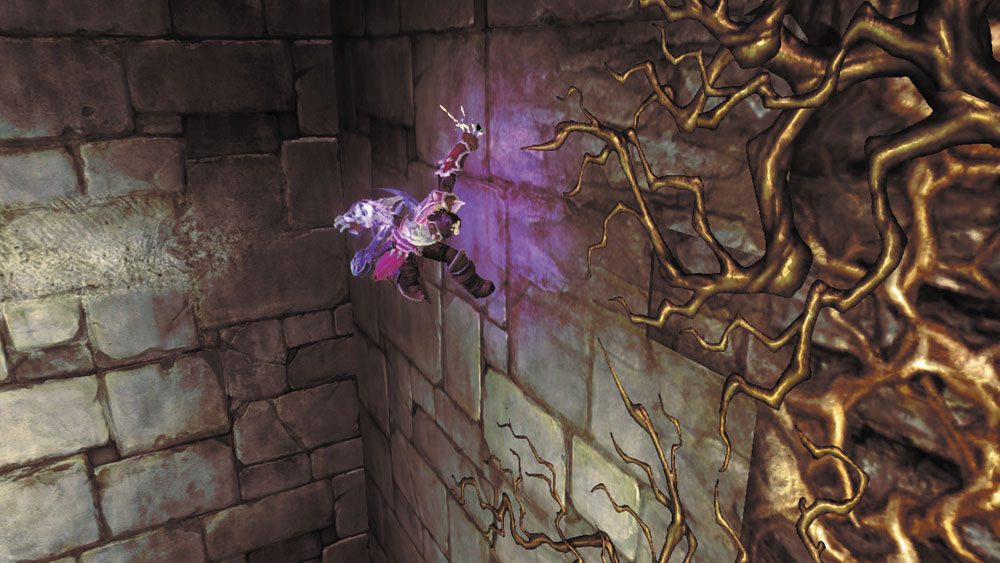
Wall-run from the end of the growth to reach the hand hold on the right. Wall-run again and jump the corner to reach more growth.
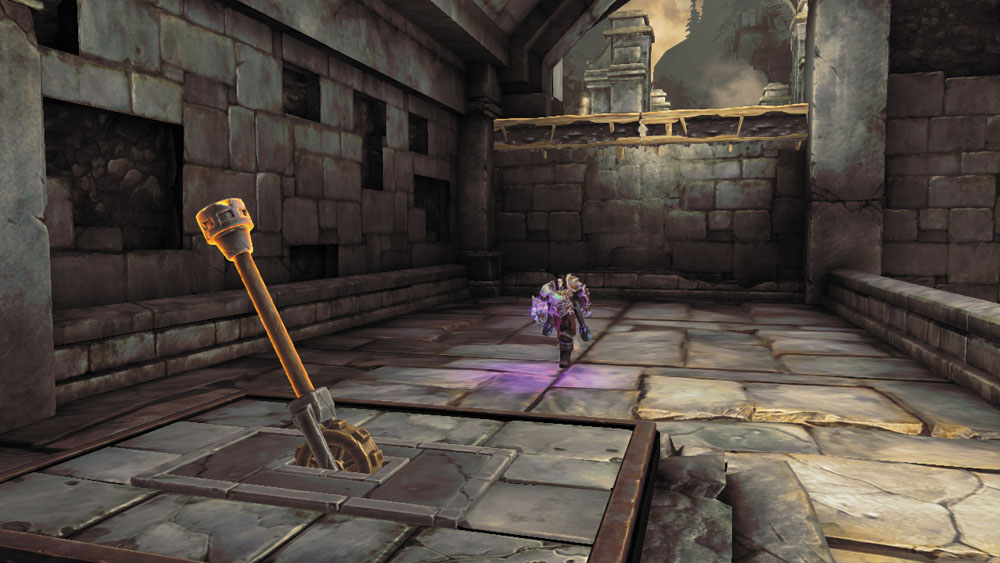
Climb down the growth and drop down to the ledge below. Go west and pull a lever to raise a series of bridges back in the Waterway area.
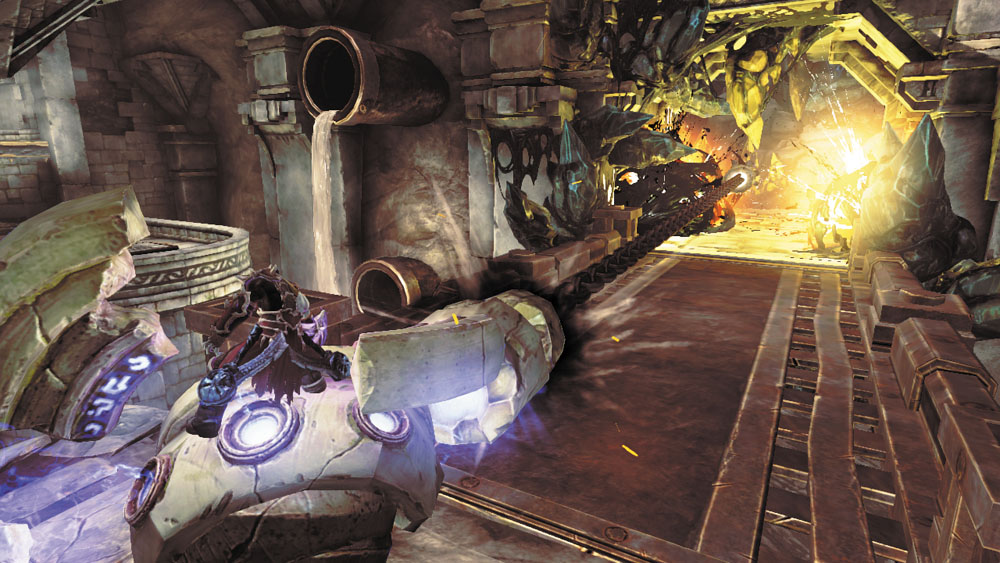
Turn around and scale the wall behind you before boarding the Maker Custodian and rolling back to the Waterway area. Cross the south bridge and use the Custodian’s heavy blows to smash through the Corruption crystals that block the south passage. Proceed to the next area.
Area 16: Foundry Plaza
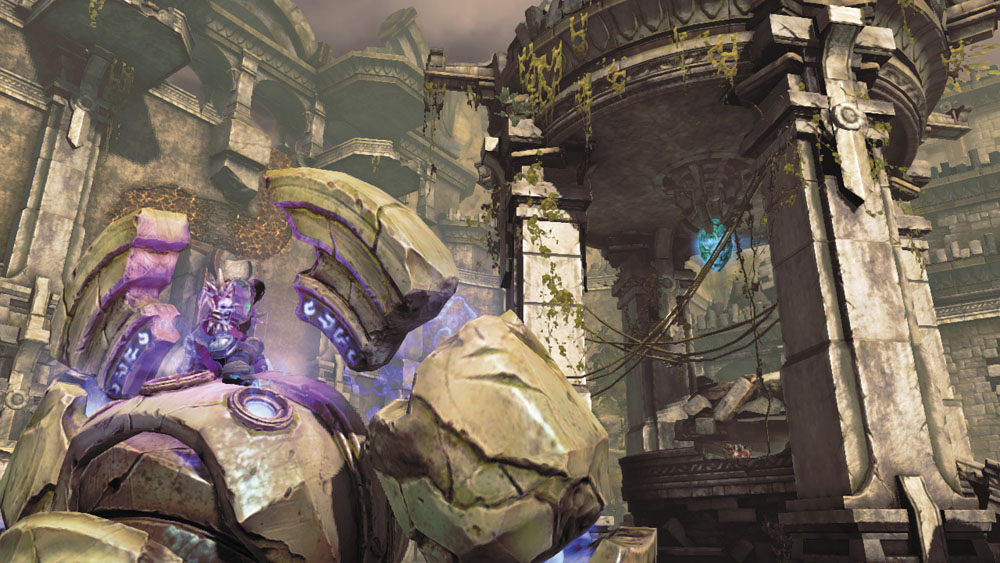
The second Heart Stone catches Death’s eye here, but it will take some effort to obtain.
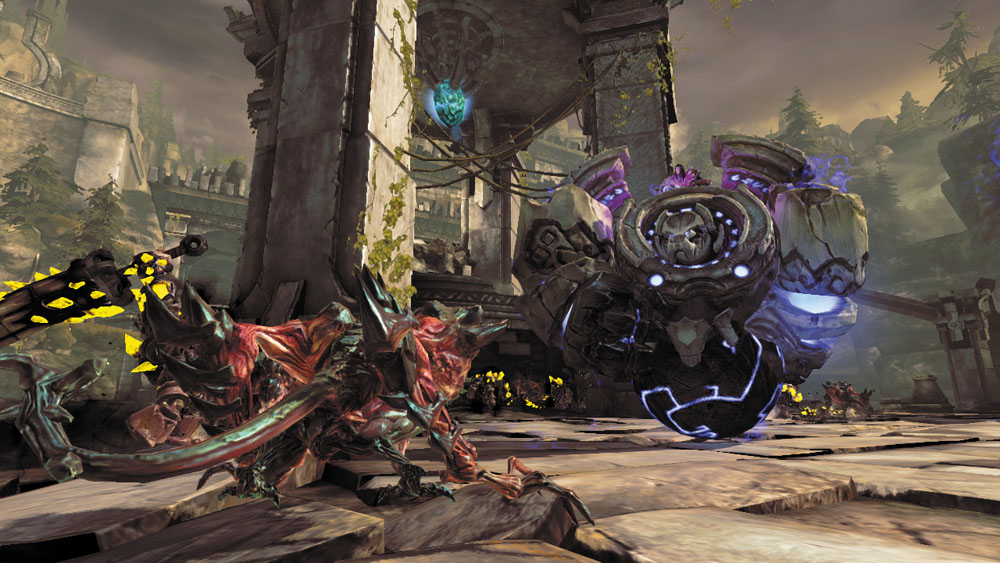
Roll all around this wide open area and use the Maker Custodian to annihilate the Savage Prowlers that foolishly attack you here.
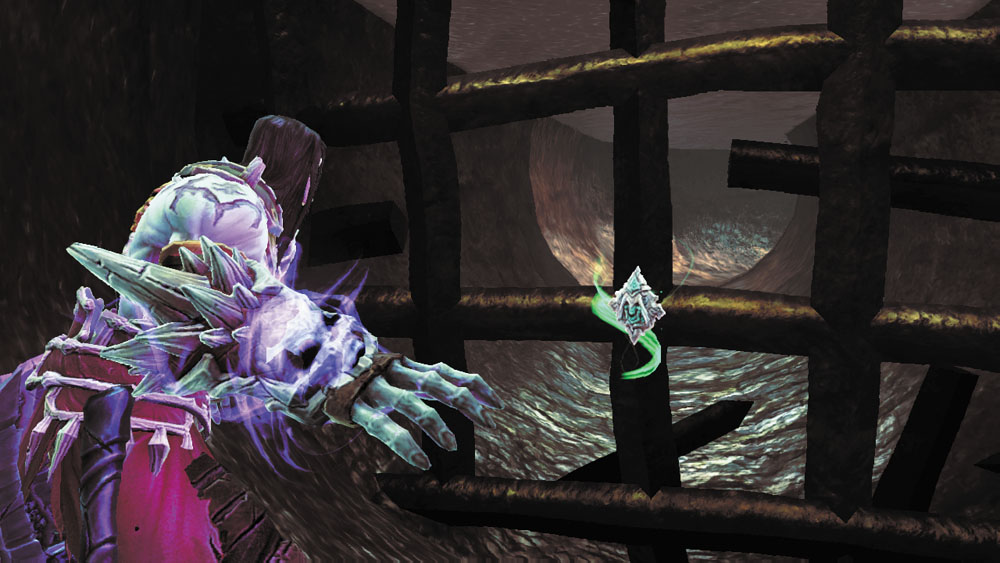
Dismount the Maker Custodian after the battle. Ignore the lever near the northwest machinery for the moment, and instead plunge into the surrounding water. Swim west and claim the underwater Boatman Coin near a broken drainage grate in the west wall.
|
|
Boatman Coin 36 |
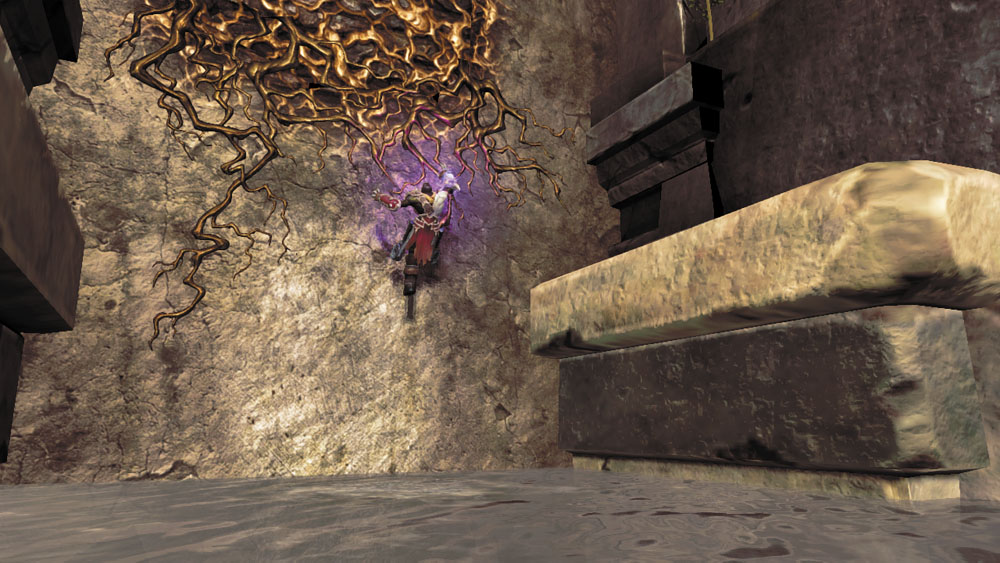
Next, swim northeast and climb the east wall’s growth to reach a high hand hold. Shimmy to the right until you can shimmy no farther, scamper up the wall, and Deathgrip a hoop to reach more growth above. Make your way up to the top of the wall.
Area 17: Eastern Ruins
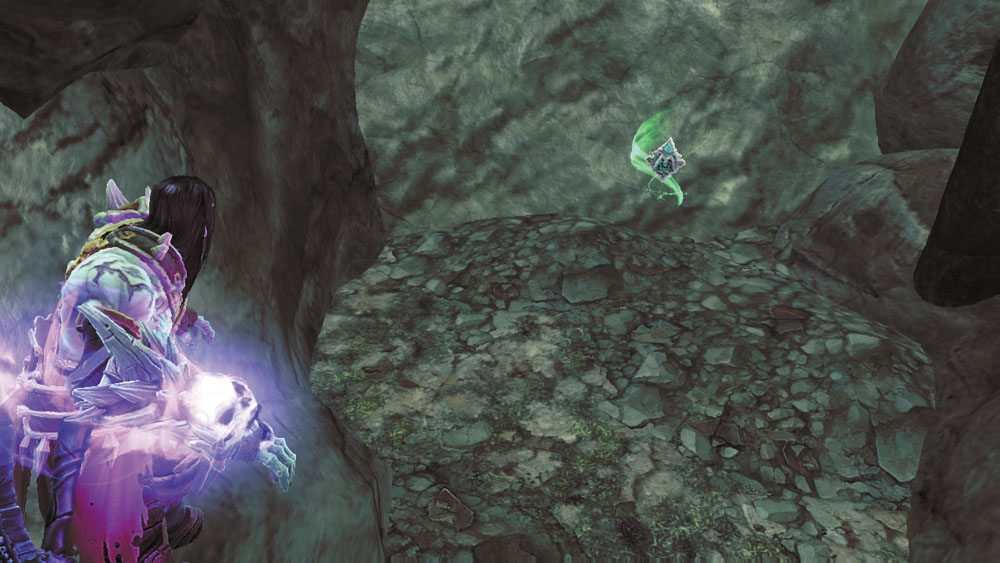
A series of crumbling ruins must be navigated in order to reach a high lever in this area. First, run north along the top of the wall, exploring the east grassy ledge to locate a chest. Then, drop down into the water below and swim east to discover an underwater Boatman Coin.
|
|
Boatman Coin 37 |
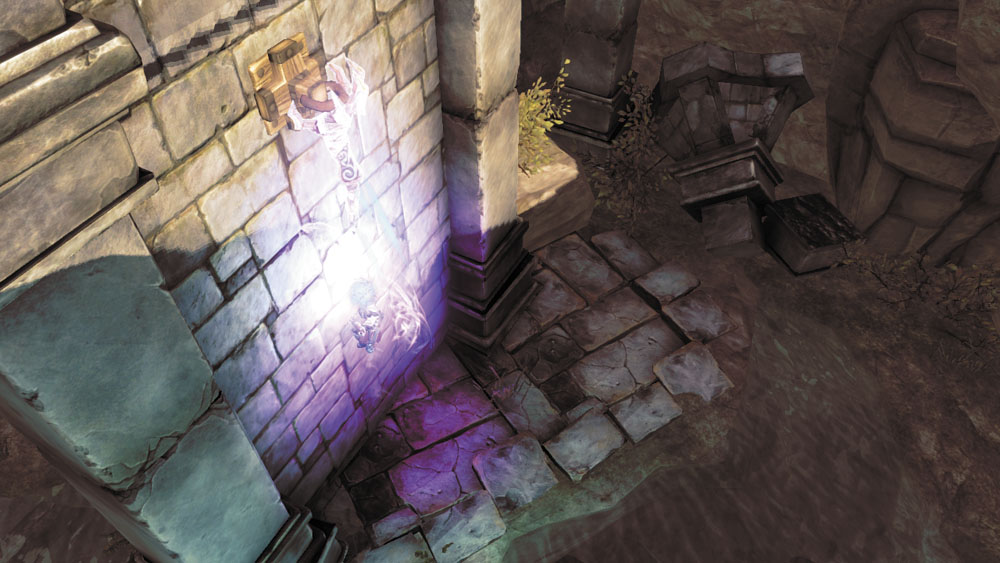
Surface and search for a smooth nearby wall sporting a hoop. Deathgrip the hoop to reach a high hand hold, and then shimmy and wall-run to the right to reach a ledge.
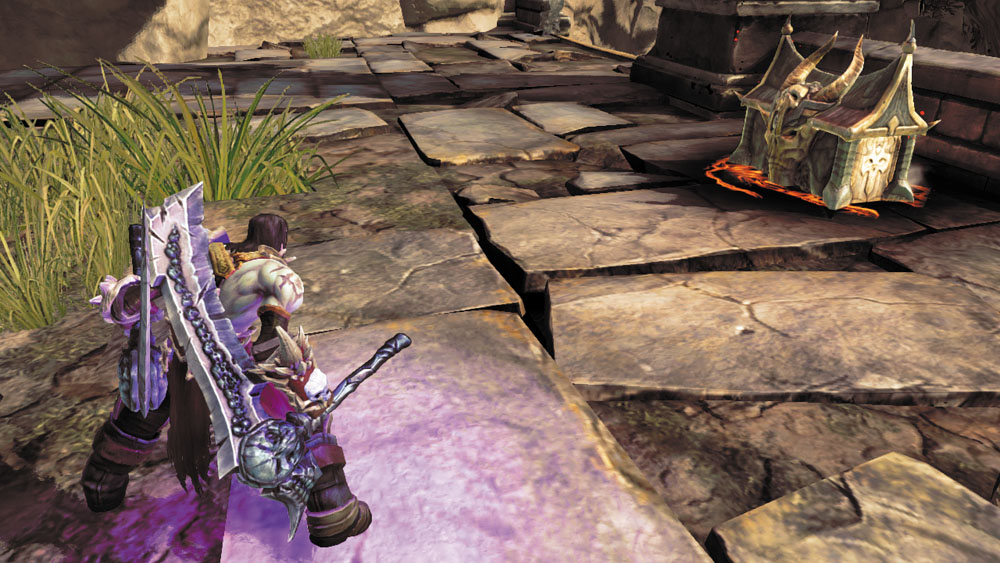
Climb the west wall to reach a balcony. Slay the Savage Prowlers that ambush you here in order to secure the balcony’s chest. Then, shatter all of the balcony’s clutter to cause a second, larger chest to materialize as well.
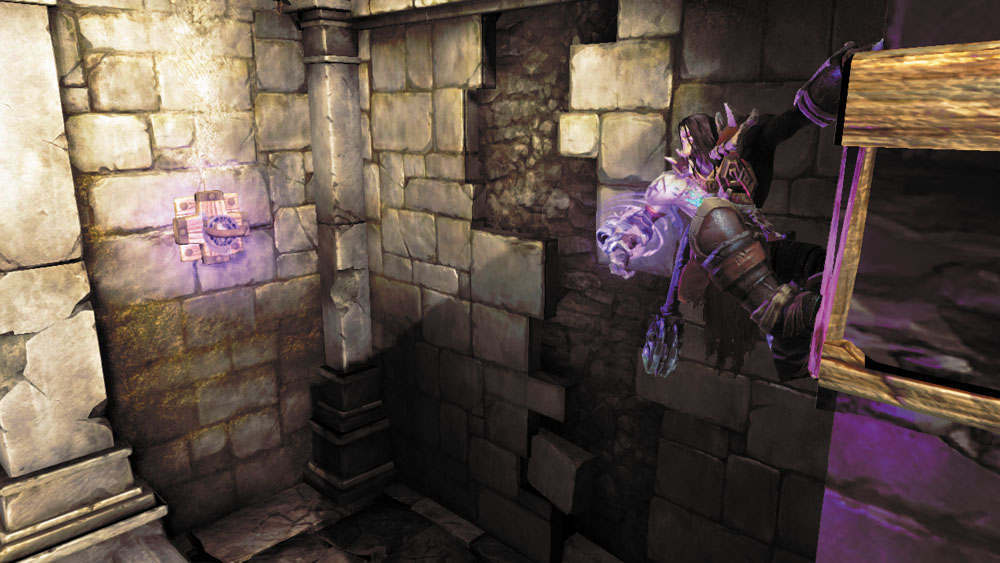
Backtrack away from the balcony, dropping down to the lower ledge and returning to the east wall’s hand holds. This time, wall-run to the left and shimmy around a corner. Keep going until the viewpoint expands to reveal a hoop on a far wall. Perform a 180 leap and Deathgrip the hoop in midair to reach a balcony where more Prowlers lurk.
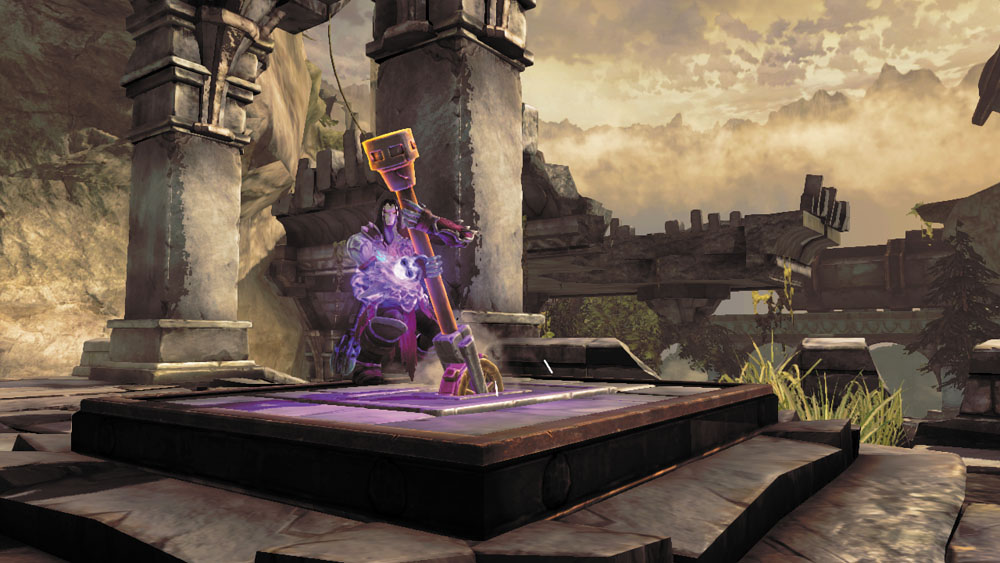
Clear the balcony of hostiles, then pull the nearby lever. This releases a torrent of water into the Foundry Plaza, activating the machinery back in the previous area.
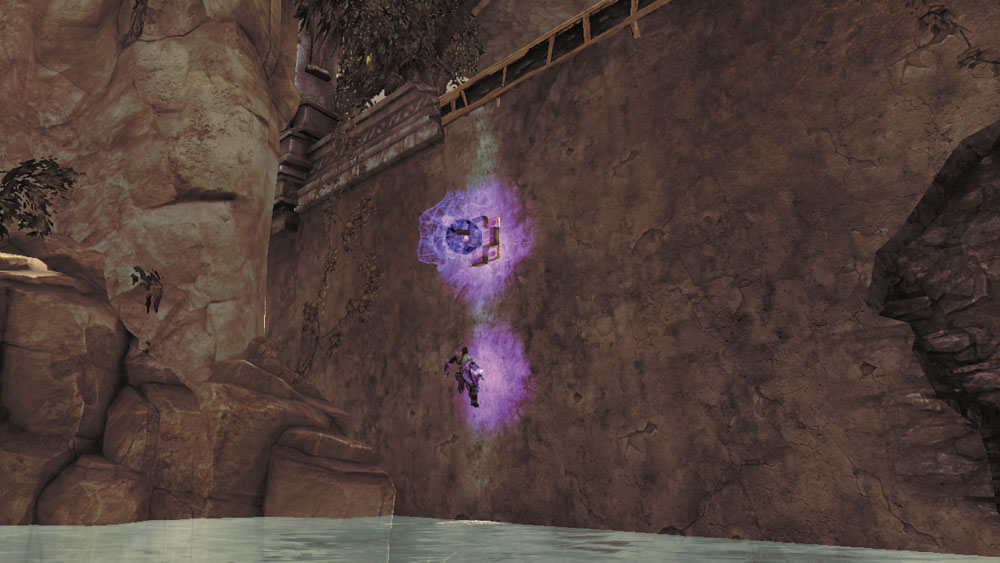
There’s nothing else to accomplish here. Drop down into the water and swim west, and then use the west wall’s hoop to help you climb to the top again.
Area 16 Revisited
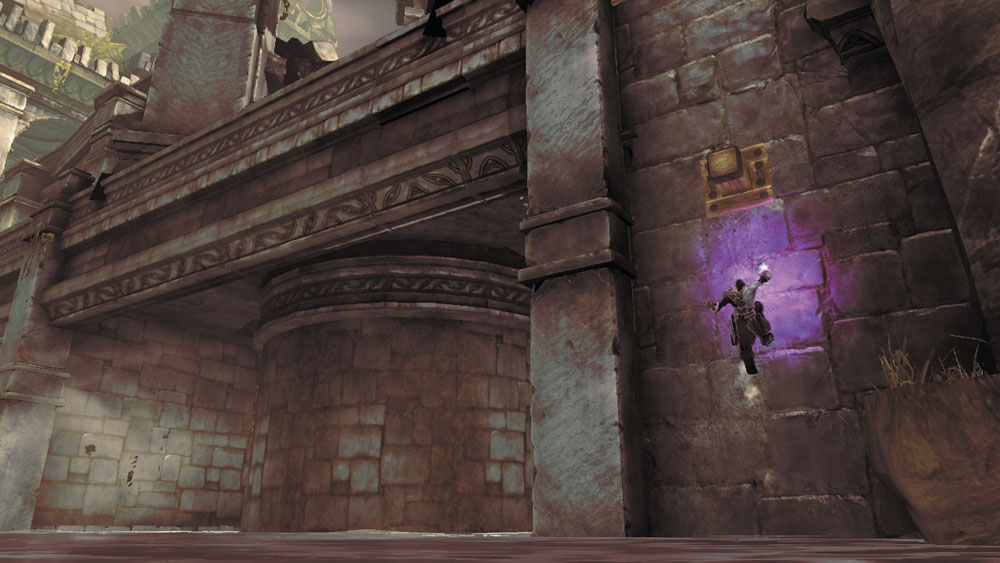
Make the long drop down to the Plaza area’s water, surface, and look for a peg on the smooth wall opposite the growth you climbed to enter the Eastern Ruins. Vault from the peg to scale the wall and rejoin Karn on the Plaza’s main level.
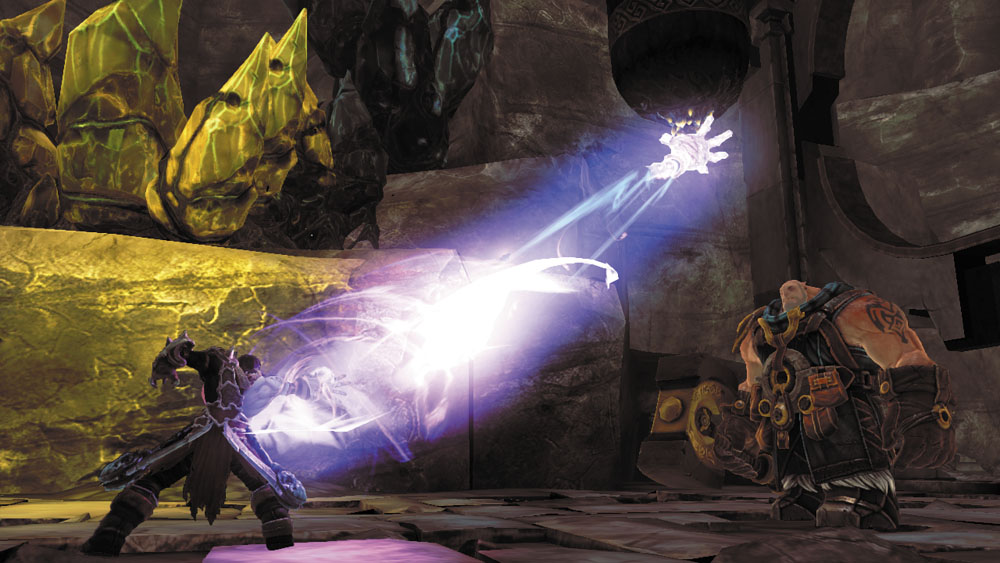
Sprint south and stand before the large Corruption crystals that are blocking a high ledge. Use the Deathgrip to snatch a Shadowbomb from one of the cauldrons that pass by, and then toss the bomb at the crystals to destroy them.
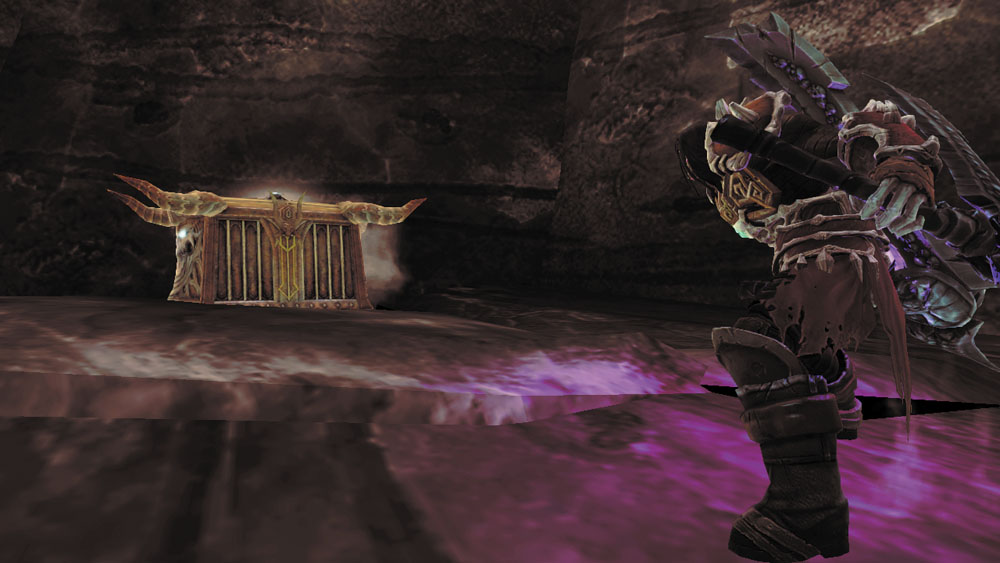
With the crystals gone, Karn now offers to toss Death over to the ledge that the Corruption was previously covering. Open the ornate chest you discover there to claim a Skeleton Key. Drop down and unlock the nearby door to the south.
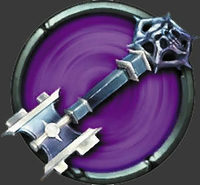
|
Skeleton Key |
Area 18: Earth Crag Lair
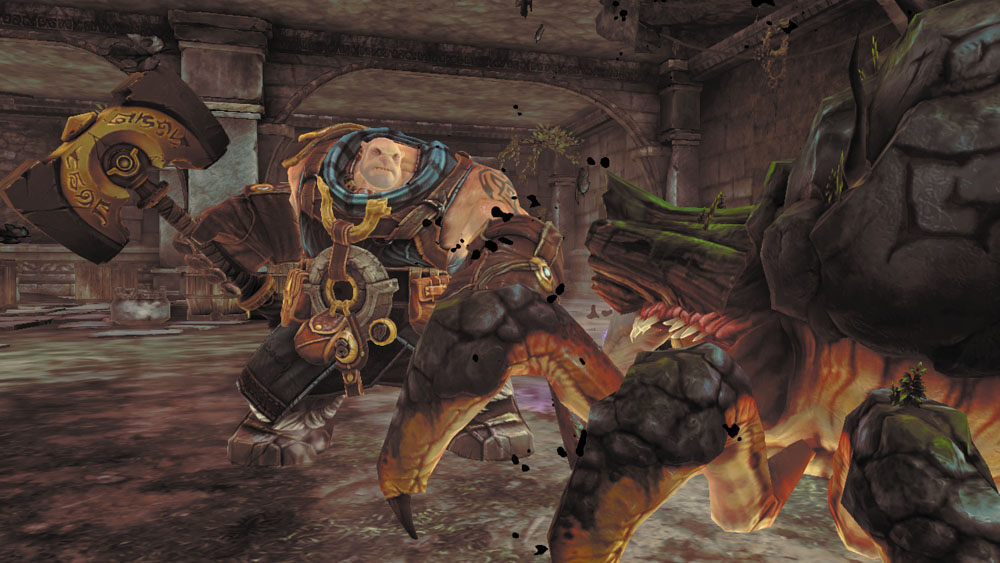
Beware: a monstrous Earth Crag resides in this clutter-filled chamber. Stay mobile, use Death’s abilities, and allow Karn to assist in bringing down this vicious brute.
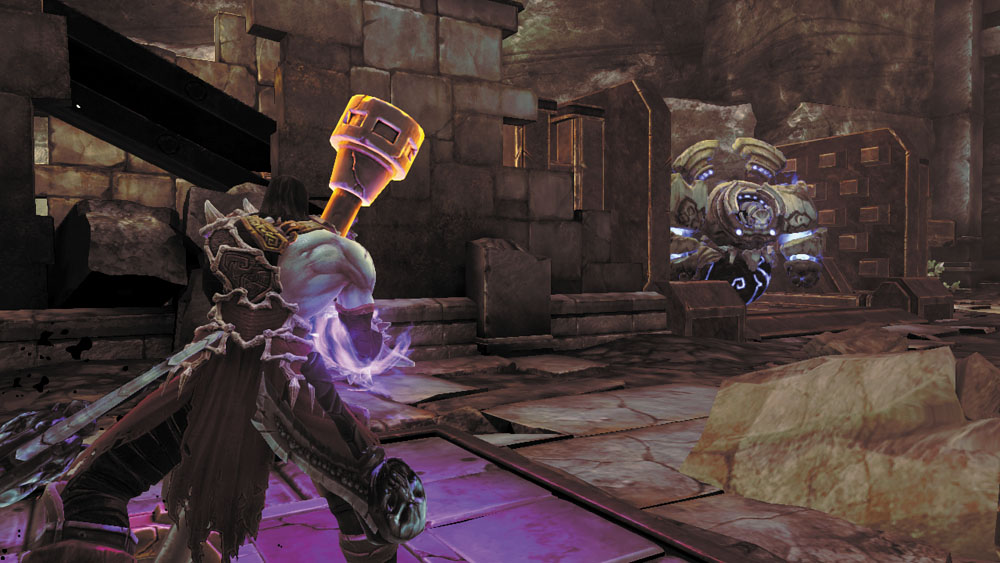
Smash the surrounding debris for items after the battle, and take notice of the orb slot on the ground. Backtrack to the Maker Custodian and roll it toward the Plaza’s northwest lever. Hop off and pull the lever to crush the rocks on the nearby mechanism, and then park the Custodian where the rocks formerly sat. Pull the lever again to smash the Custodian to bits, freeing the orb it uses to move. The orb is then sucked into the ground and pops out near the moving cauldrons to the south.
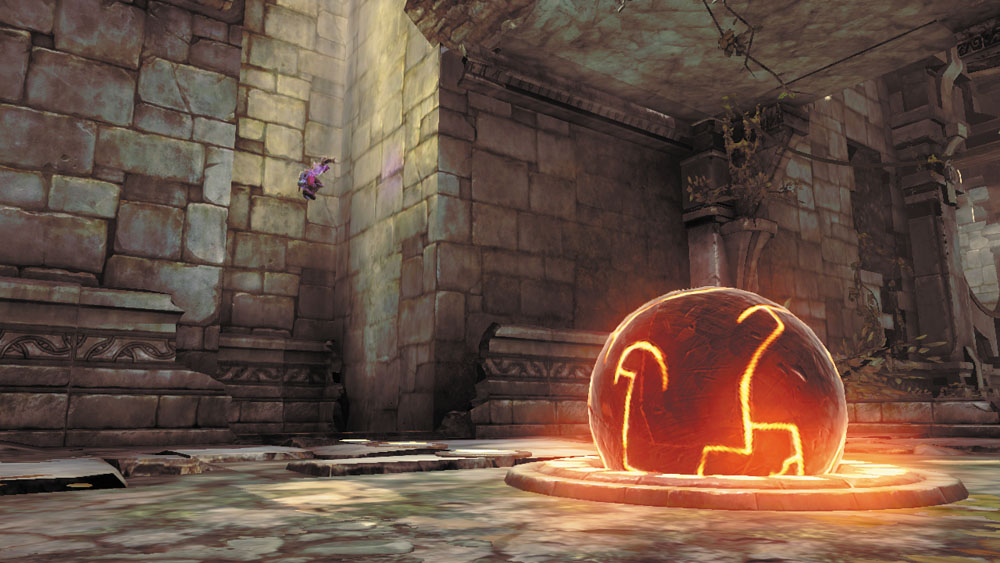
Grab the orb and roll it back to the Earth Crag Lair, placing it into the slot you noticed before. This lowers a nearby gate; jump up the parallel walls beyond, leaping between them to climb to the top.
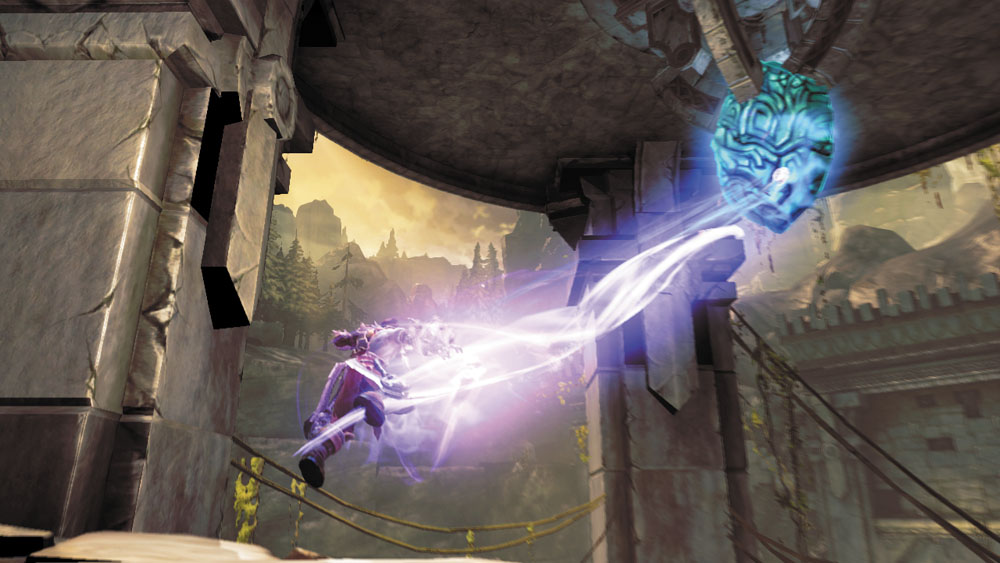
Shimmy around a hand hold and drop down to a ledge. Run north until you finally arrive within reach of the second Heart Stone. Deathgrip the stone to knock it down so that Karn may collect it.
Returning the Second Heart Stone
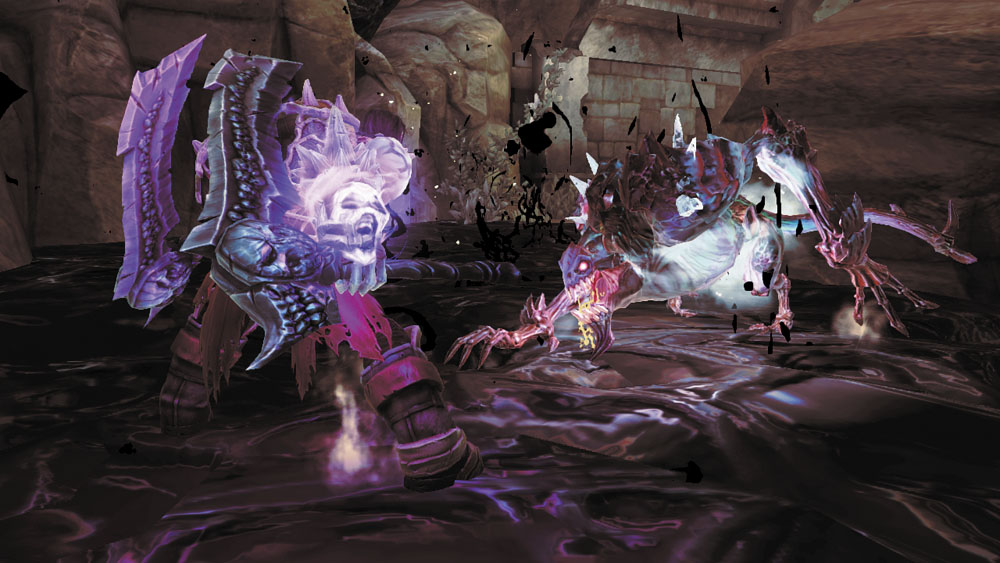
You’re back in the Plaza. Backtrack up the north passage to return to the Waterway area. Beware: dangerous Nightmare Prowlers now lurk in the north passage, along with a ferocious Nightmare Stalker. Consider falling back to the Plaza where you have more room to battle these challenging new foes.
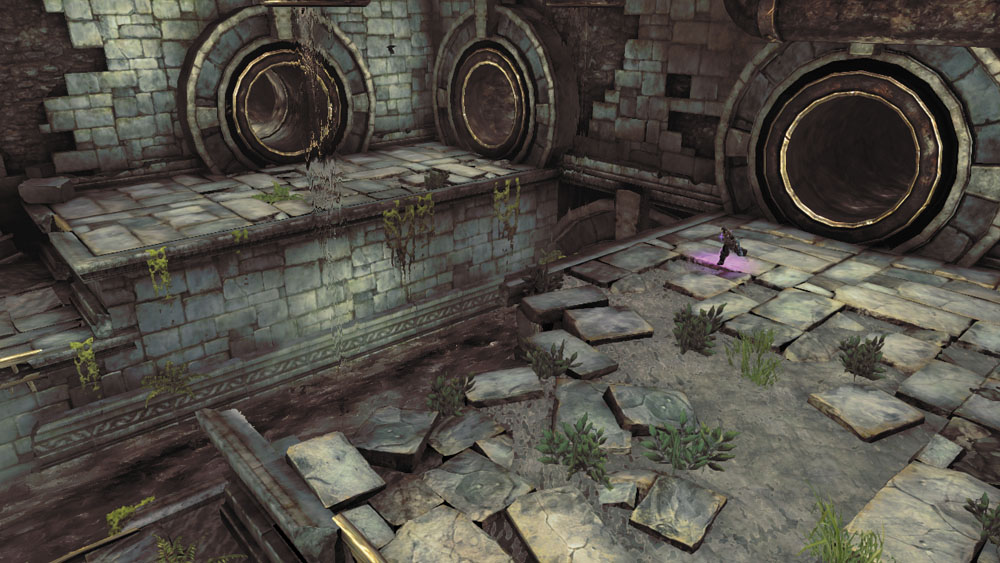
Back at the Waterway, dive into the water and scale the west wall. Shimmy to the nearby balcony and drop down, and then enter the tunnel to return to the Foundry Drainage area. Beware the Noxious Stingers that now swarm this place.
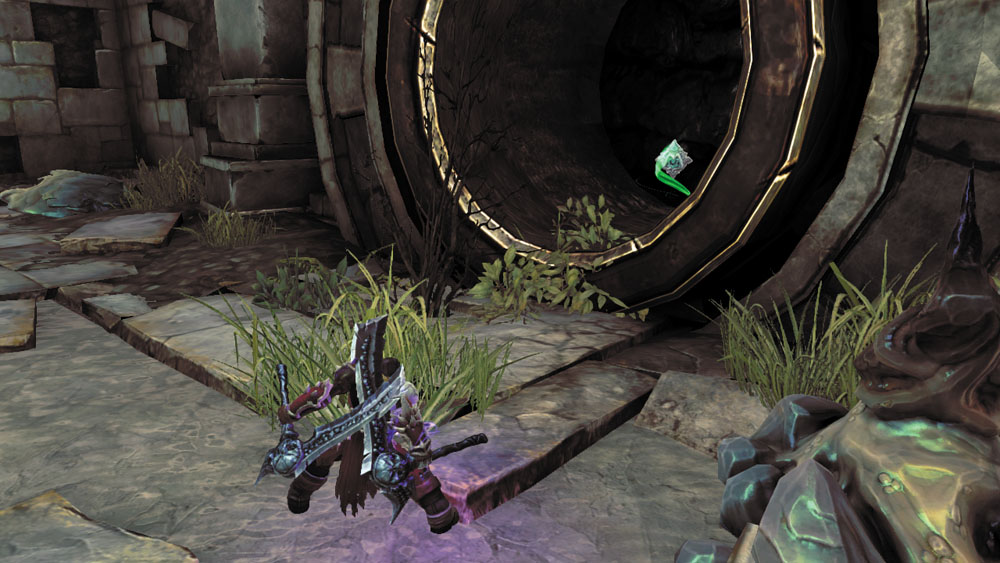
Claim a Boatman Coin from within the drainage pipe on the left. This is the one you noticed a while ago.
|
|
Boatman Coin 38 |
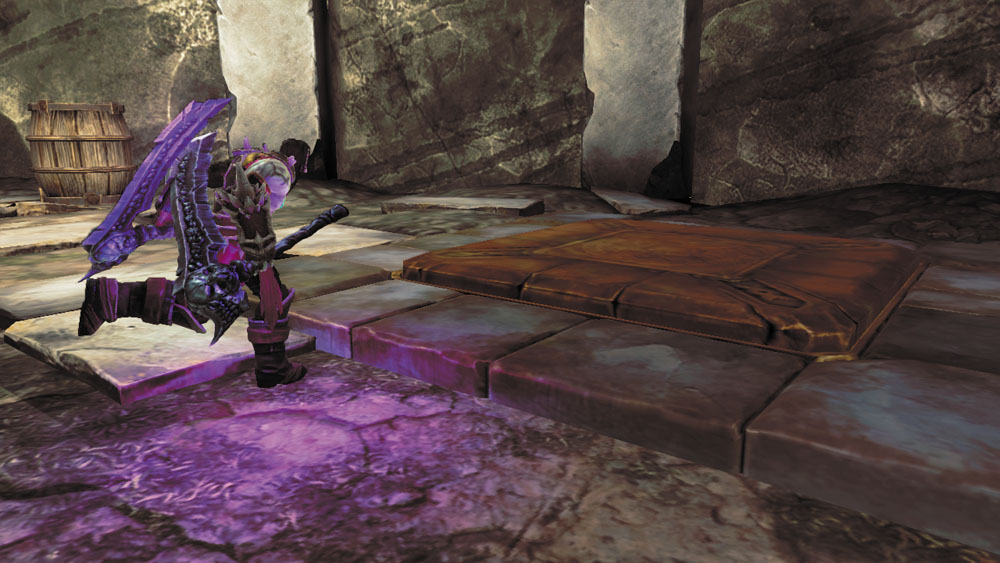
Now, either swim across the water-filled channel, or wall-run between the south wall’s posts to reach the Drainage area’s west side. Enter the north tunnel to return to the pressure plate passage, then stand on the plate and allow Karn to pass through to the Guardian Assembly area. Backtrack to the Drainage area afterward and use the west tunnel to join up with Karn.
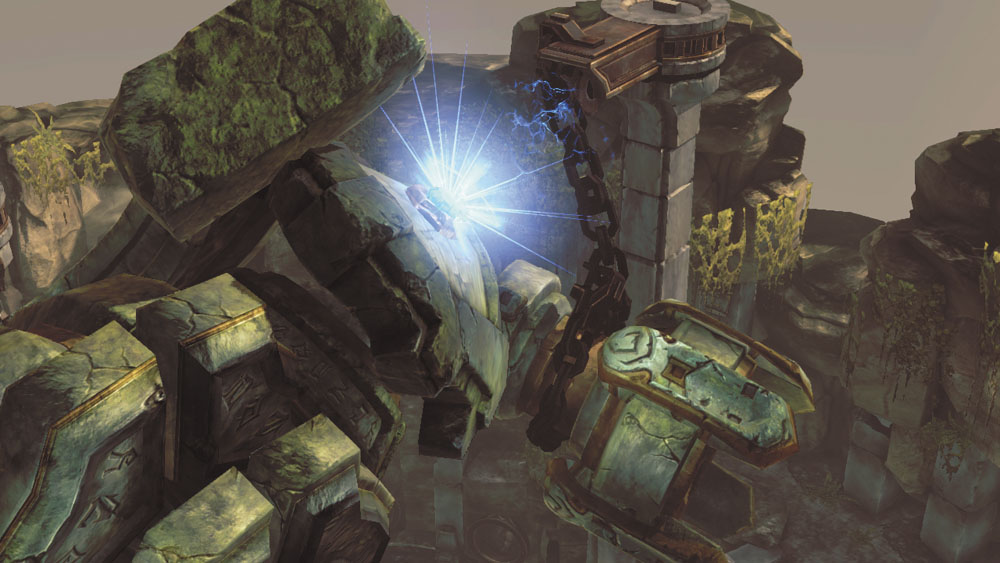
The Guardian Assembly area’s lava has now cooled, so you can safely cross it. Sprint over to Karn and watch as the second Heart Stone drifts into place.