
Darksiders II Guide Walkthrough Tears of the Mountain
The Fjord
The Fjord
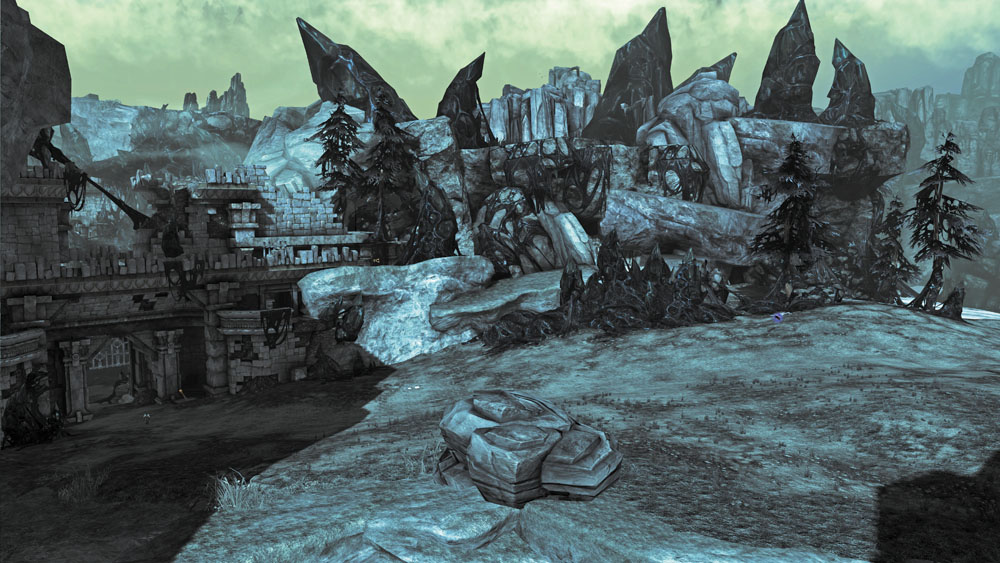
The landscape opens up beyond the Shadow Gorge’s west gate, offering plenty of room for exploration. Summon Despair once more and ride through this gloomy region.
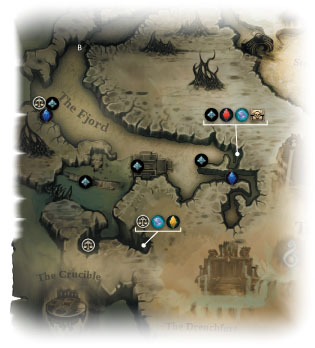
Fiends in the Fjord
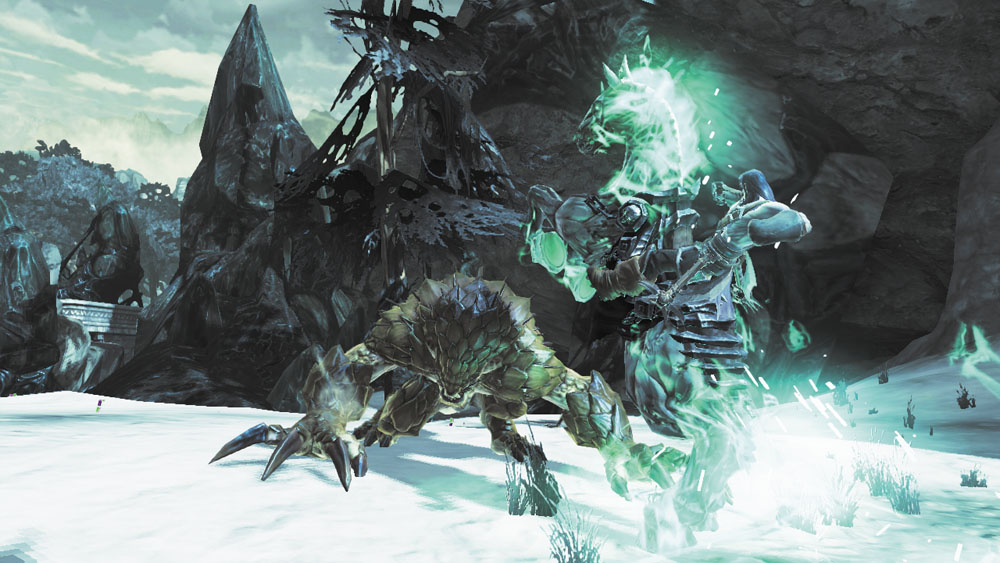
Beware: bloodthirsty Prowlers and hulking Stalkers lurk in the lands beyond the tower gate. Remain on Despair and run circles around each fearsome beast as you pick them apart with Redemption and scythe attacks. Battle these fiends on foot only if you wish to unleash Death’s combat skills.
Blackroot Banter
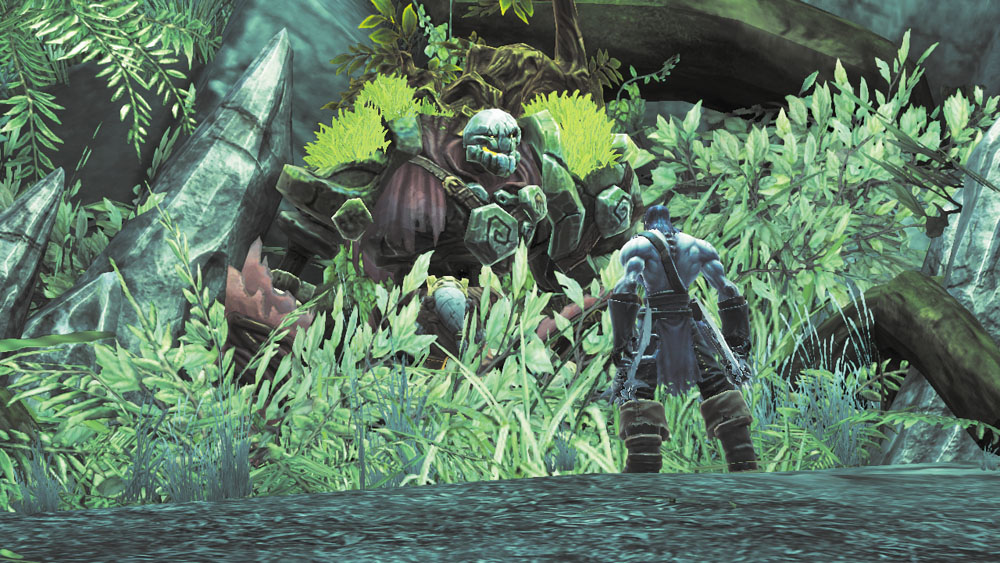
Scale the cliff to the west of the tower gate to speak with a curious construct named Blackroot. This being hasn’t been taken by Corruption, but is suffering the early effects of starvation. Blackroot feeds on special Stonebites that are scattered about the realms, and gives Death a special item that allows the Reaper to harvest these stones if he’s feeling merciful. There’s reward in collecting Stonebites for Blackroot, so it’s wise to seek them out.
Side Quest Acquired: “Sticks and Stones”

|
Lure Stone |
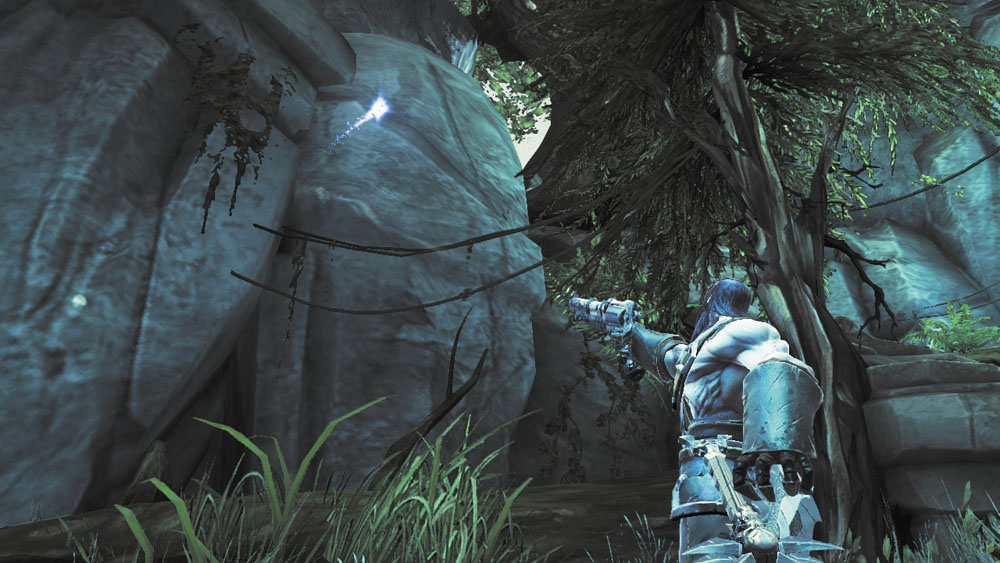
After speaking with Blackroot and receiving the Lure Stone, scan the nearby cliff to spy a blue Stonebite up on high. Enter Aiming mode and blast the Stonebite with Redemption to activate the Lure Stone and draw in your first Stonebite, a Stone of Mystics. Only 68 more Stonebites to go!
|
Stone of Mystics 1 |
|
Stone of Power 1 |
|
|
Stone of Mystics 2-9 |
After chatting with Blackroot, charge Despair off the nearby cliff to claim the floating Boatman Coin.

|
Boatman Coin 16 |
Fjord Harbor
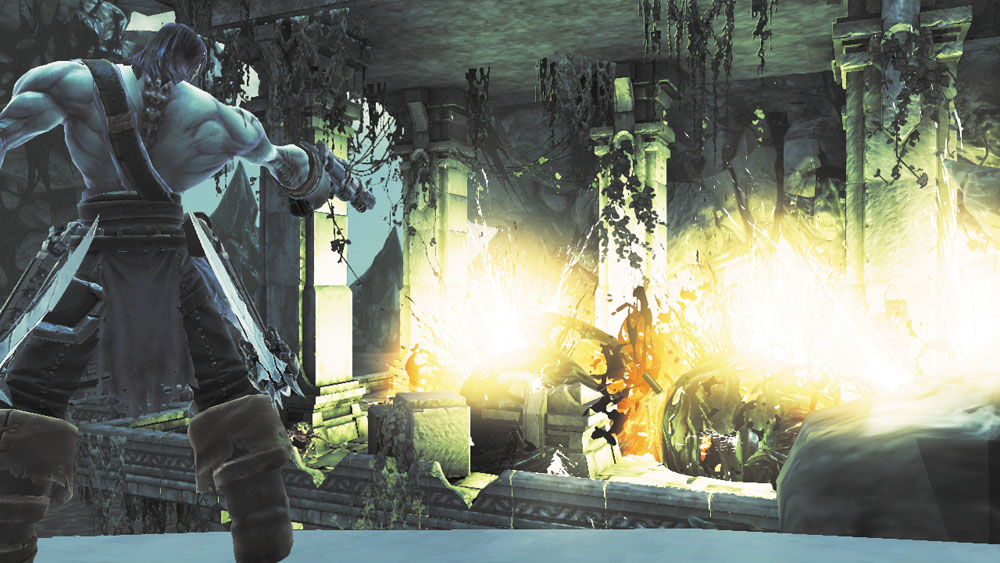
Ride downhill to a dismal lake and notice a collection of Corruption crystals near a ruined pier. Shoot the central Shadowbomb pod to obliterate the Corruption crystals. Dive into the water afterward and swim underneath the pier. Wall-run up and vault a peg to reach the pier's chest.
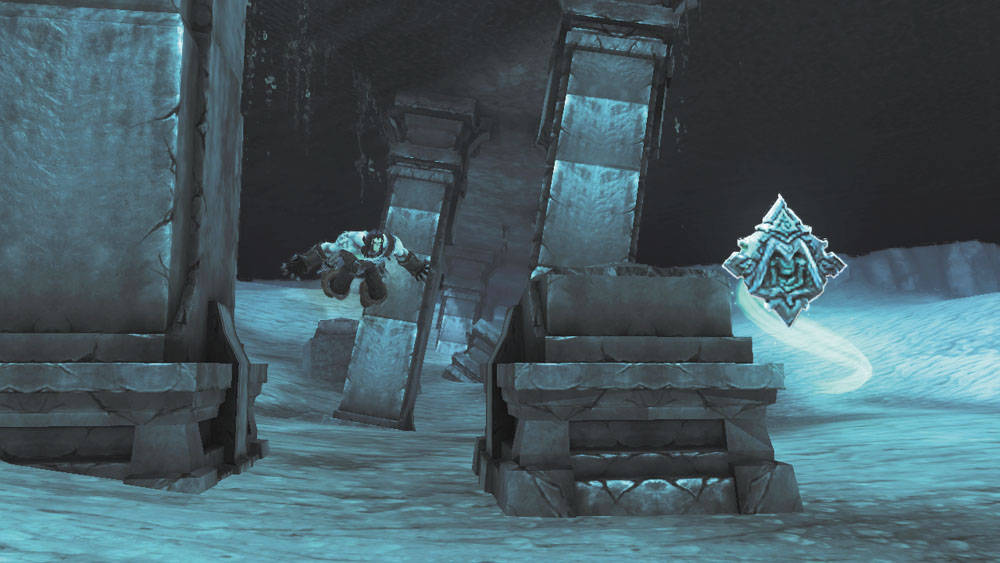
Dive into the water and explore the lakebed to discover a Boatman Coin near the pier’s underwater supports. This is the only item of interest to be found underwater.
|
|
Boatman Coin 17 |
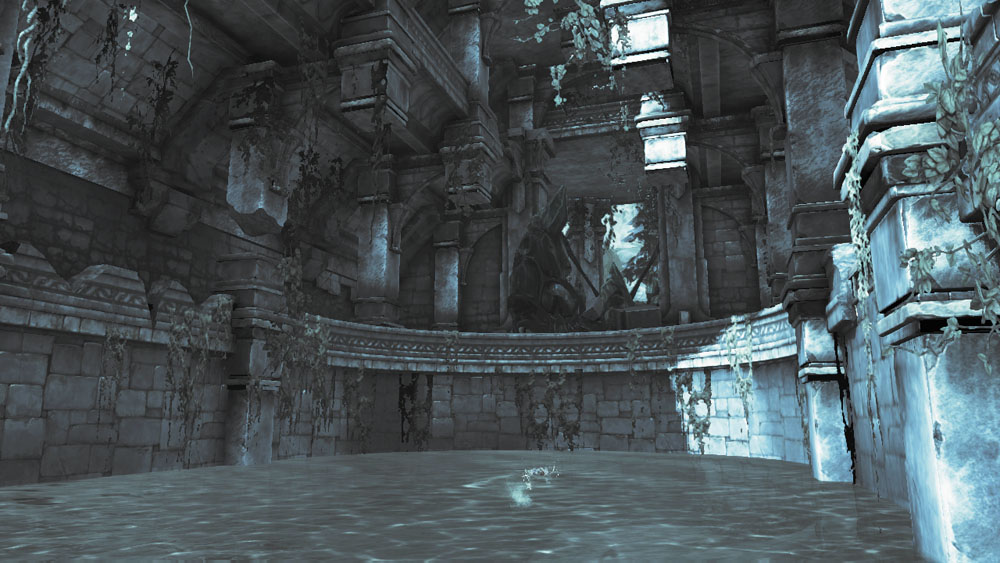
Next, swim east to reach a sizable stone mooring station. Scamper up the wall and explore the interior balcony to discover a chest. You can’t reach the Boatman Coin or chest on the mooring station’s roof at present—a special item is required to climb up there.
Vulgrim’s Hideout
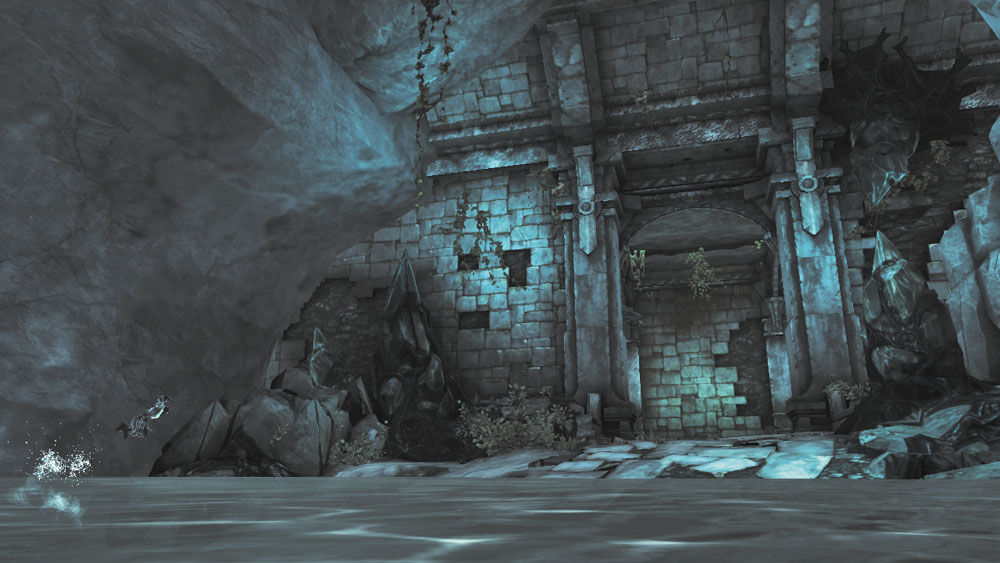
Plunk back into the water and swim south to discover another stone enclosure where the demonic merchant Vulgrim has set up shop. Sell off all unwanted gear to earn coin and free up your inventory, then consider purchasing something from Vulgrim’s stock.
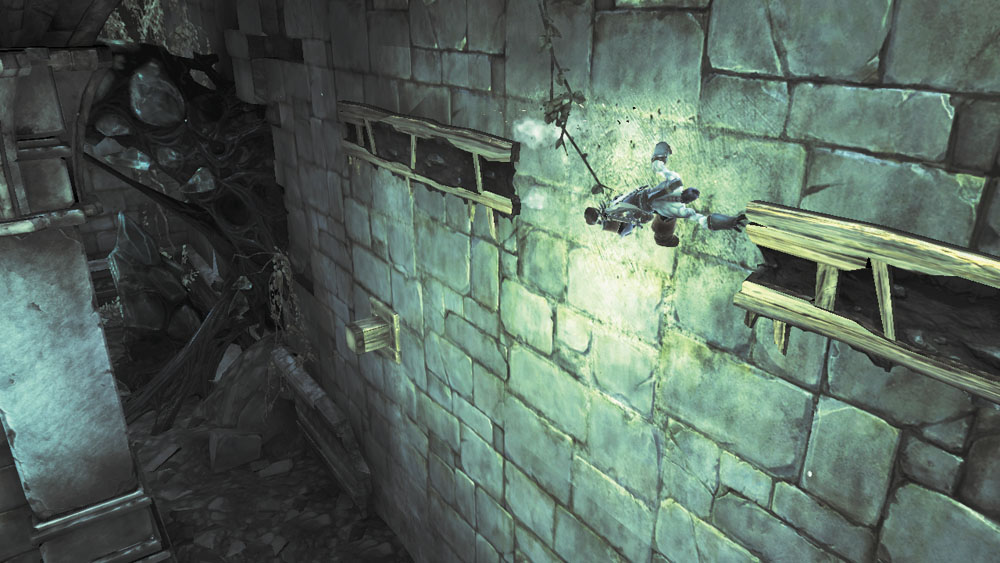
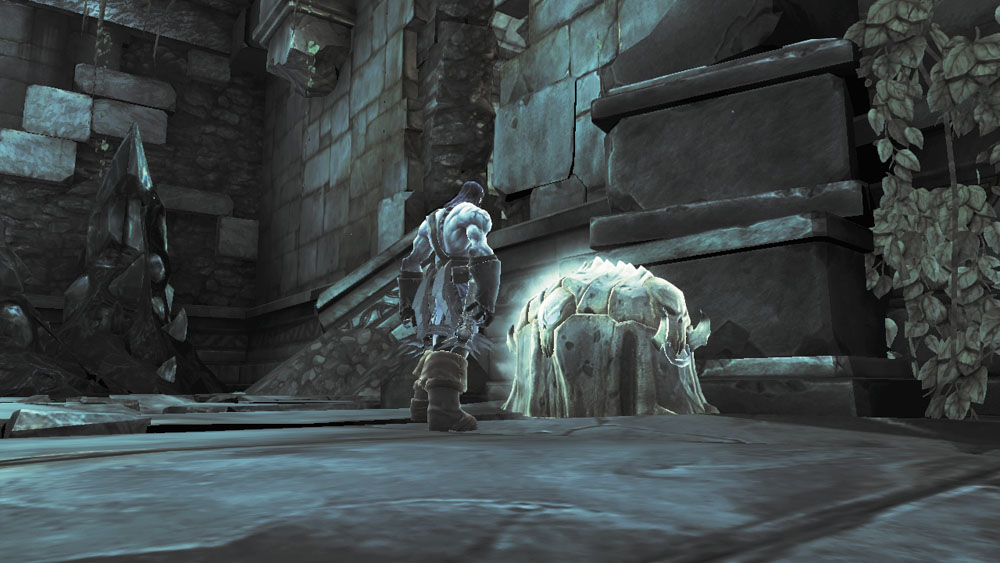
After trading with Vulgrim, slip past the wall behind the merchant to find a peg and series of hand holds running up the wall. Vault off of the peg and make your way up the hand holds, and then wall-run from the highest hand hold to reach a ledge with a chest. You can’t interact with the curious portals here at present, so return to the ground floor.
Sleeping Giant
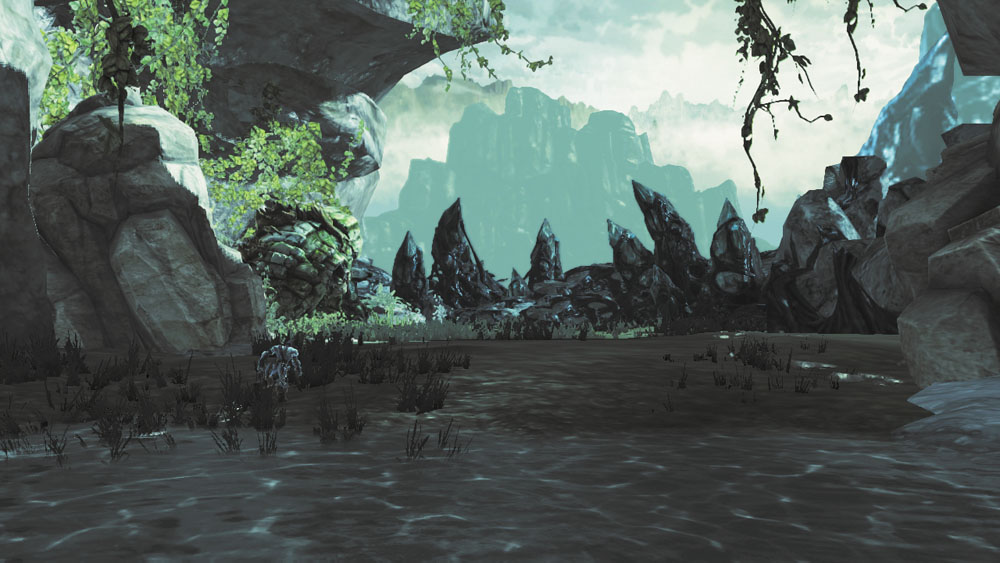
Continue swimming south from Vulgrim’s hideout to reach a small patch of dry land. This turns out to be a dead-end, yet there’s life to be discovered here. Unfortunately, you can’t wake the sleeping construct you find without a special item, but simply visiting this site is enough to earn you a new side quest.
Side Quest Acquired: Silent Stone
East Keep
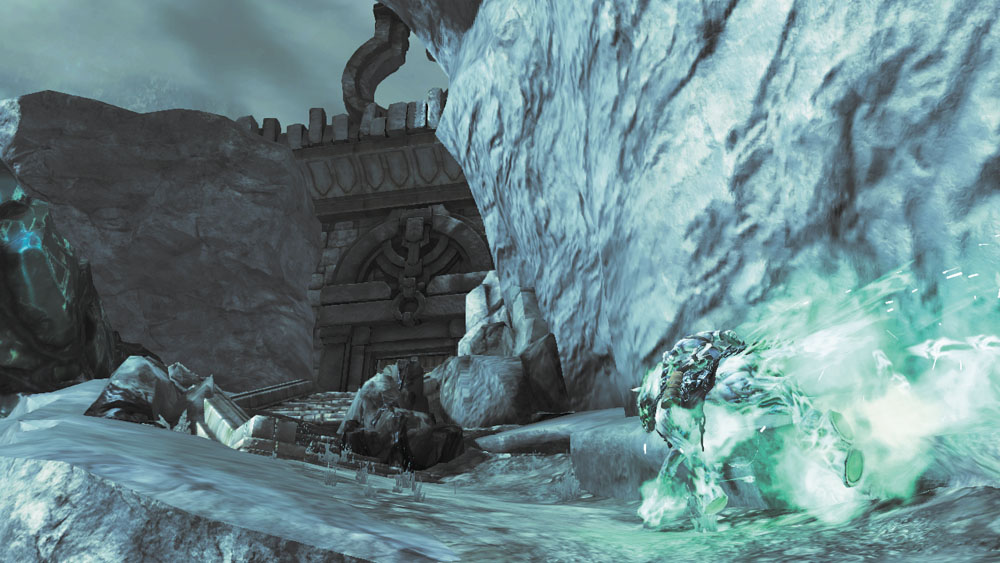
You’ve fully explored the harbor, so swim north, all the way back to the Fjord’s main trail. Ride east and follow a snaking path to reach the door of a keep that’s built into the mountainside. Inside, a pair pressure plates presents a puzzle you currently cannot solve. Raid two chests and shoot the Stonebite on the wall to score a Stone of Power, and then search the west nook to discover a hidden Boatman Coin.
|
|
Boatman Coin 18 |
|
|
Stone of Power 2 |
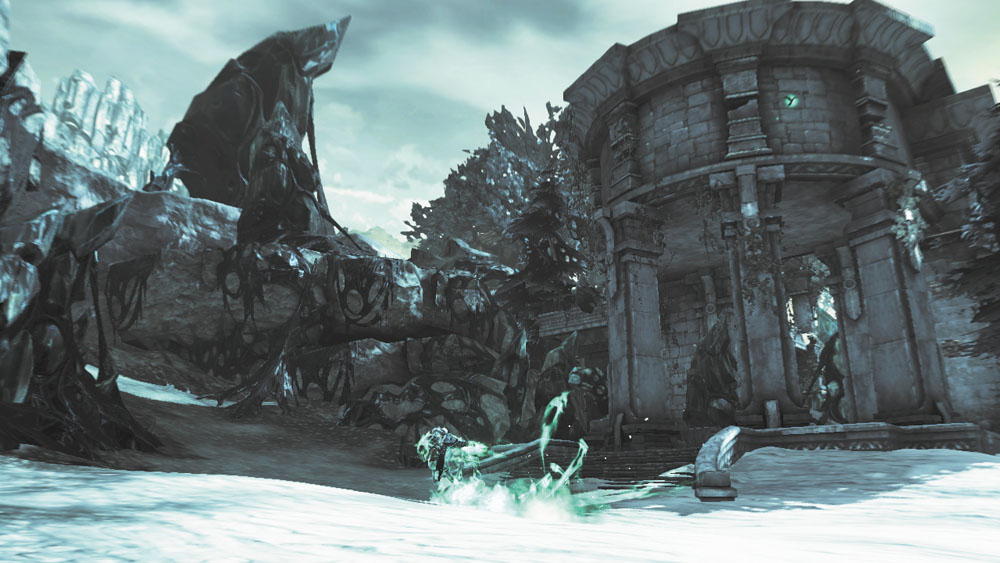
When you've finished pillaging the Fjord, follow the east trail toward your primary objective: the Drenchfort. Before you enter a cave, turn around and leap from the nearby cliff to claim a floating Boatman Coin. Enter the cave afterward and blast a Stonebite as you pass through.
|
|
Stone of Mystics 10 |
|
|
Boatman Coin 19 |