
Darksiders II Guide Walkthrough Court of Bones II: Judicator
Judicator’s Tomb
Judicator’s Tomb
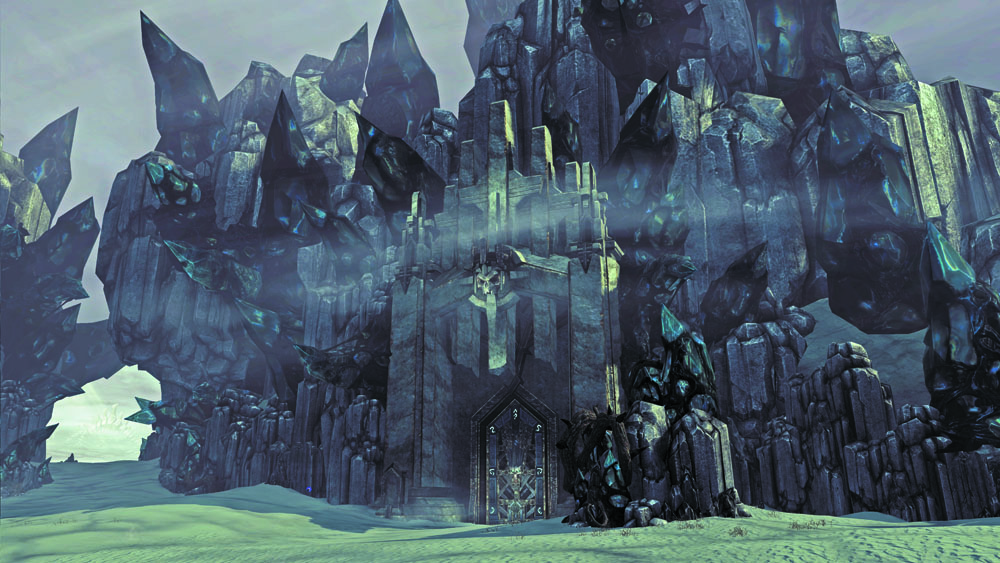
The second Dead Lord is known as the Judicator and resides within this forboding stronghold.
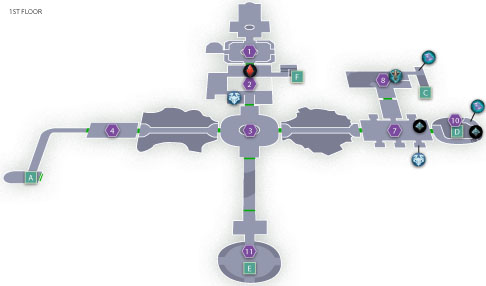
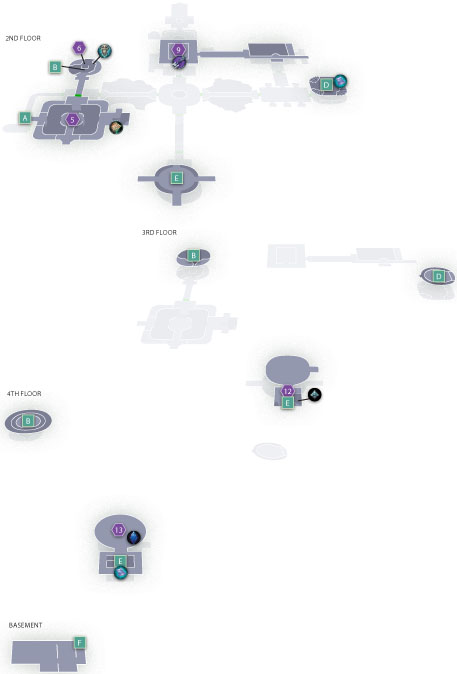
Area 1: Entry Chamber
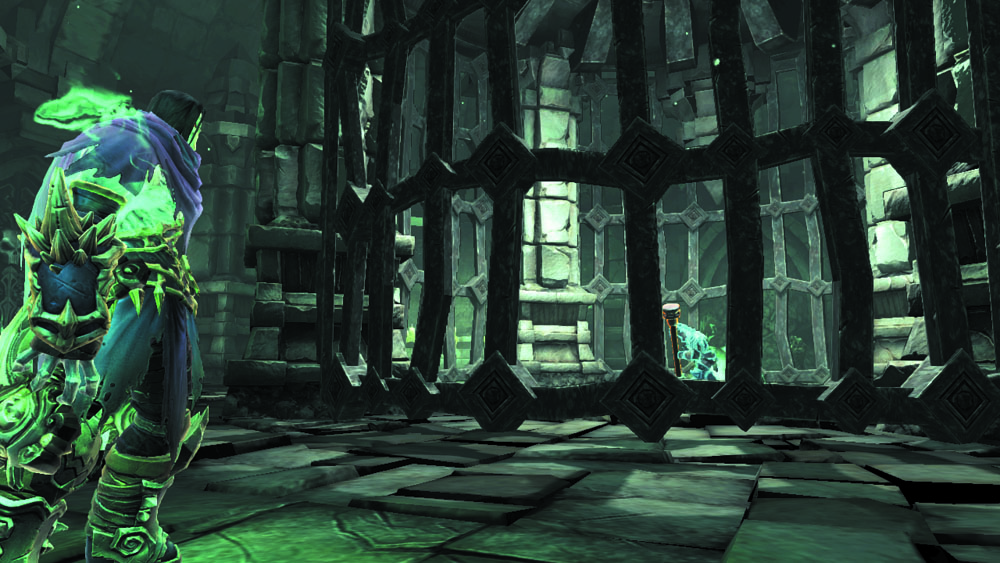
A caged lever draws your eye to the center of the keep’s first room. Explore the west passage to discover a Summoning Circle, and then use Interdiction to summon Phariseer. Enter aiming mode and direct the Dead Lord to pull the central lever. The south door then becomes unbarred.
Area 2: Dungeon
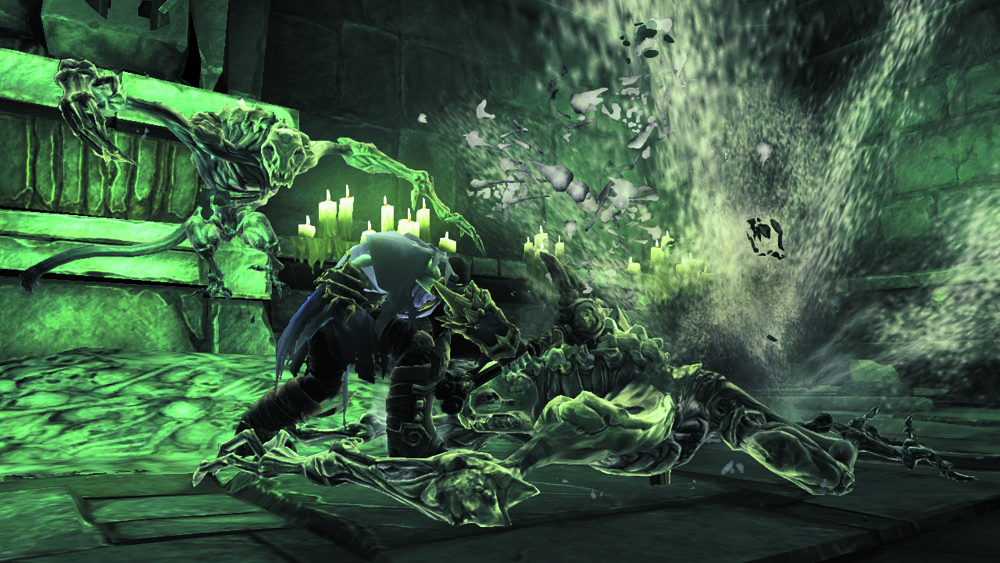
A large pit dominates the center of this sizeable chamber. First, look up and shoot the Stonebite in the overhead cage. Then turn right and explore the west passage to discover another Summoning Circle. Call forth Phariseer once more and team up to slay the deadly Undead Prowlers and Skeletal Champion that ambush you here. Cut down the Prowlers first to simplify the battle, and then turn your attention to felling the stalwart Champion.

|
Stone of Power 11 |
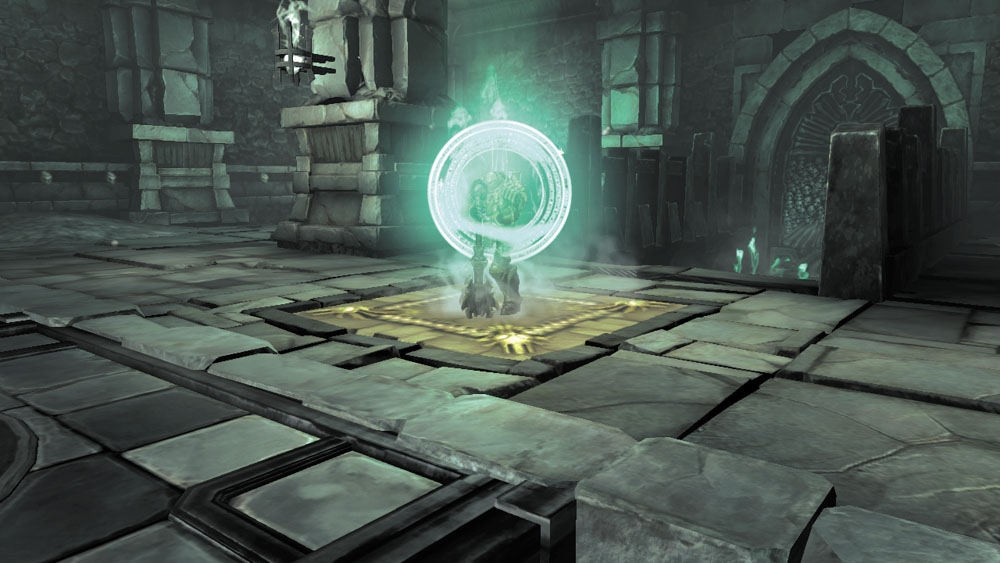
Pull the lever at the passage’s south end to raise a platform within the central pit. Order Phariseer to move through the nearby gate afterward and trigger the pressure plate beyond to raise a second platform.
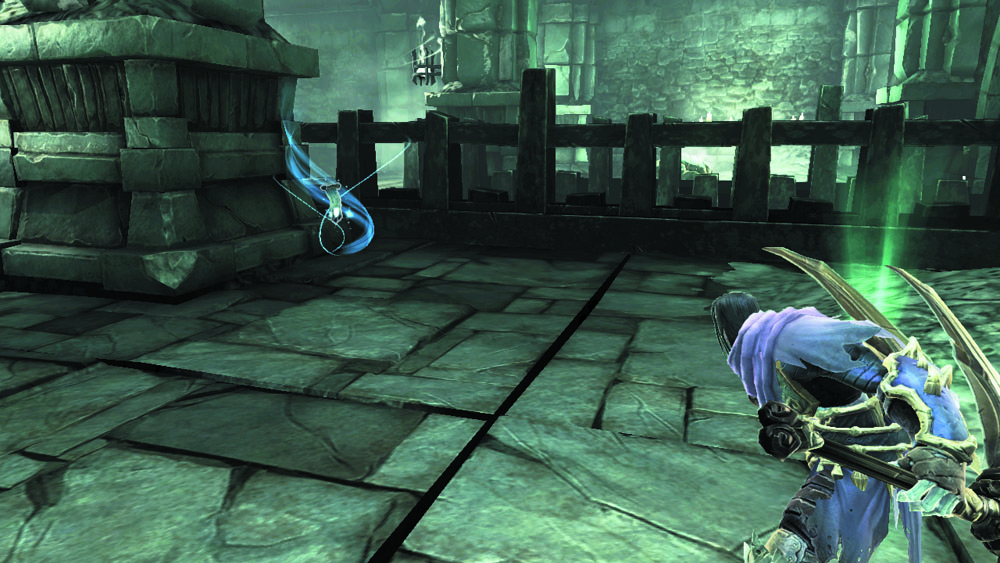
With both platforms raised, backtrack out of the passage and drop into the pit. Grab the tall pillar you find here and slide it between the two raised platforms. Climb out of the pit and leap across the platforms and pillar to join Phariseer on the room’s south balcony. Rip open the chest to the east and find a Soul Arbiter’s Scroll behind the west pillar before proceeding through the south door.

|
Soul Arbiter's Scroll 4 |
Area 3: Circle of Judgment
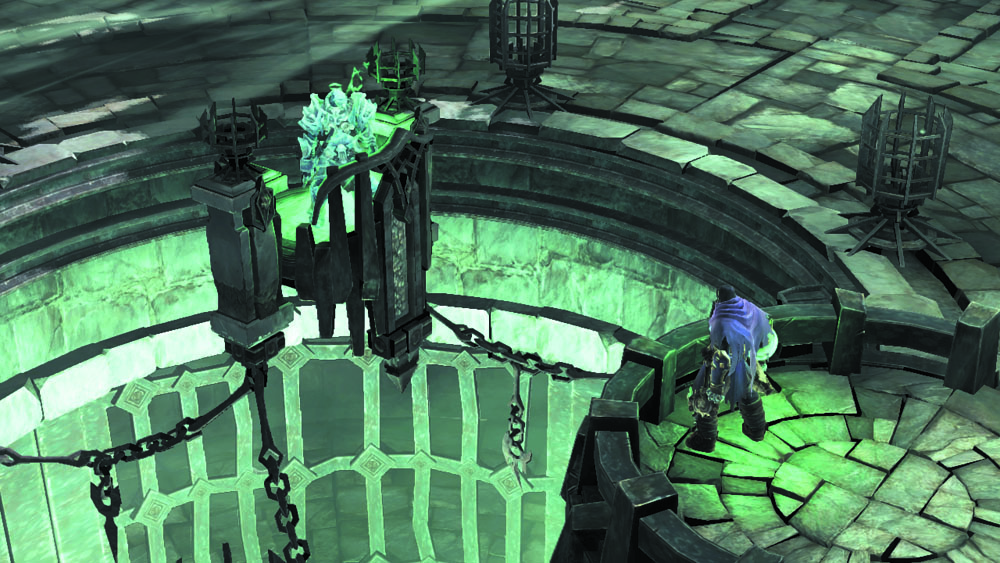
No need to seek out the Judicator—he awaits you in this circular area. Unlike Phariseer, this Dead Lord doesn’t wish to fight—instead, he pleads with Death to seek out and return three lost souls to him, which are being held prisoner in this very fortress. Once all three souls have been brought to the Judicator, he’ll pass judgement on them, and in doing so he will help them find their way to the City of the Dead. Only then will the Judicator agree to follow the Pale Rider.