Street Fighter V Guide Matchups and Versus/Online Play
Versus/Online Tips for Specific Characters
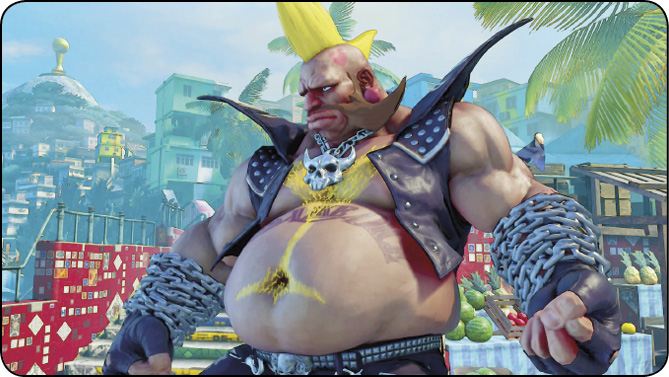
Bashing Birdie
Bull Horn and Bull Head are both punishable on whiff or block. Look for whiffs, and punish them hard. Ditto his scary crouching  . In general, all of Birdie’s actions have a lot of recovery. Although he dishes out probably the game’s highest average damage, he’s also the biggest target, and he has to take mild risks with basically anything he does. Avoid being too intimidated by the threat of his damage, and instead, dedicate yourself to punishing him when his gambles fail.
Train yourself to realize when he’s using his leaping Bull Revenger throw. This move is reliant on you having your attention elsewhere. You can easily poke him out of any non-EX version if you’re looking for it. The EX version grabs earlier, while he’s still airborne, but at least he has to spend EX Gauge to grab you that way.
Don’t mistake his Hanging Chains for projectiles, as they’re actually long-range striking moves. You can’t simply use projectile-invulnerable moves to dodge these long-range hit-throws, and you can’t clash them with projectiles; the chain will pass straight through, perhaps grabbing you before your fireball hits. If Birdie misses a Hanging Chain (or you block something like crouching  HK Hanging Chain), you’ll be able to punish him if you’re even remotely close, so take advantage.
Once his V-Gauge is filled and he chows down on Enjoy Time, be even more careful. He gets faster and stronger, and all his bull-charging specials gain armor (rather than just EX Bull Head outside of V-Trigger). They’re all still very punishable guarded, so block and punish against Birdie players who think they can just mash out armored V-specials.
Use Birdie’s size against him, if your character is equipped for it. With his short jumps and huge size, he has trouble getting around dedicated zoning, and no one is more susceptible to overheads and cross-ups.
Crushing Cammy
Watch out for Hooligan Combination Cannon Strike. LP Hooligan into Cannon Strike is generally safe on block, unless you’re a taller character (like Birdie, F.A.N.G, and Zangief).
It’s almost never safe to jump at Cammy because she has an anti-air for every single angle you can think of. It’s best to fight her on the ground. For the most part, she has to come to you, so be prepared to stand your ground and not get cornered. Also, don’t be too afraid of her frame traps. It’s often better to just eat a throw and quick-rise it; she has no good setups off of a normal throw (she’s always at disadvantage after a throw into dash).
Her crouching  may seem like an awesome mid-range move, but the height of its hurtbox is twice the size of most characters’ crouching attacks. This means that you can counter-poke or even outright beat it with many midsection-hitting attacks, like Ken’s standing
  or Laura’s standing .
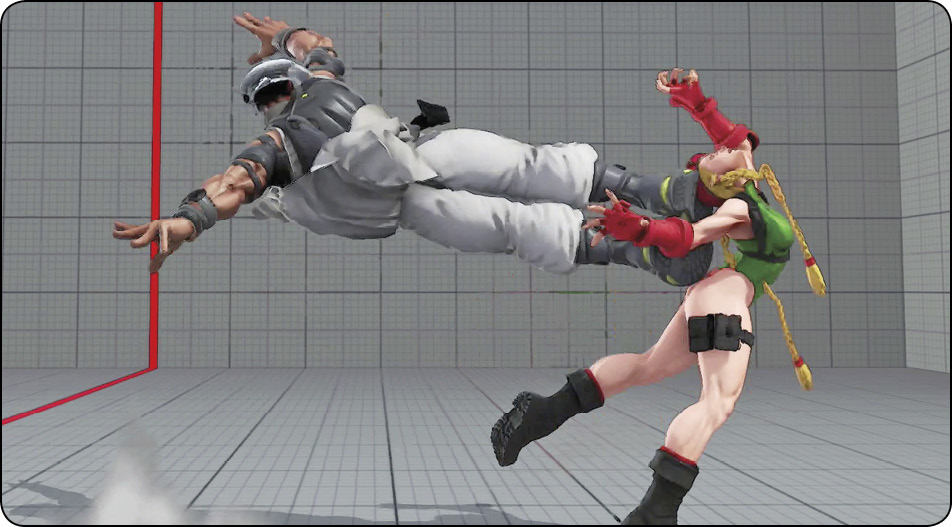
Although all of her Cannon Spike versions are completely invincible, you can easily win a round if you just bait one out, block it, and punish with a reversal punish counter-hit combo. Thanks to her low stamina, a well-planned, high-damage Crush Counter combo can easily deal over half of her total health bar.
Cammy struggles against strong zoning characters with quick jabs. She has ways to get past projectiles, but they can be baited out with fakes and punished. For example, Ryu can fake a Hadoken with  +
+ , baiting out her Axel Spin Knuckle, and then he can punish its initial startup before it hits with a counter-hit combo. She’s also a bit predictable since her primary objective is to attack, so as long as you’re ready with appropriate defensive maneuvers, you can deflect her offense.
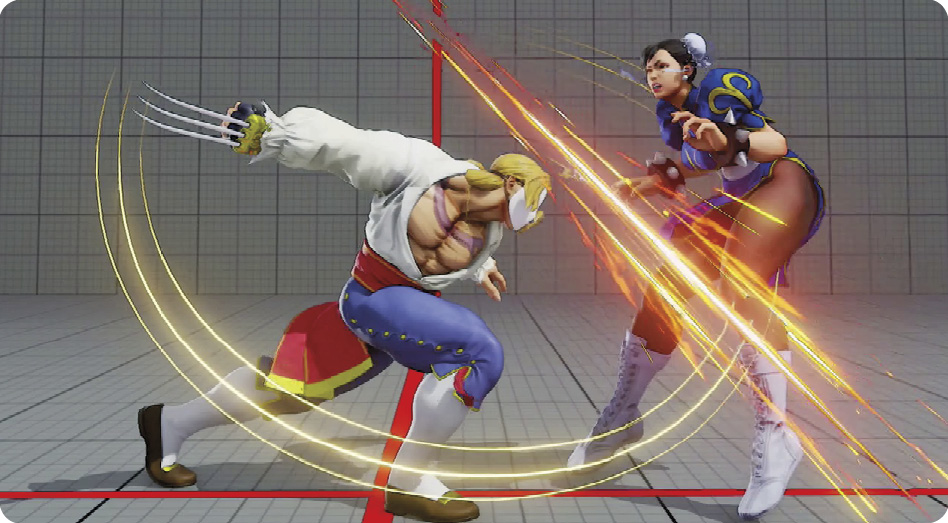
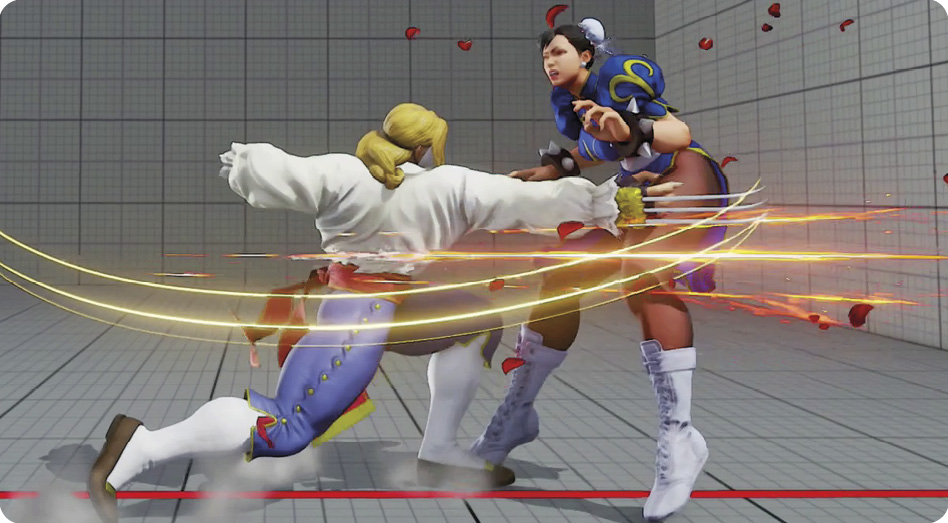
Checking Chun-Li
Chun-Li’s primary weakness is her lack of an invincible reversal (without EX Gauge). If you can bait out EX Spinning Bird Kick, you can heavily punish her with a Crush Counter combo. Watch out for her dominating mid-range attacks, such as her  + hop kick. You can interrupt and counter it with mid-hitting attacks like standing and crouching
  . However, it’s a heavy-priority attack, so you’ll have to be quick to the punch or else you’ll get counter-hit yourself.
All of her normal Hyakuretsukyaku (“Lightning Legs”) versions are punishable on block (always at least -8). EX Hyakuretsukyaku is -2, so you can force her to block a light attack, taking back tempo. Kikoken can be annoying, but you can simply jump away if she’s trying to engage with it. Just be careful not to sacrifice too much ground since Chun-Li’s mid-range offense is extremely frightening if she corners you.
If you’re playing an offense-based character, you’ll want to be extremely aggressive when given the chance. Aim to score a knockdown, and then force her to burn her EX Gauge since her only invincible reversal is EX Spinning Bird Kick. If you manage to block or evade it, you can devastate her low-stamina bar with a Crush Counter combo.
Chun-Li is strong against passive characters that she can bully, but she’s weak against offense-based ones with good mid-range attacks that can challenge her own mid-range game. Characters like Cammy and Laura can pressure her successfully without sacrificing too much ground.
Downing Dhalsim
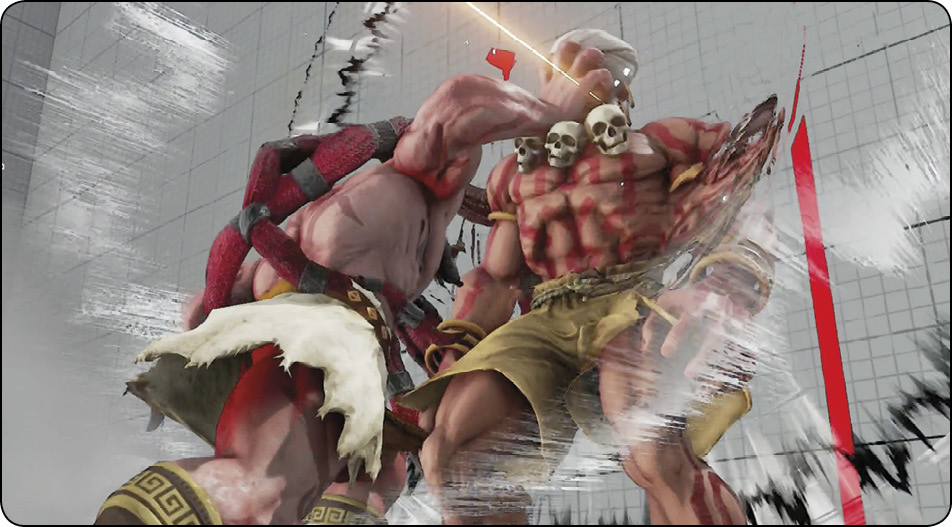
Dhalsim’s limbs have large hurtboxes and are relatively easy to counter-poke from a distance, if he’s predictable. They’re even vulnerable to hit-throws from almost full screen. He’ll supplement his long-range poking with Yoga Fires if you give him room, but his startup on this arcing fireball is actually quite long, giving you time to move in on the ground. Don’t respect Yoga Fire startup.
He’ll likely Yoga Teleport often for mobility, offense, and reversal escapes. You’ll have to get used to blocking sudden jumping overheads when he teleports directly above your character’s head. Training Mode can help immensely: go use two recording slots, one with Dhalsim’s tiger knee punch teleport into cross-up and another with the kick teleport into front-hitting . Then, just drill yourself blocking/reacting to both.
For Yoga Teleport escapes, you’ll have to make some hard reads and perhaps use option selects, depending on your character (like a shoto jump-in or meaty poke buffered into Tatsumaki Senpukyaku). A jump-in or meaty over Dhalsim’s wakeup that he teleports away from can just lead to him getting hit, if you prepare adequately. Getting a feel for Dhalsim’s teleport tendencies is important. Thanks to Dhalsim’s low stamina, catching him on an escape even once in a round can make all the difference.
When Dhalsim drops Yoga Burner on your side of the screen, you’ll slowly build up white damage that Dhalsim can make permanent with any single hit. Watch out for him to strike suddenly with low-hitting slides or overhead-hitting instant jumping  . If you’re not cornered and you’re not at critically low stamina yet, it’s usually worth it to just make some big, bold lateral movement to get away from Yoga Burner. This could include Vega jumping to the opposite wall, Karin using EX Sappo forward, F.A.N.G. slithering past with EX Nikankyaku, Rashid V-Skill leaping over, Chun-Li performing V-Skill jump into Head Stomps, shotos forward-jumping into aerial Tatsu or simply using “random” grounded Tatsu, and so on. Dhalsim isn’t the fastest character, so the likelihood that he’ll actually be able to punish you hard for an edgy escape attempt is low, unless he simply reads you like a book. Once you’re clear from Yoga Burner’s area, it’s really hard for Dhalsim to force you back in at midscreen.
Flogging F.A.N.G
F.A.N.G.’s pestering factor is high, and his space control and poke priority are great, but his damage is low. He can supplement damage with poison, which you’ll take from eating any of his specials or his V-Skill, but this requires that lots of time elapses without F.A.N.G. getting hit. If your character has good offensive capabilities or you favor an aggressive playstyle, you should rush F.A.N.G. down. Avoid giving him a chance to establish an entrenched position, mashing out Nishikyu specials at you while putting up HK/EX Ryobenda walls. If he tries to poke and keep you out with his Sotoja sleeve swipe, punish it with fast, long-reaching pokes (or full combos, if he does it too close).
Although he has lots of projectiles and projectile hitboxes, F.A.N.G.’s lateral space control against other projectile characters is actually bad. His V-Skill poison fireball doesn’t overpower other projectiles, and his arcing, low-damage fireballs don’t interfere with a conventional fireball’s trajectory. He can be put in a position where he’s forced to use his long forward jump, low-profile coward crouch, and forward-slipping Nikankyaku, which you can be aware of and even punish.
F.A.N.G. may end blockstrings in LK Ryobenda to bounce back. If you have a fast, far-reaching attack, this is not safe for him—hit him back. His stronger Ryobenda versions—which plant a temporary ground projectile you’ll want to avoid—are susceptible to counter-hits during their recovery. You can use projectile-invincible attacks to blast through and counter-hit him; you might even get a Crush Counter shot if you read his intent to plant a poison cloud correctly and jump in over it as he puts it down.
When his toxic V-Trigger is active, he can poison you merely by approaching. If he stays close, you won’t be able to knock the effect off while the V-Trigger is going, and you’ll just have to accept the damage over time while trying to fight F.A.N.G. in close. If he’s the type to approach with Dokunomu active, poison you, then back off again, letting the toxins work, then remember that you can only actively remove this if you have some attack that will travel through F.A.N.G.’s poison area-of-effect cloud and strike him, without your character needing to be close. It’s almost inevitable that he deals at least some damage to you during his V-Trigger. Be secure knowing that at least he cannot K.O. with poison. He still needs either a clean hit or Critical Art chip damage.
Clobbering Karin
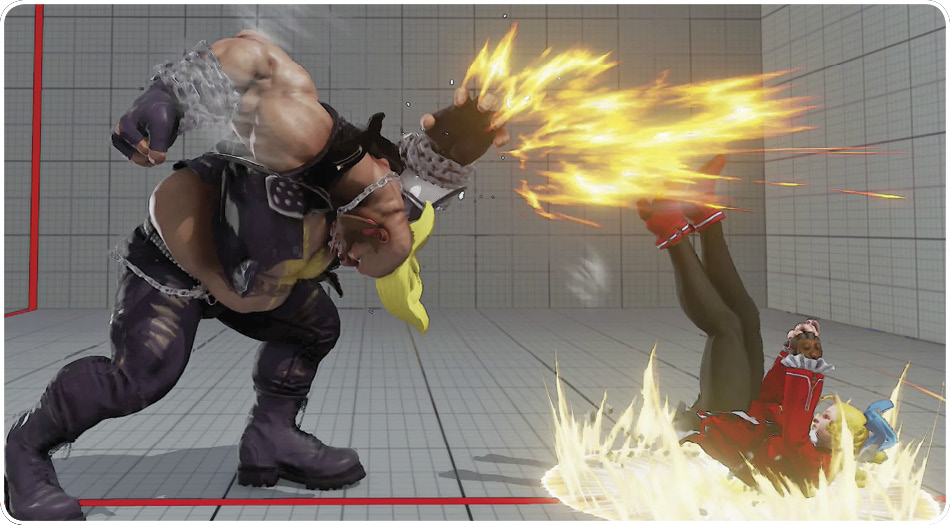
Karin is a solid rushdown character who isn’t quite as tricky as she might seem initially. She can cancel normals into her Sappo command dashes, like Ken or Laura canceling normals into V-Skill movement options, but she is never better on block doing this than -6 (after standing ; she’s also -8 after crouching LK Sappo, one of her Crush Counter fishing options). As when fighting Ken, try to react assertively to these dash tactics on block by hitting her dash recovery with a medium combo starter.
Aside from her Sappo dash, she can also move in with the Ressenha overhead punch, which branches into an anti-standing throw or a knockdown slide. This isn’t a real mix-up because you can block standing against the initial overhead punch, then just block crouching. The flipping throw follow-up will whiff, and the slide follow-up will get blocked and leave Karin punishable. If she opts not to branch away from blocked Ressenha, she’s left at -4 from the HP version and -6 from the LP version. Her ability to use these moves as real mix-ups surfaces when her V-Trigger is activated, allowing her to cancel from her Guren Ken double-punch into any of her other specials.
Karin has excellent ground pokes in standing and crouching and crouching . Her walk speed and poke range allow her to stand at the tip of where these kicks strike and walk back and forth, trying to bait whiffs from you and jump-in/counter-hit chances for her. Standing is her baseline, but to threaten you low, she’ll often poke with crouching canceled into a special. If she uses Mujinkyaku or Tenko and you block it, you can punish her if you’re fast, depending on range and your character. If she cancels into her Orochi shoulder check, she’s safe, but at -2. You should at least force her to block a three-frame or four-frame normal as you take back tempo command.
Her EX Ressenha provides her an invincible reversal, albeit one that’s susceptible to Crush Counter combos on recovery. Be ready with a punish combo if she whiffs this attack.
Creaming Ken
Ken has a decent zoning game with Hadoken, but his Hadoken is much more predictable than Ryu’s. The only differences in his are the travel speeds; the recovery on each is rather long, so don’t be afraid to test him with a forward jump.
His mid-range game can be annoying to deal with, especially his standing . You’ll want to block this (he’s -4 on guard) and punish with a four-frame light attack. If you’re out of range for a light attack, you can use this advantage to poke at him with one of your mid-range attacks or advance for pressure.
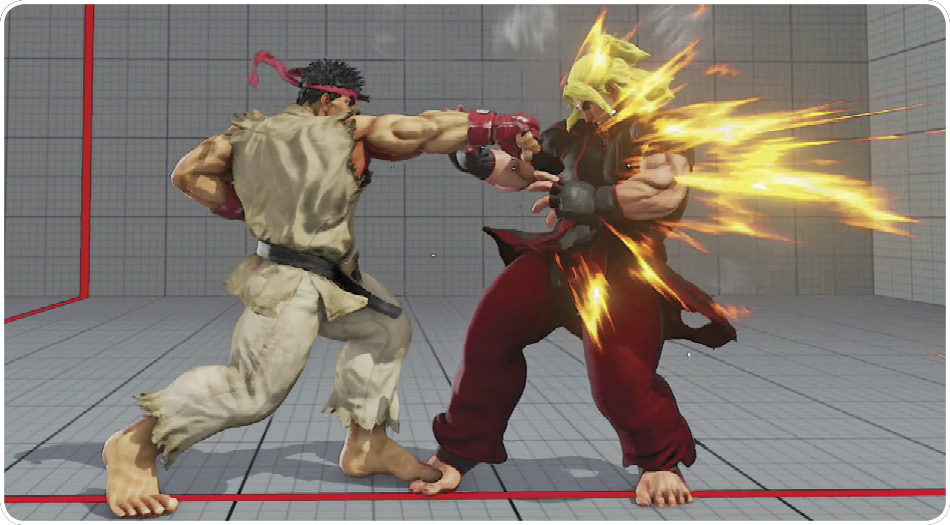
His Quick Step V-Skill can be troublesome if you’re not ready to punish it. Whenever you see him cancel a normal into Quick Step, be ready to hit him back. At best, he’s -6, which is off of his standing . If you see a standing into Quick Step cancel, you can go for a medium attack punish if you can react fast enough. Some characters have six-frame Crush Counter-capable attacks (like Ken’s crouching ), and you can devastate him with these if you’re on point.
When you have him knocked down and you’re on offense, always be mindful of wakeup Shoryuken. It’s often worth sacrificing meaty pressure for a chance at evading or guarding his Shoryuken so you can punish it with a massive Crush Counter combo.
From long range, Ken has a really easy time transitioning into close range through his HK Tatsumaki Senpukyaku. Treat this as you would a jump-in attack, and deflect it with an appropriate anti-air if you see him go airborne from near full screen. Otherwise, at closer distances, you can dash under it to punish him.
Leveling Laura
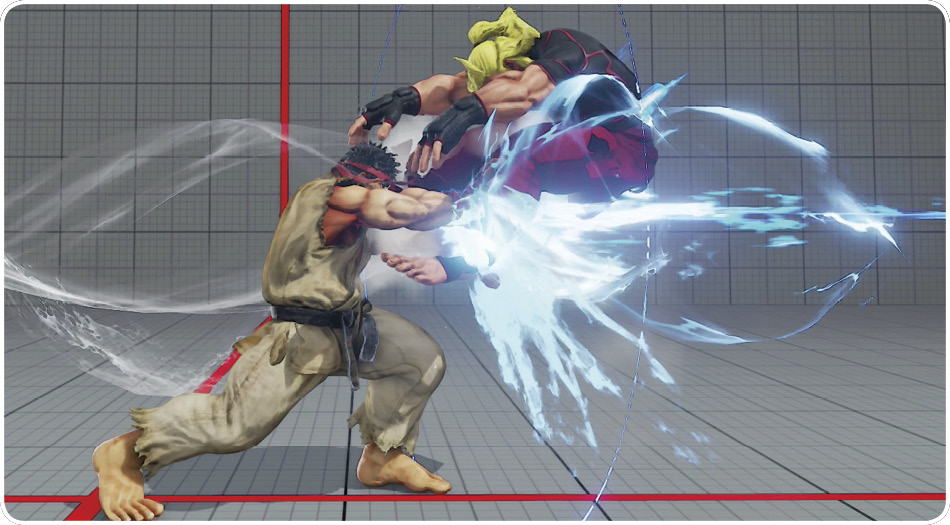
Laura doesn’t have many low-hitting hit-confirm combos, so you can make her life more difficult by being evasive, using jumps and backdashes when she’s next to you. However, good Laura players will adapt and start committing to counter-hitting your backdash with standing , turning the close-range scrambles into a rock/paper/scissors guessing game. You want to avoid close range as much as possible, depending on your character.
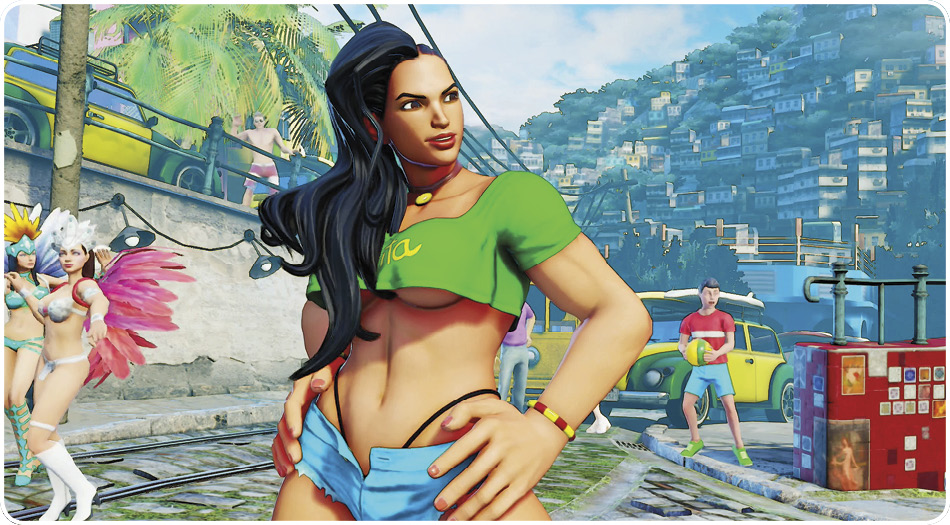
Her attacks canceled into Linear Movement – Avante are generally unsafe (although she’s only -3 off of crouching Linear Movement – Avante). If she gets you to block LP Bolt Charge, she’s at -2, so you can force her to at least block light attacks, giving you a swing in advantage. All other Bolt Charge versions are at least -7 on block, easily punishable with medium-strength combos.
Additionally, she has nothing completely invincible on wakeup aside from her Critical Art, so you can safely use meaty attacks against her when she doesn’t have a full EX Gauge (her EX Bolt Charge doesn’t armor up until the third frame). As the saying goes, the best defense is a good offense, particularly against Laura. You want to force her to make the difficult decisions, otherwise you’ll be on the receiving end of her plethora of throws and hit-throws (which you can’t back recover away from to safety).
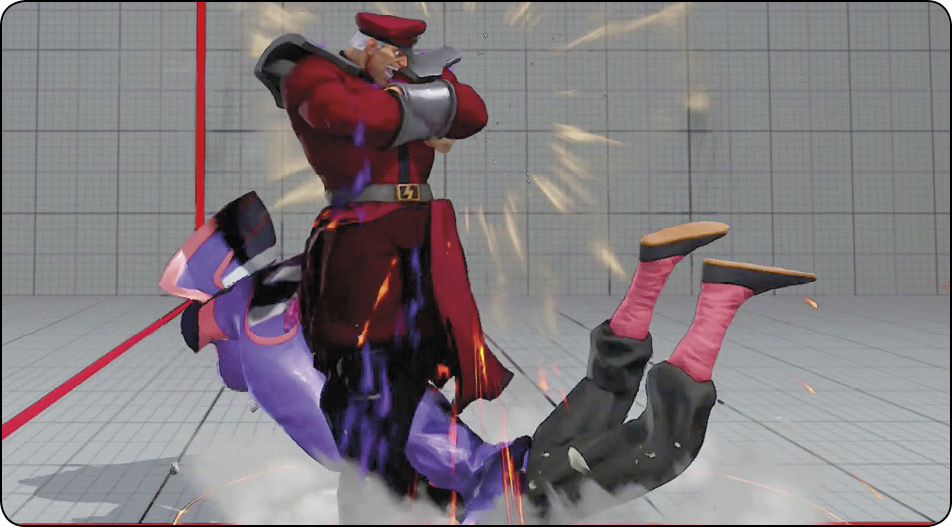
Embalming M. Bison
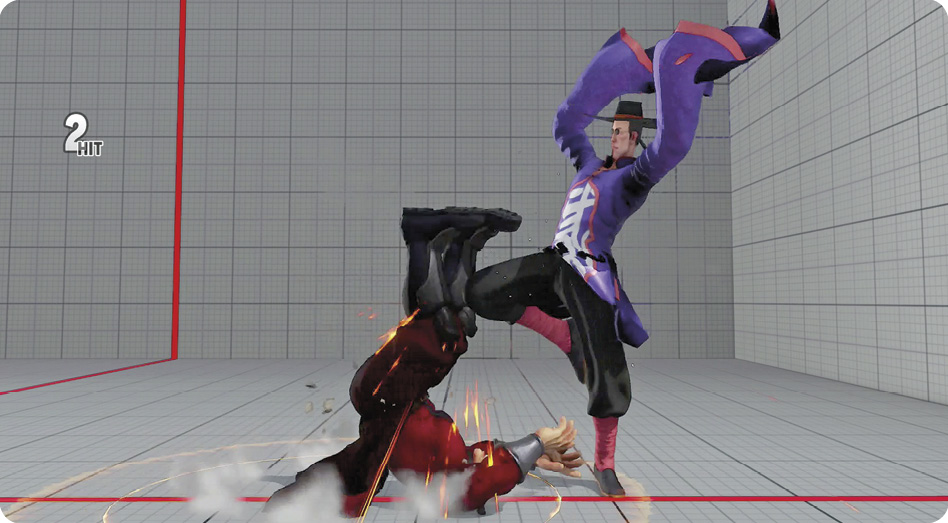
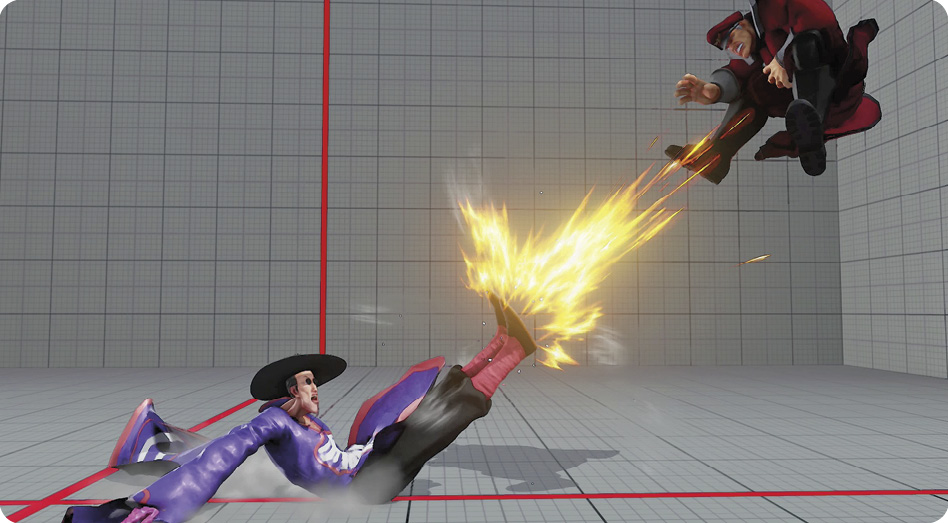
M. Bison’s walk speed is the game’s worst, making him commit to specials, dashes, and jumps for mobility. You should already be looking to anti-air as reliably as possible against any character, but start treating M. Bison’s dash as a lateral jump, too, sort of like looking to punish a roll in the Capcom vs. SNK series. He has an invulnerable period in the middle of his dashes that gets better during his Psycho Power V-Trigger, but you can still punish the end of them if you’re watchful.
Devil Reverse is a good move that you must watch out for, but if M. Bison is being predictable with it, you don’t have to respect it—nearly anything you use as anti-air early will beat out Devil Reverse, which has an enormous hurtbox under M. Bison.
Non-EX versions of Double Knee Press (usually called Scissor Kicks) leave M. Bison at between -2 (for the HK version) and -4 (for the LK version, a punishable disadvantage). Be sure to take back tempo advantage every time if M. Bison continually ends his blockstrings in Double Knee Press.
His EX Psycho Blast is a different story. This is one of the game’s best projectile attacks, traveling slowly while plowing through one-hit projectiles, paving the way for him to follow it for pressure and screen control and knocking down on hit. When he deploys it, unless you have some pass-through move like Karin’s EX Sappo or F.A.N.G.’s EX Nikankyaku, you’ll probably just have to block and watch out for a cross-up.
M. Bison during V-Trigger is basically “Shin M. Bison,” with a dash that can pass through for ground cross-ups, better versions of all his specials, and the alarming ability to cancel any EX special into any other EX special. This gives him monstrous V-Trigger combos and allows an almost bulletproof full-screen entry play of EX Psycho Blast EX Head Press.
M. Bison’s medium and heavy attacks are somewhat slow, he has no true defensive reversal of his own, and as mentioned already, his walk speed is dismal. If you’re playing an offensive character, especially one with a three-frame jab, bully inside and then don’t let up with close-range offense.
Nullifying Nash
Like M. Bison, Nash has a terrible walk speed but a terrific forward dash, which he must rely on frequently to close in. Try to watch out for this like it was a forward roll. He does not have an invincible reversal attack (besides his Critical Art), so you don’t have to worry about being blown out while attacking him when he’s knocked down. His best anti-air is upper body-invincible but requires the use of EX Gauge.
His throws are also weak advantage-wise, so don’t be afraid to take a throw at close range if he happens to dash in. His counter-hit frame trap attacks are much more frightening than his throws. His best range is mid range, where Sonic Boom and Moonsault Slash shine. If you see him going airborne, be ready to use an anti-air or a fast air-to-air attack.
When he has a loaded V-Gauge, be careful of his HP/EX Sonic Boom into Sonic Move cross-up setups. You can mostly avoid these by holding  as soon as you see a sequence of Sonic Boom into V-Trigger screen freeze. Nash has to use a particular setup to counter this tactic, but it involves sacrificing damage (he doesn’t get a full grounded combo).
Neutralizing Necalli
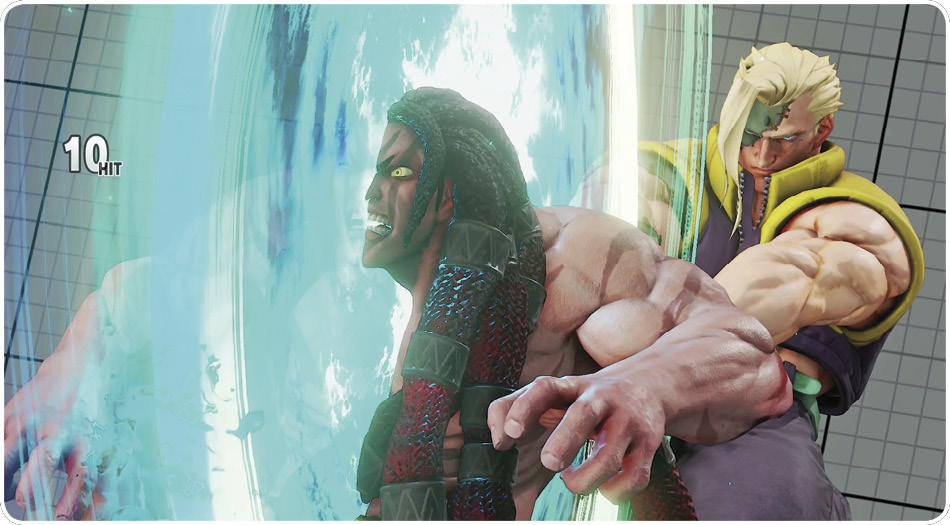
Necalli is weak to anyone with a strong mid-range game. His best mid-range attack is standing , but it can’t be special-canceled and it’s not particularly fast. He’s also weak to certain jump-in angles, especially if you can jump in with a cross-up attack. His invincible HP Raging Light does not cover the area directly above his head, and he doesn’t have something like Cammy’s  + vertical anti-air attack. His main strength is in his frame traps and command throw setups at close range. However, he doesn’t have a decent follow-up to LP and MP Mask of Tlalli command throws, so it’s okay to eat one or two in order to escape his more damaging Valiant Rebellion frame traps. Mask of Tlalli isn’t as effective as other command throws. When compared with Laura’s and Zangief’s, it’s considerably worse. It starts up at eight frames and doesn’t have the reach that Zangief’s command throw boasts. This means it’s much easier to back away from. A solid strategy in defending against Necalli in your face is to block low initially, then immediately start holding to get away from his throws. Besides his crouching canceled into LK Valiant Rebellion, he doesn’t have an exceptionally good low hit-check combo, so simply just walking away from him is an even more attractive option.
Although his ++ ground pound doesn’t reach the farthest edge of the screen, it will still clip you if you use any kind of advancing projectile attack. For instance, Ryu and Ken take a step forward with an exposed hurtbox when they perform Hadoken, so they will actually step into Necalli’s ground pound range and get hit.
Necalli relies heavily on his Torrent of Power V-Trigger transformation. He becomes a completely new character with several enhancements for the remainder of the round. You’ll have to play cautiously when he’s powered up, especially from mid range. He can cancel his standing HP into HP The Disc’s Guidance (the lunging claw attack) without the charge requirement. He also has access to more damaging combos, much faster mobility options, and a better reversal with his HP Raging Light extending much farther forward. However, his V-Gauge is the three-stock variety, so if you can pressure him enough into using his V-Reversal, you can diminish the threat of his V-Trigger. Otherwise, you can attack him enough to bait out and block his invincible Raging Light, scoring a Crush Counter combo opportunity on him.
Routing Rashid
All versions of Eagle Spike are punishable on block. However, it may be awkward punishing Rashid’s running Eagle Spike because he bounces off farther, so pay close attention to whether he is transitioning into it from his dash. Most characters can punish his Eagle Strikes by blocking, then dashing, and going for a light or medium attack combo.
At mid range to long range, Rashid’s Whirlwind Shot can be extremely annoying because of its awkward travel arc. It’s essentially an anti-air projectile, so resist jumping over it as if it were a normal projectile (unless you’re close enough to clear its ascent with your jump). Otherwise, you can wait for it to move out of the way and then make your advance into your preferred range.
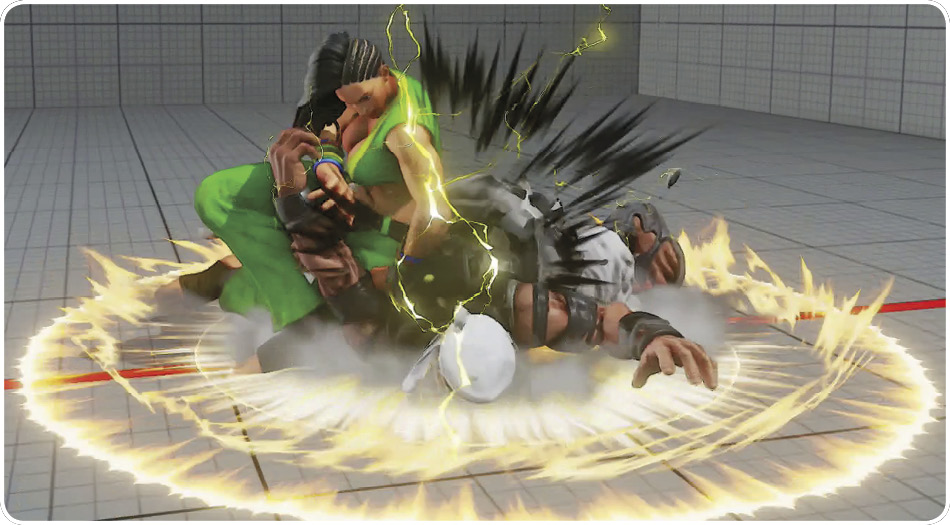
Rashid doesn’t deal that much damage off of his combos (usually less than 100 damage off of crouching  ), but he will have enough advantage after knocking you down to either set you up with a mix-up or frame trap (especially after LP and MP Spinning Mixer). Take note of these combo enders, and vary your quick-recovery to keep him guessing.
One of the most annoying strategies to deal with is his crouching LP Spinning Mixer blockstring. He’s left at -2 afterward, so be prepared to jab him out of whatever he does next. Alternatively, you can hit him with a quick medium-strength attack if you have one that starts up in five frames. It might take some getting used to if you’re not accustomed to retaliating with lights quickly against it, so keep an eye out and try to poke him back as soon as you see him initiate LP Spinning Mixer.
Arresting R. Mika
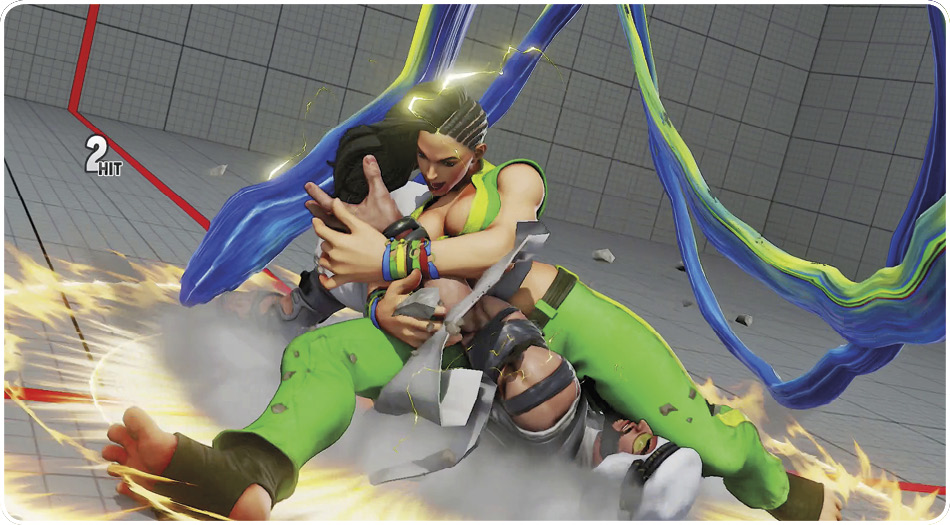
R. Mika has no real low threat besides a low-damage point-blank combo from crouching to LP Shooting Peach. Otherwise, her crouching slide is bad, not reaching very far and leaving her at a punishable disadvantage on block. However, she has a unique normal throw against crouching characters that gives her great position for wakeup pressure. There just isn’t incentive to block low against R. Mika. You’re free to block high and watch out for her command throws and potential left/right cross-ups with Dive Bomb and jumping , and forget worrying about high/low mix-ups. As a side benefit of holding to block, you may often simply walk backward out of her tick-throw attempts.
Despite lacking a real high/low game, R. Mika’s point-blank game is excellent, with three-frame jabs and untechable five-frame command grabs that you must respect. But her mid-range game beyond the reach of her standing is a little sparse. Her only real tools are charged standing (which is actually safe for her on block, so don’t try fighting back), EX Shooting Peach (which has one hit of armor against your pokes/projectiles), or a perfectly spaced HP Shooting Peach (which leaves R. Mika safe only if she makes you block the last few active frames as she starts to descend). Because she’s so linear from this range, kind of like a female grappler Balrog, she’s also predictable.
Her normal jump-ins are easy to anti-air if you’re prepared, and the only way she can alter jump arc is to use Dive Bomb. Dive Bomb slightly delays her fall and may cause your normal anti-airs to whiff if you use regular anti-air timing. Depending on the quality of your character’s anti-air, though, this may not be a problem: Ryu or Ken’s MP Shoryuken doesn’t care if R. Mika managed to slightly delay her fall. And the payoff for you is high if you block a Dive Bomb or it whiffs. When she is hesitant to jump and has to move in on the ground, use neutral jumps from just beyond the edge of her HK Wingless Airplane anti-air grab. This gives you falling combo chances if she attempts one of her ground-gaining mid-range options and stops under you.
When she’s loaded with V-Gauge, watch out for her Nadeshiko calling animation. After the screen freeze, if she puts down her arms immediately, that means Nadeshiko is flying in after about half a second (slightly faster for the ceiling splash version, slightly later for the dropkick version). If R. Mika keeps her arms pointed skyward for a few beats longer after the screen freeze, that means Nadeshiko won’t show up for about two seconds (right on the nose for the splash, slightly earlier for the dropkicks). Learning to watch for the timing will remove some of the guesswork from worrying about which kind of setup R. Mika might use with her partner, and that helps you incorporate the evasive portions of your character’s moveset effectively. For a couple of examples, with Dhalsim, if you verify Nadeshiko’s incoming timing, it’s easy to Yoga Teleport away at the right moment; with Zangief, it’s easy to be ready to activate armored Iron Body.
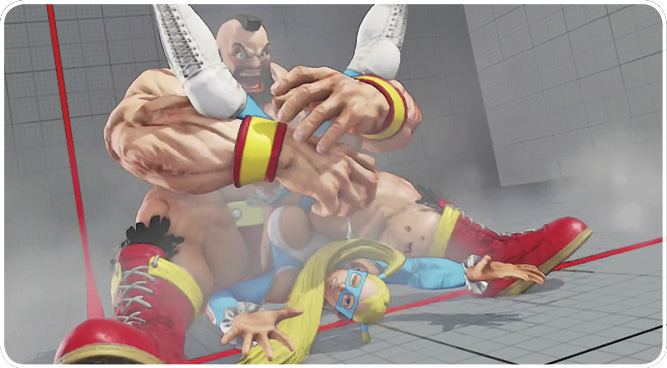
Ruining Ryu
Ryu has tools for almost all situations, but none is overwhelming. In SFV, he can no longer mindlessly poke you with crouching Hadoken because they’re much more punishable on block, especially at closer ranges. Additionally, its pushback is less (compared with SFIV), so you’re more likely to be in range to retaliate. With less pushback on his fireballs, it’s also easier to close into mid and close range just through blocking and advancing in between projectiles.
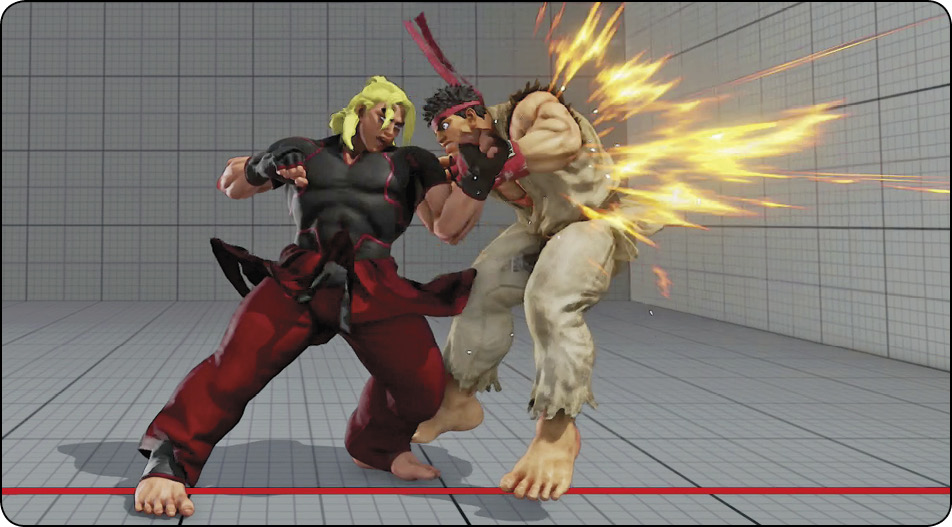
Ryu extends a large hurtbox before and during his Hadoken release, so if you can stick out a quick and active mid-hitting or low poke, you’ll most likely interrupt him (as long as you’re reasonably close). His Solar Plexus Strike is a decent mid-range gap-closer, but on block, he’s left at -2. Don’t be afraid to reply with a light attack or a normal throw after blocking his + to swing tempo in your favor.
Like Ken, he can reversal Shoryuken on his wakeup or recovery, so use meaty attacks wisely. Have your optimal Crush Counter combo in the back of your mind and ready in case you avoid his Shoryuken, so you can punish him for 30-50 percent of his stamina.
While jumping at shotos is usually a losing strategy (especially in other Street Fighter titles), you’ll have to take the risk occasionally against Ryu if he’s pestering you with projectiles. You might eat a MP Shoryuken or two, but learning how to read projectiles properly can reward you with full jump-in combos if you can predict your opponent’s Hadoken patterns. Furthermore, Hadokens have slightly more recovery and are a little bit easier to jump over in SFV. Mix up your approach to keep the Ryu player focused on multiple angles of attack. If you can keep your Ryu challenger occupied with an intimidating ground game, you might be able to sneak in an unpunished forward jump.
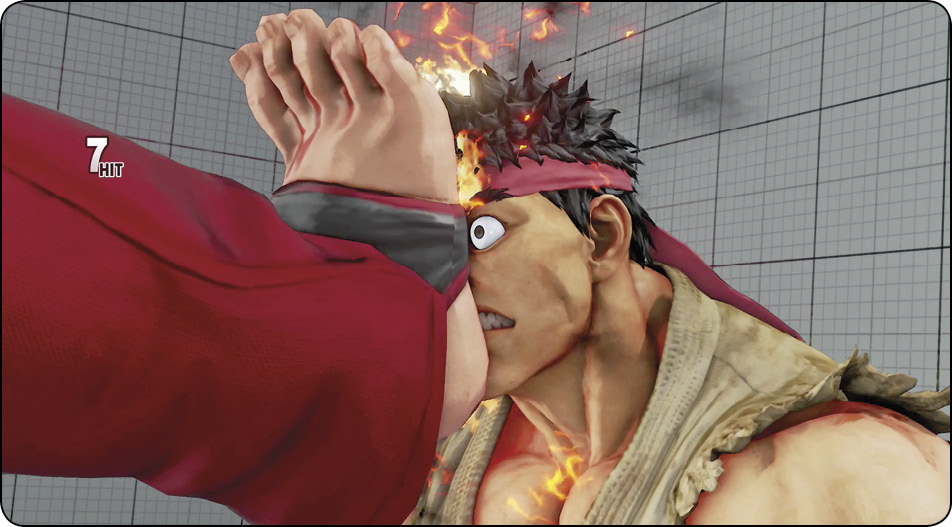
Vanquishing Vega
Vega’s walk speed is terrifying for most characters to deal with. He transitions seamlessly into his desired range and has superb attacks for almost any position he’s in. However, he lacks any defensive measures, so he’s easily pinned down if you can score a knockdown on him. He has to burn resources using his Critical Art or V-Reversal to get out of meaty attacks, so keep a vigilant eye on his gauges and bait them out, forcing him to burn resources. If you’re ready for his backflip V-Reversal, you can punish it with a meaty attack because it has a frame of recovery as he lands. His EX Aurora Spin Edge is throw-invulnerable, but he’s taking a large risk of getting interrupted with a counter-hit if he uses it as a wakeup reversal.
The most troublesome aspect of Vega’s gameplay is his close-range offense. If he knocks you down or puts you in enough blockstun, he can set you up with his crouching attack, which hits low and links into several of his knockdown combos. You want to avoid this situation as much as possible. If he’s next to you mid-stage, you can opt into just eating his throw and then performing a quick-recovery. None of his throws offers him enough advantage to set you up for a meaty attack, as long as you quick-recover. However, his combos ending in EX Crimson
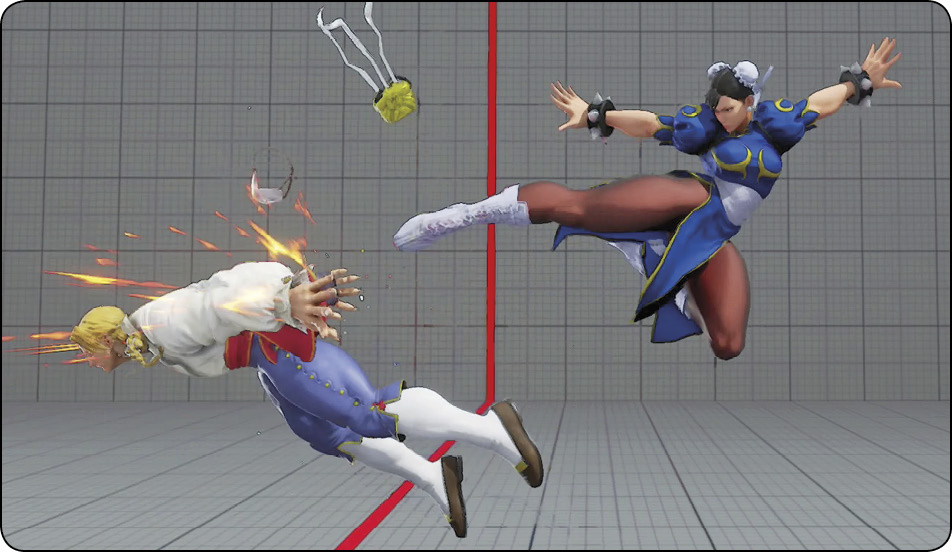
Terror and EX Flying Barcelona Attack can be devastating because of the amount of advantage and damage he earns from landing them.
If he’s going for a long-range game using Flying Barcelona Wall Jump, be ready to air-to-air him to prevent yourself from getting mixed up with his follow-up claw attack. His vertical hurtbox extends far below him, but its hitbox is narrow. This lets you anti-air him with attacks like Cammy’s + and Ryu’s crouching easily.
When he has a full V-Gauge, his neutral game becomes much more dangerous. Keep tabs on his gauge because he can cancel most of his mid-range claw attacks into Bloody Kiss, which deals a substantial amount of damage (especially if he has a loaded Critical Art to follow it up with). You can mitigate this strength of his by forcing him to block enough, wearing out his claw stamina and knocking it off. Offense-based characters with oppressive blockstrings can give him a hard time.
Zapping Zangief
Screw Pile Driver is terrifying, and you must respect its reach and damage. However, it has a five-frame startup (like grounded normal throws), and even the EX version isn’t strike- or projectile-invincible. Unlike in previous SF titles, leaving a two-frame to four-frame gap in your offense isn’t an automatic ticket to get grabbed if an opposing Zangief is “churning butter” on defense. Zangief players trying to SPD their way out of solid blockstring pressure are just asking to get counter-hit in SFV.
Double Lariat is extremely punishable on block or whiffed. Get close and be ready to hit Zangief during his recovery after the third spin. He’ll definitely go for lots of Screw Pile Drivers and aerial Borscht Dynamite grabs, all of which also have loads of very punishable recovery. Bait his misses, watch for them, and make your punishes count.
EX Siberian Express, charged standing , and Iron Muscle have intimidating pseudo-parry potential, but you can partially solve this the same as countering parries, Focus-absorbs, or Alpha Counters in previous games. If you’re worried about your foe fishing for absorbs, poke with quick, cancelable normals, and be ready to unleash a high-priority (preferably invincible) special. Armor-absorb effects tend to be distinct enough so that you can learn to consistently react to an absorbed hit with your own powerful counter-measure. An obvious example is a Ken or Ryu poke canceled into MP Shoryuken when necessary.
Cyclone Lariat gives Zangief deadly combos and mix-ups. Don’t be careless with ground movement near him when he has V-Trigger; if you’re not already jumping or crouch-blocking as Cyclone Lariat begins its suction, you’ll be helpless once you’re pulled in close. The best way to avoid his mix-ups is simply not being in Cyclone Lariat’s suction zone to begin with.
Thanks to Rashid’s mobility, versatile pokes, and the angle of his wind projectiles, he can harass Zangief like no one else. Dhalsim and F.A.N.G. also present obvious matchup problems with their projectiles and mobility specials. Chun-Li’s assortment of far-reaching pokes like standing and + (along with Kikoken) makes her an ideal candidate for fundamental, old-school zoning of Zangief.