
Street Fighter V Guide Fighters R. Mika
Special Moves
LP Shooting Peach 


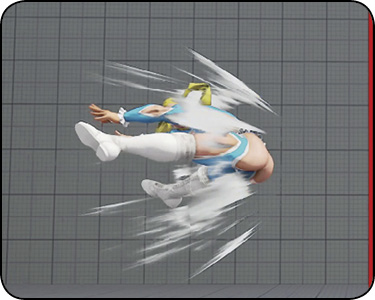
| Startup |
10 |
|---|---|
| Active |
6 |
| Recovery |
25 |
| Guard Level |
HL |
| On Hit |
D |
| On Guard |
-7 |
| Cancel |
— |
| Damage |
80 |
| Stun |
150 |
| Meter Gain |
20/40/20 |
MP Shooting Peach 
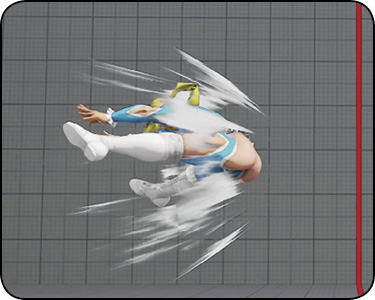
| Startup |
13 |
|---|---|
| Active |
8 |
| Recovery |
25 |
| Guard Level |
HL |
| On Hit |
D |
| On Guard |
-10 |
| Cancel |
— |
| Damage |
90 |
| Stun |
150 |
| Meter Gain |
20/40/20 |
HP Shooting Peach 
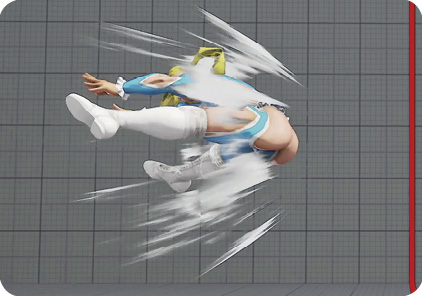
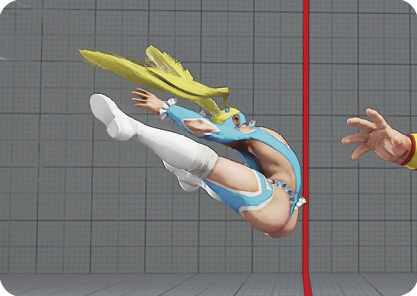
| Startup |
20 |
|---|---|
| Active |
13 |
| Recovery |
17 |
| Guard Level |
HL |
| On Hit |
D |
| On Guard |
-12 |
| Cancel |
— |
| Damage |
100 |
| Stun |
150 |
| Meter Gain |
20/40/20 |
EX Shooting Peach 
| Startup |
5 |
|---|---|
| Active |
5,2,10 |
| Recovery |
21 |
| Guard Level |
HL |
| On Hit |
D |
| On Guard |
-10 |
| Cancel |
— |
| Damage |
40,40,50 |
| Stun |
20,20,160 |
| Meter Gain |
-300 |
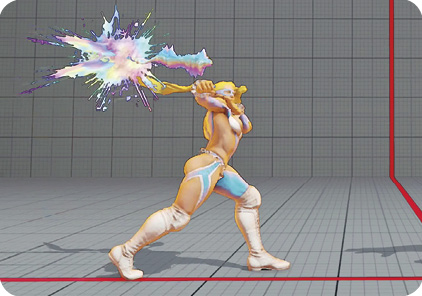
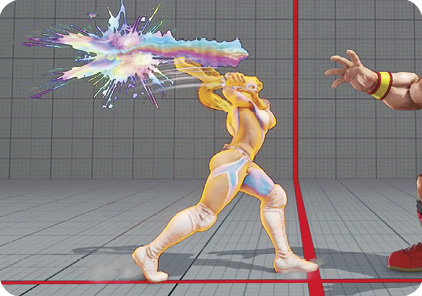
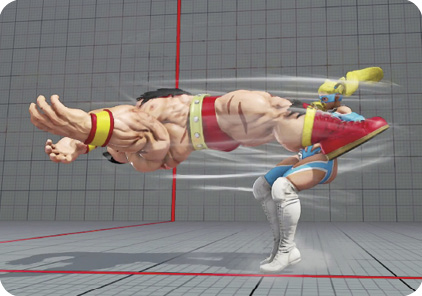
Shooting Peach: For the normal versions, R. Mika spins around and propels herself backward through the air, smacking anyone in her way with her rear end. Shooting Peach is a staple combo finisher, with the best version matching the button you’re canceling from: LP Shooting Peach from jabs, MP from standing , and HP Shooting Peach from standing . While Shooting Peach is airborne, thus going over throw attempts and low moves, any version is also very punishable when blocked. This makes them unsuitable as engagement tools by themselves. There’s an exception if you manage to hit with one of the last few active frames of HP Shooting Peach (either through perfect spacing or a very meaty hit), which briefly still has a hitbox when R. Mika starts descending.
After combos ending in Shooting Peach, immediately jump forward. If the opponent quick-rises in place, you can instantly cross up with jumping  and resume close-range offense; if they don’t quick-rise, you can reposition and cross-up their normal wakeup anyway.
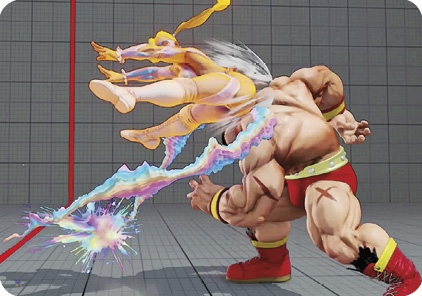
EX Shooting Peach is basically a different move, and it’s one of R. Mika’s most important weapons. R. Mika plows forward with two ground-based clothesline punches—she actually hits first with her shoulder, not the swing follow-through—and if the second swing connects, she’ll proceed with a hopping rump hit finish, like normal Shooting Peach. EX Shooting Peach has armor to absorb one hit from frames 3-9, the same window as Ryu’s Mind’s Eye parry, and is basically as close as you’ll get to a reversal without spending a full EX Gauge guessing on a Critical Art. It won’t save R. Mika if the opponent hits her meaty, so using it as a real reversal will just get her counter-hit. However, you can squeeze it through frame traps that give you at least a three-frame gap. You can also time this armor window to plow through single-hit pokes and projectiles from mid range. For example, if you’re against the classic shoto blockstring of crouching 
 Hadoken from Ken, you can blow through any normal fireball by using EX Shooting Peach immediately after blocking crouching forward. This also works against Ryu, but only if he’s poking with crouching forward into LP Hadoken. Finally, EX Shooting Peach has very good juggle potential, and R. Mika just happens to have lots of ways to set up a juggle. Try to juggle opponents late, just before they hit the ground, and you’ll get all three hits with good corner carry.
LP Rainbow Typhoon 
| Startup |
5 |
|---|---|
| Active |
2 |
| Recovery |
52 |
| Guard Level |
Throw |
| On Hit |
D |
| On Guard |
— |
| Cancel |
— |
| Damage |
160 |
| Stun |
200 |
| Meter Gain |
40/80 |
MP Rainbow Typhoon
| Startup |
5 |
|---|---|
| Active |
2 |
| Recovery |
52 |
| Guard Level |
Throw |
| On Hit |
D |
| On Guard |
— |
| Cancel |
— |
| Damage |
170 |
| Stun |
200 |
| Meter Gain |
40/80 |
HP Rainbow Typhoon
| Startup |
5 |
|---|---|
| Active |
2 |
| Recovery |
52 |
| Guard Level |
Throw |
| On Hit |
D |
| On Guard |
— |
| Cancel |
— |
| Damage |
180 |
| Stun |
200 |
| Meter Gain |
40/80 |
EX Rainbow Typhoon
| Startup |
5 |
|---|---|
| Active |
2 |
| Recovery |
52 |
| Guard Level |
Throw |
| On Hit |
D |
| On Guard |
— |
| Cancel |
— |
| Damage |
30, 190 |
| Stun |
250 |
| Meter Gain |
-300 |
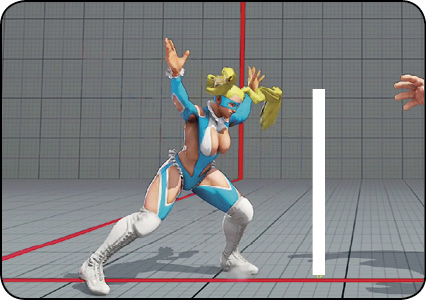
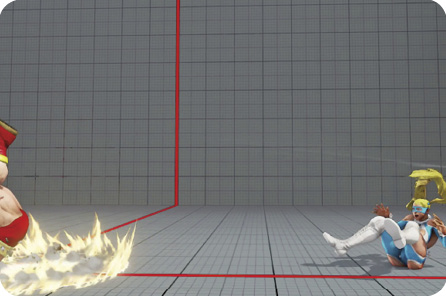
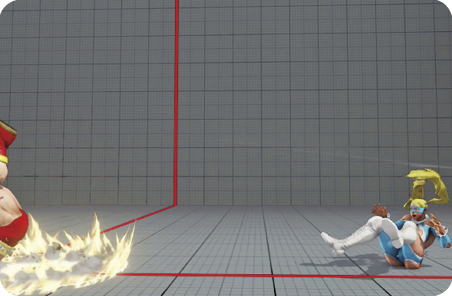
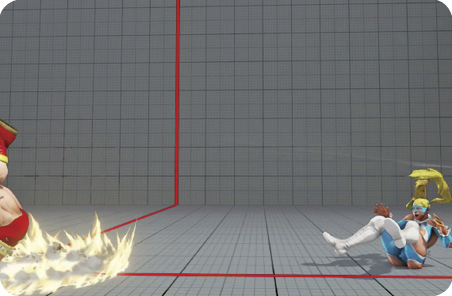
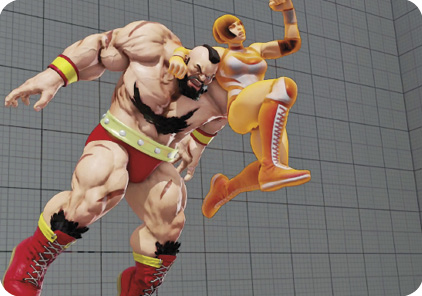
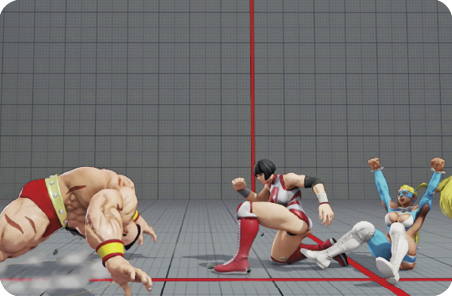
Rainbow Typhoon: During her most damaging command grab, R. Mika swings the opponent by their legs backward over her shoulders and clear across the screen. For normal versions, lighter buttons have more range but less damage. The EX version deals the most damage and stun and has the best range by far—you can still reach with EX Rainbow Typhoon after ticking with two blocked crouching jabs. Its high base damage also means it benefits the most from R. Mika’s V-Skill, which powers up your next throw attempt. Rainbow Typhoon swaps sides with the opponent and creates a lot of space. This diminishes its importance when R. Mika is at her most threatening overall, fighting a cornered foe. But this can improve her position when she’s near a corner, or give you space to go for a V-Skill power-up if your adversary doesn’t always quick-rise. On an extremely passive challenger who is running away, you can also use full-screen Rainbow Typhoon throw whiffs to build EX Gauge. (Obviously, don’t do this if your opponent shows any aggressive inclinations.)
LK Brimstone
| Startup |
5 |
|---|---|
| Active |
2 |
| Recovery |
52 |
| Guard Level |
Throw |
| On Hit |
D |
| On Guard |
— |
| Cancel |
— |
| Damage |
130 |
| Stun |
150 |
| Meter Gain |
10/80 |
MK Brimstone
| Startup |
5 |
|---|---|
| Active |
2 |
| Recovery |
52 |
| Guard Level |
Throw |
| On Hit |
D |
| On Guard |
— |
| Cancel |
— |
| Damage |
140 |
| Stun |
150 |
| Meter Gain |
10/80 |
HK Brimstone 
| Startup |
5 |
|---|---|
| Active |
2 |
| Recovery |
52 |
| Guard Level |
Throw |
| On Hit |
D |
| On Guard |
— |
| Cancel |
— |
| Damage |
150 |
| Stun |
150 |
| Meter Gain |
10/80 |
EX Brimstone 
| Startup |
5 |
|---|---|
| Active |
2 |
| Recovery |
52 |
| Guard Level |
Throw |
| On Hit |
D |
| On Guard |
— |
| Cancel |
— |
| Damage |
80,100 |
| Stun |
200 |
| Meter Gain |
-300 |
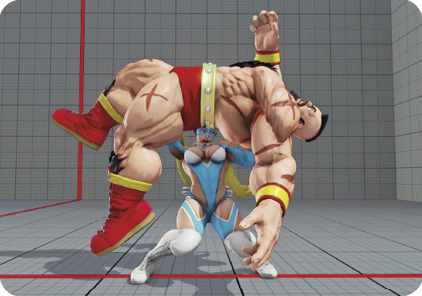
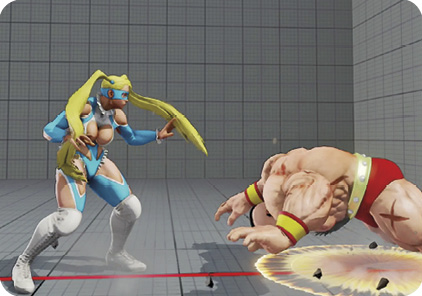
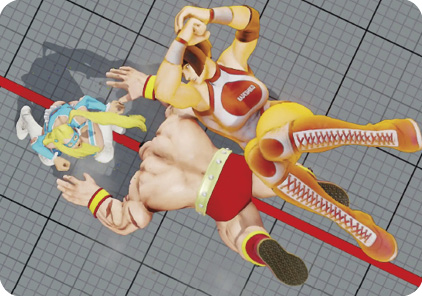
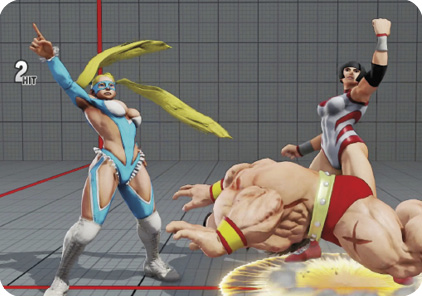
Brimstone: R. Mika hefts up her opponent, passes them over her head, and slams them before her in the direction she’s facing. While this command grab has less range and damage than Rainbow Typhoon, it has the advantage of keeping the party moving in the same direction, so it should be your go-to against a cornered enemy. Happily, Brimstone’s short range is irrelevant if you push your target all the way back into the corner and then go for a point-blank cornered reset, like after Passion Rope Throw’s wall hit into Lady Mika or charged , then a crouching juggle to make them air recover on their feet. Flush like this, you can threaten their landing with HK Brimstone with confidence.
Brimstone’s other advantage is that it leaves R. Mika with the most usable wakeup advantage of her throws. Dash forward immediately after Brimstone, and she’s at +2 against a quick-rising opponent, in perfect range for a three-frame jab tick on their wakeup. They won’t be able to stop it without using an invincible reversal. The range is perfect for you to go for LP Rainbow Typhoon after this tick. And against a cornered foe, it opens the door for you to get particularly nasty, going for Brimstone after Brimstone against their close-range, disadvantaged wakeup. Opponents will be heavily incentivized on wakeup to backdash, jump, or use an invincible reversal. When you sense that they may try to regain momentum, you can act as though you’re going for another dash-in Brimstone, then simply block, waiting to punish the enemy’s evasive movement.
LK Wingless Airplane
| Startup |
5 |
|---|---|
| Active |
5 |
| Recovery |
23+20 landing |
| Guard Level |
Air Throw |
| On Hit |
D |
| On Guard |
— |
| Cancel |
— |
| Damage |
130 |
| Stun |
200 |
| Meter Gain |
60 |
MK Wingless Airplane
| Startup |
7 |
|---|---|
| Active |
8 |
| Recovery |
20+20 landing |
| Guard Level |
Air Throw |
| On Hit |
D |
| On Guard |
— |
| Cancel |
— |
| Damage |
130 |
| Stun |
200 |
| Meter Gain |
60 |
HK Wingless Airplane
| Startup |
10 |
|---|---|
| Active |
11 |
| Recovery |
17+20 landing |
| Guard Level |
Air Throw |
| On Hit |
D |
| On Guard |
— |
| Cancel |
— |
| Damage |
130 |
| Stun |
200 |
| Meter Gain |
60 |
EX Wingless Airplane
| Startup |
5 |
|---|---|
| Active |
11 |
| Recovery |
17+20 landing |
| Guard Level |
Air Throw |
| On Hit |
D |
| On Guard |
— |
| Cancel |
— |
| Damage |
160 |
| Stun |
200 |
| Meter Gain |
-300 |
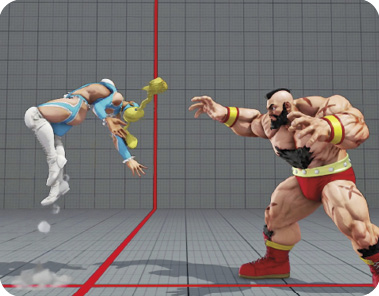
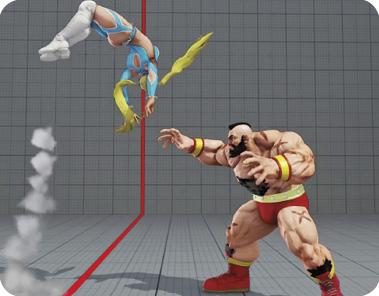
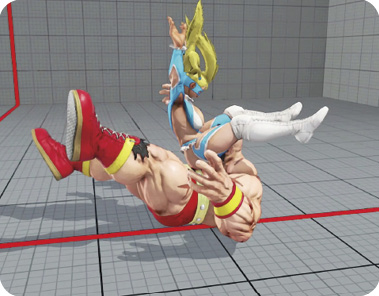
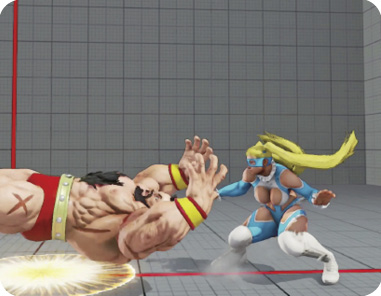
Wingless Airplane: R. Mika rapidly backflips forward into an anti-air Frankensteiner attack that doubles as a command jump. This is a hit-throw with a striking hitbox aimed against an airborne opponent, like Birdie’s HK Hanging Chain, Laura’s HP Bolt Charge, and Zangief’s EX Borscht Dynamite, and is also a great juggle finisher. The striking hitbox of this aerial hit-throw means that it can grab hurtboxes extended forward from the enemy during their air attacks. This is far and away most meaningful against Dhalsim. If you get a good read on when he likes to jump or Yoga Float and then use long air attacks as pokes, you can boldly Wingless Airplane into the space they’ll occupy. The button strength determines how far forward R. Mika flips and how quickly she strikes. She only actually grabs at the air for part of her ascent, though. Before she even reaches the flip’s apex, this has stopped being a great anti-air and started being a variable arc jump with 20 landing recovery frames. This can be fine if you really think your foe might jump, so you guess on HK Wingless Airplane from next to them (a risky guess like ambiguous Dive Bomb, so don’t do this often unless you really have a read on someone). R. Mika will probably sail too far away for the opponent to punish her very hard. It’s also fine after midscreen Passion Rope Throw to “super jump” all the way to where they’ll get up. And with V-Gauge full, you can go for a cheeky final hit-type overhead, calling Delayed Nadeshiko and then using HK Wingless Airplane to super jump over your adversary just before your tag partner hits. Otherwise, LK Wingless Airplane is best saved as semi-late anti-air, and HK Wingless Airplane best used as a tool to neutralize opponents who try to neutral jump over your throws and charged pokes. Use training mode to get used to the edge of the range where you can successfully catch mid-range neutral jumps and close-range backward jumps with HK Wingless Airplane.
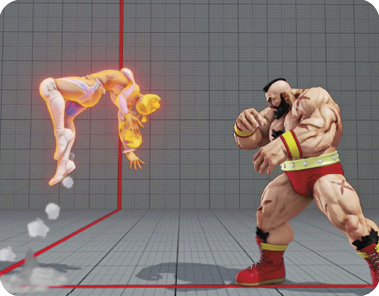
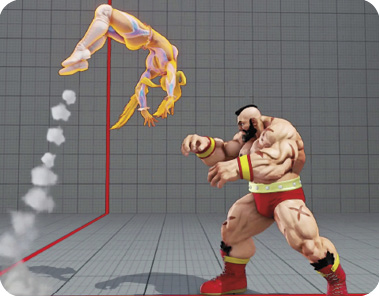
EX Wingless Airplane grabs as quickly as the LK version while dealing more damage and having increased juggle potential. It’s also fully invincible during active frames, so if you have time to get it out, it’ll win. This is a great sure thing, high-damage anti-air, and it usually out-damages any other possible ender in a given juggle combo. It’s also an important weapon in matches against characters who like to be airborne often, like Rashid, Dhalsim, and Chun-Li. The only downside of Wingless Airplane (any version) in juggle combos is that it swaps sides with the victim, which is the last thing you want when you finally have them cornered. You might want to end some corner juggle combos with EX Shooting Peach or a reset attempt instead to preserve position advantage, saving EX Wingless Airplane for “can’t lose” anti-airs, midscreen juggles, and corner K.O. combos.