
Street Fighter V Guide Fighters Ibuki
Normal Throws
Yamikazura


| Startup |
5 |
|---|---|
| Active |
2 |
| Recovery |
18 |
| Guard Level |
Throw |
| On Hit |
D |
| On Guard |
– |
| Cancel |
– |
| Damage |
120 |
| Stun |
170 |
| Meter Gain |
80 |
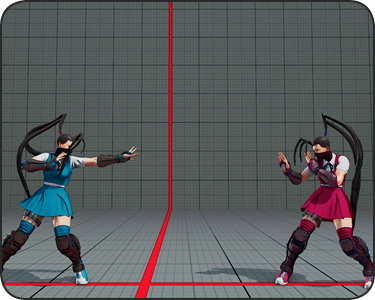
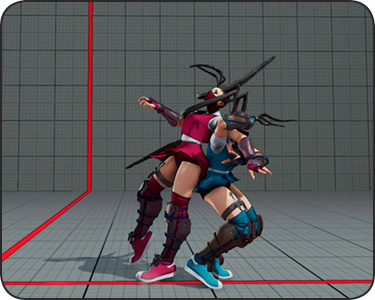
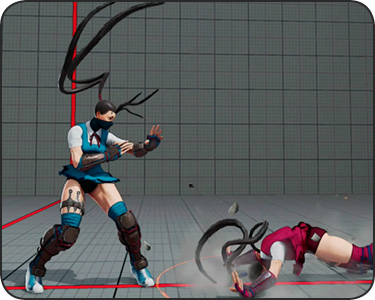
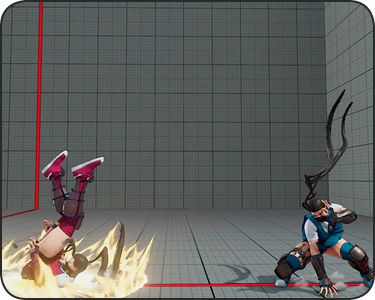
Yamikazura: With a fast walk speed, a three-frame standing jab that’s +2 guarded, and several overhead and left/right mix-up options, plain old normal throws become a potent tool for Ibuki’s offense. This body slam floors the opponent about a dash’s distance away. If the opponent quick-rises, Ibuki is left at +5, but outside of immediate attack range. Dashing forward immediately into a quick-rising victim is actually a bad idea, since Ibuki will be no better than -12, like having a sweep blocked point-blank. To press the attack immediately after a forward throw, just walk forward cautiously, use the +5 at arm’s length to get a head-start on 
 or a jump-in against their wake-up.
Kubiori
| Startup |
5 |
|---|---|
| Active |
2 |
| Recovery |
18 |
| Guard Level |
Throw |
| On Hit |
D |
| On Guard |
– |
| Cancel |
– |
| Damage |
130 |
| Stun |
170 |
| Meter Gain |
80 |
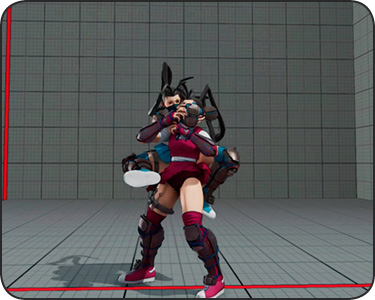
Kubiori: For Ibuki’s backward throw, she clings to their back and builds up tension with a neck slash that sends them spiraling across the screen. A forward dash immediately after backward throw puts Ibuki at +2 outside immediate attack range, basically a match reset that swaps screen sides. The distance makes this a good time to restock a Kunai or two with Kunai Hoju, her knife-reloading move.
TobizaruJumping
| Startup |
5 |
|---|---|
| Active |
2 |
| Recovery |
18 |
| Guard Level |
Throw |
| On Hit |
D |
| On Guard |
– |
| Cancel |
– |
| Damage |
140 |
| Stun |
150 |
| Meter Gain |
100 |
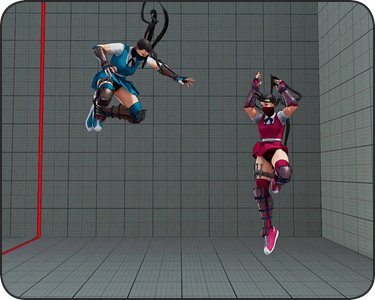
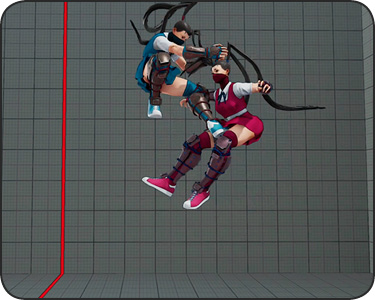
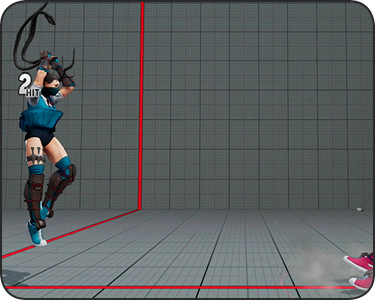
Tobizaru: Ibuki’s air throw. When successful, Ibuki kicks off the enemy’s chest in midair, slamming them into the ground far away. Like her backward throw, this is a match reset. Use the chance to restock Kunai or reposition before engaging again.
To avoid many close-range situations on wakeup and in tight spots, many players have started using an option select sequence of blocking low briefly, then jumping backward and immediately pressing a throw command. This blocks meaty attacks, then immediately jumps away from throw attempts, while also containing the command required to break throws. The telltale sign a player is using this O.S. is that they jump away from close-range situations with an immediate jumping . (Incidentally, some counter-tactics to this counter-tactic have already emerged, like doing a “naked” shoto Tatsumaki as okizeme, which will nail someone trying to wake up by jumping, while being a lot safer if wrong than something like Shoryuken.) With air-throw characters, like Ibuki and Nash, this O.S. produces an immediate backward-jumping air-throw attempt instead. The funny thing is, for Ibuki players using this defensive option select, this will occasionally result in a low-altitude throw against the opponent in Ibuki’s favor. This can occur if the O.S. sequence is used and the opponent does something that leaves them airborne.