
Street Fighter V Guide Fighters Ken
Normal Throws
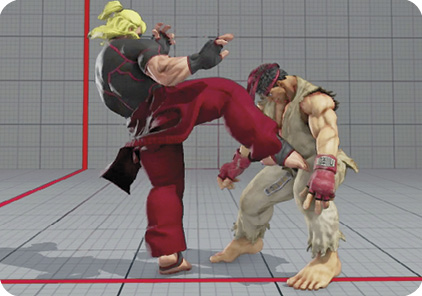
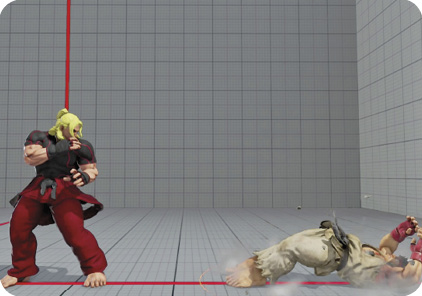
Knee Bash 


| Startup |
5 |
|---|---|
| Active |
2 |
| Recovery |
18 |
| Guard Level |
THROW |
| On Hit |
D |
| On Guard |
— |
| VSX Hit |
— |
| VSX Guard |
— |
| VTX Hit |
— |
| VTX Guard |
— |
| Cancel |
— |
| Damage |
110 |
| Stun |
170 |
| Meter Gain |
80 |
Knee Bash: Ken delivers two knees to his opponent’s face and concludes with a final punt, launching them about a half screen away. If the downed enemy quick-rises, you’re still at a slight advantage—enough to dash in for a crouching  or
or 
 attack. Knee Bash deals 10 damage less than Hell Wheel, but it rewards more knockdown advantage. This makes Knee Bash generally more useful for tempo, especially if you’re on offense. For a solid high-low mix-up, dash in and either hit overhead with , or strike low with crouching
  LP Hadoken.
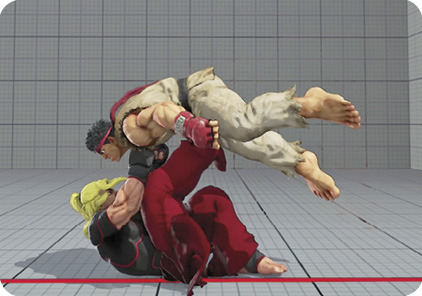
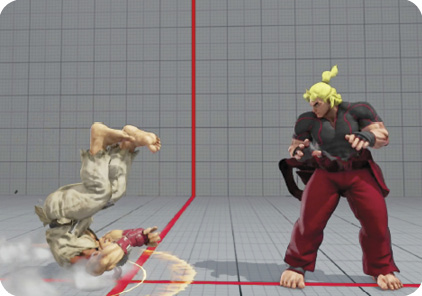
Hell Wheel
| Startup |
5 |
|---|---|
| Active |
2 |
| Recovery |
18 |
| Guard Level |
THROW |
| On Hit |
D |
| On Guard |
— |
| VSX Hit |
— |
| VSX Guard |
— |
| VTX Hit |
— |
| VTX Guard |
— |
| Cancel |
— |
| Damage |
120 |
| Stun |
200 |
| Meter Gain |
100 |
Hell Wheel: Hell Wheel is Ken’s defensive back throw: he grabs his opponent, tumbles backward about a half screen’s distance, and then tosses them another half of a screen. You’ll want to use this mainly from a defensive position (as you’re naturally holding back to block) or to place the enemy into a corner. The travel distance is significant in that Ken can be near the middle of the stage, back throw the target, and end up in a dominating position with his adversary cornered. The downside is that if your opponent chooses to quick-rise, you won’t have as much knockdown advantage as you would using Knee Bash.