
Street Fighter V Guide Fighters Birdie
Unique Attacks
Booger (Don’t move)
| Startup |
478 |
|---|---|
| Active |
— |
| Recovery |
— |
| Guard Level |
HL |
| On Hit |
15 |
| On Guard |
15 |
| VTX Hit |
— |
| VTX Guard |
— |
| Cancel |
— |
| Damage |
10 |
| VT Damage |
12 |
| Stun |
0 |
| Meter Gain |
0 |
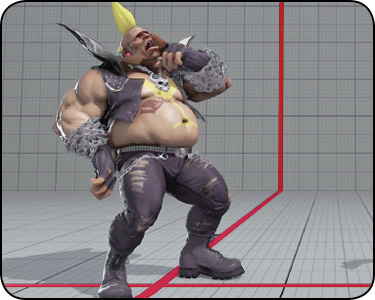
Booger: Let Birdie idle in one place for long enough, and the cocky slob will pick his nose and flick the results across the screen as a projectile. This is good for a laugh but won’t enter into play unless you’re fighting an extremely passive opponent when you have a massive stamina lead. Sit back and wait and see if they’ll impale themselves on mucus for posterity.
Bad Hammer Crouching 

| Startup |
7 |
|---|---|
| Active |
5 |
| Recovery |
31 |
| Guard Level |
HL |
| On Hit |
D |
| On Guard |
— |
| VTX Hit |
— |
| VTX Guard |
— |
| Cancel |
— |
| Damage |
60 |
| VT Damage |
72 |
| Stun |
150 |
| Meter Gain |
50/25 |
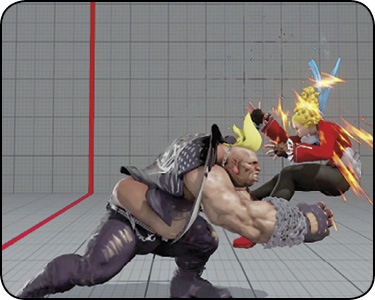
Bad Hammer: This is the double-fisted, downward-smacking hammer punch follow-up to crouching . This can only be performed if crouching hits, not when it’s blocked. The best thing to do if you score a hit with crouching against a grounded foe is to cancel into HK/EX Hanging Chain (or Bull Horn, if you have charge). However, pressing for Bad Hammer is the next best thing, and it’s much easier to perform. Crouching can be chained into Bad Hammer very late, giving you time to verify the hit before finishing with this hammer punch. This can add easy, verifiable damage when you can catch opponents with early crouching as an anti-air.
Bull Slider 

| Startup |
19 |
|---|---|
| Active |
5 |
| Recovery |
22 |
| Guard Level |
L |
| On Hit |
-1 |
| On Guard |
-5 |
| VTX Hit |
— |
| VTX Guard |
— |
| Cancel |
— |
| Damage |
100 |
| VT Damage |
120 |
| Stun |
150 |
| Meter Gain |
50/25 |
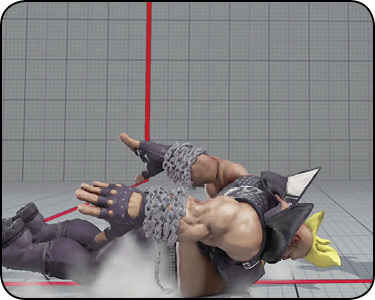
Bull Slider: Birdie flops forward onto his ample belly and slides, striking along the ground with his head and pointy hair. It doesn’t knock down, but Bull Slider must be guarded crouching and deals more damage than a sweep, while also being much safer if guarded. If you hit late with Bull Slider’s active period, it can be as good as neutral on block, which is unique among low-hitting heavy attacks in SFV (and whereas crouching  leads to -11, guaranteed turf-eating territory). During part of the initial flop, Birdie is airborne and briefly immune to ground throws and low-profile hitboxes. Hits against him during this startup will also put him into air recovery instead of grounded hitstun. Once he’s sliding, Birdie’s back and shoulders are projectile-invincible, so you can use Bull Slider predictively to go under mid-range projectiles. (It’s too slow to be used as an anti-fireball purely on reaction, though; there’s some guesswork here.) With its range, low hit, and projectile-dodging ability, Bull Slider is a decent engagement tool from mid range. Take care to get the range correct—it’s safe if you hit late with it, but it’s disastrously unsafe if you whiff directly in the enemy’s face, like R. Mika’s forward-moving crouching .
Bull Charge 
| Startup |
25 |
|---|---|
| Active |
4 |
| Recovery |
18 |
| Guard Level |
HL |
| On Hit |
3 |
| On Guard |
-7 |
| VTX Hit |
— |
| VTX Guard |
— |
| Cancel |
— |
| Damage |
100 |
| VT Damage |
120 |
| Stun |
150 |
| Meter Gain |
50/25 |
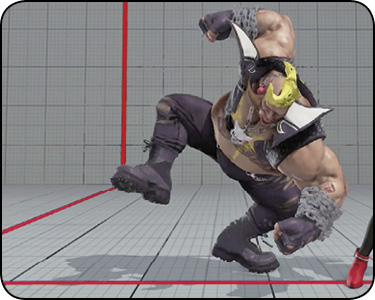
Bull Charge: Birdie bunches his body up, building force, then hurls himself forward half the length of the screen with a shoulder check. From frames 3-18, this move has one hit of armor, with a seven-frame gap between the end of armor and the first active striking frame. This move’s purpose is to plow through single-hit mid-range fireballs on reaction. When you successfully counter a fireball with Bull Charge, you’ll gain ground while inflicting great damage. Bull Horn does a better job of this, but Bull Charge doesn’t require charge and has slightly more range.
Bull Charge on counter-hit causes a spinning Crush Counter knockdown that allows for juggle follow-ups. It’s hard to recommend Bull Charge for counter-hit fishing in non-fireball footsies, though, since it leaves Birdie at -7 when guarded. (Note that you can make exceptions if your opponent is truly telegraphing their actions, but don’t get carried away.) It can start up reversal punish counter-hit combos, like after Necalli, Karin, or Ken whiffs uppercut-style defensive moves.
Bull Drop
| Startup |
7/22 |
|---|---|
| Active |
3(12)4 |
| Recovery |
18 |
| Guard Level |
HL,H |
| On Hit |
2 |
| On Guard |
-4 |
| VTX Hit |
— |
| VTX Guard |
— |
| Cancel |
— |
| Damage |
120(40+80) |
| VT Damage |
144(48+96) |
| Stun |
150 |
| Meter Gain |
50/25 |
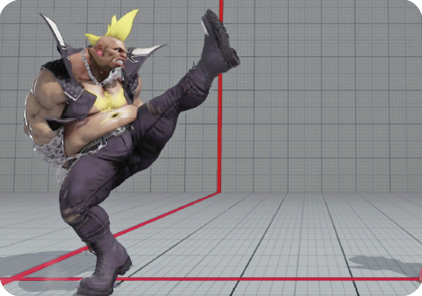
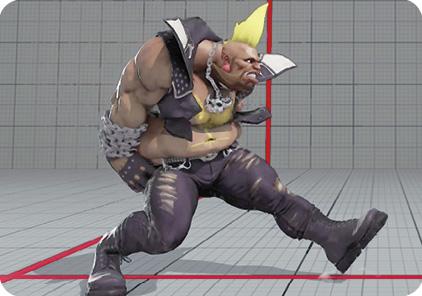
Bull Drop: Birdie’s command overhead doubles as an excellent anti-air against jumps from long range. Birdie lifts his leg up, hitting well above his leg hurtbox with an anti-air kick (which standing foes must also block), then lowers his leg for a lazy overhead axe kick. Whether anti-air or anti-ground, this tends to be best used from the edge of its range. Jumps closer in on top of Birdie will call for crouching  or Bull Horn, and the second overhead hit of Bull Drop up close will be negated if your adversary blocks the first hit while standing. However, it works fine up close against crouchers, over whom the first hit will whiff. If the overhead portion counter-hits the enemy, link combos are possible afterward.