
Street Fighter V Guide Fighters Zangief
Normal Throws
Atomic Drop 


| Startup |
5 |
|---|---|
| Active |
2 |
| Recovery |
18 |
| Guard Level |
Throw |
| On Hit |
D |
| Damage |
130 |
| Stun |
170 |
| Meter Gain |
80 |
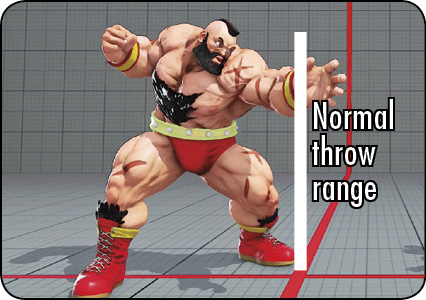
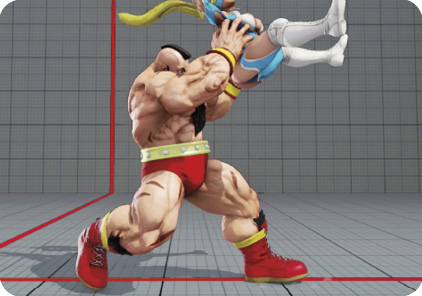
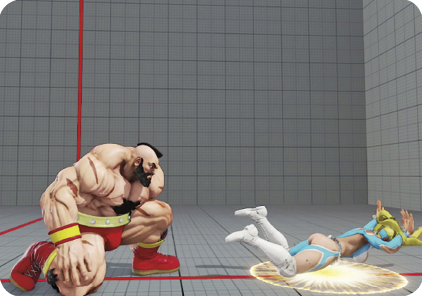
Atomic Drop: During Zangief’s Atomic Drop, he basically attempts to break the opponent’s coccyx with a vicious knee drop. If the enemy quick-rises from this knockdown, Zangief is left at +15 about two character widths away from his challenger. That’s not enough advantage to dash in safely, but it’s enough to take a couple of steps forward and then threaten their wakeup with LP Screw Pile Driver. Apart from the obvious ease of execution, there are two reasons why you might opt for a normal throw when Zangief is brimming with higher-damage, untechable, farther-reaching command throws. The first is that they have far less whiff recovery than any command throw. A whiffed Screw Pile Driver takes over twice as long before you can act or guard again as a failed normal throw! While an adversary might backdash away from SPD and then sweep your recovery animation and steal the tempo from you, a normal throw whiff will leave Zangief more or less safe, with some ground lost. And while foes might neutral jump directly in Zangief’s face over SPD and then fall with a full combo, a normal throw whiff will actually leave you with time to anti-air them with standing , crouching  , or Double Lariat.
Captured 
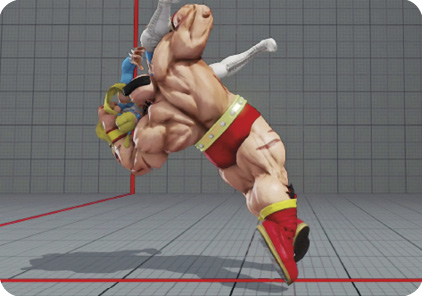
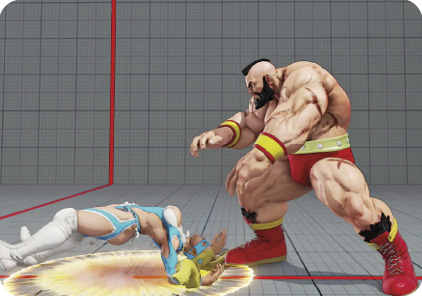
| Startup |
5 |
|---|---|
| Active |
2 |
| Recovery |
18 |
| Guard Level |
Throw |
| On Hit |
D |
| Damage |
130 |
| Stun |
170 |
| Meter Gain |
— |
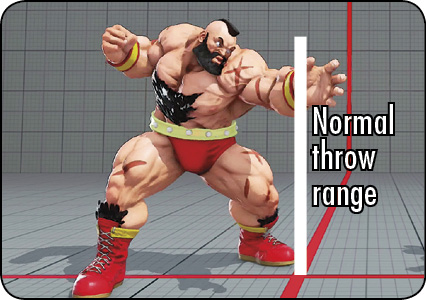
Captured: During his back throw, Captured, Zangief settles for a simple body slam that swaps sides with his foe and leaves them very close. The second reason to mix in normal throws is for the follow-up potential after Captured. Even if the victim quick-rises after backward throw, they’re still right there next to Zangief, handing him a whopping +25 advantage against their wakeup. This is especially good if they’ve cornered Zangief themselves because you can turn the tables with a single back throw.