
Street Fighter V Guide Fighters Vega
Special Moves
Switching Claw 


| Startup |
— |
|---|---|
| Active |
— |
| Recovery |
23 (total) |
| Guard Level |
— |
| On Hit |
— |
| On Guard |
— |
| STNC Hit |
— |
| STNC Guard |
— |
| Cancel |
— |
| Damage |
— |
| Stun |
— |
| Meter Gain |
— |
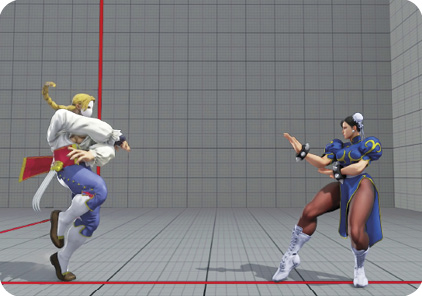
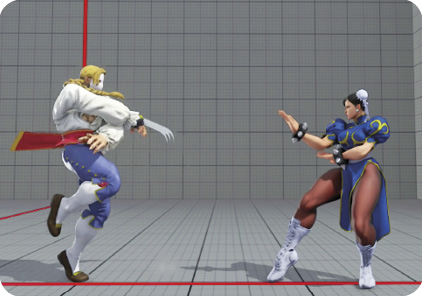
Switching Claw: New in SFV for Vega is the ability to switch to a “hand mode” on command. Switching Claw removes all of Vega’s claw attacks and replaces them with generally faster punches. For instance, Vega’s standing  becomes a chainable jab, and standing
  becomes a shorter-reaching five-finger strike instead of a mid-range claw swipe. Using Switching Claw while in hand mode will make Vega re-equip his claw.
As with any special attack, Switching Claw can be canceled into, so you can change stances in the heat of battle or even go for special stance-switch combos like Combo 8a and 8b.
You can still activate Switching Claw if Vega loses his claw, so you can do standing 
 Switching Claw cancels to combo into crouching MP, which then cancels into MK/EX Crimson Terror (see Combo 9).
Flying Barcelona Wall Jump  or
or

| Startup |
— |
|---|---|
| Active |
— |
| Recovery |
31 landing |
| Guard Level |
— |
| On Hit |
— |
| On Guard |
— |
| STNC Hit |
— |
| STNC Guard |
— |
| Cancel |
— |
| Damage |
— |
| Stun |
— |
| Meter Gain |
0 |
EX Flying Barcelona Wall Jump or
| Startup |
9 |
|---|---|
| Active |
Until reaching wall |
| Recovery |
31 landing |
| Guard Level |
— |
| On Hit |
— |
| On Guard |
— |
| STNC Hit |
— |
| STNC Guard |
— |
| Cancel |
— |
| Damage |
40 |
| Stun |
0 |
| Meter Gain |
-300 |
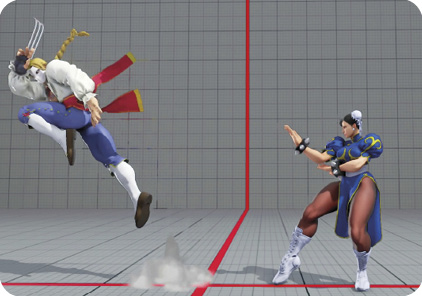
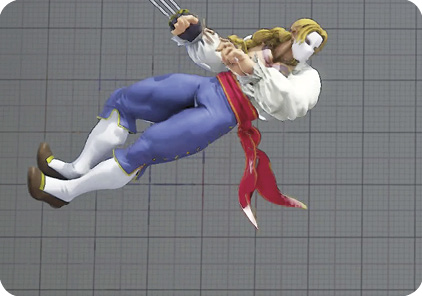
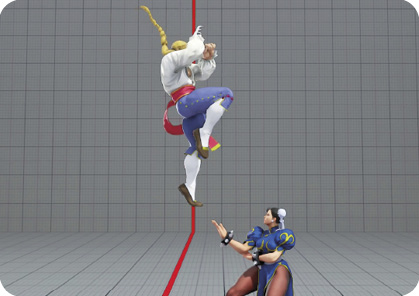
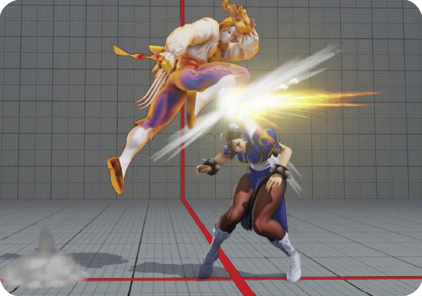
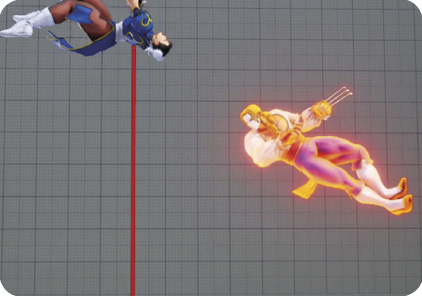
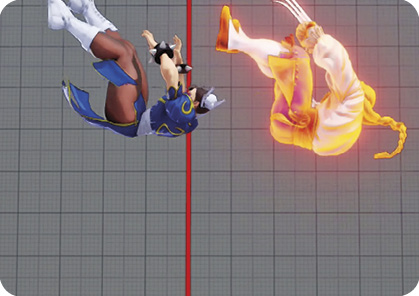
Flying Barcelona Wall Jump: Vega’s signature Wall Jump is back in SFV (along with his renowned howl that accompanies it). It’s executed with either a or input. The former causes Vega to fly to the wall behind him, while the latter makes him soar to the opponent’s side of the screen. Upon reaching the wall, Vega will launch off of it into a controllable flight that can be canceled into either Flying Barcelona Attack or Izuna Drop.
You can alter Vega’s trajectory drastically during Flying Barcelona Wall Jump using  and
and  inputs. If Vega jumps to the wall behind him, you can hold for a potential cross-up attack. Or, to fake out the enemy, you can opt to hold to have Vega stay closer to his edge of the screen. However, there’s a forced a minimum forward trajectory even if you hold the entirety of the Wall Jump. If your opponent makes a good read, they can possibly punish you by moving into range and hitting Vega’s landing recovery.
Once you’ve committed with either a or  input during Flying Barcelona Wall Jump, you can no longer alter Vega’s air trajectory.
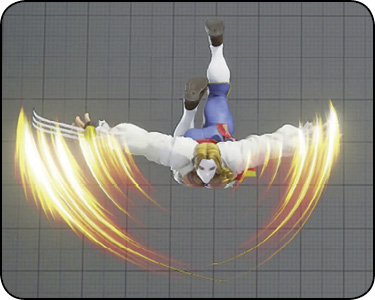
Flying Barcelona Attack (Claw) during Flying Barcelona Wall Jump with claw equipped
| Startup |
3 |
|---|---|
| Active |
6 |
| Recovery |
31 landing |
| Guard Level |
H |
| On Hit |
D |
| On Guard |
— |
| STNC Hit |
— |
| STNC Guard |
— |
| Cancel |
— |
| Damage |
90 |
| Stun |
150 |
| Meter Gain |
0/40/20 |
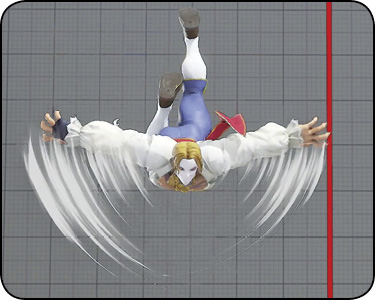
Flying Barcelona Attack (Hand) during Flying Barcelona Wall Jump without claw equipped
| Startup |
3 |
|---|---|
| Active |
6 |
| Recovery |
31 landing |
| Guard Level |
H |
| On Hit |
— |
| On Guard |
— |
| STNC Hit |
— |
| STNC Guard |
— |
| Cancel |
— |
| Damage |
60 |
| Stun |
100 |
| Meter Gain |
0/40/20 |
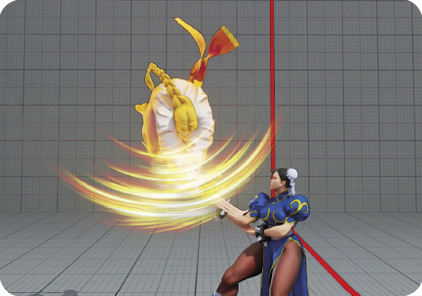
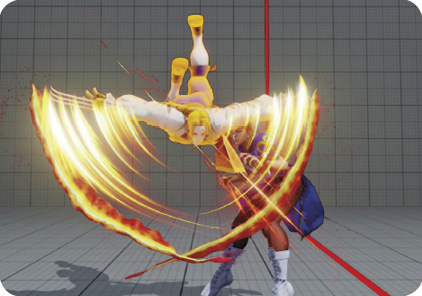
EX Flying Barcelona Attack (Claw) during EX Flying Barcelona Attack with claw equipped
| Startup |
9 |
|---|---|
| Active |
Until landing |
| Recovery |
31 landing |
| Guard Level |
H |
| On Hit |
D |
| On Guard |
— |
| STNC Hit |
— |
| STNC Guard |
— |
| Cancel |
— |
| Damage |
120 |
| Stun |
200 |
| Meter Gain |
0 |
EX Flying Barcelona Attack (Hand) during EX Flying Barcelona Attack without claw equipped
| Startup |
9 |
|---|---|
| Active |
Until landing |
| Recovery |
31 landing |
| Guard Level |
H |
| On Hit |
— |
| On Guard |
— |
| STNC Hit |
— |
| STNC Guard |
— |
| Cancel |
— |
| Damage |
120 |
| Stun |
200 |
| Meter Gain |
0 |
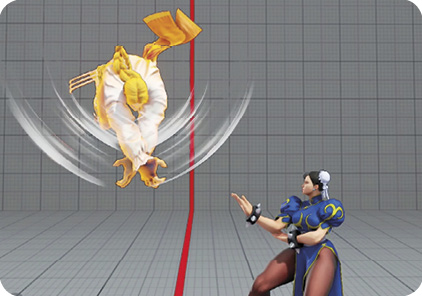
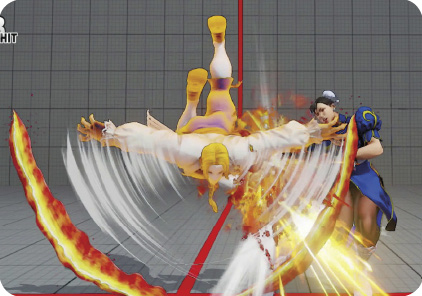
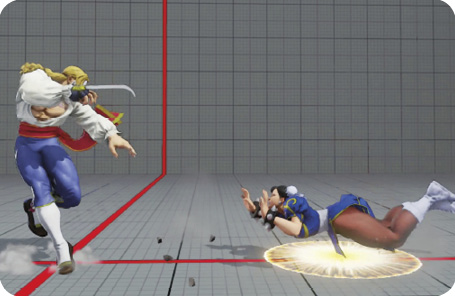
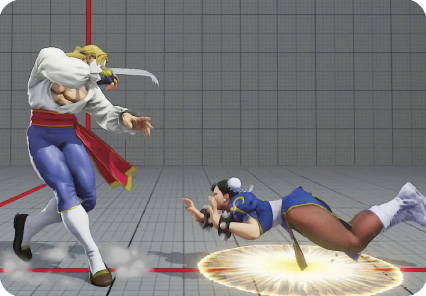
Flying Barcelona Attack: Flying Barcelona Wall Jump can be canceled into either Flying Barcelona Attack (an air strike) or Izuna Drop (an air throw). Against grounded opponents and with Vega’s claw equipped, successfully hitting with Flying Barcelona Attack causes a knockdown. If Vega’s claw is broken or holstered, Flying Barcelona Attack puts your adversary into a grounded hitstun. If you can get your foe to block Vega’s descending attack, you’re at a slight advantage (+7~8 in hand mode on hit, +1~2 on block).
Although safe on block, Flying Barcelona Attack extends a large vertical hurtbox, with its thin hitbox residing much higher than the bottom of Vega’s hurtbox. Opponents can easily deflect these attacks with vertical anti-air normals (such as Ryu’s crouching ). The giant hurtbox is only extended when you activate the attack; otherwise, Vega remains in a smaller jumping hurtbox animation during Flying Barcelona Wall Jump.
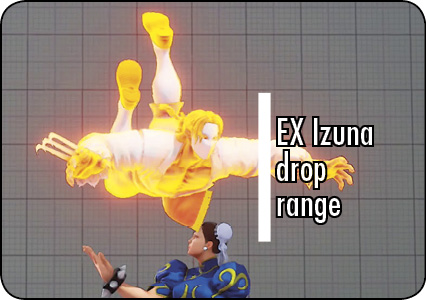
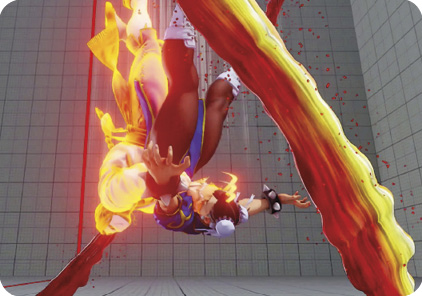
Unlike the normal version of Flying Barcelona Wall Jump, performing the EX version allows Vega to hit with a flying knee attack on his way to the wall. This knee attack launches the opponent high into the air, giving you an opportunity to combo into Izuna Drop or Flying Barcelona Attack. It’s usually the most optimal combo ender for the majority of Vega’s combos (see the Combos section for more details). Additionally, executing Flying Barcelona Attack during EX Flying Barcelona Wall Jump puts Vega into a dive kick-like state, quickly descending with an active hitbox until landing. This makes it much easier to use as a cross-up attack and in juggle combos.
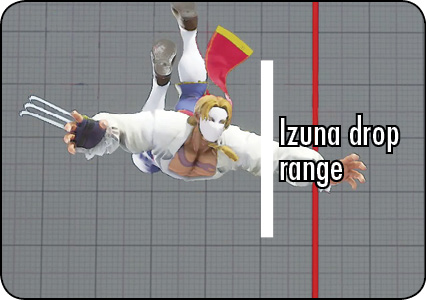
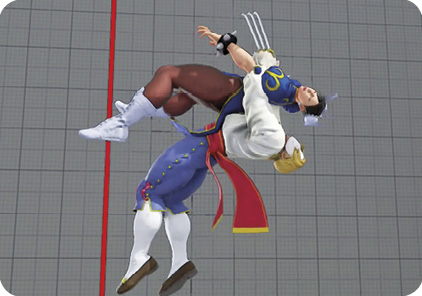
Izuna Drop near opponent during Flying Barcelona Attack
| Startup |
4 |
|---|---|
| Active |
5 |
| Recovery |
31 landing |
| Guard Level |
THROW |
| On Hit |
D |
| On Guard |
— |
| STNC Hit |
— |
| STNC Guard |
— |
| Cancel |
— |
| Damage |
150 |
| Stun |
150 |
| Meter Gain |
0/60 |
EX Izuna Drop near opponent during EX Flying Barcelona Attack
| Startup |
4 |
|---|---|
| Active |
5 |
| Recovery |
31 landing |
| Guard Level |
THROW |
| On Hit |
D |
| On Guard |
— |
| STNC Hit |
— |
| STNC Guard |
— |
| Cancel |
— |
| Damage |
160 |
| Stun |
200 |
| Meter Gain |
0 |
LK Crimson Terror
| Startup |
8 |
|---|---|
| Active |
2/5 |
| Recovery |
10 |
| Guard Level |
HL |
| On Hit |
0 |
| On Guard |
-6 |
| STNC Hit |
— |
| STNC Guard |
— |
| Cancel |
CA |
| Damage |
80(20+60) |
| Stun |
120(20+100) |
| Meter Gain |
10/50/25 |
MK Crimson Terror 
| Startup |
17 |
|---|---|
| Active |
2/2/5 |
| Recovery |
12 |
| Guard Level |
HL |
| On Hit |
2 |
| On Guard |
-7 |
| STNC Hit |
— |
| STNC Guard |
— |
| Cancel |
CA |
| Damage |
100(20×2+60) |
| Stun |
140(20×2+100) |
| Meter Gain |
10/50/25 |
HK Crimson Terror 
| Startup |
19 |
|---|---|
| Active |
4/3/3/5 |
| Recovery |
14 |
| Guard Level |
HL |
| On Hit |
D |
| On Guard |
-8 |
| STNC Hit |
— |
| STNC Guard |
— |
| Cancel |
CA |
| Damage |
120(20×3+60) |
| Stun |
160(20×3+100) |
| Meter Gain |
10/50/25 |
EX Crimson Terror
| Startup |
16 |
|---|---|
| Active |
5/3/3/3/5 |
| Recovery |
10 |
| Guard Level |
HL |
| On Hit |
D |
| On Guard |
-2 |
| STNC Hit |
— |
| STNC Guard |
— |
| Cancel |
— |
| Damage |
140(20×4+60) |
| Stun |
180(20×4+100) |
| Meter Gain |
-300 |
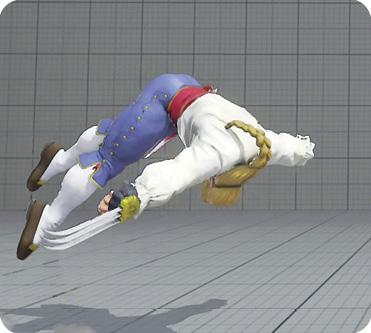
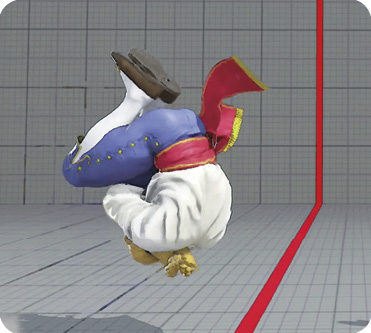
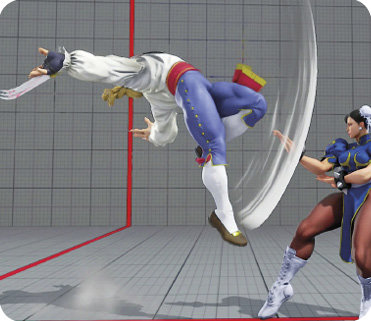
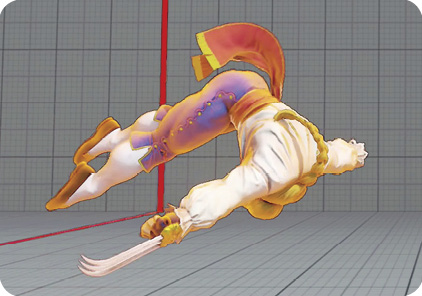
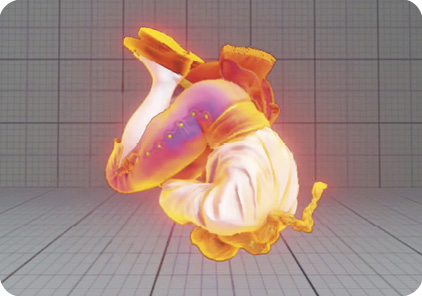
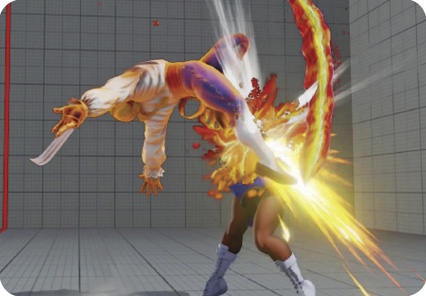
Crimson Terror: Similar to Vega’s Rolling Crystal Flash from Street Fighter IV, Crimson Terror is a rolling attack that ends in an airborne somersault kick (instead of finishing with a claw strike like it used to in SFIV). All versions of Crimson Terror are punishable on block (at least -6 with the LK version). The three normal versions differ in travel distance, damage, and stun. The LK version travels just past Vega’s Buster Claw range, MK travels almost full screen, and HK travels a full-screen distance.
Crimson Terror is best used in combos, especially in hit-check combos where the opponent is hit while crouching (or if you want to build meter). Otherwise, EX Flying Barcelona Wall Jump is your optimal combo finisher against standing adversaries and if you have EX Gauge to spare.
In the neutral game, you can make Crimson Terror slightly safer by distancing Vega properly before its execution. For instance, from about half-screen distance away, you can go for LK Crimson Terror to close the gap. If blocked, it becomes more difficult for the enemy to punish Vega since he’s too far to hit.
LP Aurora Spin Edge 
| Startup |
12 |
|---|---|
| Active |
6 |
| Recovery |
20 |
| Guard Level |
L |
| On Hit |
D |
| On Guard |
-7 |
| STNC Hit |
— |
| STNC Guard |
— |
| Cancel |
CA |
| Damage |
100 |
| Stun |
200 |
| Meter Gain |
0/50/25 |
MP Aurora Spin Edge
| Startup |
15 |
|---|---|
| Active |
6 |
| Recovery |
18 |
| Guard Level |
HL |
| On Hit |
D |
| On Guard |
-6 |
| STNC Hit |
— |
| STNC Guard |
— |
| Cancel |
CA |
| Damage |
100 |
| Stun |
200 |
| Meter Gain |
0/50/25 |
HP Aurora Spin Edge
| Startup |
12 |
|---|---|
| Active |
7 |
| Recovery |
15 |
| Guard Level |
HL |
| On Hit |
D |
| On Guard |
-4 |
| STNC Hit |
— |
| STNC Guard |
— |
| Cancel |
CA |
| Damage |
100 |
| Stun |
200 |
| Meter Gain |
0/50/25 |
EX Aurora Spin Edge
| Startup |
12 |
|---|---|
| Active |
7/4 |
| Recovery |
21 |
| Guard Level |
HL |
| On Hit |
D |
| On Guard |
-3 |
| STNC Hit |
— |
| STNC Guard |
— |
| Cancel |
× |
| Damage |
160(60+100) |
| Stun |
200(100+100) |
| Meter Gain |
-300 |
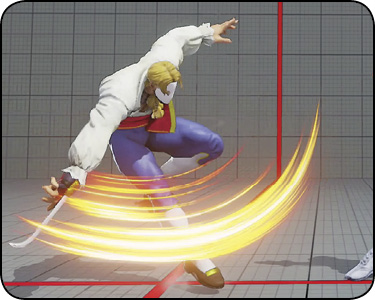
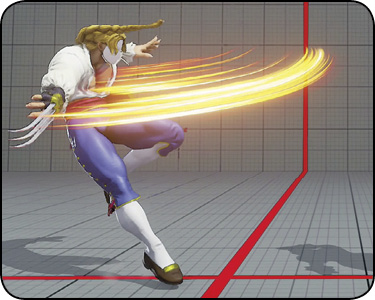
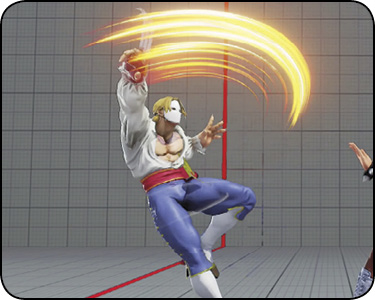
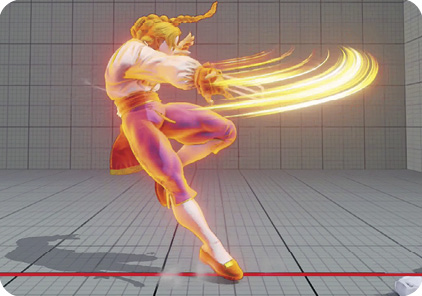
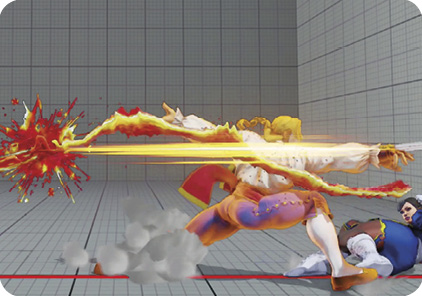
Aurora Spin Edge: Vega performs a pirouette into a spinning claw attack. Aurora Spin Edge is a new addition to Vega’s arsenal, executed with a sequence. Each version of the attack has a unique purpose. LP Aurora Spin Edge is an evasive, low-hitting claw sweep; the MP version is a midsection-hitting swipe used primarily in combos; and the HP version is an extraordinary anti-air, with the caveat that must you execute it early enough. EX Aurora Spin Edge is invulnerable to throws and starts with a large swipe with projectile hitbox properties, followed by a lunging claw strike. It’s best used in link and juggle combos (see the Combos section for more details), or if you can make a hard read on a throw to blow through a normal or command throw.
LP and MP Aurora Spin Edge are excellent hit-and-run tools when used from just outside of close range or canceled from your attacks. For example, crouching LP Aurora Spin Edge can be blocked standing or crouching initially, but if the opponent stands up immediately after blocking crouching , they’ll be swept by the low-hitting LP Aurora Spin Edge. Although it’s -7 on guard, this sequence is generally safe to use (unless the enemy has access to a fast, gap-closing special attack).
Aurora Spin Edge is only available when Vega has his claw equipped.
LP Grand Izuna Drop 
| Startup |
6 |
|---|---|
| Active |
2 |
| Recovery |
44 |
| Guard Level |
THROW |
| On Hit |
D |
| On Guard |
— |
| STNC Hit |
— |
| STNC Guard |
— |
| Cancel |
— |
| Damage |
130 |
| Stun |
200 |
| Meter Gain |
10/60 |
MP Grand Izuna Drop
| Startup |
6 |
|---|---|
| Active |
2 |
| Recovery |
44 |
| Guard Level |
THROW |
| On Hit |
D |
| On Guard |
— |
| STNC Hit |
— |
| STNC Guard |
— |
| Cancel |
— |
| Damage |
140 |
| Stun |
200 |
| Meter Gain |
10/60 |
HP Grand Izuna Drop
| Startup |
6 |
|---|---|
| Active |
2 |
| Recovery |
44 |
| Guard Level |
THROW |
| On Hit |
D |
| On Guard |
— |
| STNC Hit |
— |
| STNC Guard |
— |
| Cancel |
— |
| Damage |
150 |
| Stun |
200 |
| Meter Gain |
10/60 |
EX Grand Izuna Drop
| Startup |
6 |
|---|---|
| Active |
2 |
| Recovery |
44 |
| Guard Level |
THROW |
| On Hit |
D |
| On Guard |
— |
| STNC Hit |
— |
| STNC Guard |
— |
| Cancel |
— |
| Damage |
180 |
| Stun |
250 |
| Meter Gain |
-300 |
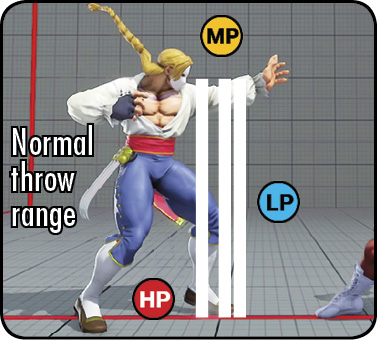
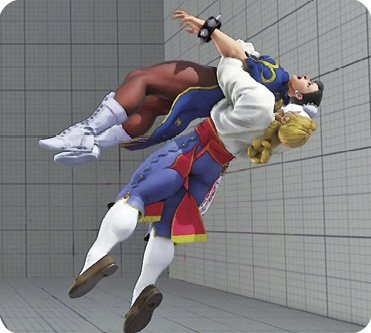
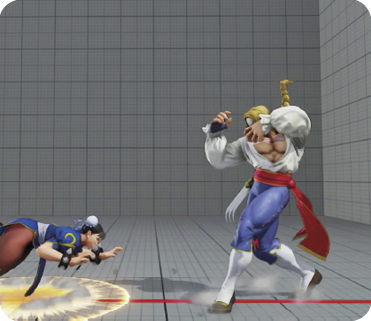
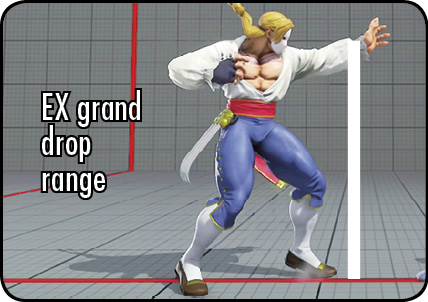
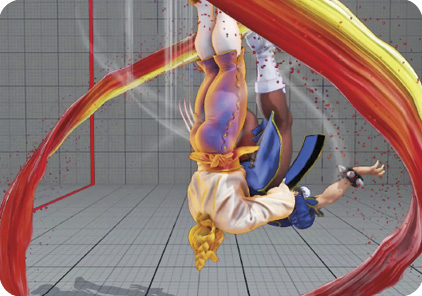
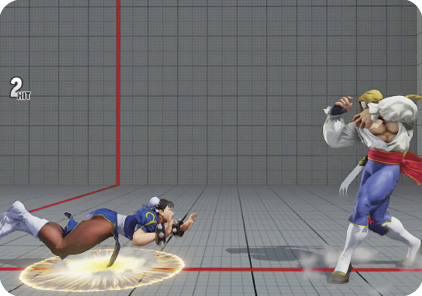
Grand Izuna Drop: Taking a page from Guy’s playbook, Vega flips over the enemy and delivers a suplex into the wall, followed by a high-altitude pile driver into the ground. Like most command throws, Grand Izuna Drop varies in damage and range, which is determined by the button strength used. LP grabs the farthest and does the least amount of damage, while HP deals the most damage but has the same range as a normal throw. EX Grand Izuna Drop sports the most range and damage, and it leaves the opponent knocked down for an additional five frames.
Off of LP/MP/HP Grand Izuna Drop, if you follow up with a forward dash against the enemy’s quick-rise, you’re left at -3 (punishable with certain light attacks). At best, the footsies/neutral game resets. However, if you connect with EX Grand Izuna Drop and then follow it up with a dash-in, you’re at +2, where you can go for a meaty crouching , frame trap crouching /, or another Grand Izuna Drop.