
Street Fighter V Guide Fighters Birdie
V-System
V-Skill
Break Time 


| Startup |
40 |
|---|---|
| Active |
— |
| Recovery |
12 |
| Guard Level |
— |
| On Hit |
— |
| On Guard |
— |
| VTX Hit |
— |
| VTX Guard |
— |
| Cancel |
— |
| Damage |
— |
| VT Damage |
— |
| Stun |
— |
| Meter Gain |
V-gauge 50 |
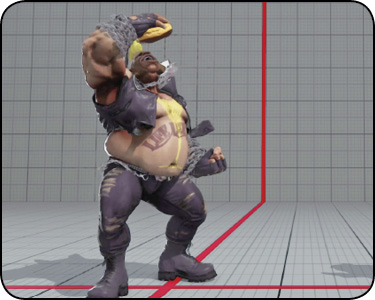
Break Time: Birdie takes 52 frames to scarf down a tasty, jelly-filled pastry. On Frame 40, he gains one-sixth of a stock of V-Gauge. Break Time is one of the ways that Birdie makes a compelling case to his opponent that they shouldn’t just treat him like Zangief and run away. If foes try to counter Birdie’s damage and girth by running or being extremely passive, fine—chow down as long as they’ll let you. You can repeat Break Time much more quickly than Banana/Drink Time, so this is your best V-Skill for long-range meter building. Use Drink Time to set up engagements; use Banana Time at mid range to enhance defense.
Banana Time 
| Startup |
50 |
|---|---|
| Active |
Notes |
| Recovery |
9 |
| Guard Level |
HL |
| On Hit |
29 |
| On Guard |
2 |
| VTX Hit |
— |
| VTX Guard |
— |
| Cancel |
— |
| Damage |
10 |
| VT Damage |
12 |
| Stun |
0 |
| Meter Gain |
V-gauge 50 |
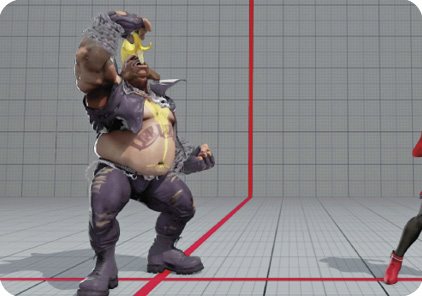
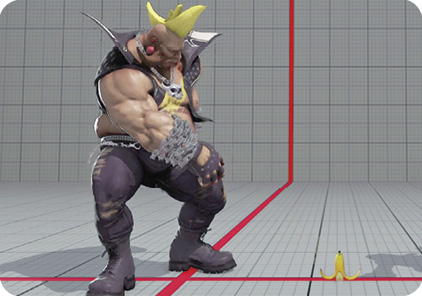
Banana Time: Birdie produces a banana, squashes the flesh into his mouth, then tosses the peel in front of himself, slightly farther than one character width away. Someone standing flush before Birdie won’t trigger the peel, but anyone who’s farther back will. If an opponent gets hit by the banana, they’ll take a tiny bit of damage while briefly slipping in place. This slipping hitstun allows for links from the banana if Birdie’s close enough. Birdie gains V-Gauge on Frame 35, then places the banana on Frame 50. The banana lasts until an enemy steps on it or until 3.3 seconds elapse, whichever comes first. You can’t use another V-Skill until the banana disappears.
Like with Laura and Ken, Birdie’s cancelable normal moves can lead into his V-Skill attacks. On the other hand, Birdie’s V-Skill moves are all extremely slow, and none of them hits even remotely “instantly.” An attentive enemy can just hit Birdie back for trying to cancel any normal into V-Skill. Still, canceling a poke like crouching  or standing into Banana Time or Drink Time up close may work as an oddball defensive mix-up against opponents who seem to have poor defensive habits. Simply putting the banana down near some players can make them feel like they have to do something instead of simply blocking and waiting for the banana to go away. This ultimately causes them to slip on it, giving you a prime chance to tack on standing
  MP Bull Head.
Drink Time 
| Startup |
50 |
|---|---|
| Active |
Notes |
| Recovery |
11 |
| Guard Level |
HL |
| On Hit |
28 |
| On Guard |
10 |
| VTX Hit |
— |
| VTX Guard |
— |
| Cancel |
— |
| Damage |
10 |
| VT Damage |
12 |
| Stun |
0 |
| Meter Gain |
V-gauge 50 |
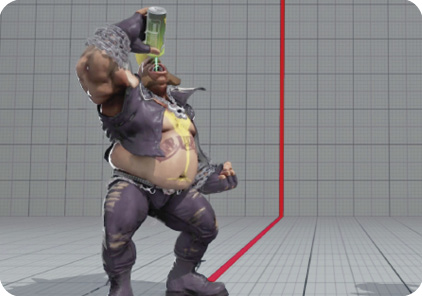
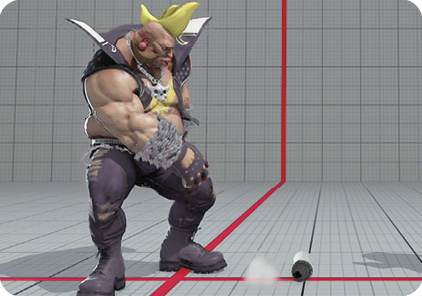
Drink Time: Birdie sprays a soda into his mouth, then sends the can rolling slowly across the screen. Unique among SFV projectiles, Drink Time will roll at ground level directly underneath most opposing projectiles. Birdie gains V-Gauge on Frame 40 (like with Break Time), then rolls the empty drink can forward on Frame 50 (like with Banana Time). The drink can rolls slowly, allowing you to follow it with Birdie similar to how Nash follows slow Sonic Booms. If the drink can hits your enemy, it’ll cause a slipping hitstate like the banana peel does, allowing for combos.
This pseudo-projectile can be very helpful in the neutral game. Like all projectiles, it places something moving toward the enemy that they’ll have to deal with. It can give you a tiny bit of cover to try exploratory Bull Revengers or Bull Heads, and it may bait the challenger into jumping in over it. From an easily predicted anti-air chance, you may even pop them back on top of the rolling can. Like Birdie's Hanging Chain, Drink Time does not count as a projectile for clashing purposes. It will ignore and roll through other projectile hitboxes, such as F.A.N.G.'s Ryobenda.
V-Reversal
Pepper Pot 
 while guarding
| Startup |
16 |
|---|---|
| Active |
2 |
| Recovery |
19 |
| Guard Level |
HL |
| On Hit |
D |
| On Guard |
-2 |
| VTX Hit |
— |
| VTX Guard |
— |
| Cancel |
— |
| Damage |
60 |
| VT Damage |
— |
| Stun |
0 |
| Meter Gain |
V-gauge -300 |
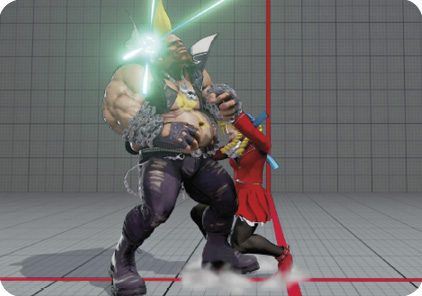
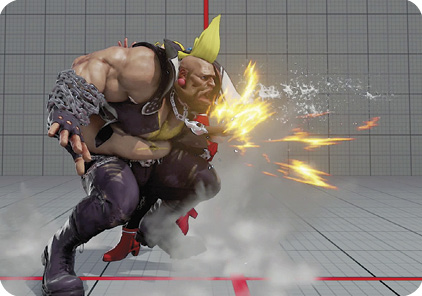
Pepper Pot: Naturally, Birdie’s V-Reversal is a headbutt. The hitbox is enormous, striking vertically along Birdie’s body from head to toe, so it’s unlikely to fail except when used against very sharply angled cross-ups. Since this V-Reversal causes a knockdown, it’s one of the better ones for pulling momentum back to your side. Because Birdie lacks a real reversal and is usually forced to try to make EX Bull Horn work for that purpose, this can be a big help. However, Birdie’s Enjoy Time is a three-stock V-Trigger. Using Pepper
Pot may mean that you don’t get access to Enjoy Time until it’s too late, unless you’re also using lots of V-Skills and Crush Counters to recoup the V-Gauge expenditure. (Use two Crush Counters, six V-Skills, or one Crush Counter and three V-Skills to build a surplus V-Gauge stock. But even in this case, you should probably avoid using Pepper Pot so that you get Enjoy Time that much earlier.)
V-Trigger
Enjoy Time 
| Startup |
1+11 |
|---|---|
| Active |
16 |
| Recovery |
7 |
| Guard Level |
— |
| On Hit |
D |
| On Guard |
— |
| VTX Hit |
— |
| VTX Guard |
— |
| Cancel |
— |
| Damage |
— |
| VT Damage |
84 |
| Stun |
200 |
| Meter Gain |
V-gauge -900 |
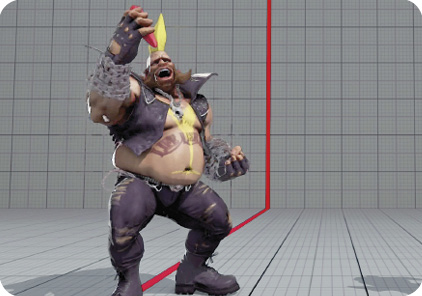
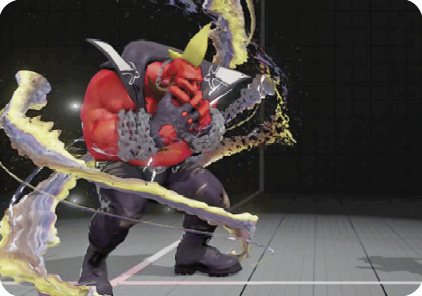
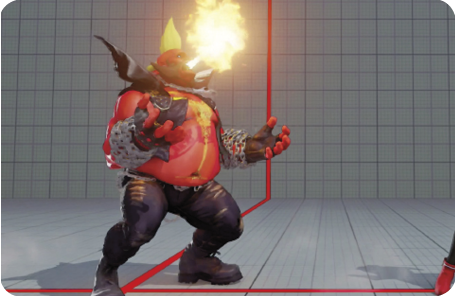
Enjoy Time: Birdie’s V-Trigger begins with him eating a big, hot pepper and breathing fire at jump height above his head. This flame belch has a hitbox that works in juggle combos or as an anti-air, but grounded foes won’t have to worry about blocking it (even standing) because it’s too high. Enjoy Time can be activated alone, or you can cancel into it from normals and some special moves. In particular, canceling Bull Horn (before leaving the ground) or EX Bull Head (after the first hit) into Enjoy Time leads to powerful combos that Birdie otherwise can’t perform. Note that Enjoy Time’s flame spout allows juggles after it if you cancel into it, but not if you use it as a standalone anti-air. Confirming and setting up juggles with Enjoy Time is a great, high-damage use for it, but keep an eye on spacing because the attack doesn’t have much horizontal range. Hitting the enemy with Bull Horn Enjoy Time from some angles may lead to the flame spout whiffing. This isn’t your V-Trigger “wasted” since you’ll still get the power-up state after, but it’s sad to drop what could’ve been a 50 percent (or more) juggle combo.
After the initial flame spout activation, Birdie enters his powered-up state for a stock duration of over a minute. Using specials or Skip To My Chain during Enjoy Time drains the duration faster, but it’s one of the game’s longest-lasting power-up states regardless. Damage is increased across the board to 120 percent on all attacks, and forward and backward walk speed are greatly increased, along with forward dash distance. Enjoy Time simply allows Birdie to play his patient mid-range zoning game with even more threat, with every stray standing , , and Hanging Chain hurting his challengers that much worse.
All of Birdie’s specials get the damage increase, but a couple of his specials are enhanced in other ways during V-Trigger.
V-Trigger LP Bull Head 

| Startup |
10 |
|---|---|
| Active |
2(1)4 |
| Recovery |
29 |
| Guard Level |
HL |
| On Hit |
D |
| On Guard |
-9 |
| VTX Hit |
— |
| VTX Guard |
— |
| Cancel |
CA |
| Damage |
— |
| VT Damage |
144(24+120) |
| Stun |
200 |
| Meter Gain |
20/60/30 |
V-Trigger MP Bull Head
| Startup |
15 |
|---|---|
| Active |
2(2)2(2)4 |
| Recovery |
29 |
| Guard Level |
HL |
| On Hit |
D |
| On Guard |
-9 |
| VTX Hit |
— |
| VTX Guard |
— |
| Cancel |
CA |
| Damage |
— |
| VT Damage |
156(24+24+108) |
| Stun |
200 |
| Meter Gain |
20/60/30 |
V-Trigger HP Bull Head
| Startup |
22 |
|---|---|
| Active |
2(1)2(1)2(3)4 |
| Recovery |
23 |
| Guard Level |
HL |
| On Hit |
D |
| On Guard |
-9 |
| VTX Hit |
— |
| VTX Guard |
— |
| Cancel |
CA |
| Damage |
— |
| VT Damage |
168(24+24+24+96) |
| Stun |
200 |
| Meter Gain |
20/60/30 |
V-Trigger EX Bull Head
| Startup |
8 |
|---|---|
| Active |
1(3)2(2)2(2)4(20)2(3)4 |
| Recovery |
23 |
| Guard Level |
HL |
| On Hit |
D |
| On Guard |
-7 |
| VTX Hit |
— |
| VTX Guard |
— |
| Cancel |
— |
| Damage |
— |
| VT Damage |
192(24+24+48+24+48) |
| Stun |
250 |
| Meter Gain |
-300 |
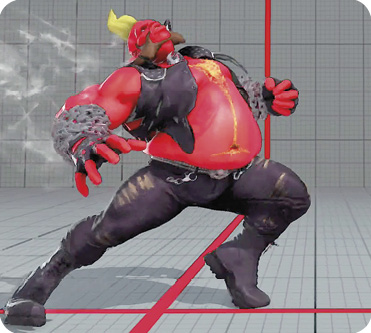
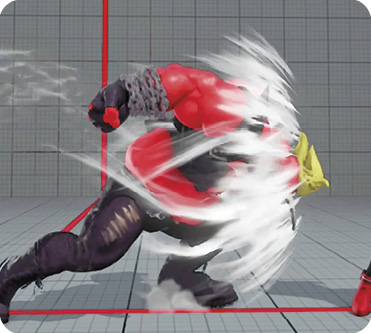
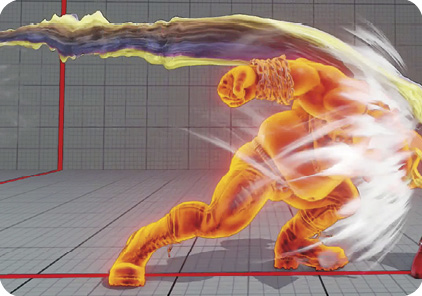
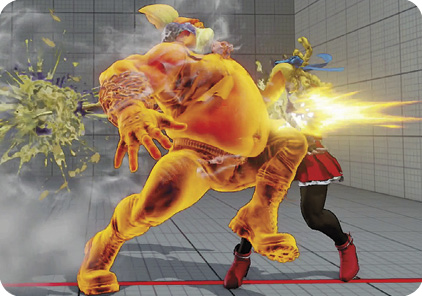
V Bull Head: Non-EX V Bull Head versions get a period of armor that starts on the third frame and lasts until just before active frames. There are gaps on either side of the armor, so it doesn’t become a pseudo-reversal and will still lose to meaties, but you can use it on reaction to barrel through fireballs at the last moment or to anticipate pokes. V Bull Head becomes a faster, multi-hit attack, hitting initially with Birdie’s chest just after the armored period ends, then following up with the usual headbutt smack. V Bull Head is still unsafe if guarded and has basically the same use as it does outside of V-Trigger, but it’s just generally better overall.
EX V Bull Head hits faster than any other version of Bull Head (in only eight frames for the first active period) and has multiple hits throughout its forward-charging path. It’s also armored from the first frame all the way through the first attack’s active period. It begins to work like non-V-Trigger EX Bull Horn, as a pseudo-reversal that can blow through gaps thanks to armor, hitting the enemy back and scoring a knockdown. This can be good in tight defensive situations where you’re not sure that you’ll time reversal V Bull Horn or EX V Bull Horn correctly. Since EX V Bull Head is a motion move, it benefits from SFV’s input buffer in a way that negative edge-activated Bull Horns cannot. If guarded, EX V Bull Head leaves Birdie at -7, which is not great, but it’s better than the situation on block after any other version of Bull Head or Bull Horn.
V-Trigger Bull Horn Hold and release any button
| Startup |
15 |
|---|---|
| Active |
2/10 |
| Recovery |
31 |
| Guard Level |
HL |
| On Hit |
D |
| On Guard |
-12 |
| VTX Hit |
— |
| VTX Guard |
— |
| Cancel |
CA |
| Damage |
— |
| VT Damage |
156(78+78) |
| Stun |
200 |
| Meter Gain |
20/60/30 |
V-Trigger EX Bull Horn Hold and release any two buttons
| Startup |
15 |
|---|---|
| Active |
2(1)2(3)2(11)4 |
| Recovery |
31 |
| Guard Level |
HL |
| On Hit |
D |
| On Guard |
-17 |
| VTX Hit |
— |
| VTX Guard |
— |
| Cancel |
— |
| Damage |
— |
| VT Damage |
180(24+24+66+66) |
| Stun |
250 |
| Meter Gain |
-300 |
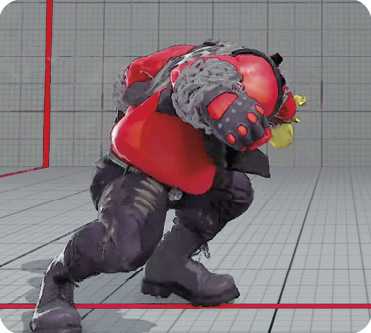
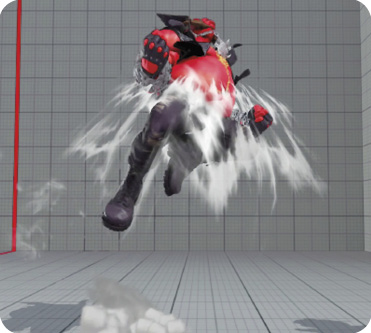
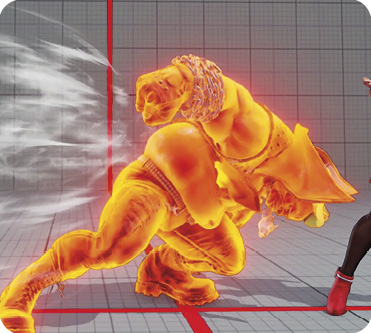
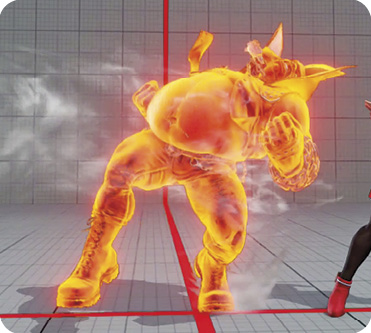
V Bull Horn: Normal versions of V Bull Horn gain an extra hit and two frames of armor at the very beginning. This is interesting since it means that you can use V Bull Horn as an anti-meaty reversal or a one-frame gap frame-trap buster (without spending any EX Gauge) if your release timing is perfect. This comes with the usual caveats about using uppercut-style reversal moves, but still, it’s a defensive tool that Birdie doesn’t have outside of V-Trigger.
EX V Bull Horn becomes even more of a defensive powerhouse move. It has armor for its entire active duration (from the first hit to the fourth), and it can absorb two incoming hits instead of the usual one. When put into defensive doubt during V-Trigger, this is the strongest move Birdie has.