
Street Fighter V Guide Fighters Ken
Unique Attacks
Inazuma Kick 


| Startup |
21 |
|---|---|
| Active |
3 |
| Recovery |
19 |
| Guard Level |
H |
| On Hit |
±0 |
| On Guard |
-4 |
| VSX Hit |
— |
| VSX Guard |
— |
| VTX Hit |
— |
| VTX Guard |
— |
| Cancel |
— |
| Damage |
60 |
| Stun |
100 |
| Meter Gain |
30/15 |
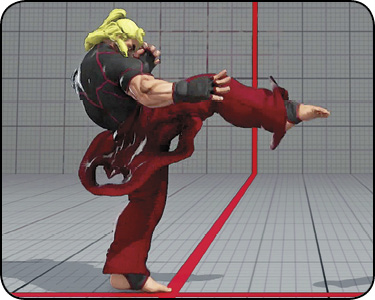
Inazuma Kick: An overhead axe kick attack that must be blocked high. As with most overhead attacks, it’s -4 on block, making it slightly risky if sniffed out (it’s punishable by most light attacks if the opponent is in range). Fortunately, it has a decent range where it complements crouching . Use Inazuma Kick to either finish off a low-stamina opponent or punish an overly defensive player.
Thunder Kick 
 (hold)
| Startup |
23 |
|---|---|
| Active |
3 |
| Recovery |
22 |
| Guard Level |
H |
| On Hit |
1 |
| On Guard |
-4 |
| VSX Hit |
— |
| VSX Guard |
— |
| VTX Hit |
— |
| VTX Guard |
— |
| Cancel |
— |
| Damage |
80 |
| Stun |
150 |
| Meter Gain |
50/25 |
Thunder Kick (Feint)
| Startup |
— |
|---|---|
| Active |
— |
| Recovery |
31 (total) |
| Guard Level |
— |
| On Hit |
— |
| On Guard |
— |
| VSX Hit |
— |
| VSX Guard |
— |
| VTX Hit |
— |
| VTX Guard |
— |
| Cancel |
— |
| Damage |
— |
| Stun |
— |
| Meter Gain |
— |
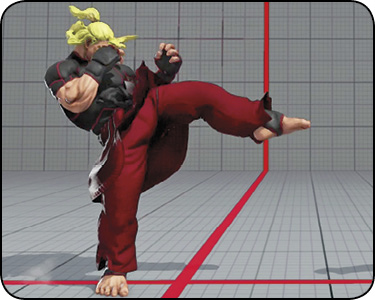
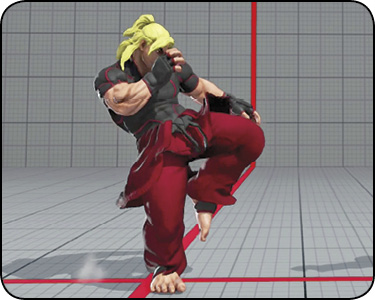
Thunder Kick/Thunder Kick Feint: Thunder Kick is a heavy axe kick overhead that is preceded by a mini dash. It’s slightly safer to use than Inazuma Kick, but it’s also telegraphed by the forward step that Ken takes. You can also use this move to fake out opponents by only tapping instead of holding for a feint. A common tactic is to tap to prompt a high block from the enemy, then immediately go for crouching  hit-check. On block, it leaves you at -4,
making it punishable by most light attacks at close range. However, it’s generally safe from farther out, since most quick attacks won’t reach Ken.
Chin Buster 
| Startup |
4 |
|---|---|
| Active |
2 |
| Recovery |
15 |
| Guard Level |
HL |
| On Hit |
±0 |
| On Guard |
-2 |
| VSX Hit |
— |
| VSX Guard |
— |
| VTX Hit |
3 |
| VTX Guard |
1 |
| Cancel |
SP, V |
| Damage |
50 |
| Stun |
80 |
| Meter Gain |
30/15 |
Chin Buster 2nd 

| Startup |
6 |
|---|---|
| Active |
3 |
| Recovery |
27 |
| Guard Level |
HL |
| On Hit |
D |
| On Guard |
-13 |
| VSX Hit |
— |
| VSX Guard |
-7 |
| VTX Hit |
D |
| VTX Guard |
9 |
| Cancel |
SP, V |
| Damage |
60 |
| Stun |
80 |
| Meter Gain |
60/30 |
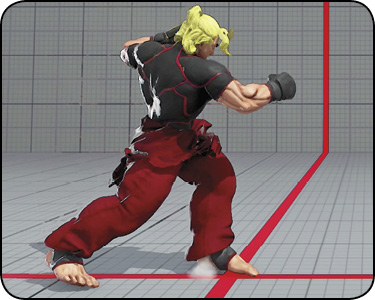
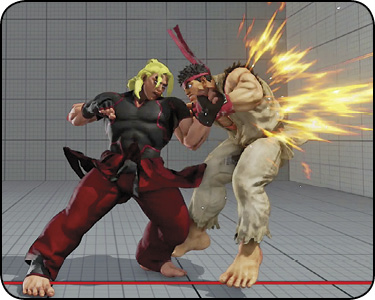
Chin Buster: Ken’s target combo makes another appearance in the Street Fighter series, with an input of , and it’s now more useful than ever. You’ll be using Chin Buster as part of your bread-and-butter hit-confirm off of either a jumping attack or crouching . Like most target combos, it’s highly punishable on block (-13). You can make it safer by canceling it into Hadoken from a distance and while midscreen, or you can make it completely safe by canceling into EX Hadoken. Chin Buster can also be canceled into Quick Step, leaving Ken at -7 if blocked; on hit, canceling from Chin Buster to Step Kick is a small, simple combo.
Lion Breaker
| Startup |
10 |
|---|---|
| Active |
4 |
| Recovery |
20 |
| Guard Level |
HL |
| On Hit |
D |
| On Guard |
-2 |
| VSX Hit |
— |
| VSX Guard |
— |
| VTX Hit |
D |
| VTX Guard |
2 |
| Cancel |
SP, V |
| Damage |
60 |
| Stun |
100 |
| Meter Gain |
60/30 |
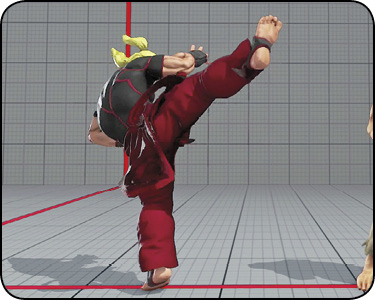
Lion Breaker: Ken’s kick target combo initiates from standing and cancels into another high roundhouse kick. This target combo doesn’t have too many uses because the second roundhouse kick misses against crouchers on whiff and block. Consequently, it’s not very useful as a frame trap tool at close and mid range. Standing does hit crouching characters, but not at max distance. This relegates Lion Breaker to being a situational follow-up to a confirmed jumping attack hit (for instance, off of forward jumping over a projectile). It deals a decent amount of damage for its range and ease of execution (see the Combos section for more details).