
Street Fighter V Guide Fighters R. Mika
Normal Throws
Daydream Headlock 


| Startup |
5 |
|---|---|
| Active |
2 |
| Recovery |
18 |
| Guard Level |
Throw |
| On Hit |
D |
| Damage |
130 |
| Stun |
200 |
| Meter Gain |
100 |
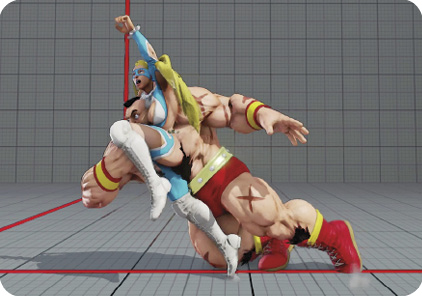
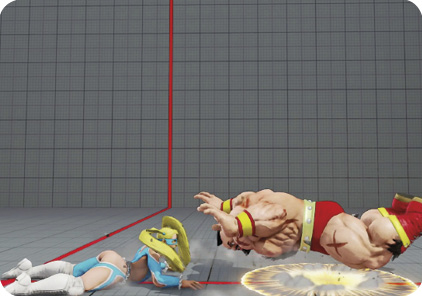
Daydream Headlock: R. Mika’s forward throw actually keeps the victim in the same place where they were originally grabbed since R. Mika pulls them back toward her side of the screen for a second before bodyslamming them to their original position. So, she doesn’t gain any ground toward the corner, and she actually loses a little momentum since the foe can quick-rise immediately. If the opponent quick-rises, R. Mika is left at +3, so a forward dash or jump immediately after Daydream Headlock is actually very dangerous. This throw basically results in a mid-range reset situation. For a throw that pushes the adversary toward their corner, use Brimstone instead, but beware that command grabs have far more recovery when whiffed than normal throws. Opponents may neutral jump in R. Mika’s face hoping to dodge a command grab and fall with a full combo, but a normal throw whiff won’t allow that to happen, and you’ll be able to anti-air them easily.
Sell Down 
| Startup |
5 |
|---|---|
| Active |
2 |
| Recovery |
18 |
| Guard Level |
Throw |
| On Hit |
D |
| Damage |
140 |
| Stun |
200 |
| Meter Gain |
100 |
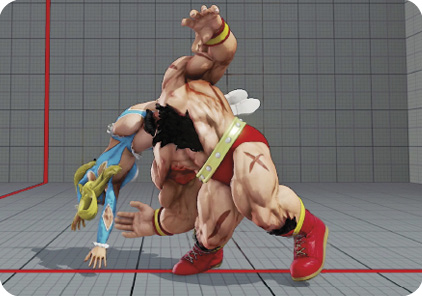
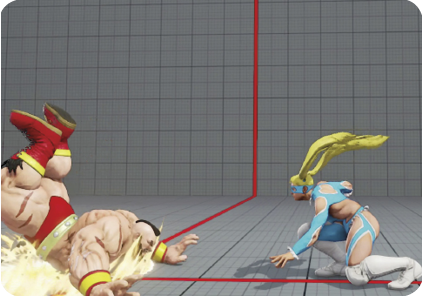
Sell Down: R. Mika uses her legs to flip the target back over her shoulders about half the screen away, swapping sides with them. The best use for this throw is to quickly turn a bad position into a good one when R. Mika is almost cornered. Rainbow Typhoon does the same thing much better, with more distance, damage, and stun, and it can’t be teched. However, it also leaves R. Mika open for far longer if your throw attempt whiffs. If the opponent quick-recovers after this throw, R. Mika is left at +12 at the edge of jump-in range. If you perform an immediate HP Shooting Peach after back throw, R. Mika will be at only -3 if blocked by a quick-rising foe. If R. Mika immediately dashes forward into their quick-rise, she’ll be vulnerable to eating any wakeup poke with decent range and a six-frame (or better) startup.
Dream Driver vs. crouching foe
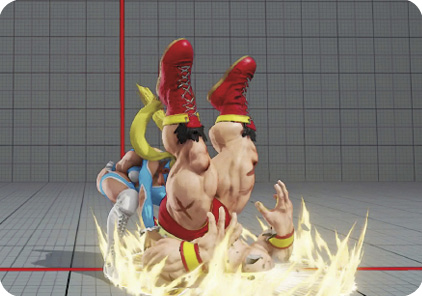
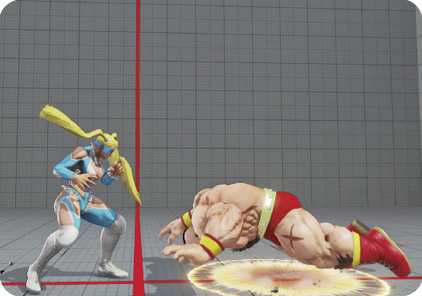
| Startup |
5 |
|---|---|
| Active |
2 |
| Recovery |
18 |
| Guard Level |
Throw |
| On Hit |
D |
| Damage |
130 |
| Stun |
200 |
| Meter Gain |
80 |
Dream Diver: Exclusive to R. Mika, this piledriving slam occurs only when you attempt a forward throw against a crouching target. This throw deals more stun than her other normal throws, potentially affording R. Mika much more frame advantage against a quick-rising opponent. If you perform HP Shooting Peach immediately after this throw (which recovers quicker than it looks, so you should execute any follow-up right away), you’ll be left at only -1 against an opponent who quick-rises while guarding. If R. Mika dashes forward immediately, she will be at +12 against the rising enemy. This throw also pushes your adversary a bit closer to their corner, unlike Daydream Headlock. Still, you can’t really create a gameplan for it because the only low attacks your foe has to worry about are your crouching (which is great, but limited) and crouching  (which is not great). Try to learn to eyeball the visual difference between Daydream Headlock and Dream Diver so that you can be more aggressive immediately when Dream Diver occurs.