
Street Fighter V Guide Fighters Birdie
Normal Throws
Bad Skull 


| Startup |
5 |
|---|---|
| Active |
2 |
| Recovery |
18 |
| Guard Level |
Throw |
| On Hit |
D |
| On Guard |
— |
| VTX Hit |
— |
| VTX Guard |
— |
| Cancel |
— |
| Damage |
150 |
| VT Damage |
168 |
| Stun |
200 |
| Meter Gain |
100 |
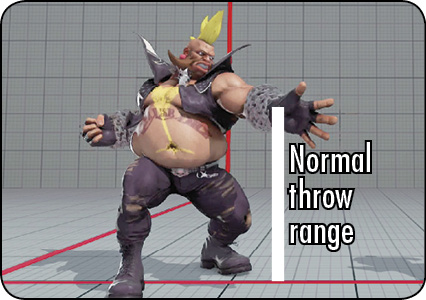
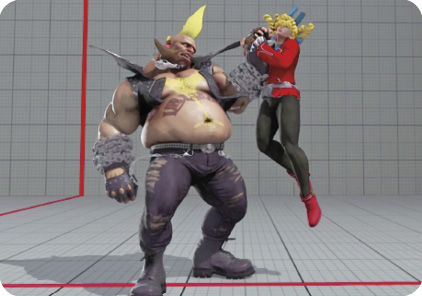
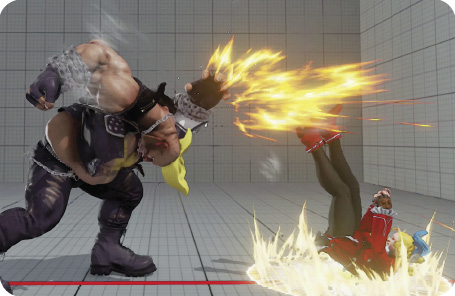
Bad Skull: Birdie easily picks the enemy clean up off the ground with one arm and bashes them back down with a brutal head smash. Without moving, Birdie is left at +12 against a quick-rising foe, on the edge of standing  range. If they don’t quick-recover, you have plenty of time to walk forward and set up a cross-up jumping
  against their wakeup. Both of Birdie’s normal throws deal above-average damage and stun (150 and 200, respectively) and have less than half the recovery time of his command grabs when whiffed. Even though they seem like Birdie’s “weakest” throw options, normal throws are still appealing for these reasons.
Bad Chain 
| Startup |
5 |
|---|---|
| Active |
2 |
| Recovery |
18 |
| Guard Level |
Throw |
| On Hit |
D |
| On Guard |
— |
| VTX Hit |
— |
| VTX Guard |
— |
| Cancel |
— |
| Damage |
150 |
| VT Damage |
168 |
| Stun |
200 |
| Meter Gain |
100 |
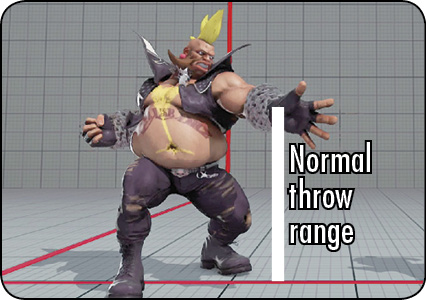
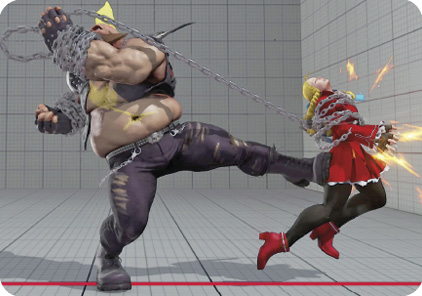
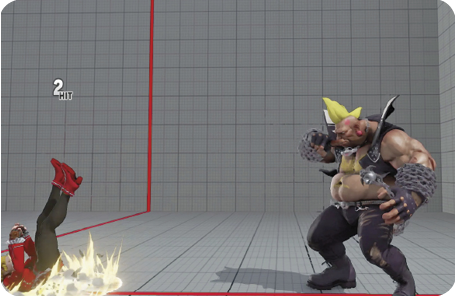
Bad Chain: Birdie flips the enemy backward and across the screen on his chain, using his body as the tether point. This swaps sides with the opponent and gives up any kind of momentum because immediately dashing against a quick-recovering victim leaves Birdie at -8, outside attack range anyway. Bad Chain’s best use is defensive when Birdie is cornered, so you can immediately turn an awful situation into a great one. Otherwise, Bad Skull deals the same damage and stun but leads to better follow-up chances.