
Street Fighter V Guide Fighters Laura
Normal Throws
Seoi Throw 


| Startup |
5 |
|---|---|
| Active |
2 |
| Recovery |
18 |
| Guard Level |
THROW |
| On Hit |
D |
| On Guard |
— |
| LM-A Hit |
— |
| LM-A Guard |
— |
| VTX Hit |
— |
| VTX Guard |
— |
| Cancel |
— |
| Damage |
130 |
| Stun |
200 |
| Meter Gain |
100 |
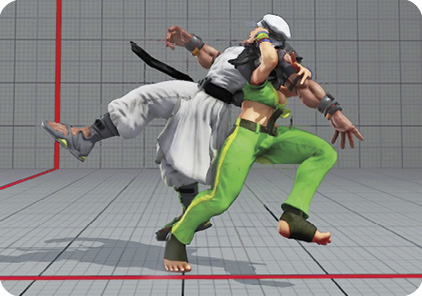
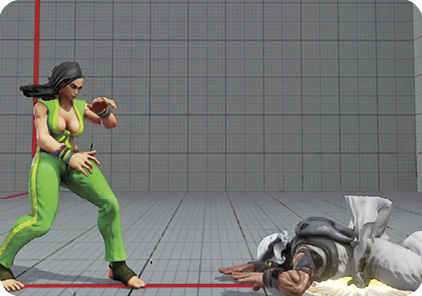
Seoi Throw: Laura performs a standard forward shoulder throw, leaving her opponent a dash’s distance away. If you follow the throw with an immediate forward dash while the enemy quick-rises, you’re in a neutral situation, with ±0 advantage. It’s a decent position to be in because you’re controlling the tempo of the match, so you can choose to go for a six-frame Sunset Wheel or a three-frame frame trap with standing into Combo 15. If you have the choice of going for an offensive forward or back throw, it’s usually best to go for back throws because of their increased knockdown advantage over forward throws. However, forward throws are universally more effective when your foe is near a wall.
Pullback Hold 
| Startup |
5 |
|---|---|
| Active |
2 |
| Recovery |
18 |
| Guard Level |
THROW |
| On Hit |
D |
| On Guard |
— |
| LM-A Hit |
— |
| LM-A Guard |
— |
| VTX Hit |
— |
| VTX Guard |
— |
| Cancel |
— |
| Damage |
120 |
| Stun |
170 |
| Meter Gain |
80 |
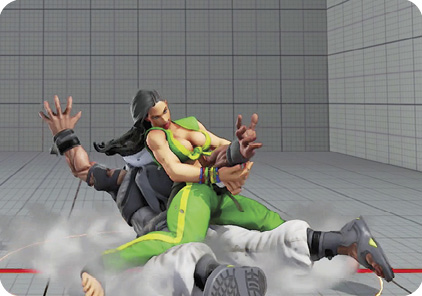
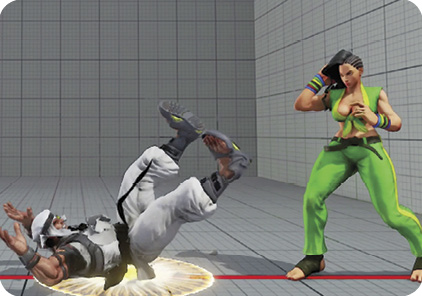
Pullback Hold: Pullback Hold is an arm-breaking takedown that leaves the opponent just within dash distance. If the enemy quick-rises after this throw, you’re still left at enough advantage to go for a forward dash (+2 advantage) into your six-frame Sunset Wheel. That leaves only a four-frame window for the opponent to react, and the throw will still beat four-frame jabs. Alternatively, you can use this four-frame window to set up a counter-hit standing  for a potential frame-trap combo like Combo 18. If you think your opponent will jump or backdash out of this setup, you can instead use standing to keep them in check while being able to confirm into Combo 3 on hit; if your standing is blocked, you can go for LK Sunset Wheel.