
Street Fighter V Guide Fighters Laura
Special Moves
LP Thunder Clap LV.1 


| Startup |
19 |
|---|---|
| Active |
Notes |
| Recovery |
28 |
| Guard Level |
HL |
| On Hit |
±0 |
| On Guard |
-5 |
| LM-A Hit |
— |
| LM-A Guard |
— |
| VTX Hit |
— |
| VTX Guard |
— |
| Cancel |
CA |
| Damage |
60 |
| Stun |
60 |
| Meter Gain |
10/20/10 |
LP Thunder Clap LV.2 (hold)
| Startup |
41 |
|---|---|
| Active |
Notes |
| Recovery |
27 |
| Guard Level |
HL |
| On Hit |
9 |
| On Guard |
±0 |
| LM-A Hit |
— |
| LM-A Guard |
— |
| VTX Hit |
— |
| VTX Guard |
— |
| Cancel |
CA |
| Damage |
90(60+30) |
| Stun |
90(60+30) |
| Meter Gain |
10/30/15 |
LP Thunder Clap LV.3 (hold)
| Startup |
70 |
|---|---|
| Active |
Notes |
| Recovery |
13 |
| Guard Level |
HL |
| On Hit |
31 |
| On Guard |
18 |
| LM-A Hit |
— |
| LM-A Guard |
— |
| VTX Hit |
— |
| VTX Guard |
— |
| Cancel |
CA |
| Damage |
120(60+30+30) |
| Stun |
120(60+30+30) |
| Meter Gain |
10/40/20 |
MP Thunder Clap LV.1 
| Startup |
19 |
|---|---|
| Active |
Notes |
| Recovery |
28 |
| Guard Level |
HL |
| On Hit |
±0 |
| On Guard |
-5 |
| LM-A Hit |
— |
| LM-A Guard |
— |
| VTX Hit |
— |
| VTX Guard |
— |
| Cancel |
CA |
| Damage |
60 |
| Stun |
60 |
| Meter Gain |
10/20/10 |
MP Thunder Clap LV.2 (hold)
| Startup |
41 |
|---|---|
| Active |
Notes |
| Recovery |
27 |
| Guard Level |
HL |
| On Hit |
9 |
| On Guard |
±0 |
| LM-A Hit |
— |
| LM-A Guard |
— |
| VTX Hit |
— |
| VTX Guard |
— |
| Cancel |
CA |
| Damage |
90(60+30) |
| Stun |
90(60+30) |
| Meter Gain |
10/30/15 |
MP Thunder Clap LV.3 (hold)
| Startup |
70 |
|---|---|
| Active |
Notes |
| Recovery |
13 |
| Guard Level |
HL |
| On Hit |
31 |
| On Guard |
18 |
| LM-A Hit |
— |
| LM-A Guard |
— |
| VTX Hit |
— |
| VTX Guard |
— |
| Cancel |
CA |
| Damage |
120(60+30+30) |
| Stun |
120(60+30+30) |
| Meter Gain |
10/40/20 |
HP Thunder Clap LV.1 
| Startup |
19 |
|---|---|
| Active |
Notes |
| Recovery |
28 |
| Guard Level |
HL |
| On Hit |
±0 |
| On Guard |
-5 |
| LM-A Hit |
— |
| LM-A Guard |
— |
| VTX Hit |
— |
| VTX Guard |
— |
| Cancel |
CA |
| Damage |
60 |
| Stun |
60 |
| Meter Gain |
10/20/10 |
HP Thunder Clap LV.2 (hold)
| Startup |
41 |
|---|---|
| Active |
Notes |
| Recovery |
27 |
| Guard Level |
HL |
| On Hit |
9 |
| On Guard |
±0 |
| LM-A Hit |
— |
| LM-A Guard |
— |
| VTX Hit |
— |
| VTX Guard |
— |
| Cancel |
CA |
| Damage |
90(60+30) |
| Stun |
90(60+30) |
| Meter Gain |
10/30/15 |
HP Thunder Clap LV.3 (hold)
| Startup |
70 |
|---|---|
| Active |
Notes |
| Recovery |
13 |
| Guard Level |
HL |
| On Hit |
31 |
| On Guard |
18 |
| LM-A Hit |
— |
| LM-A Guard |
— |
| VTX Hit |
— |
| VTX Guard |
— |
| Cancel |
CA |
| Damage |
120(60+30+30) |
| Stun |
120(60+30+30) |
| Meter Gain |
10/40/20 |
EX Thunder Clap 
| Startup |
17 |
|---|---|
| Active |
Notes |
| Recovery |
24 |
| Guard Level |
HL |
| On Hit |
D |
| On Guard |
3 |
| LM-A Hit |
— |
| LM-A Guard |
— |
| VTX Hit |
— |
| VTX Guard |
— |
| Cancel |
— |
| Damage |
90(60+30) |
| Stun |
90(60+30) |
| Meter Gain |
-300 |
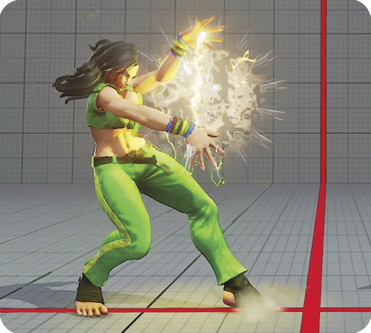
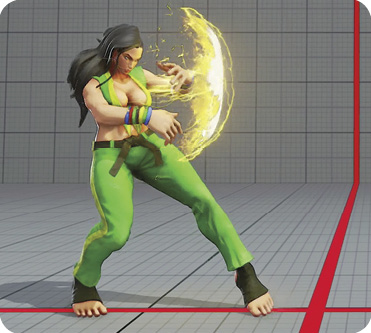
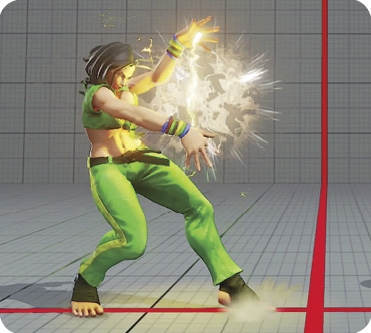
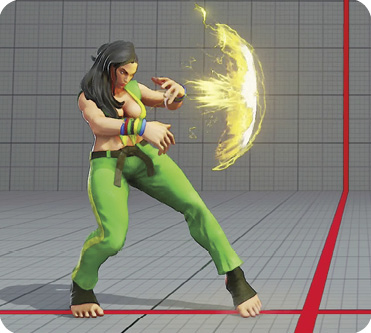
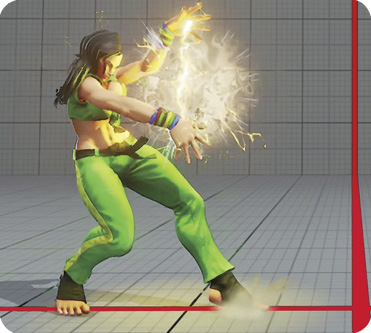
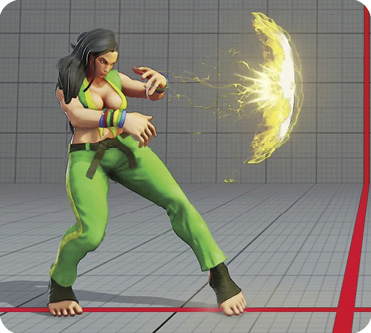
Thunder Clap: As a grappler, it’s rare to have access to a decent projectile, so Laura has it made. Thunder Clap is a slow-moving, short-lived projectile that travels a severely limited distance. However, these unconventional properties greatly complement her fighting style. All normal versions of Thunder Clap have identical active durations, startup time, and recovery. They stay out for 40 frames (two-thirds of a second), but they cover a different area. LP Thunder Clap travels at the slowest velocity, while HP travels the fastest. The distance covered by LP Thunder Clap is negligible; it’s basically a floating force field directly in front of Laura. HP Thunder Clap travels about a dash’s distance forward before dissipating. In both distance traveled and speed, the MP version is in between the others.
You can charge Thunder Clap to two additional levels by holding the input, increasing its active frames. Charging to Thunder Clap lv.2 requires 22 frames of charge, and charging to Thunder Clap lv.3 requires 51 frames of charge.
Aside from the increased startup time, Thunder Clap lv.2 doubles the on-screen duration, which also doubles its travel distance. Additionally, it becomes a two-hit projectile instead of a single-hit one. Thunder Clap lv.3 increases the number of hits to three, while also boosting on-screen duration and travel distance by 2.5x (for 100 frames of travel).
Although charging up for an lv.2 or lv.3 Thunder Clap takes up valuable time, they’re invaluable tools against characters with limited mobility. On release, you’re basically free to do what you please, as the projectile slowly moves in front of Laura, paving a path for her follow-up offense. If the opponent decides to jump over an approaching Thunder Clap, Laura is easily in position to anti-air it with HP Bolt Charge.
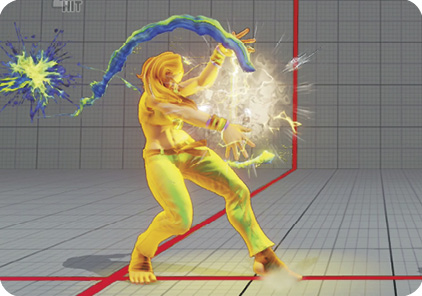
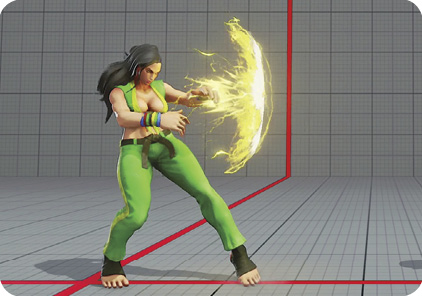
EX Thunder Clap is the fastest-starting version and is a two-hit projectile that knocks down on hit, putting the enemy into a juggle state. If you combo into EX Thunder Clap, you can follow up with a juggle, as seen in Combo 7.
LP Bolt Charge 
| Startup |
13 |
|---|---|
| Active |
3 |
| Recovery |
18 |
| Guard Level |
HL |
| On Hit |
2 |
| On Guard |
-2 |
| LM-A Hit |
— |
| LM-A Guard |
— |
| VTX Hit |
— |
| VTX Guard |
— |
| Cancel |
— |
| Damage |
60 |
| Stun |
100 |
| Meter Gain |
20/20/10 |
MP Bolt Charge
| Startup |
15 |
|---|---|
| Active |
3 |
| Recovery |
20 |
| Guard Level |
HL |
| On Hit |
2 |
| On Guard |
-7 |
| LM-A Hit |
— |
| LM-A Guard |
— |
| VTX Hit |
— |
| VTX Guard |
— |
| Cancel |
— |
| Damage |
60 |
| Stun |
50 |
| Meter Gain |
20/20/10 |
HP Bolt Charge
| Startup |
7 |
|---|---|
| Active |
8 |
| Recovery |
17 + 13 landing |
| Guard Level |
— |
| On Hit |
D |
| On Guard |
— |
| LM-A Hit |
— |
| LM-A Guard |
— |
| VTX Hit |
— |
| VTX Guard |
— |
| Cancel |
— |
| Damage |
150(60+90) |
| Stun |
200(50+150) |
| Meter Gain |
20/40(20+20)/10 |
EX Bolt Charge
| Startup |
14 |
|---|---|
| Active |
3 |
| Recovery |
22 |
| Guard Level |
HL |
| On Hit |
±0 |
| On Guard |
-11 |
| LM-A Hit |
— |
| LM-A Guard |
— |
| VTX Hit |
— |
| VTX Guard |
— |
| Cancel |
— |
| Damage |
70 |
| Stun |
100 |
| Meter Gain |
-300 |
Bolt Charge: Bolt Charge is a unique special move in that the four versions are essentially four separate attacks, applicable for different situations.
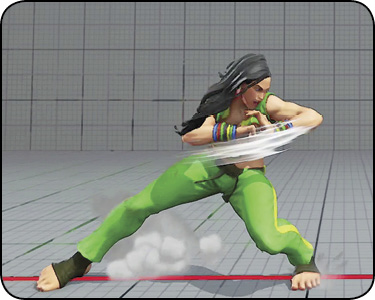
LP Bolt Charge is a traditional one-hit, lunging elbow attack to the midsection. This is the safest version (at -2 on block), and you’ll be using this primarily in two-in-one poke sequences or for your quick light-attack combos (see Combo 3). It doesn’t knock down on hit, but it does leave Laura directly next to the enemy at +2 advantage for further offensive pressure. For instance, if you hit with Combo 3, you can immediately go into a Sunset Wheel, and the opponent only has a four-frame window to escape or retaliate. You can use it standalone as a mid-range poke, or you can cancel it from crouching  as a pressure sequence.
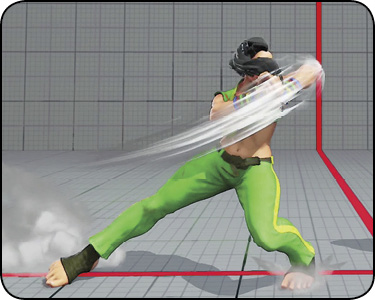
MP Bolt Charge is the version you’ll want to use for your meterless knockdown combos. It’s easily punishable on guard at -7, so you’ll rarely (if ever) use this as a mid-range attack. On hit, you can cancel it into Split River/Rodeo Break, scoring a knockdown. See the Combos section for more details.
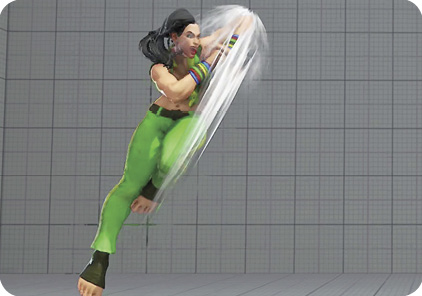
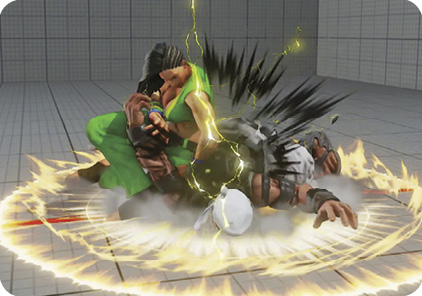
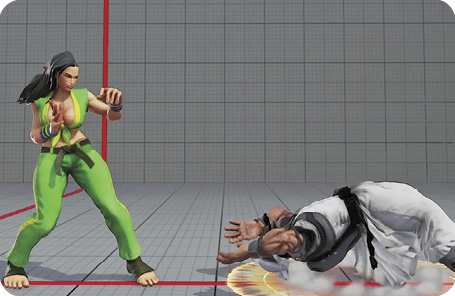
HP Bolt Charge is designed strictly as an anti-air. Laura is invincible around her upper body from frames 1-11, and the attack cannot connect with grounded opponents, regardless of their standing height. On impact, this hit transitions into a throw animation, leaving you with knockdown advantage and forcing your foe to either quick-rise in place or stay grounded for the full knockdown duration.
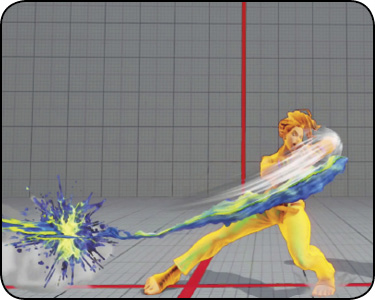
EX Bolt Charge is like MP Bolt Charge in that it’s cancelable into Split River/Rodeo Break on hit. However, it has a point of armor starting on Frame 3 and lasting until Frame 17. You can use it to punish projectiles on reaction from about a half-screen distance. It also absorbs normal attacks, so you can employ it as a pseudo-reversal. You can blow through one-hit attacks, but you won’t have armor against meaties since it doesn’t activate until the third frame. EX Bolt Charge also starts up slightly faster than MP Bolt Charge, so you can use it in certain combos for a Split River/Rodeo Break knockdown (such as Combo 2).
Split River / Rodeo Break or  on MP or EX Bolt Charge hit
| Startup |
— |
|---|---|
| Active |
— |
| Recovery |
— |
| Guard Level |
— |
| On Hit |
D |
| On Guard |
— |
| LM-A Hit |
— |
| LM-A Guard |
— |
| VTX Hit |
— |
| VTX Guard |
— |
| Cancel |
— |
| Damage |
81 |
| Stun |
135 |
| Meter Gain |
18 |
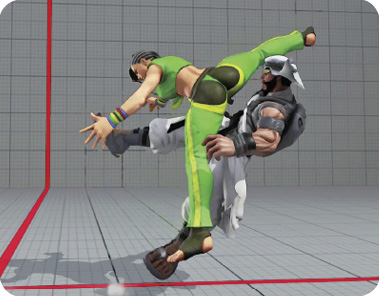
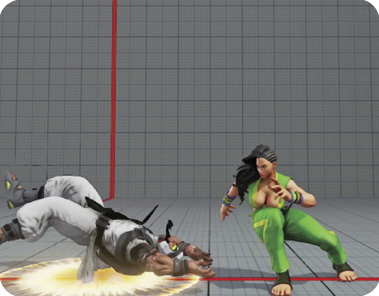
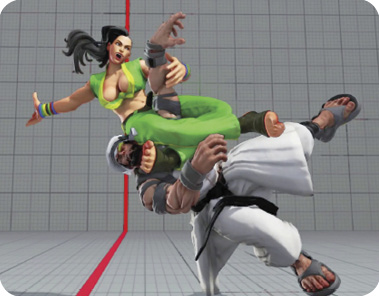
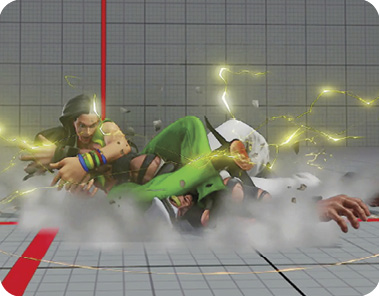
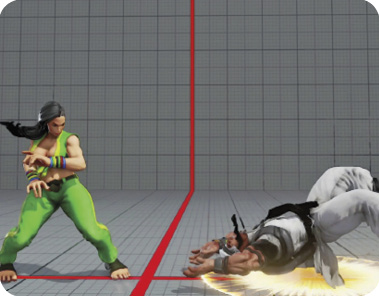
Split River: After nailing the enemy with her Bolt Charge elbow, Laura continues forward with a follow-up leg slam, switching sides with the opponent and leaving them floored.
This is one of two follow-up “hit-throw” attacks you can execute off of MP and EX Bolt Charge. It’s considered a hit-throw because you can’t actually perform this move without the prior Bolt Charge successfully connecting, but at the same time, it’s considered a throw for recovery purposes (your victim can’t back recover from this).
You’ll almost always want to cancel into either Split River or Rodeo Break when hitting with your MP/EX Bolt Charge, not only for the extra damage, but also for the knockdown effect. Which move to use depends on which side you want Laura to be on afterward. Like normal throws, you’ll only want to switch sides with Split River when Laura’s back is near a corner. If your opponent is near a corner, there’s usually no reason to switch sides, so you’ll want to use Rodeo Break instead for better mix-up opportunities.
After Split River/Rodeo Break, you’re left with enough advantage to dash in for a setup. If the opponent quick-recovers, you’re at ±0 advantage, so you can go in for a light-attack frame trap or Sunset Wheel attempt.
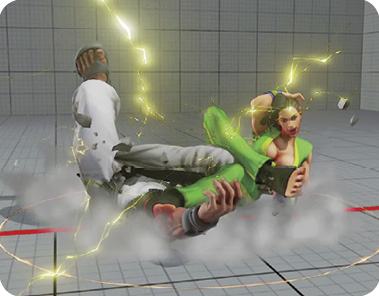
Rodeo Break: After delivering an elbow to the opponent’s gut, Laura performs a float-over arm-bar that transitions into a slam to the floor. Advantage properties are exactly the same as Split River—the only difference between the two are in the animations and the side that Laura ends up on (see the Split River description for details).
LK Sunset Wheel 

| Startup |
6 |
|---|---|
| Active |
2 |
| Recovery |
52 |
| Guard Level |
THROW |
| On Hit |
D |
| On Guard |
— |
| LM-A Hit |
— |
| LM-A Guard |
— |
| VTX Hit |
— |
| VTX Guard |
— |
| Cancel |
— |
| Damage |
150 |
| Stun |
200(100+100) |
| Meter Gain |
50(20+30) |
MK Sunset Wheel
| Startup |
6 |
|---|---|
| Active |
2 |
| Recovery |
52 |
| Guard Level |
THROW |
| On Hit |
D |
| On Guard |
— |
| LM-A Hit |
— |
| LM-A Guard |
— |
| VTX Hit |
— |
| VTX Guard |
— |
| Cancel |
— |
| Damage |
160 |
| Stun |
200(100+100) |
| Meter Gain |
50(20+30) |
HK Sunset Wheel 
| Startup |
6 |
|---|---|
| Active |
2 |
| Recovery |
52 |
| Guard Level |
THROW |
| On Hit |
D |
| On Guard |
— |
| LM-A Hit |
— |
| LM-A Guard |
— |
| VTX Hit |
— |
| VTX Guard |
— |
| Cancel |
— |
| Damage |
170 |
| Stun |
200(100+100) |
| Meter Gain |
50(20+30) |
EX Sunset Wheel
| Startup |
19 |
|---|---|
| Active |
2 |
| Recovery |
52 |
| Guard Level |
THROW |
| On Hit |
D |
| On Guard |
— |
| LM-A Hit |
— |
| LM-A Guard |
— |
| VTX Hit |
— |
| VTX Guard |
— |
| Cancel |
— |
| Damage |
180 |
| Stun |
200(100+100) |
| Meter Gain |
-300 |
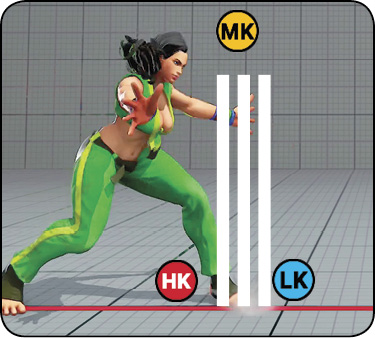
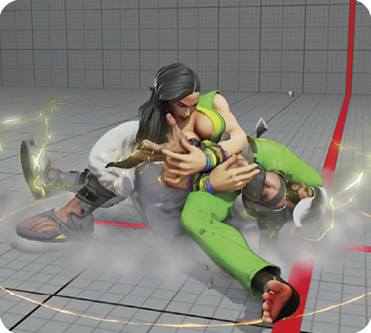
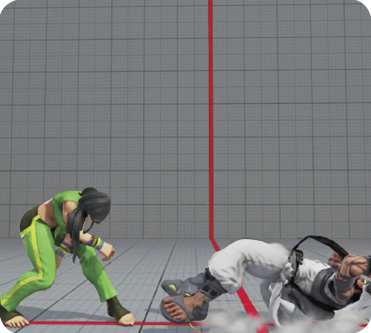
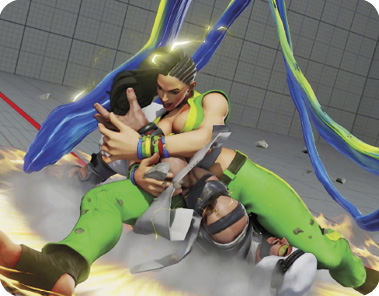
Sunset Wheel: Laura grabs her opponent’s arm, strikes it with a rising elbow attack, and then takes the enemy for a ride in an aerial tumble followed by a backbreaking arm-bar slam.
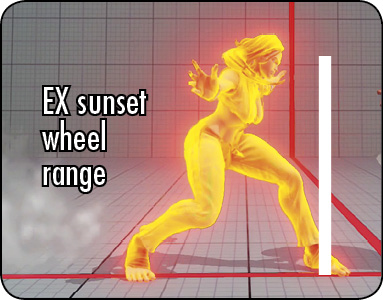
Sunset Wheel is a typical command throw and the cornerstone of Laura’s close-range offense, though it’s a tiny bit slower than most command throws, grabbing on Frame 6 instead of Frame 5. All versions of Sunset Wheel share the same startup frame value, but they differ in damage and range. For the normal versions, LK Sunset Wheel deals the least amount of damage (at 150) and reaches the farthest (roughly 1.5x a normal throw’s range), while HK Sunset Wheel grabs enemies from the same range as a normal throw and does 170 points of damage.
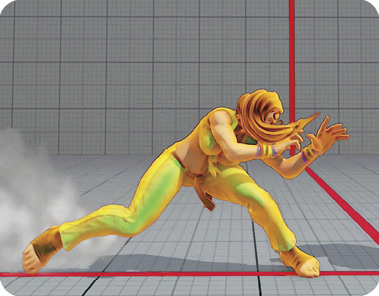
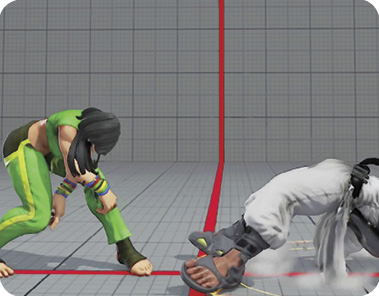
EX Sunset Wheel inflicts the most damage at 180, and it also includes a special dash preceding the throw. Although the throw itself is telegraphed, EX Sunset Wheel is an incredible asset to Laura’s mid-range to close-range play, especially against passive opponents. If they don’t react within the 19-frame startup time, you’re rewarded a knockdown and substantial damage.
Note that unlike most special moves, you can’t cancel into Sunset Wheel from normal attacks. So, unfortunately, you can’t cancel into EX Sunset Wheel from crouching for a built-in cheap shot tick-throw.