
Street Fighter V Guide Fighters Birdie
Special Moves
LP Bull Head 


| Startup |
14 |
|---|---|
| Active |
3 |
| Recovery |
29 |
| Guard Level |
HL |
| On Hit |
D |
| On Guard |
-10 |
| VTX Hit |
D |
| VTX Guard |
-2 |
| Cancel |
CA,V |
| Damage |
120 |
| VT Damage |
See V-Trigger |
| Stun |
200 |
| Meter Gain |
20/40/20 |
MP Bull Head 
| Startup |
18 |
|---|---|
| Active |
3 |
| Recovery |
30 |
| Guard Level |
HL |
| On Hit |
D |
| On Guard |
-10 |
| VTX Hit |
D |
| VTX Guard |
-1 |
| Cancel |
CA,V |
| Damage |
130 |
| VT Damage |
See V-Trigger |
| Stun |
200 |
| Meter Gain |
20/40/20 |
HP Bull Head 
| Startup |
27 |
|---|---|
| Active |
3 |
| Recovery |
24 |
| Guard Level |
HL |
| On Hit |
D |
| On Guard |
-5 |
| VTX Hit |
D |
| VTX Guard |
-2 |
| Cancel |
CA,V |
| Damage |
140 |
| VT Damage |
See V-Trigger |
| Stun |
200 |
| Meter Gain |
20/40/20 |
EX Bull Head 
| Startup |
14 |
|---|---|
| Active |
4(26)4 |
| Recovery |
28 |
| Guard Level |
HL |
| On Hit |
D |
| On Guard |
-10 |
| VTX Hit |
12(D) |
| VTX Guard |
9(-1) |
| Cancel |
V |
| Damage |
160(80+80) |
| VT Damage |
See V-Trigger |
| Stun |
250 |
| Meter Gain |
-300 |
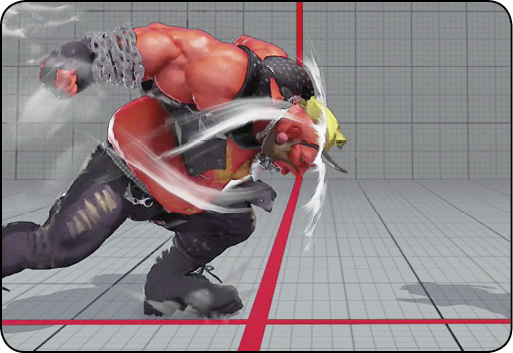
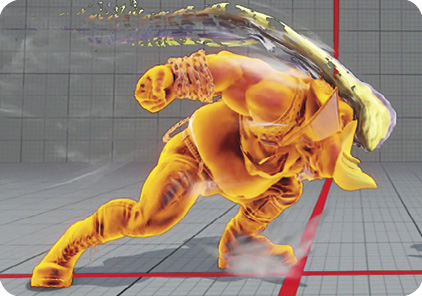
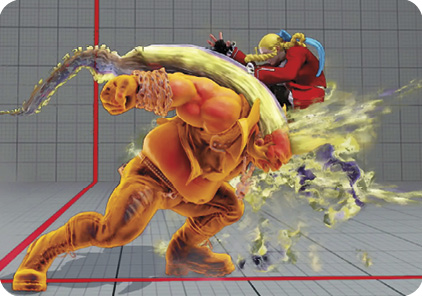
Bull Head: Birdie’s special charging lateral headbutt, which knocks down on hit and has juggle potential. Every version of Bull Head is very punishable when blocked (the best case is -5 after the HP version), so Bull Head’s primary function is in bread-and-butter combos. Cancel standing into LP Bull Head, an important continuation after starting off with standing  or standing
  . Cancel standing into MP Bull Head, very important after confirmed jump-ins (like cross-up ) and in whiff-punishing poke sequences. And LP/MP Bull Head can juggle after launching the enemy with Bull Horn canceled to V-Trigger. Any confirmed Bull Head canceled into Skip To My Chain leads to heavy, heavy damage, especially with V-Trigger going.
You can use the slower, harder-hitting, slightly safer on block HP version as a rare change-up from other blockstring tactics. If you’ve hit someone with blocked normals canceled into Bull Revengers once or twice, your foe might be antsy to poke back next time, which can get hammered by occasional oddball HP Bull Head timing.
Bull Horn Hold and release any button
| Startup |
15 |
|---|---|
| Active |
6 |
| Recovery |
29 |
| Guard Level |
HL |
| On Hit |
D |
| On Guard |
-18 |
| VTX Hit |
D |
| VTX Guard |
-6 |
| Cancel |
CA,V |
| Damage |
130 |
| VT Damage |
See V-Trigger |
| Stun |
200 |
| Meter Gain |
20/60/30 |
EX Bull Horn Hold and release any two buttons
| Startup |
15 |
|---|---|
| Active |
9(11)4 |
| Recovery |
32 |
| Guard Level |
HL |
| On Hit |
D |
| On Guard |
-19 |
| VTX Hit |
D |
| VTX Guard |
-9 |
| Cancel |
V |
| Damage |
150(75+75) |
| VT Damage |
See V-Trigger |
| Stun |
250 |
| Meter Gain |
-300 |
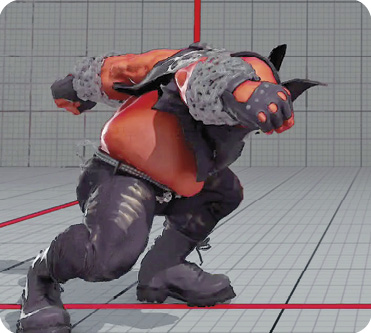
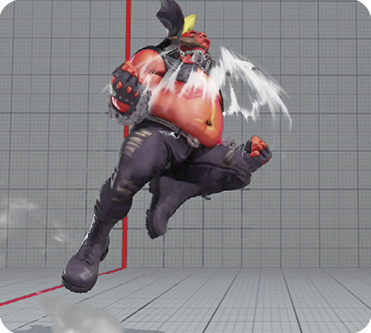
Bull Horn: Birdie’s unique charge move from the Alpha series returns. To activate, hold any button down for 50 frames, then release it. This negative-edge input executes the move. Birdie rears back one character width (dragging his hurtbox/pushbox with him), then surges forward 30 percent of the screen’s width with a knockdown headbutt. Bull Horn has only one non-EX version.
Since this move has a Shoryuken-like trajectory and terrific hitboxes that extend above Birdie’s vulnerable areas, Bull Horn makes a great anti-air if you’re holding a button down when the enemy jumps in. Just remember that it isn’t actually invincible, so it won’t work against meaty jump-ins, cross-ups, or jump-ins from the front that plummet straight down on top of Birdie. Bull Horn can also be used in combos, canceling simply by releasing a charged button just after hitting with another (like crouching  release charged button). When Bull Horn hits, you can V-Trigger cancel before Birdie leaves the ground. If Birdie is close enough, Enjoy Time activation’s flame spout will combo off the Bull Horn launch, lofting the opponent up for a potentially devastating post-activation juggle. Especially when you’re loaded with EX Gauge on top of V-Gauge, a successful reversal Bull Horn can turn into cartoonish 60 percent (or more) damage, the closest thing SFV has to “vanilla” SFIV Sagat landing random Tiger Uppercut FADC into Ultra.
Birdie is projectile-invulnerable after only two frames of startup, which opens up two valuable use cases for Bull Horn. From full screen distance, you can use it to hop straight through incoming projectiles, moving forward slightly while building a little EX Gauge. It’s even more valuable in mid-range footsie battles against projectile zoners: if you have a button charged, you can simply release it on reaction to the opponent’s fireball toss to easily pass through their fireball and knock them down.
If you scout the enemy’s intent to throw Birdie on the ground, this can also work as a reversal. The backward step at the beginning can bait a throw whiff, which the headbutt follow-through smashes. This is naturally risky, though: if the adversary doesn’t actually throw and just blocks, you’re going to get punished hard.
In all these respects, Bull Horn works a little bit like Balrog tactics in previous SF games. Bull Horn can hop through long-range and mid-range fireballs on reaction like Buffalo Headbutt, and it can dodge walk-up throws just like Balrog’s SFIV Focus Attack (which also featured an animation that pulled back his throw-vulnerable pushbox).
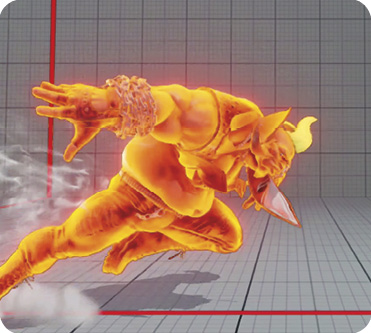
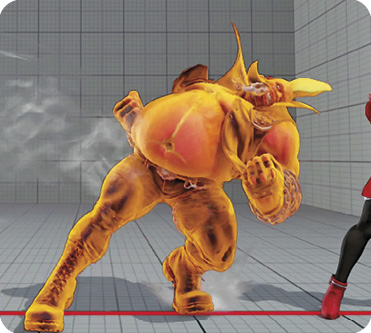
EX Bull Horn is activated by charging and releasing two buttons. Instead of stepping back and then shooting forward and upward, Birdie ducks down, armored for 20 frames. Then, he charges forward with a lateral headbutt that reaches from 40 to 60 percent of the way across the screen. This is followed by a second upward-swiping headbutt at 70 percent screen distance. Since EX Bull Horn is armored on the first frame, it can be regarded as Birdie’s truest reversal, plowing through frame traps up close and pokes/fireballs at mid range. (During V-Trigger, V EX Bull Head, V Bull Horn, and V EX Bull Horn are also good quasi-reversals.) However, since it’s performed by releasing two normal buttons, you can’t benefit from SFV’s generous input buffer to reliably perform perfectly reversal-timed EX Bull Horns in certain situations, like waking up from a knockdown, landing from air recovery, or leaving blockstun. You’ll have to actually properly time EX Bull Horn defensively (like ancient fighting game players used to have to do, back in olden times). You can also use an awkward “piano release” technique, charging all six buttons at once and then releasing them in groups of two back-to-back-to-back during the crucial moment. This gives you three shots at the best timing. An example of when you’ll actually have time to prepare by charging all six buttons (and when you might actually need it) is after getting floored by a counter-hit sweep, which nullifies your quick-recovery ability.
You can also use EX Bull Horn in combos. Canceling EX Bull Horn’s first hit with V-Trigger gives you a huge grounded link combo window, ideal for linking crouching HK/EX Hanging Chain.
Hanging Chain Brandish hold  , tap
, tap
| Startup |
— |
|---|---|
| Active |
— |
| Recovery |
36 minimum |
| Guard Level |
— |
| On Hit |
— |
| On Guard |
— |
| VTX Hit |
— |
| VTX Guard |
— |
| Cancel |
— |
| Damage |
— |
| VT Damage |
— |
| Stun |
— |
| Meter Gain |
— |
LK Hanging Chain
| Startup |
25 |
|---|---|
| Active |
16 |
| Recovery |
24 |
| Guard Level |
HL |
| On Hit |
D |
| On Guard |
-23 |
| VTX Hit |
— |
| VTX Guard |
— |
| Cancel |
— |
| Damage |
140 |
| VT Damage |
168 |
| Stun |
200 |
| Meter Gain |
20/50/25 |
MK Hanging Chain 
| Startup |
25 |
|---|---|
| Active |
16 |
| Recovery |
24 |
| Guard Level |
HL |
| On Hit |
D |
| On Guard |
-23 |
| VTX Hit |
— |
| VTX Guard |
— |
| Cancel |
— |
| Damage |
150 |
| VT Damage |
180 |
| Stun |
200 |
| Meter Gain |
20/50/25 |
HK Hanging Chain
| Startup |
25 |
|---|---|
| Active |
10 |
| Recovery |
31 |
| Guard Level |
— |
| On Hit |
D |
| On Guard |
— |
| VTX Hit |
— |
| VTX Guard |
— |
| Cancel |
— |
| Damage |
160 |
| VT Damage |
192 |
| Stun |
200 |
| Meter Gain |
20/50/25 |
EX Hanging Chain
| Startup |
15 |
|---|---|
| Active |
17 |
| Recovery |
21 |
| Guard Level |
HL |
| On Hit |
D |
| On Guard |
-21 |
| VTX Hit |
— |
| VTX Guard |
— |
| Cancel |
— |
| Damage |
170(70+100) |
| VT Damage |
204(84+120) |
| Stun |
220 |
| Meter Gain |
-300 |
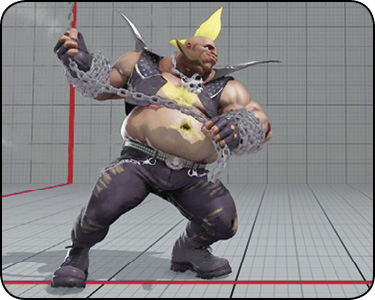
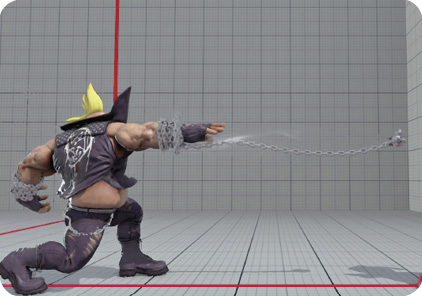
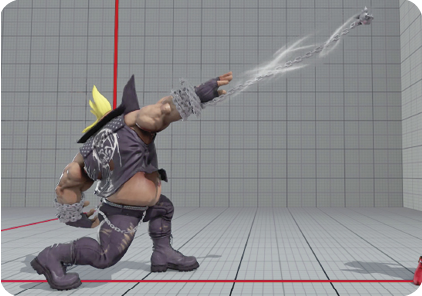
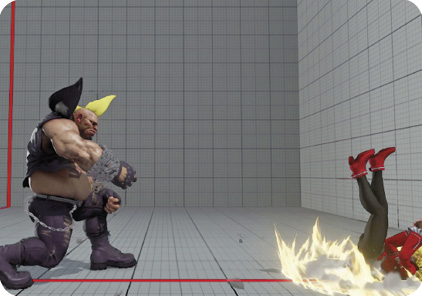
Hanging Chain: Input to make Birdie begin swinging a chain. He’ll keep swinging the chain if you hold the button. Tap while holding , and he’ll stop swinging the chain. This is Hanging Chain Brandish, a fake-out maneuver designed to make your foe hesitate, expecting Hanging Chain. Get in the habit of releasing just as you tap and release for Hanging Chain Brandish, so you don’t erroneously trigger Bull Horn if you release first and you held for longer than 50 frames.
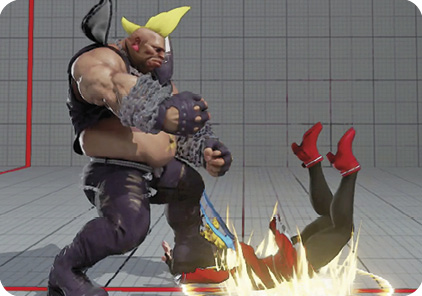
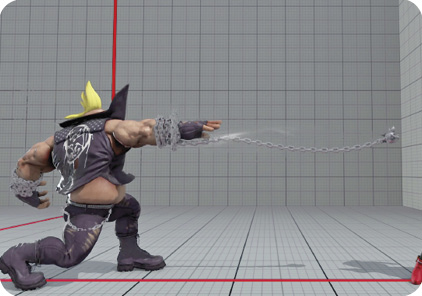
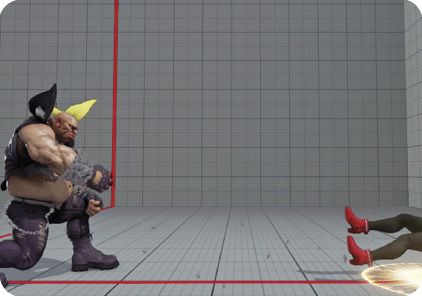
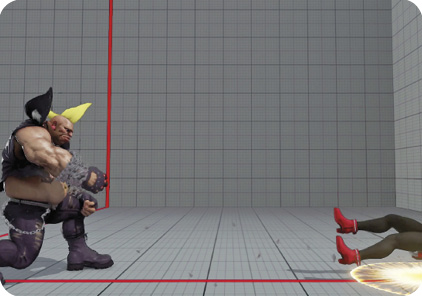
For an actual Hanging Chain attack, just let it rip by releasing . The kick strength determines the type of Hanging Chain attack. Both LK and MK versions hurl Birdie’s chain laterally, where they’ll transition into a throw attack on contact with a grounded opponent. The HK version is an anti-air hit throw that will snare airborne foes. The ball at the end of Birdie’s chain is the hitting part of this attack, and it actually qualifies as a striking area instead of a projectile. Therefore, it will pass straight through incoming projectiles unimpeded, and it will still connect just fine against the adversary’s projectile-immune maneuvers. At mid range, you can take advantage of this by preemptively hurling LK or MK Hanging Chain directly at a fireball-thrower just as they begin their projectile toss, beating them to the punch. They’ll eat the floor, and their fireball will pass right through Birdie if the hit-throw begins in time. Foes may try to anticipate lateral Hanging Chains (along with other sideways-striking Birdie moves, like Bull Charge and Bull Head) and jump forward. When you sense that a jump may be incoming, that’s when you should start spinning up HK Hanging Chain instead. If your enemy indeed jumps in, let go to shoot them down; if not, tap to cancel with Hanging Chain Brandish. If you think an opponent will try to jump away, just let HK Hanging Chain go. This is dangerous if whiffed too often, but it’s suffocating to enemies when you make good guesses with it as they try to defensively reposition.
As HK Hanging Chain is to jumps, so LK/MK Hanging Chain are to grounded movement like dashes. When aiming at grounded foes with LK or MK Hanging Chain, the choice comes down to your desired post-hit position. MK Hanging Chain hurls the opponent all the way across the screen on hit, giving you full screen distance (and a chance to build V-Gauge with Break Time, get your own projectile rolling forward with Drink Time, or go for a surprise full screen command grab with HK Bull Revenger). LK Hanging Chain, on the other hand, ends up with the challenger knocked down at Birdie’s feet up close, the perfect place for a follow-up attack on their wakeup. Birdie is left at +21 at point-blank range even if the enemy quick-rises. Perform Bull Drop immediately after LK Hanging Chain recovers to hit quick-risers with the overhead portion of the kick; they have to either block standing or use an invincible action on wakeup, or they’ll get hit.
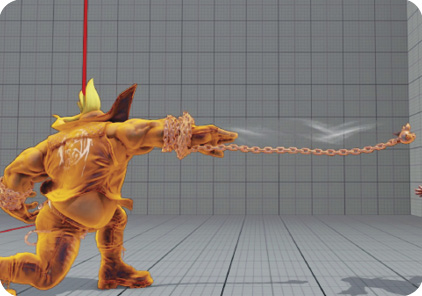
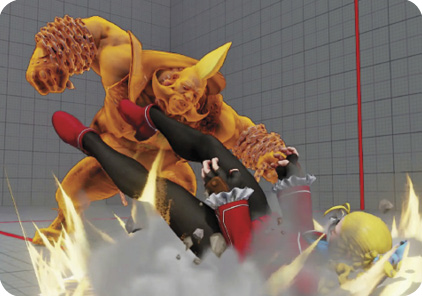
EX Hanging Chain travels laterally much faster than the LK or MK versions, will hit grounded or airborne targets (normal versions only hit one or the other), and destroys incoming projectiles up to two hits (rather than passing directly through them like the normal versions). Birdie’s outstretched arm is also projectile-invincible, making it even more likely that EX Hanging Chain wins out over any incoming projectile threat. EX Hanging Chain is fast enough to use reactively against mid-range fireballs and predictively against mid-range pokes.
The HK and EX versions also have juggle potential, so you can cancel into them from crouching or juggle with them after counter-hit Bull Charge. When Birdie is in position for it, EX Hanging Chain is generally his best combo finisher, besides his Critical Art.
LK Bull Revenger 
| Startup |
35 |
|---|---|
| Active |
2 |
| Recovery |
28 |
| Guard Level |
Throw |
| On Hit |
D |
| On Guard |
— |
| VTX Hit |
— |
| VTX Guard |
— |
| Cancel |
— |
| Damage |
170(70+70+30) |
| VT Damage |
204(84+84+36) |
| Stun |
230 |
| Meter Gain |
20/50/25 |
MK Bull Revenger
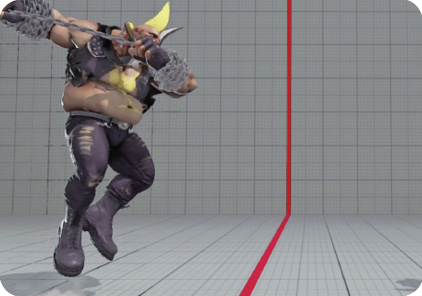 Throw range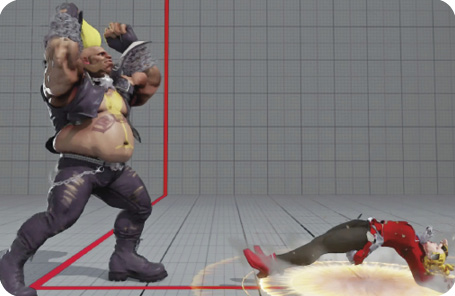
| Startup |
40 |
|---|---|
| Active |
2 |
| Recovery |
28 |
| Guard Level |
Throw |
| On Hit |
D |
| On Guard |
— |
| VTX Hit |
— |
| VTX Guard |
— |
| Cancel |
— |
| Damage |
180(70+70+40) |
| VT Damage |
216(84+84+48) |
| Stun |
230 |
| Meter Gain |
20/50/25 |
HK Bull Revenger
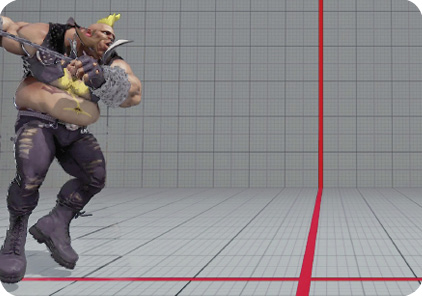 Throw range
| Startup |
43 |
|---|---|
| Active |
2 |
| Recovery |
28 |
| Guard Level |
Throw |
| On Hit |
D |
| On Guard |
— |
| VTX Hit |
— |
| VTX Guard |
— |
| Cancel |
— |
| Damage |
190(70+70+50) |
| VT Damage |
228(84+84+60) |
| Stun |
230 |
| Meter Gain |
20/50/25 |
EX Bull Revenger
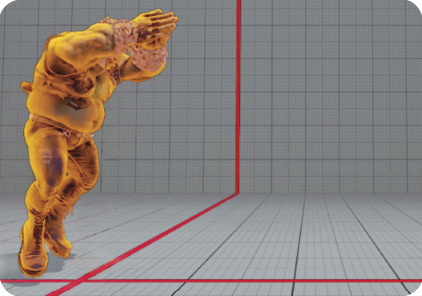 Throw range
| Startup |
23 |
|---|---|
| Active |
11 |
| Recovery |
47 |
| Guard Level |
Throw |
| On Hit |
D |
| On Guard |
— |
| VTX Hit |
— |
| VTX Guard |
— |
| Cancel |
— |
| Damage |
200(50+50+100) |
| VT Damage |
240(60+60+120) |
| Stun |
230 |
| Meter Gain |
-300 |
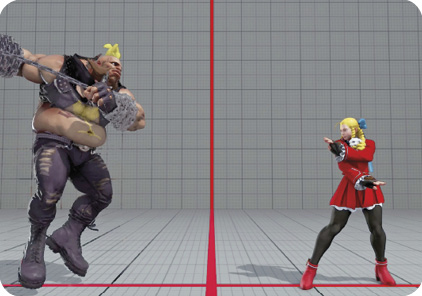
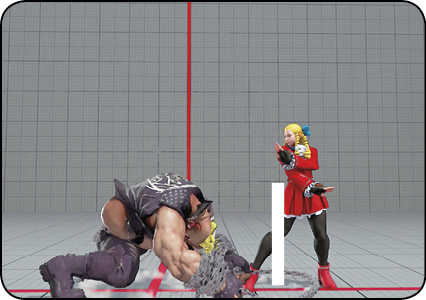
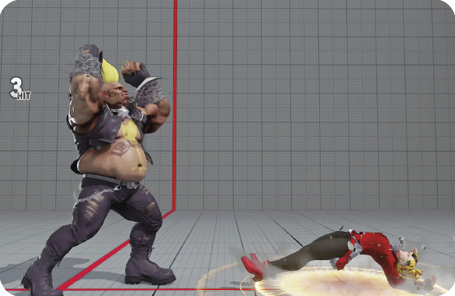
Bull Revenger: Birdie leaps across the stage, maxing out at having his feet about even with shorter characters’ heads, then lands and performs a quick command grab. How far Birdie leaps is dictated by the button used. LK Bull Revenger peaks only 10 percent of the screen’s width forward, ultimately grabbing from 35 to 50 percent of the screen away. The MK version peaks 20 percent of the screen away from the start, grabbing from 55 to 70 percent screen distance. And the HK version peaks 35 percent of the screen from the start and grabs from 75 to 90 percent screen distance! The peak of each leap is important because Bull Revenger lacks any kind of strictly projectile-invulnerable frames, so if you’re going to dodge anything, it must be through sheer altitude, and Birdie is too big of a target during Revenger’s ascent and descent.
On a successful grab, Birdie will slam the opponent into the turf repeatedly, leaving them fairly close on wakeup. If they quick-recover and you dash forward immediately, Birdie will be at -3 near them as they rise.
The EX version leaps forward more quickly and a little bit higher, so it’s better at avoiding ground attacks and projectiles. It’s also throw-invulnerable starting on the fifth frame, so Birdie can’t be air thrown out of it. His grab hitbox during the EX version begins just after his jumping arc passes its apex and is active for a whopping 11 frames, until just before he lands. If you hold  during startup and active frames, Birdie will move farther forward in the air. He can end up targeting a swath of the ground as wide as from 40 to 80 percent screen distance from where he started with EX Revenger’s active frames. This allows you to target both close-range and mid-range foes (if you don’t input anything) and long-range enemies (if you hold ).
LP Killing Head
| Startup |
5 |
|---|---|
| Active |
2 |
| Recovery |
52 |
| Guard Level |
Throw |
| On Hit |
D |
| On Guard |
— |
| VTX Hit |
— |
| VTX Guard |
— |
| Cancel |
— |
| Damage |
180 |
| VT Damage |
216 |
| Stun |
200 |
| Meter Gain |
40/80 |
MP Killing Head
| Startup |
5 |
|---|---|
| Active |
2 |
| Recovery |
52 |
| Guard Level |
Throw |
| On Hit |
D |
| On Guard |
— |
| VTX Hit |
— |
| VTX Guard |
— |
| Cancel |
— |
| Damage |
190 |
| VT Damage |
228 |
| Stun |
220 |
| Meter Gain |
40/80 |
HP Killing Head
| Startup |
5 |
|---|---|
| Active |
2 |
| Recovery |
52 |
| Guard Level |
Throw |
| On Hit |
D |
| On Guard |
— |
| VTX Hit |
— |
| VTX Guard |
— |
| Cancel |
— |
| Damage |
200 |
| VT Damage |
240 |
| Stun |
240 |
| Meter Gain |
40/80 |
EX Killing Head
| Startup |
5 |
|---|---|
| Active |
2 |
| Recovery |
52 |
| Guard Level |
Throw |
| On Hit |
D |
| On Guard |
— |
| VTX Hit |
— |
| VTX Guard |
— |
| Cancel |
— |
| Damage |
220 |
| VT Damage |
264 |
| Stun |
270 |
| Meter Gain |
-300 |
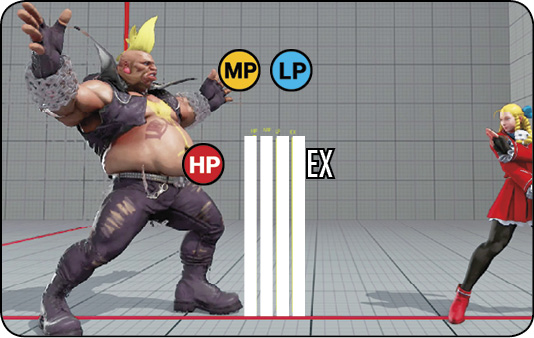
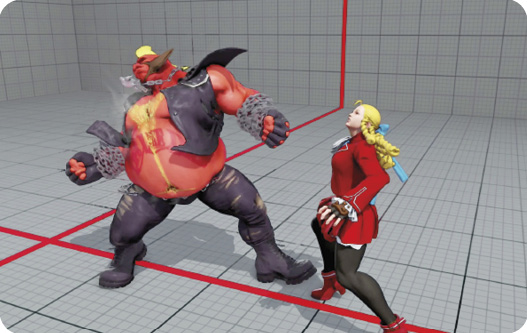
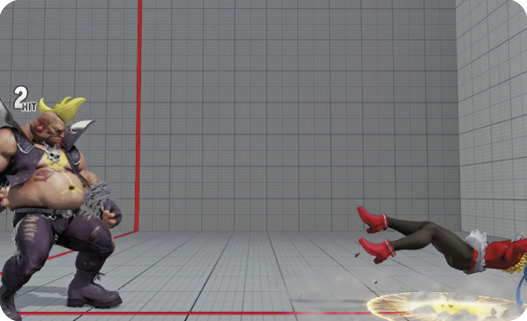
Killing Head: Birdie’s most conventional command grab in which he latches onto the opposition and delivers multiple ferocious headbutts, knocking them down. Heavier versions deal more damage and stun, while lighter versions have more grab range. This is no Screw Pile Driver or even Rainbow Typhoon; Birdie’s Killing Head range is lower compared with most other mainline command grabs, and you will really only get chances to land Killing Head by doing it unexpectedly at point-blank range or after (at most) one point-blank tick (ideally standing or ). A successful LK Hanging Chain puts the opponent in perfect position to be threatened by Killing Head. And, after Crush Counter standing , you actually have time to dash in and link HP/EX Killing Head, which will combo because Crush-Countered characters are basically dizzied.
EX Killing Head has slightly more range than even the LP version, deals more damage and stun, and is also throw-invulnerable. It’s a good option to pursue when you sense that an aggressive opponent is going to go for a walk-up throw or tick throw of their own.
Dashing forward immediately after Killing Head recovers leaves Birdie at a neutral mid-range frame situation against a quick-recovering opponent, at the edge of standing /range. It’s essentially a reset back into Birdie’s preferred range.