
Crash Bandicoot N. Sane Trilogy Guide Wumpa Island
The Lost City
Rewards: Green Gem—destroy all 82 boxes and complete the level without losing a single life.
This level features both horizontal and vertical stages. Timing your jumps is important. You don’t need any gems to get all the boxes. However, to earn the Green Gem, which allows you to access secret areas in other levels, you must get through this level on a single life. Also be on the lookout for iron switch boxes that trigger other boxes you need to use.
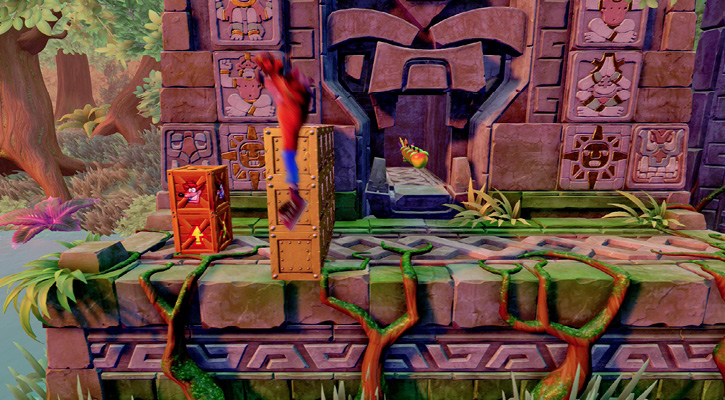
One of the trickiest spots in this level is right at the start. There are two boxes on the other side of a wall. You can’t jump over the wall, and the only way around is off the edge. Jump off the edge, and while in mid-air, move around the wall and land on the ground on the other side. Grab an extra life. You can use the bouncy box to get over the wall, but you need to smash it if you want all 82 boxes. Jump around the wall again to return to where you started. Before you continue, move into the interior to net a row of Wumpa fruit as well as a mask.
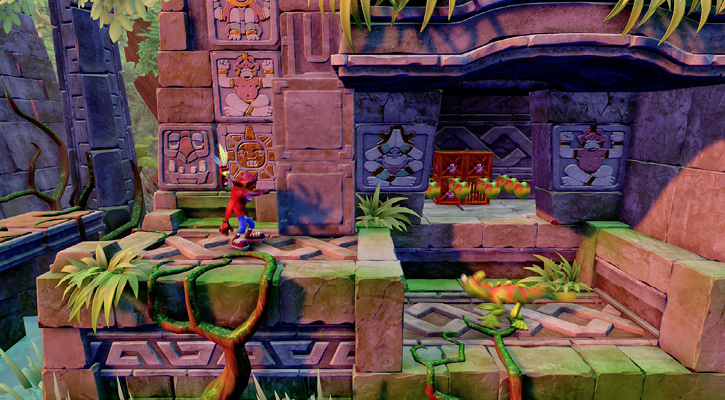
Jump across to the next area to the right. Watch out for walls that push out from the building—they knock you off the edge and cause you to lose a life. To get past them, jump on top of a lizard and move into the interior. Inside are four boxes, three of which have extra lives. Grab them and the Wumpa fruit and continue to the right, past another moving wall.
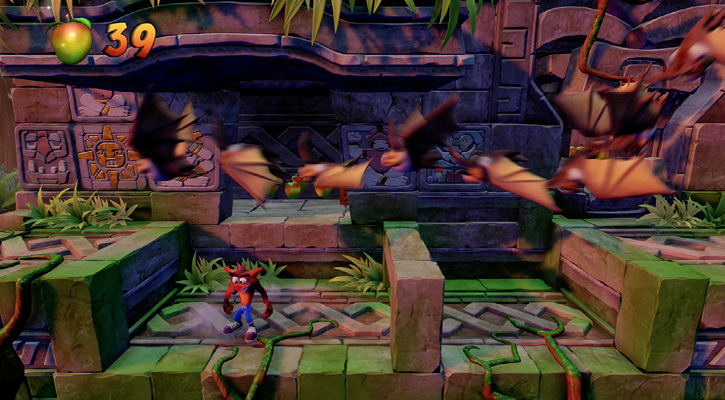
Keep going right. Watch for the shaking platforms. If you stay on them too long, they collapse. As you reach the next area, quickly move forward and drop into the low area. A stream of bats flies toward you and deals damage. Look for hanging bats as you traverse the level. They warn you of flying bats, so you know when to take cover. While you can try spin attacks to defeat them and collect the fruit they drop, this is unnecessarily risky and could cost you a mask, or even a life.
Enter the first room for some Wumpa fruit and the first Tawna icon. Inside the second room, jump up onto the box of fruit. Press the Jump button while you’re bouncing to jump even higher and hit a hidden switch box. If you don’t, you can’t get the first Nitrus Brio icon.
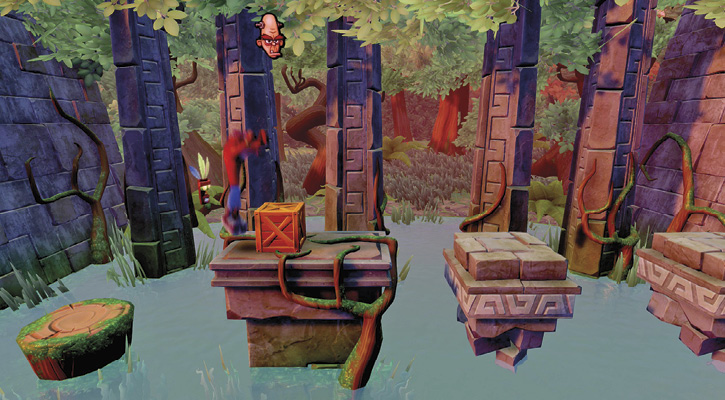
Continue to the right, avoiding a double moving wall to reach a checkpoint. Now jump across to a small island. If you hit the hidden switch box, a box will be on this island. Jump up onto it to get the floating Nitrus Brio icon above. As you go right, drop to a low area to avoid more flying bats, then jump up onto some moving platform to reach the other side. To get past the triple moving wall here, time your move carefully and drop to a low spot as more flying bats come at you. Be sure to enter the room in this area for the second Tawna icon. Continue right to reach another checkpoint.
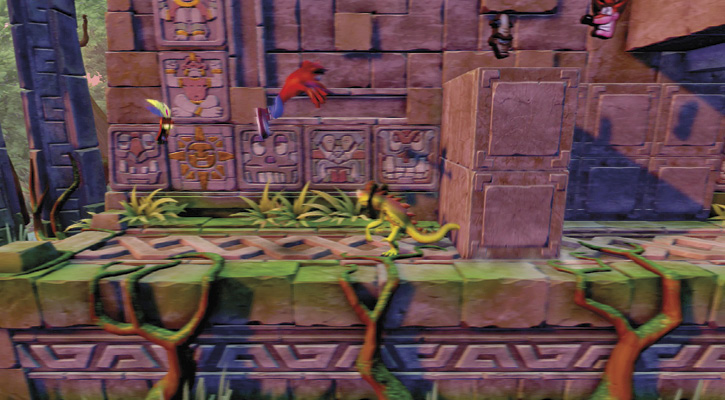
Getting the icon in the next part takes timing. Watch the jumping lizard. When it jumps away, jump over to the next area and then jump on top of it while it’s beside the moving wall. This lets you bounce up on top of the wall to grab the Nitrus Brio icon as well as an extra life. Hasten to the left so the wall doesn’t push you off the edge. As you move right, you come to a vertical stage. Here you must jump up a series of platforms to reach the upper part of the level. Some platforms extend out from the wall and then retract. They do this at a constant rate. Watch to learn the rhythm, then jump toward one of these platforms while it’s fully retracted so you land on it when it’s extended and have time to jump off before it retracts again. Look for a metal switch box on the left side. Jump on it to activate a box you’ll find later on. Near the top, you must time your jumps almost perfectly since all of the platforms are the retracting type. Get into the rhythm!
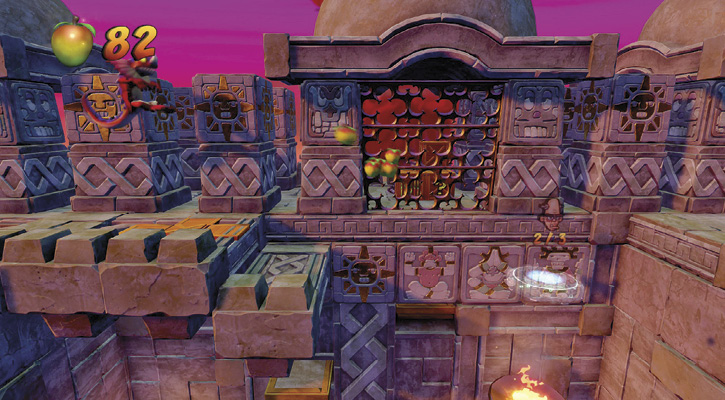
Once you reach the top, head left. Either defeat the red jumping lizard or avoid it. Move into the back area before you have to jump to the left. From the back area, move right to clear out to some boxes. Jump on them to gain Wumpa fruit, as well as the third Nitrus Brio icon. Then backtrack to the retracting platforms and jump to the now-activated portal to begin a bonus stage.

Back in the level, advance to the left. The jumping lizards can be tough to defeat with spin attacks. The best tactic is to wait until they land and then jump on top of them. The next challenge you face is the weight-sensitive blocks. As you walk onto them, they start rotating. If you stay on them, you’ll get knocked off and fall. The center block is the fixed point and doesn’t move. Jump across to it, then from there, jump to the left to reach the other side. For the best timing, jump just as the first block starts to fall. Land on the center block, then keep moving left. As the fourth block starts to drop, jump to the platform on the left. When you reach the red jumping lizard on the pillar, jump onto the pillar next to it and then jump back. Wait for it to jump to the platform, then jump on it to get rid of it. Now watch for flying bats—get to a low area and wait for them to fly past, then hasten left. You must cross some retracting blocks, so time it right to avoid falling. Move left to a checkpoint.
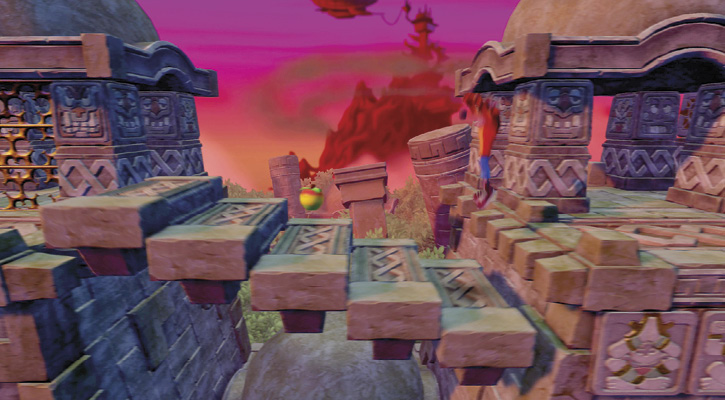
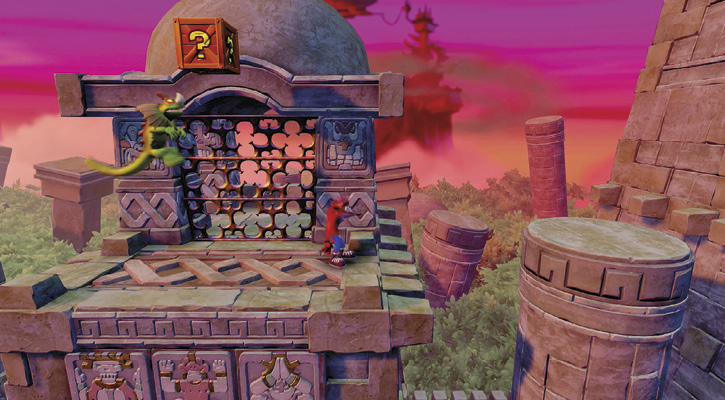
Next you face moving walls. The pattern is more complex than you’ve seen before. Wait until both moving walls are out at the same time and then both retract. Do the same for the group of three walls. When all three retract together, make your move. The last two have a simple pattern. Jump across to a pillar and then to a platform with a lizard. Wait for the lizard to jump and land below the box. Then jump up onto the lizard and use it to get the box. Next, avoid flying bats and jump on lizards to finally reach the box with the third Tawna icon right next to the portal. Enter the activated portal for the bonus stage.
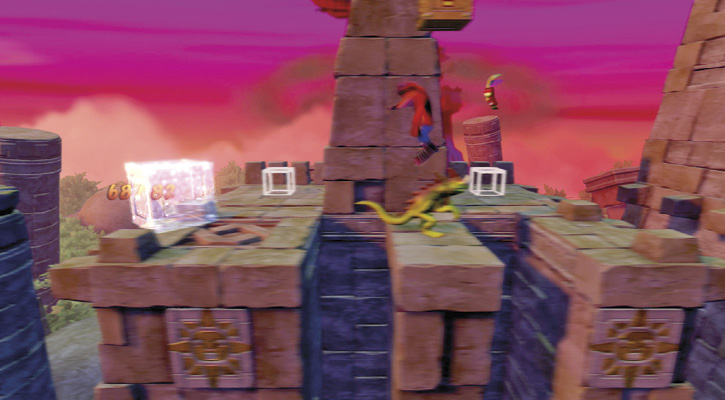
You must now cross another set of weight-sensitive blocks. The distances you jump are farther, making this part tougher. Get to the center block. From there, jump to the last block on the left and quickly across to the next platform to avoid jumping short and falling. Now do this a second time. When you reach the platform with the jumping lizard and moving walls, follow it through. If you stay next to the edge of the platform, the lizard doesn’t hit you when it jumps. There’s another jumping lizard on the next platform. Wait for it to jump away before you jump across. Then wait until it jumps back to the middle section, right below a box. Jump on top of the lizard to hit the switch box, which causes two more boxes to appear at the back of this platform. They burst open and give you fruit. Finally, jump over to the portal to exit the level.
 Time Trial
Time Requirements
Sapphire: 2:35:00
Gold: 1:56:12
Platinum: 1:40:52
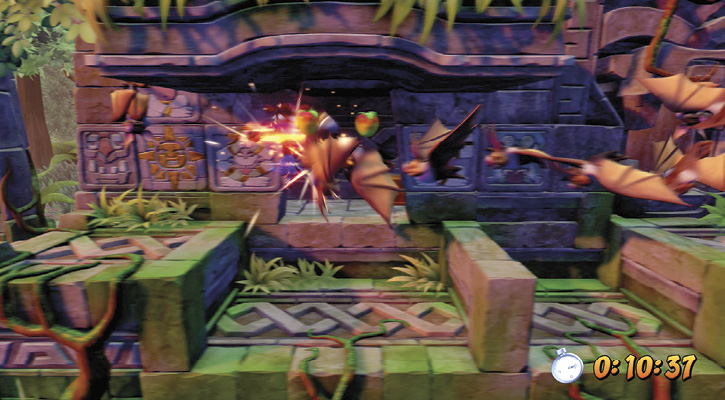
If you’re good at jumping, you can earn the lowest-level relic without too much trouble. However, for the gold and platinum levels, timing is key. Smash every time box, and don’t bother entering buildings for those boxes—it takes too long. When flying bats come at you, instead of staying low and waiting for them to pass, spin-attack to clear them out. The vertical stage is where you can make or break the time trial. Learn the rhythm of the shelves, and don’t fall—a fall could cost you five to 10 seconds, depending on how high you are.