
Crash Bandicoot N. Sane Trilogy Guide Secret Levels
Hot Coco
Rewards: Clear Gem—destroy all 70 boxes. Unlocked: Hitting the alien sign in Road Crash.
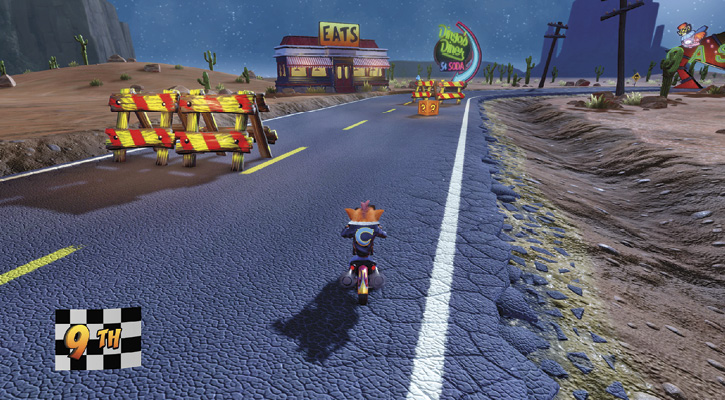
There’s no platform that can take you to this level. You must enter Road Crash (Level 14 in the Oriental Area) to reach this secret jet-ski level. Once you pass two road sign barriers and see the Dingo Diner on the left, stay in the left lane, and the suspicious alien sign will be right in front of you. Drive off the road and smash into the road sign with a picture of an alien on it to immediately warp to Hot Coco. Be careful—don’t drive at full speed, as it’s very easy to miss.
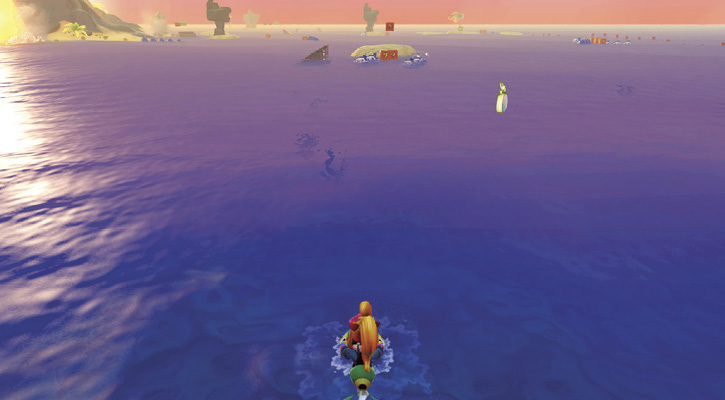
It’s time for Coco to get back on the jet-ski and rule the waves! This secret level is extremely unique and quite fun, since it isn’t linear. Your only objective here is, as usual, to break all the boxes for the gem. This can be accomplished however you wish, but we provide a detailed path.
Turn to the right, and you see a few small islands with a trio of bombs. Wait until the bombs are moving away from the boxes, then glide in, smash them, and circle left to face the ramp near your starting location. There are three boxes here: two in the water and one in the air. Smash the two boxes in the water surrounded by four bombs, then circle back to jump the ramp and hit the box in the air. Perform a trick jump to the left or right while hitting the box to ensure you don’t land on the bombs below.
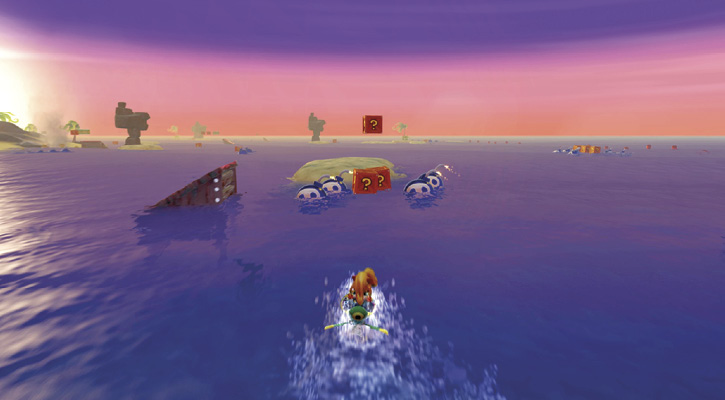
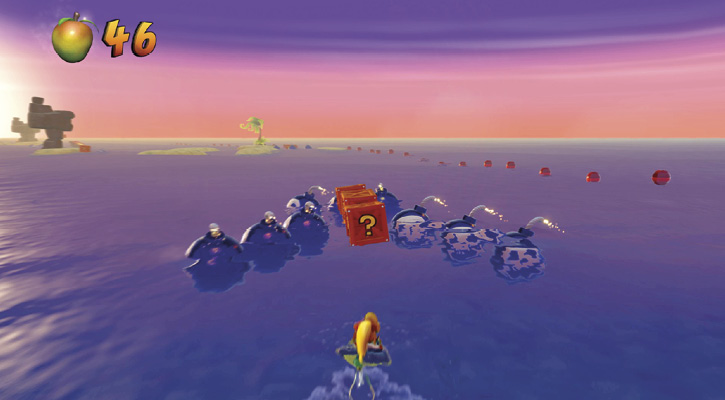
After landing that sweet jump, turn to the left until you see a ton of bombs guarding three boxes. Carefully weave your way between these bombs to break the boxes. Once you’re through, follow the zone wall barrier toward the cluster of five islands in the distance.
Carefully break the two boxes surrounded by four bombs, then turn left and head toward the small island with the pillar of rocks. A bomb moves insanely fast around this island in a clockwise motion. After the bomb passes, move in behind it and destroy the box.
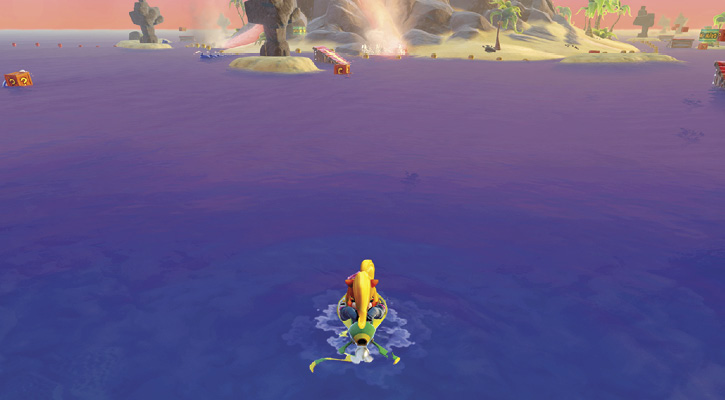
As you exit the orbit of the turbo bomb, you see a box to the left, a checkpoint box in front of you, and a ramp to the right. Break the box to the left, avoiding the fast and slow bomb protecting it, then break that checkpoint box for security.
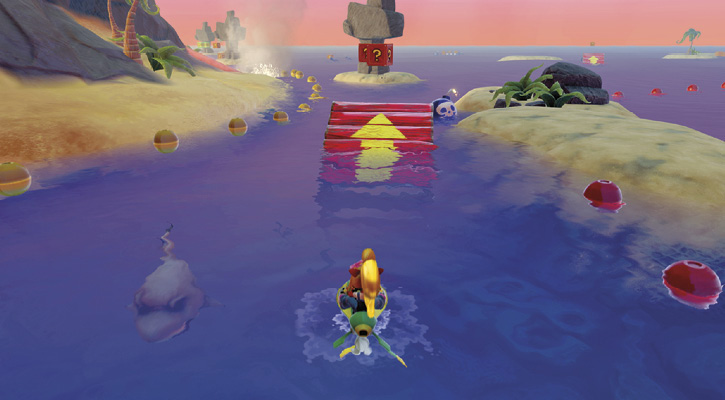
Now turn left and face the volcano. Head toward it, then turn left, keeping the zone barrier and the volcano on your right. There’s a ramp with nitro boxes in front of you. Do not attempt to jump this ramp. Instead, hug the zone barrier and move past it and the line of bombs behind it.
As you follow the zone barrier, squeeze between it and the small island until you see a bomb and a ramp facing the wrong way. There’s also a shark here, so carefully pass the shark, turn around, and jump the ramp while performing a trick jump to the left. This breaks both boxes in the air. Now circle back and pass the shark again to break the checkpoint box.
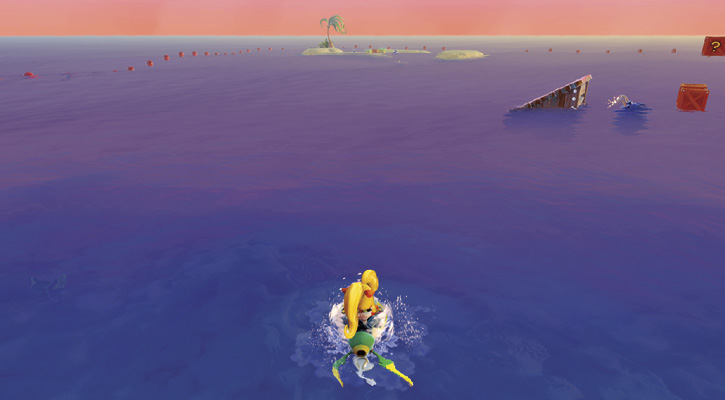
Head back toward the zone barrier and turn left, keeping the volcano on your right. Pass between the zone barrier and bombs to break the box near the island with the rock pillar, then move out into the open water where you see a bunch of ramps.
Ignore these ramps for now and turn left. When you see the small cluster of islands, one with a palm tree, head toward it. In the middle of that island is a whole world of badness waiting for you, and all for one box! Not only are there bombs to avoid, but there’s also a shark, plus two nitro boxes snuggled next to the box you need to smash. Carefully navigate between the nitro boxes to smash the box while avoiding the bombs, then get the heck out of there.
Remember those ramps you passed? Head toward the first one (it has a bunch of bombs right behind it). Make sure you’re at maximum speed when you jump this ramp to break the box in air and clear the bombs. Immediately circle back and break the boxes flanked by bombs just behind the ramp you jumped.
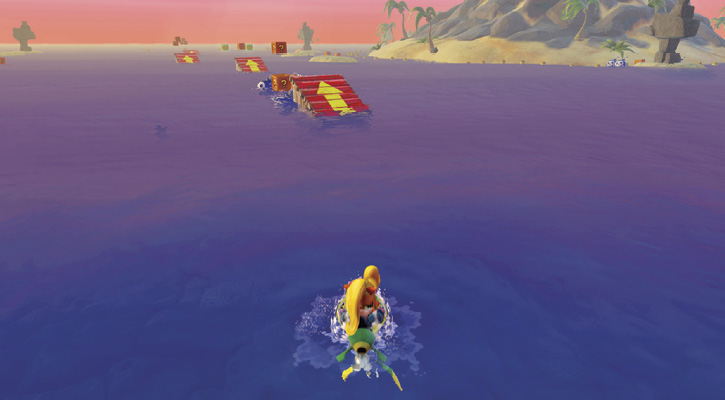
Line up for the second ramp, making sure you’re centered on it. This ensures your safety as you fly between the two nitro boxes to break the box in the air. Stay centered on the next ramp, and keep your speed up as you jump it to break two boxes in the air. This time you also need to hold the Dive button during your jump to break a box hidden deep underwater.
Don’t jump the next ramp. Instead, turn right to break two boxes in front of the volcano that are surrounded by three bombs. Then face away from the volcano, hit the checkpoint box, and break the box nestled between six bombs behind the island.
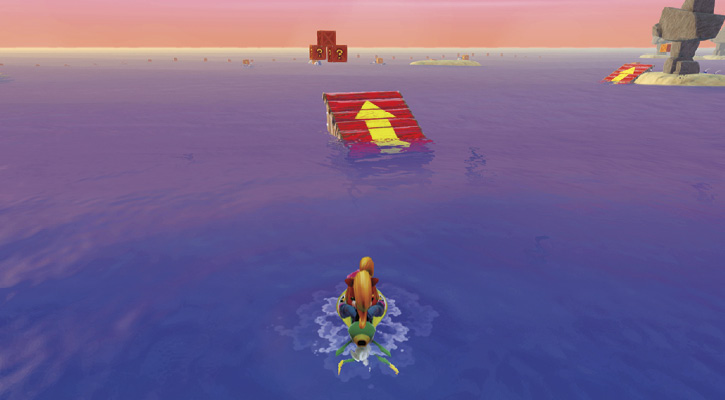
Now you can head back to that last ramp we didn’t jump, and jump it to break the three boxes floating in the air past it.
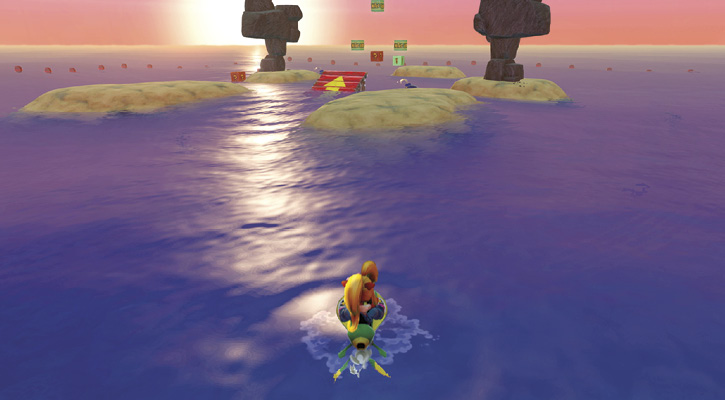
Turn left immediately after landing, and you see a group of five islands with a few rock pillars and a ramp with a trio of nitro boxes. There’s also a green “!” box, which destroys all the nitro boxes on the board. Finally, you can be rid of these hazards! Get some distance, and make sure you’re centered on the ramp. You need to hit it in the center at considerable speed to break the box and hit the green iron box.
Once you land from the jump, make a hard turn left to break the two boxes on the far side of the rock-pillar island that was to the left of the ramp. Be extremely cautious, as there’s a bomb that circles this island pretty fast.
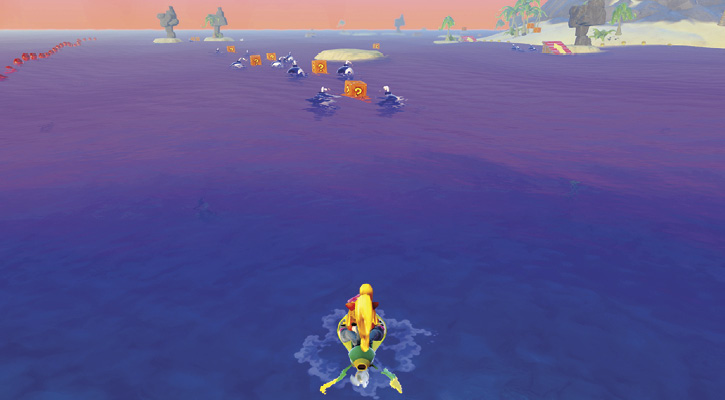
Hit the nearby zone wall and turn right, keeping the zone wall on your left. This takes you past the islands you’ve just completed and toward five sets of bombs with boxes stuck between them. Blast through all these boxes with caution, since you have little room to maneuver.
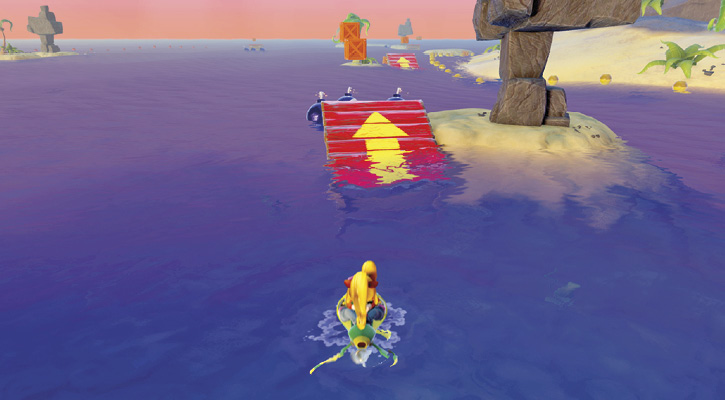
After clearing those hazards, turn right until you’re facing the volcano, and break the checkpoint box. Turn to your right, where you see three bombs and a ramp. Circle that ramp and jump it to break the two boxes in the air. Make sure you angle slightly to the right to avoid the bombs, and get lined up for the next ramp.
There are no bombs past this ramp, so take the jump slow to break the box in the air and the one just past it floating in the water.
Make a hard left turn until you see a group of islands with a palm tree and a couple of rocky pillars. There are two boxes located within this trio of islands. To no one’s surprise, it’s guarded by a shark and two moving bombs. Foil the plans of the madmen who designed these traps and break the boxes. Both enemies move slowly, so it should be easy to get these.
As you exit the islands, turn right until you see a ramp facing the wrong way. Circle it and give yourself some room, because you need to jump this ramp at high speed to break the box in the air and clear the three moving bombs behind it.
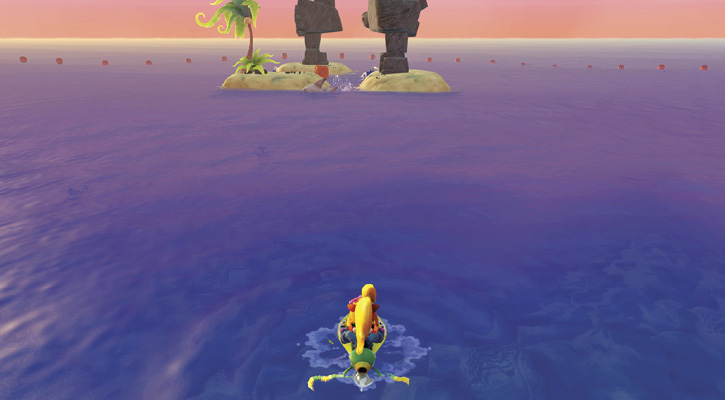
Turn left as you land to head toward the volcano again. Break the box between the small island and the volcano, then turn hard left again. There’s a ramp facing the volcano. Circle it and jump it to break the two boxes in the air.
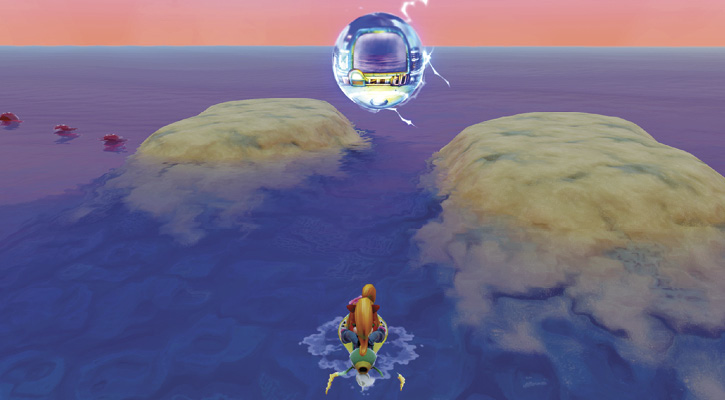
When you land, turn left and jump the ramp we avoided in the beginning since it had nitro boxes in front of the box you needed to smash. Now you can jump it. Just make sure to do a trick jump to the right to avoid setting off the bombs at your landing spot. From here, head straight toward the zone wall where you see two islands breaking up the red barriers. In between those two islands is the waiting gem and the zone exit!
 Time Trial
Time Requirements
Sapphire: 1:00:00
Gold: 0:30:10
Platinum: 0:19:96
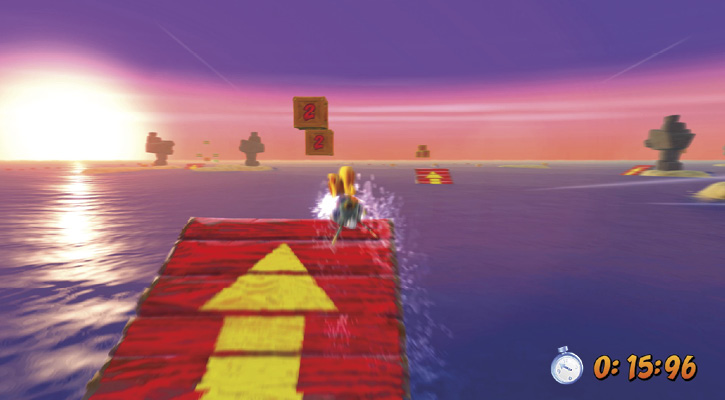
This is a straightforward time trial. You start right next to the exit. However, it’s blocked by nitro boxes, so you need to get to the green “!” box on the other side of the level and then back. The quickest way to do this is to head toward the volcano and turn left, taking the narrow path. Smash all the time boxes you see as you head past and over the series of ramps leading up to the island cluster and the ramp that has the green “!” box. Then simply turn around and go back the way you came until you get to the zone exit.